When we travel, I look for hotels that have an extensive continental breakfast included in the stay price. I’m seeking fresh fruit, whole grains, lean protein…for my active crew. At a recent stay, as we made our way across the lobby for an early morning breakfast, I had to cringe when I heard my son say…”Awesome, they have biscuits and gravy!” Of all things…biscuits and gravy?
So, this past weekend, in the chiily,early morning hours, while most were fast asleep, my kids woke with the birds and headed off to the pool to get in their required morning yards. I felt like I wanted to make something special for their return home on this holiday weekend. The first thing that came to mind was biscuits and gravy. (Along with sunrise smoothies, fresh baked Irish scones, and cheese omelets.)
My mother-in-law gave me this recipe years ago. She had taken a mini-cruise that was meant to showcase the beautiful fall colors along the New England shore. The ship’s cook had shared this recipe with her. I still remember the hand written page that she shared with me over 15 years ago as I transferred the ingredients into a small notebook that I once carried around with me. I’ve only made this recipe a handful of times, but every time I make it, my son is one happy camper!
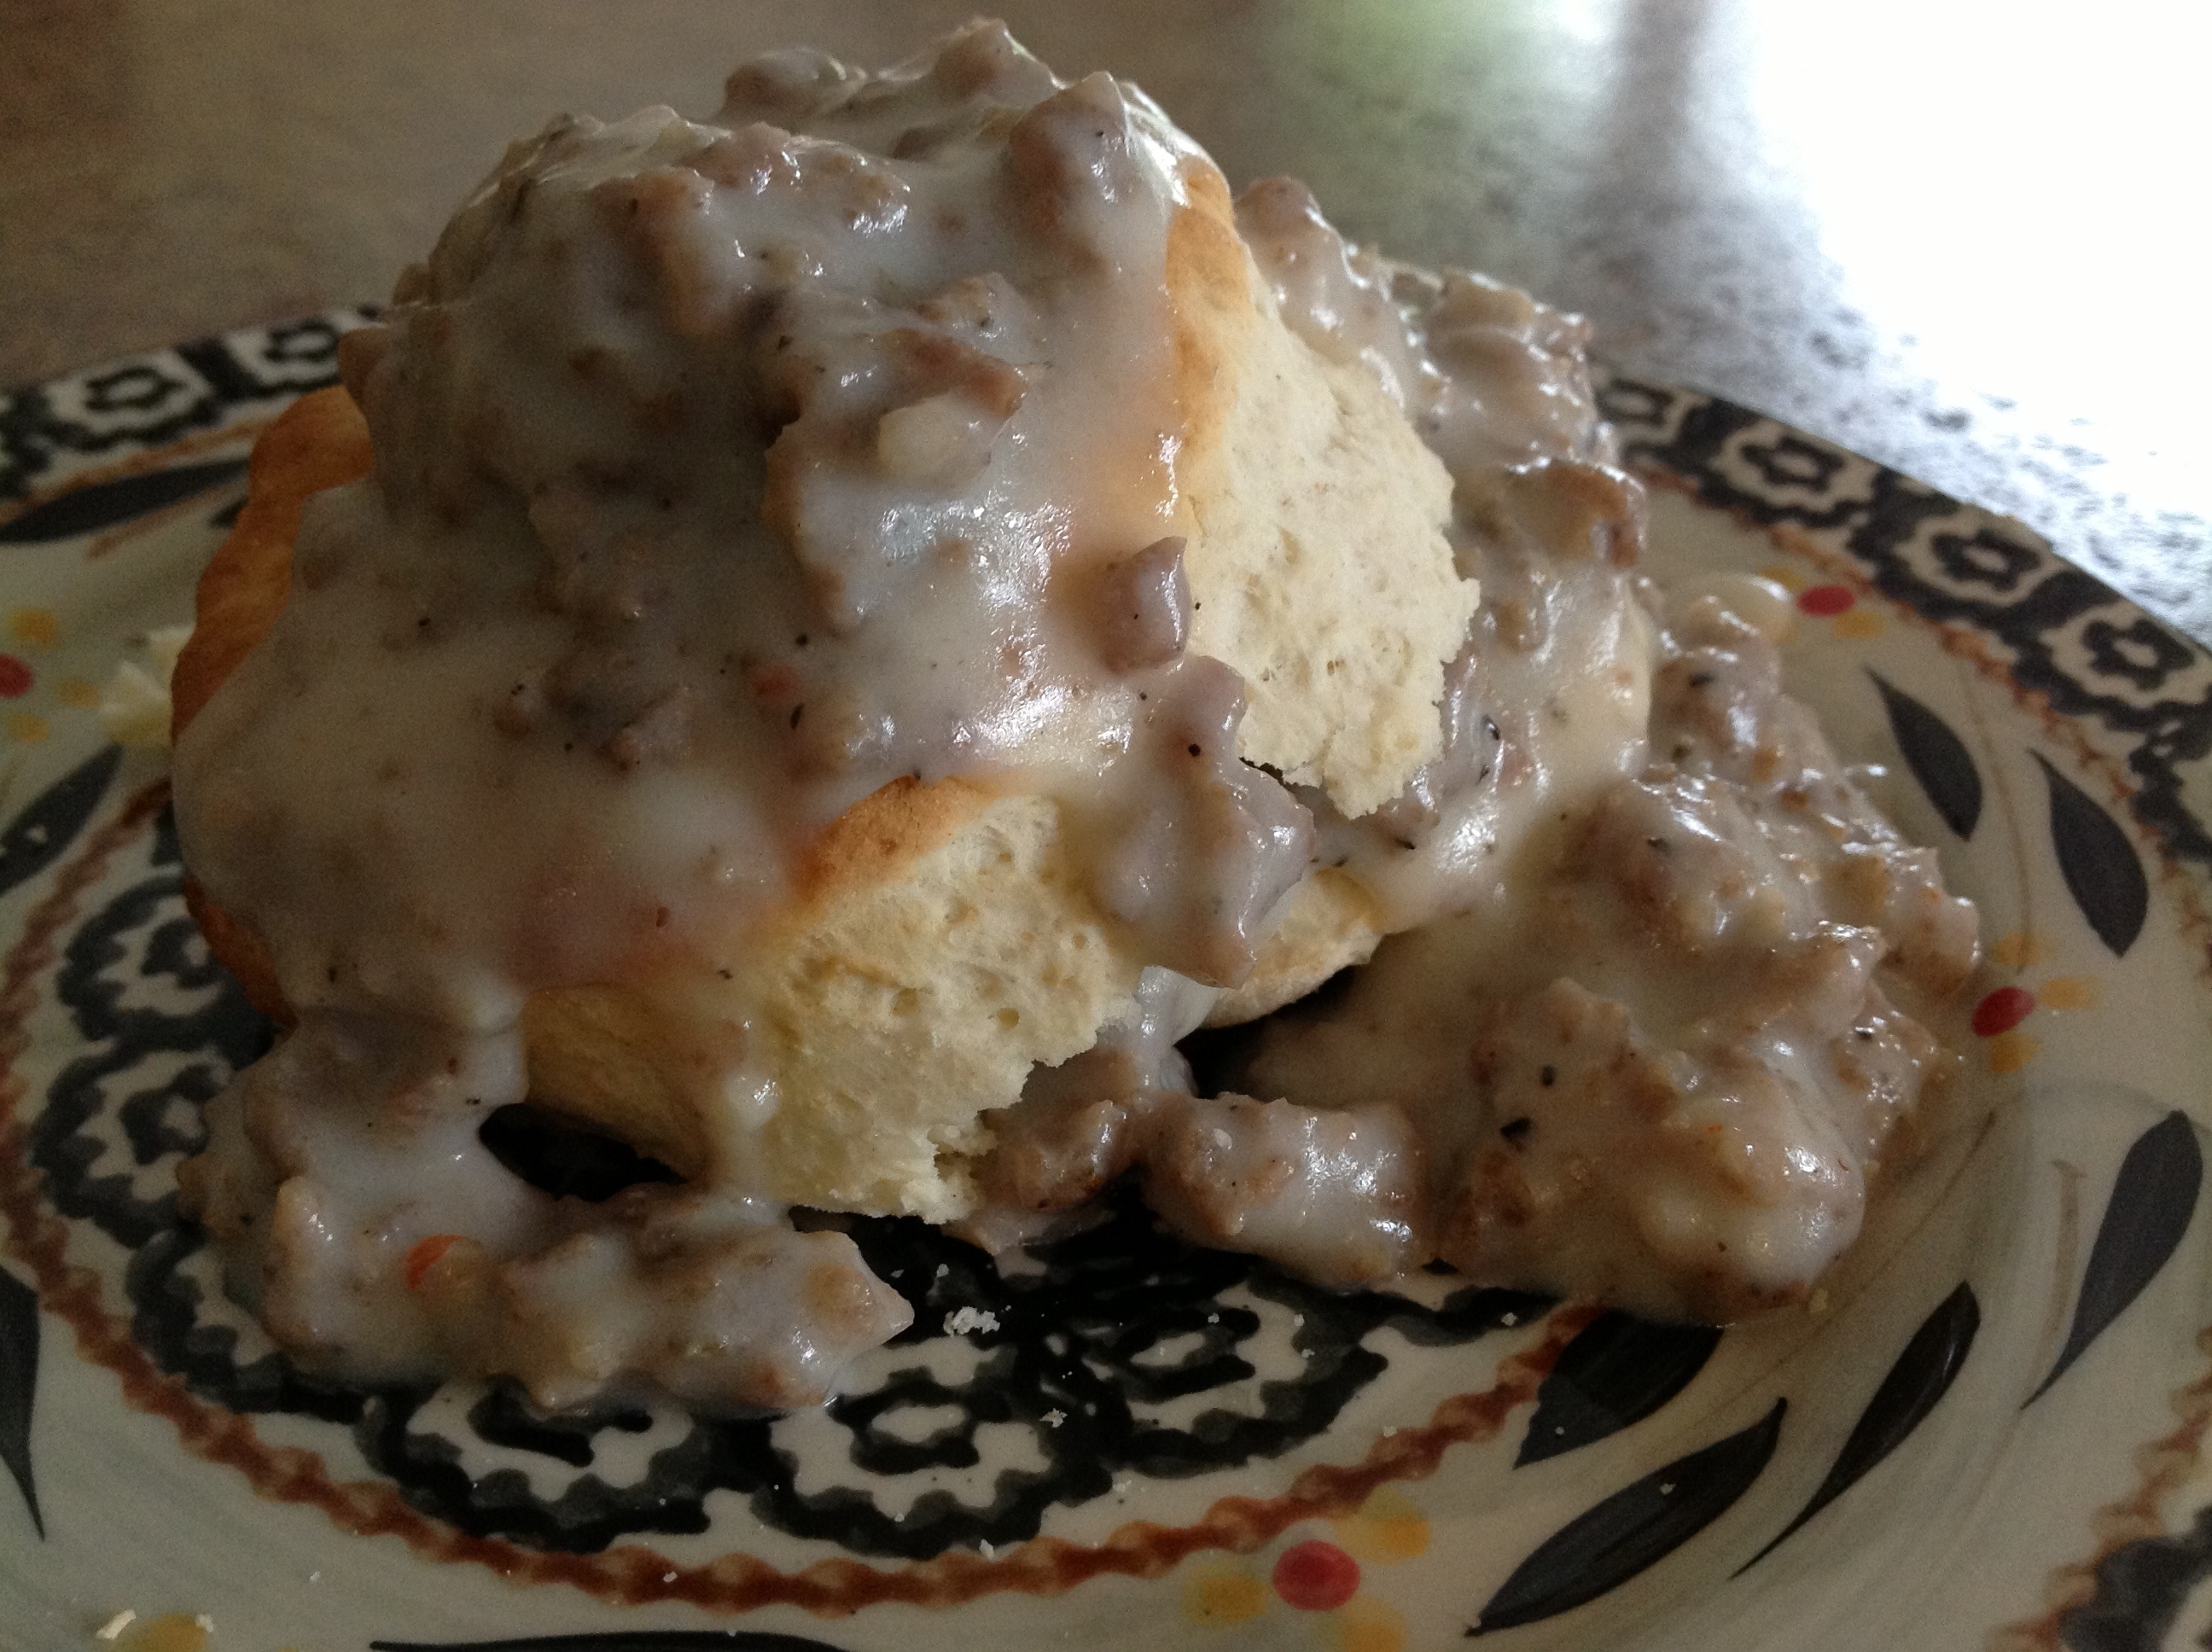
Mom’s Hearty Biscuits and Gravy
First prepare the biscuits and get them in the oven…
Beautiful Buttermilk Biscuits
1/2 cup cold margarine or butter
2 cups flour
1 tablespoon sugar
2 teaspoons baking powder
1/4 teaspoon baking soda
1 teaspoon salt
3/4 cup buttermilk
Heat oven to 450 degrees. Mix dry ingredients together in a medium bowl. Cut margarine into the flour mixture until it resembles fine crumbs. Stir in buttermilk; stir. Dough will be soft and sticky. Turn dough onto a floured surface and kneed lightly about 10-12 times (adding a bit of flour if needed) until dough is not longer sticky. Roll or pat dough to about 1/4″ thick. Use a 2 1/2″ round biscuit cutter to cut the dough. Place on an ungreased cookie sheet; about one inch apart. Bake for 10-12 minutes or until golden brown. Makes about 12 biscuits.
Mom’s Hearty Gravy
1 roll of pork sausage ( I always use Jimmy Dean’s Premium Pork Regular Sausage)
1/4 cup flour
1 3/4 cups milk
1/2 teaspoon salt
1 teaspoon freshly ground pepper
Brown sausage in a large skillet, crumble and cook over medium heat until no longer pink. Stir in flour and cook, while stirring, to completely incorporate the flour. Slowly add milk to the sausage mixture. Cook gravy 5-7 minutes more or until thick and bubbly. Season with salt and pepper. Serve over those beautiful buttermilk biscuits!