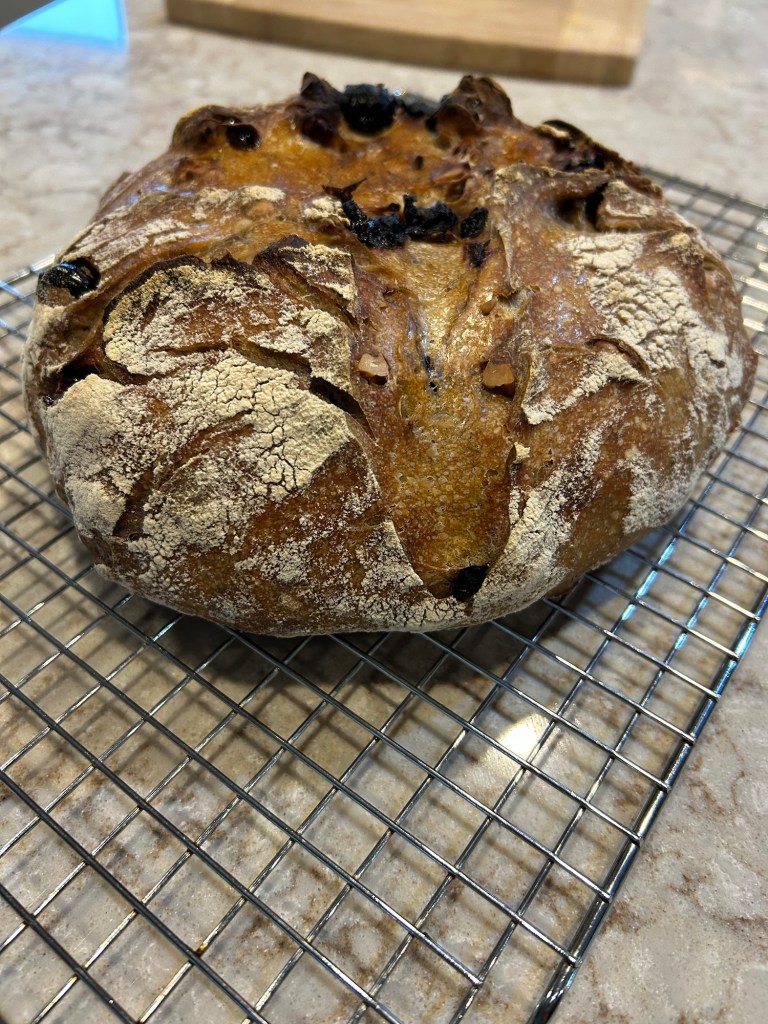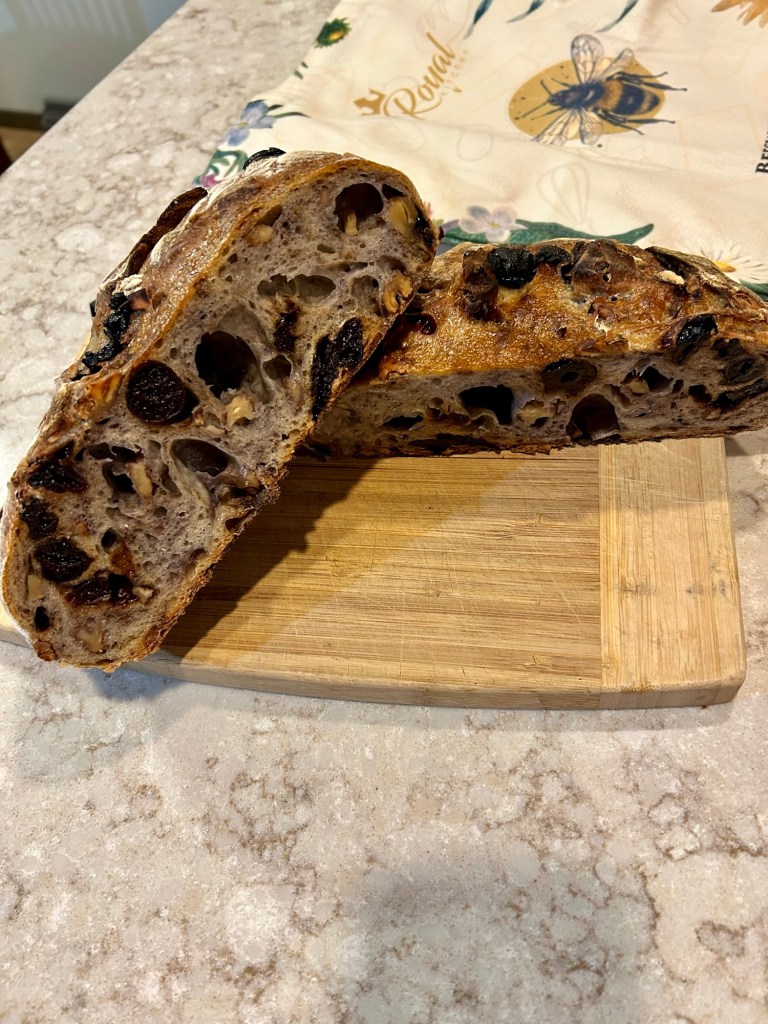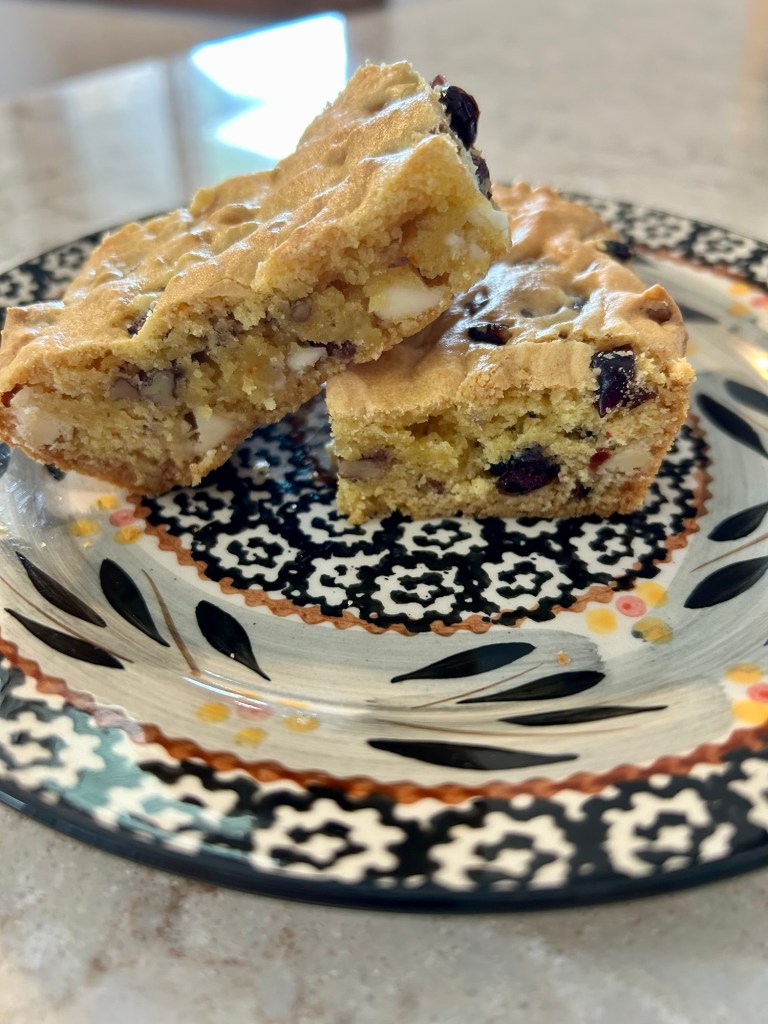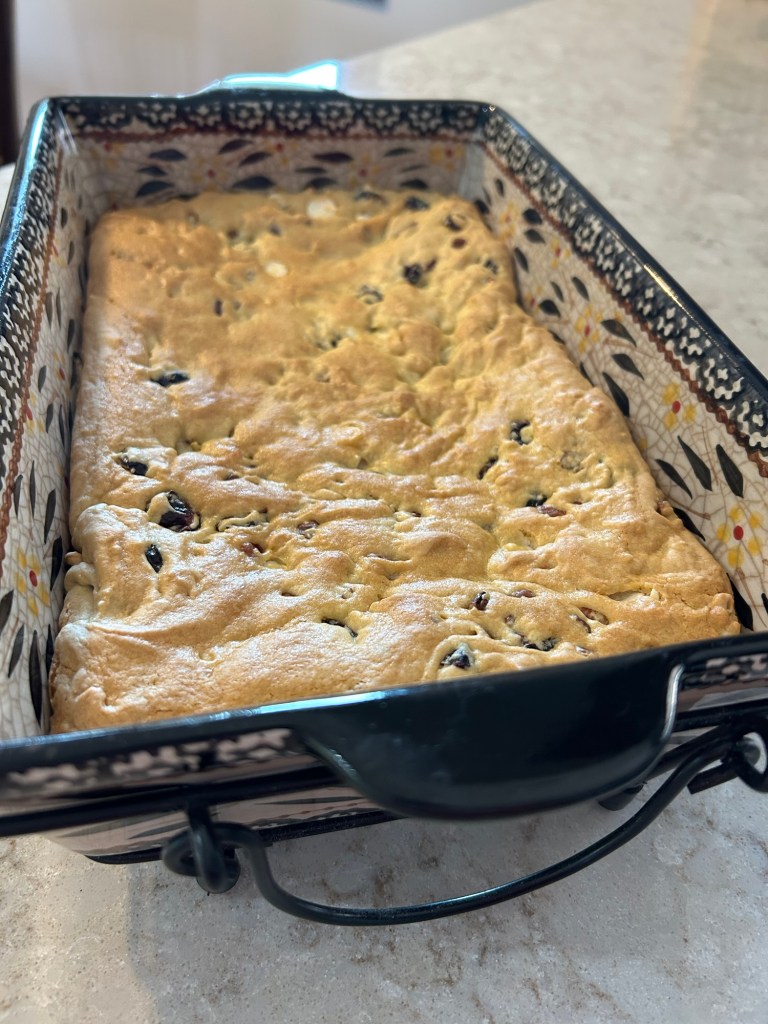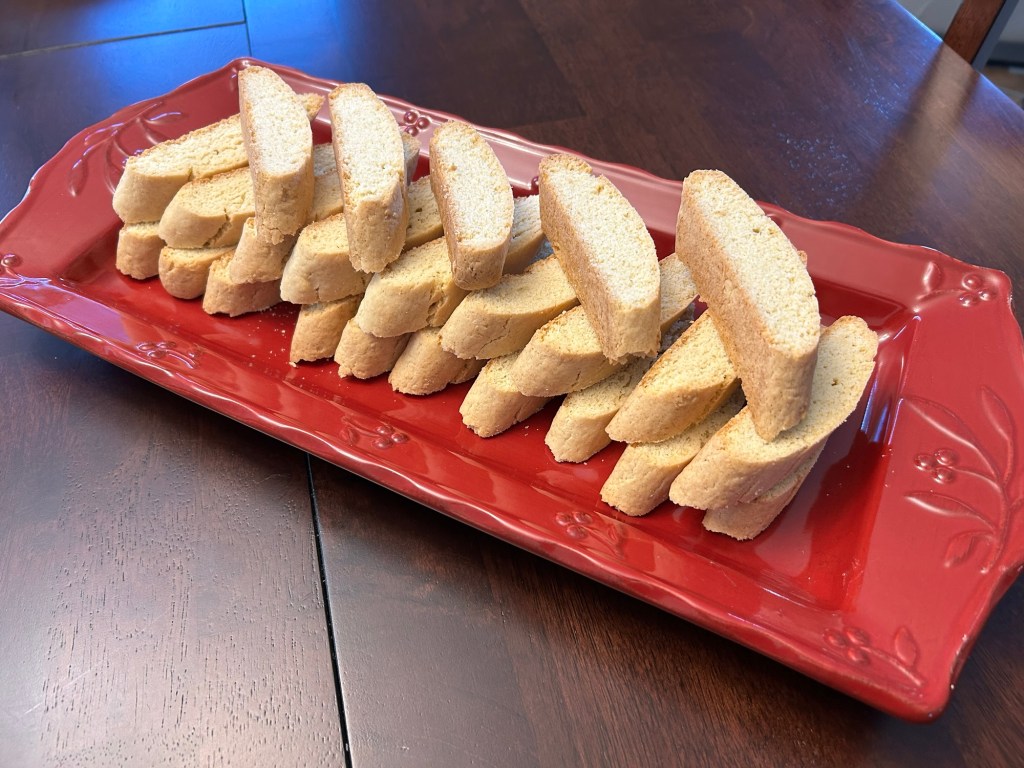
This simple recipe is a total winner! The hint of anise gives it that classic, traditional biscotti flavor—but you can easily make it your own. Skip the anise and try variations like dried cranberries + almond extract, chocolate chips + vanilla, or bright lemon with fresh zest.
Perfect with a cozy cup of coffee or tea!
Ingredients
- 1 cup white sugar
- ½ cup vegetable oil
- 3 large eggs
- 1 tablespoon anise extract, or 3 drops anise oil
- 3 ¼ cups all-purpose flour
- 1 tablespoon baking powder
Directions
- Preheat the oven to 375 degrees. Line a cookie with parchment paper.
- In a bowl, combine sugar, oil, eggs, and anise extract until well-blended. Mix in flour and baking powder to form a heavy dough. Gently knead, if necessary.
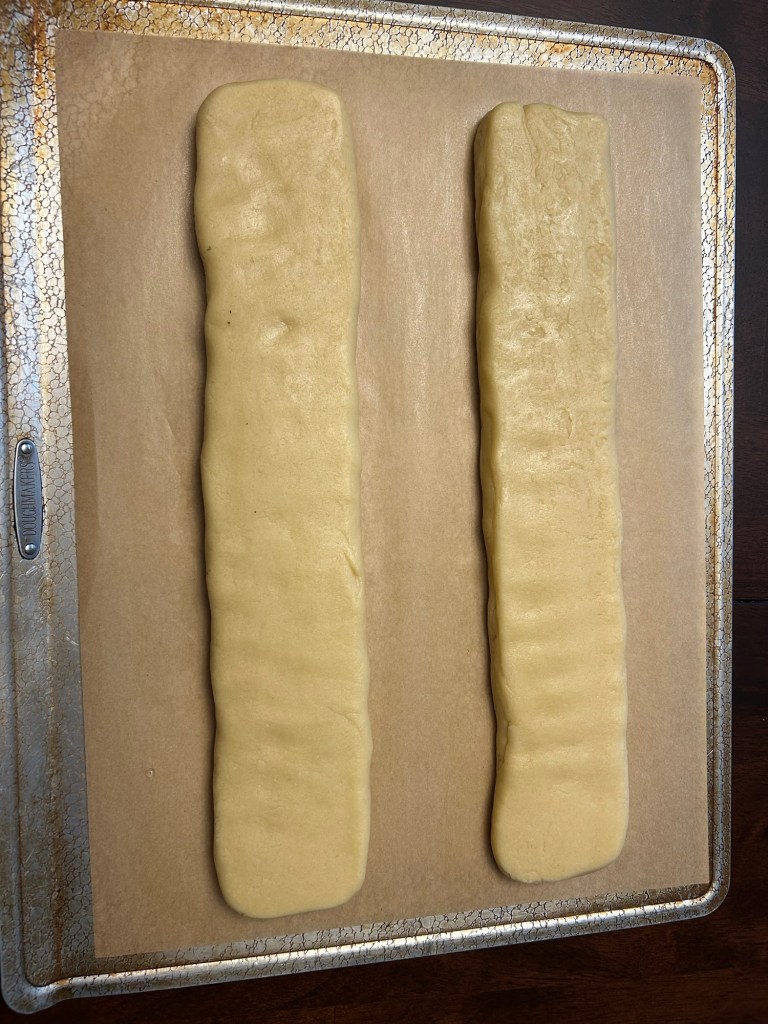
- Divide dough into two equal pieces. Form each piece into a log slightly less than the length of your cookie sheet. Place the logs side-by-side on the prepared pan. Using a rolling pin, gently roll dough to 1/2-inch thickness.
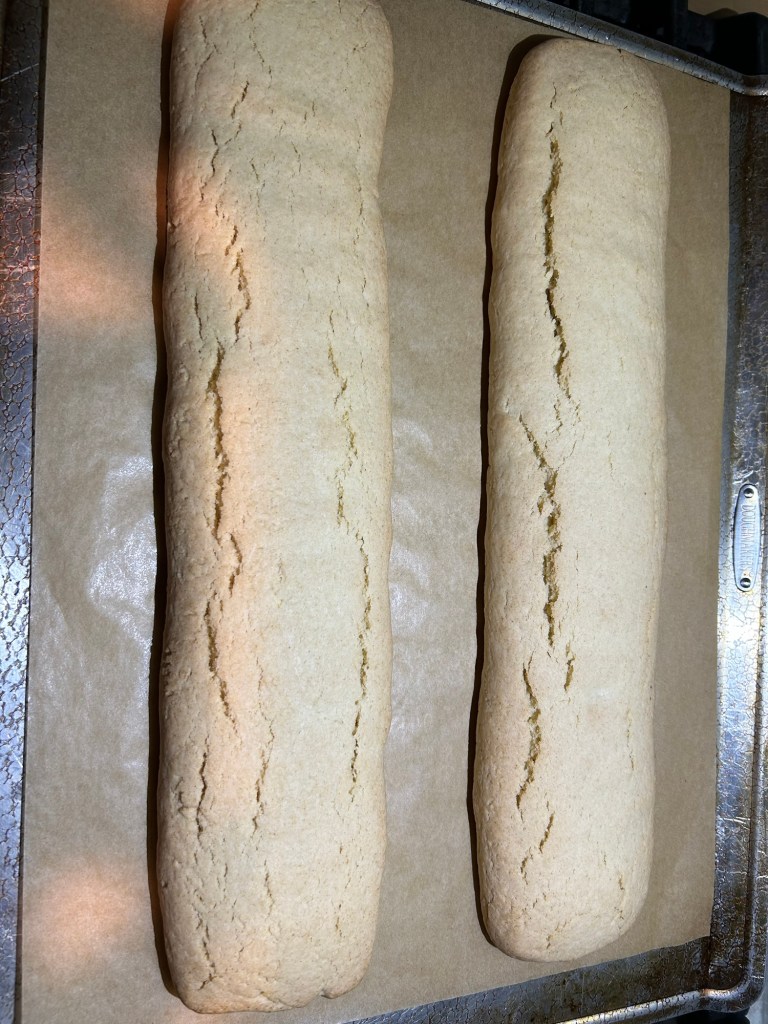
- Bake in preheated oven until golden brown, 25 to 30 minutes. Remove from the oven and cool for 10-15 minutes.
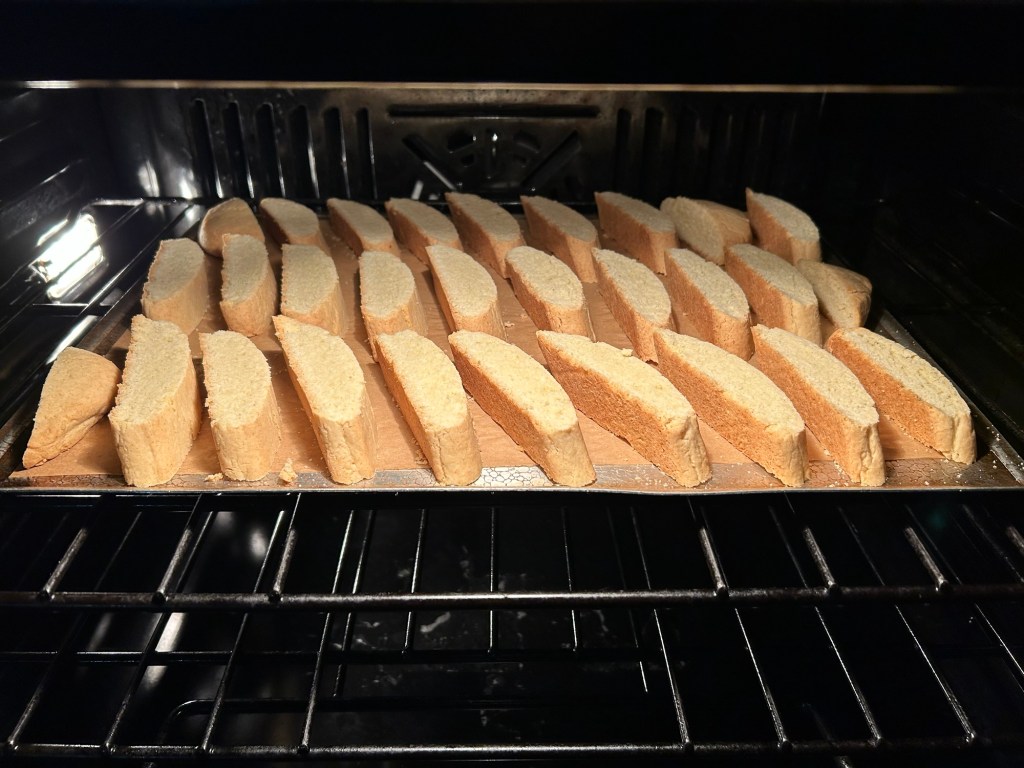
- Using a good serrated knife, gently slice each log crosswise into 1/2” slices. Place slices cut-sides up back on the cookie sheet. Bake until lightly toasted and golden brown, 5-6 minutes per side.
- Cool completely on a wire rack. Store in an airtight container.