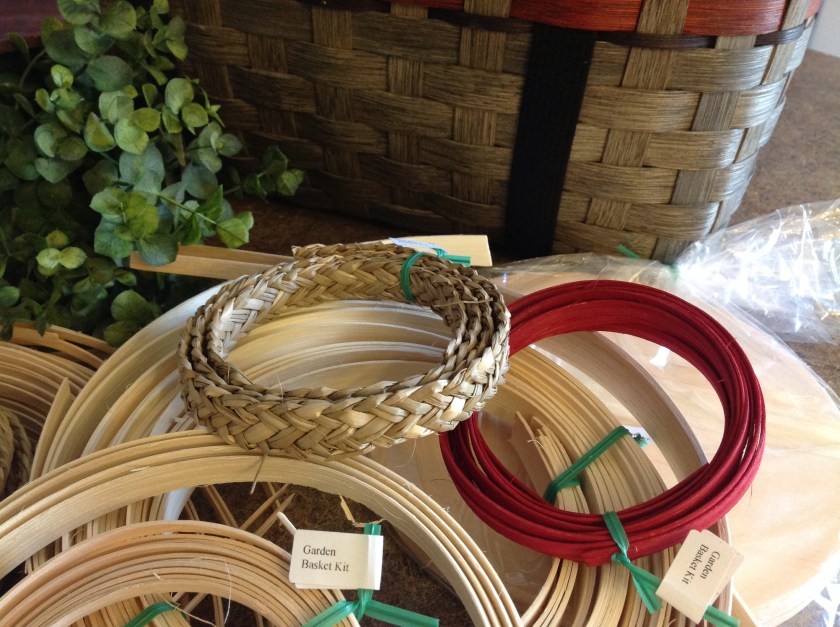
 On a recent trip to Kentucky, I purchased an adorable basket kit. I must say, I’m not an experienced basket weaver, in fact, I am constantly seeking out classes so that I might gain more knowledge and skill pertaining to this craft. Unfortunately, I have been unsuccessful finding a face-to-face class in my area so I usually review an abundance of internet videos to try to learn more about basket construction.
When I entered the darling, rustic shop, I was mesmerized by the abundance of wood strips, twine and basket making supplies carefully organized and perfectly displayed from floor to ceiling. I must have spent 45 minutes just looking over everything the owner had displayed. I was taking it all in when a friendly women asked if I needed assistance. I explained to the owner that I had very little experience and would like to complete a simple project. She suggested a garden basket that was hanging from the ceiling along with several other beautiful creations. With some hesitation, I purchased the suggested kit.
When I returned home and opened the package to review the project. I was pleasantly surprised by the simplistic instructions and the quality materials provided by the owner of this darling shop. Within the kit, each small bundle of wooden strips and twine was carefully measured and labeled to help me navigate through the supplies.

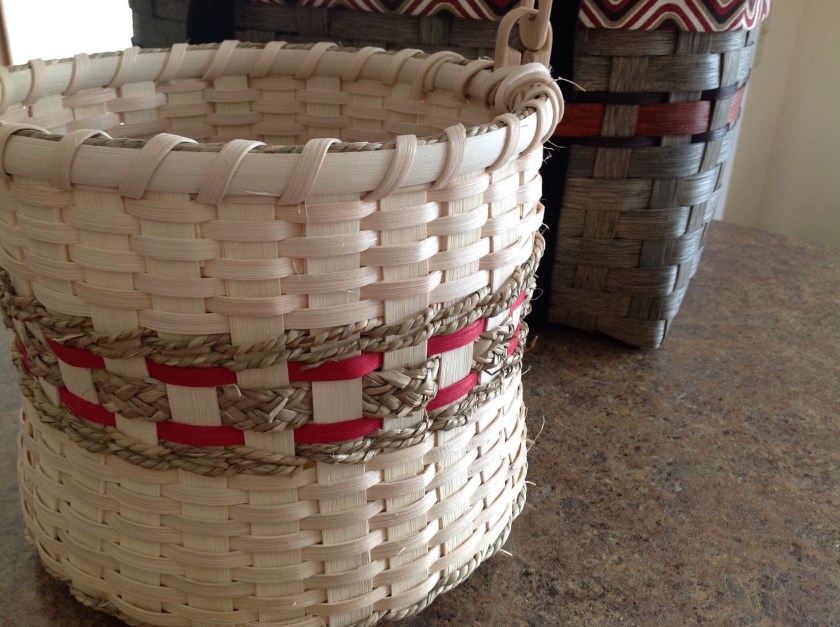
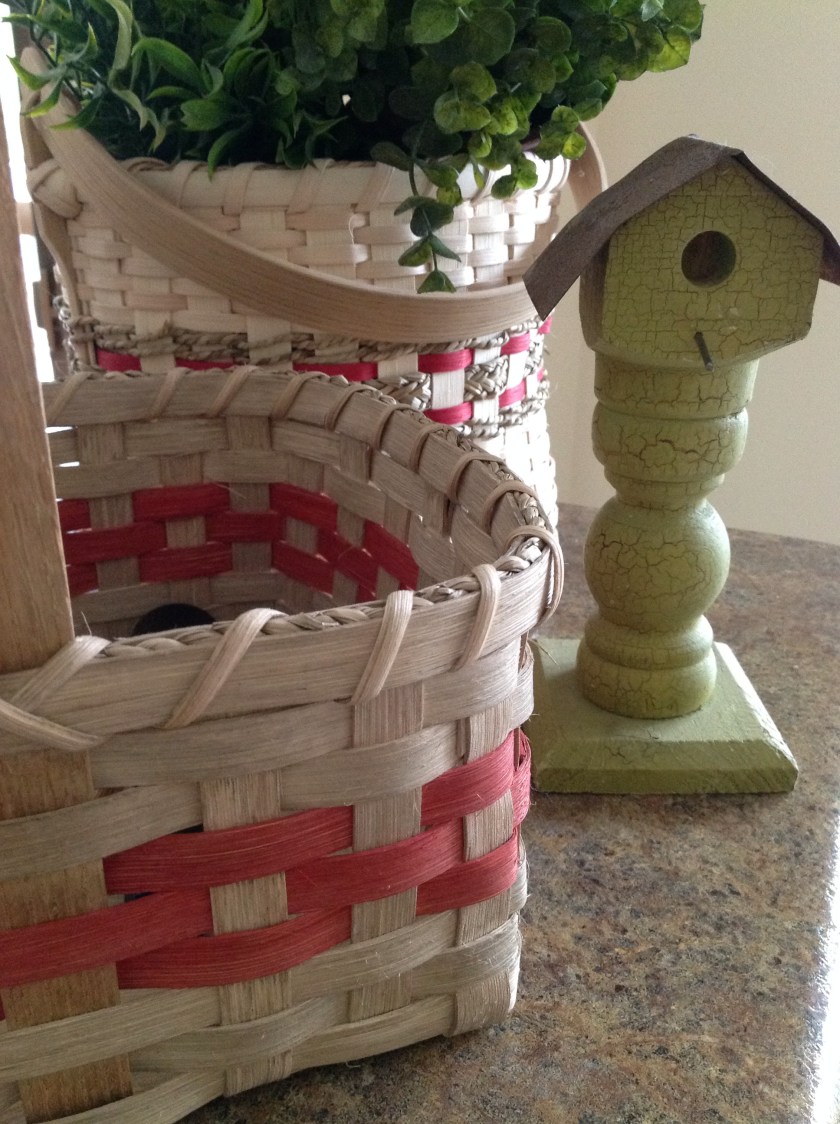
It took me some time to come up with the courage to begin this project, but once I started, I kept at it until the basket was complete. I am thrilled with the end product. While it’s not perfect, (It’s a little wonky and maybe a bit slimmer than was intended) it’s one of my first basket weaving projects and I’m quite happy with my beginner skills.

I tried to take a few pictures as I progressed through the instructions. Those of you that might be basket makers can chime in to let me know if I’m doing something wrong…
I cut a circle of craft paper tracing the wood basket bottom disk and folding the paper to divide it into four equal parts.

 I then marked the wooden bottom.

I soaked the wooden strips to make them pliable.
I evenly place the spokes around the disk.

Time to add some twine.

As per my instructions, I begin weaving up the side of the basket.


I soaked the colored strips for a short period as they have a tendency to bleed onto the natural wood.
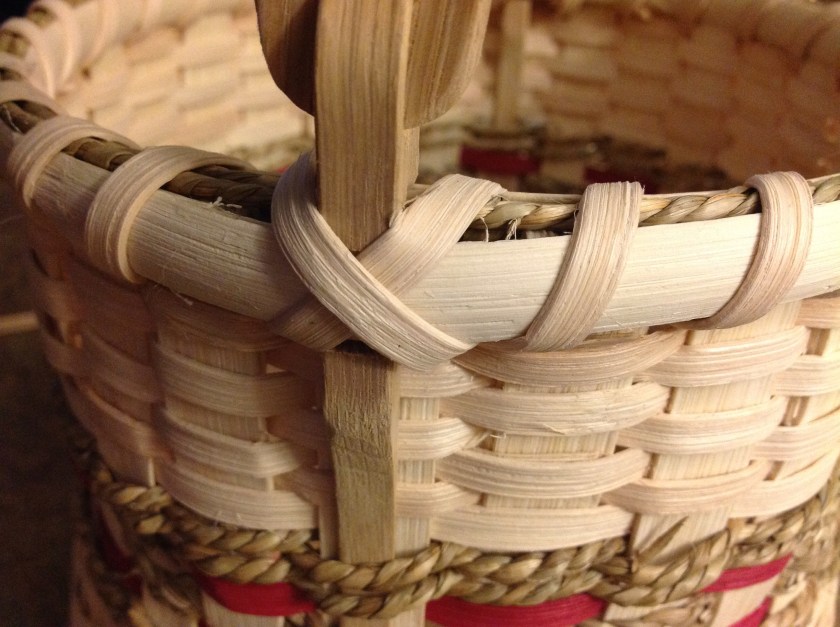
Trimming and bending the rim…

Tightening things up and making a space for the handle…

Setting in the hinged handle…

Finishing up…


Not perfect, but it will do just fine!


