Well, it’s been one year since I starting this blogging adventure and I am just thrilled to celebrate my first anniversary with Simply Made Kitchen and Crafts.
What I enjoy most about the WordPress experience is certainly not what I expected it would be. You see, I never realized how many wonderful people I would “meet” through the blog.
There are certain blogger posts that I so enjoy reading. Two of which are — Dani’s blog at teddyandtottie.com and Shanna’s blog, Curls and Carrots, at shannaward.com.
Shanna, mother of two adorable children, is always whipping up a batch of something wonderful (and super healthy). She is a talented writer and is incredibly supportive to fellow bloggers. I am grateful that I found her through the daily newsfeed.
I simply adore Dani’s blog (teddyandtottie.com) about family, crocheting, gardening, pets and everyday life in Australia. She, too, is a talented writer and her words seem to jump from the page to take me clear across the globe into her everyday world. Thank you both, Shanna and Dani, for your kindness and support.
And now for today’s recipe…
Last week, M asked if I had any canned goods that we might be able to donate to the food pantry. (There had been a sale on Green Giant vegetables the previous week and I purchased 12 cans for this purpose.) As I looked through the kitchen pantry for the supply of cans, I noticed that I had an abundance of pumpkin purée as well. M loves anything made with pumpkin so I searched through my folder of treasured recipes and magazine cut outs for recipes that have been given to me over the years. I quickly found the favorite that I had in mind…
When I first graduated from college, I worked in the garment/fashion industry in the city of Chicago. I was employed by a very talented clothing designer and I very much enjoyed the task of ordering fabric and notions, communicating with retail customers, following production and making sure that finished ordered were shipped to satisfied customers. We were a small staff of fifty or so and it often felt like we were a family.
One of the young pattern makers brought in a batch of these bars during the holidays some twenty or so years ago. After one bite, I asked for the recipe. She stood at her pattern-making table and wrote out (from memory) the recipe on an index card. I still have the very same recipe card, beautifully written in perfectly formed letters. Every time I make this recipe, I think of my early years, fresh out of college…boy, how time flies!
Happy New Year, Everyone!
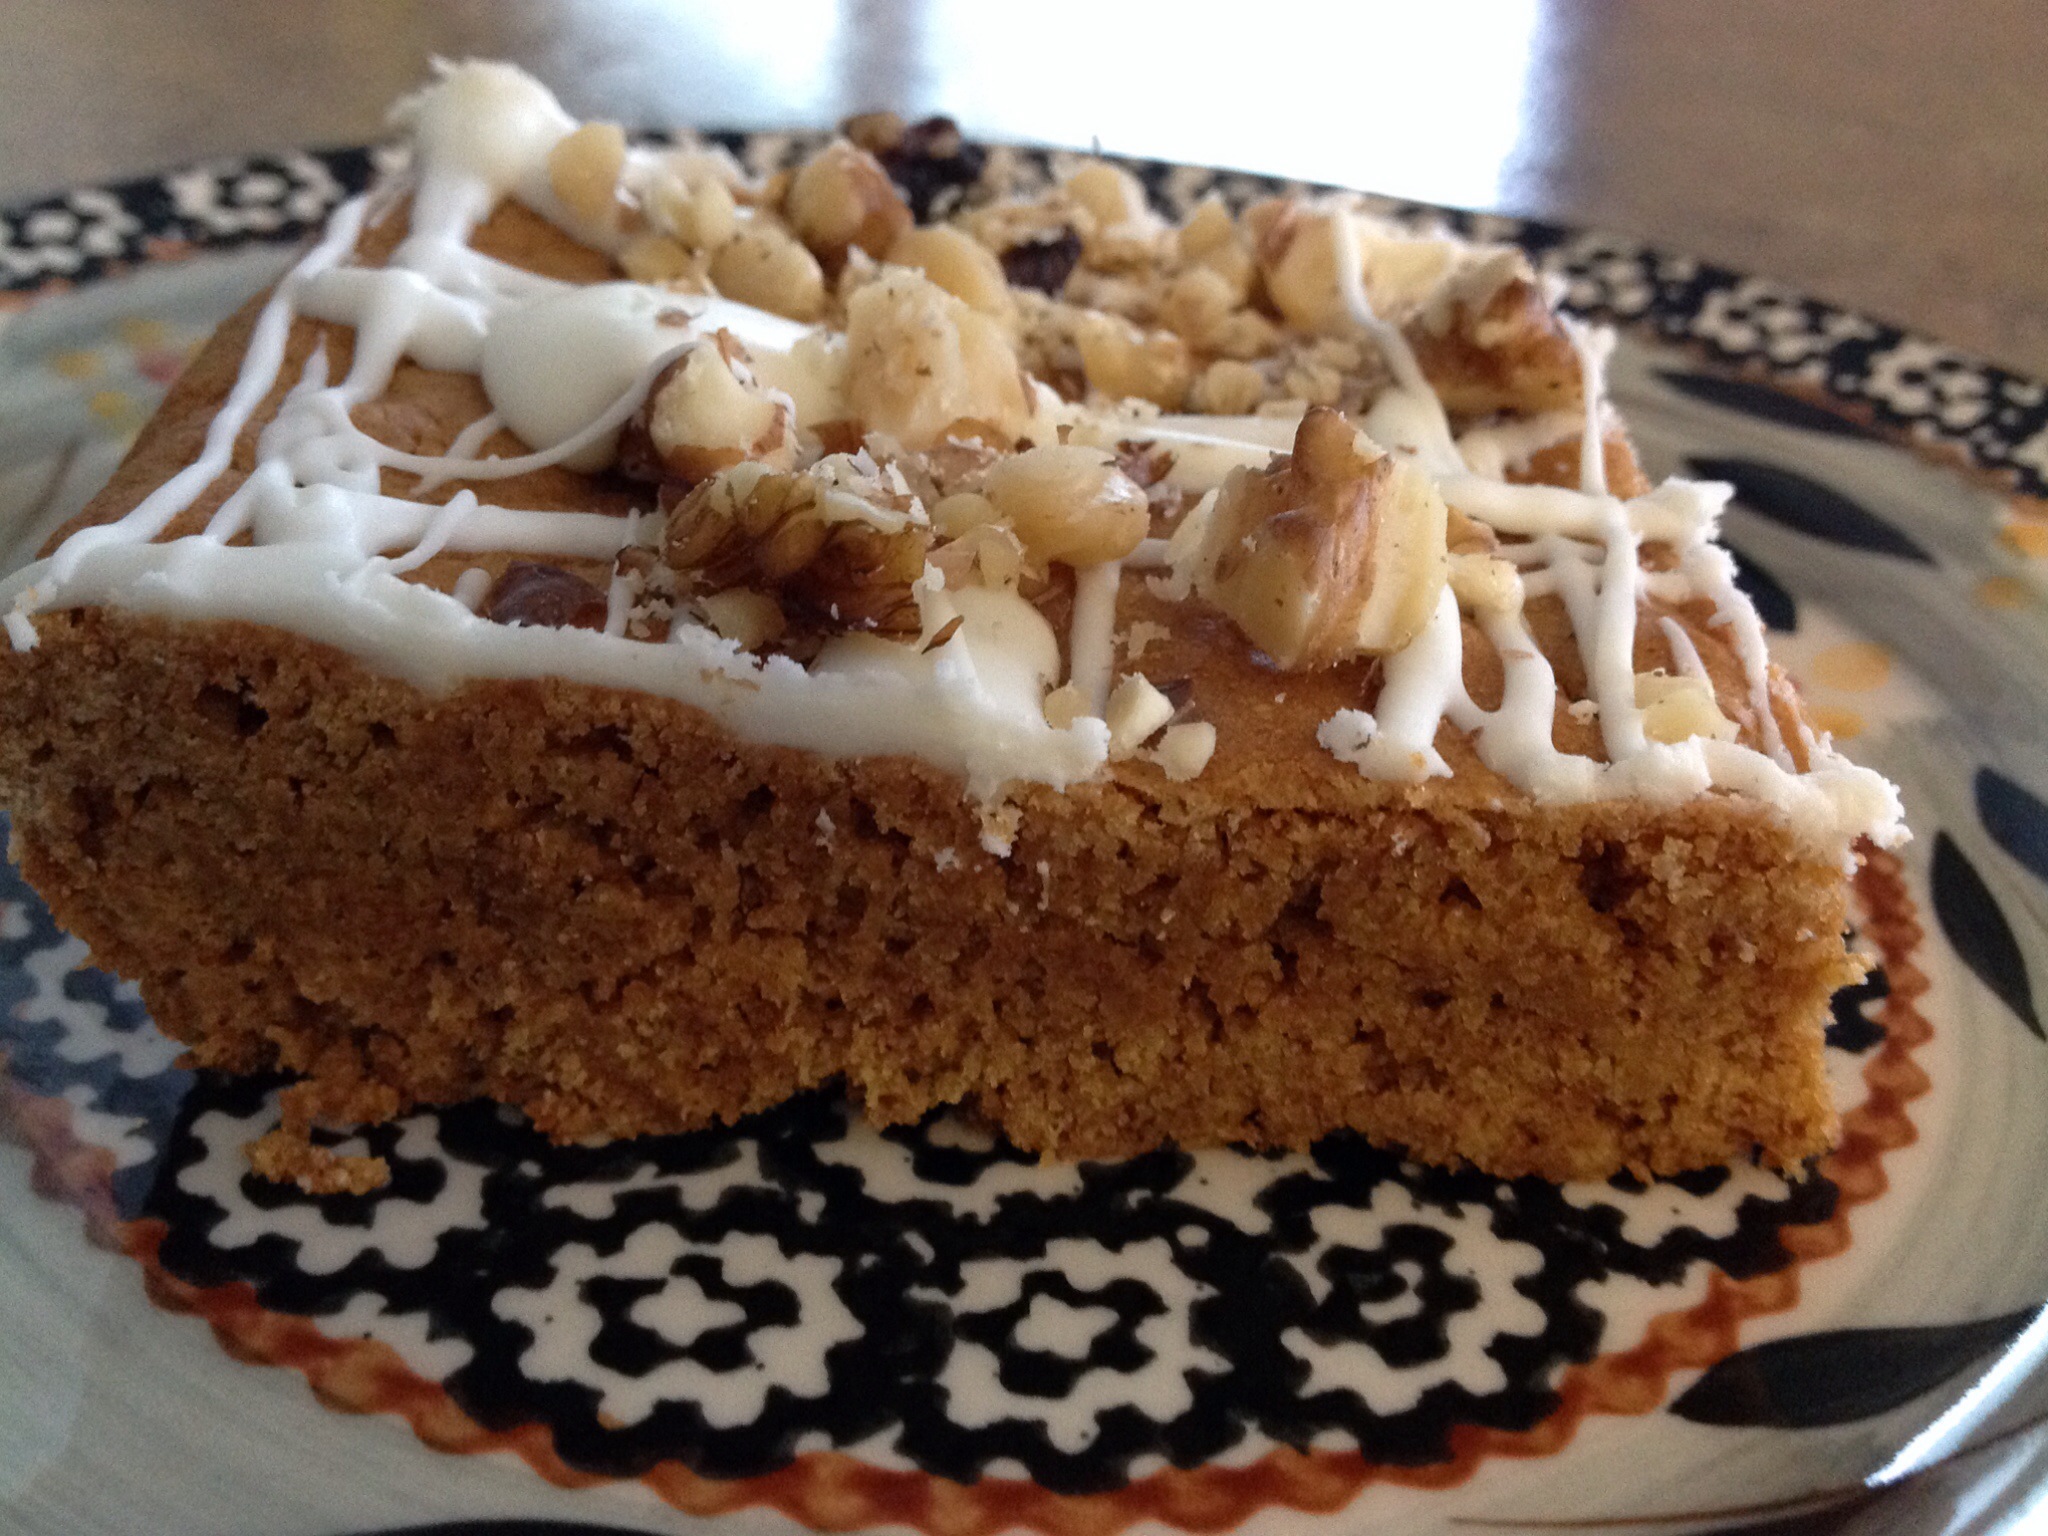
Perfect Pumpkin Cookie Bars
3 eggs
1 1/2 cups sugar
1 cup canola oil
1 (29 ounce) can pumpkin puree
2 cups flour
1 teaspoons baking powder
1/2 teaspoon baking soda
2 teaspoons pumpkin pie spice
1 teaspoon salt
1 (3 ounce) package cream cheese,
softened
1/2 cup butter, softened
1 teaspoon vanilla extract
2 cups sifted confectioners’ sugar
1/2 cup walnuts, chopped
Preheat oven to 350 degrees. In a medium bowl, mix the eggs, sugar, oil, and pumpkin with an electric mixer until light and fluffy. Sift together the flour, baking powder, baking soda, pumpkin pie spice and salt. Stir into the pumpkin mixture until thoroughly combined. Spread the batter evenly into a lightly greased 10×15 inch jellyroll pan. Bake for 25 to 30 minutes in preheated oven. Cool before frosting.
To make the frosting, cream together the cream cheese and butter. Stir in vanilla. Add confectioners’ sugar a little at a time, beating until mixture is smooth. Drizzle or frost completely spreading evenly on top of the cooled bars. Top with chopped walnuts. Cut into squares.