Posted in Baked goods, Baking, Dinner, Food

Colorful Stuffed Peppers

While gathering produce during my weekly shopping trip, I noticed an abundance of beautifully colored bell peppers piled high in the sale bin as I entered the store. I realized that it had been a very long time since I had made stuffed peppers so I went through a mental checklist of all of the ingredients I would need to make the dish for our Saturday night meal. When picking peppers for this recipe, I was careful to select large, wide, flat-bottomed peppers that would sit nicely in my baking dish. As luck would have it, ground beef was also on sale, so I purchased several pounds of the 93/7% mixture. I love to stock up on versatile meat options, bring them home and divide them into meal-sized portions for the freezer. This allows me to have plenty on-hand, when needed. Here’s how I divided things up:

2 lbs kept for the stuffed peppers

2 lbs were made into hearty hamburger patties, placed in freezer safe container

2 lbs were mixed with ingredients to make 2 meatloaf bricks and wrapped in foil

2 lbs were used to make simple chili without beans, packed into freezer safe bags

(I usually add beans to the chili meat once I reheat later.)

Carefully labeling everything, I used a permanent marker to date and identify the items enclosed. I also bought several pounds of fresh, boneless, skinless chicken for other future meals. I divided each large family pack into 4 freezer bags with 4 chicken breasts in each.

I always feel so accomplished when I have a productive day assembling meals that can be cooked with very little effort during the busy week. These delicious peppers were gobbled up quickly with a few left over for weekday lunches.

I’m ready to relax and enjoy the rest of the weekend!
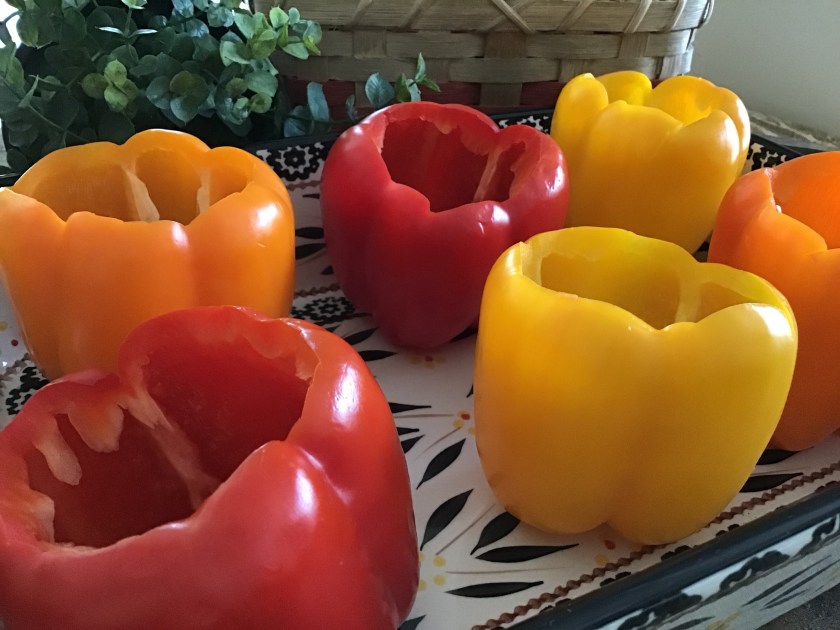
Colorful Stuffed Peppers

6-8 large bell peppers

2 lbs ground beef

1 tsp Italian seasoning

1 teaspoon onion powder

1 teaspoon garlic powder

1 (28 ounce) can diced tomatoes, undrained

1 (5.6 ounce) package Knorr seasoned rice and pasta blend (chicken or beef flavor)

1 1/2 cups of water

1/2 cup sharp cheddar cheese

Preheat oven to 350 degrees. Remove and discard the tops, seeds, and membranes of the bell peppers; set aside.

In a large skillet over medium heat, cook the beef until evenly browned; drain.  Mix in Italian seasoning, onion powder, garlic powder, diced tomatoes (with juice), seasoned rice package and 1 1/2 cups of water.  Bring to a boil; cover and reduce heat to a simmer for 20-25 minutes to cook rice.  Remove lid, turn off heat and let cool slightly.  Spoon equal amounts of the mixture into each hollowed pepper.

Fill a 13X9” baking dish with about 2”of water.  Arrange peppers in a baking dish with the hollowed sides facing upward.  Tightly cover dish with aluminum foil.  Bake 35-40 minutes in the preheated oven, or until the peppers are slightly tender. Remove from oven, uncover and sprinkle each pepper with sharp cheddar cheese before serving.

Posted in Baked goods, breakfast, Gardening, Uncategorized

Honey Granola Clusters

  
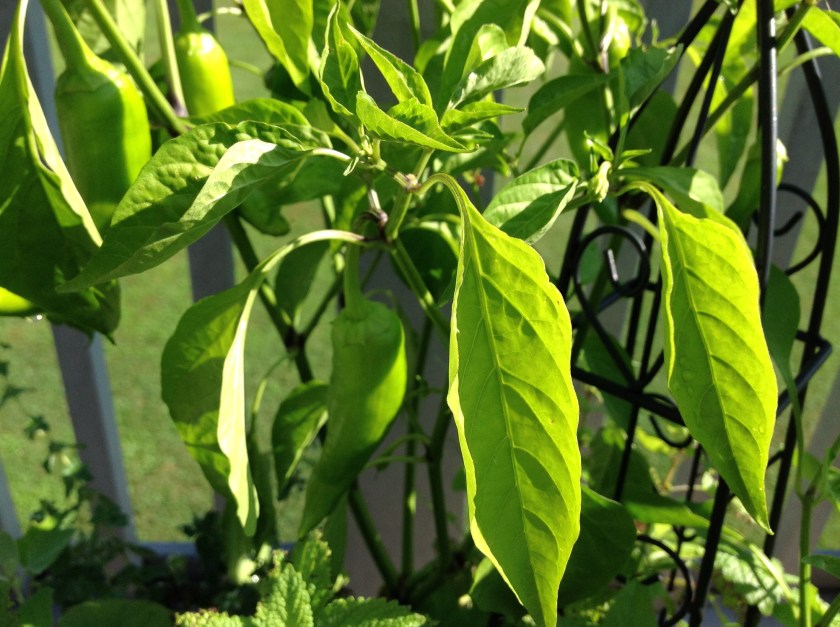
As the summer sun ripens a delicious array of fruits and vegetables, I make sure that nature’s bounty takes center stage at the kitchen table. Living in the Midwest, we have so few months during the course of the year where we can have locally grown foods literally sitting at our doorstep. Backyards, gardens and farms throughout the county have the opportunity to produce foods situated in patio pots, raised beds, trellising on garden fences and planted in rows along county roads.

As I was mowing the lawn last week, I spied the beginning of a few delicious looking pears that I can’t wait to harvest when they are ready. My grapes are coming along nicely. I have gathered and prepared several generous heads of romaine lettuce, lots of sweet peppers, and fresh herbs. Nothing compares to the flavors of fresh picked fruits and vegetables that accompany family meals carefully prepared from scratch.


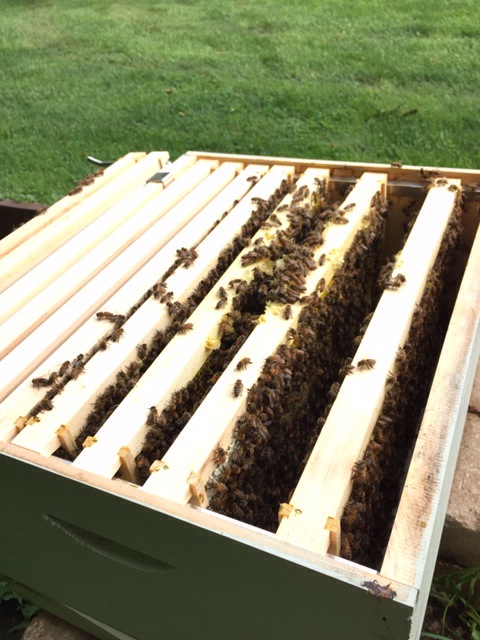
We’ve also started raising bees as a hobby and as a source for our own golden delicious honey. Planting patio pots with wild flower seeds and leaving our land as natural as possible will provide them a source of food as well.  


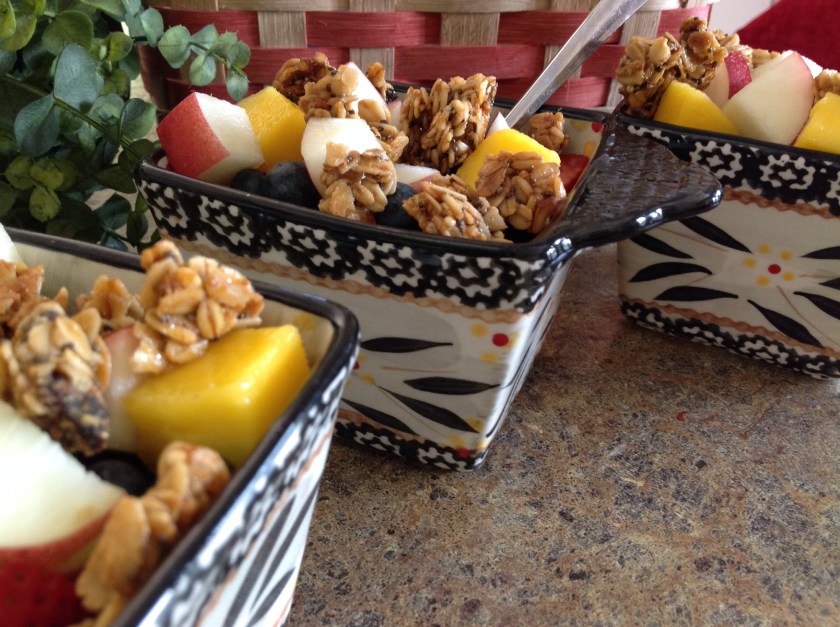
This morning I made a batch of granola clusters to accompany many of the fruits that I grew or purchased from a local farm. A dollop or two of plain yogurt finishes off the dish. (The peaches aren’t quite in season yet so I suppose, there are a few things in the dish that I am hopelessly awaiting as the season continues to bring us an abundance of delicious and nutritious delicacies.)

Here’s to bright warm days and unpredictable summer rains… This is definitely one of my most favorite times of the year.
Honey Granola Clusters


1/2 cup canola oil 

1/2 cup honey

1/3 cup light brown sugar

1 tbsp. vanilla extract

1/2 tsp. salt

1/2 teaspoon cinnamon

5 cups old fashioned oats

1 cup chopped nuts (walnuts, hazelnuts, pecans, whatever you prefer)

1 cup dried fruit (raisins, dried cranberries, dried apples, whatever you prefer)
Preheat oven to 325 degrees. Grease or line a 11 x 17″ baking sheet with parchment paper.

In a large bowl, whisk oil, honey, brown sugar, vanilla, salt and cinnamon until sugar is dissolved and oil is well incorporated. Add in the oats, nuts and dried fruit; mixing well.

Pour the oat mixture onto the baking sheet and spread it out into an even layer, firmly packing the oat mixture into the baking sheet.

Bake for 30 minutes, rotating the pan half way through cooking. Remove from oven and let the granola cool at room temperature for at least one hour.

Use a small spoon to scoop up the granola off of the baking sheet using the spoon to break the granola into clusters. Store at room temperature in an airtight container.


Make these ahead of time; cover them to store in the fridge for a few hours.


Posted in appetizers/snacks, Food, Home Food Preservation, Kids in the Kitchen, lunch box, Uncategorized

Strawberry Fruit Leather

  
When strawberries are in season, I usually try to make several batches of fruit leather for my family. Rolling strawberry fruit leather on wax paper strips makes for a delicious, nutritious, summer treat.  

On my daily drive home from work, I pass a local strawberry farm so I usually stop by to pick up a few buckets of fresh berries. There are lots of recipes for fruit leather, many encourage the addition of sugar and lemon juice. For me, I’d rather find the sweetest, freshest berries possible, pulse them in a blender, and pour them into trays to dehydrate. Simple and sweet, a pure delight. Here’s what I do…

Start with sweet fresh berries… Mine are freshly picked

  
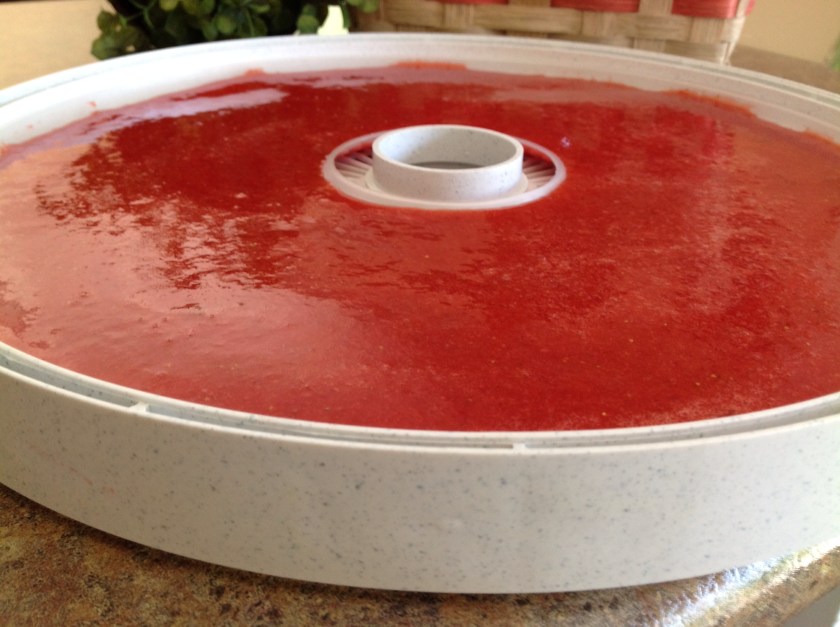
Puree 6 cups of fruit and evenly pour onto fruit leather dehydrator sheets.

   
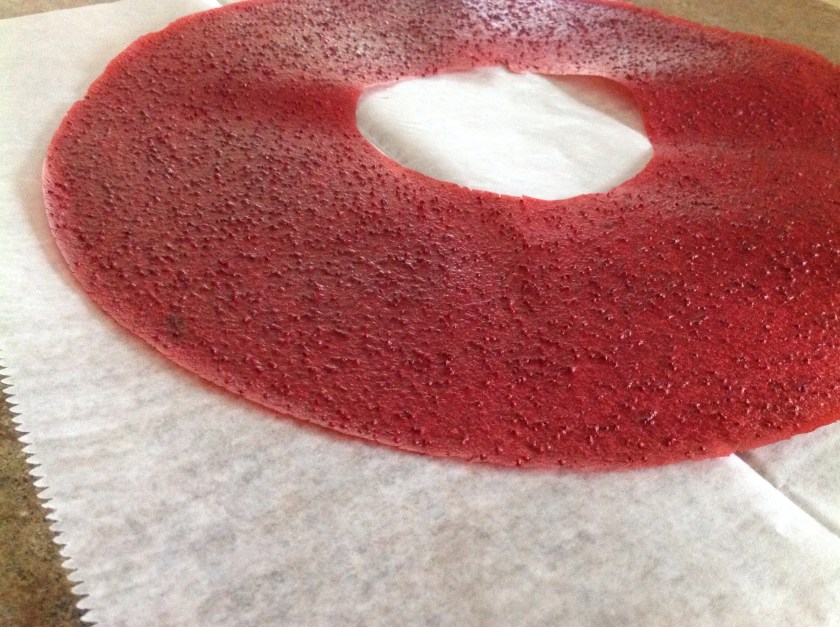
 Dry at 135 degrees for 4-8 hours. Using your finger, press to make a small indentation in the fruit leather. It should not be wet or sticky. It should be tacky. Check in a few areas around the fruit leather disk. Peel the disk off of the silicone sheet while still warm.  Lay on a sheet of waxed paper.


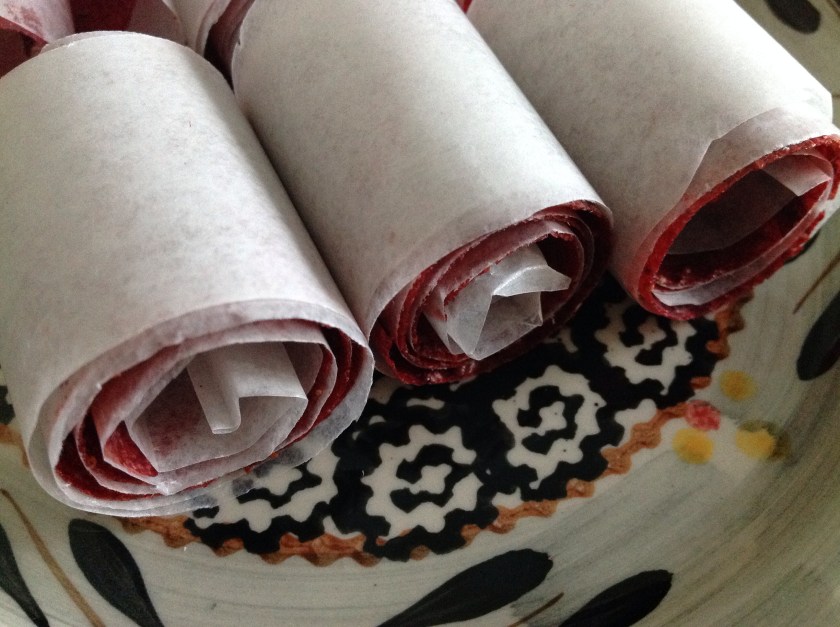
Using a scissors, cut into strips and roll up tightly. Store in a lidded container in a cool, dry place.


Make plenty because they disappear fast! 

————————–

While I used 6 cups of strawberries, here are a few adapted recipes recommended by Nesco Dehydrators:
3 cups applesauce
3 cups strawberries

Or, try mixing:

2 cups applesauce
2 cups bananas
In a blender, puree all ingredients. Pour onto Solid Fruit Roll Sheets.

Place on dehydrator trays. Dry at 135º F for 4 to 8 hours, or until leathery. 

Remove from sheets while still warm. Let cool, slice and wrap.

Roll and store in dark, dry, cool place or in freezer.

  
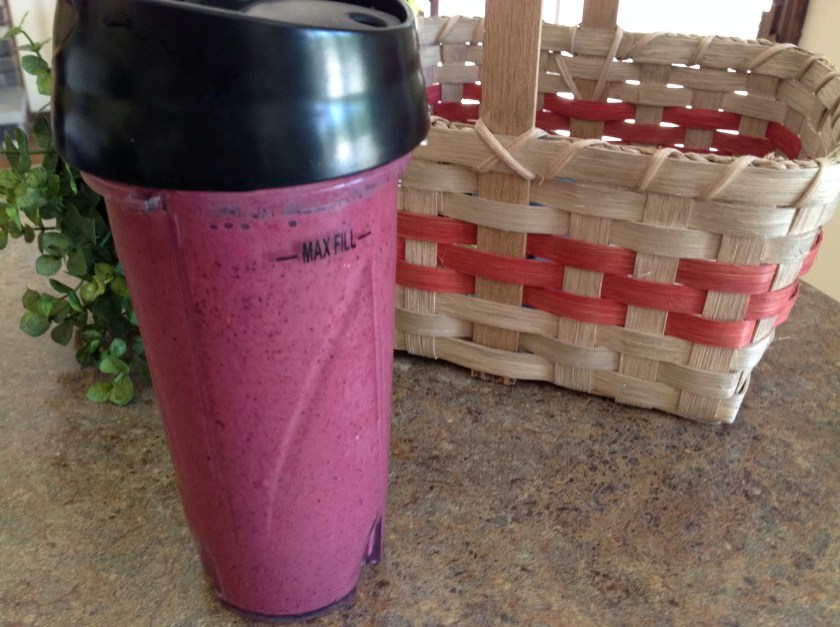
Of course, It’s always fun to make a very berry smoothly with the leftover purée.