Posted in Crafts, Crochet, Gifts, Vacation

Dollar Tree Crochet Craft Kits

When on vacation or traveling, I like to have a few portable crafts on hand. An unexpected flight delay, a rainy afternoon, or a relaxing day at the pool are all part of the trip. Having a handy craft at the ready can be quite enjoyable. I look for projects that are compact and simplistic, without lots of parts and pieces.

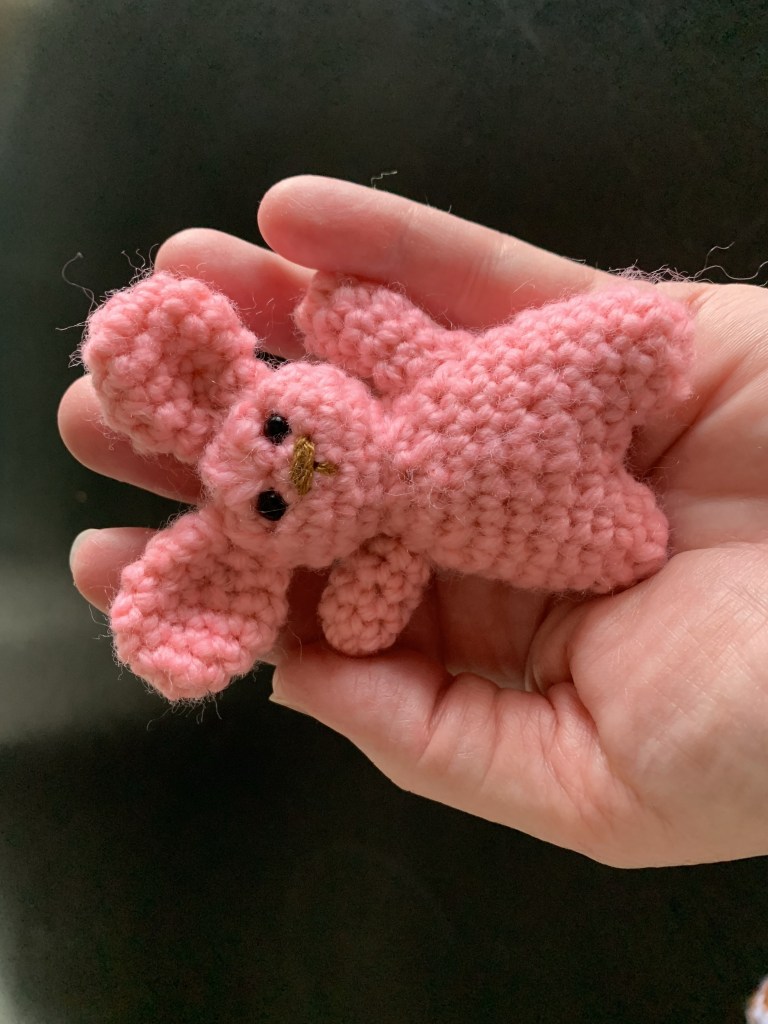
Visiting the local Dollar Tree, I found a few Amigurumi kits that I would bring on my Disney Vacation Club trip. I usually take a day or two to just relax and stay away from the hustle and bustle of the parks and shops. These kits are $1.25, but remember, you get what you pay for… The pattern is VERY difficult to decider and I ran out of yarn for one of the petite pets (dog) and had to improvise with yarn I had left over for another part of the project. You’ll notice I have used gray yarn on the left dog ear because I ran out of brown.
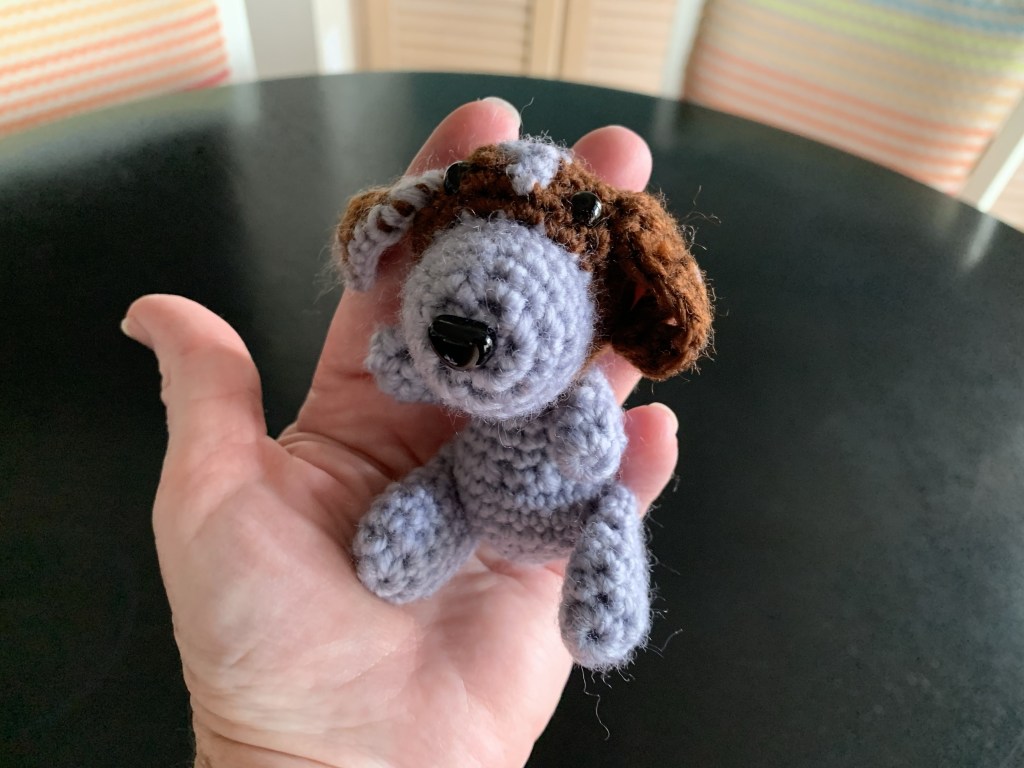
Gray yarn used to trim ear

Before leaving for vacation, I enlarged the pattern in my copier so I have a legible pattern to follow. (The pattern that accompanies the kit is very small and difficult to follow.)

Dog
Enlarged copy of pattern
Bunny
Teddy Bear
Dollar Tree Kits

I also found a YouTube video for compact Easter Crochet Flower that hold Cadbury Eggs for a cute co-worker gift before the holiday. I used Peaches and Creme yarn from Walmart ($1.99 at Florida Walmart) to complete the flowers. These cakes are compact and easy to pack. I also travel with a mesh craft bag that fits in my carry on. Inside I have crochet hooks, stitch markers, TSA approved scissors, tapestry needles, etc.
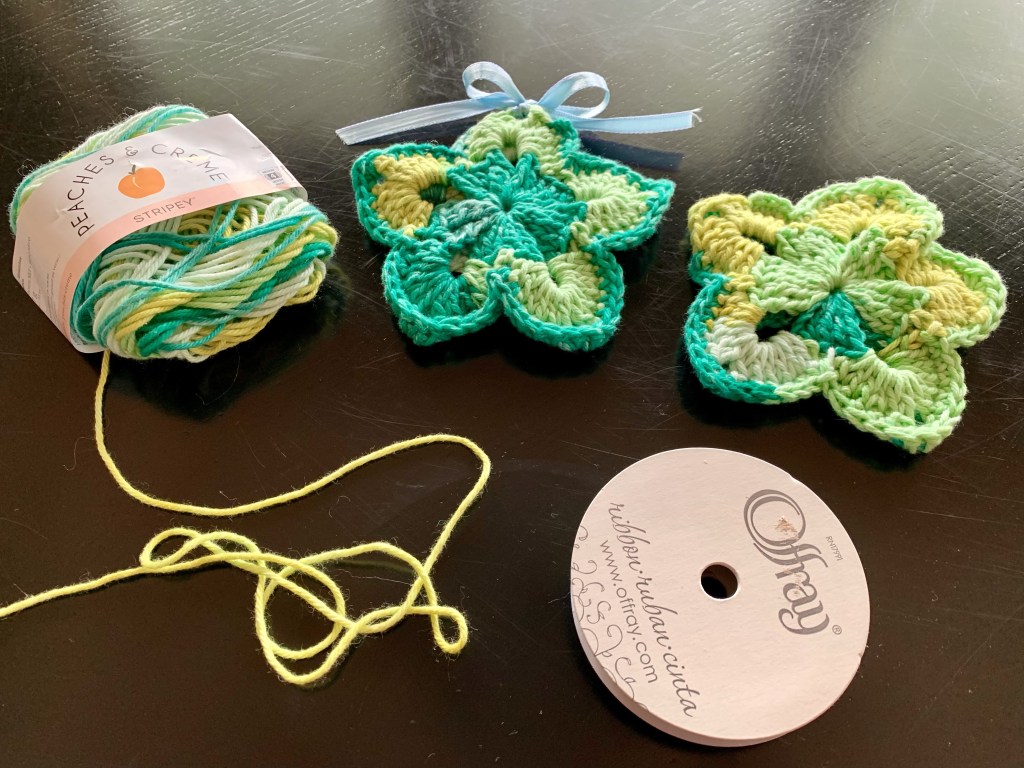
Easter Egg Flower
Simplistic portable supplies

What crafts do you like to bring along when you travel?

Posted in Crafts, Crochet, Food

Granny Square Sweater

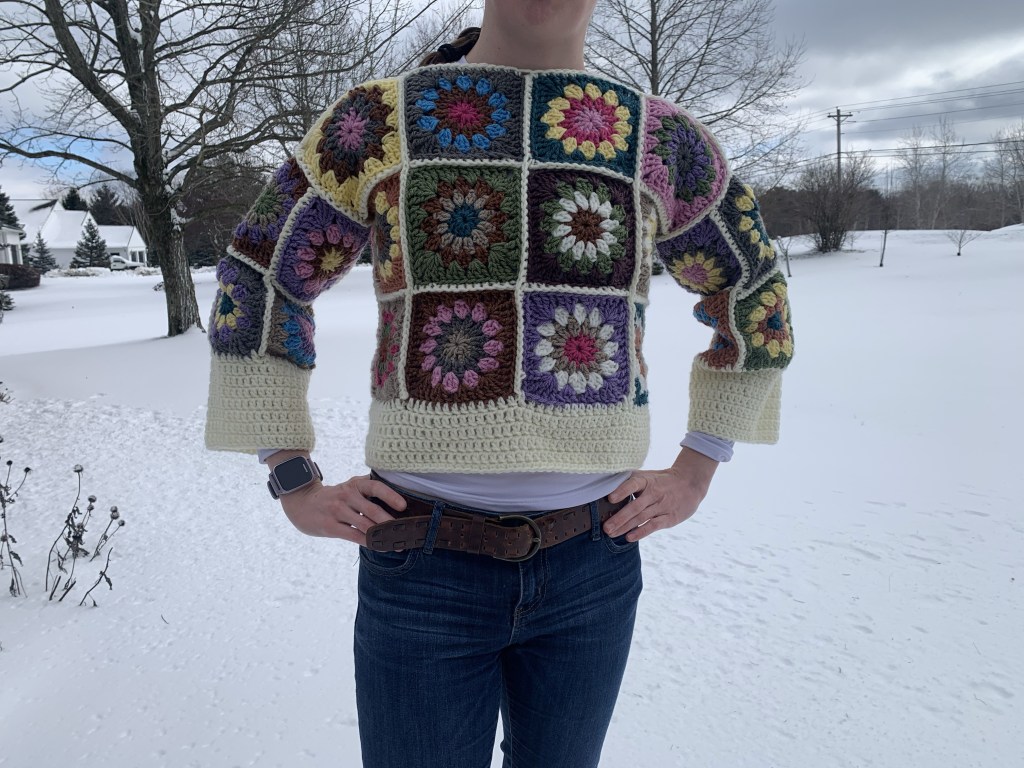
Baby it’s cold outside! The midwest winter has returned to Indiana and it’s the perfect time to take on a crochet project. I loved making this boxy sweater as this granny square pattern uses up the many scrap balls of yarn I have hanging around in my yarn baskets. While I didn’t rely on a specific pattern for this sweater, I took some advice from YouTube crafters and used my daughter’s general body measurements to gauge the size for this garment. She is an extra small size but wanted a chunky, loose-fitting cropped style that she could wear over a long-sleeved t-shirt or turtle neck. Here are the two resources I used for general guidance.

Sasser House YouTube:

https://m.youtube.com/watch?v=5Yo2Aogz-qQ

Adore Crea YouTube:

https://adorecrea.com/how-to-crochet-a-daisy-granny-square/

I am new to crochet so I enjoyed the ease of making simple, colorful squares and joining them together to make this youthful sweater…

Posted in Crafts, Crochet, holiday, holidays

Handmade Wooden Buttons

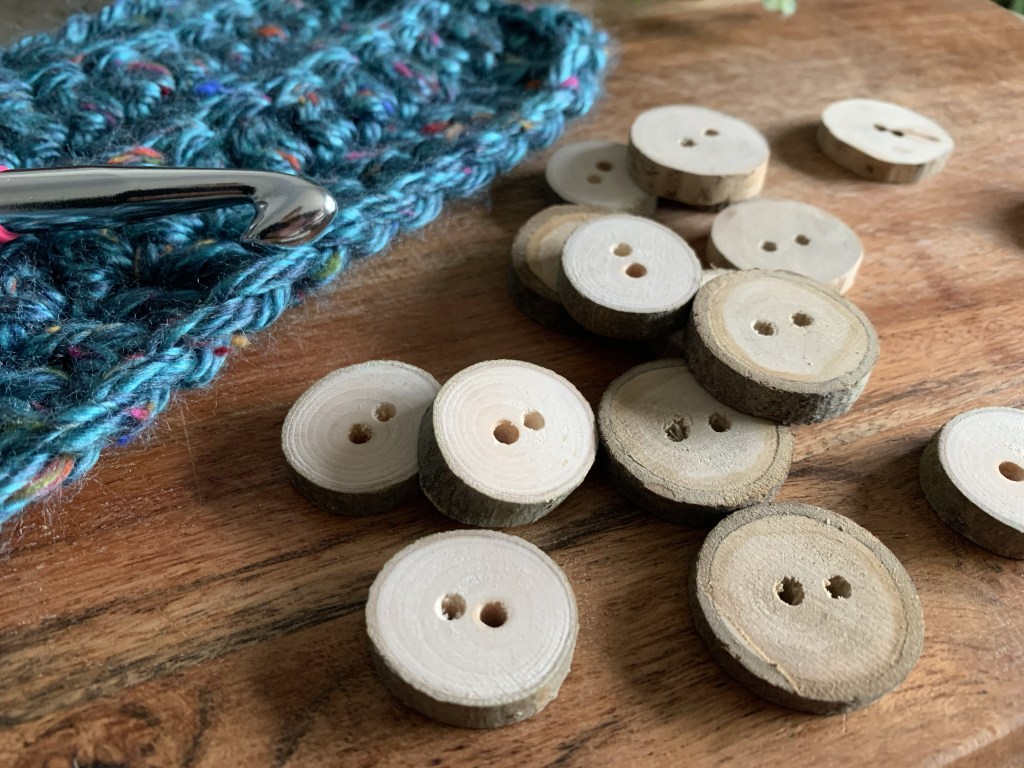
I enjoy making handmade gifts so I’ve been crocheting items for the holiday season. Recently, I visited a local craft store to find buttons that would adorn some of my crocheted cowls and book covers. I was thoroughly disappointed with the selection and voiced my concern to my hubby. He quickly gathered up some fallen branches from our forested property and made me these fabulous buttons. He used a vice to hold the branch (circumference about 1”) and a hand saw to carefully cut the 1/4” buttons. Then he drilled holes using a 1/8 bradpoint drill bit to secure the buttons with yarn. (He often uses a radial arm saw to quickly made several buttons.). He then sanded the face and edges of each button. I will lightly finish these with mineral oil and our beeswax. I am in love with this rustic look! Can’t wait to attach them to my latest creations…

Posted in Crafts

Making a Market Basket

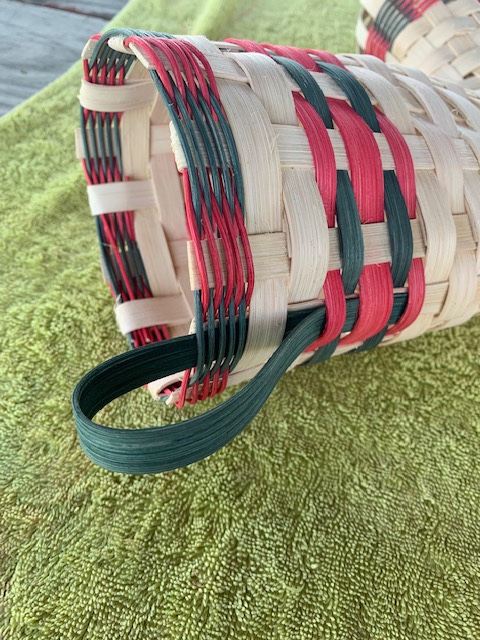
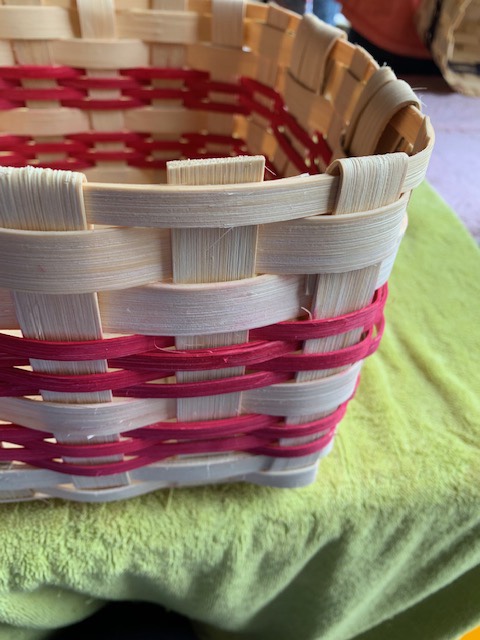
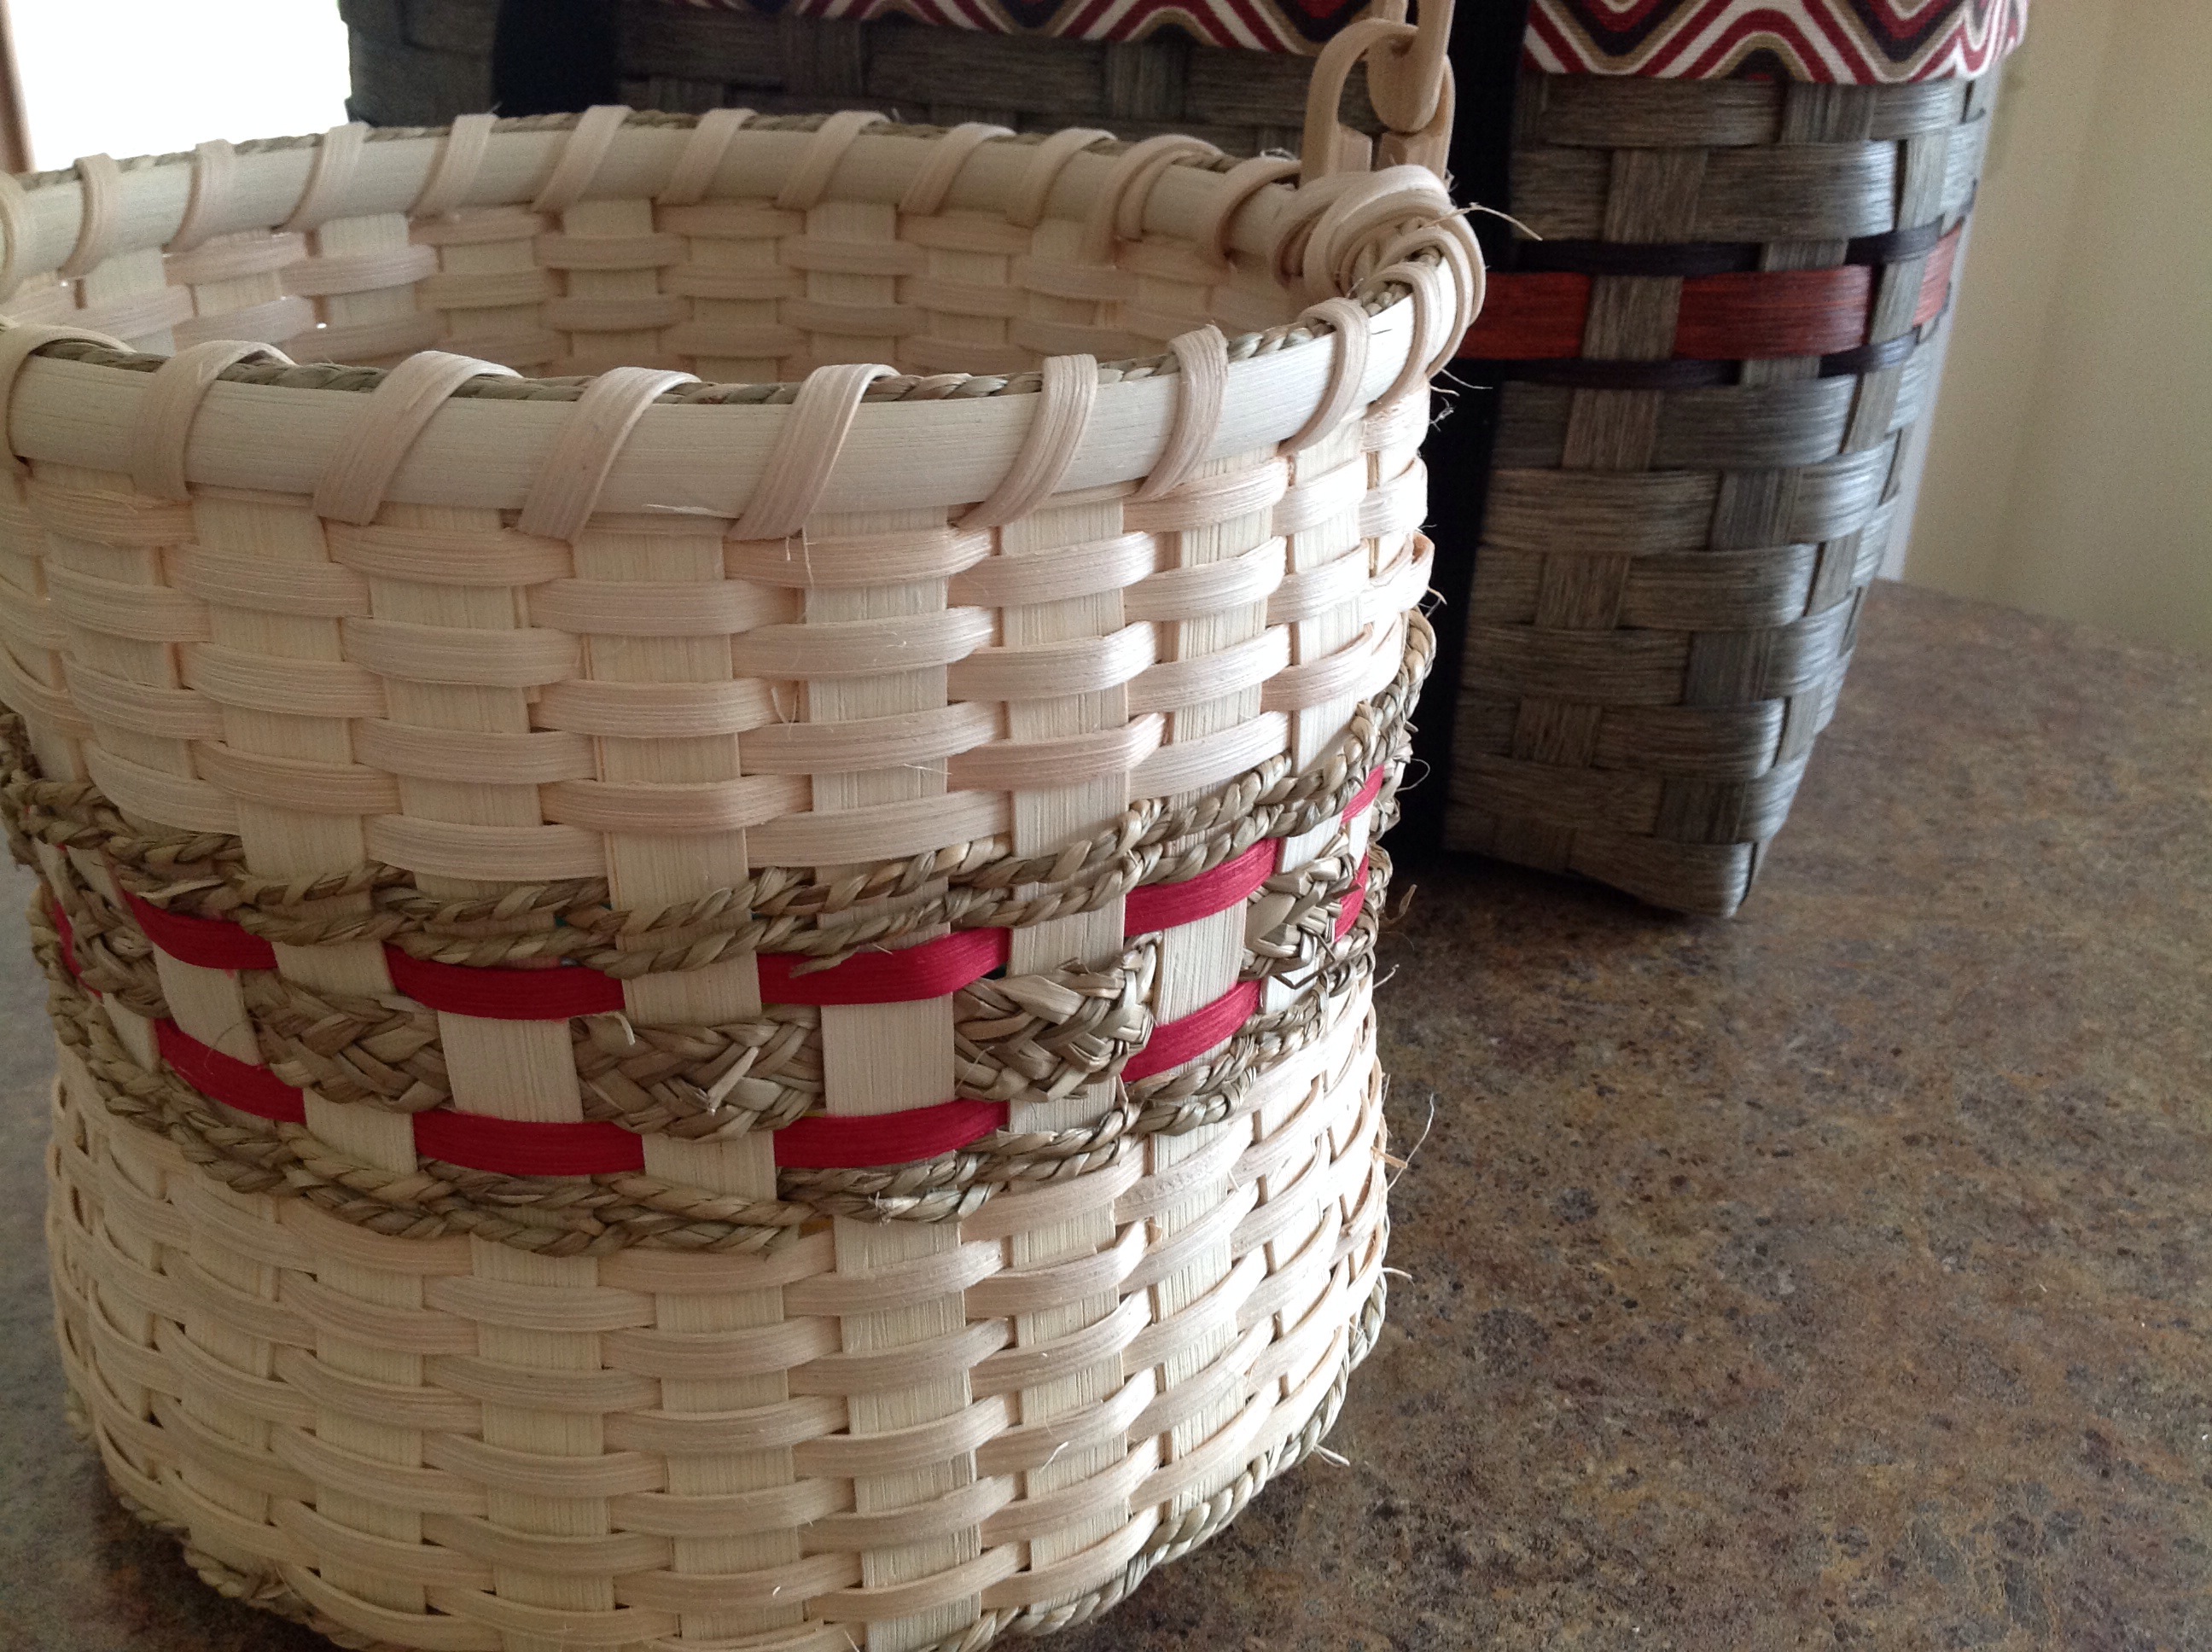
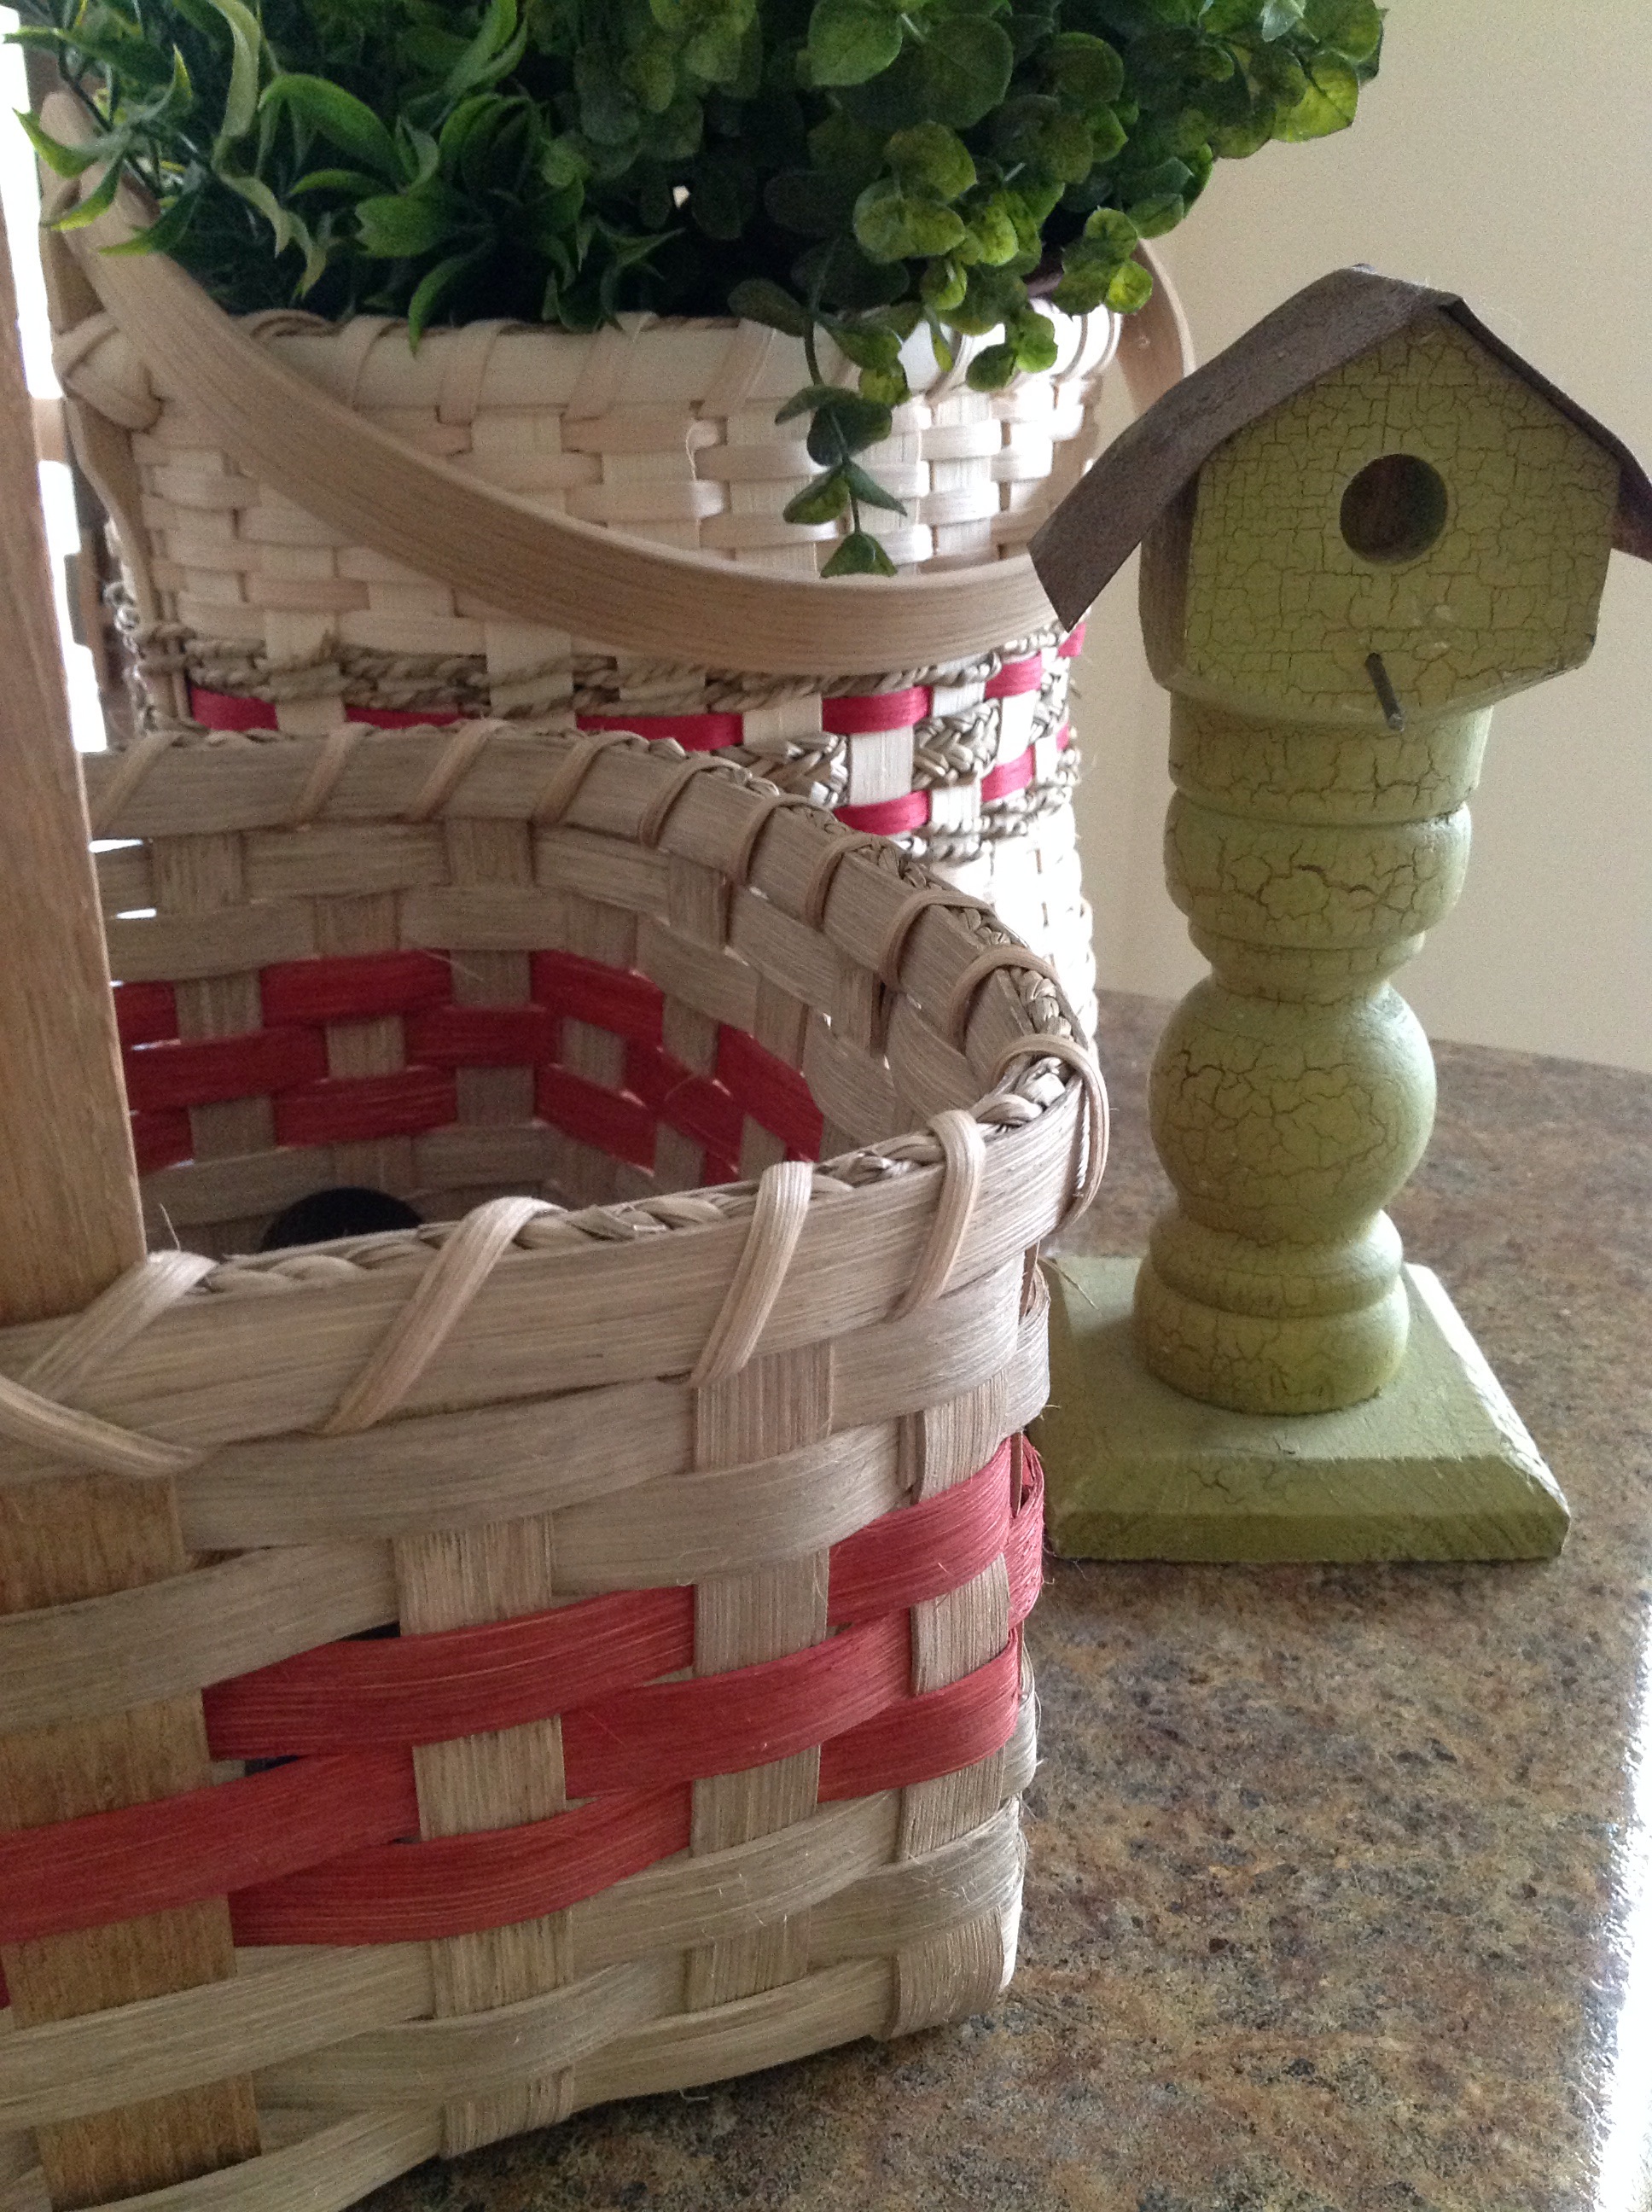
Once again, I was able to join a great group of individuals at one of the local county parks for a day of basket making. I took several pictures throughout the day to capture the steps used to assemble this potluck or market basket. For those of you that are interested in basket making, I strongly suggest you find a class in your area. This is a dying art and learning the basic skills will build toward ideas for advanced methods. Local libraries, park district programs, and 4-H program leaders often offer hands-on opportunities to assemble basic baskets. Many basketmaking supply shops also offer classes. I really enjoy the process and certainly, the complete project. I always sign my baskets as I look forward to handing them down through the generations.

Sharing a few basketmaking tips…

We experienced some weather difficulties so we relocated to the interior of the old 1920’s barn. This June morning was cold and rainy. We usually meet in a covered pavilion but the winds were very strong and continued to blow away our supplies.

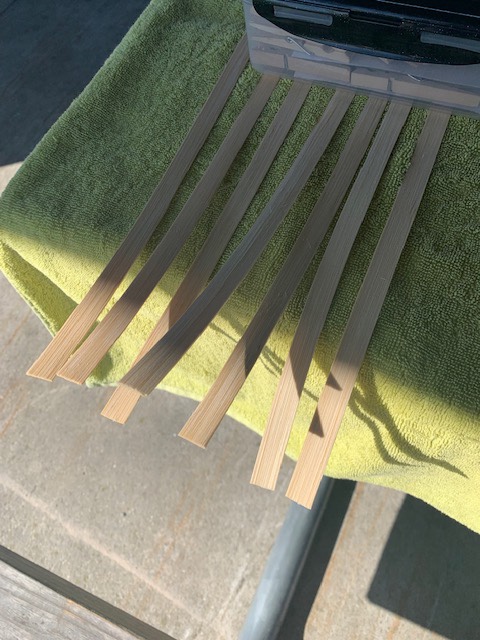
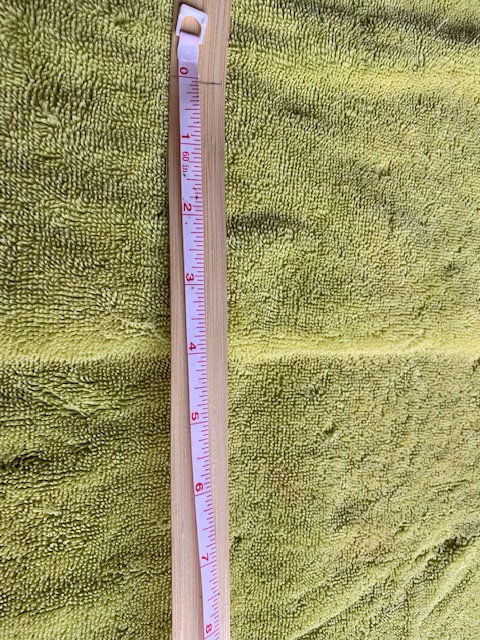
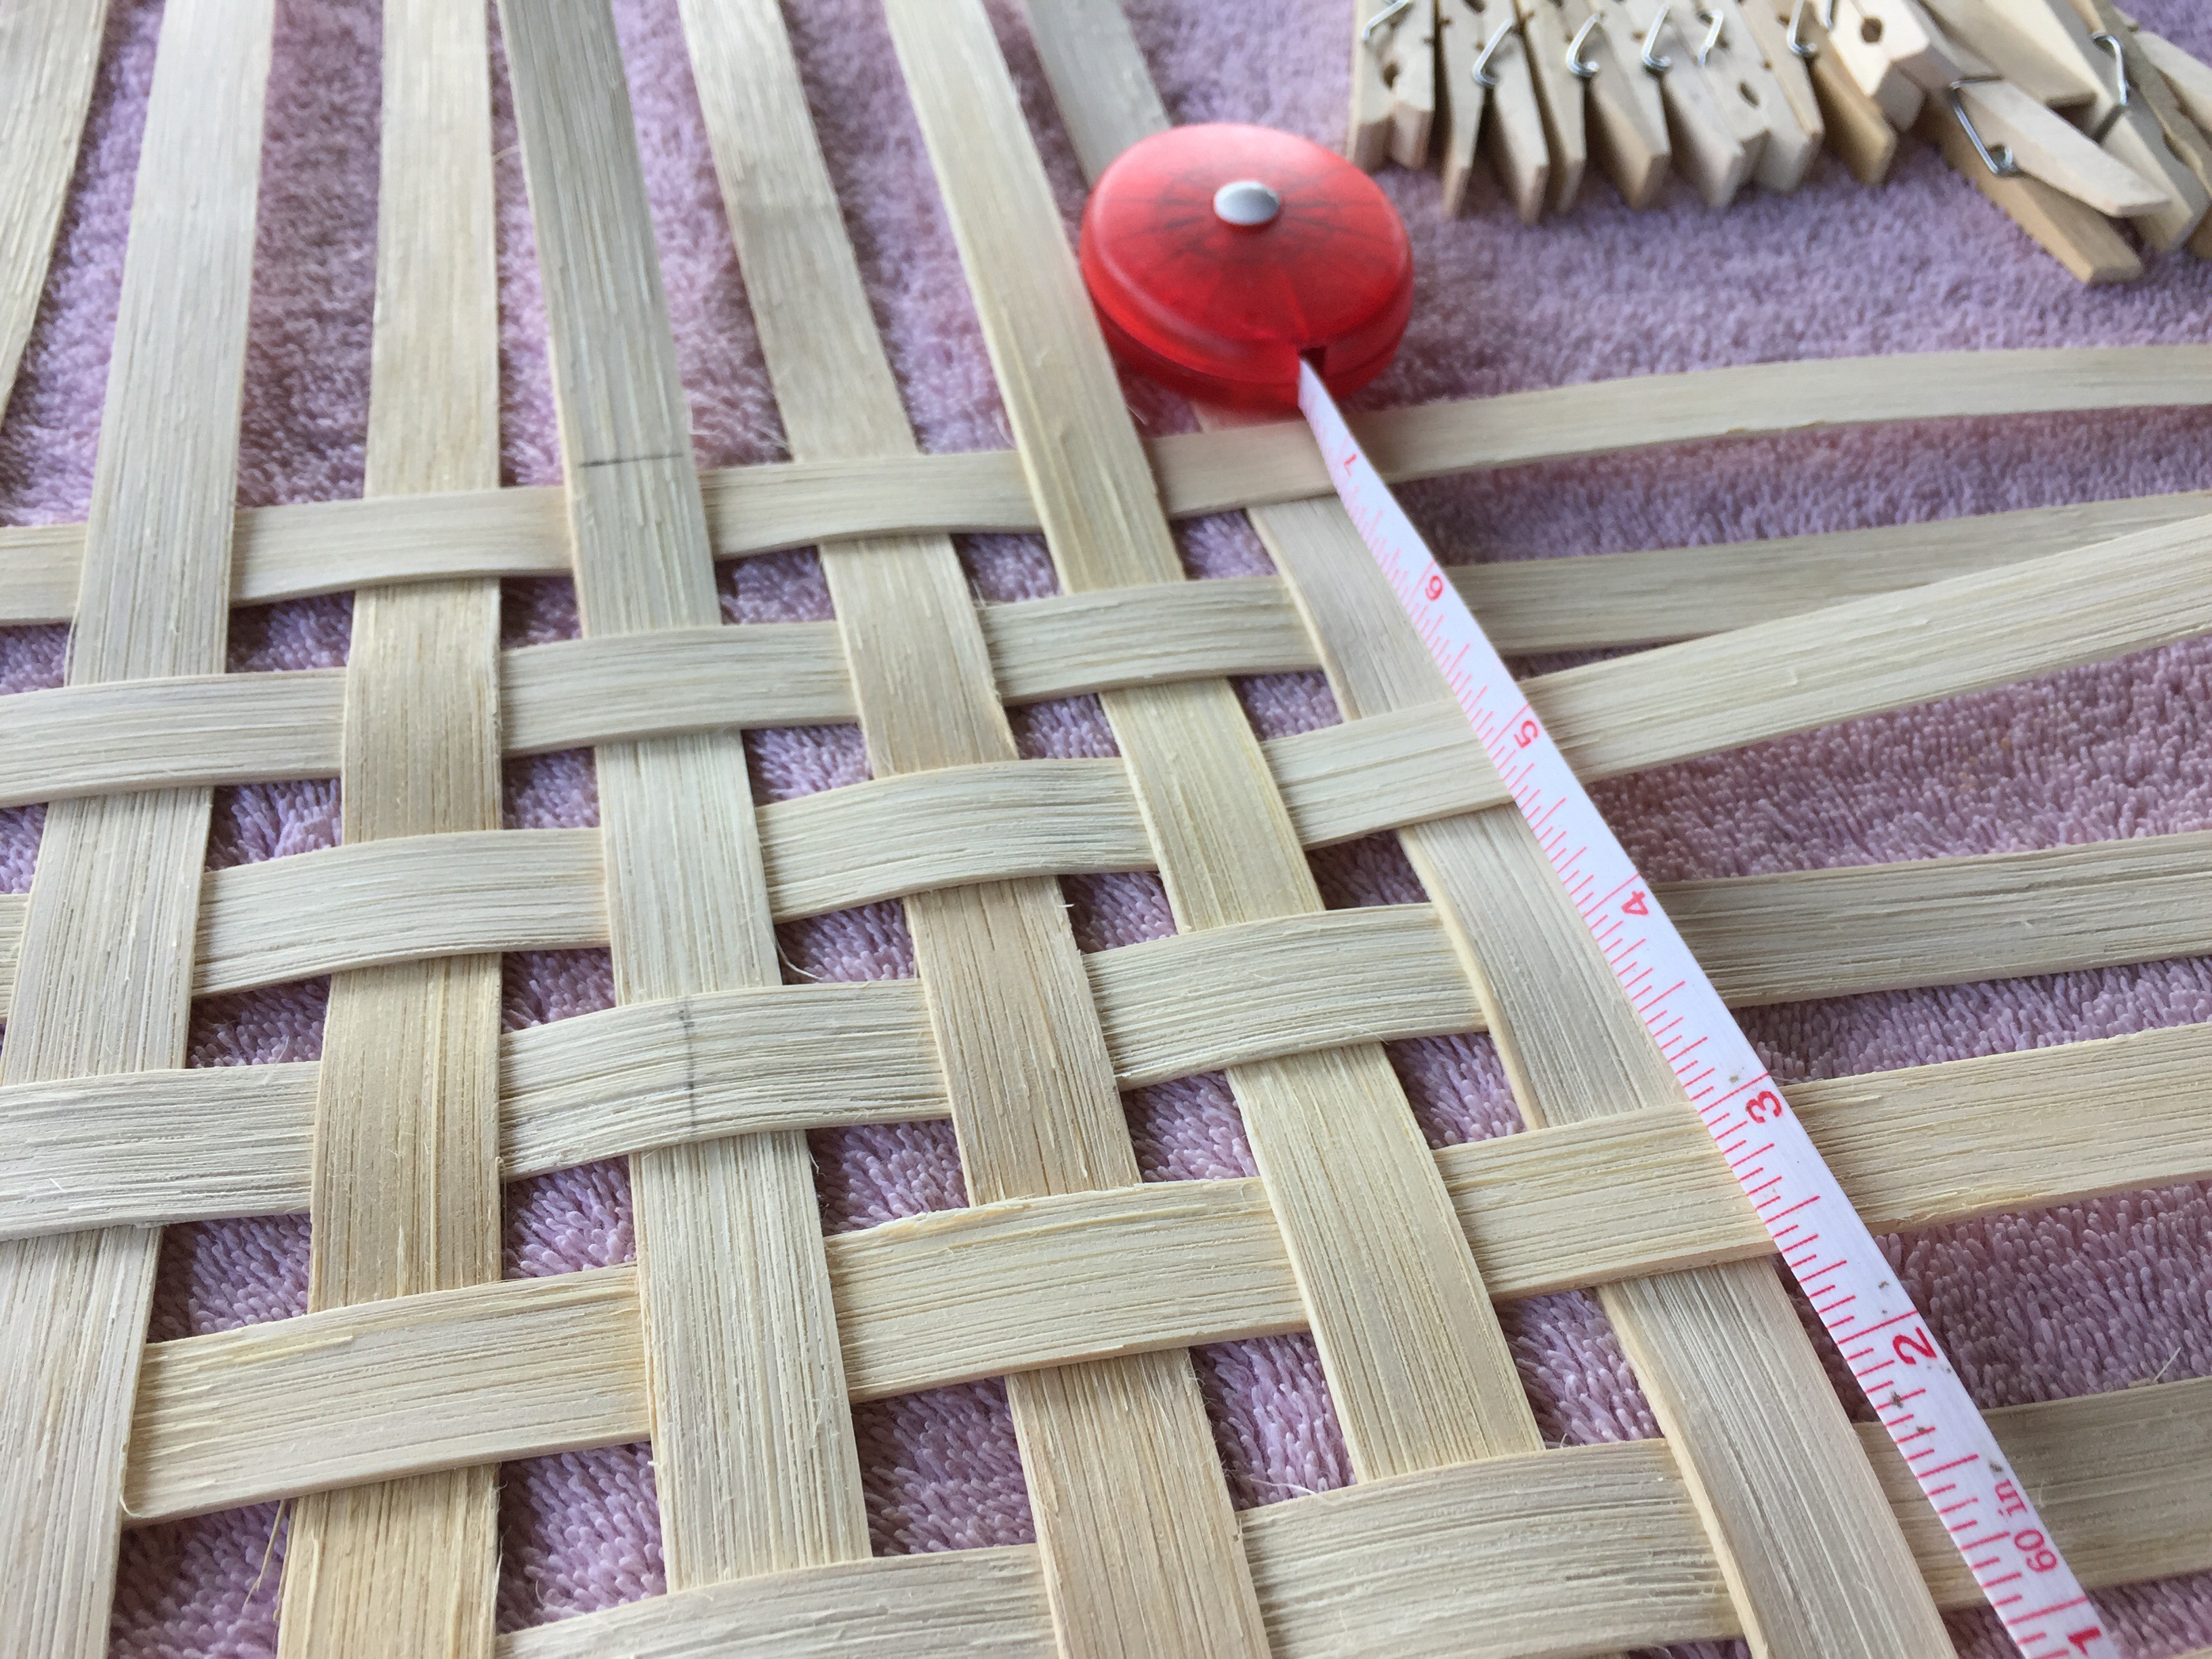
First, I measured 15 inches of weaving material (strips) for the length of the basket.l

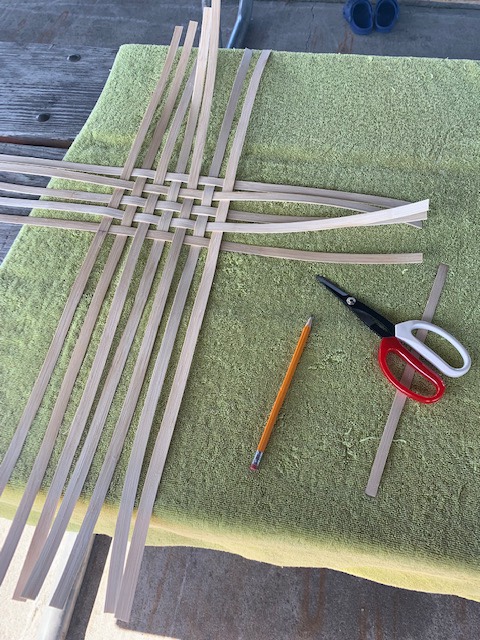
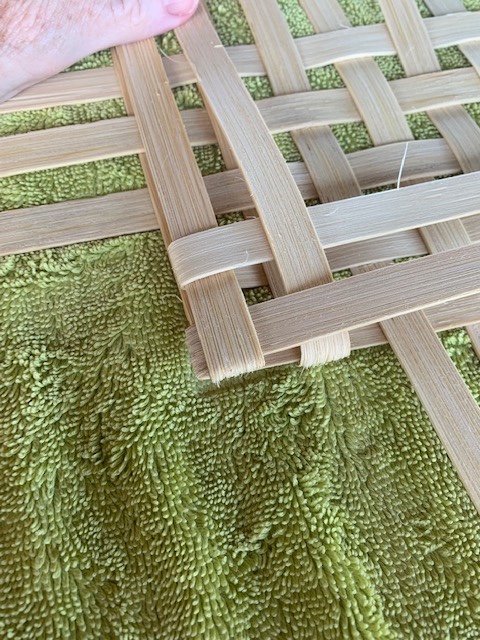
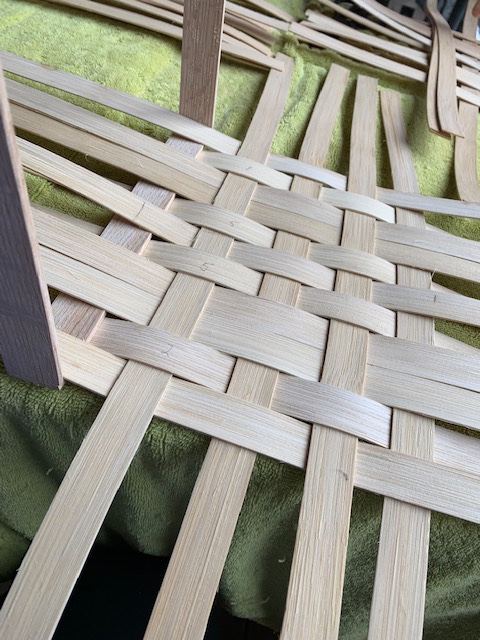
I numerically marked all of my strips to help me weave a pattern on one side of the handle. Then, I duplicated the process on the other side of the wooden handle. Centering the project is very important.

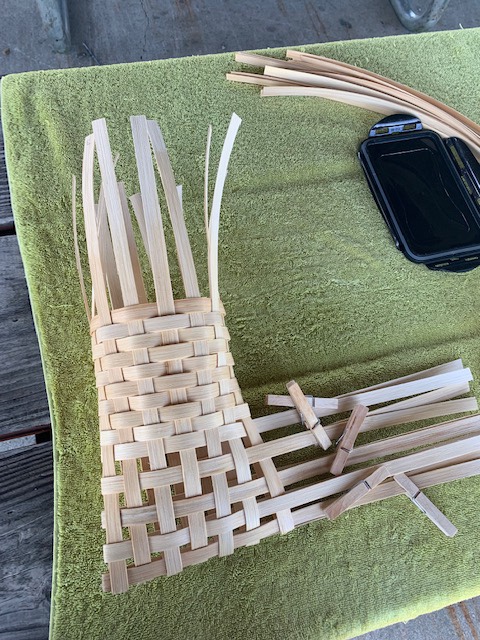
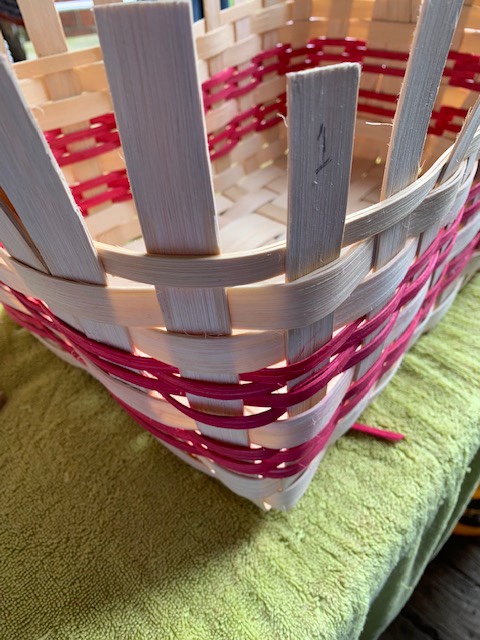
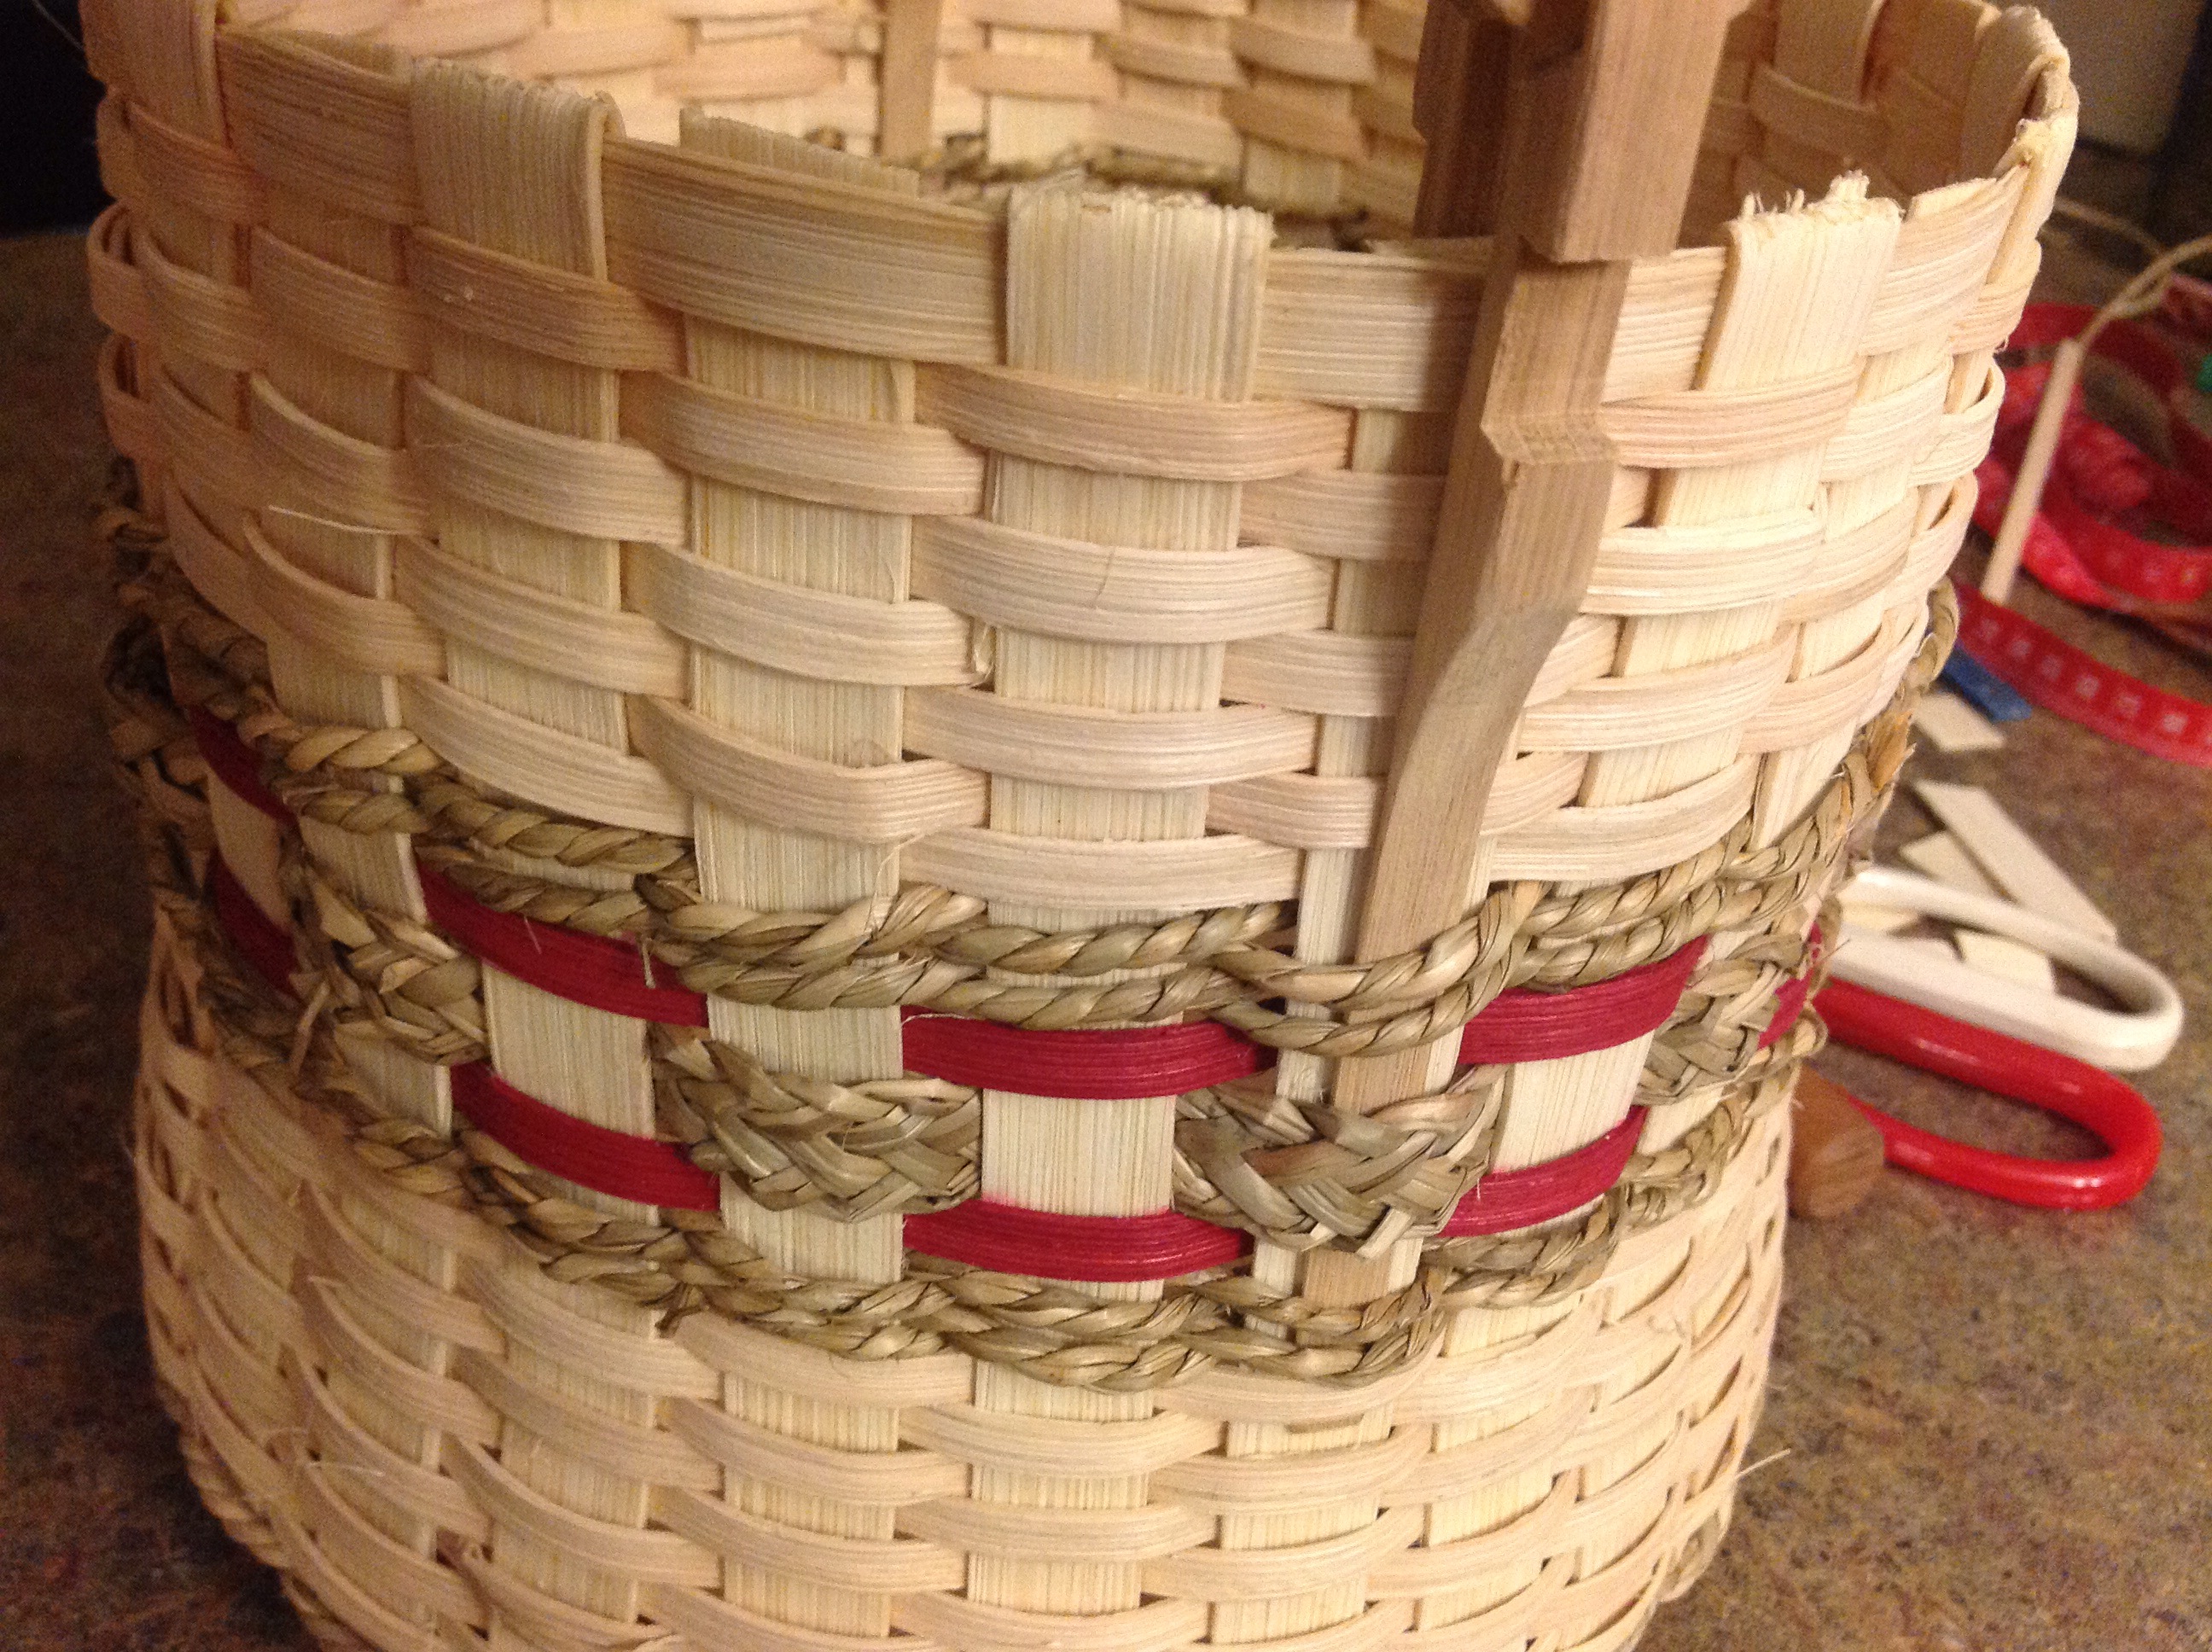
Then, it was time to start working on the sides. I wanted to maintain my pattern up the side of the basket, so I used clothes pins to help me achieve this. The first row is always the most difficult to manage. The clothes pins act as another pair of “hands”.

Continue working up the side of the basket, adding any details desired. I added a colorful pattern of dyed strips. Make sure to alter the starting point for each strip, rotating the basket a half turn for an altered starting point for each row. Continue to shape the basket while building the sides.

Trim and bend alternate strips along the top edge of the basket making sure to leave enough length to insert strips under the existing basket weave.

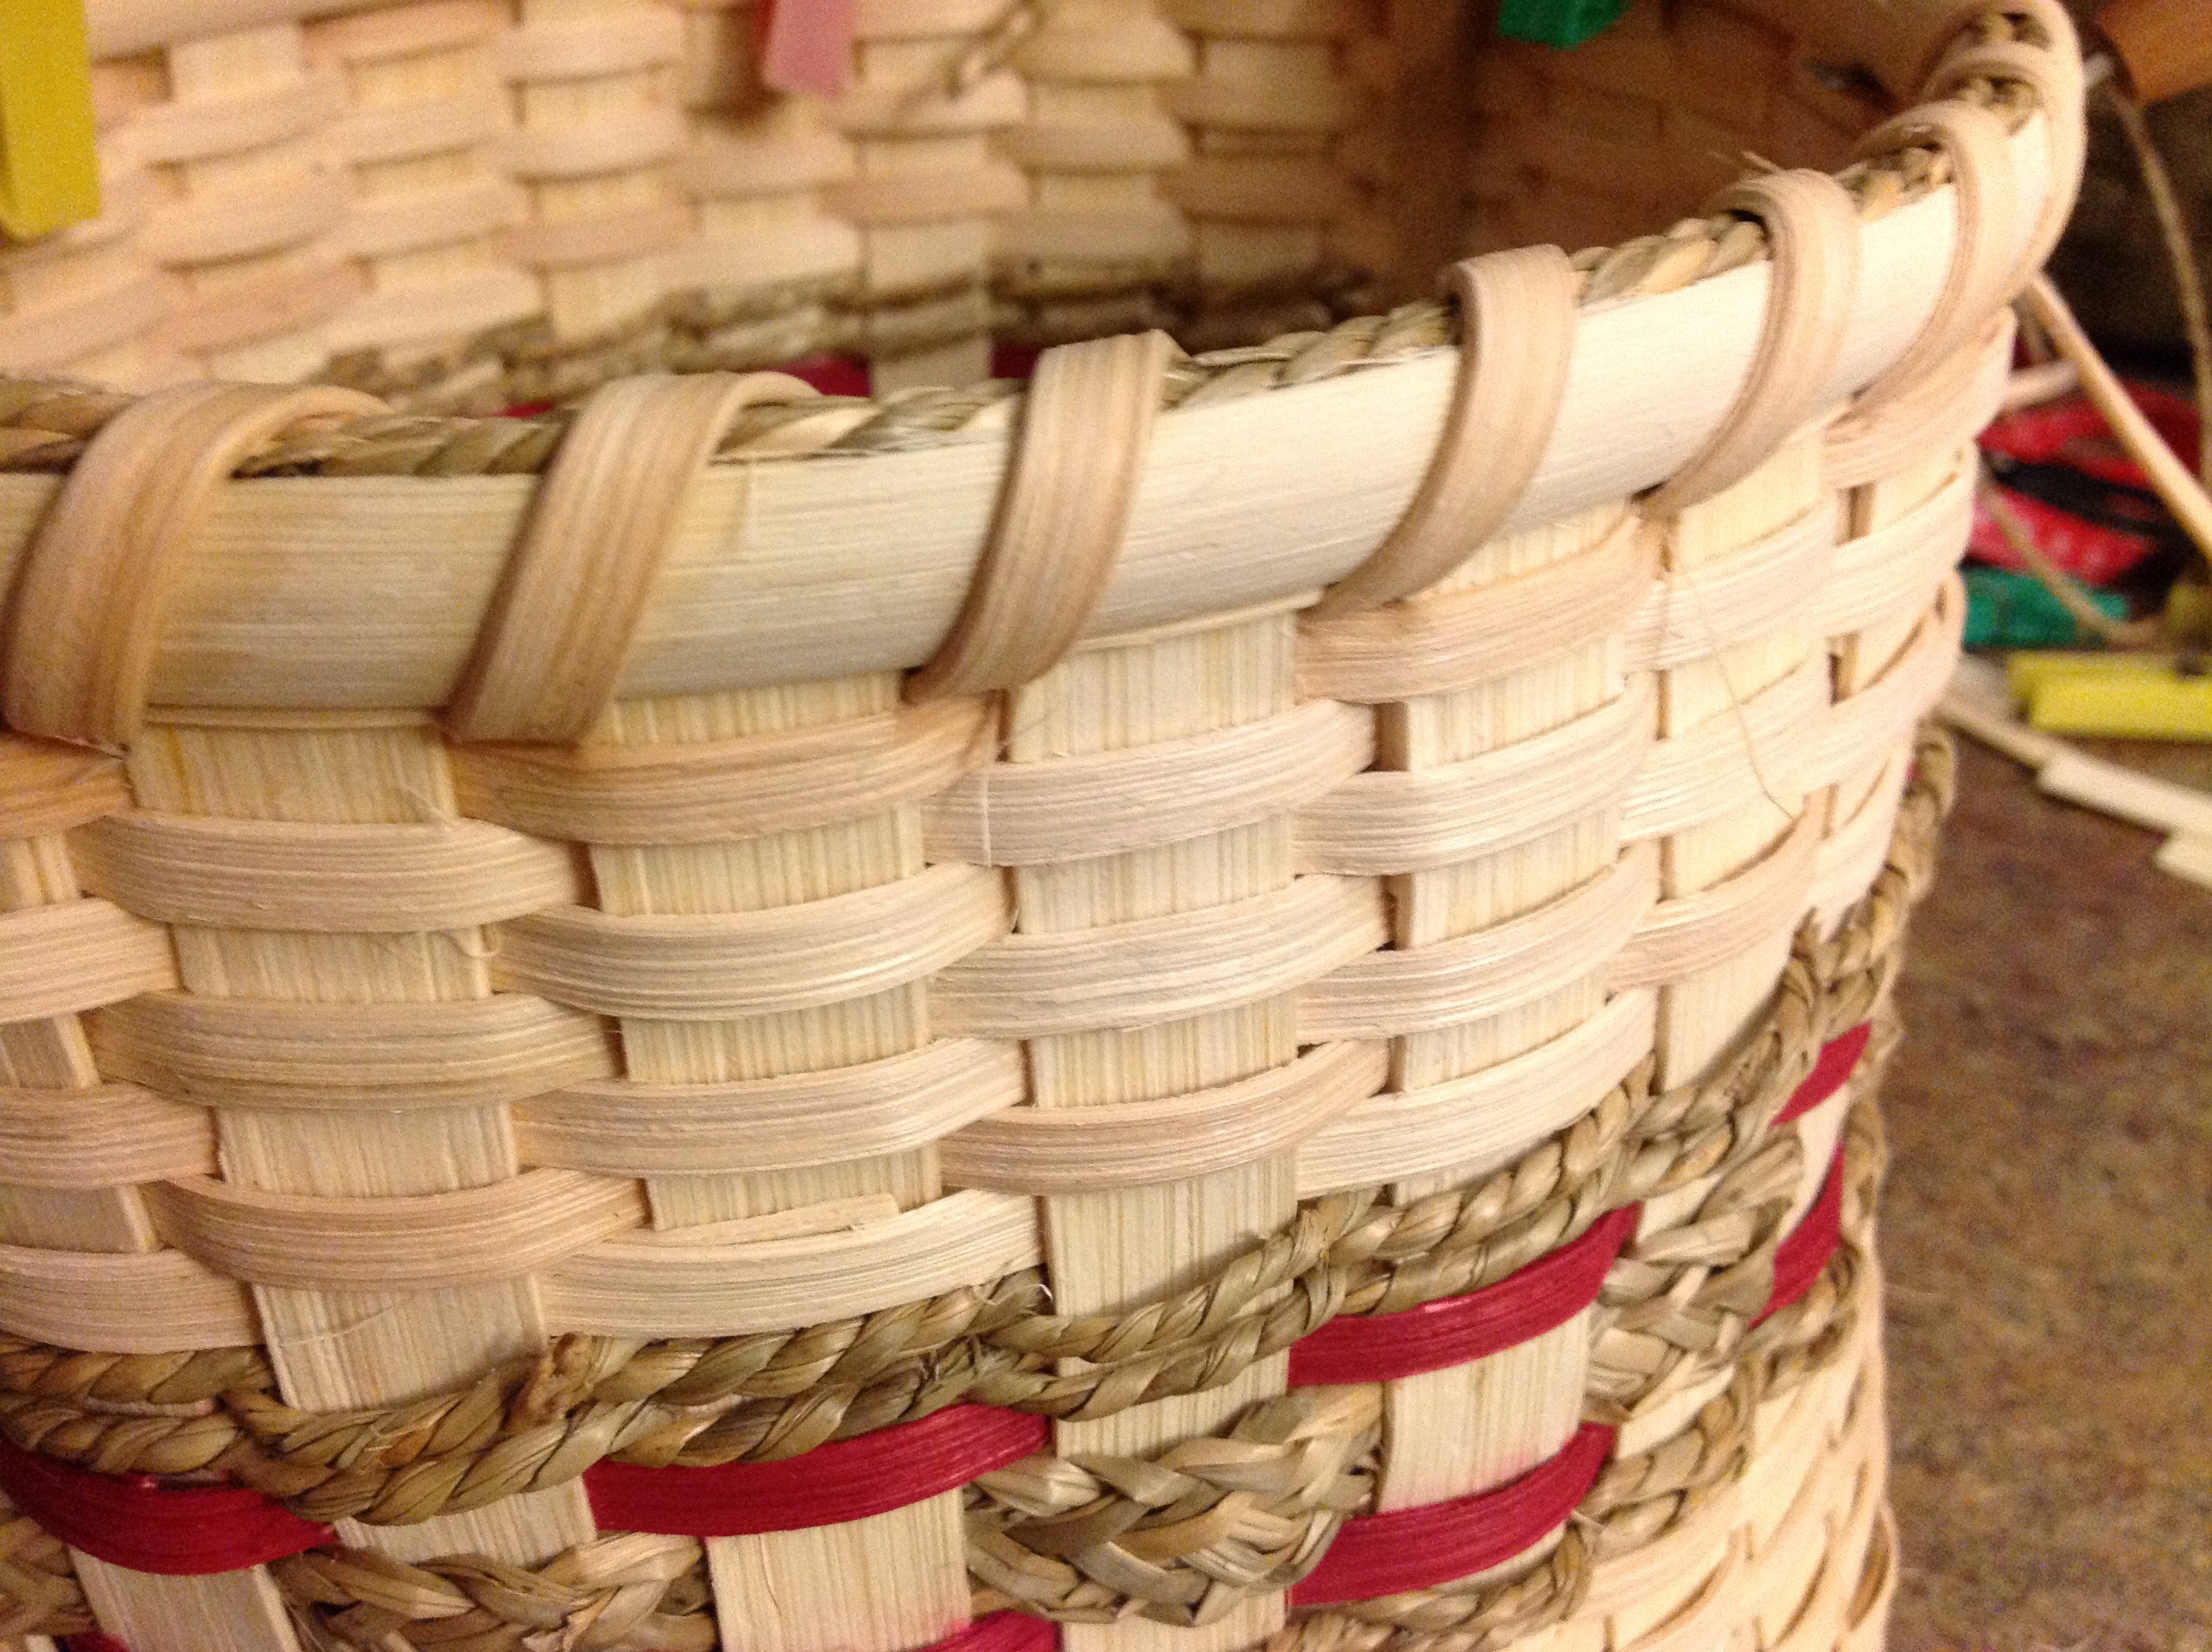
Now it’s time for the finishing touches. An edge is placed on the top of the basket and sea grass is placed between the (half-round) edging strips. Once again, clothes pins act as extra “hands” to hold it all in place.

Lashing is used to complete the project and pull all of the finished edge pieces together.

A final dip in a black walnut wash finishes off the project by adding a weathered or aged look to the basket. Here the baskets dry in the shade of the old barn.

I love the size and shape of this beautiful basket. I can’t wait for our next basketmaking session!

Posted in Crafts, Gifts, Sewing

Machine Embroidered Sweatshirt

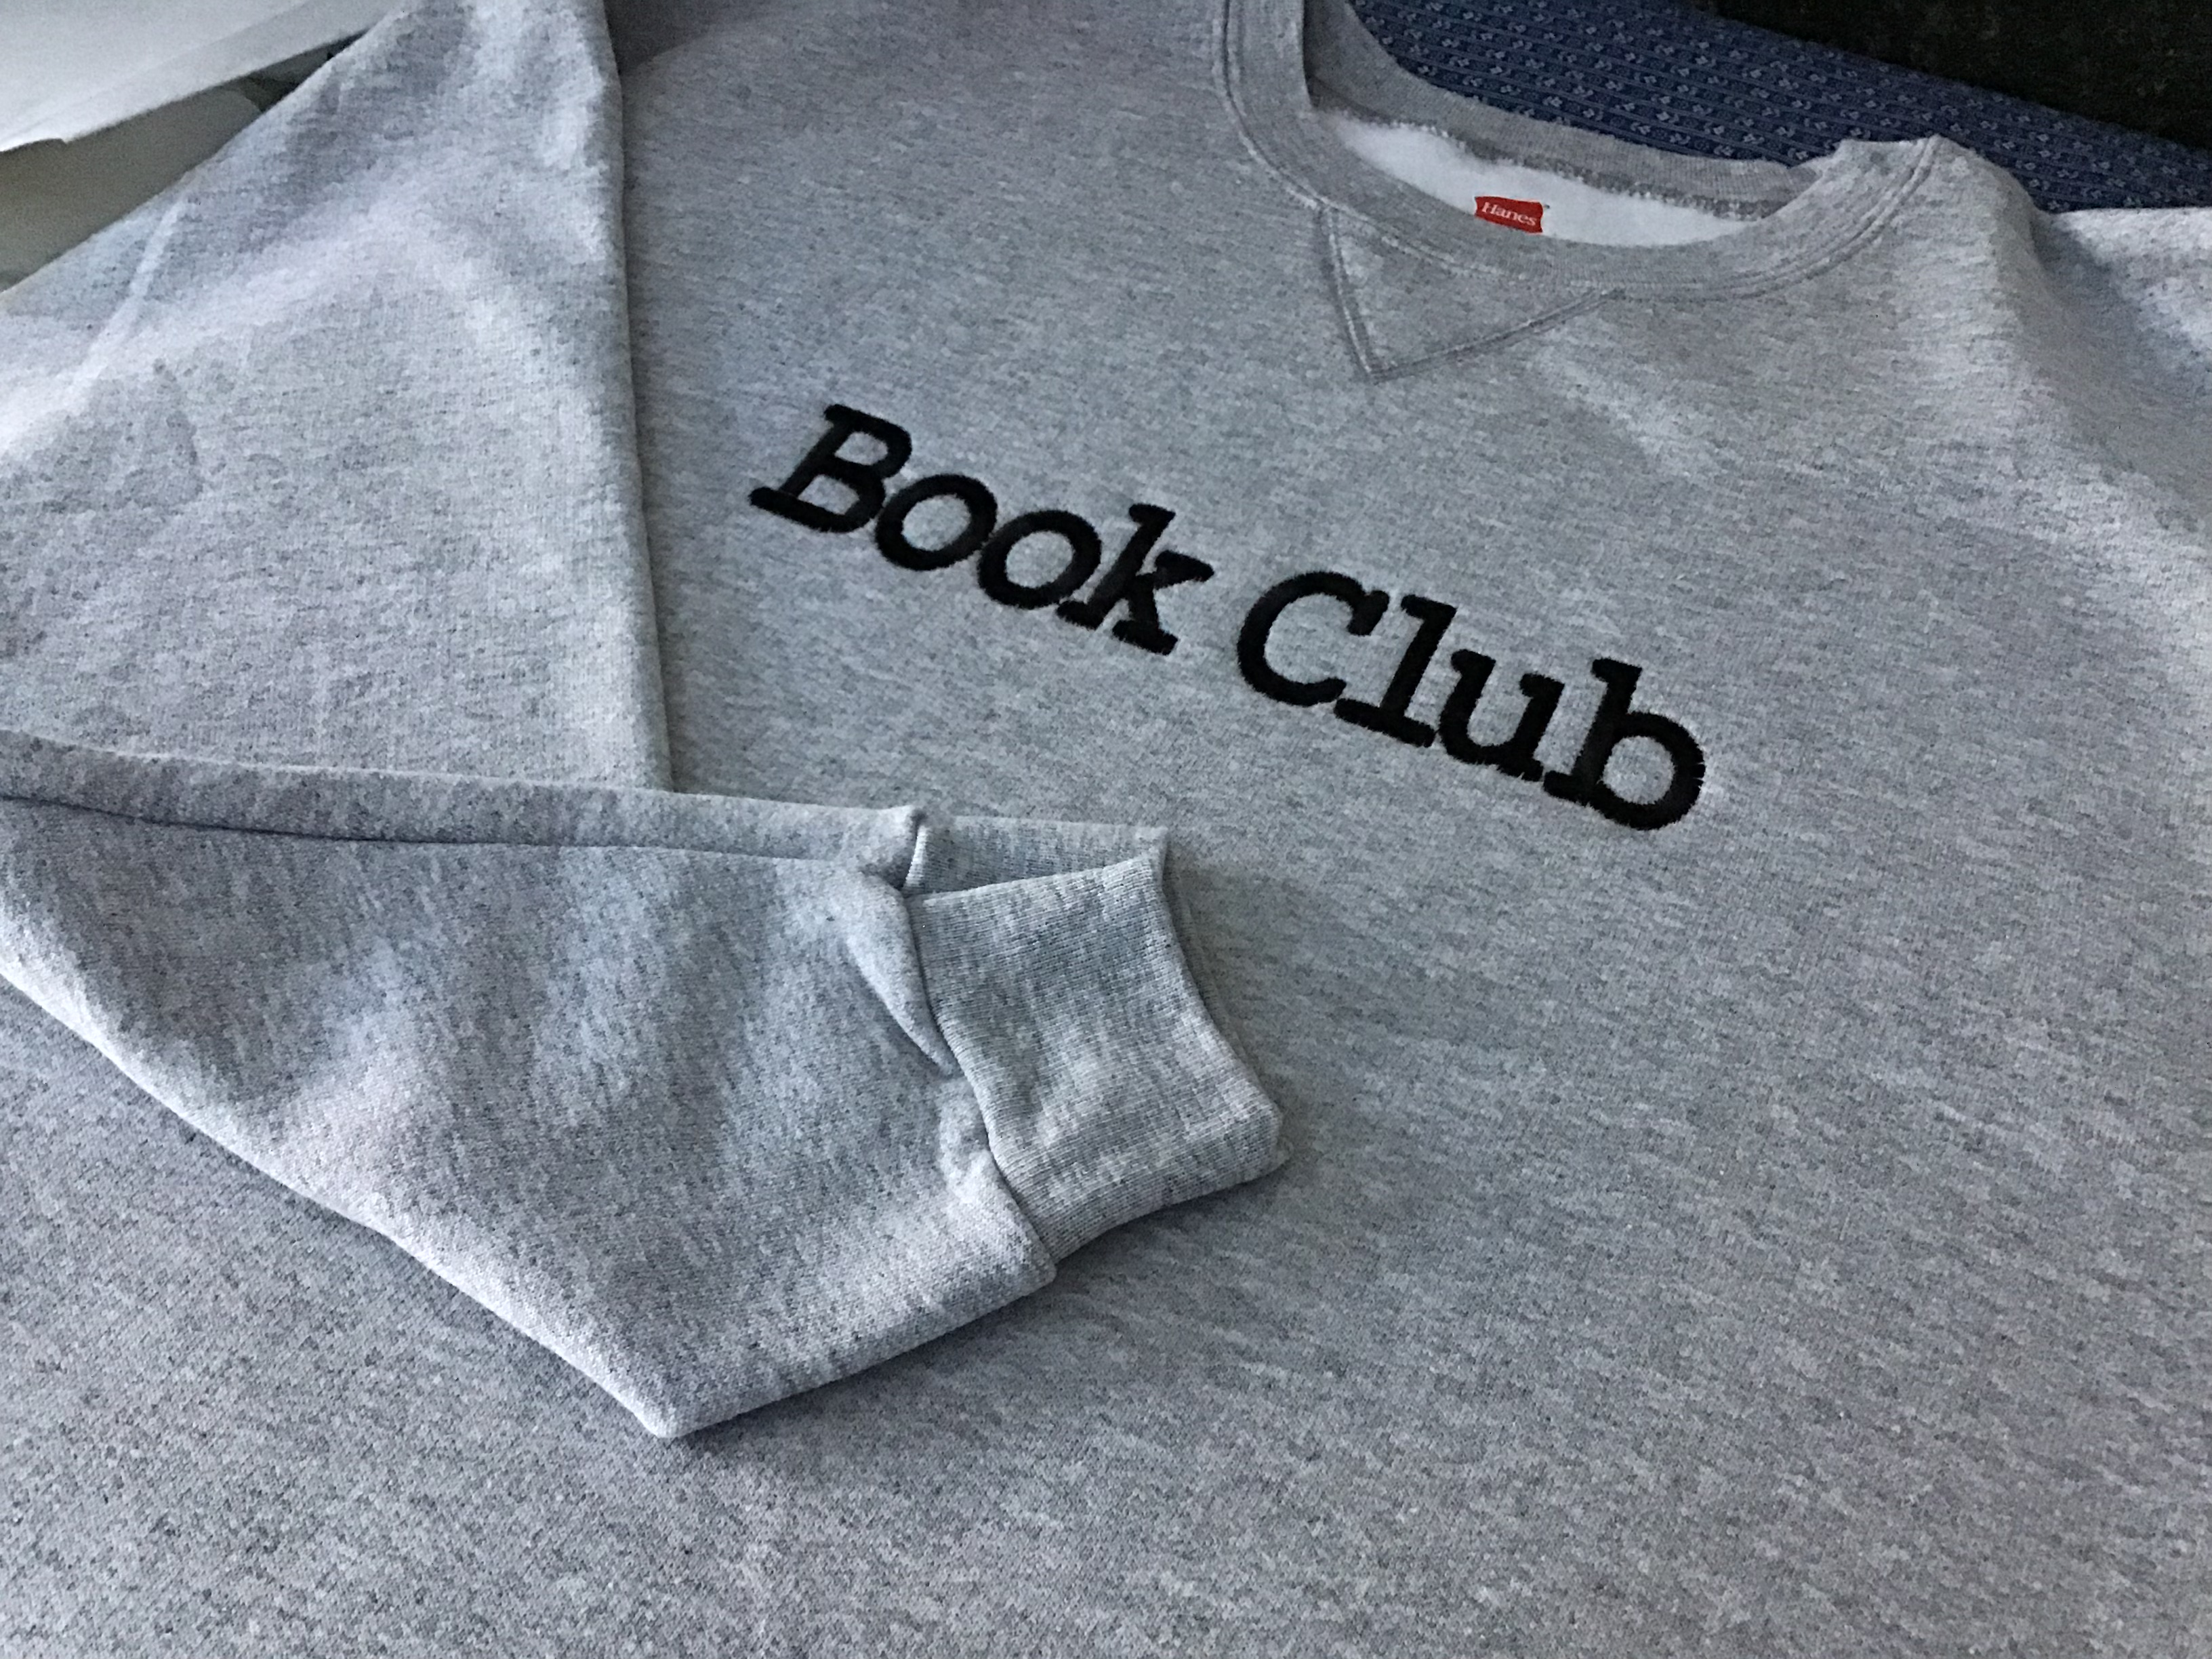
My daughter had seen one of the famous Fixer Upper hosts wearing a sweatshirt with the words, “Book Club” screen printed onto the front of the garment. Being an avid reader, she immediately declared her desire to have a shirt like this for Christmas. After looking up the cost for said sweatshirt, I decided to make one of my own using my trusty embroidery machine. Carefully reviewing the garment, I quickly found a few heather colored sweatshirts at the discount store and identified a font that would work the the “Book Club” design. I didn’t care for the font used in the original design so I settled on a text style that looked just like one found when reading a book; a contemporary spin on Times New Roman. Here are the steps I used to embroider font or text onto the front of a basic medium-weight sweatshirt.
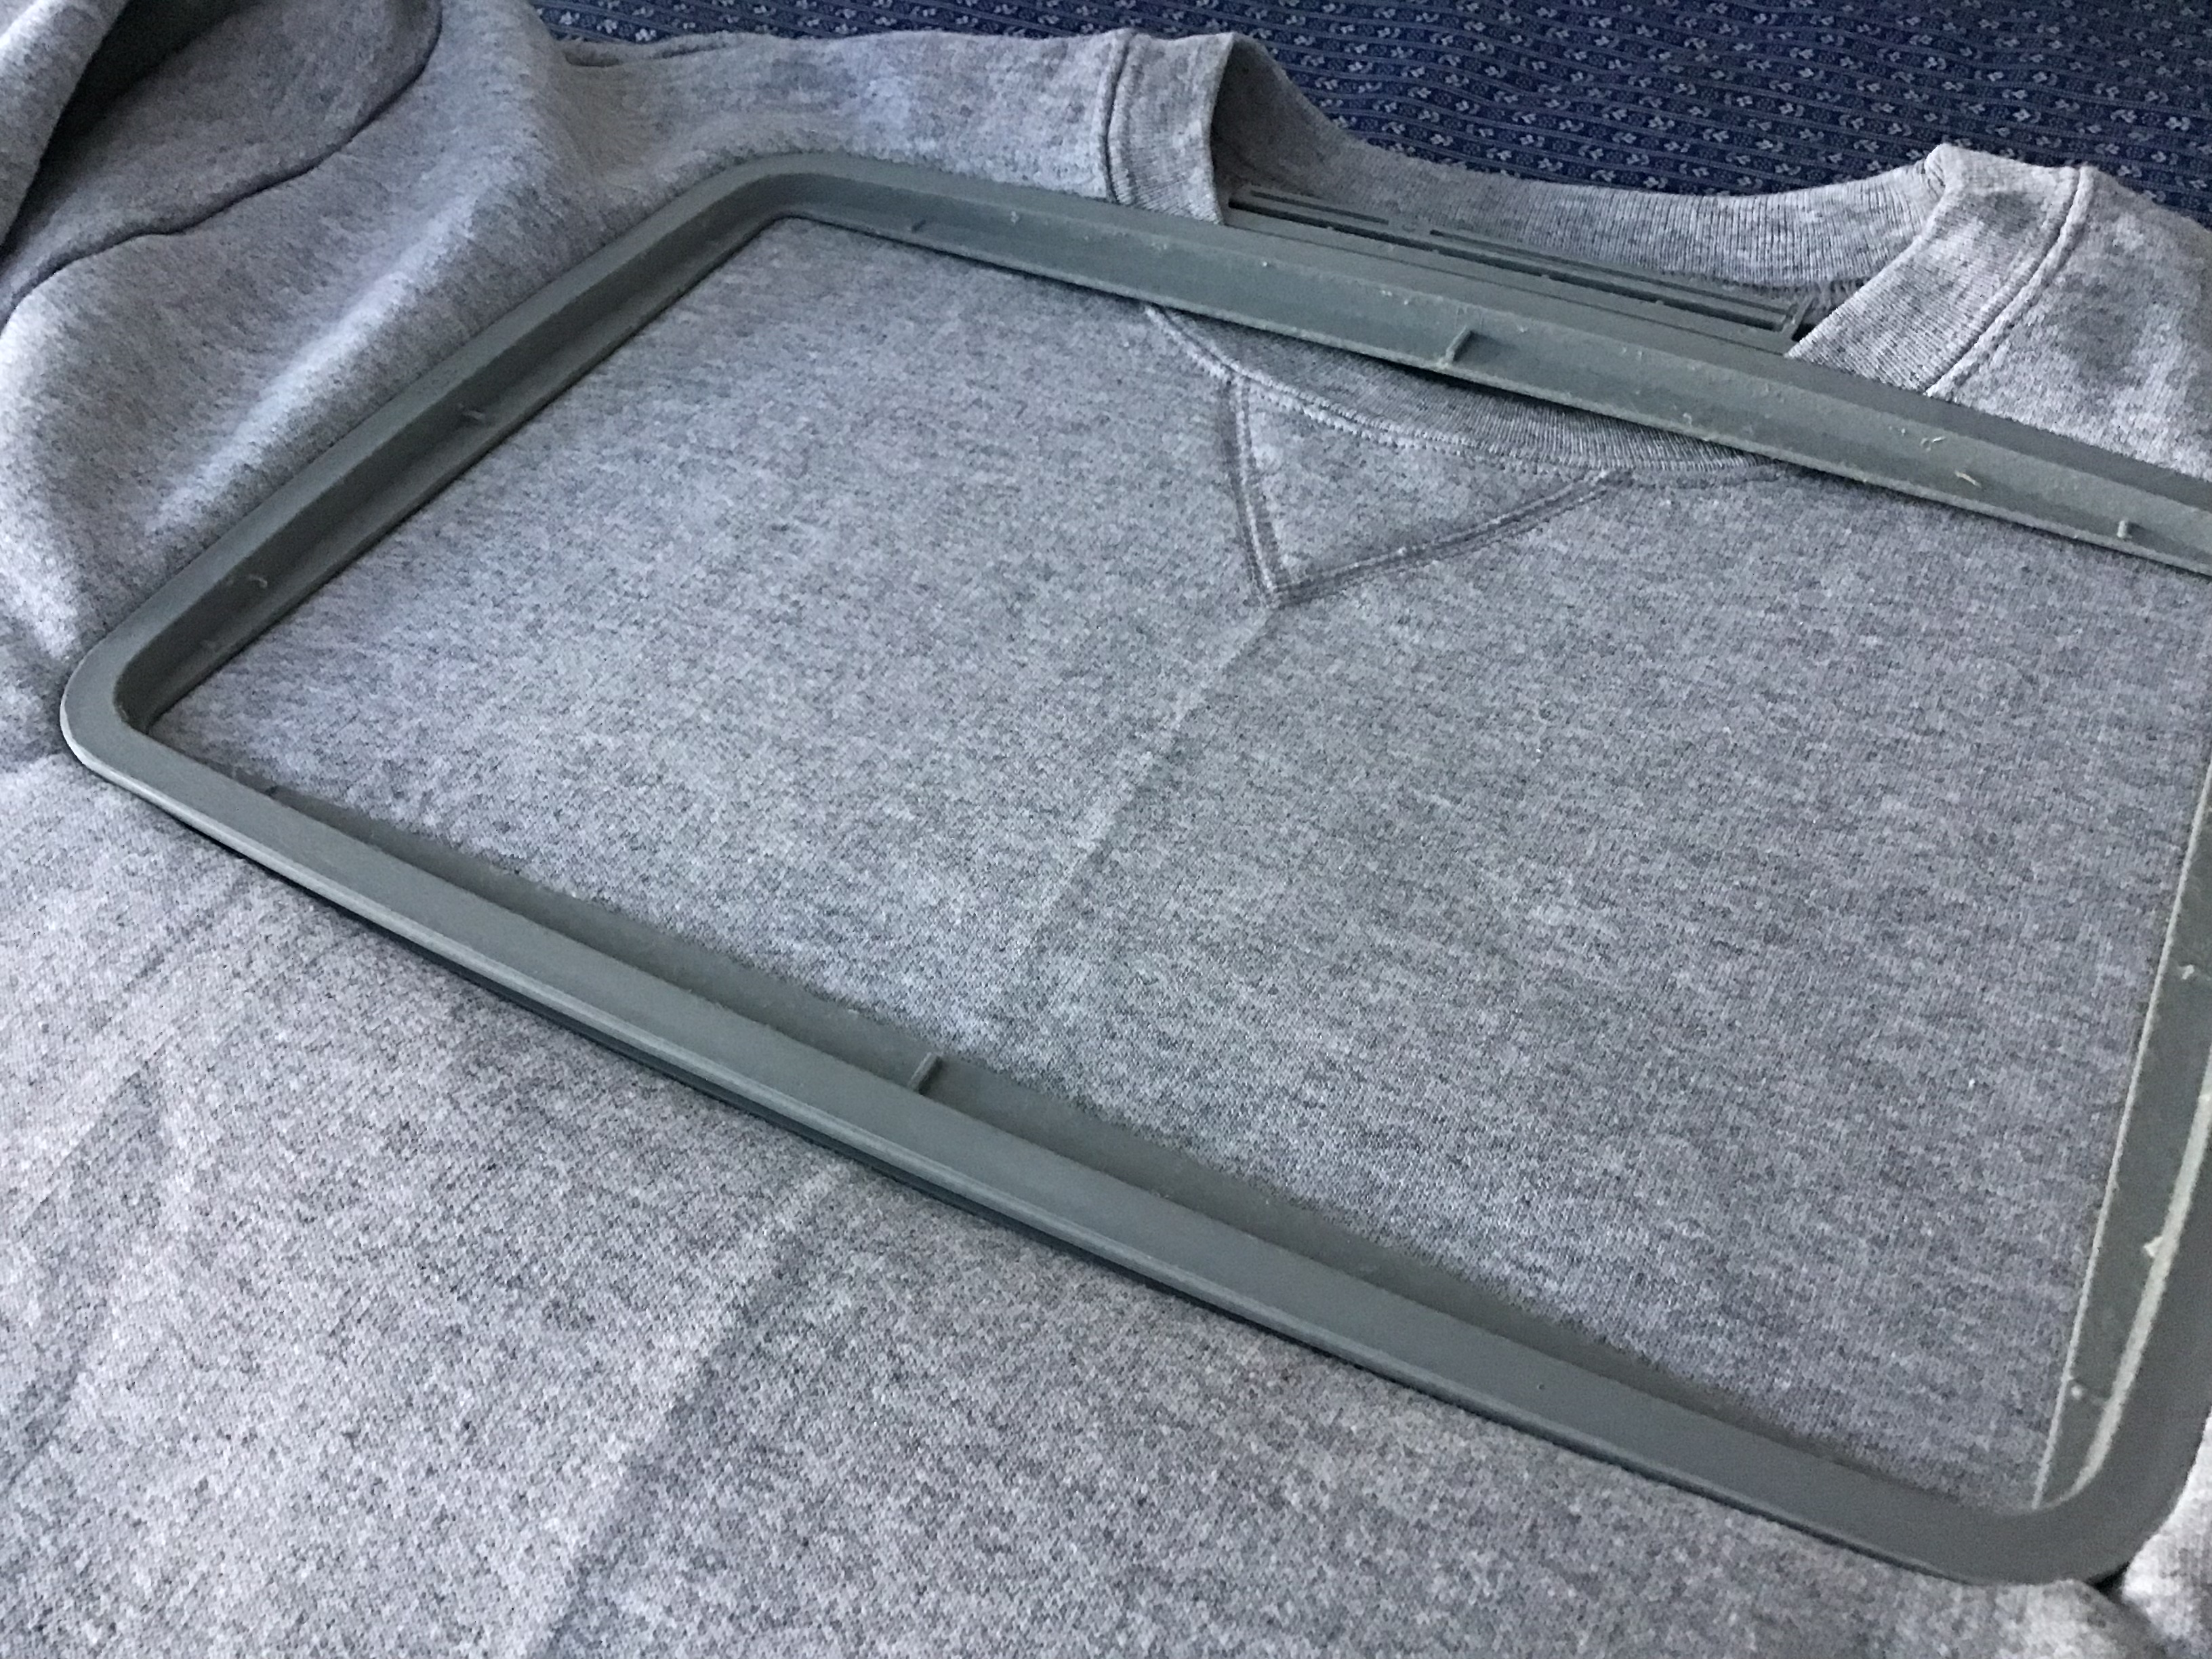
Use a temporary spray adhesive (found in the sewing department) to adhere a piece of medium weight stabilizer to the wrong side of the fabric. Make sure the stabilizer is large enough to cover and extend beyond the outside of your embroidery hoop.

Crease the sweatshirt to find it’s center and position the embroidery hoop paying close attention to desired design placement.

Audition various threads to decide which will work best for your design. I used a heavy weight black thread for the book style font.

After you have created your design (I use my laptop), send the design to your sewing machine and begin sewing.

I usually stay with the machine for a simple design and trim threads when possible.

When the machine has completed the design, remove hoop from the embroidery arm and trim any threads carefully.

Remove hoop and turn the garment inside out to sparingly trim threads from the back of the design. I usually leave connecting threads intact to further secure the design. Trim stabilizer, if needed.

With a thick pressing cloth or towel, carefully iron the crease out of the center front area.

Fold the sweatshirt neatly and get it ready for gift giving…

Have fun creating other “book related” designs…

Posted in Crafts, holiday, holidays

Handmade Pumpkin Basket

Saturday’s unseasonable temperatures made for a very chilly (end of the summer) basketmaking workshop. Wearing several long-sleeved layers didn’t do much to shield us from the brisk winds during this cool and breezy day. It was hard to imagine that the temperatures had climbed to nearly 100 degrees the weekend before. Despite the weather, we happily socialized as we worked beneath a shelter at a local county park. The item that we were to assemble was a cute round, (continuous weave structure); a pumpkin-shaped basket. Here are the steps that our incredible instructor took us through during this four-hour weekend event.

Dividing the disk into 4 equal parts, place 23 spokes within the well of the disk; weaving while working in the spokes.After weaving 6 continuous rows, gently begin shaping the basket upwards. Continue weaving upward for 14 more rows; loosely weaving to shape the belly of the pumpkin.

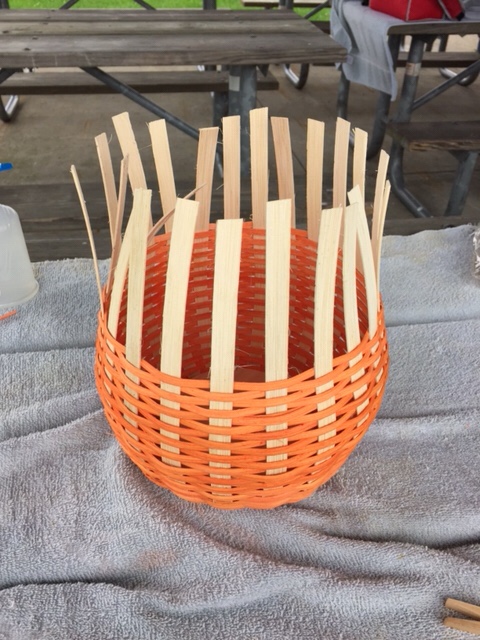
At row 19 or 20 begin to tighten the weave to form the top of the pumpkin.
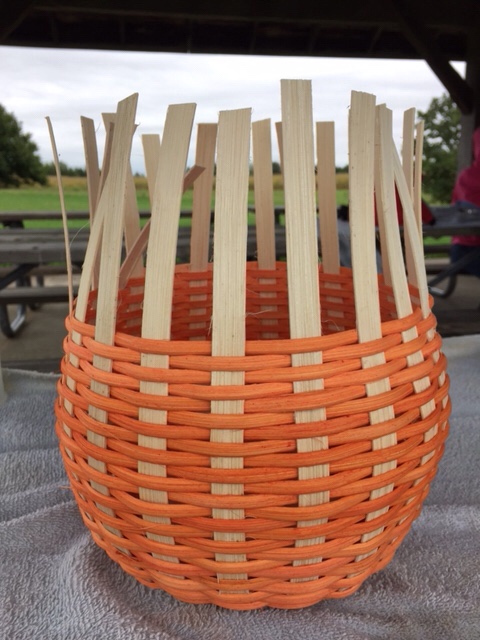
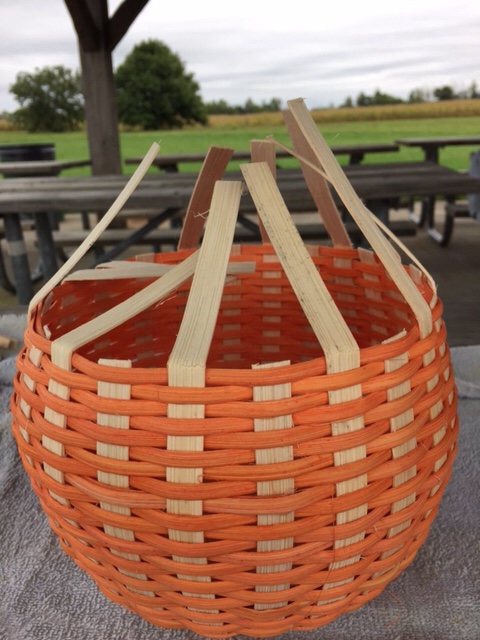
At row thirty, the weave is complete.Bend down, every other spoke. Clip; mark remaining spokes to bend under and secure under weave.Secure wire handle before finishing rim of the basket.Complete basket rim with sea grass and lashing.We enjoyed a beautiful, but chilly, day at our local county park!

Posted in Crafts, Gifts, holiday, holidays

Wrapping Things Up…

In the midst of all of the holiday hoopla and Christmas shopping, I realized that there may be a load of practical gift cards that might be received far better than any piece of clothing or fancy kitchen gadget.  For students, especially those living in highly populated cities, transportation can be an issue.  Gift cards focused on shuttling a person from one destination to another might be much more appreciated versus a piece of clothing.  Train passes, Uber gift cards, bus passes, etc. are all good ideas.  Last year my sister in law gave my children transportation gift cards and they were used to shuttle them to the local grocery store, to the airport, and home from the local burger and brew joint.  (Each of my children are in college and over the age of 21.). They also received gift cards from the local drug store where they were able to by toiletries, milk, and basic groceries while on campus.  Another great idea for college students, gifts cards for sandwich shops and local eateries.  Many dorm cafeterias are closed on Sunday evenings so having a gift card for a local diner is always appreciated.

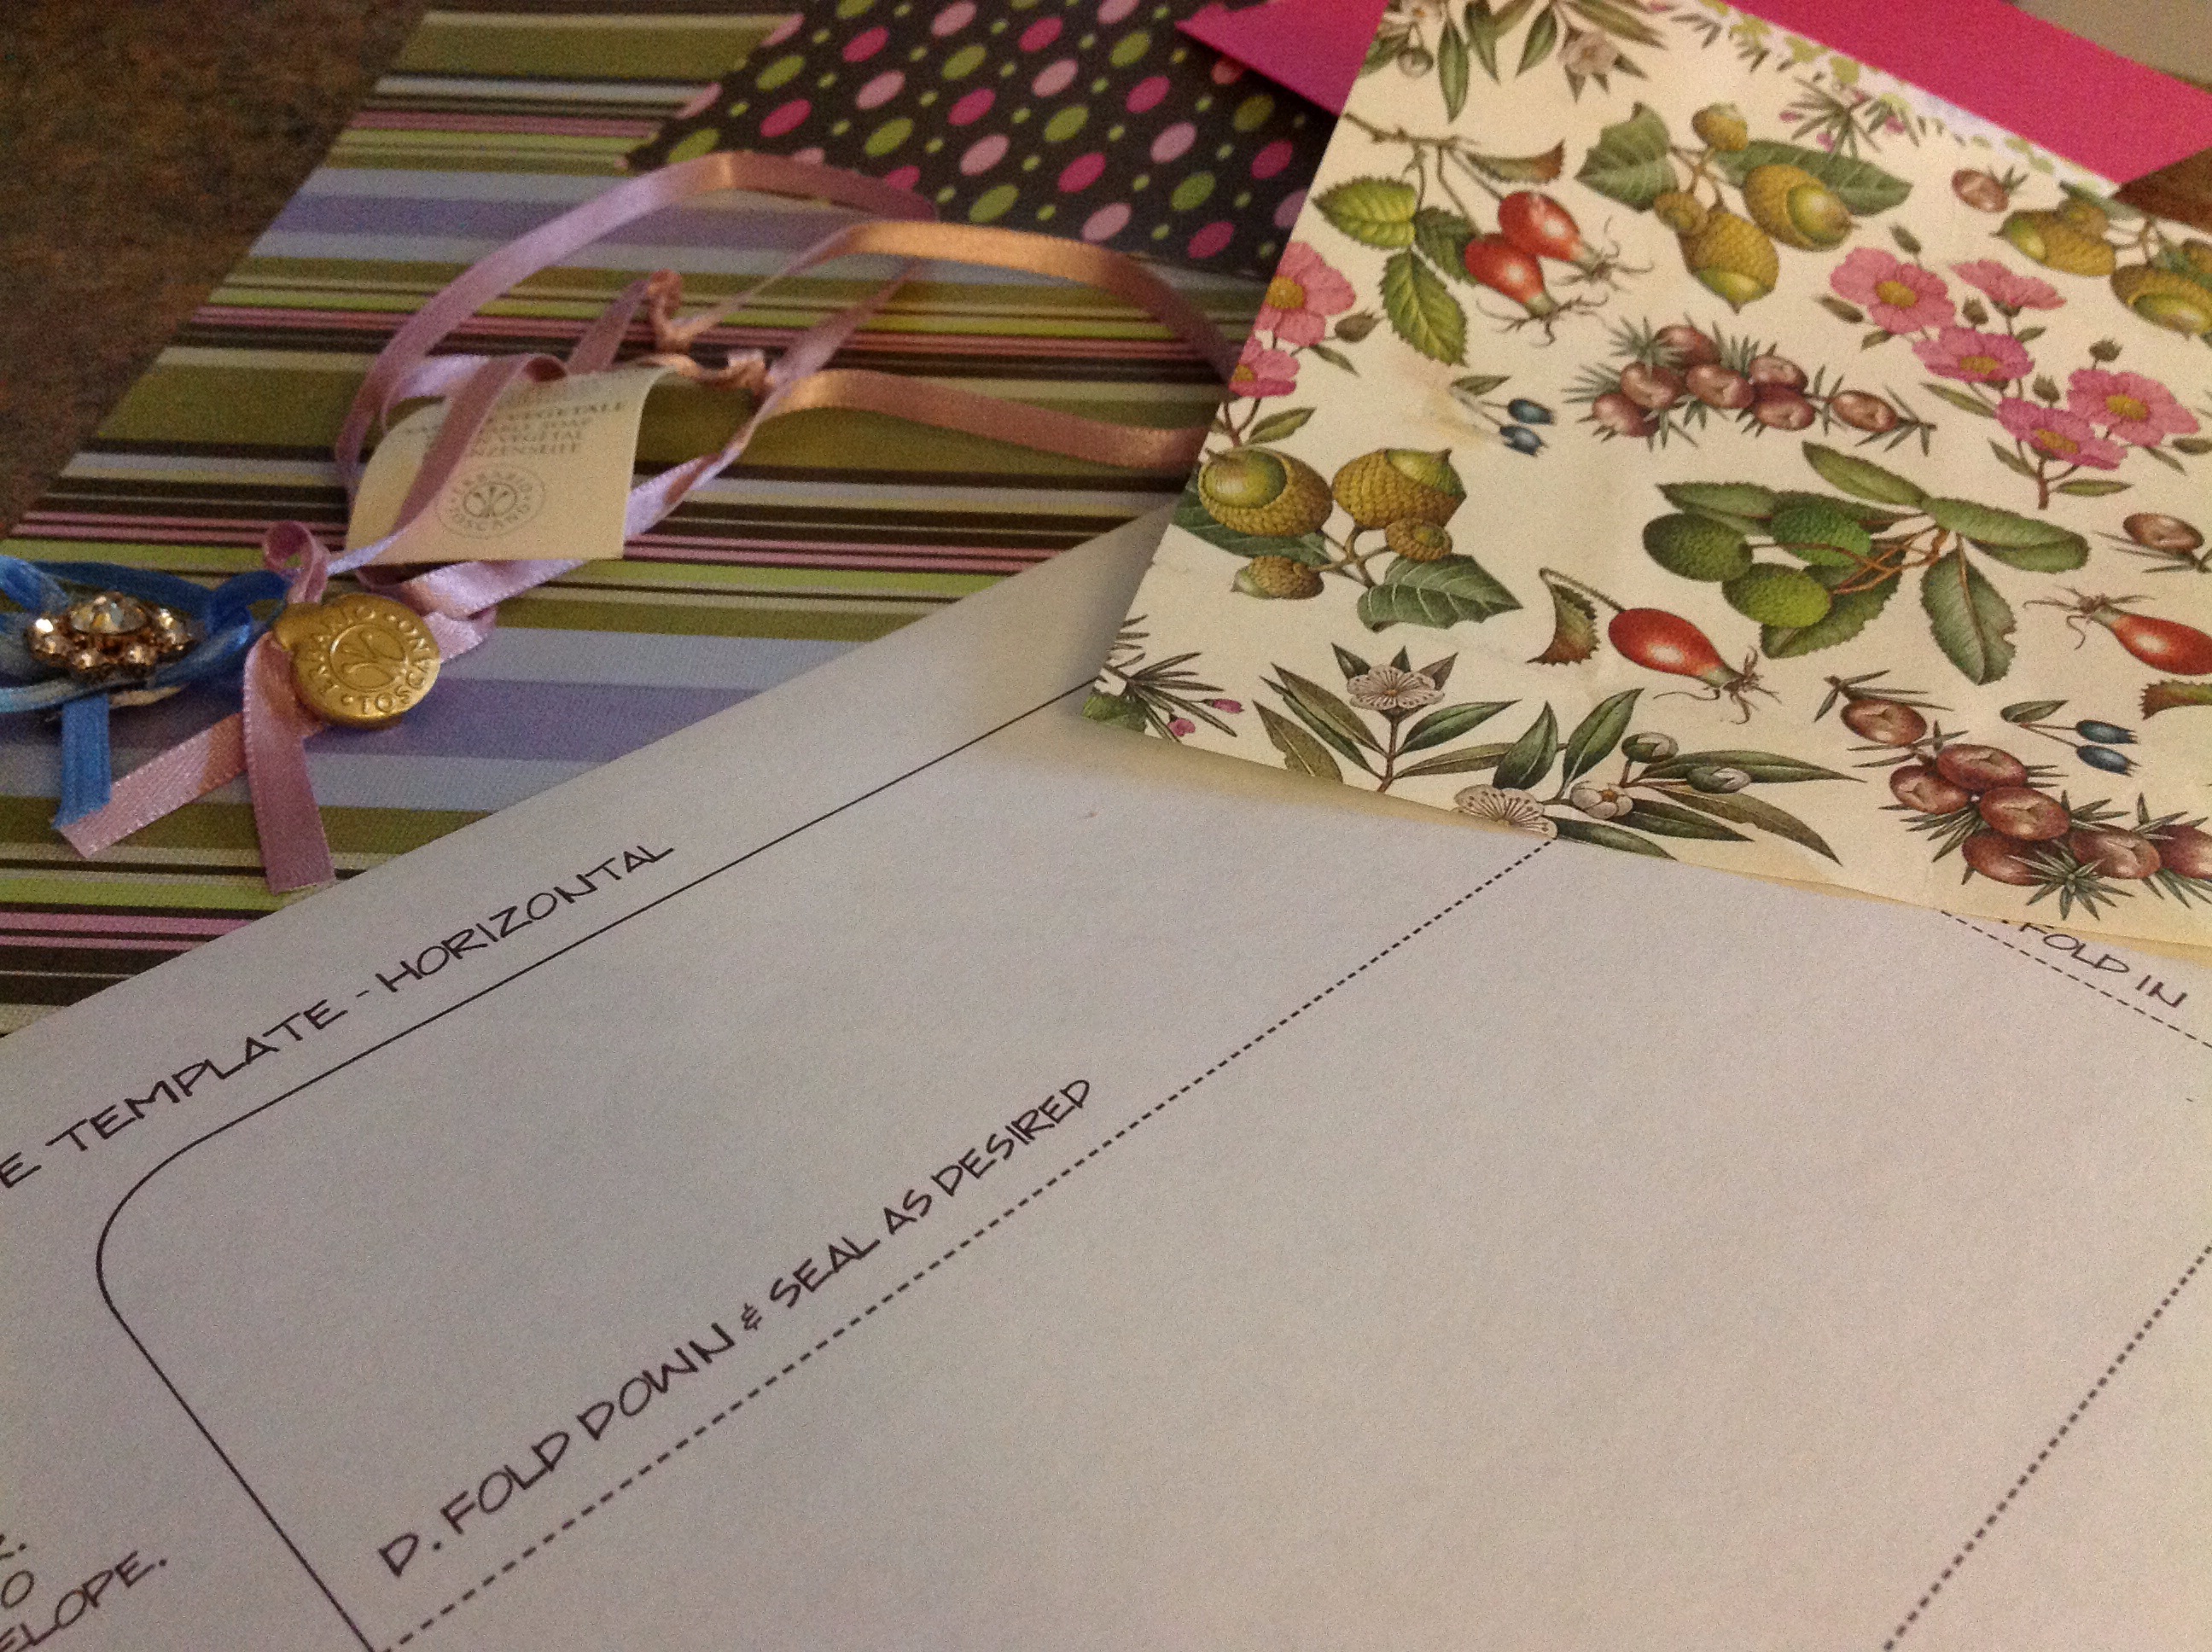
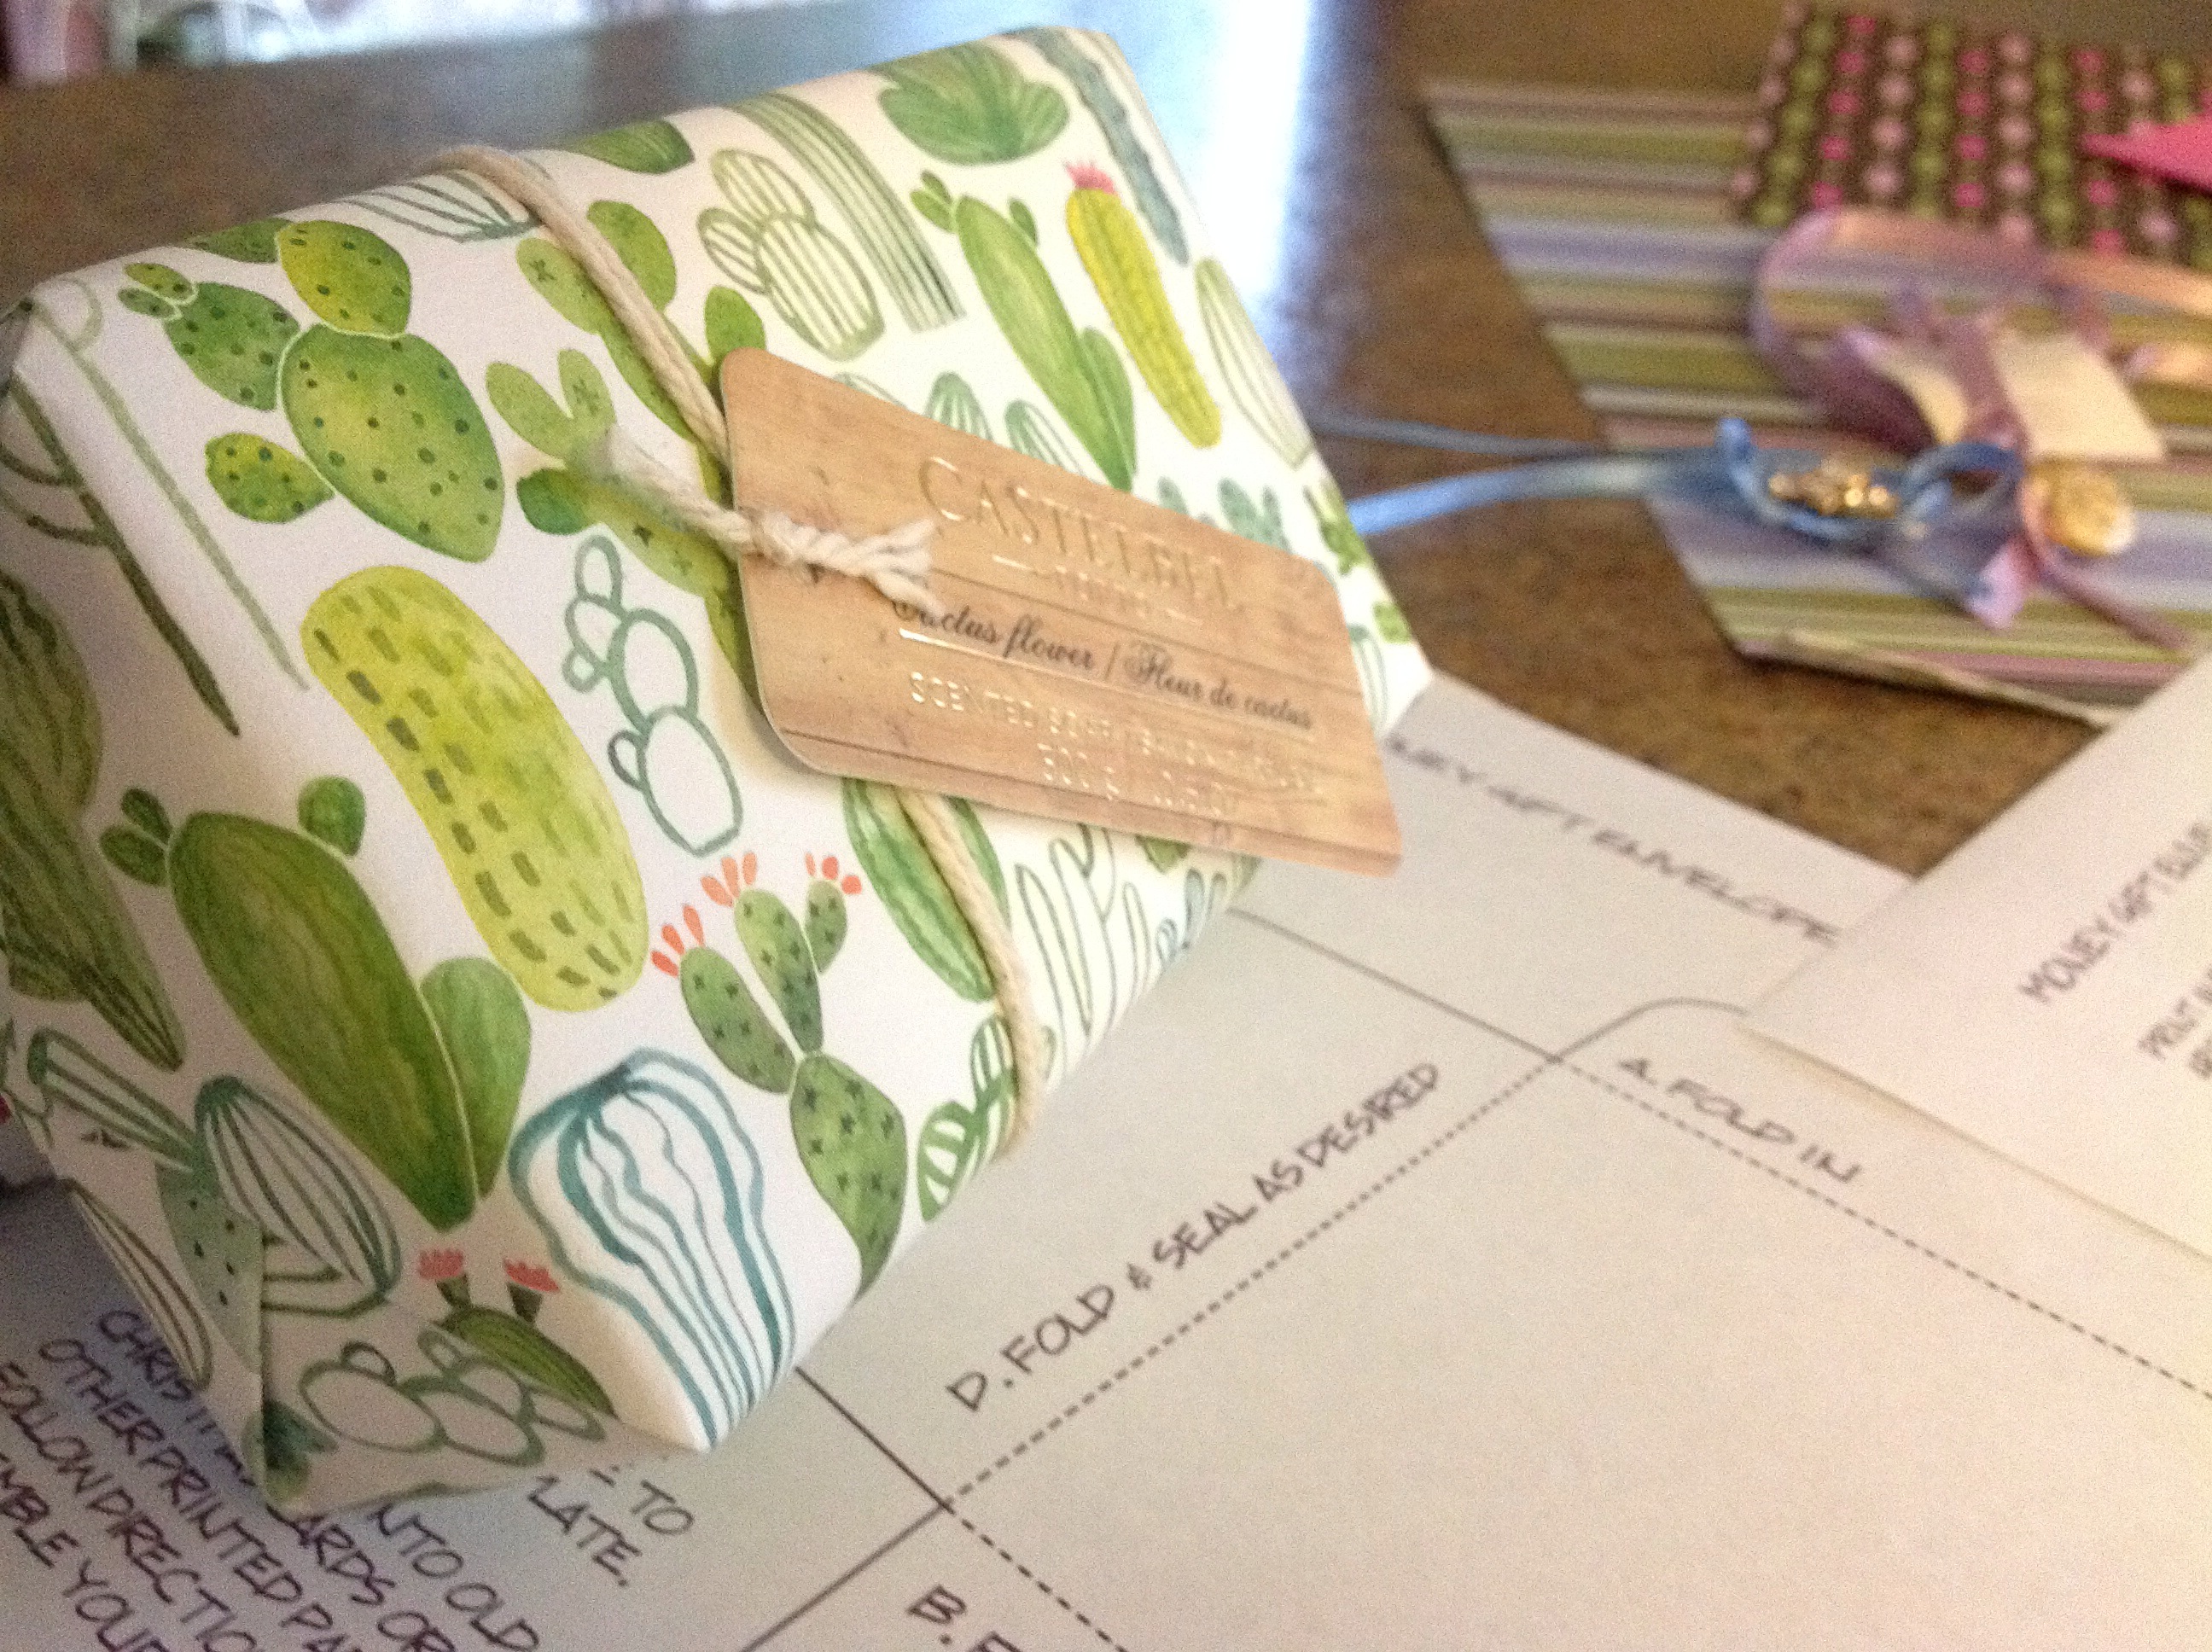
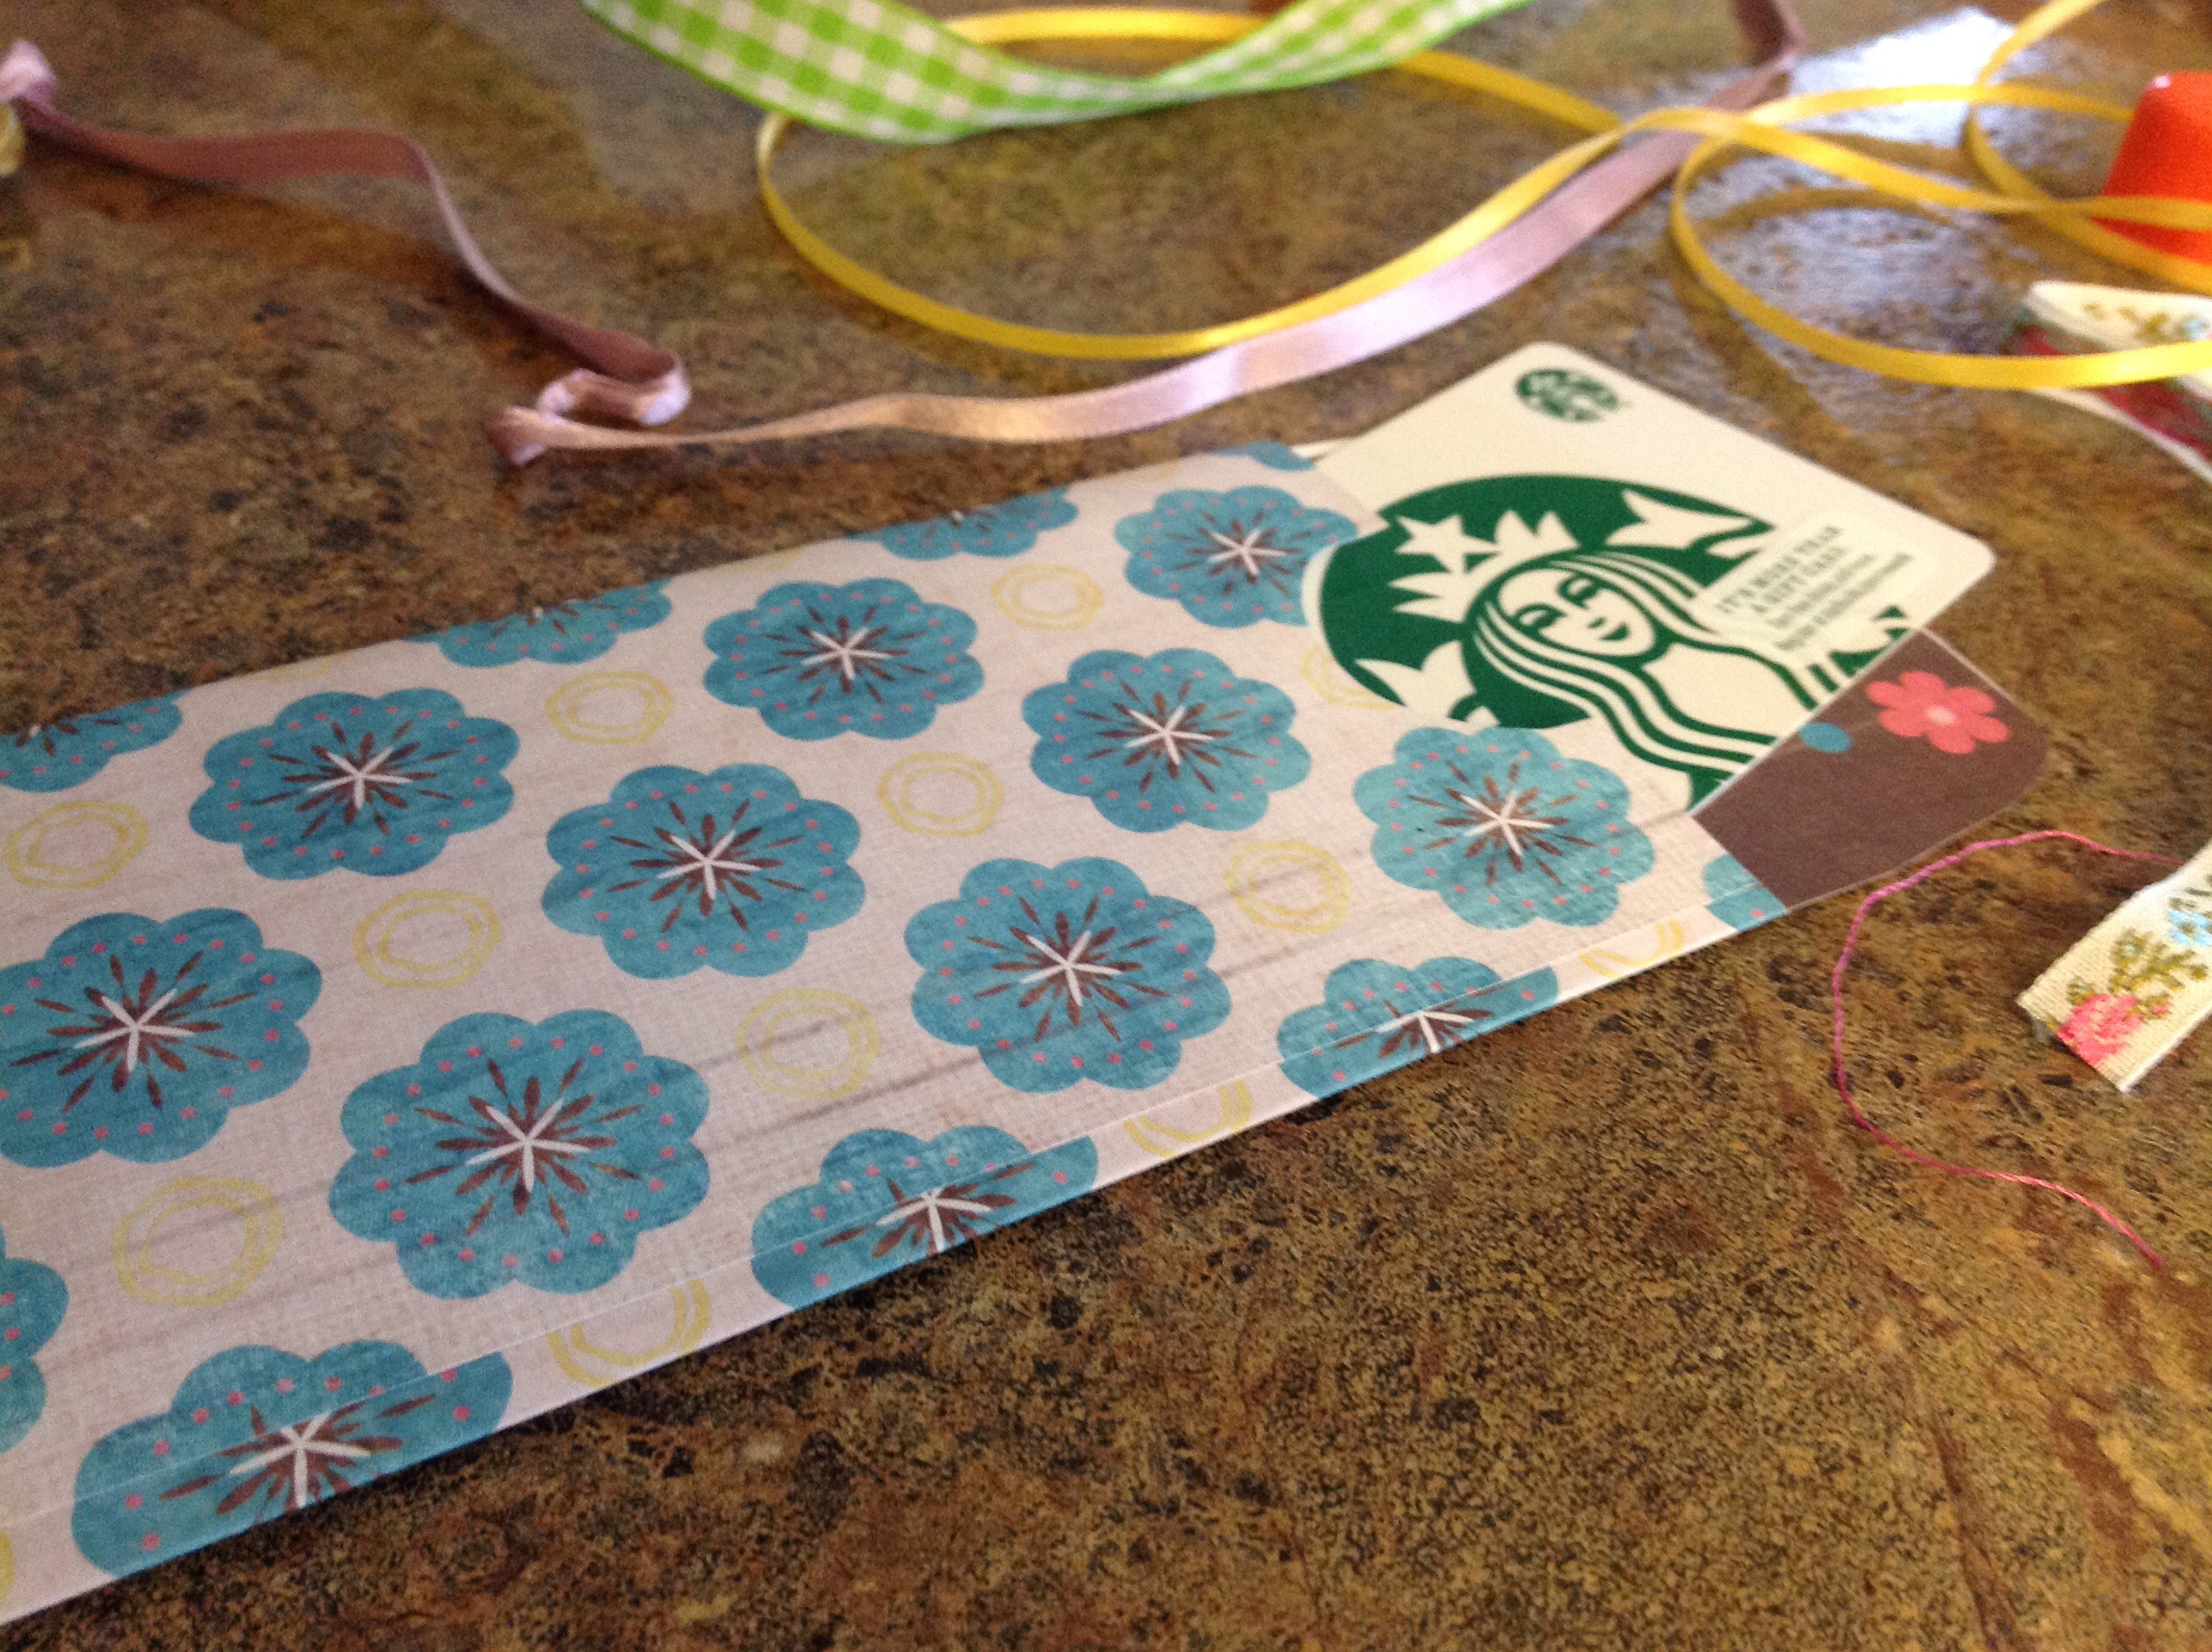
Be creative as you think of ways to “wrap” your gift cards.  Think of using beautiful paper scraps, college themed papers, Christmas wrap, or themed scrap book papers.  I recently purchased some high-end soap from a local discount store.  The soap was wrapped in a beautiful heavy weight paper that I just couldn’t throw away.  This gave me the idea to use the paper as a wrap for a small gift; hence, a gift wrap for the gift card.  Here’s what I did…

I found a template here. Or, Google various gift card envelope images for the shape you prefer.


I gathered an assortment of scrap paper, and the beautiful wrapping paper found on some milled soaps.
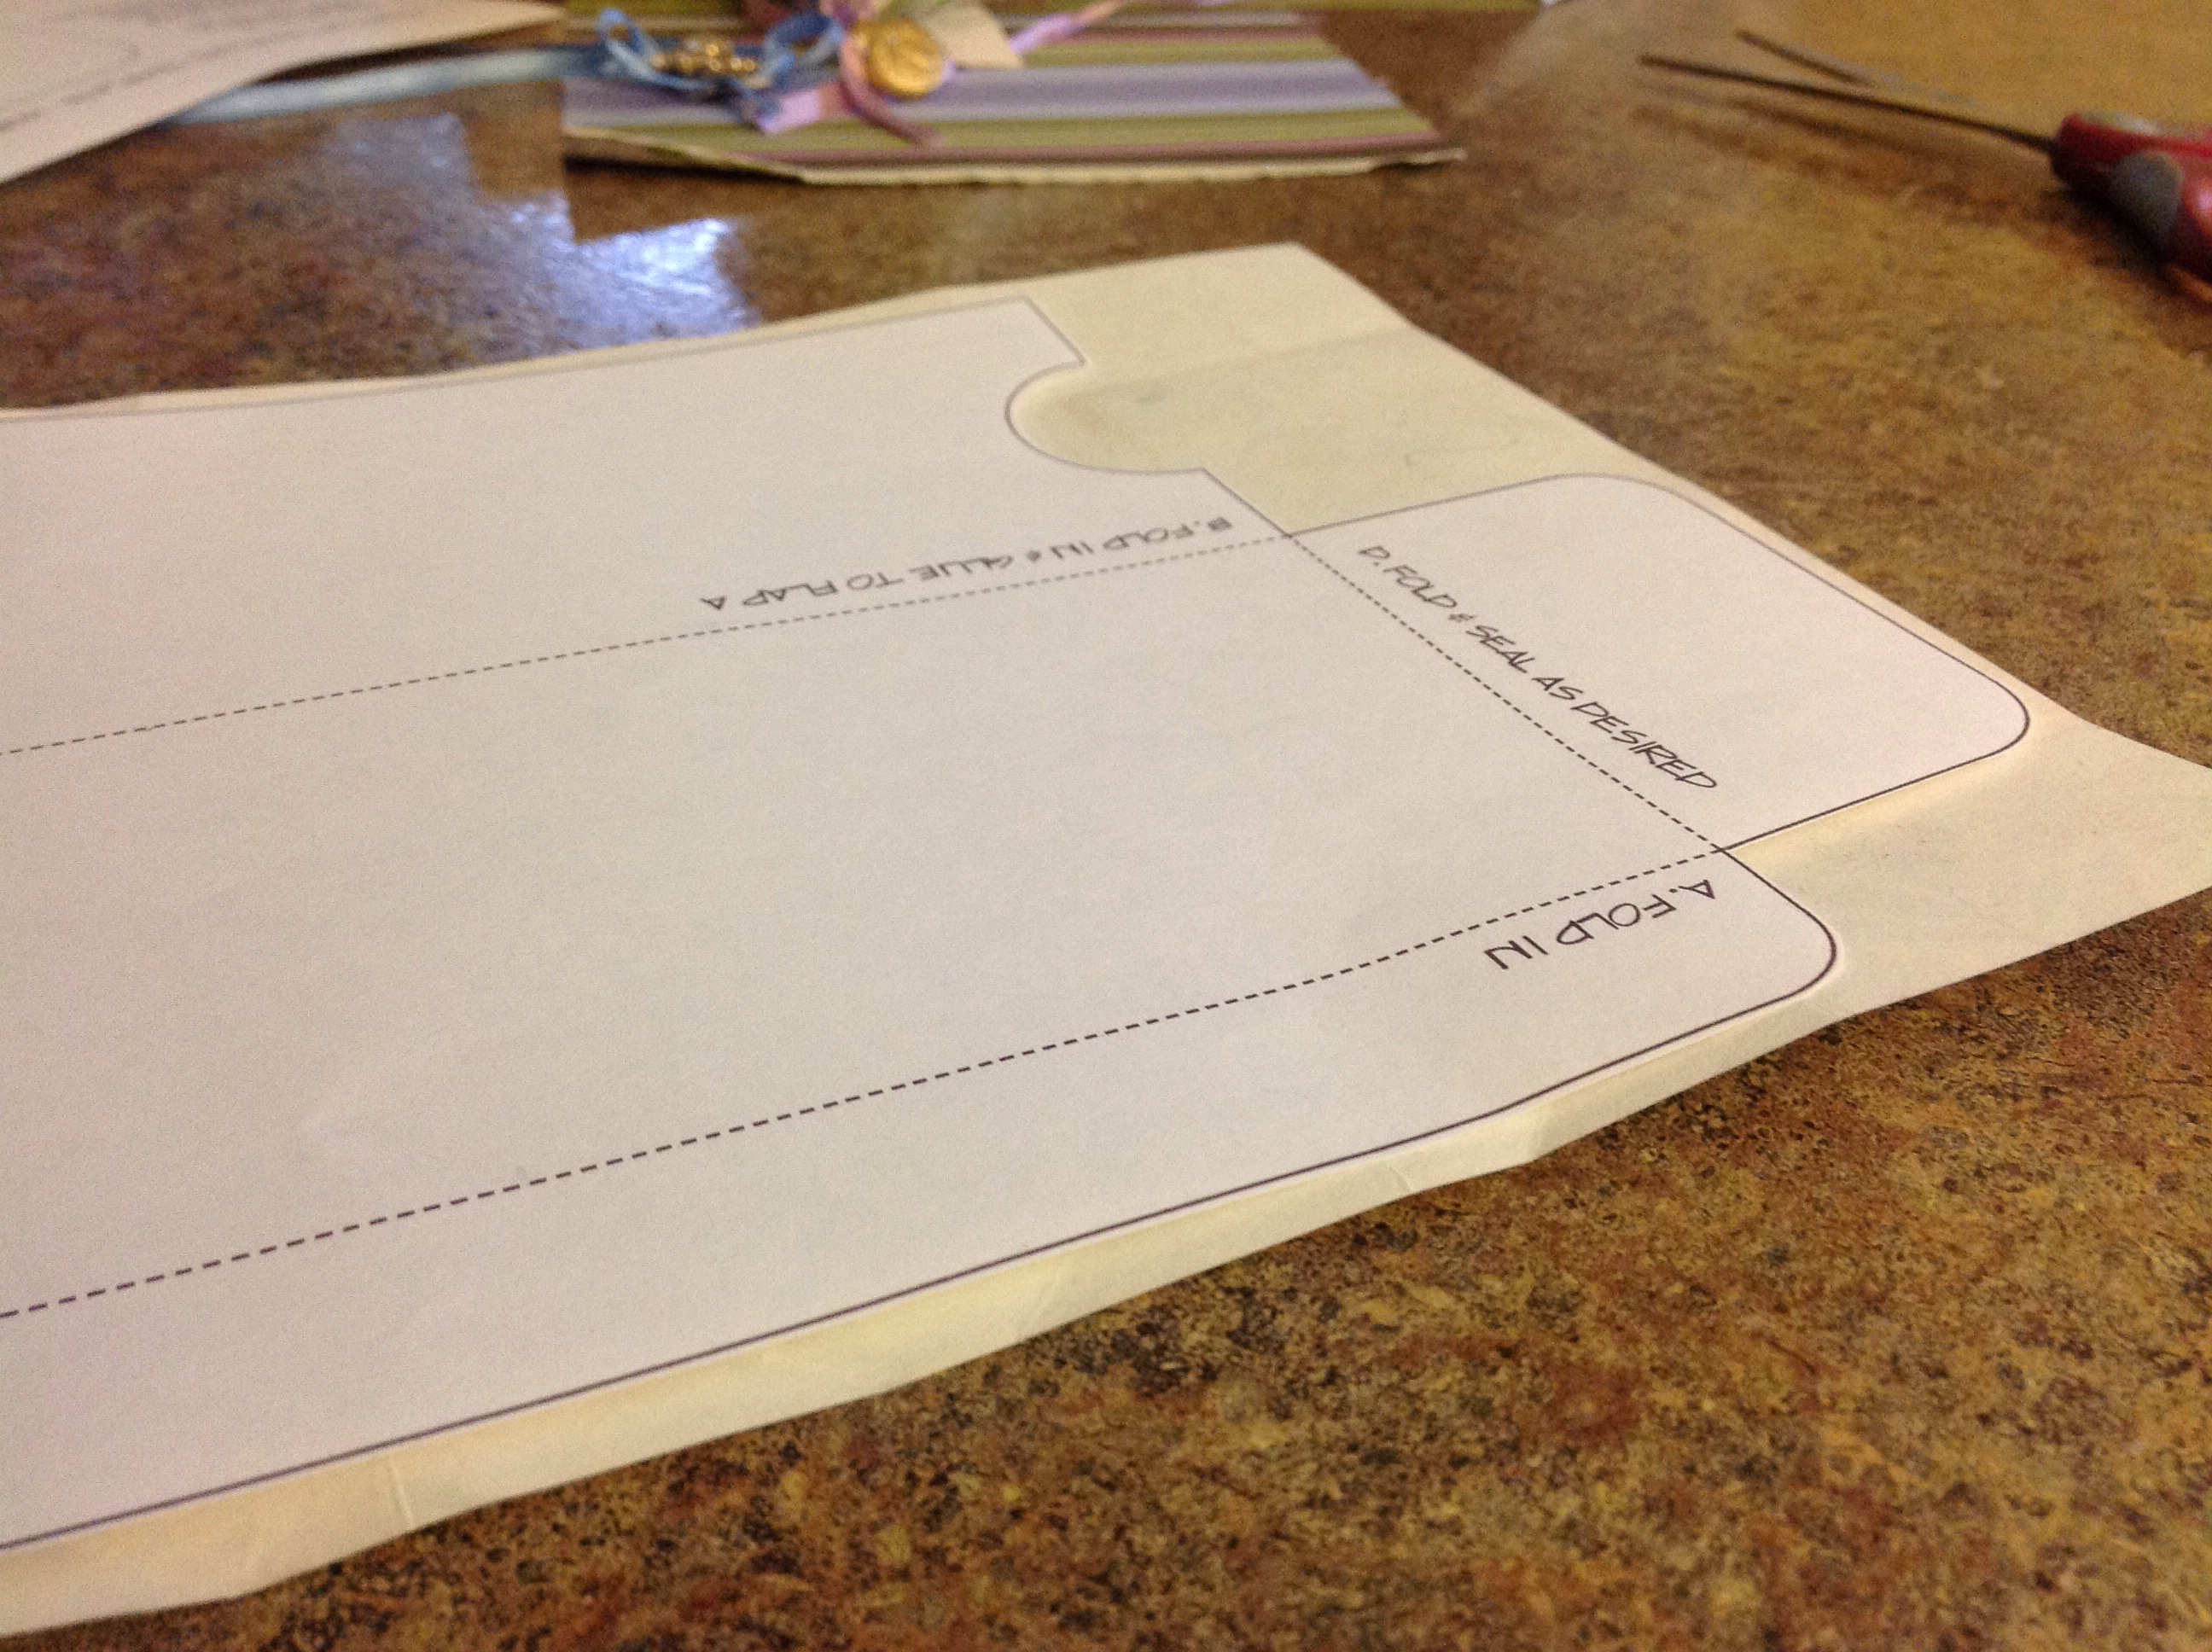
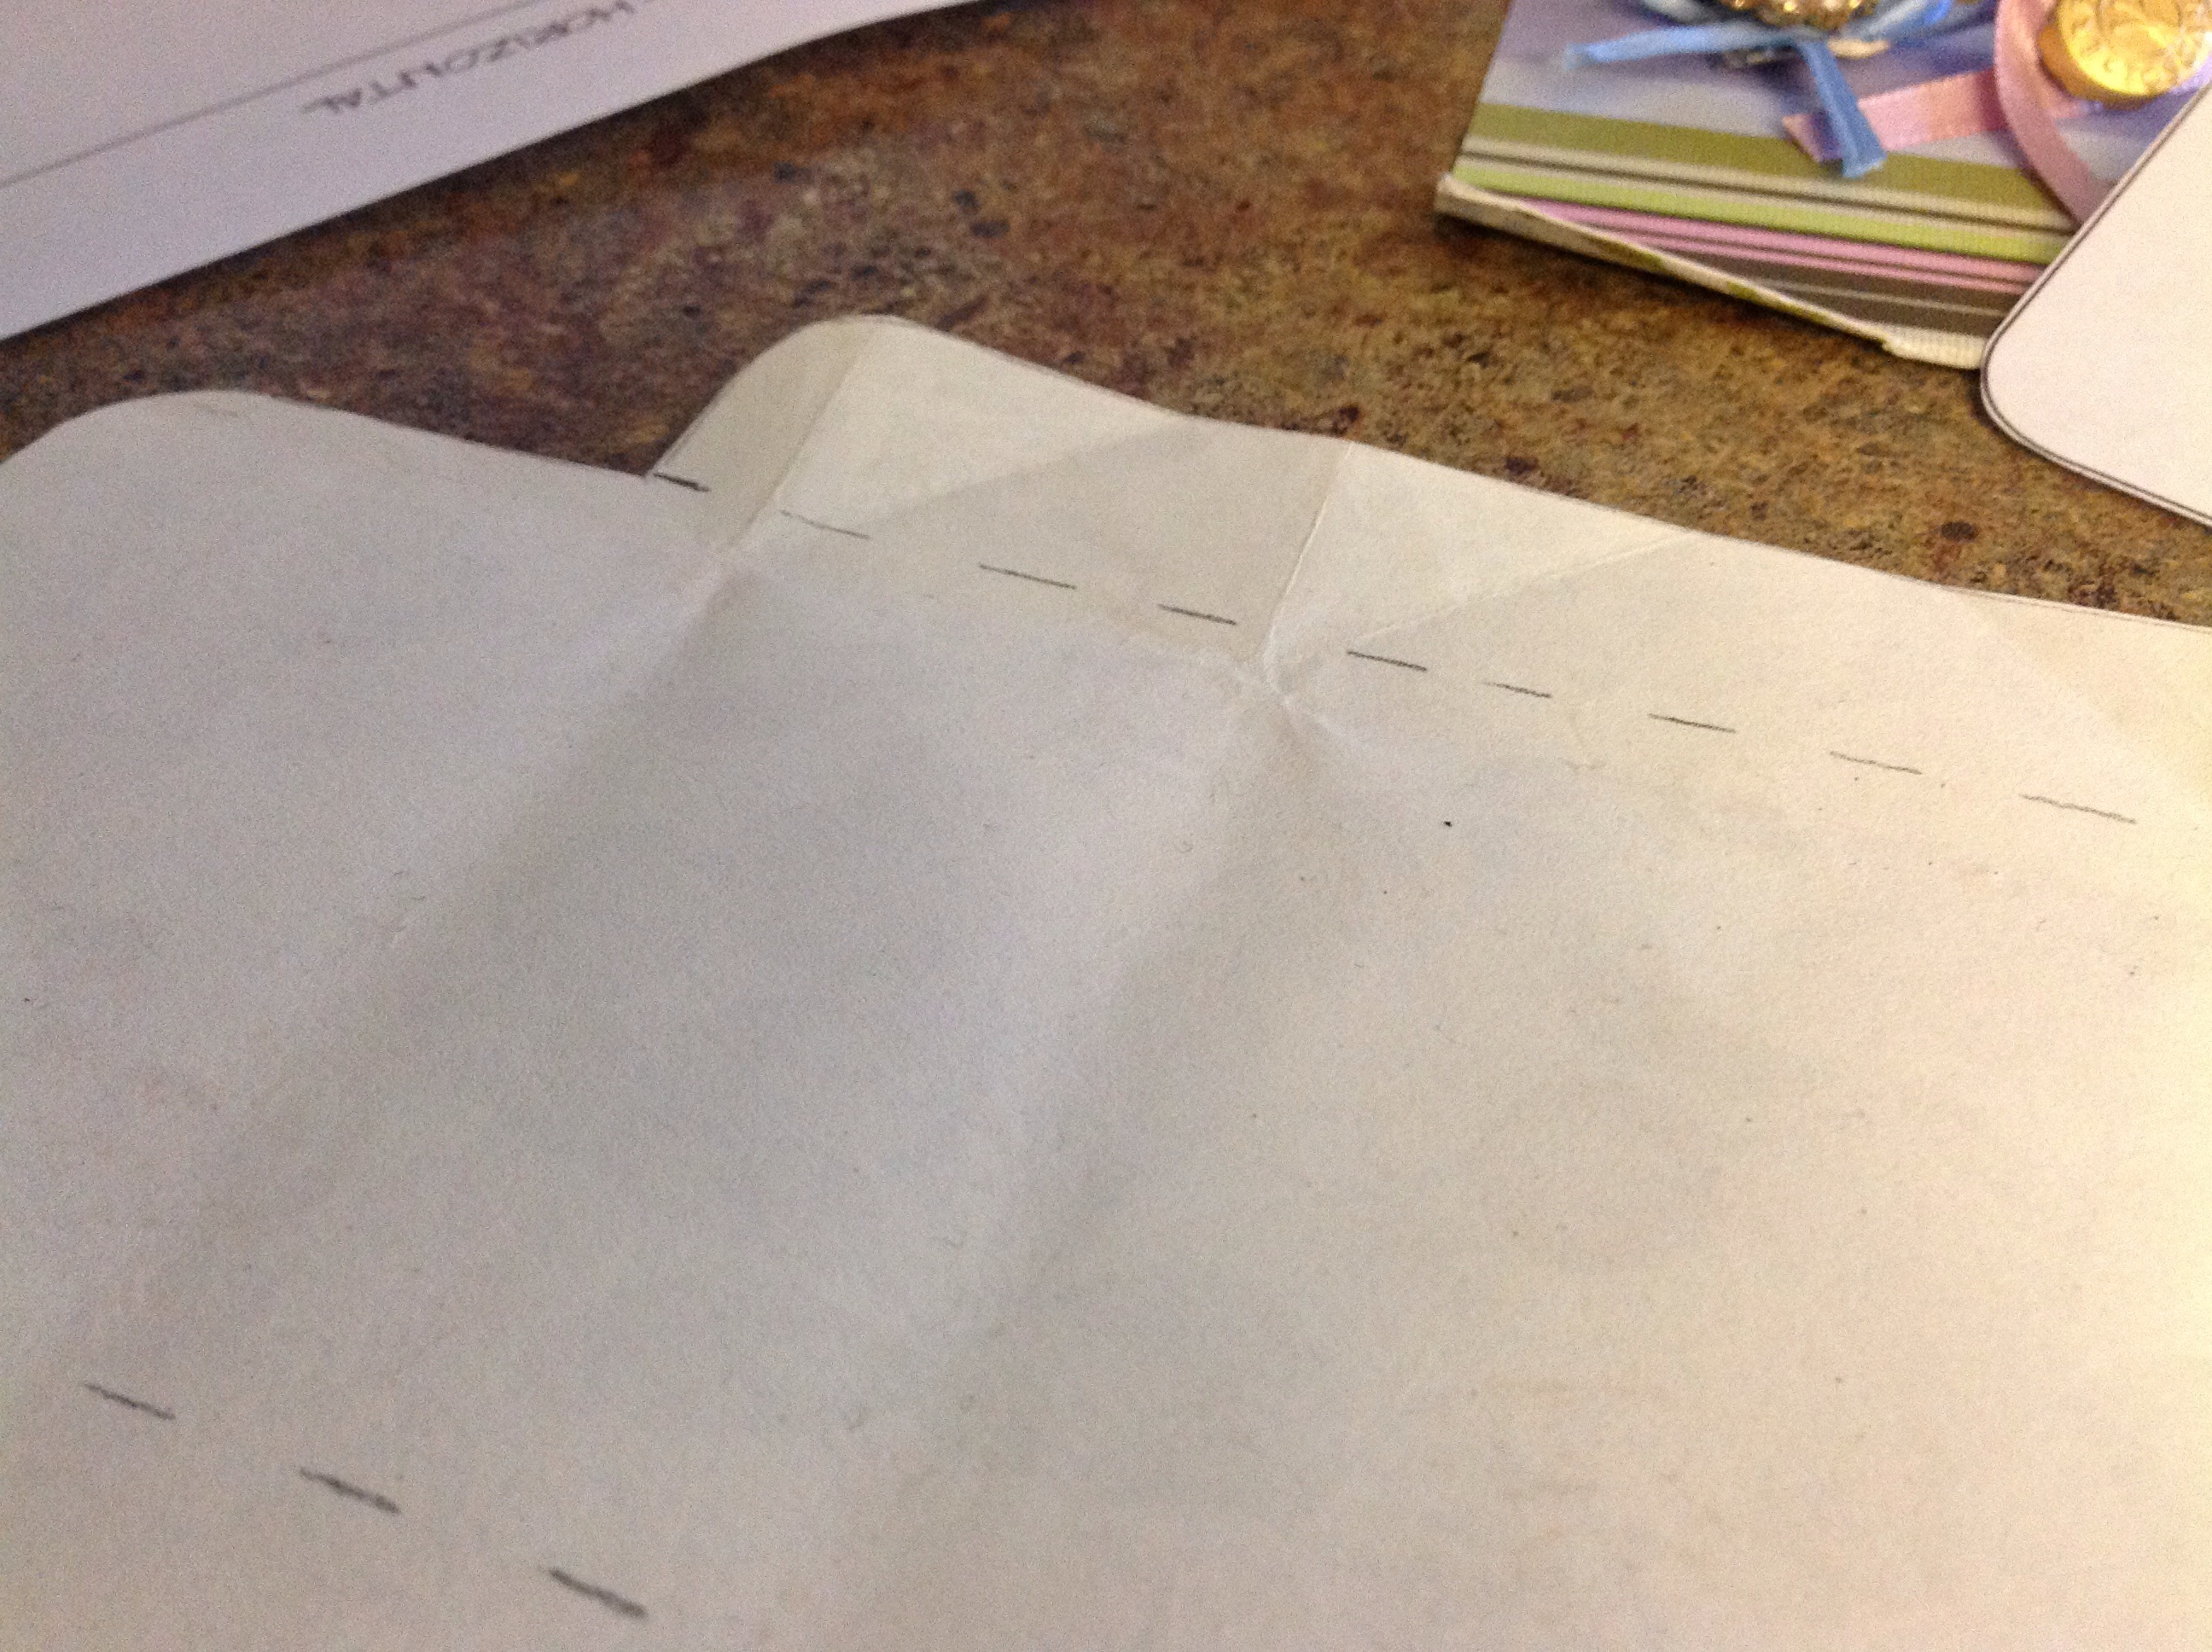
I printed the template and traced the outline on various scraps.I penciled in some fold lines.
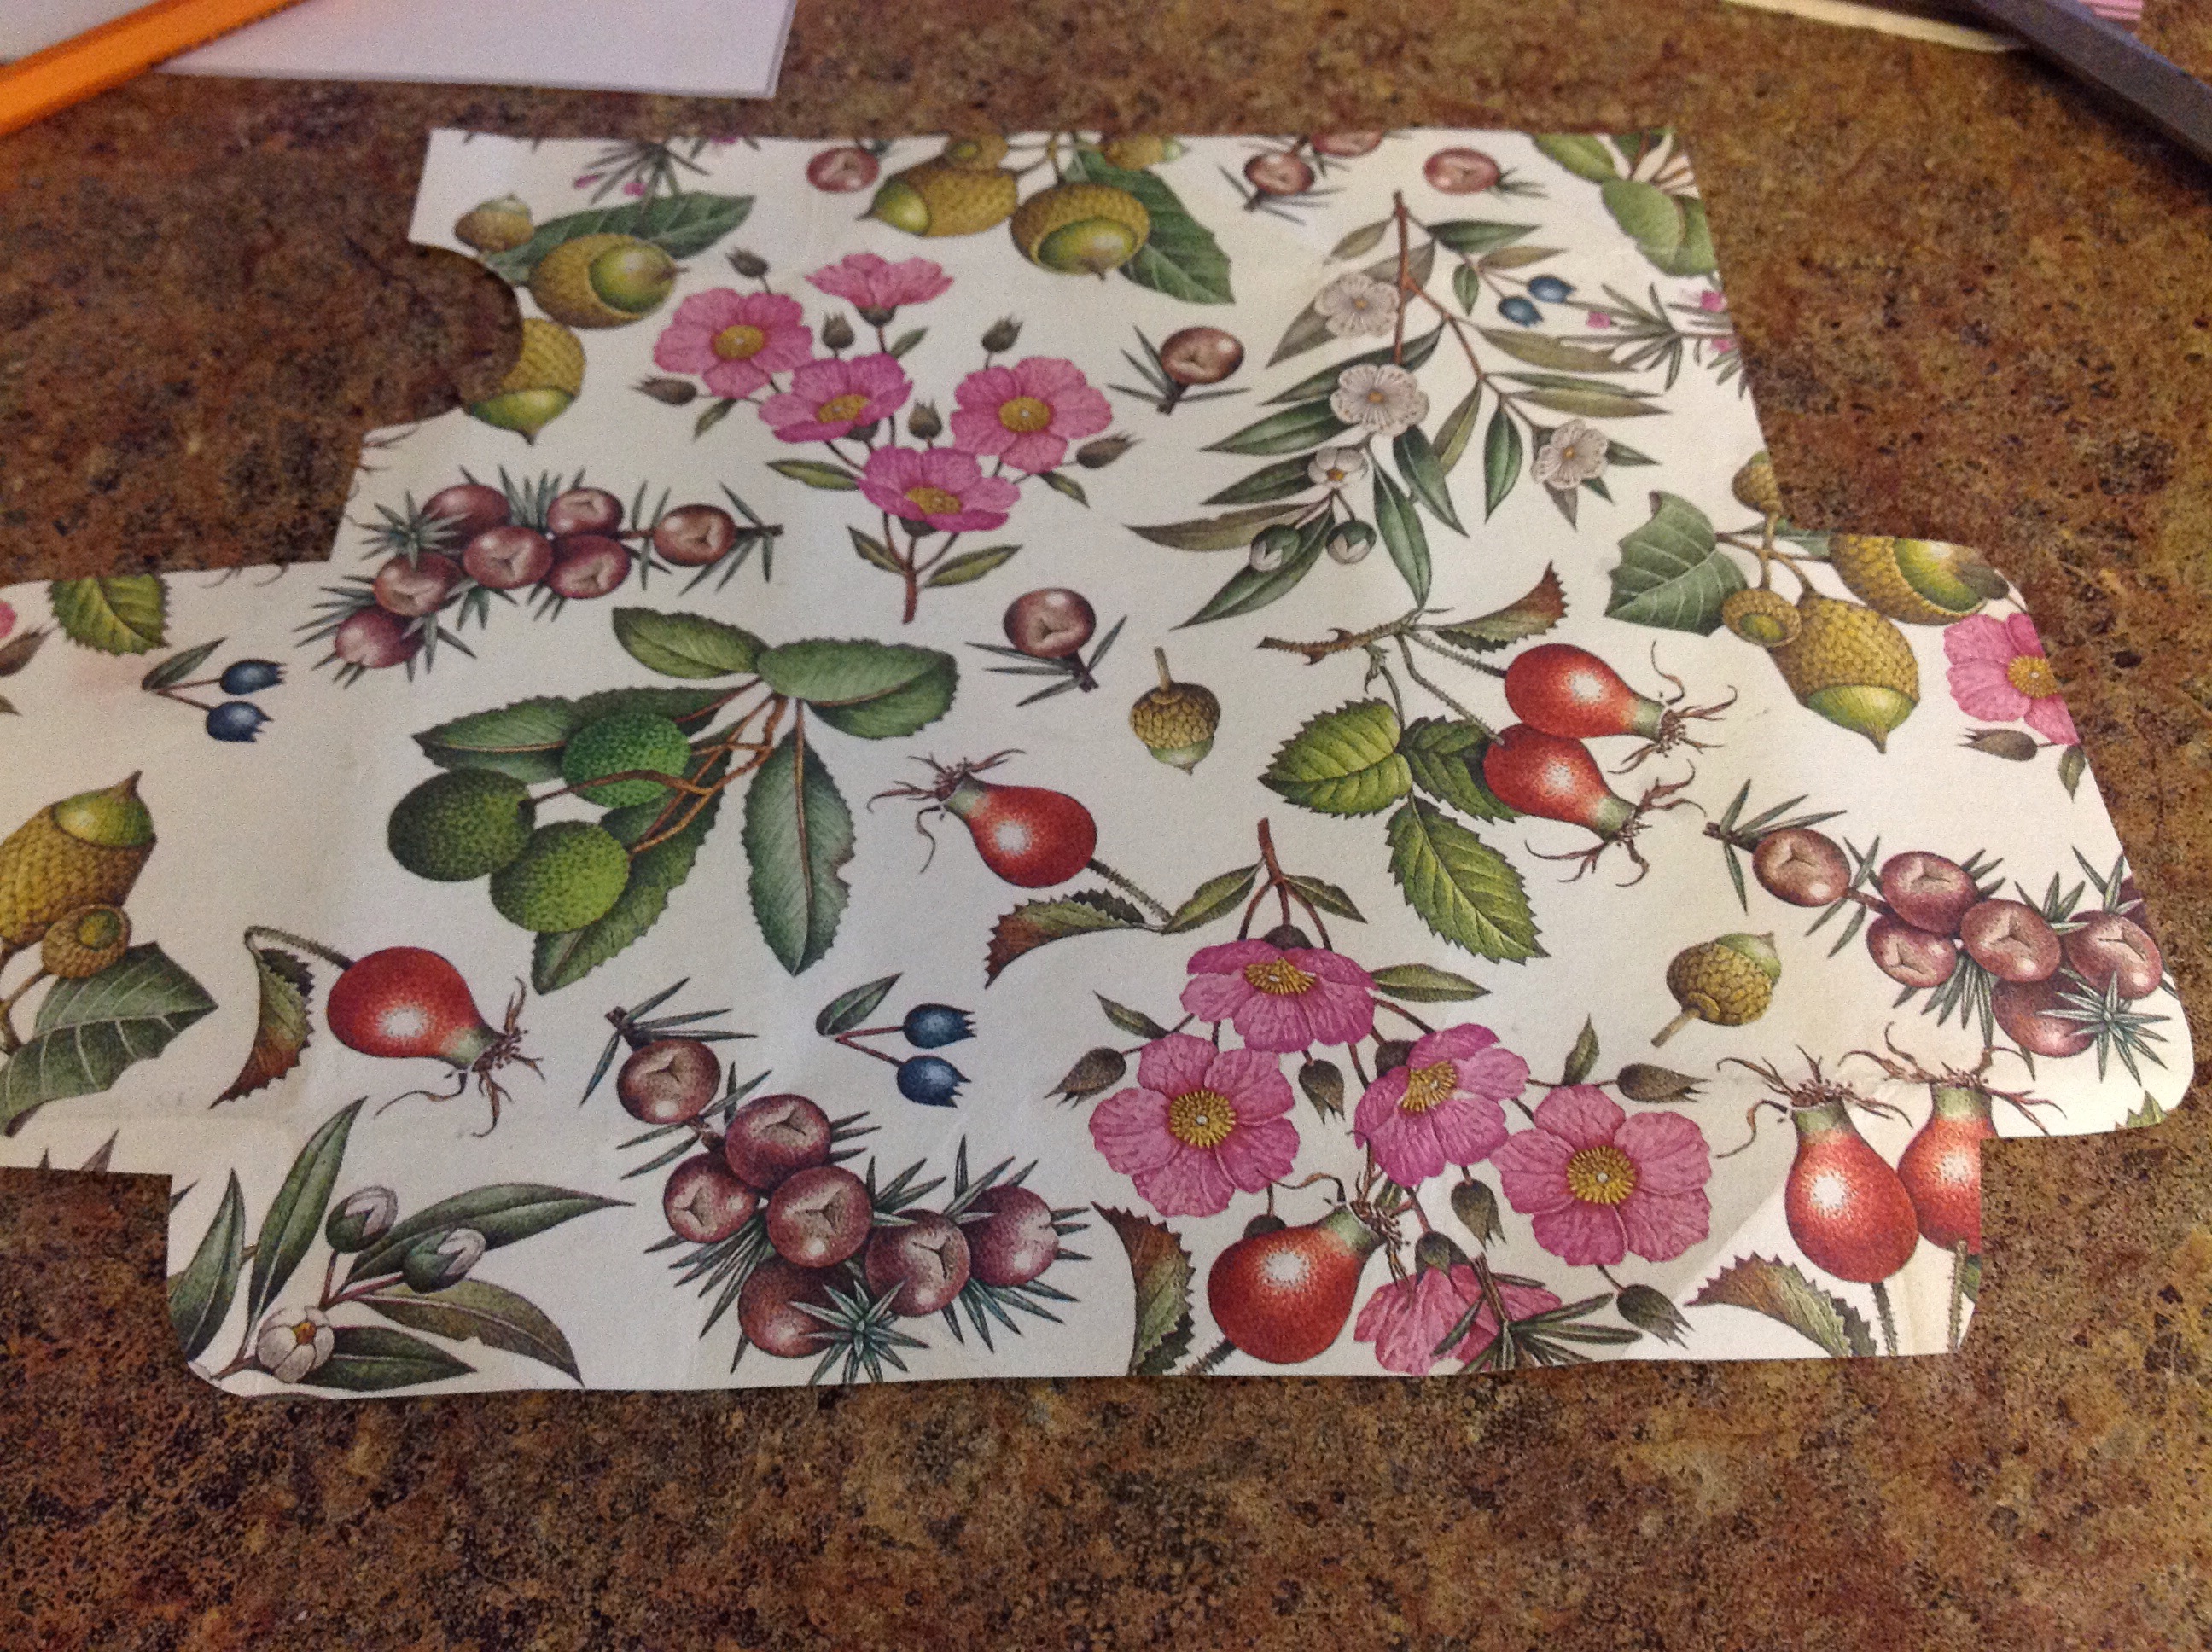
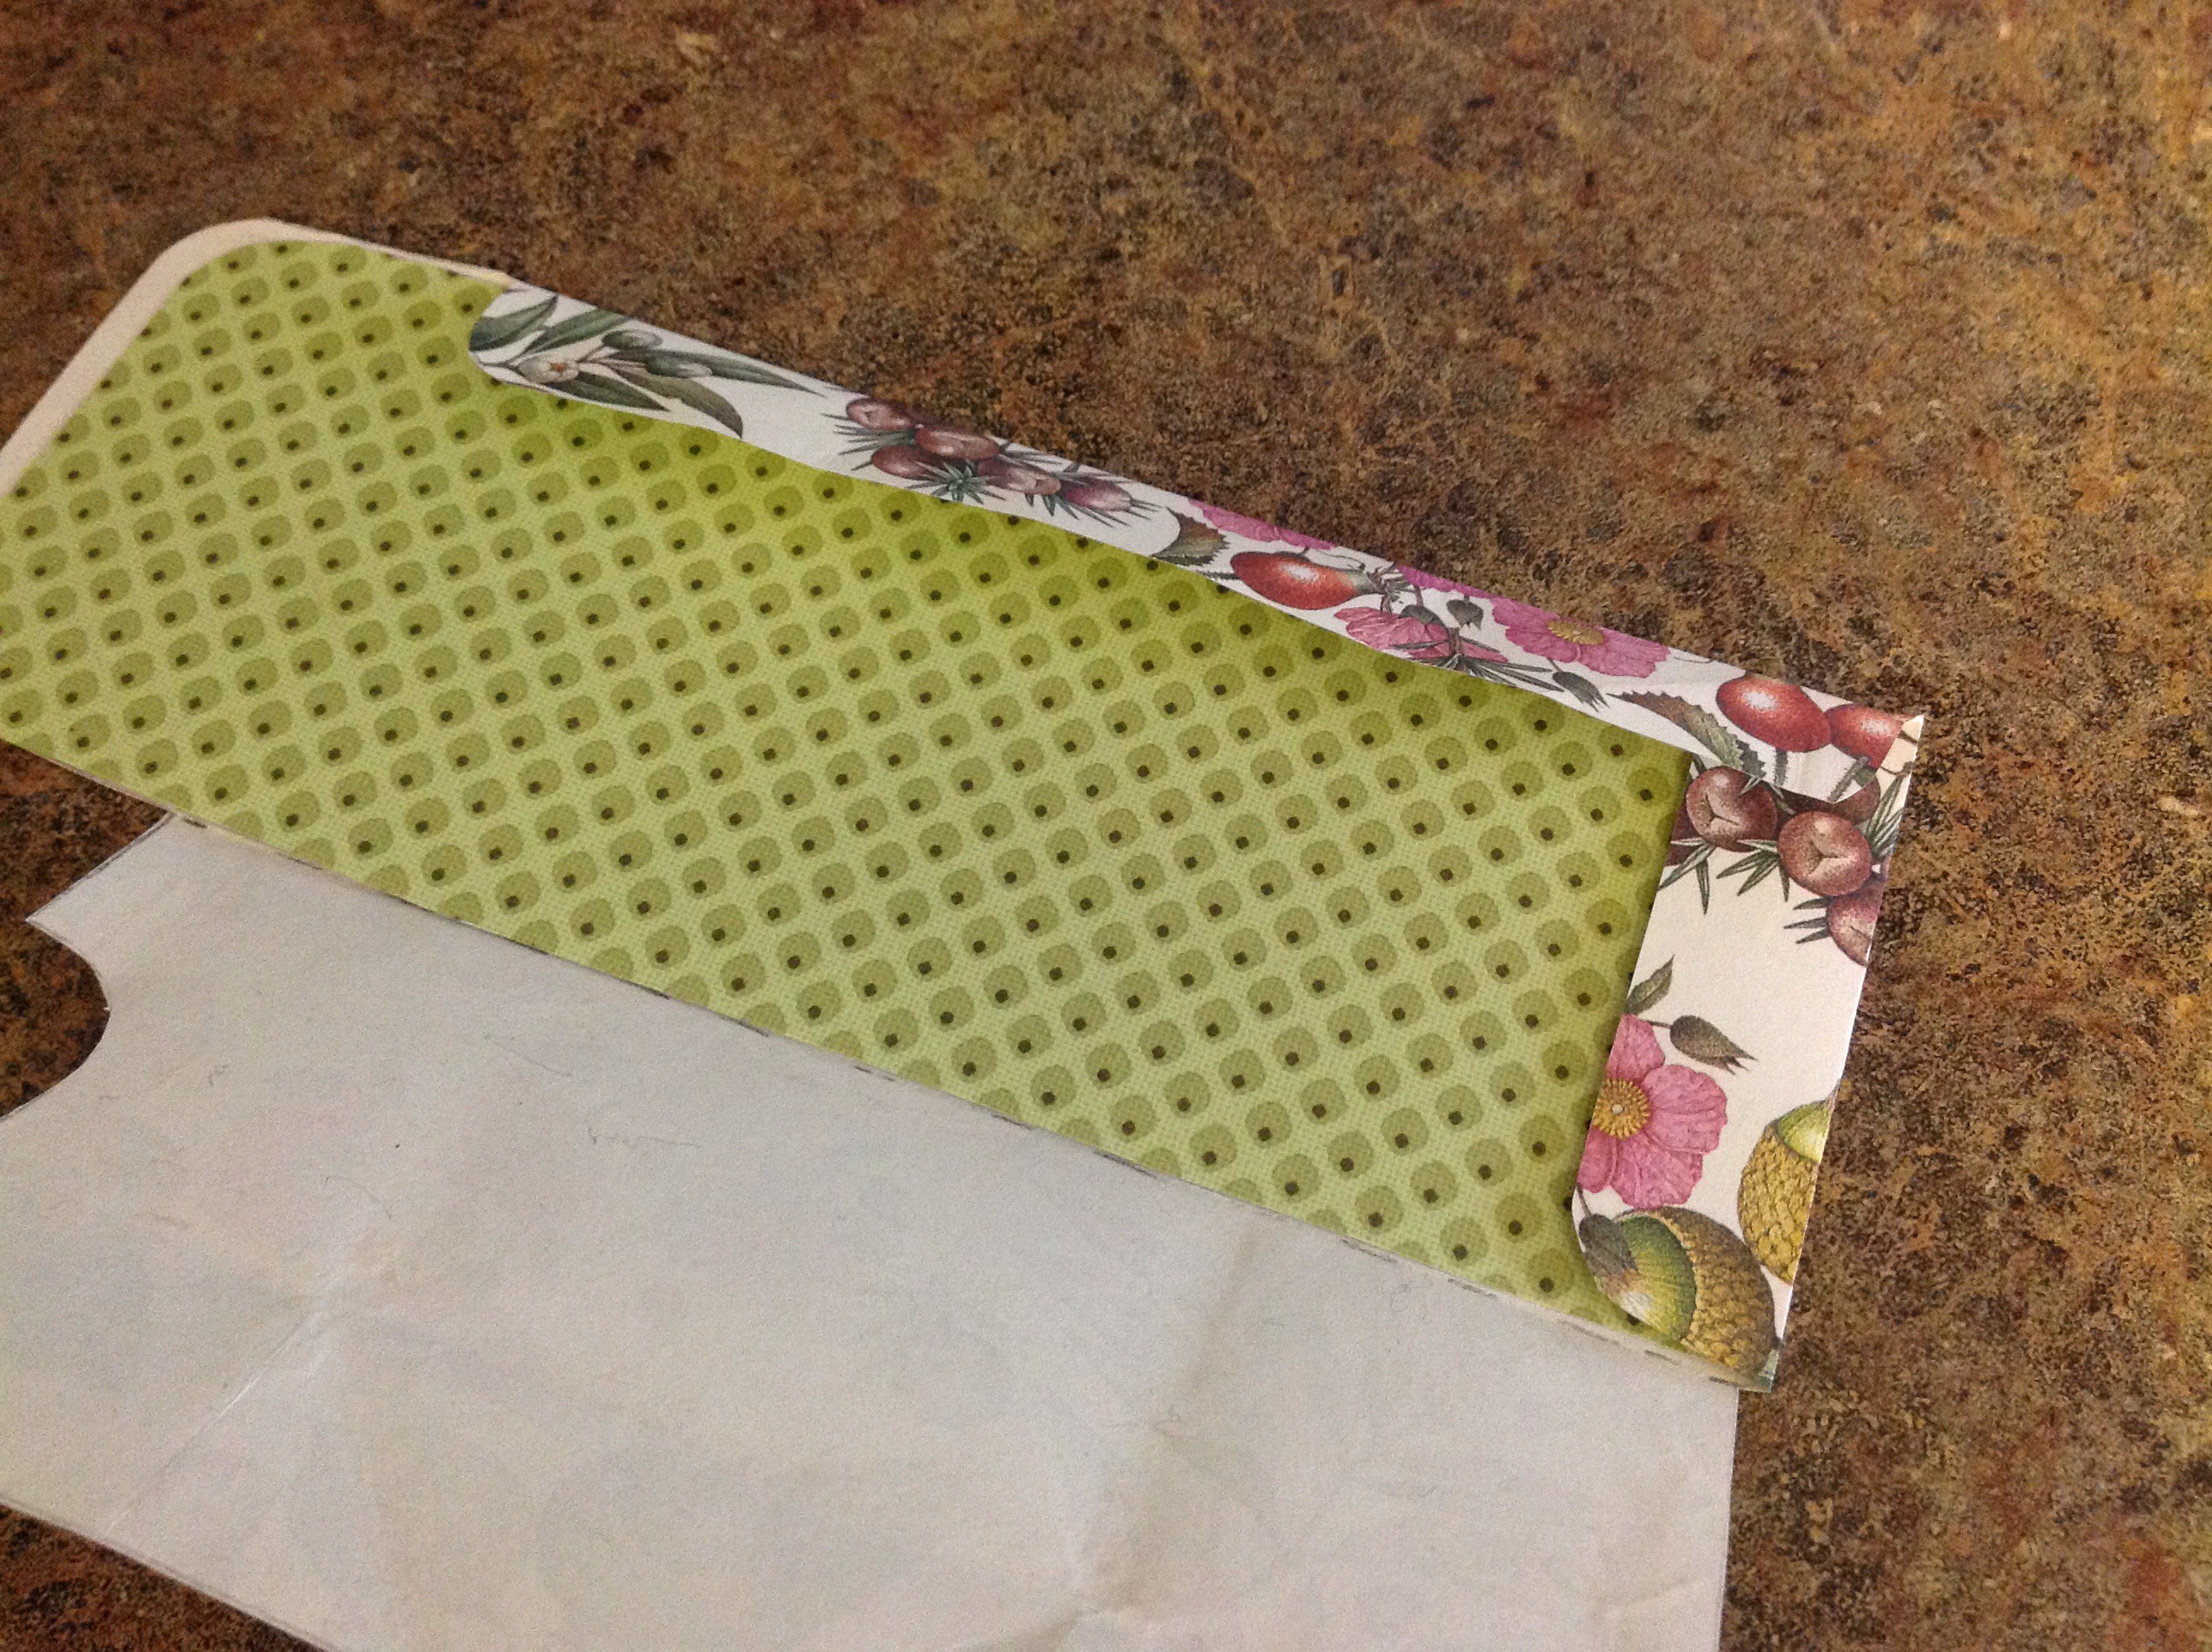
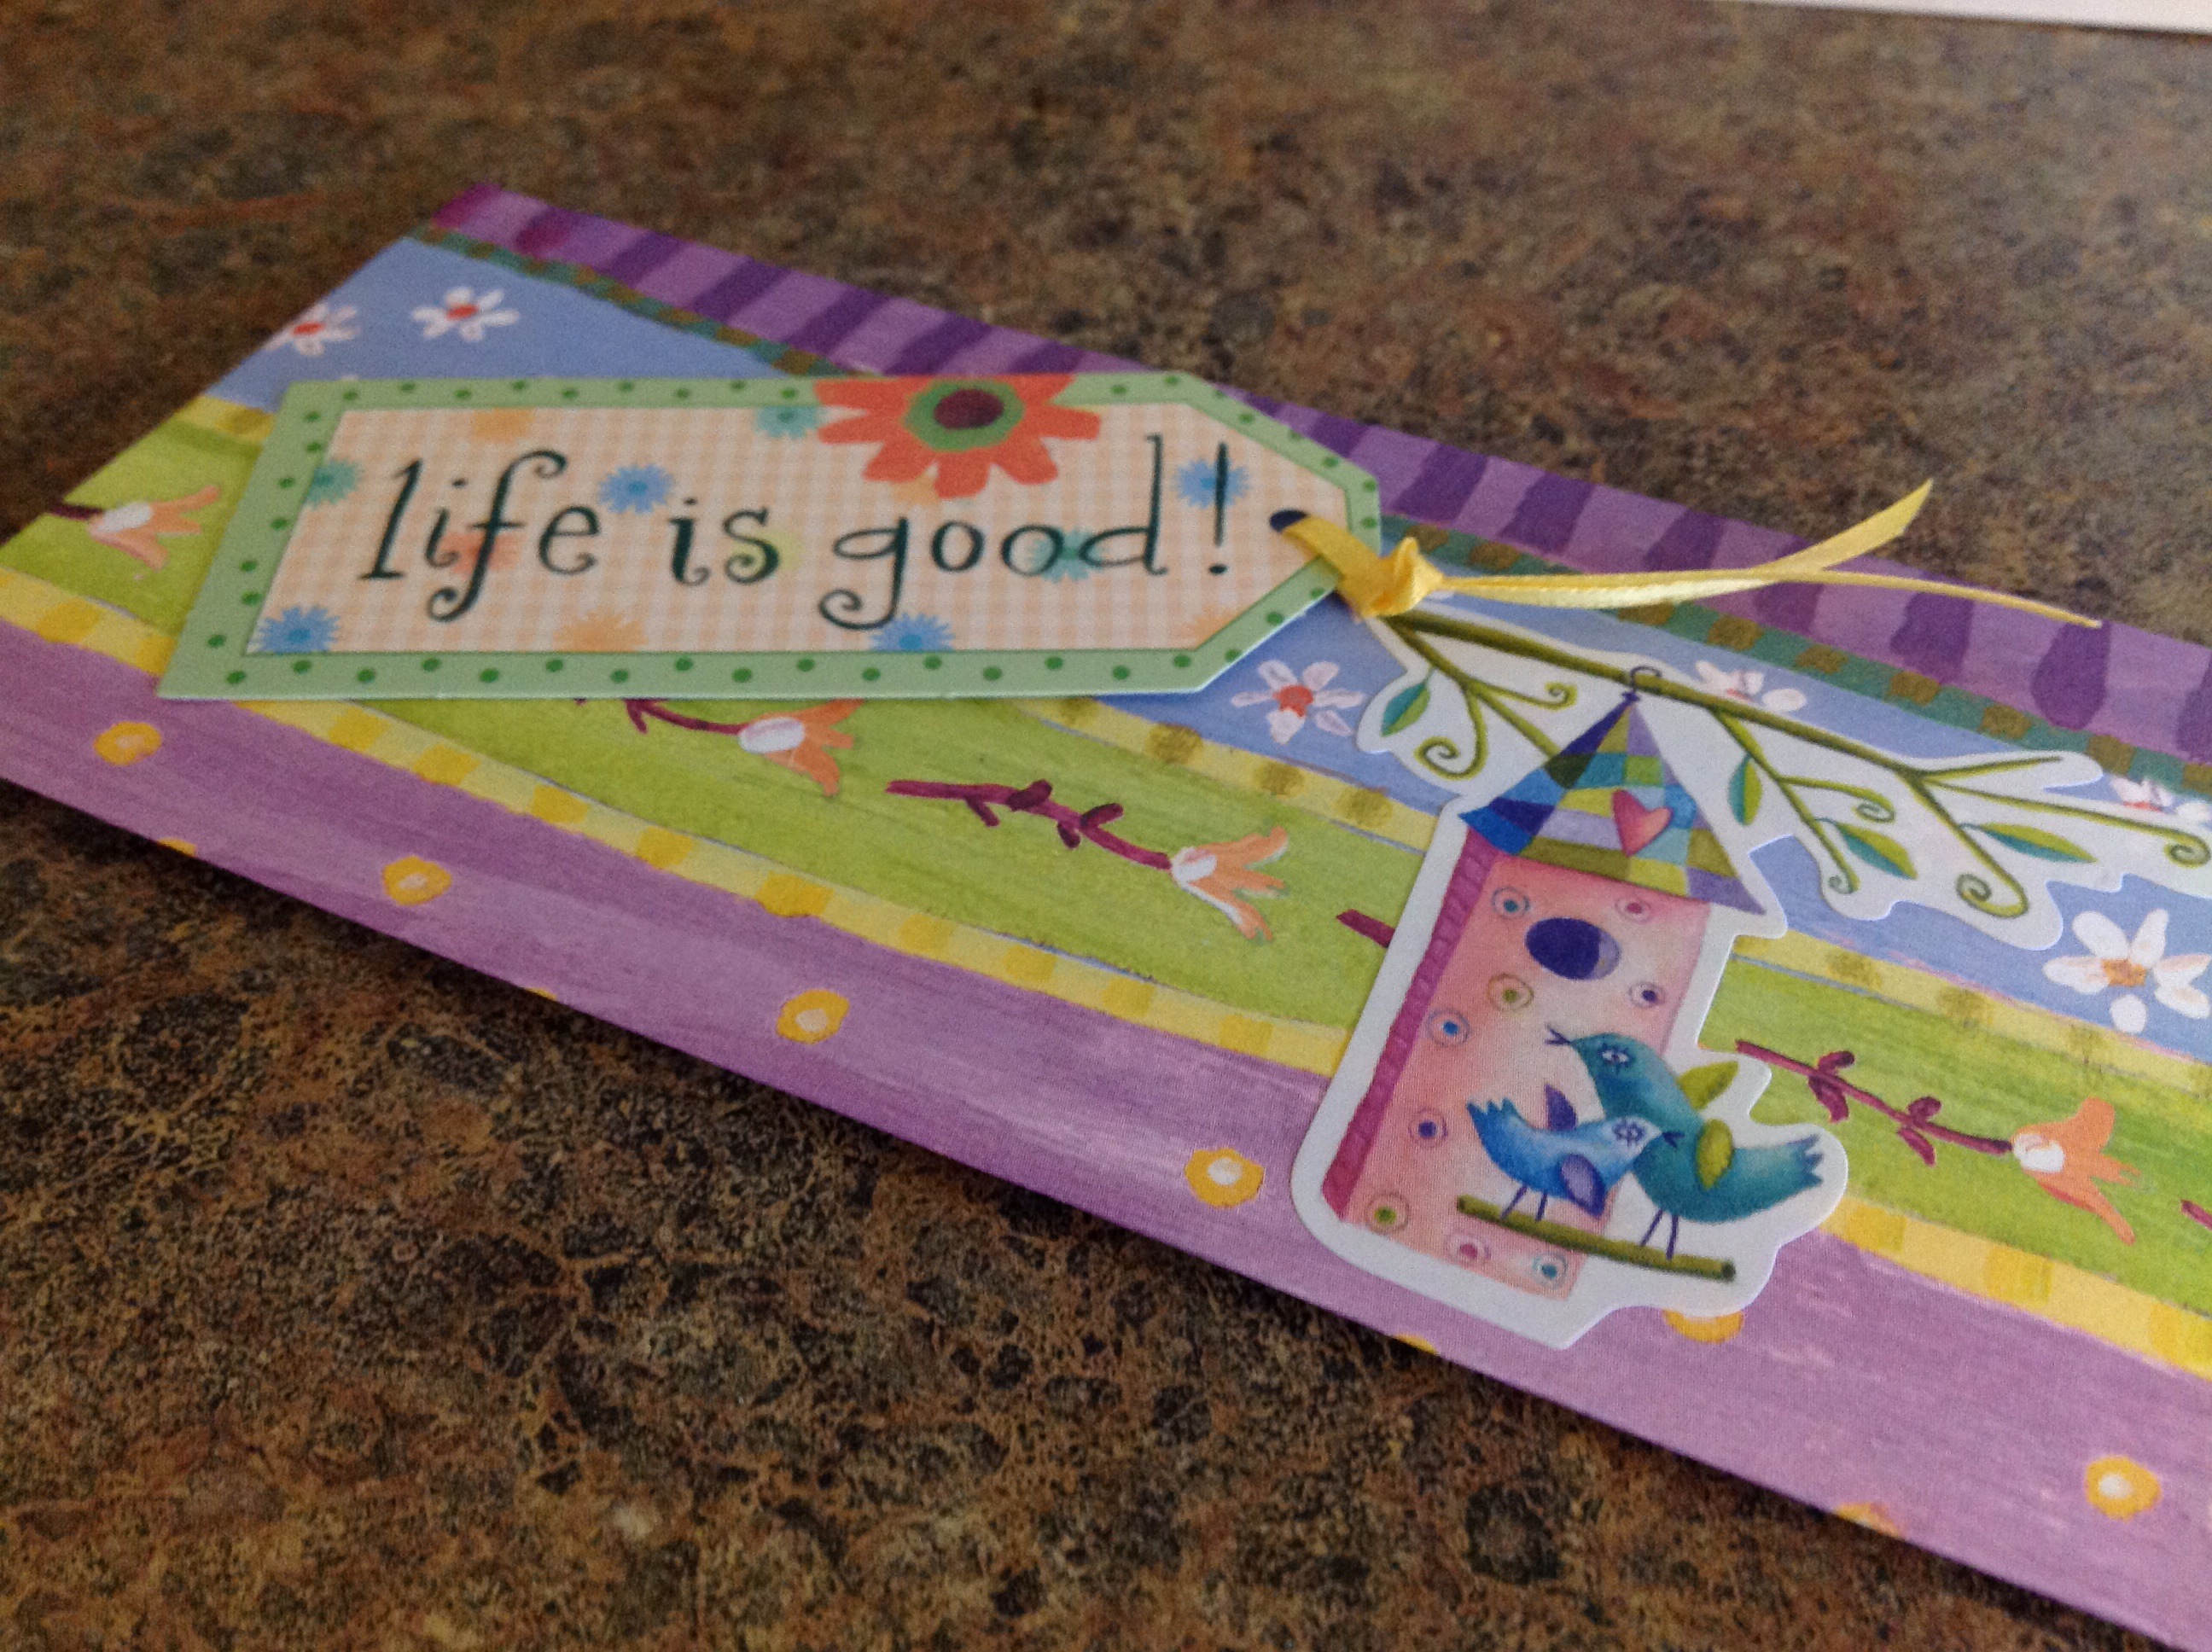
I thought it might be nice to have a contrasting liner.Using a few paper punches, I fashioned a gift tag.


Use Christmas paper, shopping bags, newspaper… Whatever you like.This is an enjoyable way to personize and make personal, an ordinary, yet purposeful gift card.


Posted in Crafts, Gifts

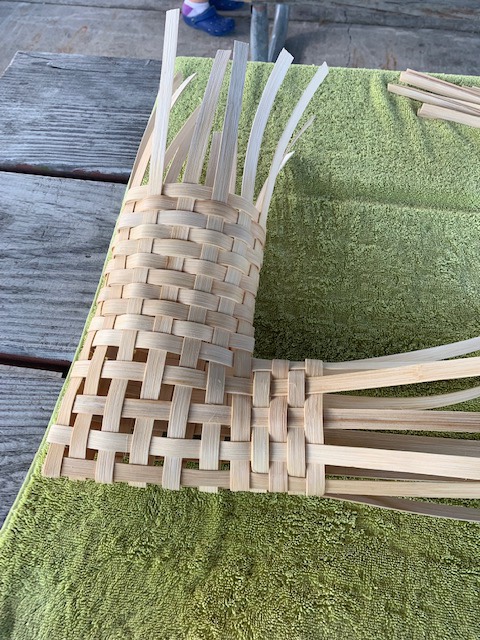
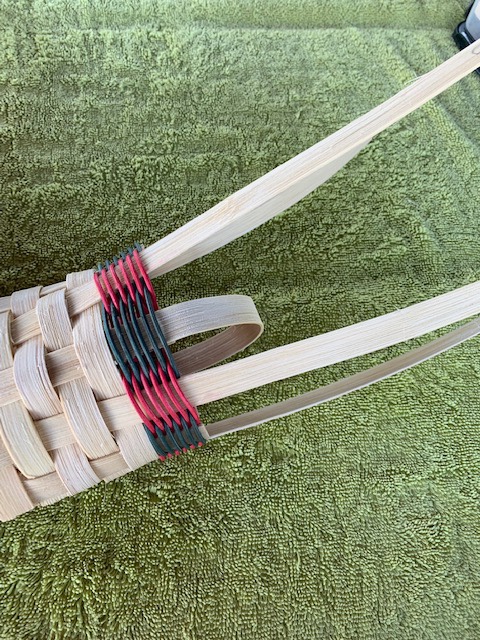
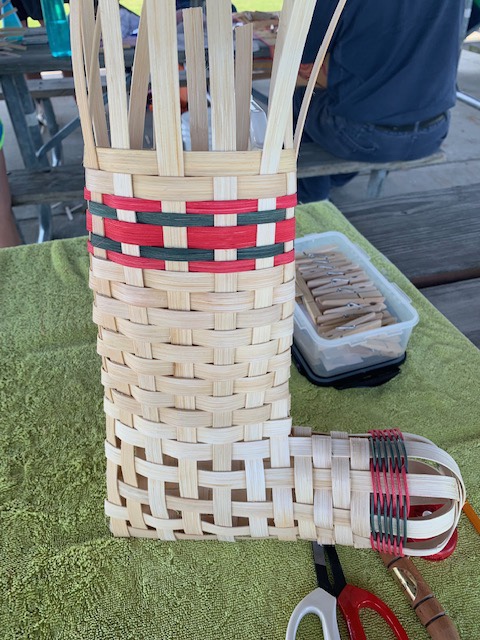
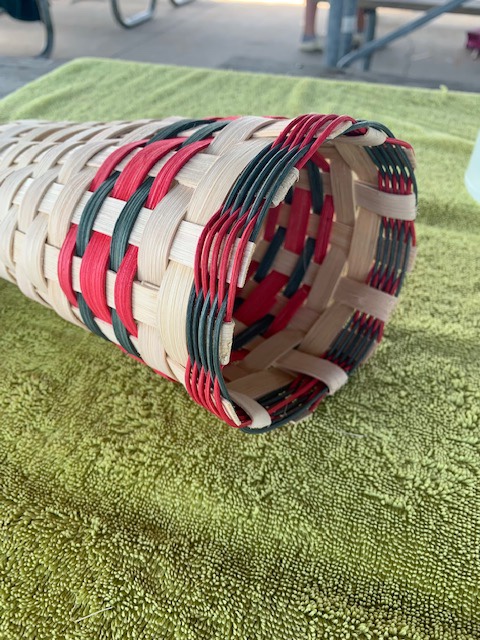
Footed Market Basket

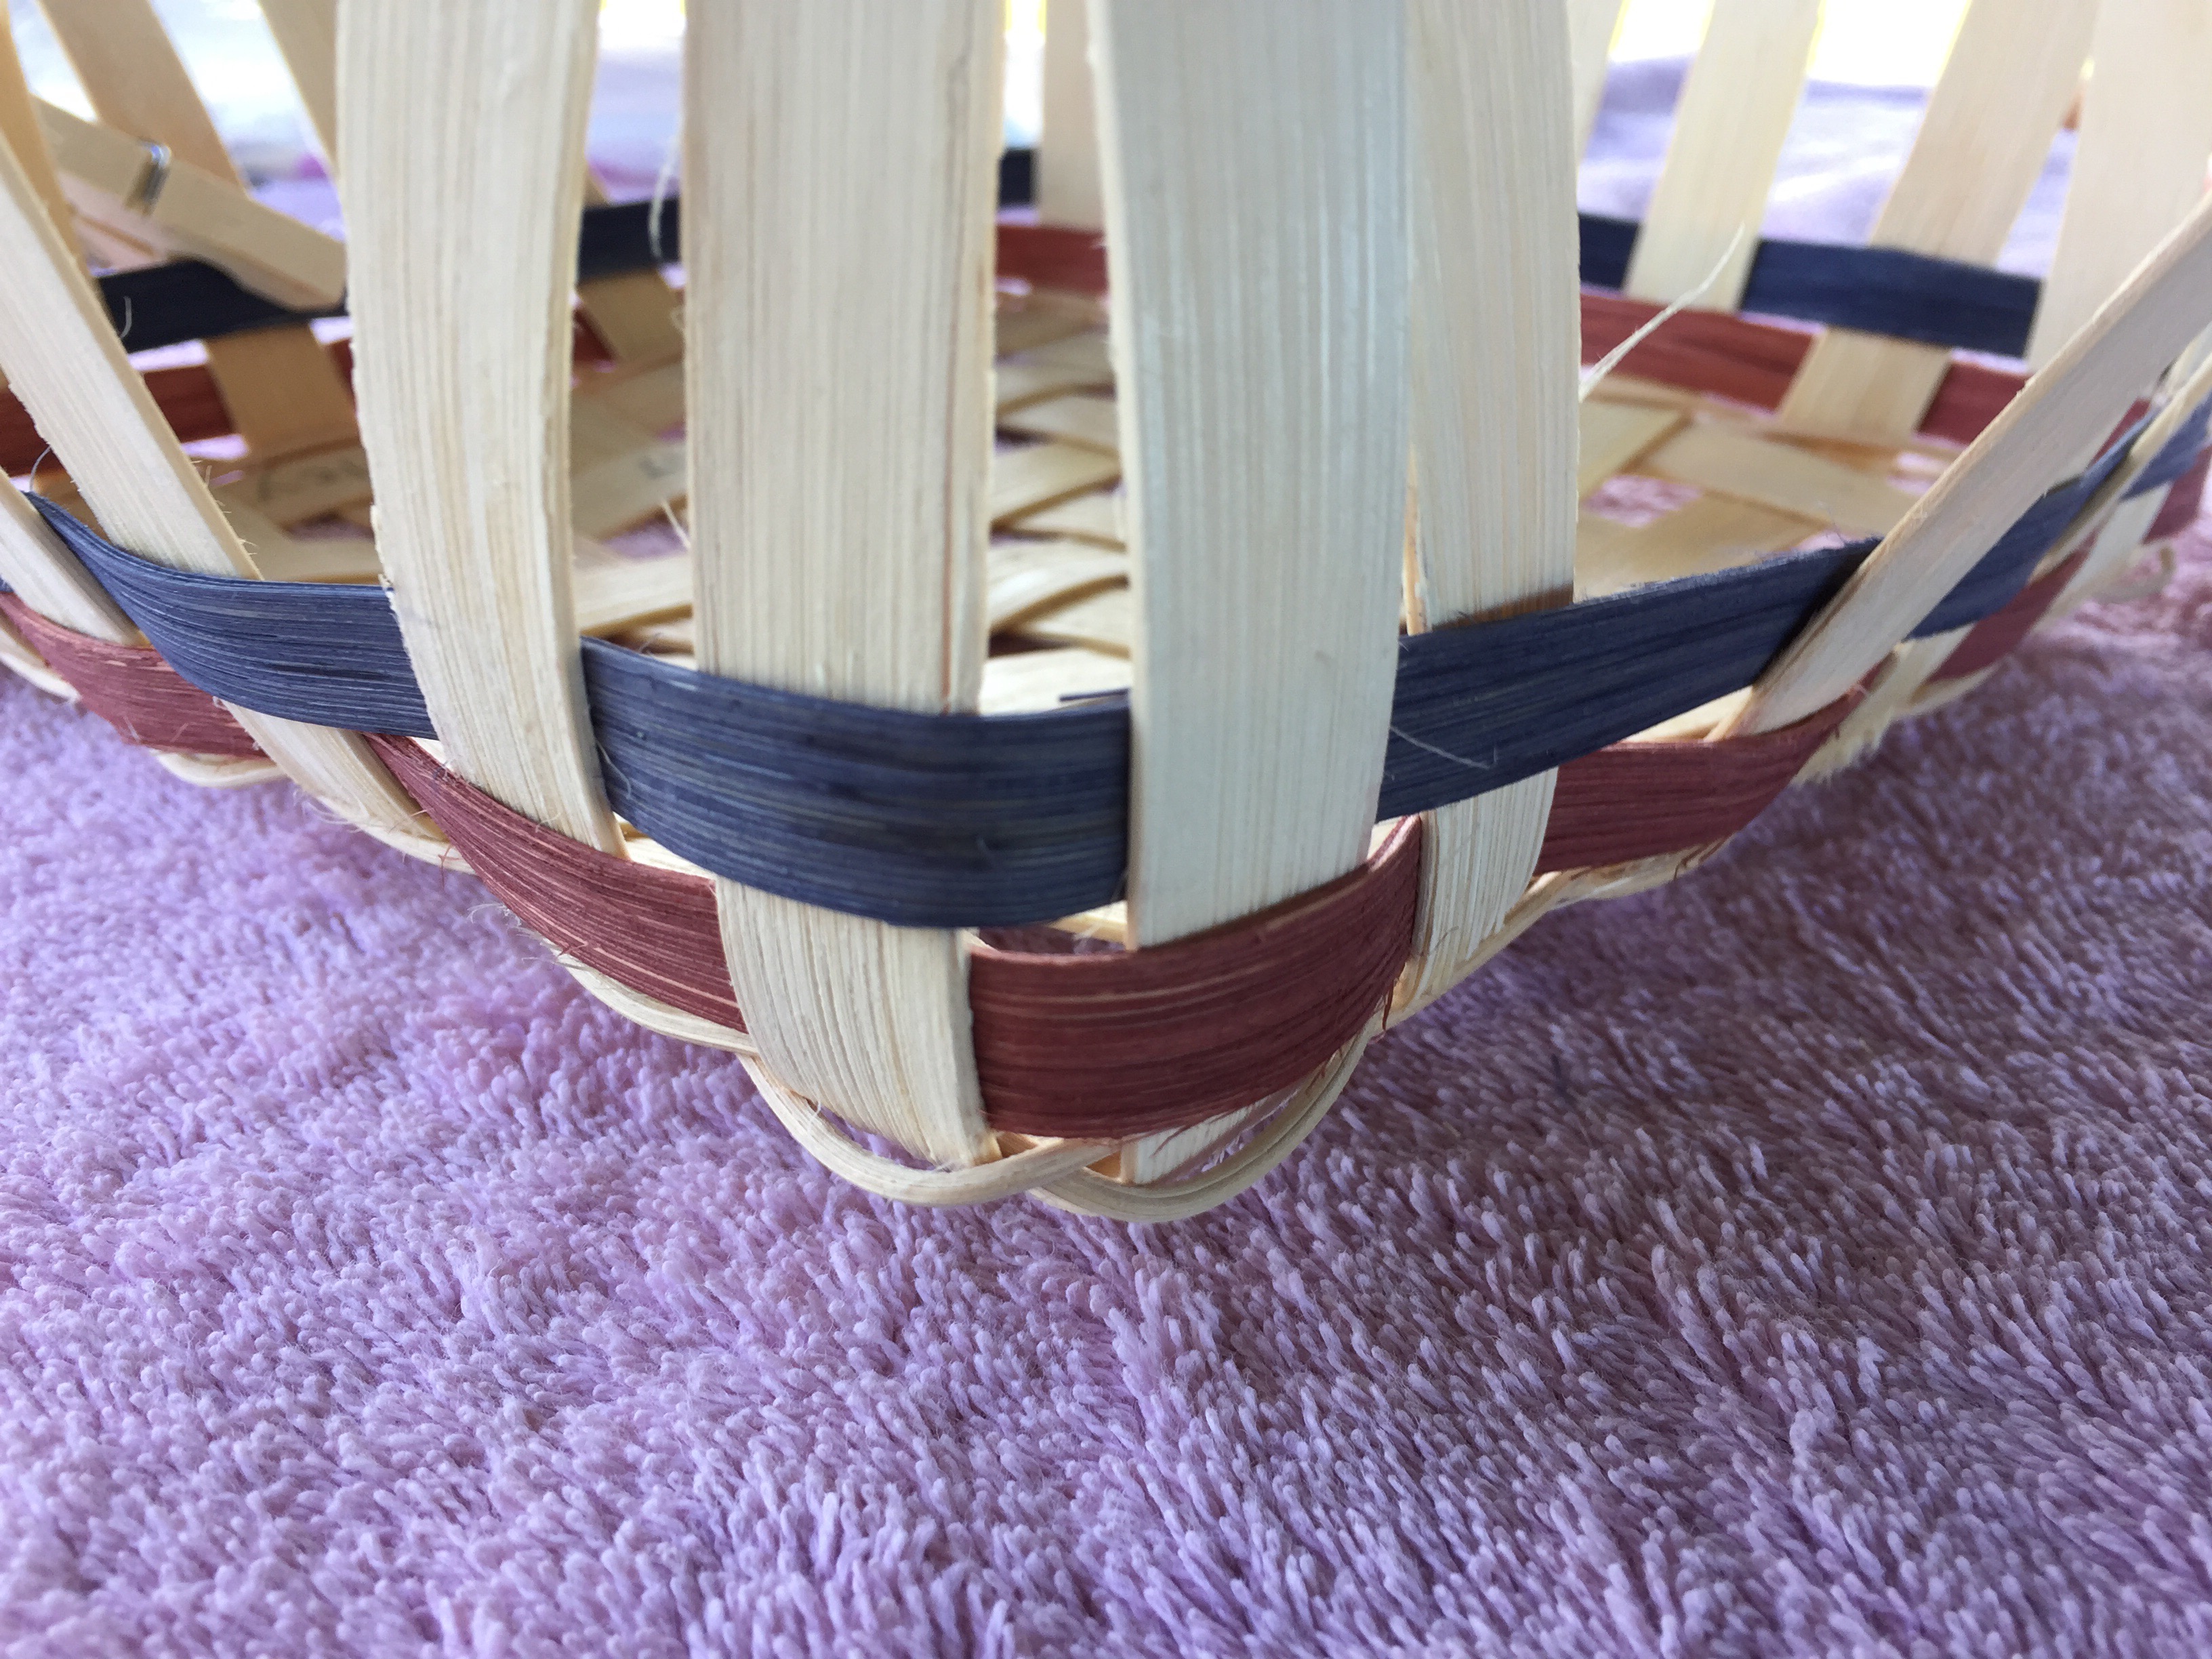
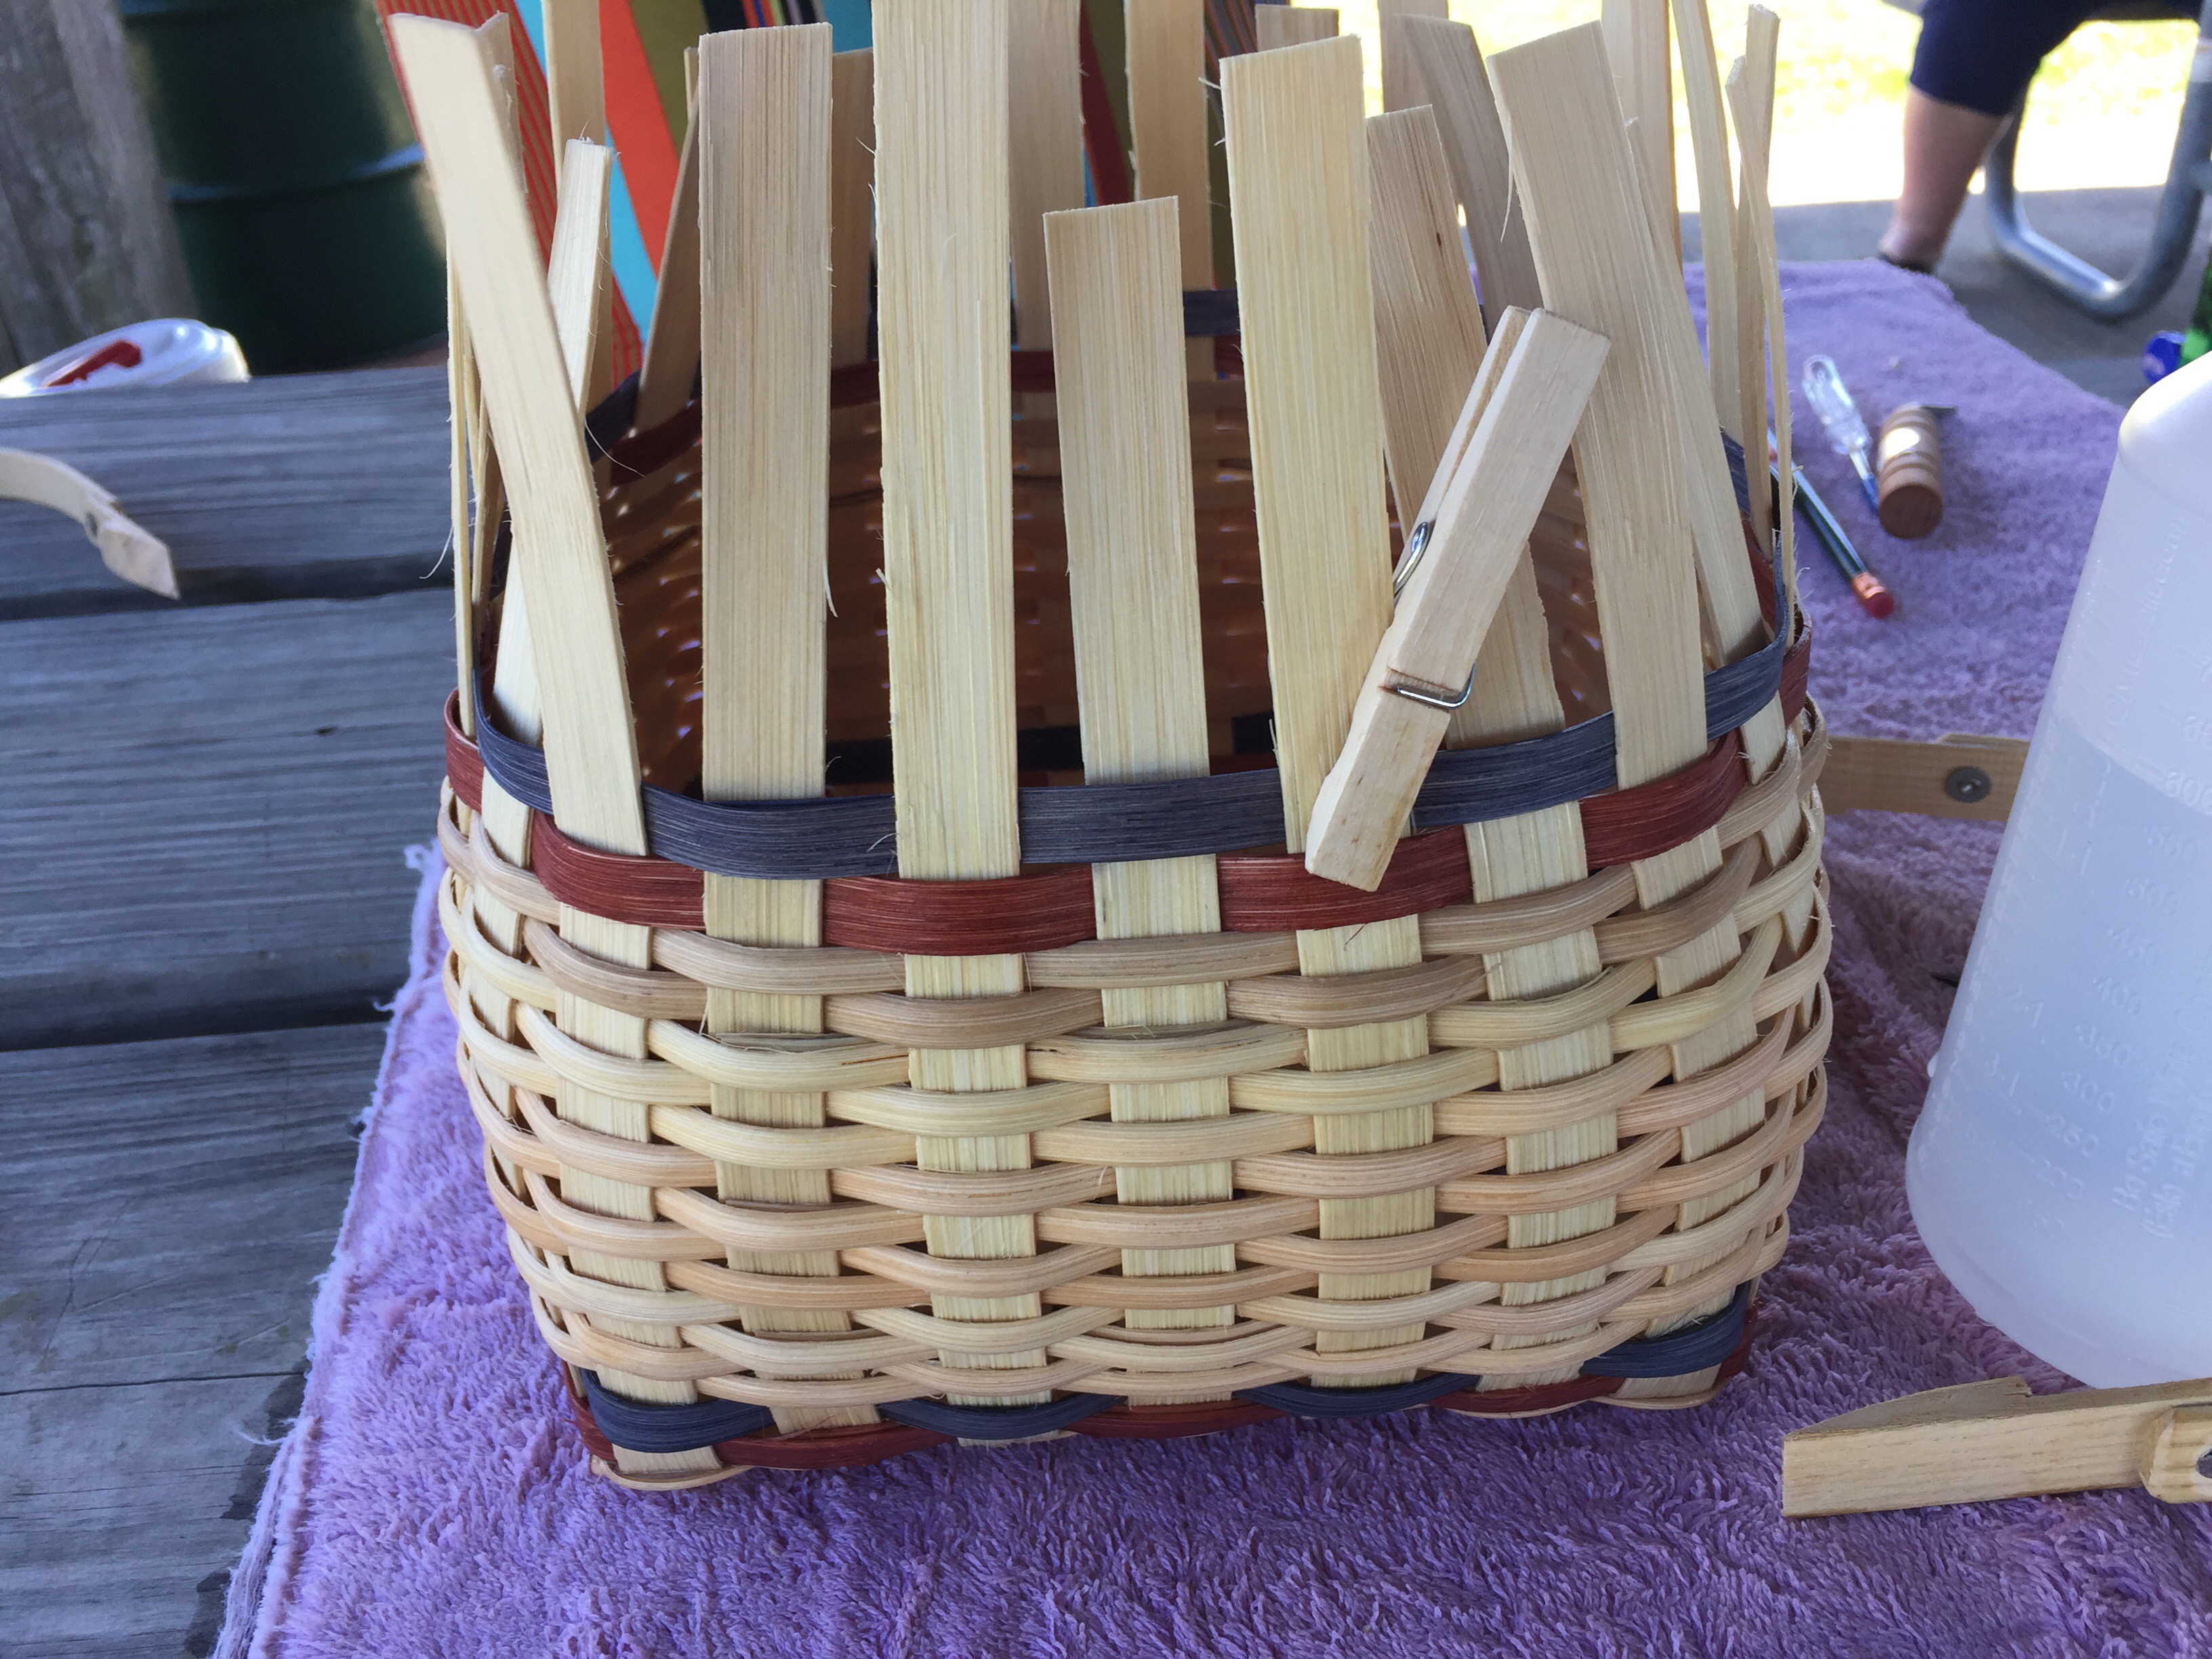
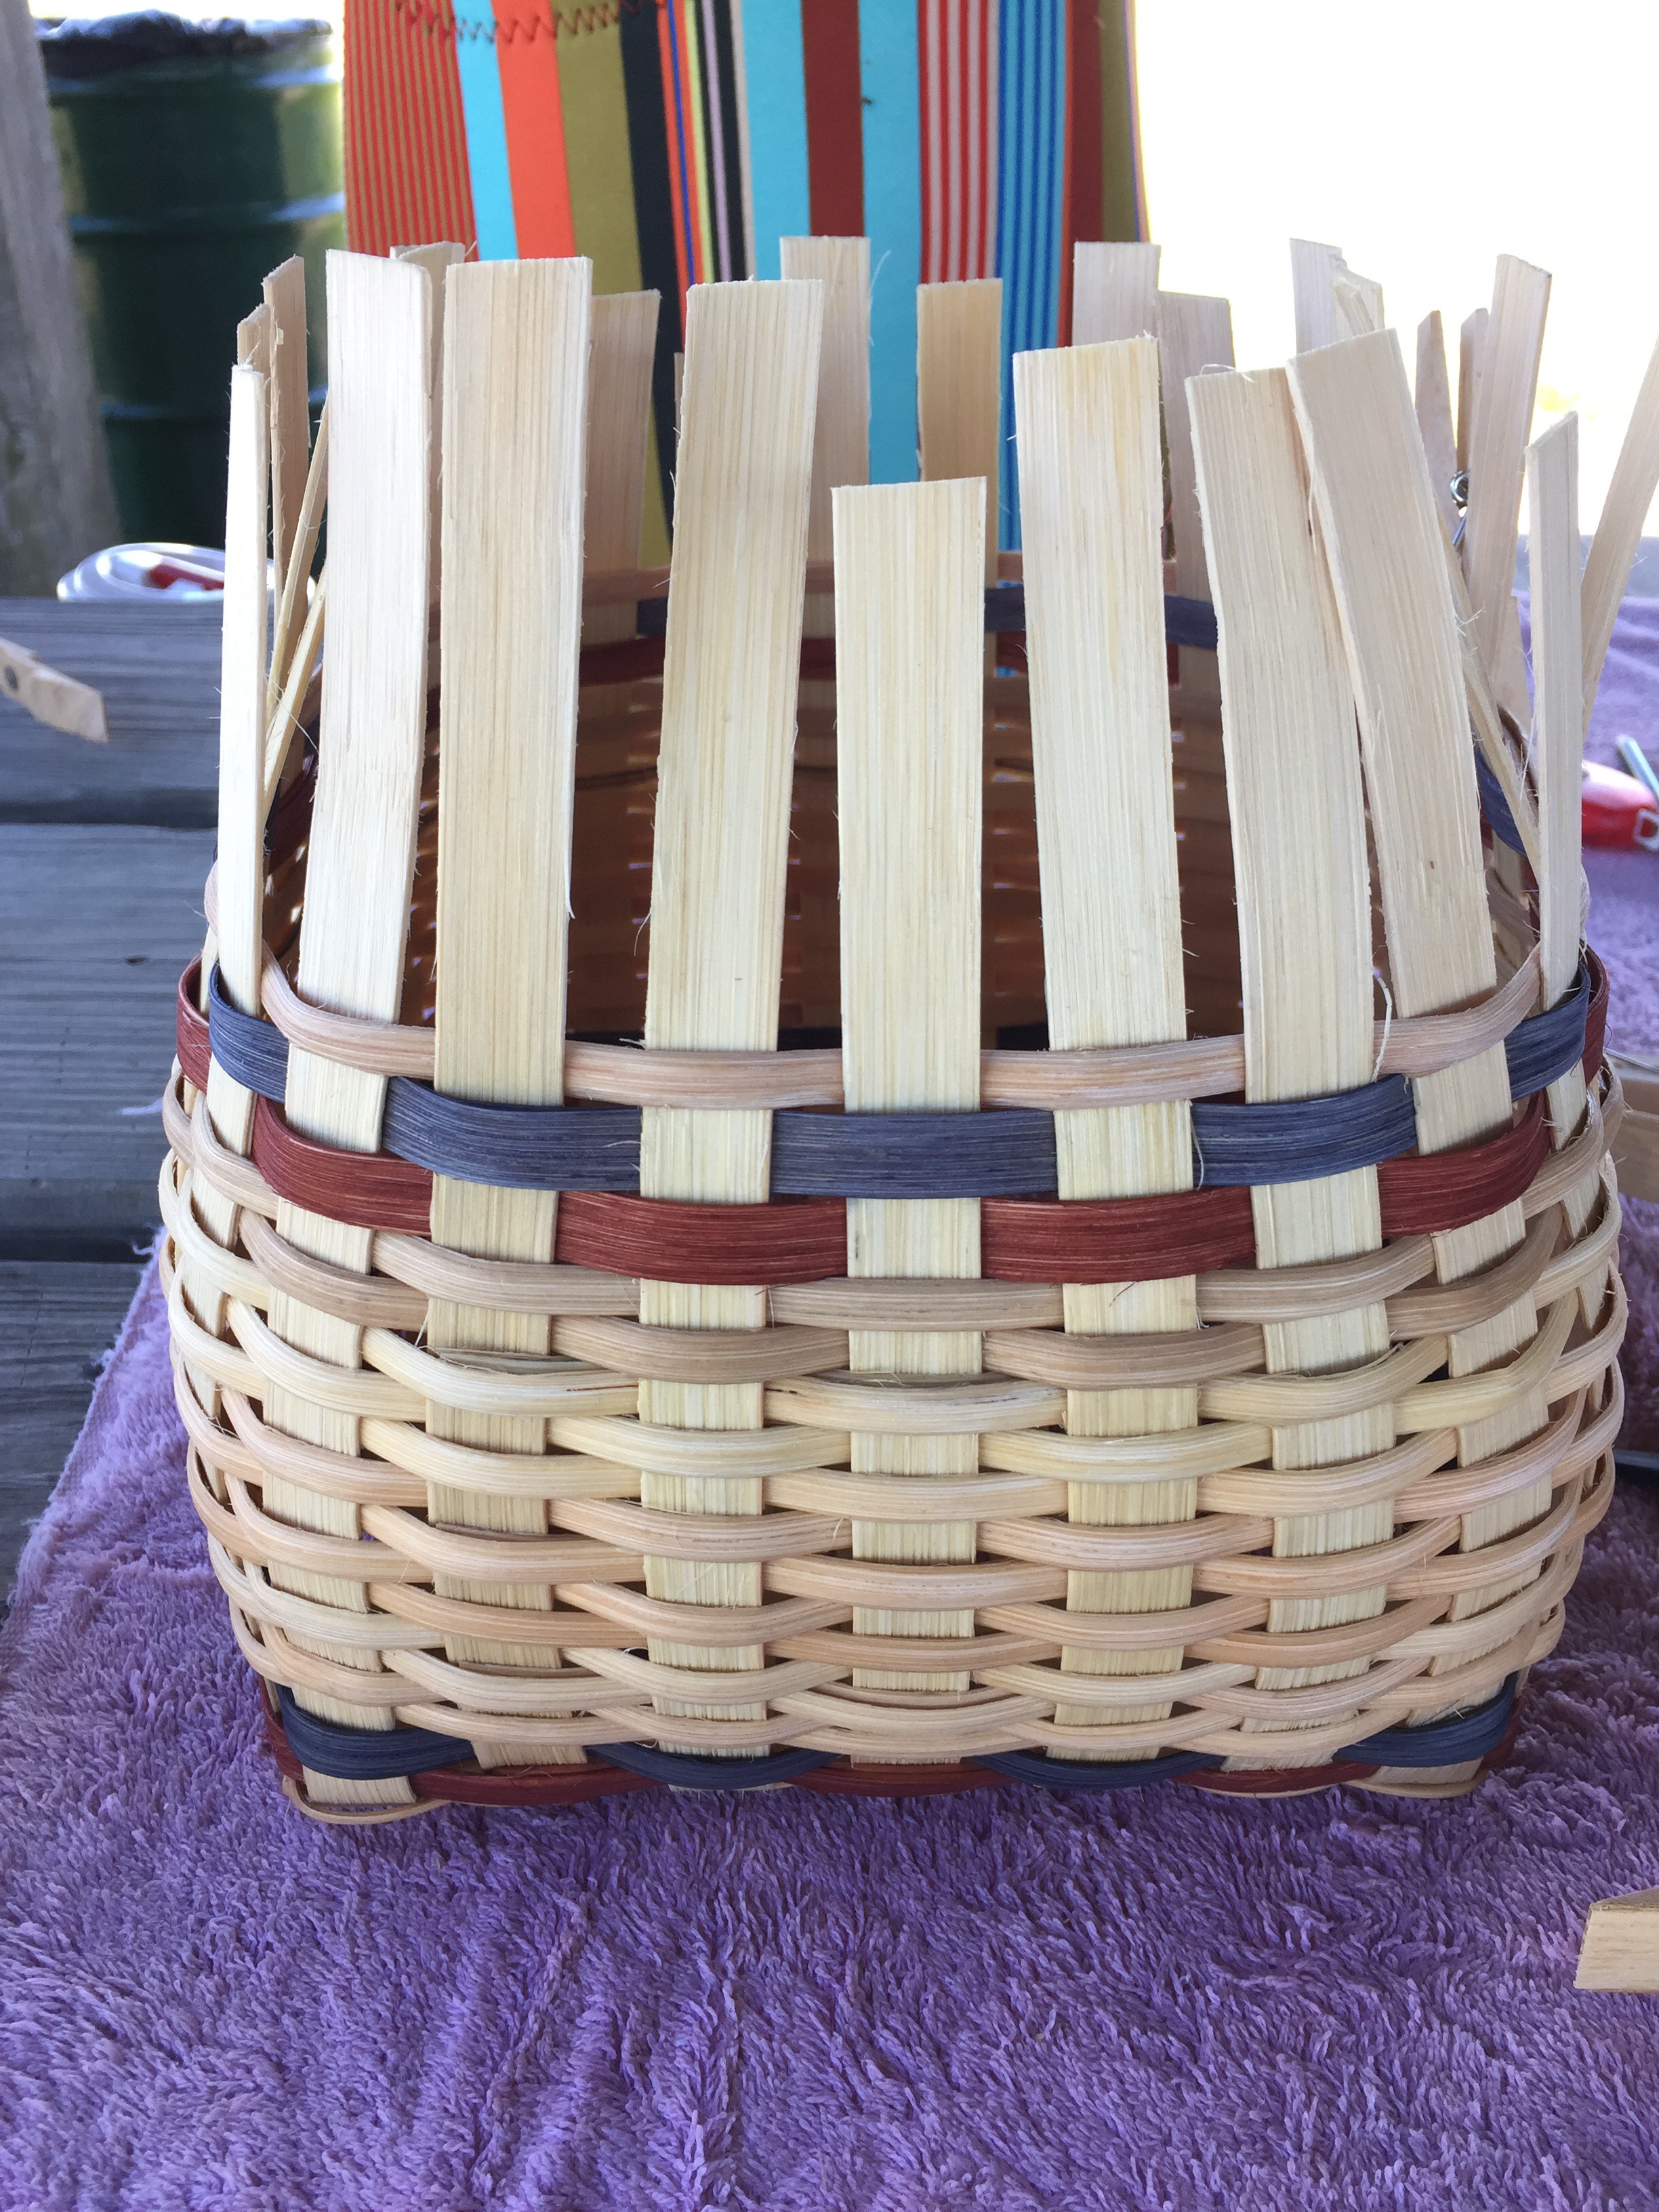
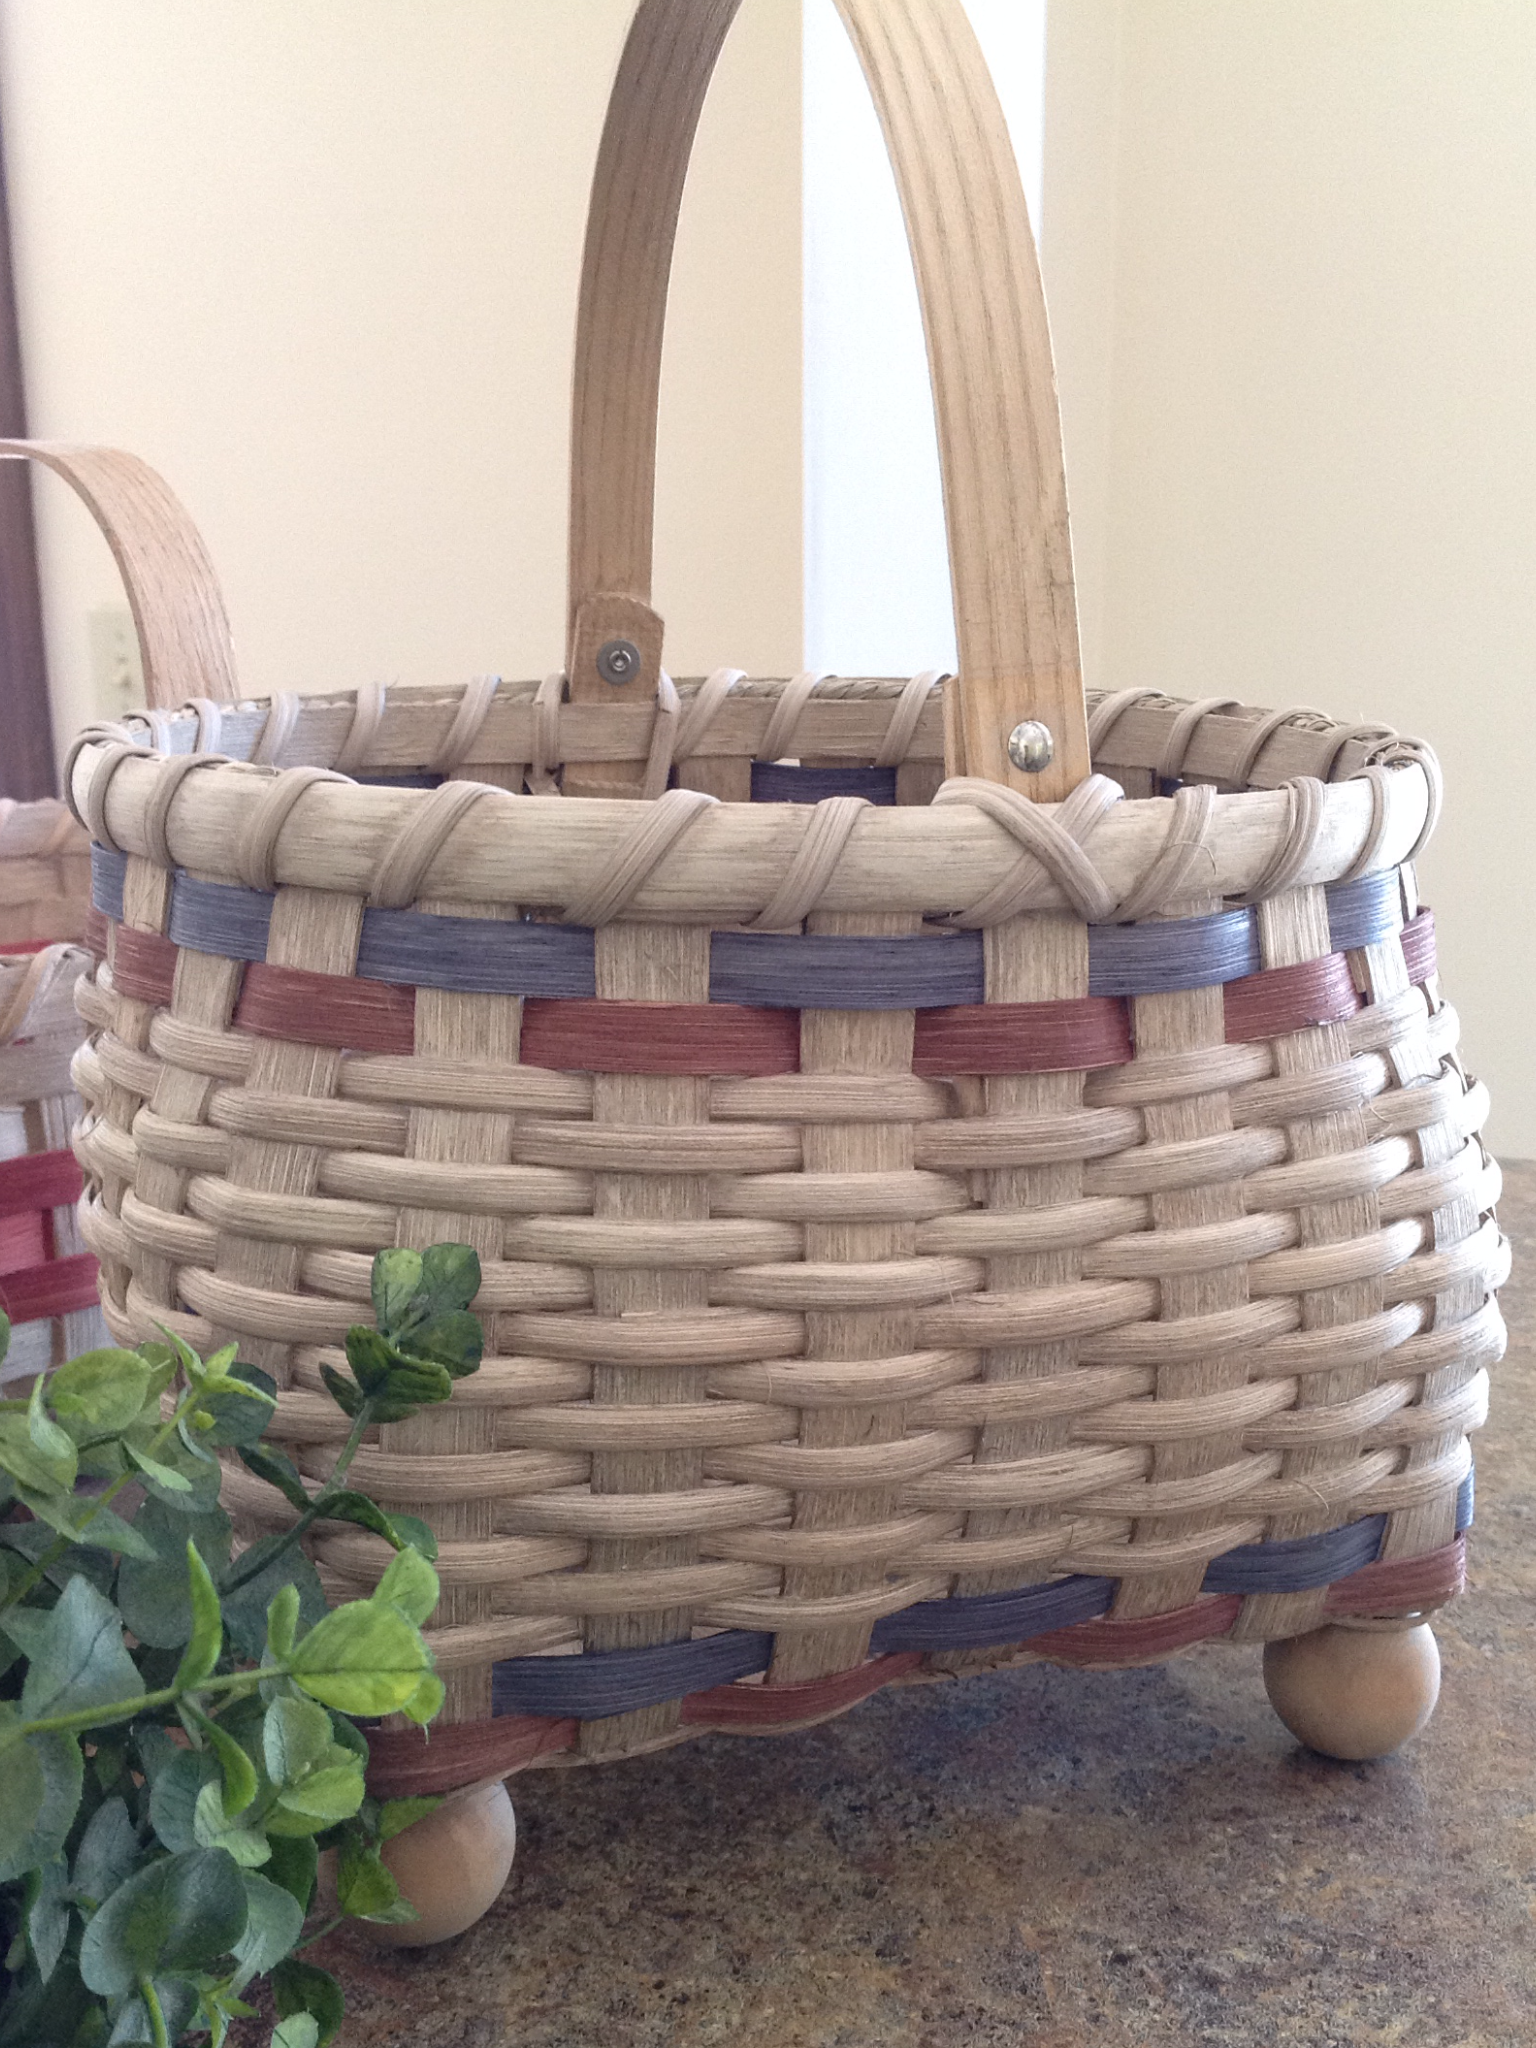
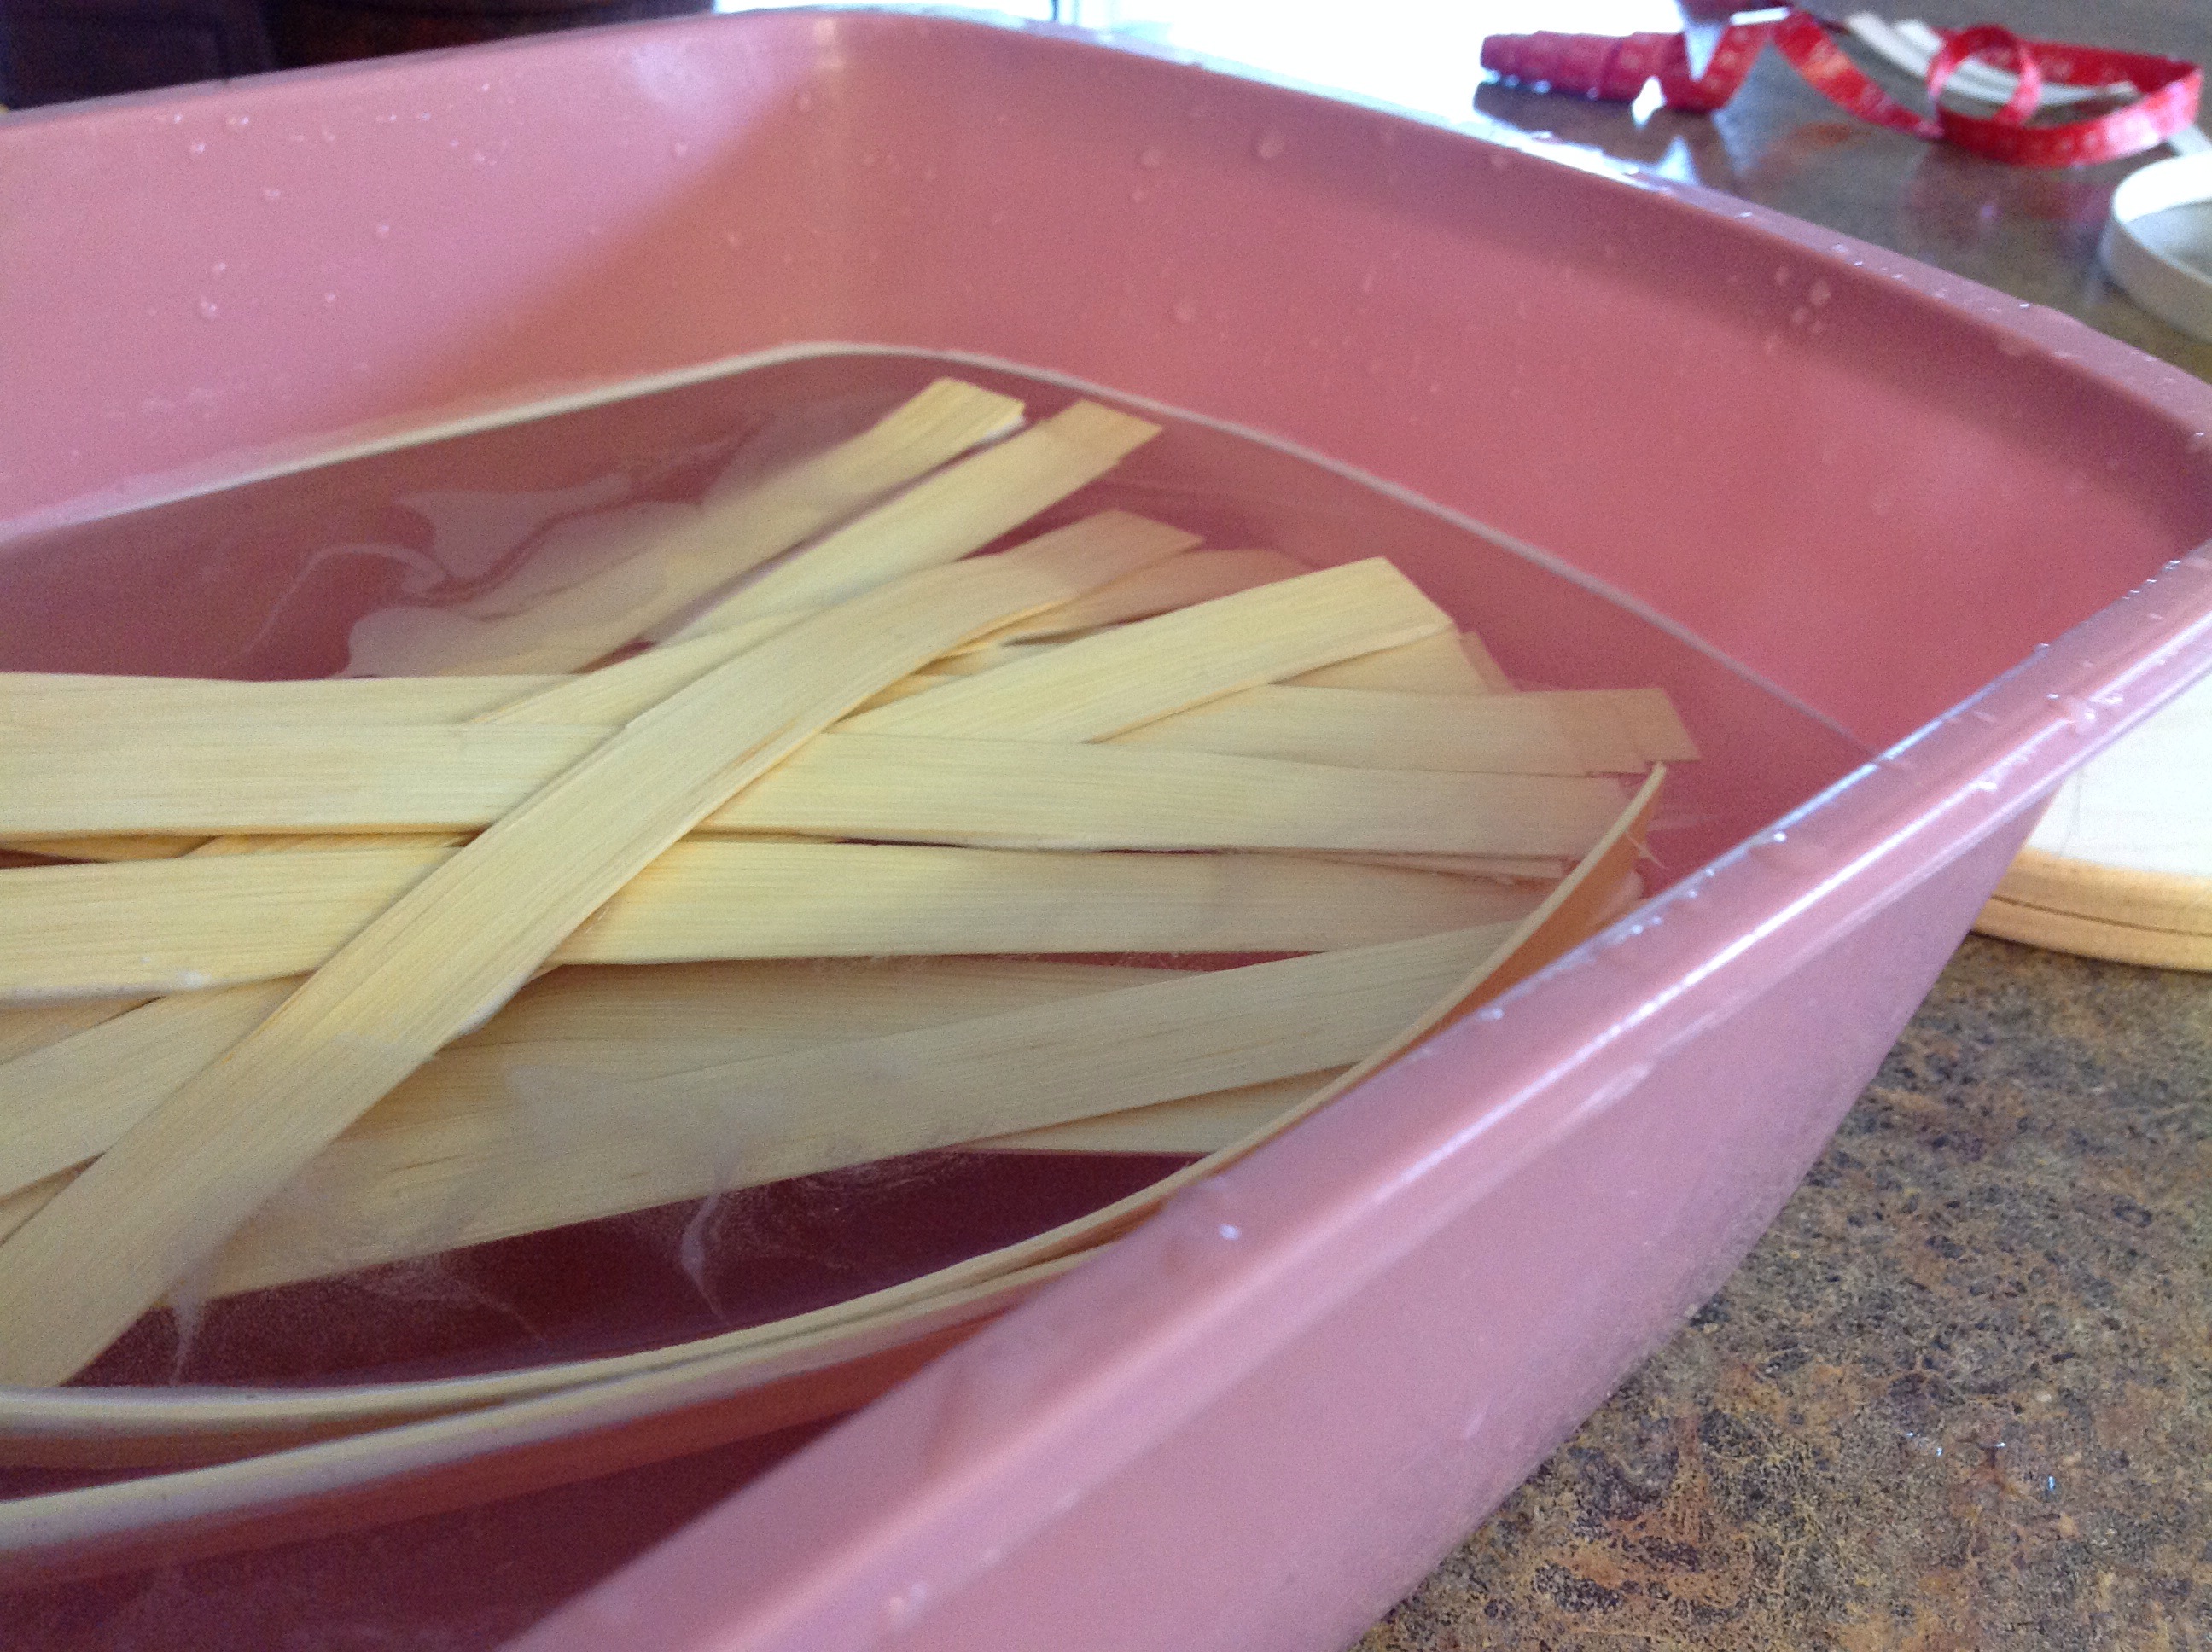
I had a wonderful time attending a local basketmaking workshop held at a rustic county park in my area. The weather was beautiful and the scenery was gorgeous. We sat under a shelter with several picnic tables that were lined up for all of the class participants. Just prior to the session we were mailed a list of supplies needed for the construction of the basket. We each brought along an old towel, some clips to hold the basket in place, scissors, a large bucket and a spray bottle to keep the wooden strips wet while working with them. We carefully listened to the instructor as she effortlessly managed teaching and assisting the 20 students before her. The item that we would be constructing is called a Footed Market Basket. I tried to take pictures as I worked through the steps while making this adorable basket.

…Can’t wait to sign up for another session!

Posted in Crafts

Beginner Garden Basket

On a recent trip to Kentucky, I purchased an adorable basket kit.  I must say, I’m not an experienced basket weaver, in fact, I am constantly seeking out classes so that I might gain more knowledge and skill pertaining to this craft.  Unfortunately, I have been unsuccessful finding a face-to-face class in my area so I usually review an abundance of internet videos to try to learn more about basket construction. 
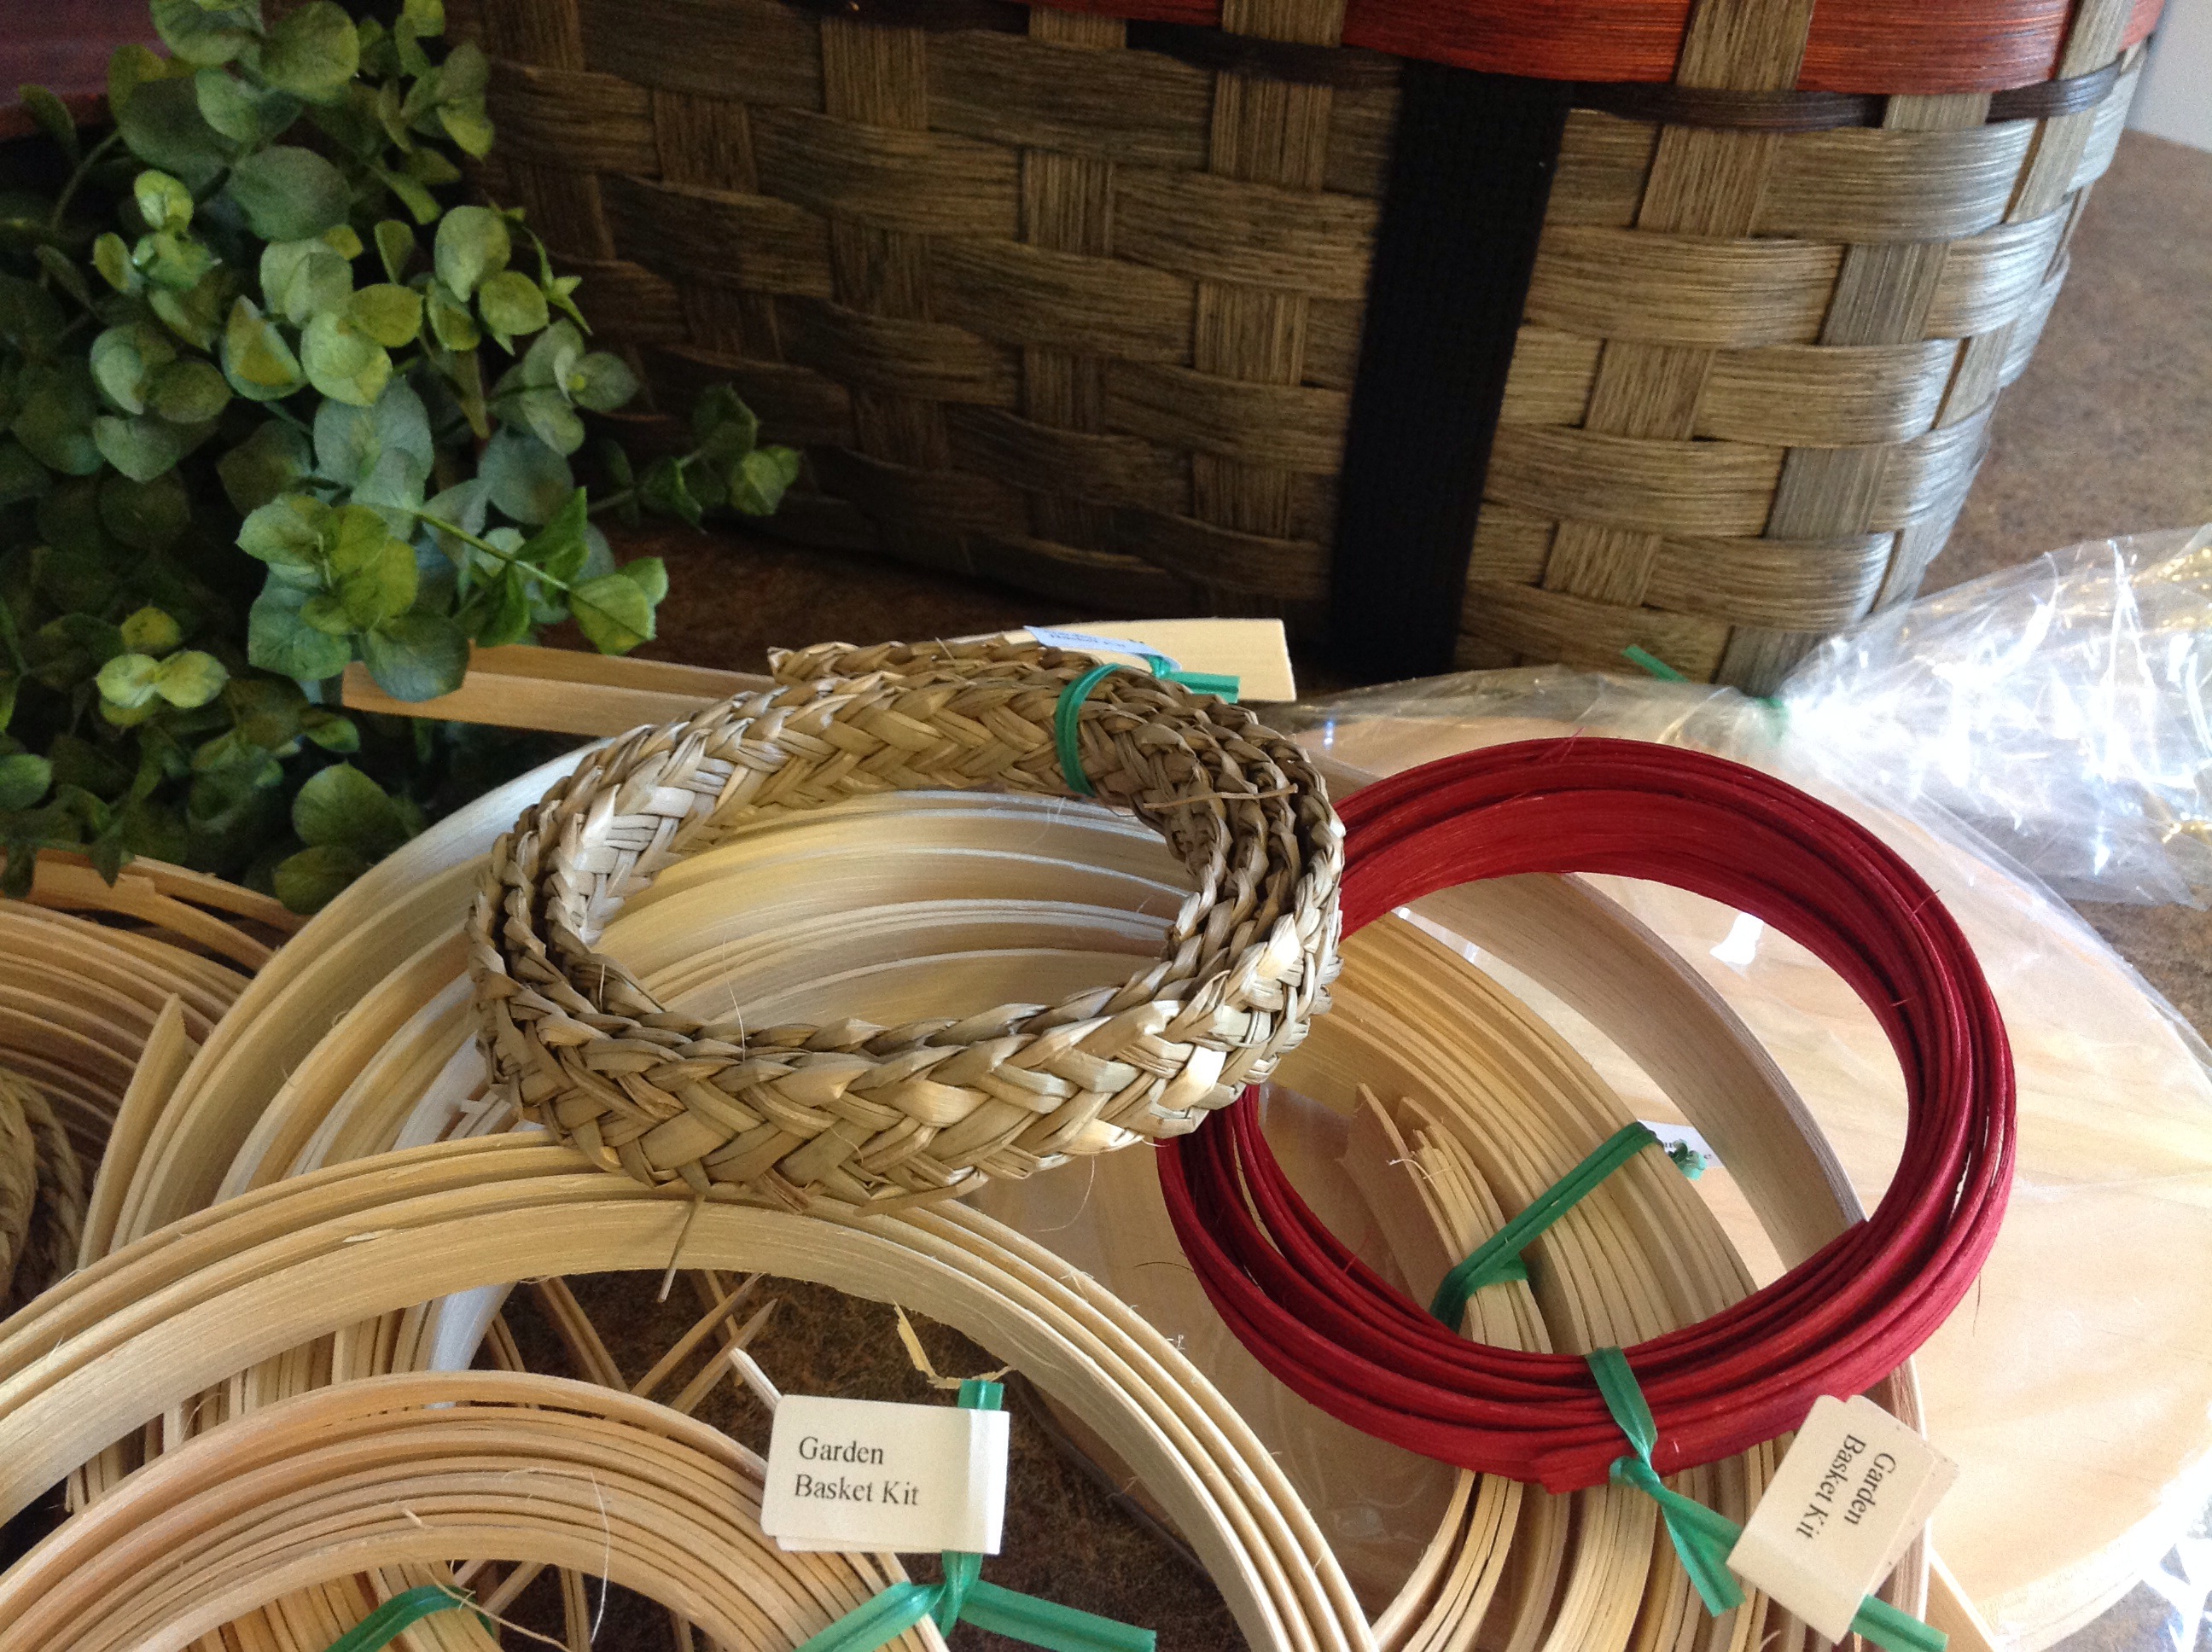
When I entered the darling, rustic shop,  I was mesmerized by the abundance of wood strips, twine and basket making supplies carefully organized and perfectly displayed from floor to ceiling.  I must have spent 45 minutes just looking over everything the owner had displayed. I was taking it all in when a friendly women asked if I needed assistance.  I explained to the owner that I had very little experience and would like to complete a simple project.  She suggested a garden basket that was hanging from the ceiling along with several other beautiful creations.  With some hesitation, I purchased the suggested kit.  

When I returned home and opened the package to review the project.  I was pleasantly surprised by the simplistic instructions and the quality materials provided by the owner of this darling shop. Within the kit, each small bundle of wooden strips and twine was carefully measured and labeled to help me navigate through the supplies.  


It took me some time to come up with the courage to begin this project, but once I started, I kept at it until the basket was complete.  I am thrilled with the end product.  While it’s not perfect, (It’s a little wonky and maybe a bit slimmer than was intended) it’s one of my first basket weaving projects and I’m quite happy with my beginner skills.

Edit
I tried to take a few pictures as I progressed through the instructions. Those of you that might be basket makers can chime in to let me know if I’m doing something wrong…

I cut a circle of craft paper tracing the wood basket bottom disk and folding the paper to divide it into four equal parts.


I then marked the wooden bottom.

I soaked the wooden strips to make them pliable.

I evenly place the spokes around the disk.

Time to add some twine.

As per my instructions, I begin weaving up the side of the basket.


I soaked the colored strips for a short period as they have a tendency to bleed onto the natural wood.

Trimming and bending the rim…

Tightening things up and making a space for the handle…


Setting in the hinged handle…

Finishing up…


Not perfect, but it will do just fine!