Posted in appetizers/snacks, Food, Gardening, Salad, salads

Fresh Broccoli Salad

Looking over the side items in the deli case this week, I spied a tasty looking broccoli salad that I’d never purchased before. Although, I had tasted a similar salad during the county fair a few years ago. I had judged the 4-H home food preservation project and a kind group of volunteers had brought lunch in for those of us judging throughout the day. I told one of the volunteers that the broccoli salad was delicious and she replied, “It’s from Walmart, the best!”
This Father’s Day, I’m making my own version of this salad as all of the kids are home to celebrate and the steamy hot temperatures remind me to fill the table with cold salads, fresh fruit, grilled chicken, and icy beverages.
Happy Father’s Day to my sweet hubby, J. A wonderful father to our 3 children…

Fresh Broccoli Salad

For the salad: 6 cups broccoli florets
⅔ cup raisins
½ cup cooked and crumbled bacon
½ cup sunflower seeds
⅓ cup onion, diced finely 1 cup bow tie pasta, cooked, rinsed and cooled 1 cup sharp cheddar cheese, shredded thick


For the dressing:
¾ cup mayonnaise
¼ cup sour cream
1 ½ Tablespoon vinegar
3 Tablespoons sugar
¼ teaspoon salt
¼ teaspoon pepper


In a large bowl, combine broccoli florets, raisins, bacon, sunflower seeds, onion, pasta, and shredded cheese. In a medium sized bowl, whisk together mayonnaise, sour cream, vinegar, sugar, salt, and pepper until well combined. Pour dressing over broccoli mixture and toss well. Keep refrigerated until serving.

Posted in Gardening

Self-Watering Container Garden

I found these delightful self-watering containers at a local hardware store. I always begin the growing season with the good intention for watering my plants regularly. Slowly but surely, as the season moves into the hot and sticky months, my intentions are quickly forgotten and my garden begins to fade. I’m hoping these little babies will help me find success this year.

The containers are assembled by adding caster wheels and inserting the watering tube in the corner.
The wicking action is supported by inserting moist potting mix into the three remaining corners.
Continue to fill the container with potting mix and fertilizer.
Filling the container to the rim is essential.
Fit the landscape fabric over top the container. Snip a hole in the fabric for the watering tube.
Snip evenly spaced slits into fabric to accommodate plants.
Beginning in the center, work your way out planting greens through the landscape fabric.
Using the watering tube, fill container with water. Secure cloth drawstring and place in the sunshine.
Posted in Food, Gardening

Harvesting Honey

Today we had the pleasure of experiencing our first honey harvest. Our bees have been busy visiting fields of clover and Queen Anne’s Lace over the past several weeks. After watching hours of video focused on harvesting honey and rendering beeswax, we finally took a leap of faith and carefully extracted the liquid gold produced by our very own bees.

Here’s a step by step look at the process:

We carefully swept the bees off of the short, capped honey frames to prepare for extraction.

We set up the extractor and a screened sieve to remove the honey and filter out the wax and other unwanted items. A clean and organized area is imperative. We had buckets of soapy water with sanitizer and tarped surfaces in the extraction area.

After the extractor does its work (we have a hand crank version), the gate can be opened to pour unfiltered honey into a clean, food-safe bucket. The sieve and filter will take out the impurities.

We cleaned and sanitized our honey containers prior to setting up our bottling station.

The filtered honey is ready for bottling. We used 12 and 16 ounce jars. We wanted to try a mixture of plastic and glass jars.

We were able to bottle 12- 12 ounce, 12- 16 ounce, and 2- 4 ounce jars. What a delight to get so much honey from just 8 short frames.

I order a few different labels from Amazon to finish off the process. I think I’ll order a set of more personally printed labels for next year.

Now, it’s time to render the filtered wax to make our own beeswax blocks for future projects.

Posted in Brunch, Food, Gardening, Kids in the Kitchen, lunch box, No-Bake

Cucumber Finger Sandwiches

My daughter recently called to ask if I could share an easy appetizer recipe as she needed to assemble a quick item for a coworker’s going-away party. She had already looked through the recipes on my blog and couldn’t find one that she could easily make ahead of time and store in the fridge. My mind quickly turned to a simple recipe that I used to make when our children were young. I made this recipe for our annual St. Patrick’s Day Party when we lived in the southwest Chicago area. The yearly parade (and party) was always a fun event for all of the Irish families living in the neighborhood. Slices of pumpernickel cocktail bread are loaded up with a spiced cream cheese mixture and a thick slice of fresh cucumber. A quick sprinkle of dill adds a layer of flavor. Drawing the tines of a fork down the side of the cucumber before slicing, adds a unique design to the appetizer.

Cucumber Finger Sandwiches

1 (8 ounce) package cream cheese, softened

1 (.7 ounce) package dry Italian-style salad dressing mix

1 (1 pound) loaf sliced pumpernickel party bread

2 English cucumbers

2 teaspoons dill weed or dill seed

Mix cream cheese and Italian salad dressing mix in a bowl until well blended. Draw the tines of a fork down the sides of the cucumber before slicing (Make sure to pierce the skin of each cucumber.) Spread cream cheese mixture atop pumpernickel party bread and top each slice with a cucumber slice. Sprinkle with a light dose of dill weed or dill seed.

Posted in Baked goods, breakfast, Gardening, Uncategorized

Honey Granola Clusters

  
As the summer sun ripens a delicious array of fruits and vegetables, I make sure that nature’s bounty takes center stage at the kitchen table. Living in the Midwest, we have so few months during the course of the year where we can have locally grown foods literally sitting at our doorstep. Backyards, gardens and farms throughout the county have the opportunity to produce foods situated in patio pots, raised beds, trellising on garden fences and planted in rows along county roads.

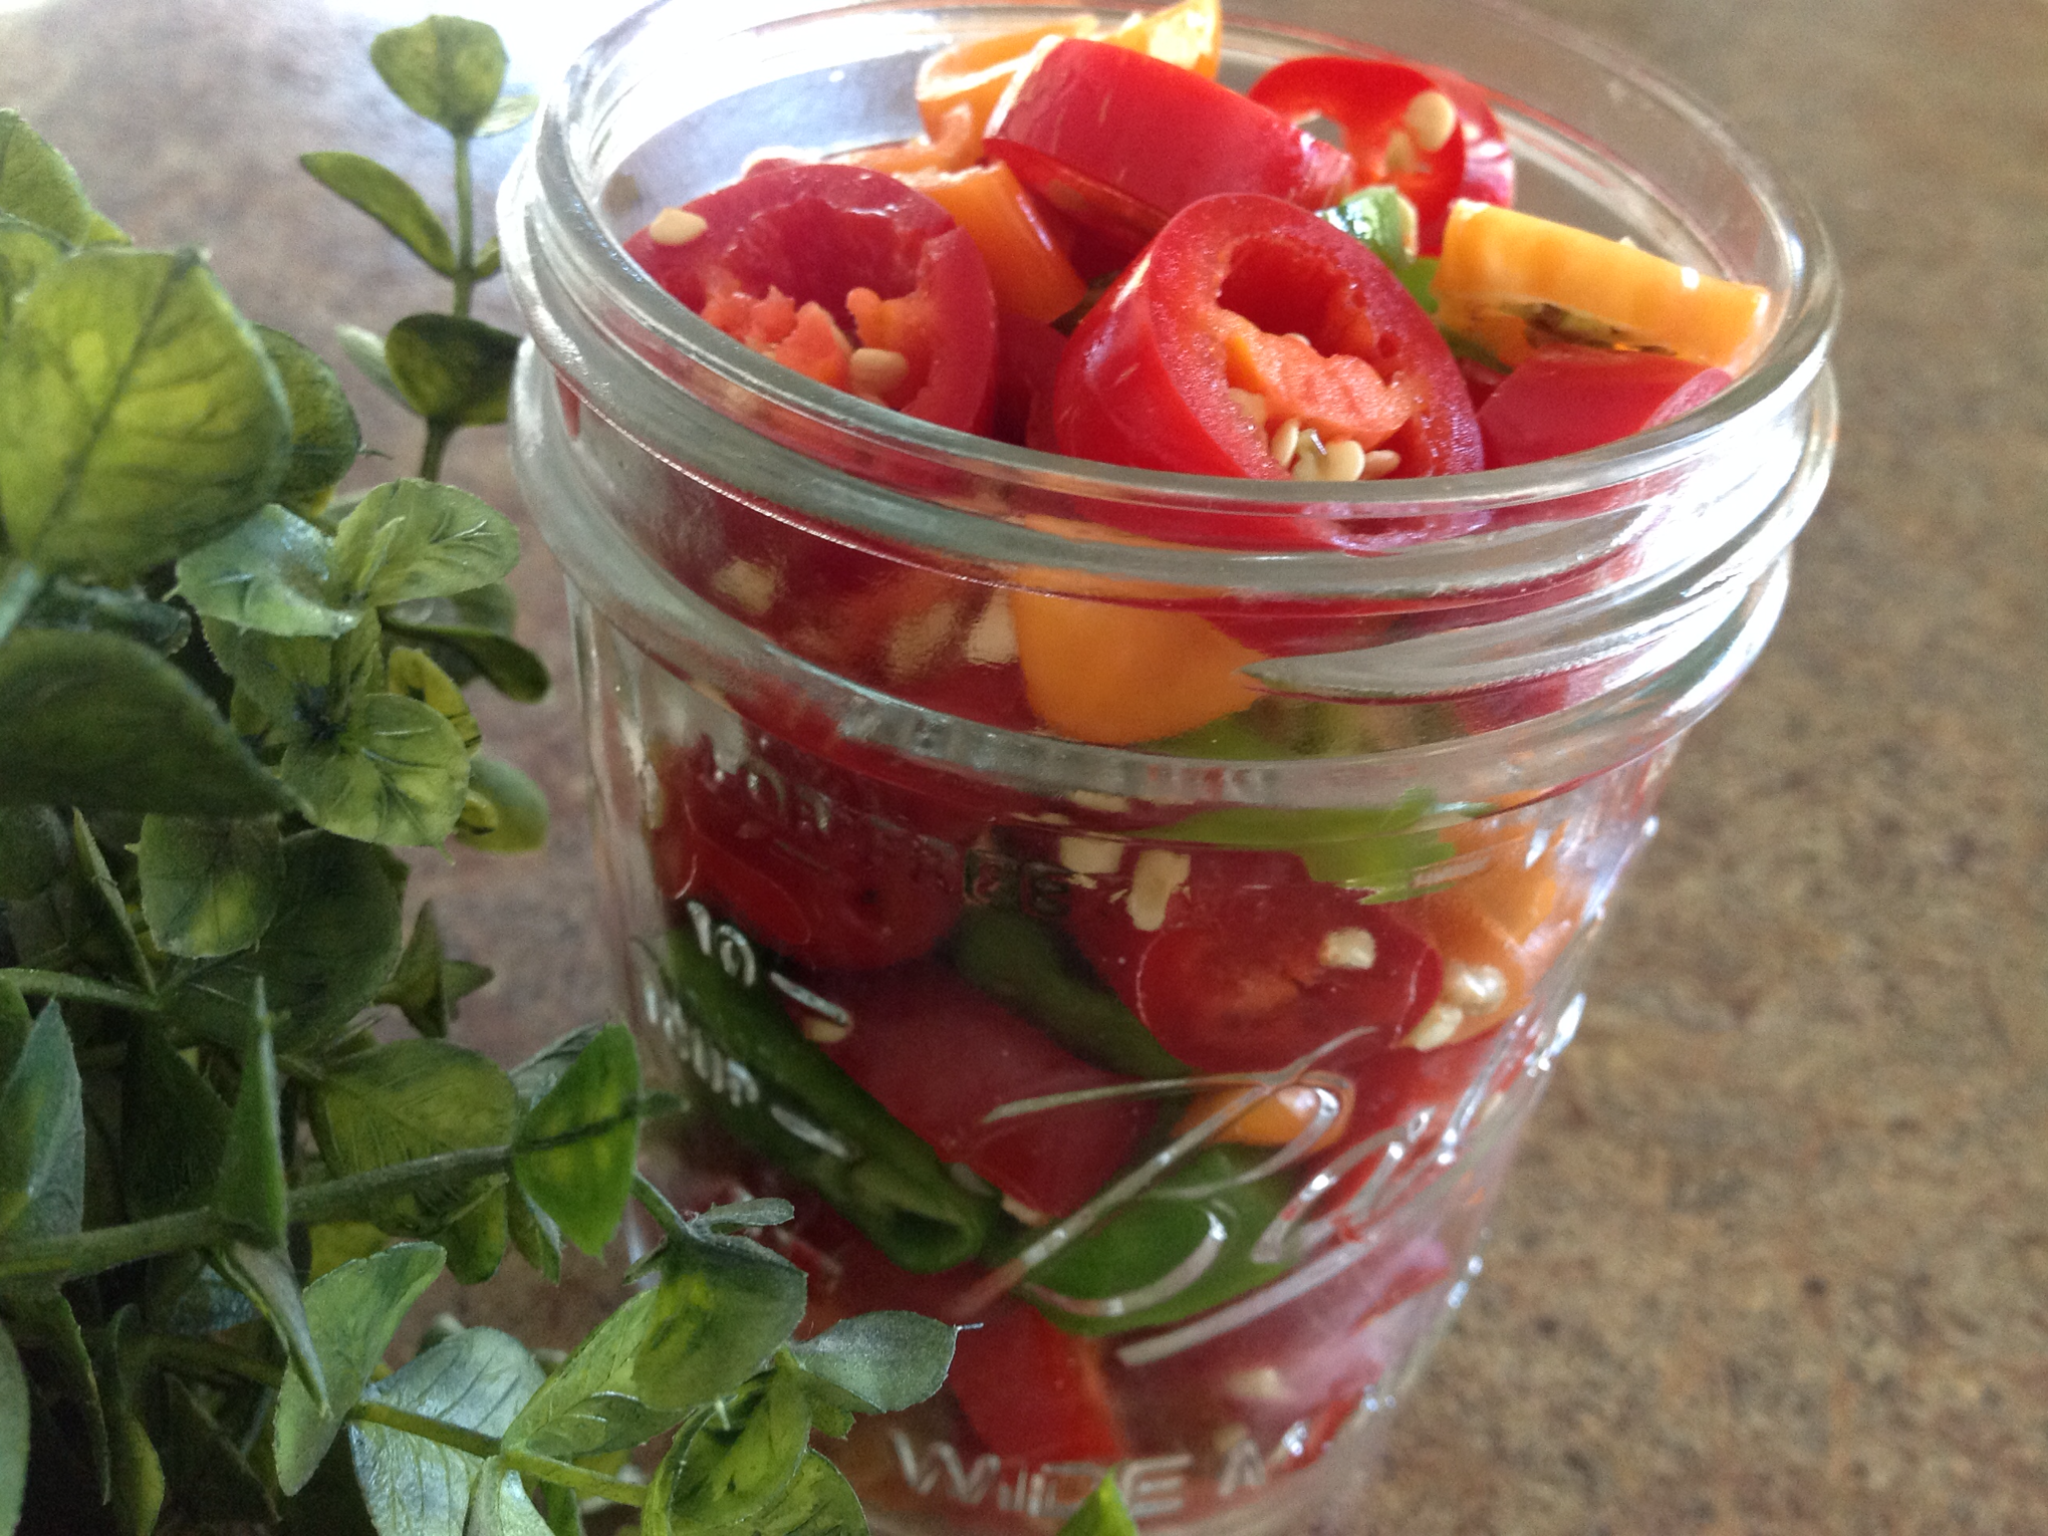
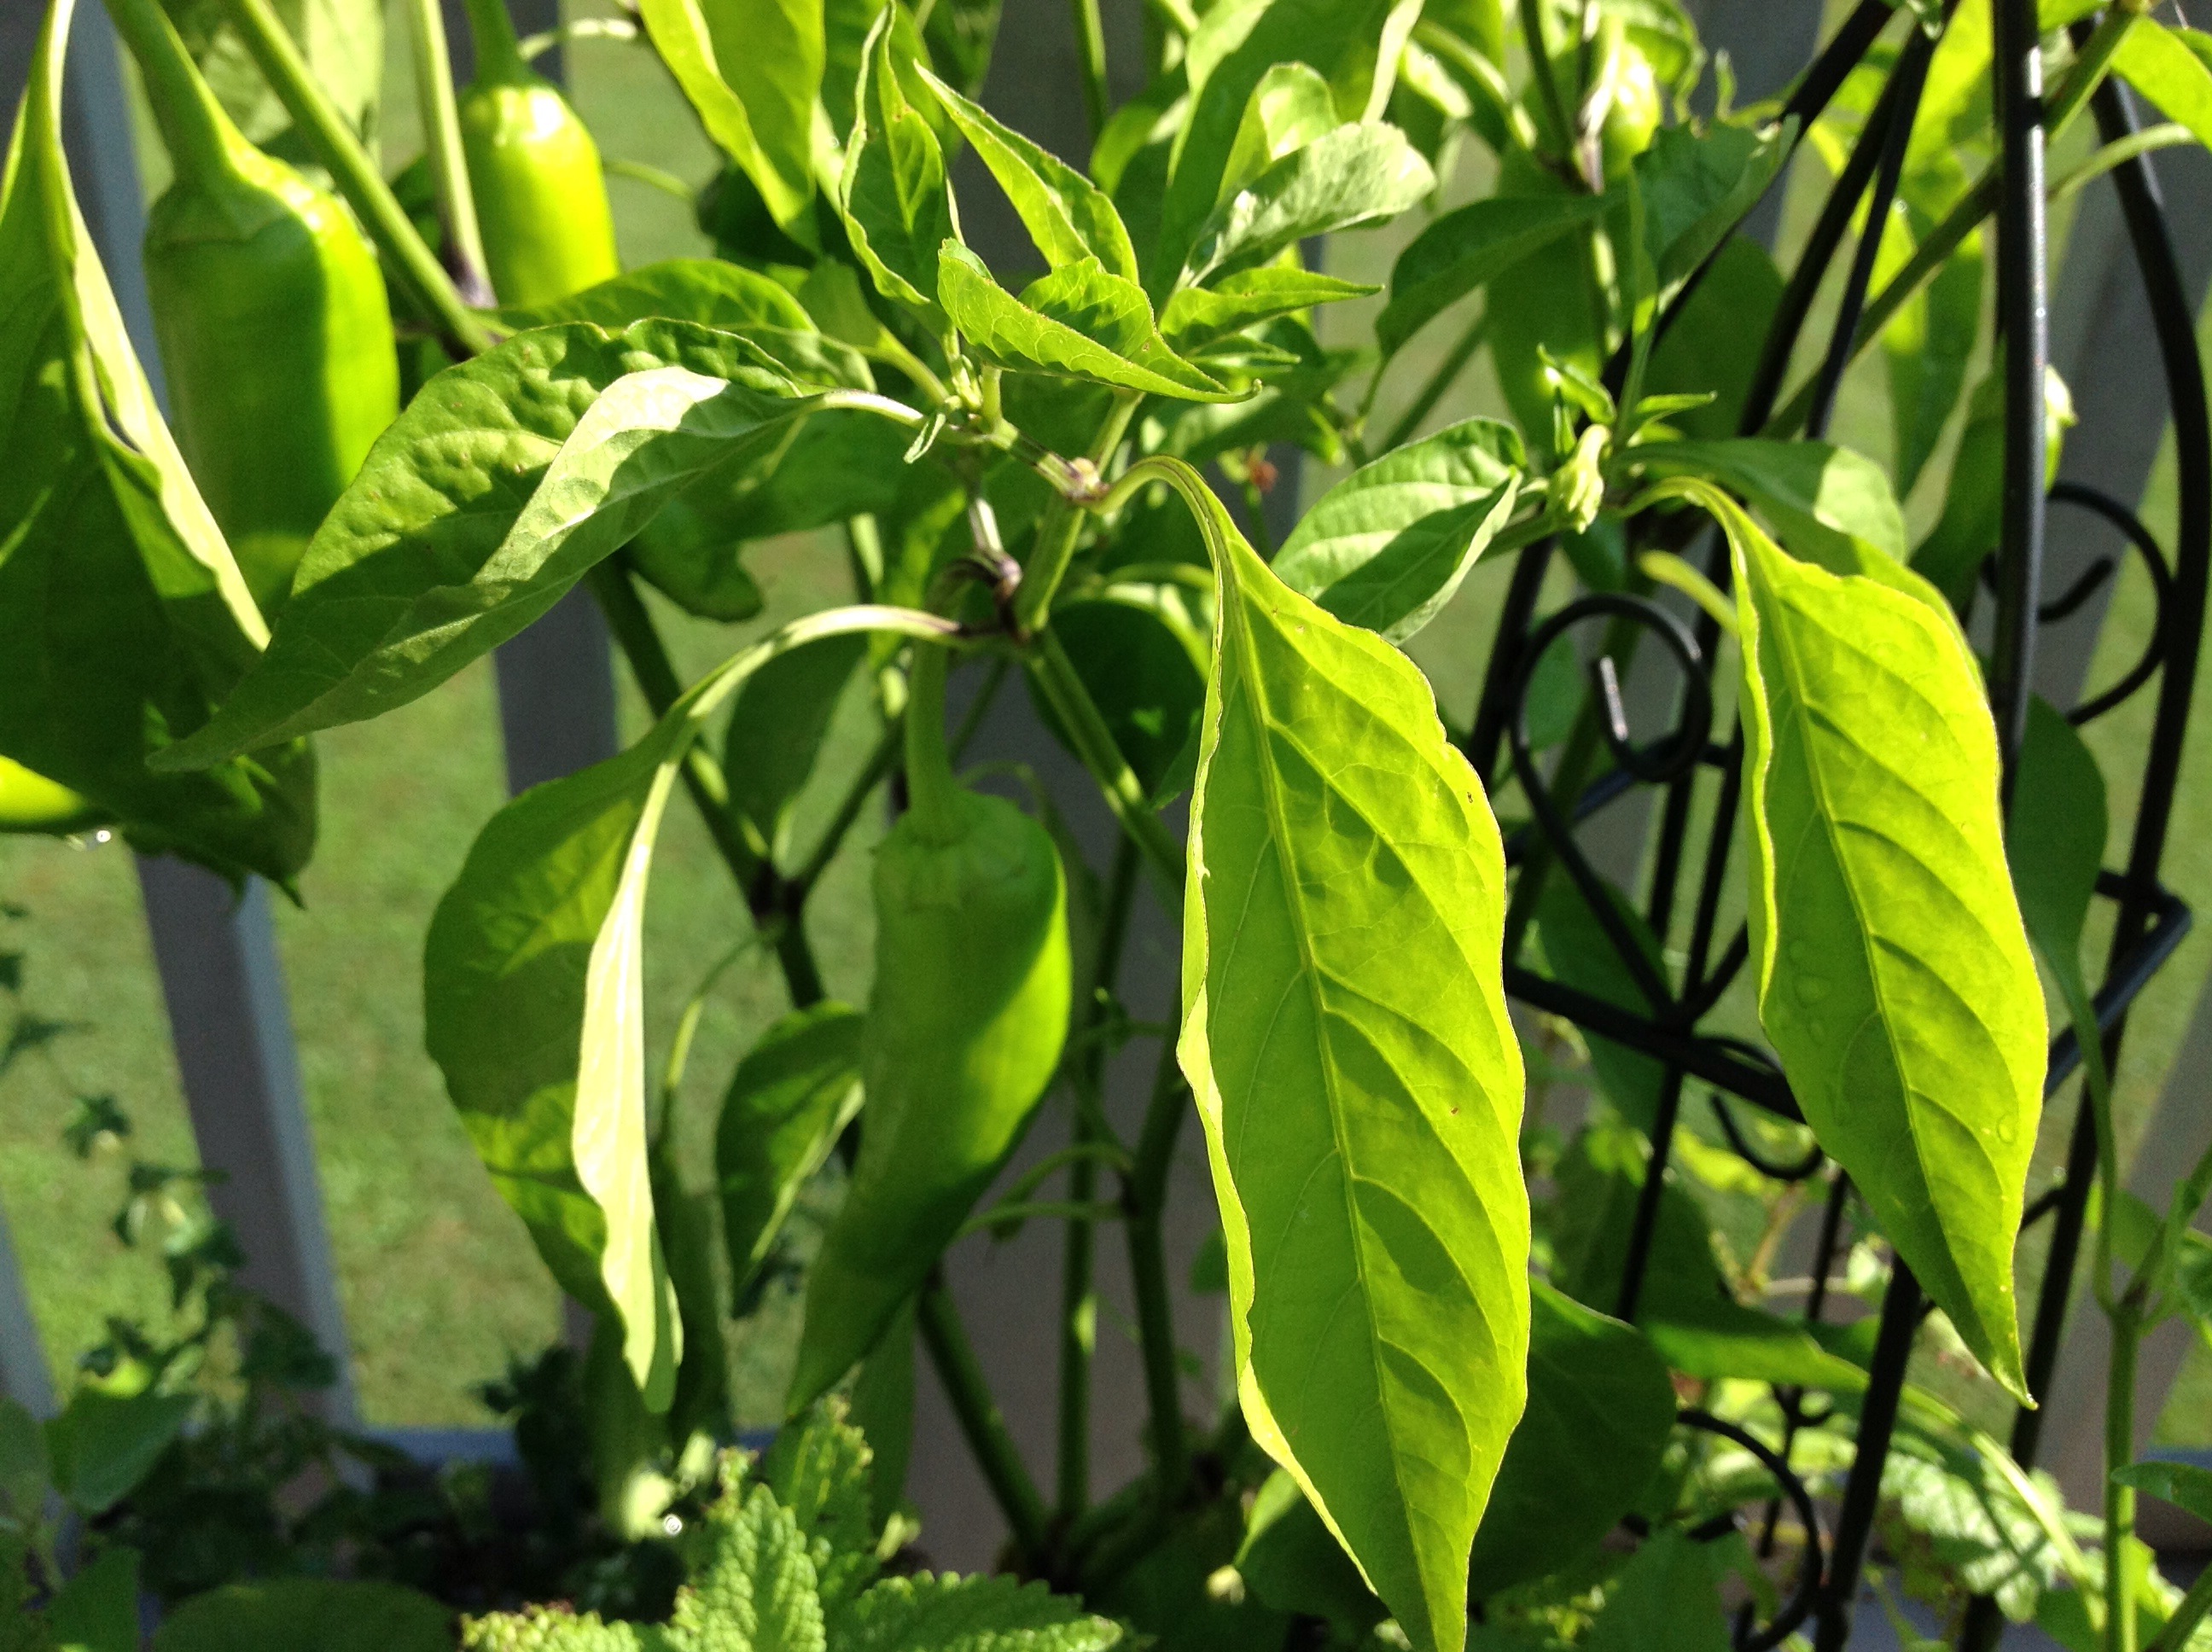
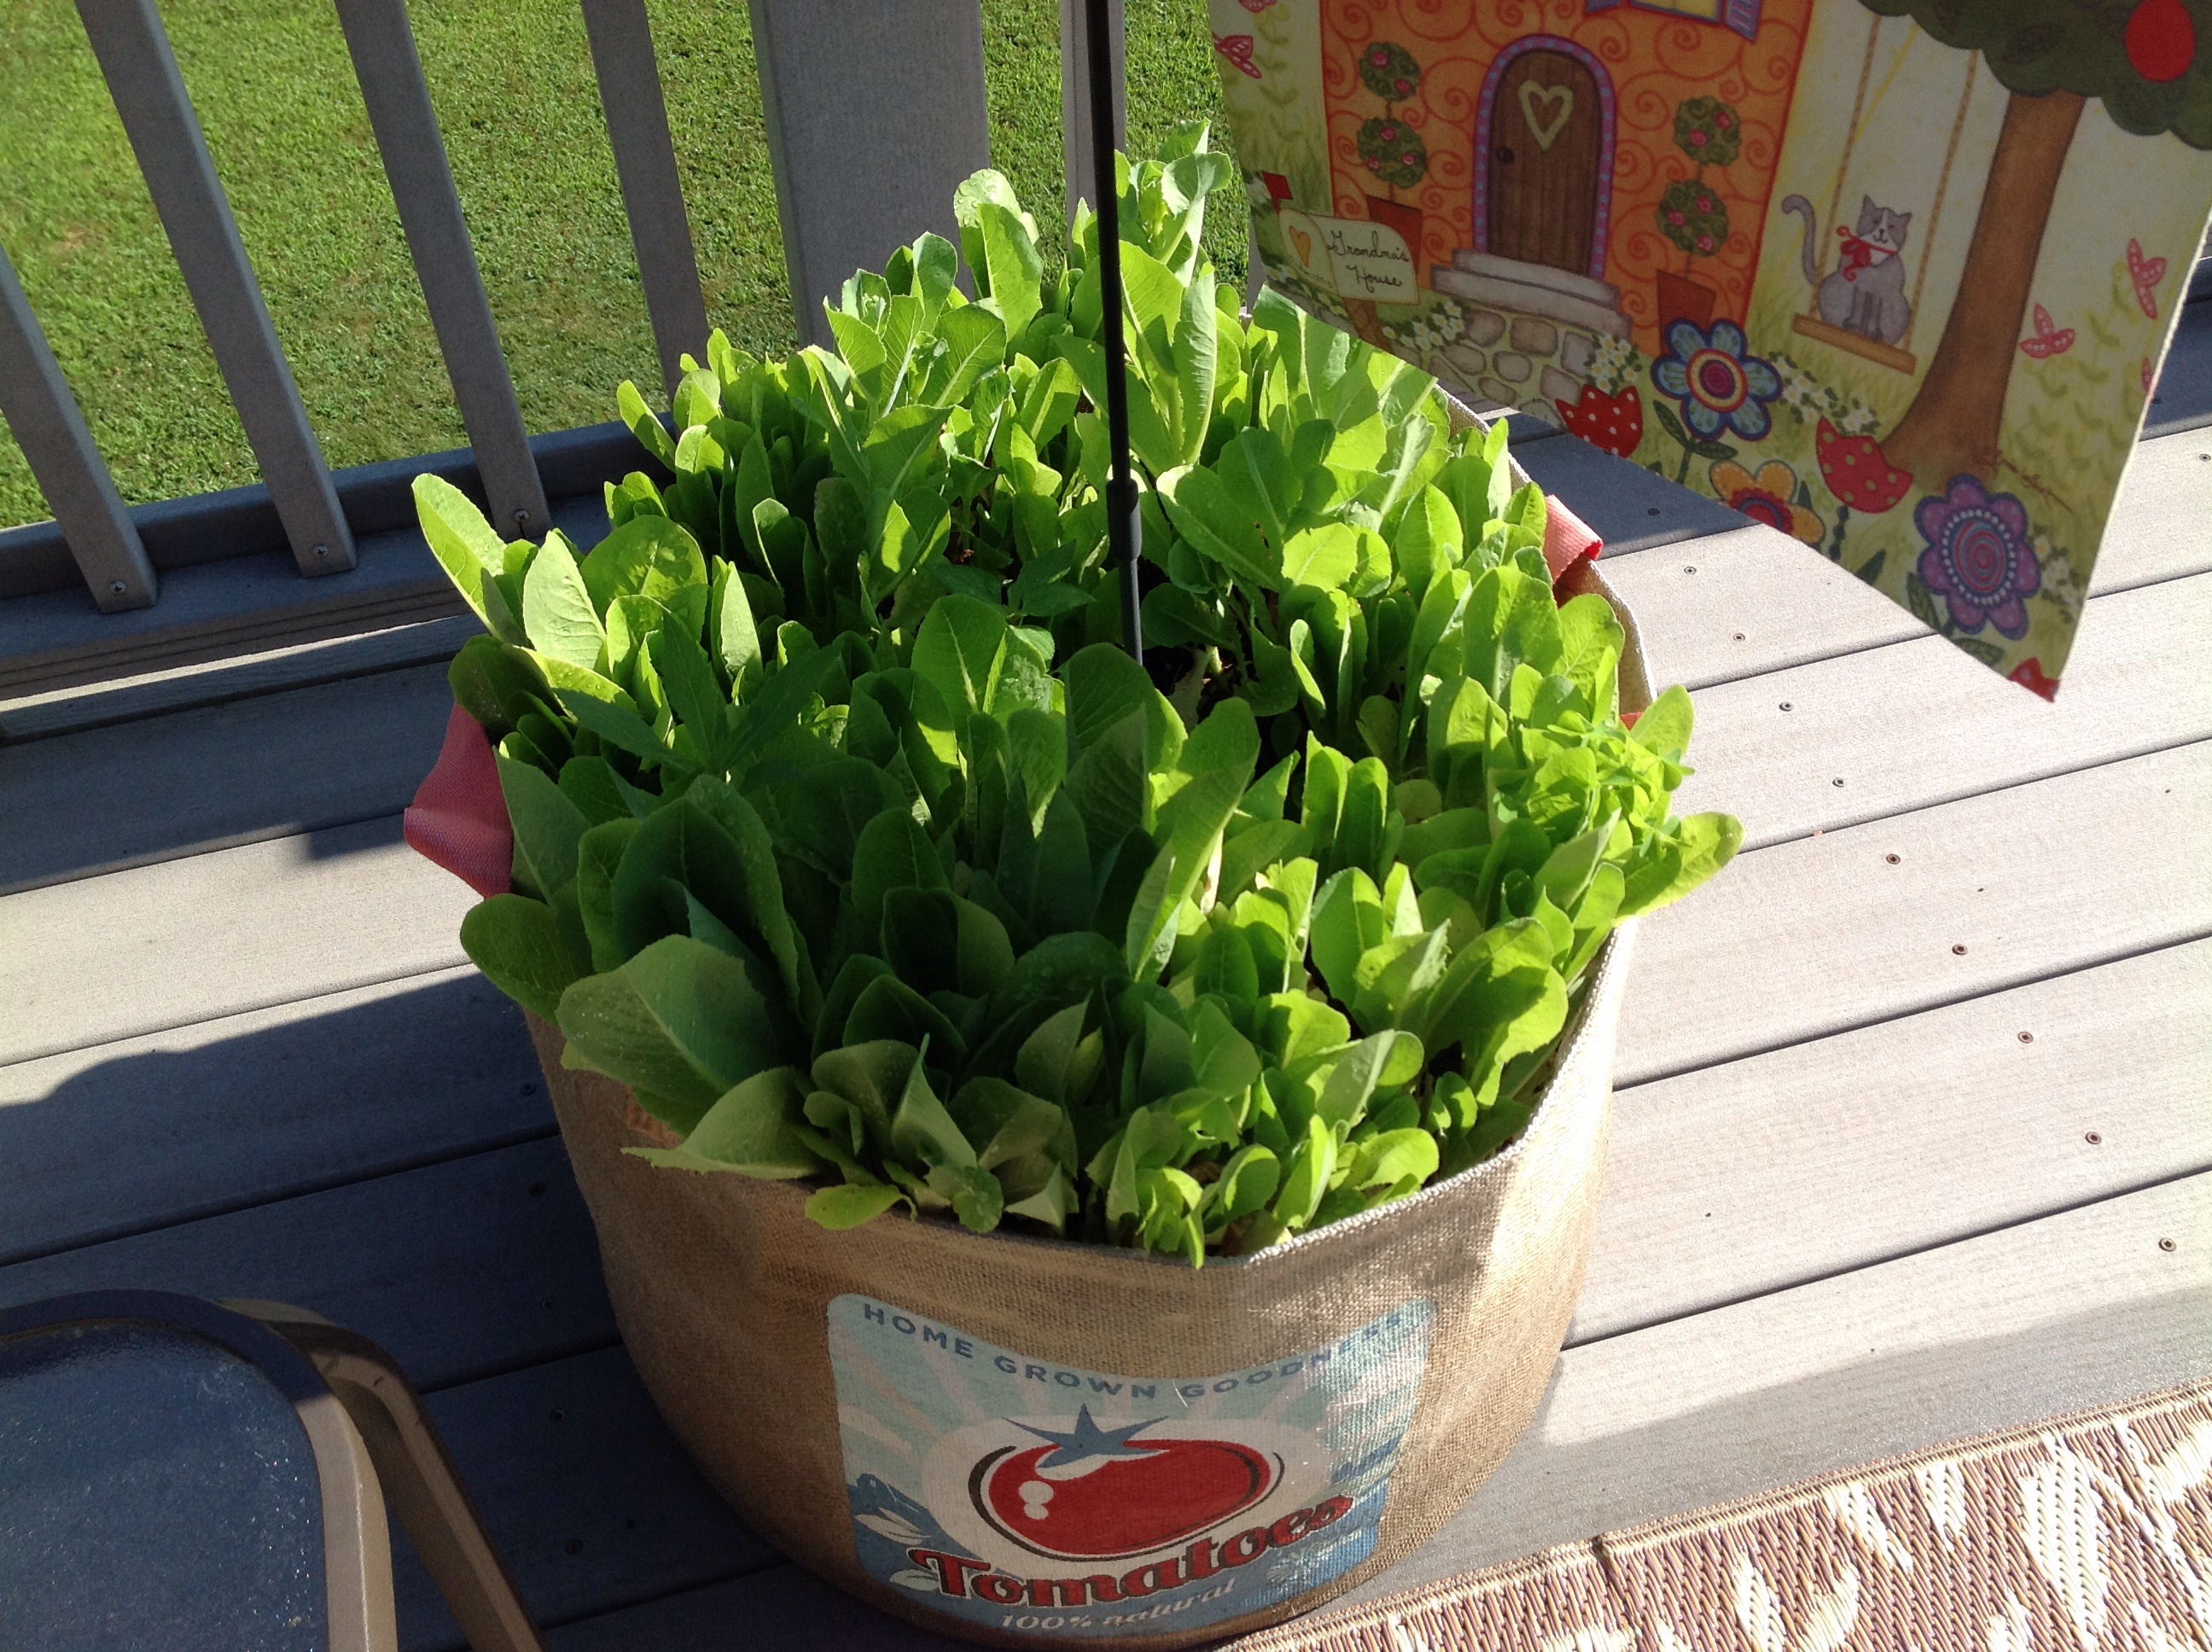
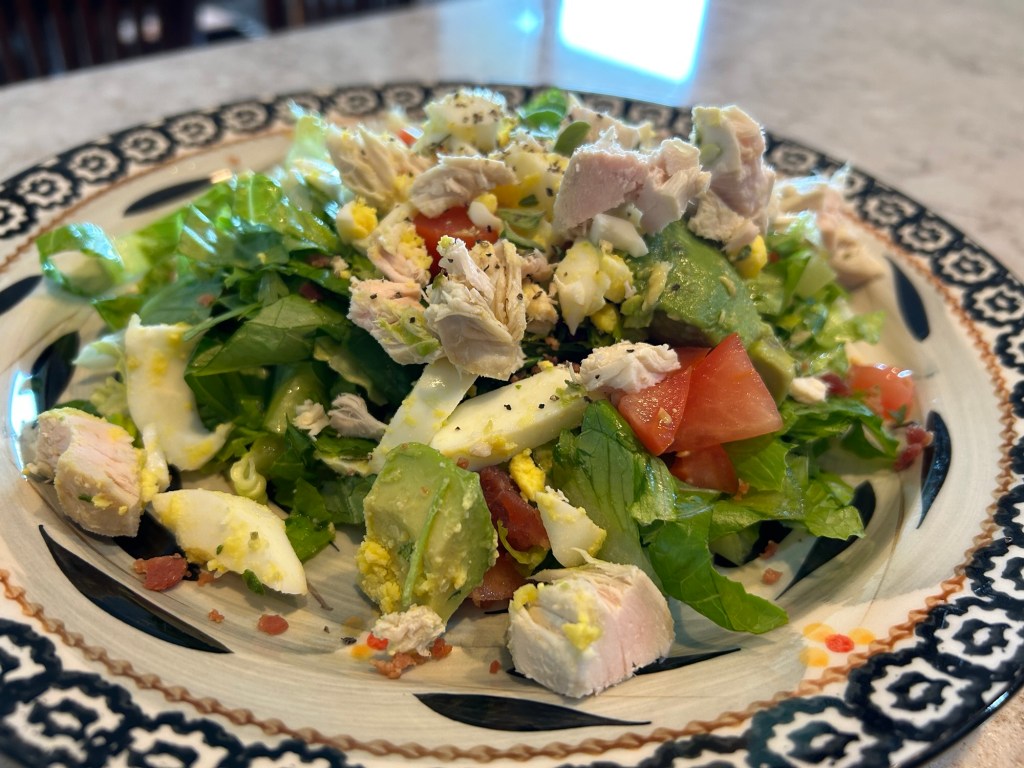
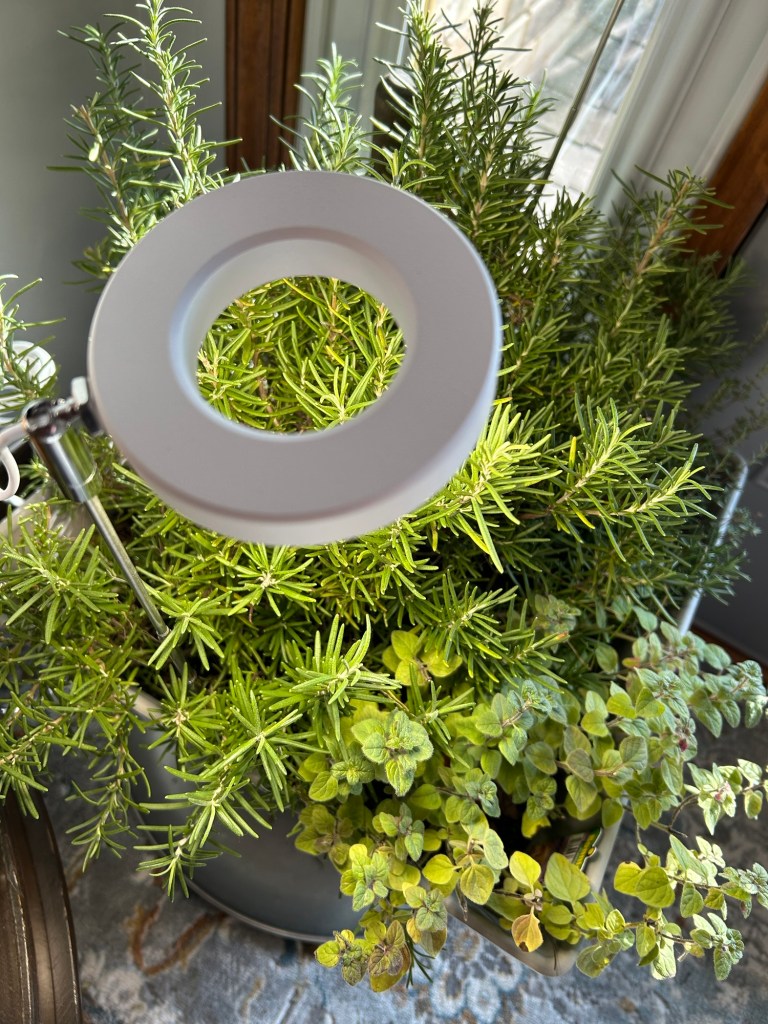
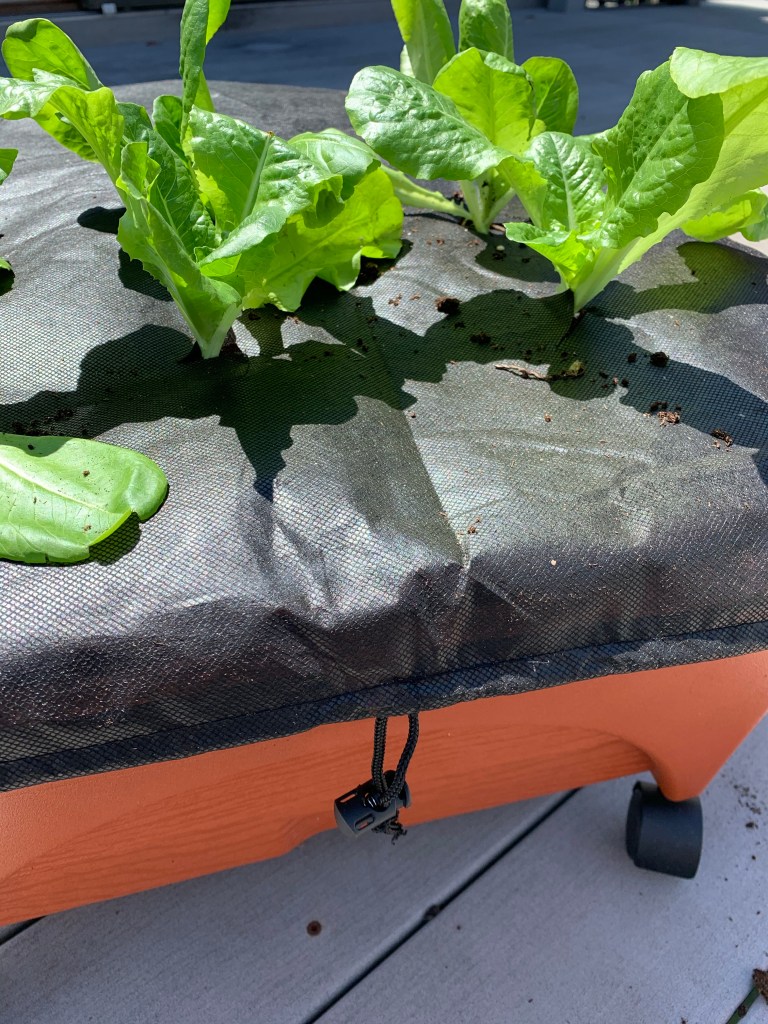
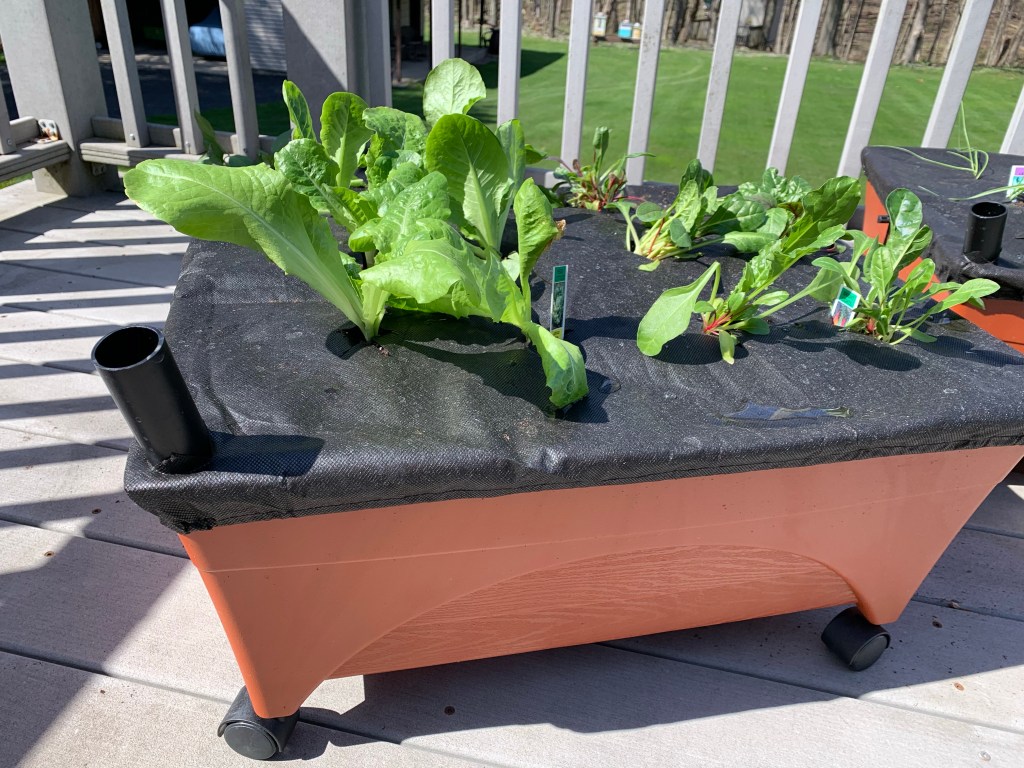
As I was mowing the lawn last week, I spied the beginning of a few delicious looking pears that I can’t wait to harvest when they are ready. My grapes are coming along nicely. I have gathered and prepared several generous heads of romaine lettuce, lots of sweet peppers, and fresh herbs. Nothing compares to the flavors of fresh picked fruits and vegetables that accompany family meals carefully prepared from scratch.


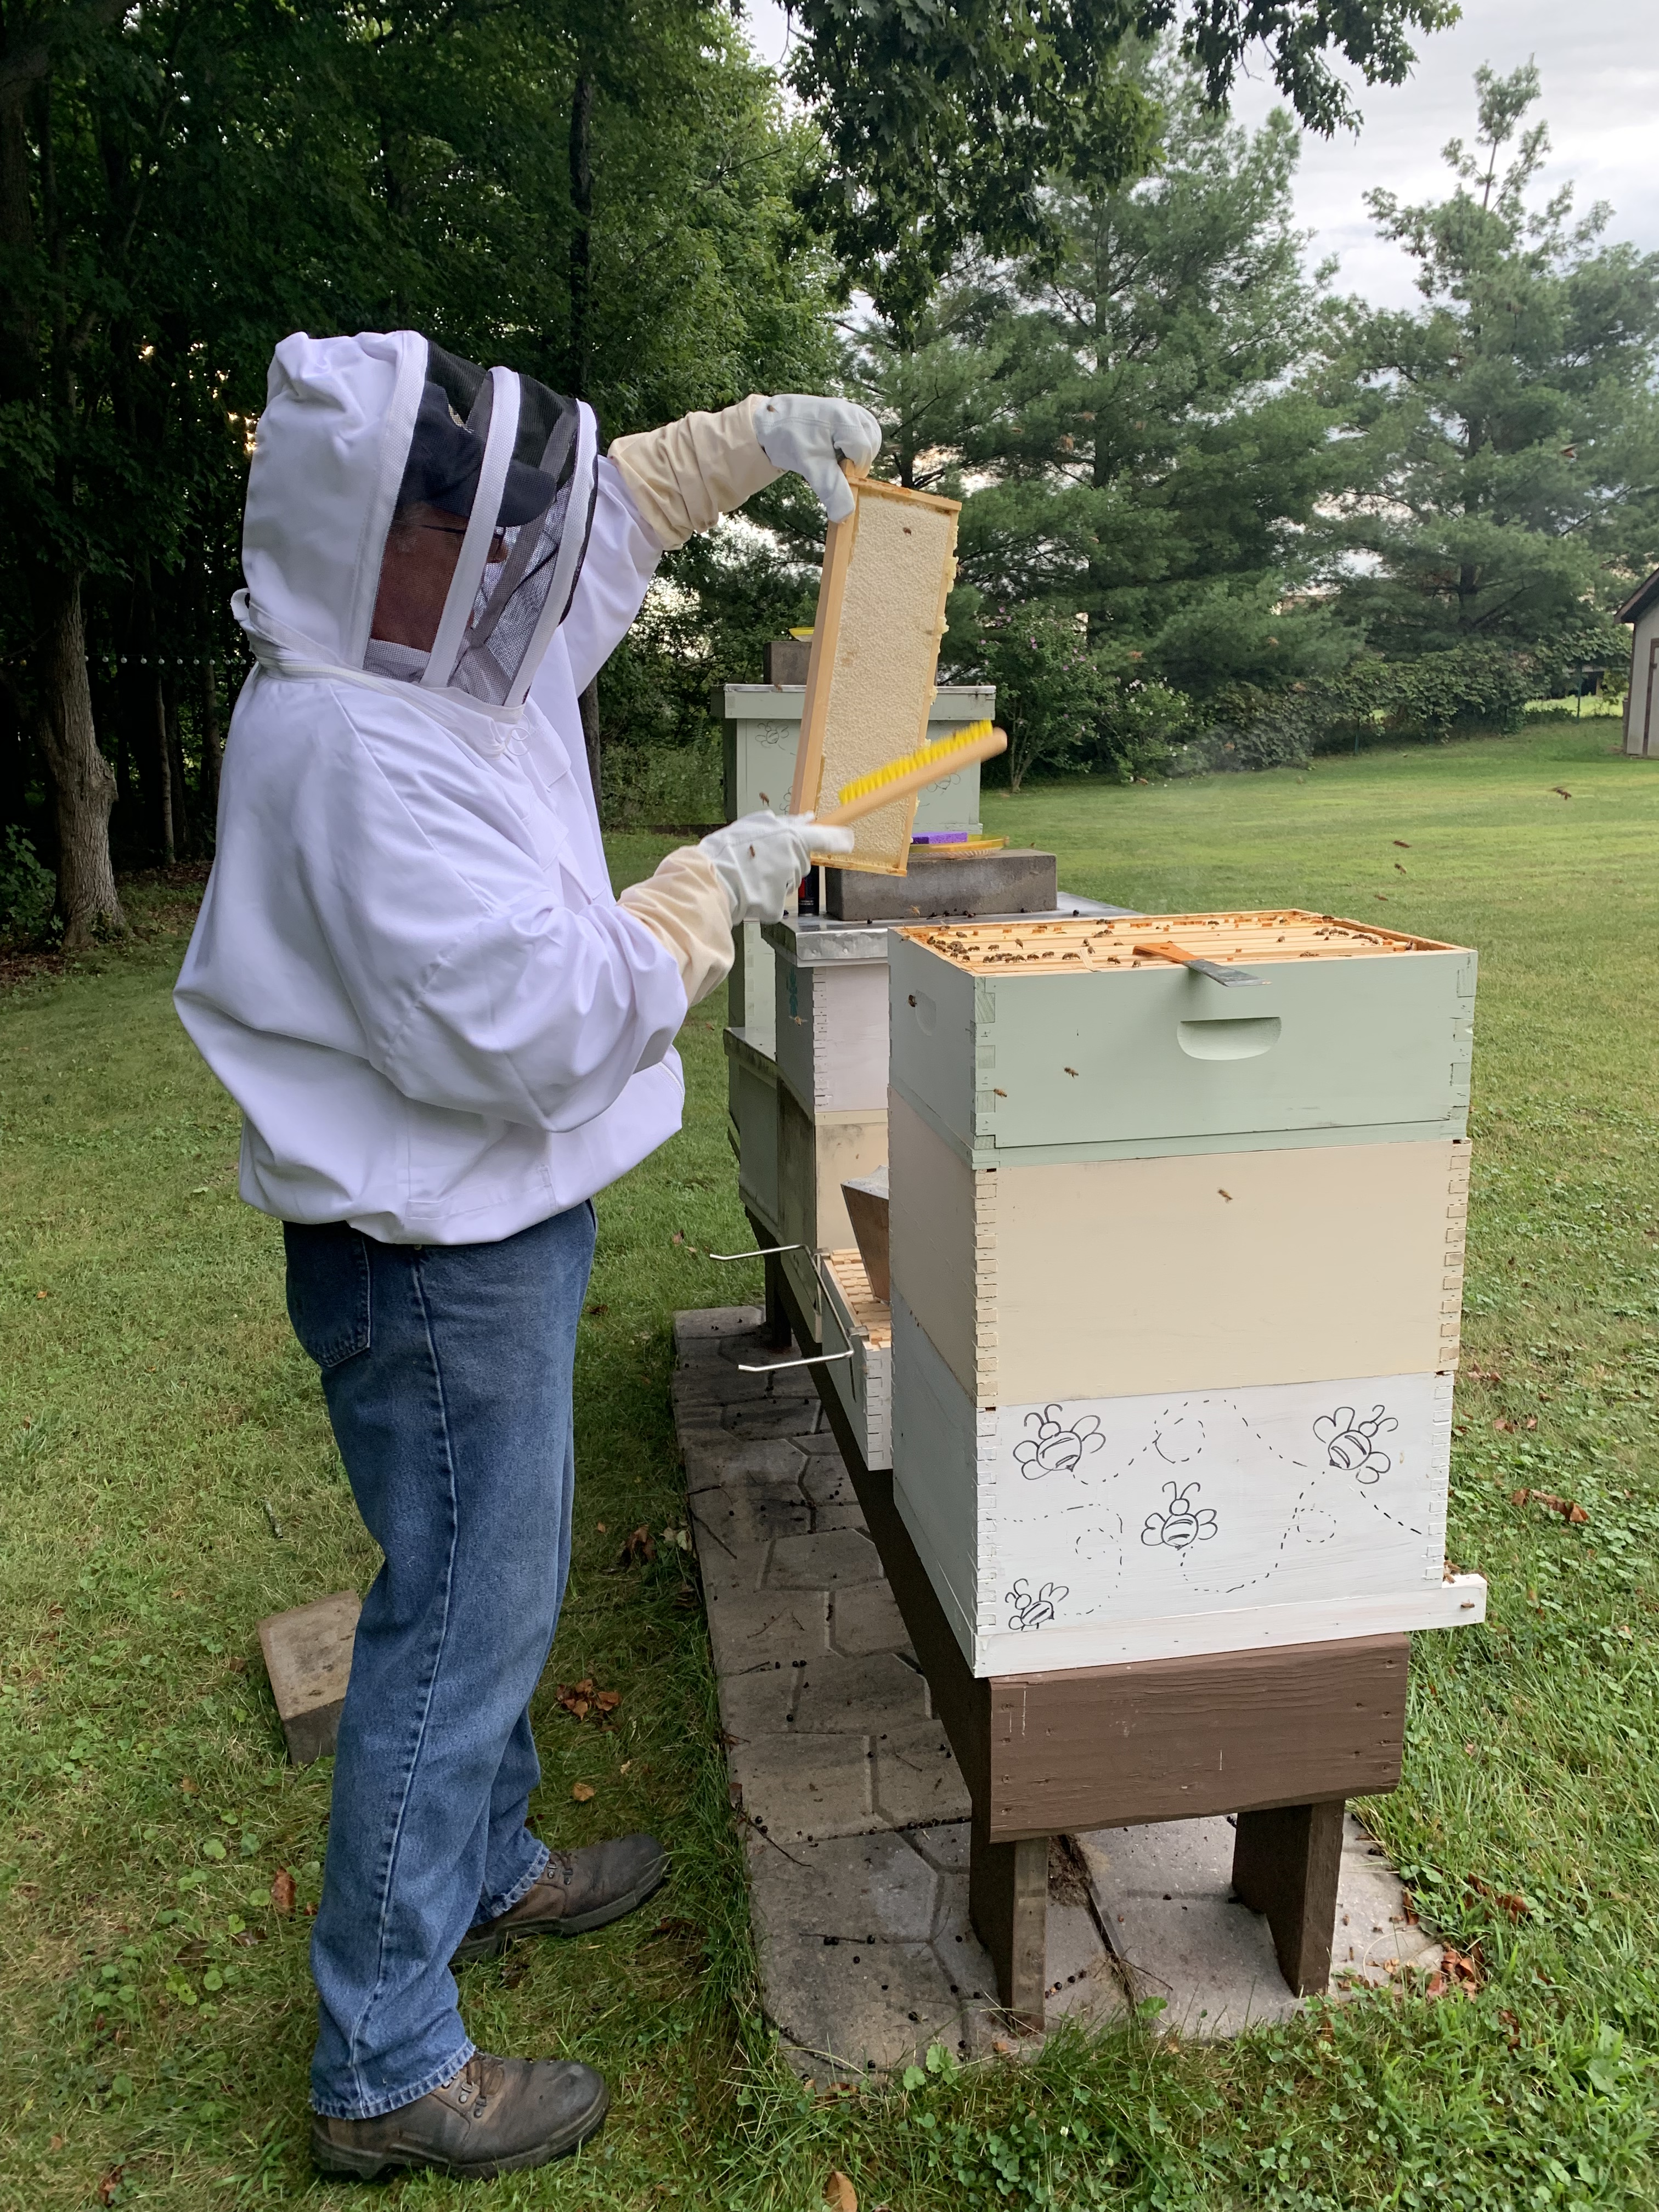
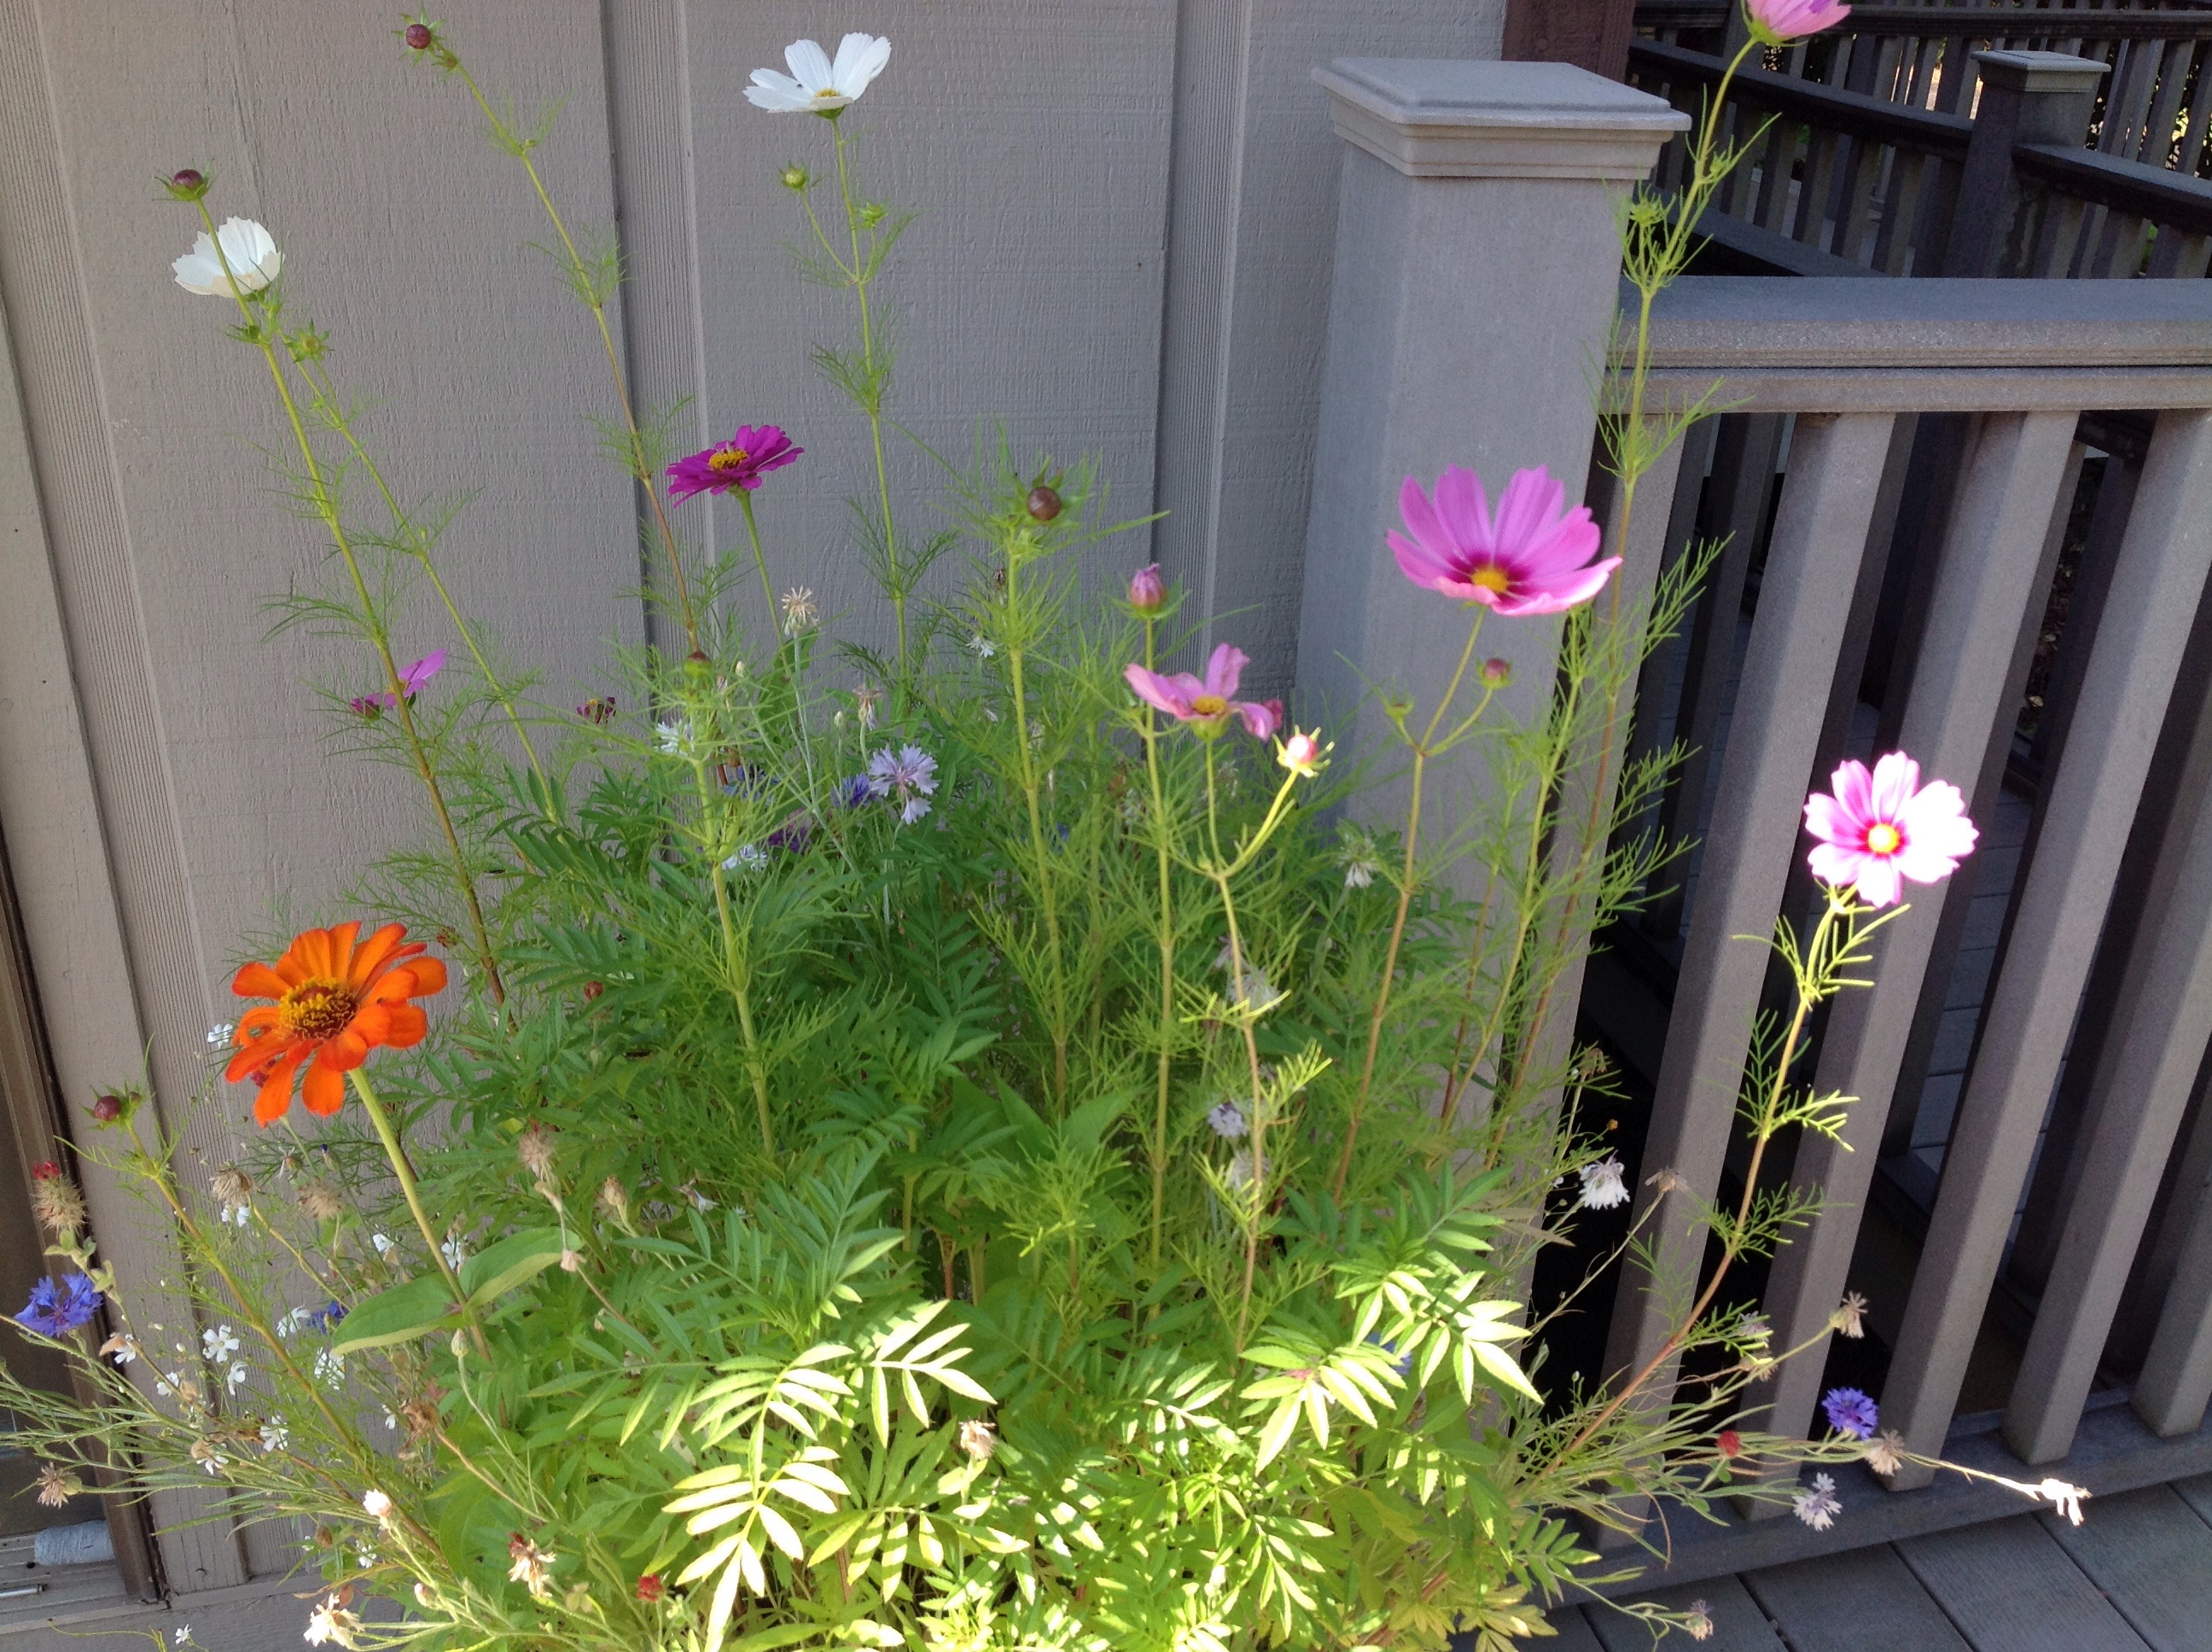
We’ve also started raising bees as a hobby and as a source for our own golden delicious honey. Planting patio pots with wild flower seeds and leaving our land as natural as possible will provide them a source of food as well.  


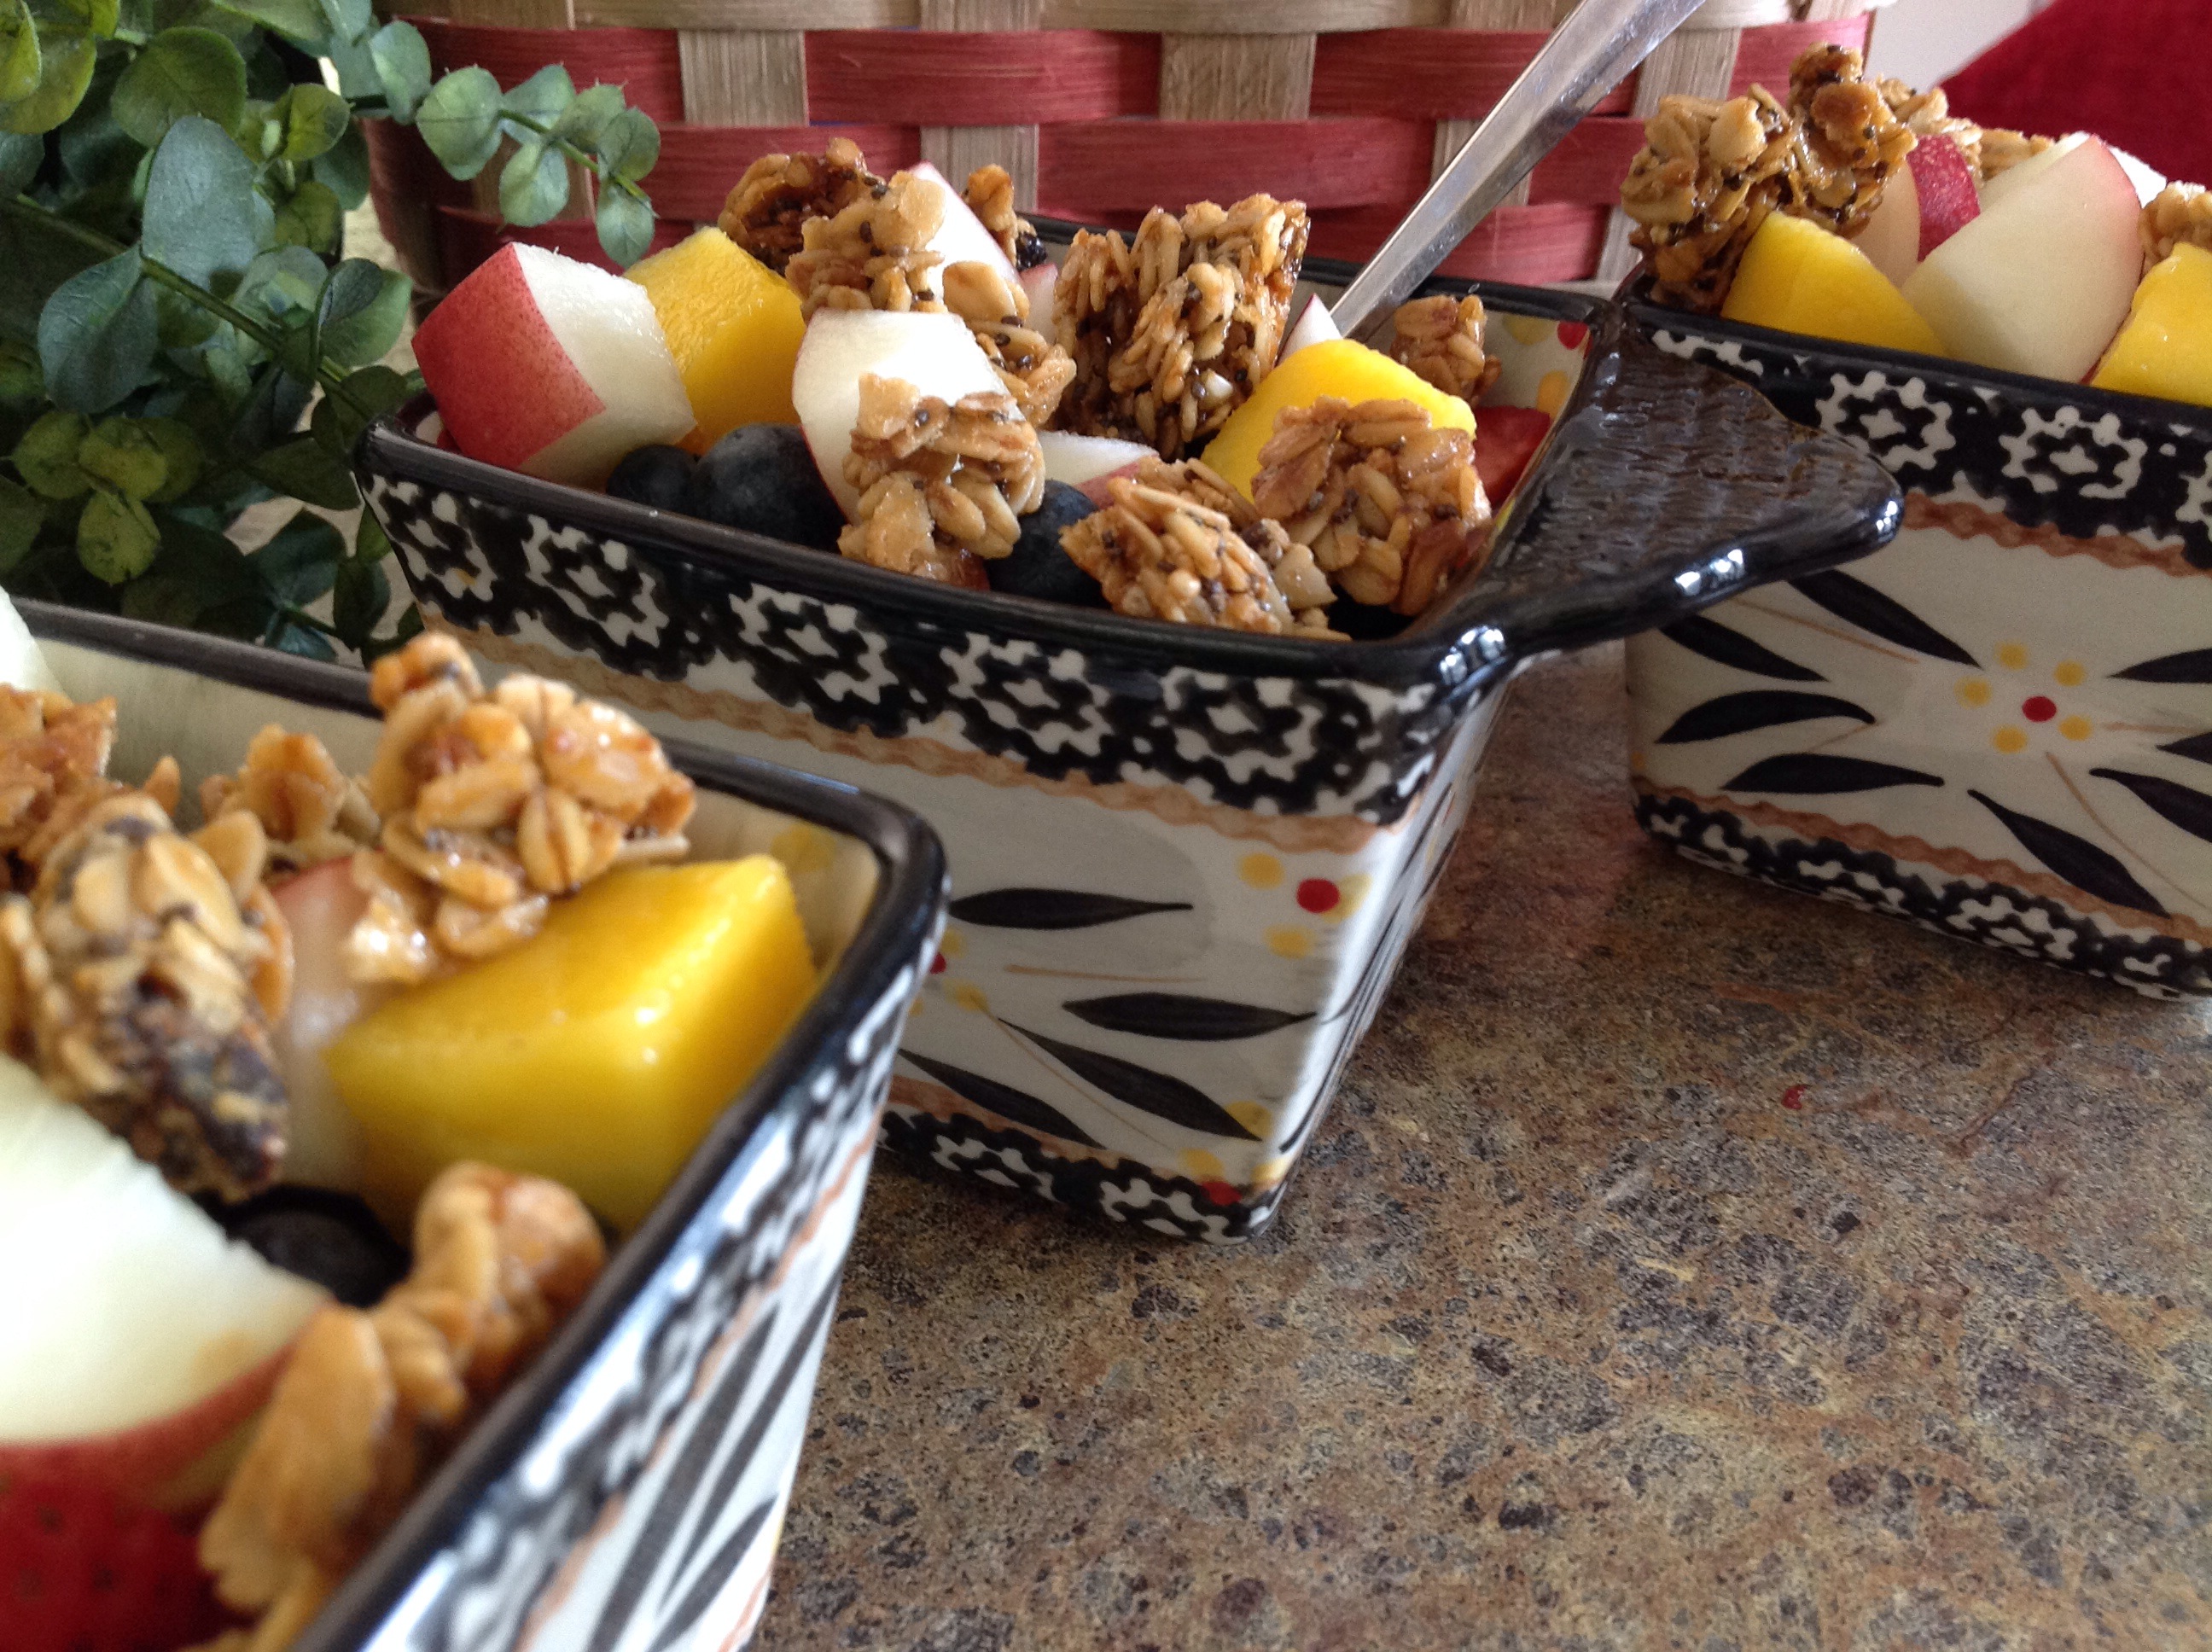
This morning I made a batch of granola clusters to accompany many of the fruits that I grew or purchased from a local farm. A dollop or two of plain yogurt finishes off the dish. (The peaches aren’t quite in season yet so I suppose, there are a few things in the dish that I am hopelessly awaiting as the season continues to bring us an abundance of delicious and nutritious delicacies.)

Here’s to bright warm days and unpredictable summer rains… This is definitely one of my most favorite times of the year.
Honey Granola Clusters


1/2 cup canola oil 

1/2 cup honey

1/3 cup light brown sugar

1 tbsp. vanilla extract

1/2 tsp. salt

1/2 teaspoon cinnamon

5 cups old fashioned oats

1 cup chopped nuts (walnuts, hazelnuts, pecans, whatever you prefer)

1 cup dried fruit (raisins, dried cranberries, dried apples, whatever you prefer)
Preheat oven to 325 degrees. Grease or line a 11 x 17″ baking sheet with parchment paper.

In a large bowl, whisk oil, honey, brown sugar, vanilla, salt and cinnamon until sugar is dissolved and oil is well incorporated. Add in the oats, nuts and dried fruit; mixing well.

Pour the oat mixture onto the baking sheet and spread it out into an even layer, firmly packing the oat mixture into the baking sheet.

Bake for 30 minutes, rotating the pan half way through cooking. Remove from oven and let the granola cool at room temperature for at least one hour.

Use a small spoon to scoop up the granola off of the baking sheet using the spoon to break the granola into clusters. Store at room temperature in an airtight container.


Make these ahead of time; cover them to store in the fridge for a few hours.
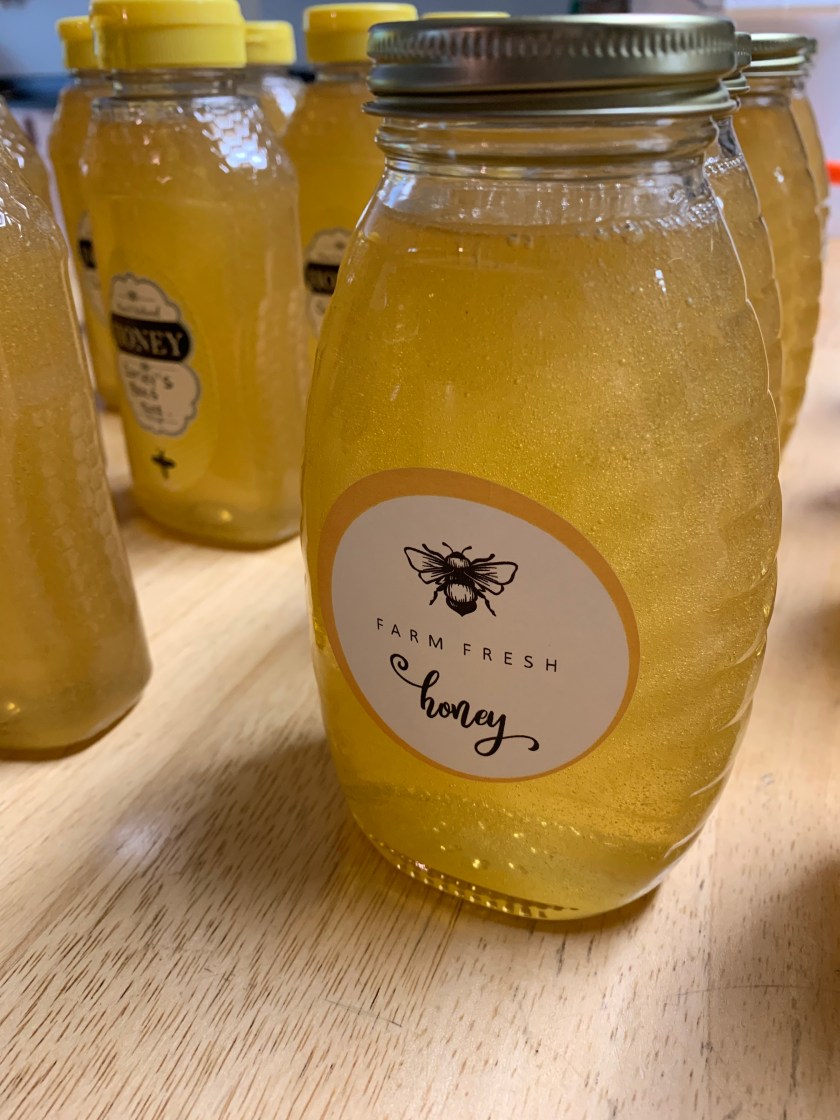
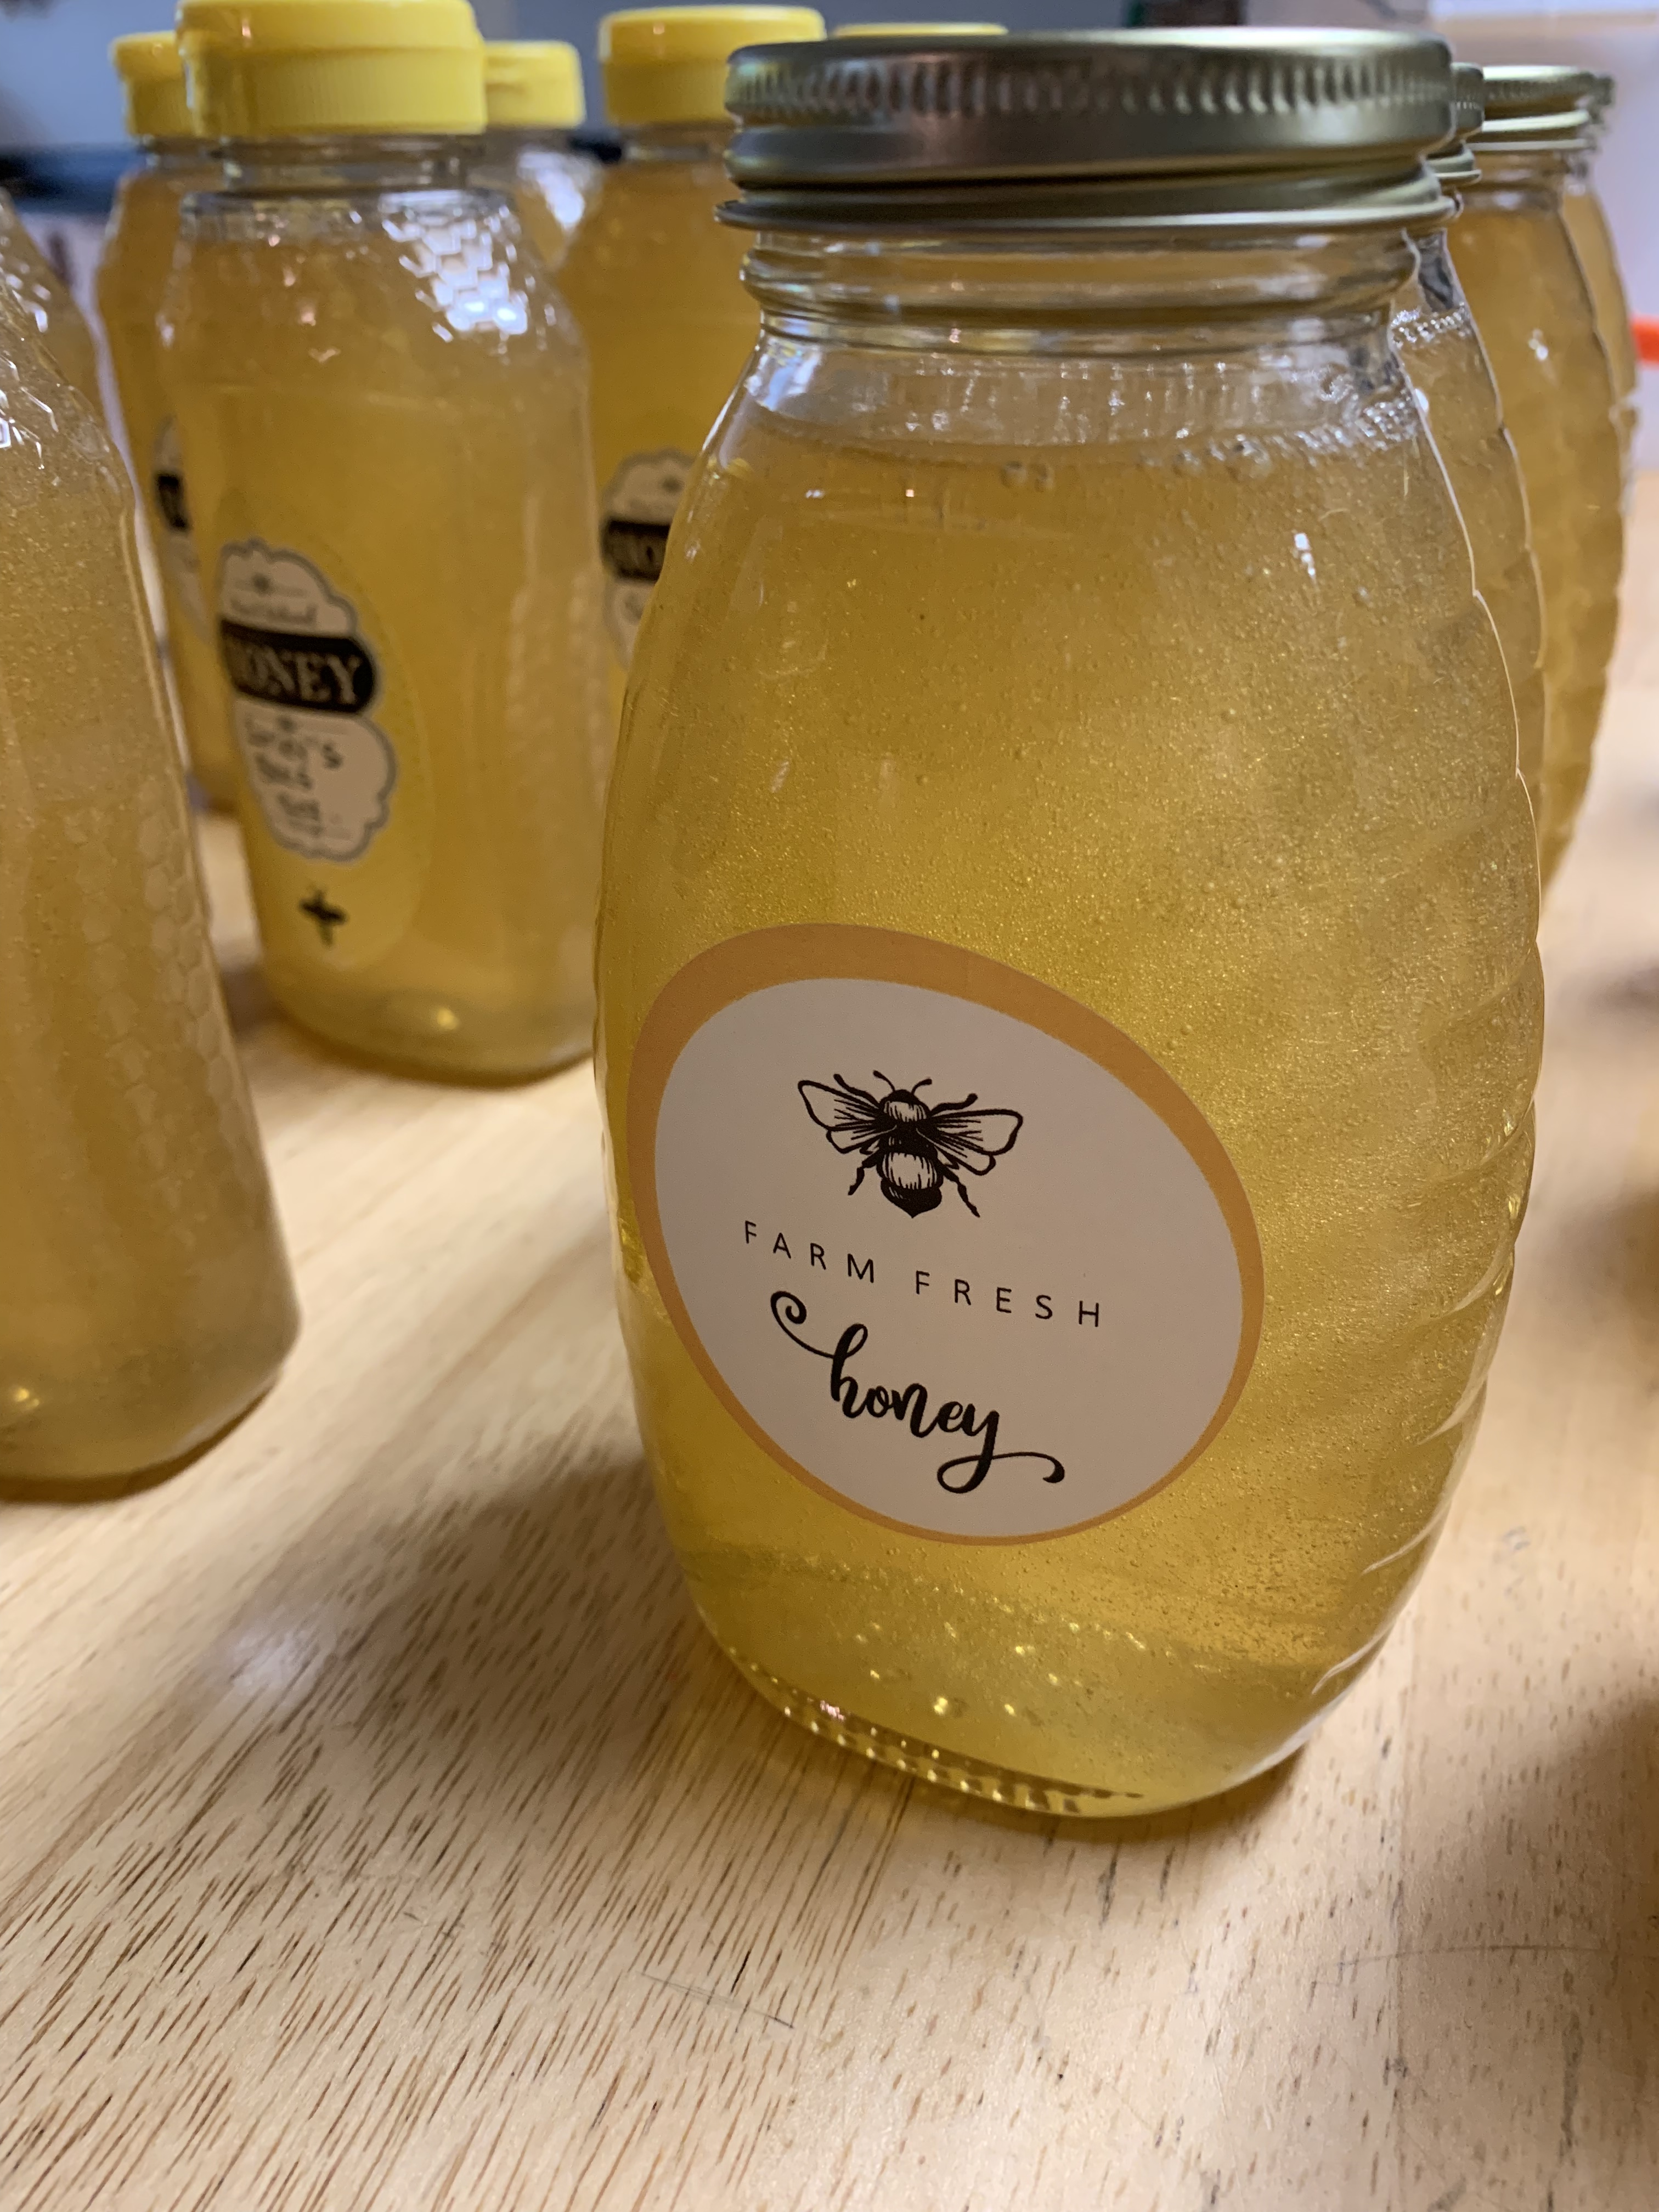
 

Posted in Baked goods, Baking, Gardening, Home Food Preservation

Iced Sour Cherry Muffins/Quick Bread


One of my co-workers sent me a text the other night.  She wanted to know if she might be able to successfully dry some of her sour cherries in the oven.  Her cherry tree had produced a bumper crop of fruit and she was creatively thinking of ways to preserve the bounty.  I quickly suggested she borrow my dehydrator as it is super easy to dry fruits and vegetables in this portable unit.  In return, she offered me some of those beautiful sour cherries.  I felt like one lucky girl!  

I quickly pitted, chopped and bagged the fruit to put in the freezer as I wasn’t quite sure what I would make with them.   Cherry pie filling… sour cherry jam… muffins … scones?  I settled on Iced Sour Cherry Muffins. What a great choice as these muffins are tart and sweet, packed with a good dose of sour cherries. The recipe only needed two cups worth of fruit so I froze the rest of the cherries for another day, another recipe.  I used some of the batter for muffins and the rest for a small loaf of quick bread.  Again, I am one lucky girl! 

 
Iced Sour Cherry Muffins/Quick Bread 

 ¾ cup buttermilk 

 ¼ cup orange juice 

 ⅔ cup canola oil 

 1 large egg 

 1 teaspoon orange extract 

 1 heaping tablespoon orange zest 

 2 cups flour 

 1 cup sugar 

 1 tsp baking powder 

 2 cups sour cherries (pitted and chopped) 

 2 tablespoons brown sugar and cinnamon instant oatmeal (optional) 

Preheat oven to 350 degrees. If making muffins, line pans with paper liners or use silicone muffin cups.  If making quick bread, spray small loaf pans with cooking spray.   

In a medium bowl mix together buttermilk, orange juice, extract, canola oil and egg; mix well.  Next, add the orange zest, flour, sugar, and baking powder; mix well.  Carefully fold in the cherries, just until combined.  Scoop batter into muffins cups about ¾ full. Sprinkle with instant oatmeal mix (optional).   

 Bake for 25 minutes, or until a tooth pick inserted into the center comes out clean.  (If making 7×3″ loaves, fill and bake for 40-50 minutes or until a toothpick inserted into the center comes out clean.)

Let rest for a few minutes, and then transfer to a wire cooling rack and allow to cool completely before icing. 

 For glaze:
1 cup confectioners’ sugar

1 tablespoon milk or orange juice

In a medium mixing bowl, combine ingredients and mix well. If glaze is too thick, carefully add extra juice or water (a 1/2 teaspoon at a time) until mixture is smooth and creamy. Lightly drizzle glaze over cooled muffins.

Posted in and sauces, Canning, Gardening, Home Food Preservation

Bumbleberry Jam


As the spring season ushers in warmer temperatures, I am focused on the blossomed plants that will soon produce ripe, succulent berries. My last year’s supply of Bumbleberry Jam is running low so I am hopelessly awaiting the opportunity to pick fresh berries and the prospect of an abundant canning season. 

There is nothing sweeter than a freshly baked scone or a slice of whole grain bread slathered with creamy butter and a heaping scoop of Bumbleberry Jam.  We also enjoy pairing the jam with a hearty helping of extra crunchy homemade peanut butter to assemble the classic PB&J.  Oh, it’s all so berry delicious!

Below you will find the link for this incredible jam.  Always remember that using a reputable source for canning recipes is imperative.  Some of these sources include the National Center for Home Food Preservation, University Extension Websites, and Ball or Bernardin Recipes. These organizations have thoroughly tested recipes making sure to focus on food safety guidelines.  

It’s relatively simple to make jam.  Follow the directions exactly as written and you’ll end up with a safe, delicious product.  Most jam recipes require an abundance of crushed berries…

Then you’ll often need some pectin and sugar…


You’ll need a large pot to mix all of your ingredients together according to the directions…


After processing the jars in a water bath canner for the recommended time, you’ll let the jars sit to cool for 12-24 hours…


The Bumbleberry Jam recipe can be found here:

http://www.bernardin.ca/recipes/bumbleberry-jam.htm?Lang=EN-US

Ball has a recipe for Mixed Berry Jam that tastes delicious as well.  Here is the link:

https://www.freshpreserving.com/mixed-berry-jam-%7C-mixed-berry-recipes—ball-fresh-preserving-br1276.html


Posted in Canning, Food, Gardening, Home Food Preservation

Sweet and Spicy Pickled Peppers


The first day of fall has hit the Midwestern region and it seems that gardens are producing a bounty of veggies that need to be picked and processed before the cooler temperatures set in.  Once again, a few local growers were kind enough to share an abundance of beautiful produce that was beyond what they could consume.  I was thrilled to see a small bag of assorted hot peppers in the mix.  The orange, red, and green, color combination would make for a beautiful display in canning jars. Because I would only have enough to fill one large jar, I decided to make refrigerator pickled peppers rather than canning them with a water bath method.  This is a quick and simple way to make the great tasting flavor of the peppers last as they sit on the refrigerator shelf and marinate in the sweet and spicy vinegar solution.  Use these peppers to top an Italian salad or to add some flavor to a grilled sandwich. Simply delicious!


Sweet and Spicy Pickled Peppers

2-4 cups sliced peppers

2 cups white vinegar

1⅓ cup water

1 tablespoon canning salt

2 tsp sugar

Canning jar(s) with tight fitting lid(s)

Wash jar(s) with warm soapy water; air dry.  Pack the sliced peppers in jar(s).  Set jar(s) aside.

In a saucepan, combine vinegar, water, salt, and sugar. Stir to dissolve sugar completely.  Bring to a simmer over medium heat.  Remove from heat and let cool.

Pour mixture over the peppers making sure they are completely covered. Twist on a tight fitting lid and store in the refrigerator. As the peppers sit, the flavors will develop. Store refrigerated for 4-6 weeks.


Posted in Canning, Gardening, Gifts

Homemade Concord Grape Juice

Well, it’s that time of year again!  Ready for the picking are clusters of deep purple grapes hanging off of the vines in my back yard.  While the last couple of years have brought bumper crops to our lot, this year’s pickings have been a bit slim. This didn’t stop me from making a few of our family favorites…flavorful grape juice and grape jam.

There’s no greater satisfaction than to grow and process your own produce.  Several years ago I planted two Concord grape pods and they have grown to cover a large open area with a plentiful bounty of fruit.  Fresh air, rain and sunshine nourish the plants throughout the summer months until the gorgeous fruit are ready for picking.  I don’t water, fertilize, trim or fuss.  This is my kind of gardening!  The reward for leaving the plant to do what it naturally does; lots and lots of grape jam and juice that will last throughout the year.


Above is the recipe from the Ball Blue Book published by Alltrista Corporation.

Here is another method that produces similar results…
Homemade Concord Grape Juice

TO EACH STERILIZED QUART JAR
2 cups washed and cleaned concord grapes

1/2 cup sugar

Boiling water

In sterilized jar place 2 cups grapes. 

Add 1/2 cup sugar.  


Fill with boiling water leaving 1/2″ headspace. 

Seal jars at once with 2 piece lids. Process in water-bath canner for 10 minutes. Remove from canner and let sit for 24 hours.  Remove metal lid-bands, and label with date and contents.  Let juice stand 3 to 4 weeks before using. (The longer you let it sit, the greater the concentration.) Strain juice from grapes and use juice. Refrigerate after opening. 

For a great tasting homemade Grape Jam, try this Ball Blue Book recipe…


Posted in Baked goods, Baking, Bread, Gardening

Late Summer Zucchini Quick Bread


How many of you have loads of zucchini that are ripe and ready for picking?  Just a few plants seem to produce lots of long slender veggies that taste great sliced and sautéed with carrots and onions, diced and cooked into a spicy spaghetti sauce, or shredded and dumped into your favorite quick bread recipe.  

A local farmer dropped off a bag full of produce last week. I was delighted to see the assortment of zucchini that often overwhelm the garden. I graciously thanked my friend and scooped up the zucchini with this delicious recipe in mind.

Tip: I always use my food processor to shred a summer’s worth of zucchini and then place in freezer bags in 2 or 4 cup quantities.  (Label with date, product, and amount).  This way I have zucchini ready whenever I want to bake this quick bread throughout the year.  

This recipe yields four deliciously moist loaves that can be eaten, frozen, or given away as fresh baked gifts from the kitchen.  Don’t forget to share a loaf or two with a local grower who might be inclined to share some freshly picked produce when he/she has more than they can use.

Late Summer Zucchini Quick Bread 

6 cups all-purpose flour

2 teaspoon salt

2 teaspoon baking soda

2 teaspoon baking powder

6 teaspoons ground cinnamon

6 eggs

 2 cup vegetable oil

4 cups white sugar

2 tablespoons vanilla extract

4 cups grated zucchini

2 cup chopped walnuts

2 cups raisins

1 package instant oatmeal for topping, any flavor

Preheat oven to 350 degrees.  Spray with cooking spray, four 8 x 4 inch pans.  In a very large bowl, mix flour, salt, baking powder, soda, and cinnamon together.

Beat eggs, oil, vanilla, and sugar together in a separate large bowl. Add wet ingredients to the dry mixture, and beat well. Stir in zucchini, nuts, and raisins until well combined. Pour batter into prepared pans. Sprinkle flavored instant oatmeal evenly over batter.

Bake for 50 to 60 minutes, or until tester inserted in the center comes out clean. Cool in pan on rack for 20-30 minutes. Carefully, remove from pan, and cool completely.