Posted in Baked goods, Baking, Bread, Food

Easy Chocolate Chip Banana Loaf

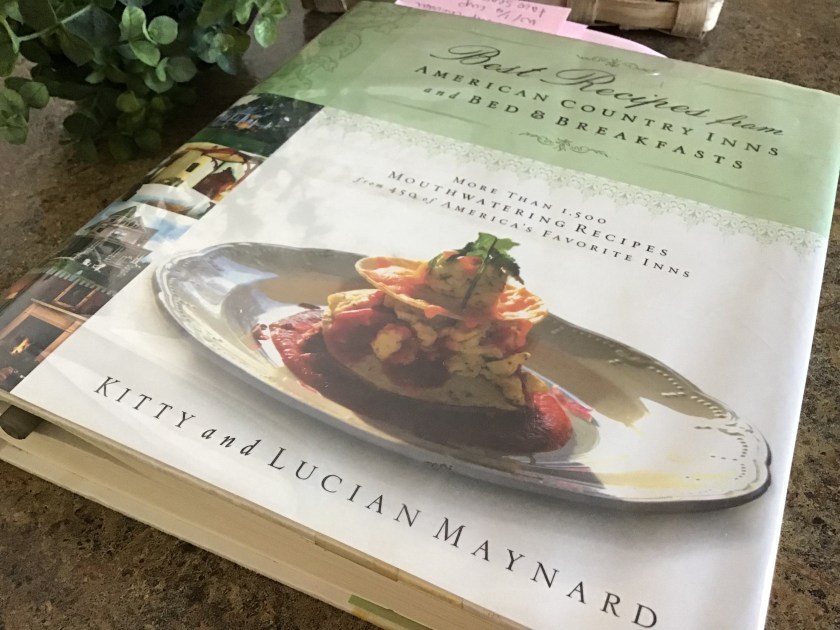
This week, I scheduled a community meeting that was to take place at a local library. After rechecking my calendar invite, I realized that I had arrived a bit early, so I took this opportunity to stroll through a selection of cookbooks that had been carefully selected for a main aisle display. My eyes immediately fixed on an older book showcasing recipes from quaint country inns and bed & breakfast establishments. Thumbing through the pages, so many of the recipes seems quick, easy, and scrumptious. Knowing that my meeting would be starting soon, I grabbed my library card and borrowed the book entitled Best Recipes from American Country Inns and Bed & Breakfasts by Kitty and Lucian Maynard.

Returning home, later that day, I realized that I wanted to make so many of the recipes, I simply had to purchase the book. I typed the title of the cookbook into the Amazon search bar… low and behold, they had several used copies for purchase (priced very low). I bought the first and second editions and I am waiting on their arrival.

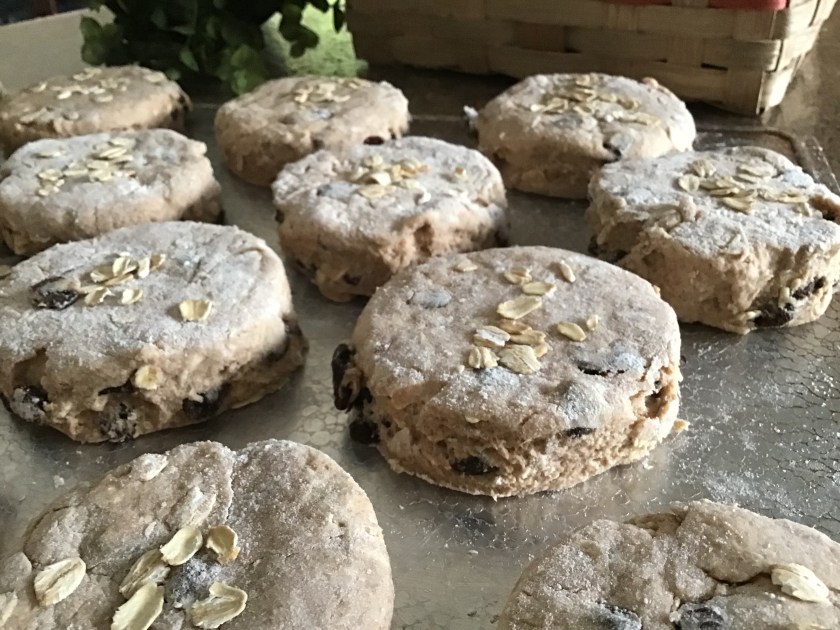
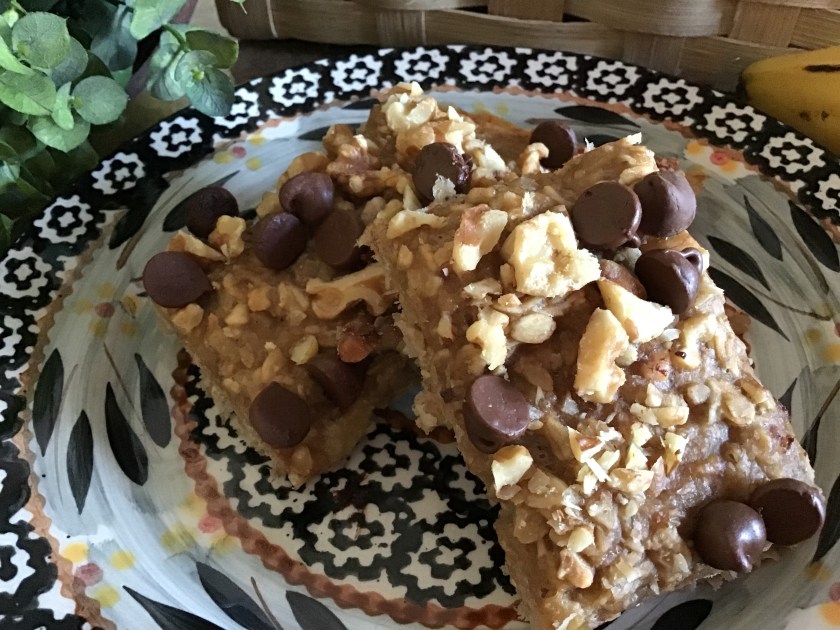
This recipe comes from the page pictured below. The only change that I made was to add a handful of chopped walnuts to the already simplistic ingredients. I am always looking for recipes that will help to use up the stash of overly ripe bananas that I have tucked in my freezer. This one fit the bill. Lots of flavor with very little fuss…

This is a great loaf to freeze or slice and package. My daughter was heading back to Chicago on the train, so I sliced her a few pieces to nibble on throughout the week.

Posted in Baked goods, Baking, breakfast, Brunch, Chocolate, Food, Kids in the Kitchen

Speckled Monkey Bars

Bananas have always been a staple ingredient for lunch bags/boxes in our household. When selecting fruit to add to my weekly shopping list, bananas always take center stage. I often choose far more than needed for a week’s worth of lunches as I love having a few extra over-ripe bananas to add to tasty quick bread and snack recipes, such as this one. These delicious bars have few ingredients and highlight some of my family’s favorite flavors. My three (not so) little monkeys have enjoyed these flavors for many years.

Speckled Money Bars

4 medium (over-ripe) bananas, mashed

2 cup old fashioned oats

1/2 cup chunky peanut butter

1 teaspoon vanilla

1/2 cup chocolate chips

1/2 cup walnuts, chopped

Preheat oven to 350 degrees and grease a 13×9” baking pan.

Mix bananas with oats and peanut butter; add vanilla and continue to mix until well blended. Carefully, spread the mixture in prepared pan making sure to evenly distribute to the corners. Top with chocolate chips and walnuts. Bake for 18-20 minutes or until an inserted toothpick comes out clean. Cool before cutting into delicious squares. Wrap individually for a lunch bag treat or store in an airtight container.

Note: Lately, I’ve been using the Copper Chef brownie pan to make perfect portions while baking. Depending on your oven, you may have to reduce cooking time when using this pan. Cool completely before removing insert.

Posted in Brunch, Food, Gardening, Kids in the Kitchen, lunch box, No-Bake

Cucumber Finger Sandwiches

My daughter recently called to ask if I could share an easy appetizer recipe as she needed to assemble a quick item for a coworker’s going-away party. She had already looked through the recipes on my blog and couldn’t find one that she could easily make ahead of time and store in the fridge. My mind quickly turned to a simple recipe that I used to make when our children were young. I made this recipe for our annual St. Patrick’s Day Party when we lived in the southwest Chicago area. The yearly parade (and party) was always a fun event for all of the Irish families living in the neighborhood. Slices of pumpernickel cocktail bread are loaded up with a spiced cream cheese mixture and a thick slice of fresh cucumber. A quick sprinkle of dill adds a layer of flavor. Drawing the tines of a fork down the side of the cucumber before slicing, adds a unique design to the appetizer.

Cucumber Finger Sandwiches

1 (8 ounce) package cream cheese, softened

1 (.7 ounce) package dry Italian-style salad dressing mix

1 (1 pound) loaf sliced pumpernickel party bread

2 English cucumbers

2 teaspoons dill weed or dill seed

Mix cream cheese and Italian salad dressing mix in a bowl until well blended. Draw the tines of a fork down the sides of the cucumber before slicing (Make sure to pierce the skin of each cucumber.) Spread cream cheese mixture atop pumpernickel party bread and top each slice with a cucumber slice. Sprinkle with a light dose of dill weed or dill seed.

Posted in Crafts, holiday, holidays

Handmade Pumpkin Basket

Saturday’s unseasonable temperatures made for a very chilly (end of the summer) basketmaking workshop. Wearing several long-sleeved layers didn’t do much to shield us from the brisk winds during this cool and breezy day. It was hard to imagine that the temperatures had climbed to nearly 100 degrees the weekend before. Despite the weather, we happily socialized as we worked beneath a shelter at a local county park. The item that we were to assemble was a cute round, (continuous weave structure); a pumpkin-shaped basket. Here are the steps that our incredible instructor took us through during this four-hour weekend event.

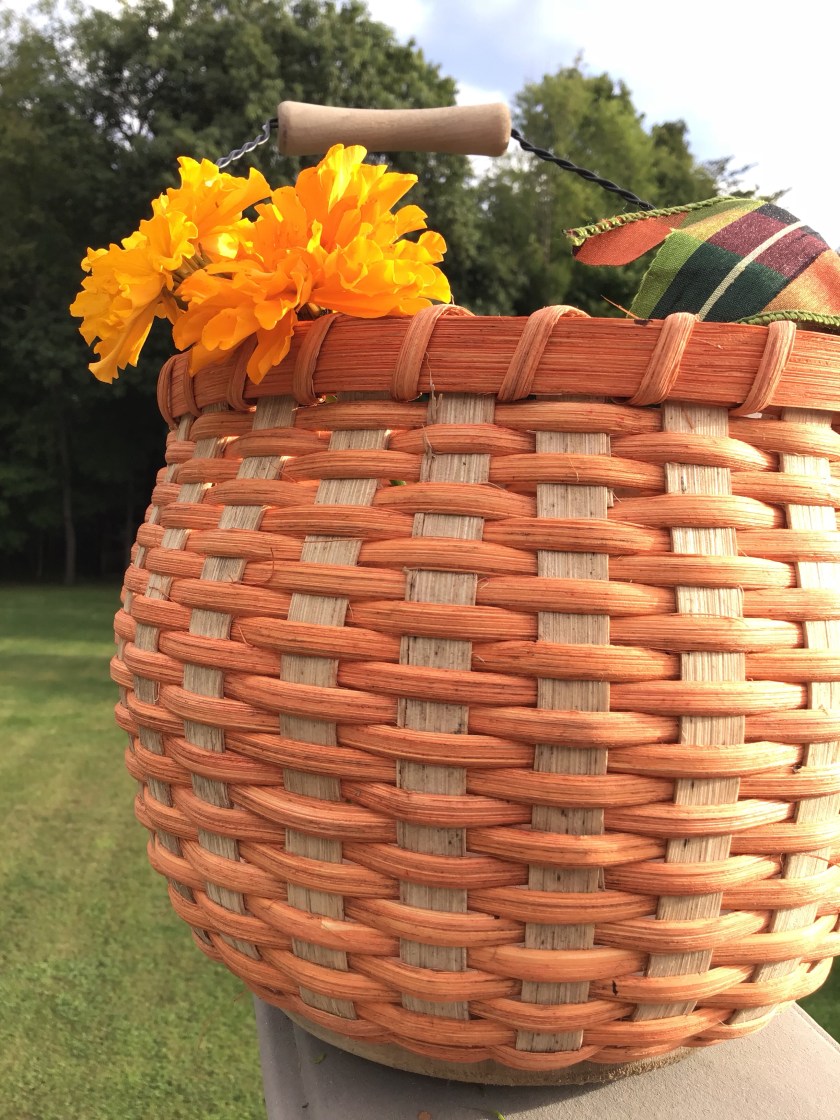
Dividing the disk into 4 equal parts, place 23 spokes within the well of the disk; weaving while working in the spokes.
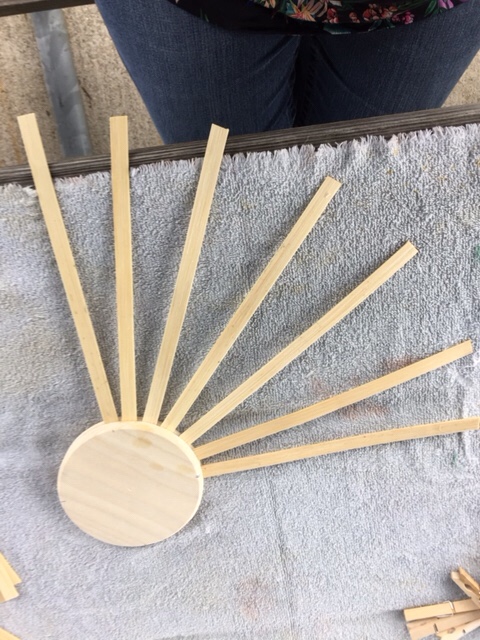
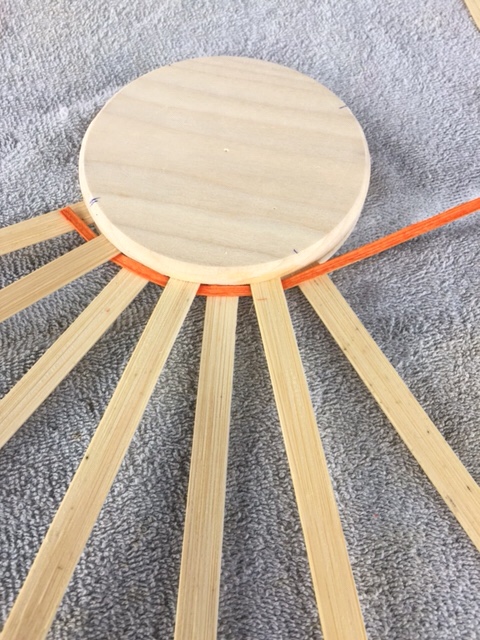
After weaving 6 continuous rows, gently begin shaping the basket upwards. Continue weaving upward for 14 more rows; loosely weaving to shape the belly of the pumpkin.

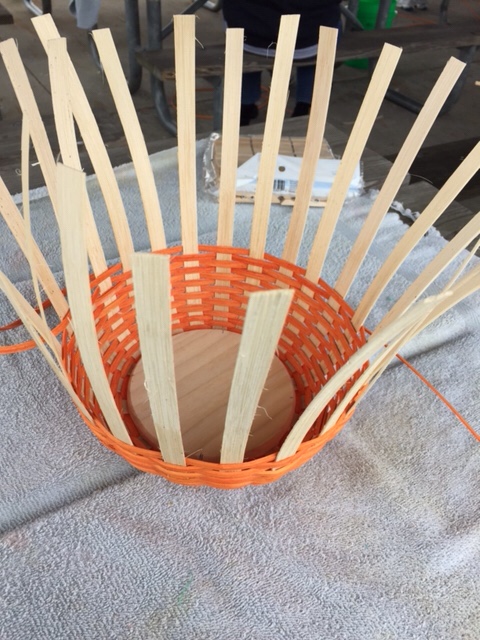
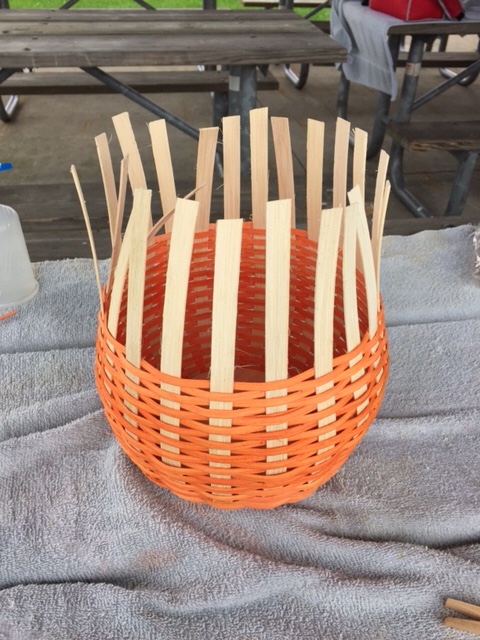
At row 19 or 20 begin to tighten the weave to form the top of the pumpkin.

At row thirty, the weave is complete.Bend down, every other spoke. Clip; mark remaining spokes to bend under and secure under weave.Secure wire handle before finishing rim of the basket.
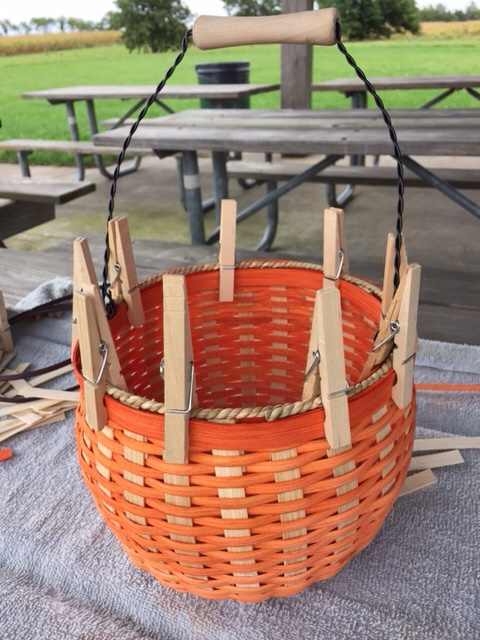
Complete basket rim with sea grass and lashing.
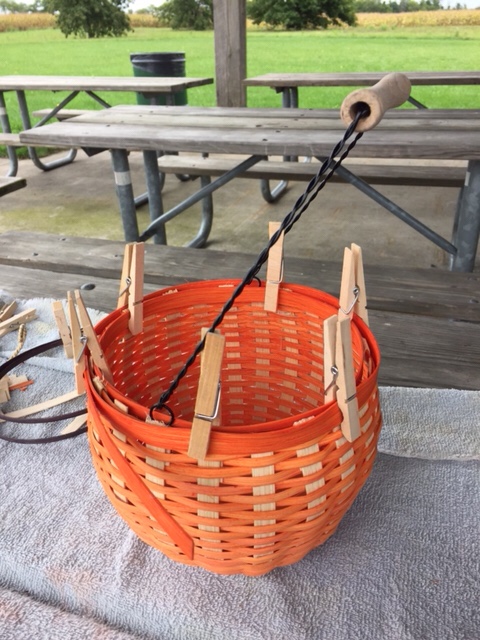
We enjoyed a beautiful, but chilly, day at our local county park!

Posted in Baked goods, Baking, breakfast, Brunch

Hearty Irish Scones

I’ve been making scones since I was a little girl. My parents were born and raised in Ireland so making scones was a weekly event. During the Lenten season, scones were a definitive staple on the dining table. My father worked for Trans World Airlines so traveling back and forth to Ireland during our summer holiday was a yearly event. Watching my grandmother make bread/scones was always mesmerizing to me. She used a huge ceramic Mason Cash bowl, and mixed everything by hand. None of the ingredients were measured very carefully. She would pour leavening ingredients into the palm of her hand before throwing them into the mix. She used an old china teacup to measure flour for the mixture. The teacup would be placed back inside the bag of flour for future use. The flour that she used was of a course, whole wheat texture. The hearty aroma and flavor were like none other and can’t easily be duplicated with our traditional American flour selection. I’ve often thought of purchasing the flour from available on-line sources but I can’t justify the cost. Hence, I offer this recipe as an alternative. Is it exactly the same as the old country flavor? Well, no…. But, it’s a close second and my family enjoys the hearty flavor of these beautiful scones. Served with a heaping helping of butter and homemade jam, this recipe is a winner.

Hearty Irish Scones

2 1/2 cups whole-wheat flour

1 1/4 cup all-purpose flour

2/3 cup old fashioned oats + 1/4 cup for topping

4 teaspoons baking powder

1 teaspoon baking soda

1/4 cup brown sugar

1 teaspoon salt

10 Tablespoons (5/8 cups) butter or margarine

1 3/4 – 2 cups buttermilk

1 cup raisins

Preheat oven to 375 degrees. Sift together flours, baking powder, baking soda, brown sugar and salt. Stir in oatmeal. Cut in butter with your fingers or with a pastry blender. Add raisins and mix; then add buttermilk and mix/ kneed just until dough comes together. If dough is too wet, kneed in extra flour; just until dough becomes less sticky.

Transfer dough to a floured work surface and gently shape into a 1/2-inch thick rectangle. Cut either into 2-inch circles with a biscuit cutter. Transfer to baking sheet. Sprinkle tops with extra oatmeal; lightly pat oats into surface. Bake 15-18 minutes, until browned on the bottom. If desired, you can flip scones to bake 2 more minutes to further brown the bottoms. Let cool or serve warm.