
Last weekend, we visited campus to attend the swim team’s final home meet for the season. Before leaving for our trip, I went through my treasured recipes to prepare a few baked favorites for all three children. M’s favorite is a no-brainier… She loves Old Fashioned Baked Oatmeal. I usually make her a 9×13″ pan, cut into squares and packaged in an airtight container. I’m told she usually skips the dorm breakfast and opts for a big bowl of plain yogurt paired with a crumbled square of my baked oatmeal.
P is more of a junk food kinda kid. He loves plain ole’ chocolate chip cookies. I usually make Chocolate Chip Cake Mix Cookies. I’m told he shares them with floor mates and friends so I usually try to make a rather large batch for sharing. Who can resist a batch of freshly baked cookies?
K is a mix between the two when it comes to choosing a favorite baked item. Her care package contained a batch of Nutella Granola bars. For this easy bar, all of the ingredients are combined and pressed into a 13×9″ baking dish. They are then sliced and wrapped individually for freshness and portability. The bars are full of good hearty carbs and are sweetened by combining Nutella with peanut butter and honey. This is a great no-bake recipe that can be prepared in a jiffy. Make sure to individually wrap the bars to keep them fresh and pliable.
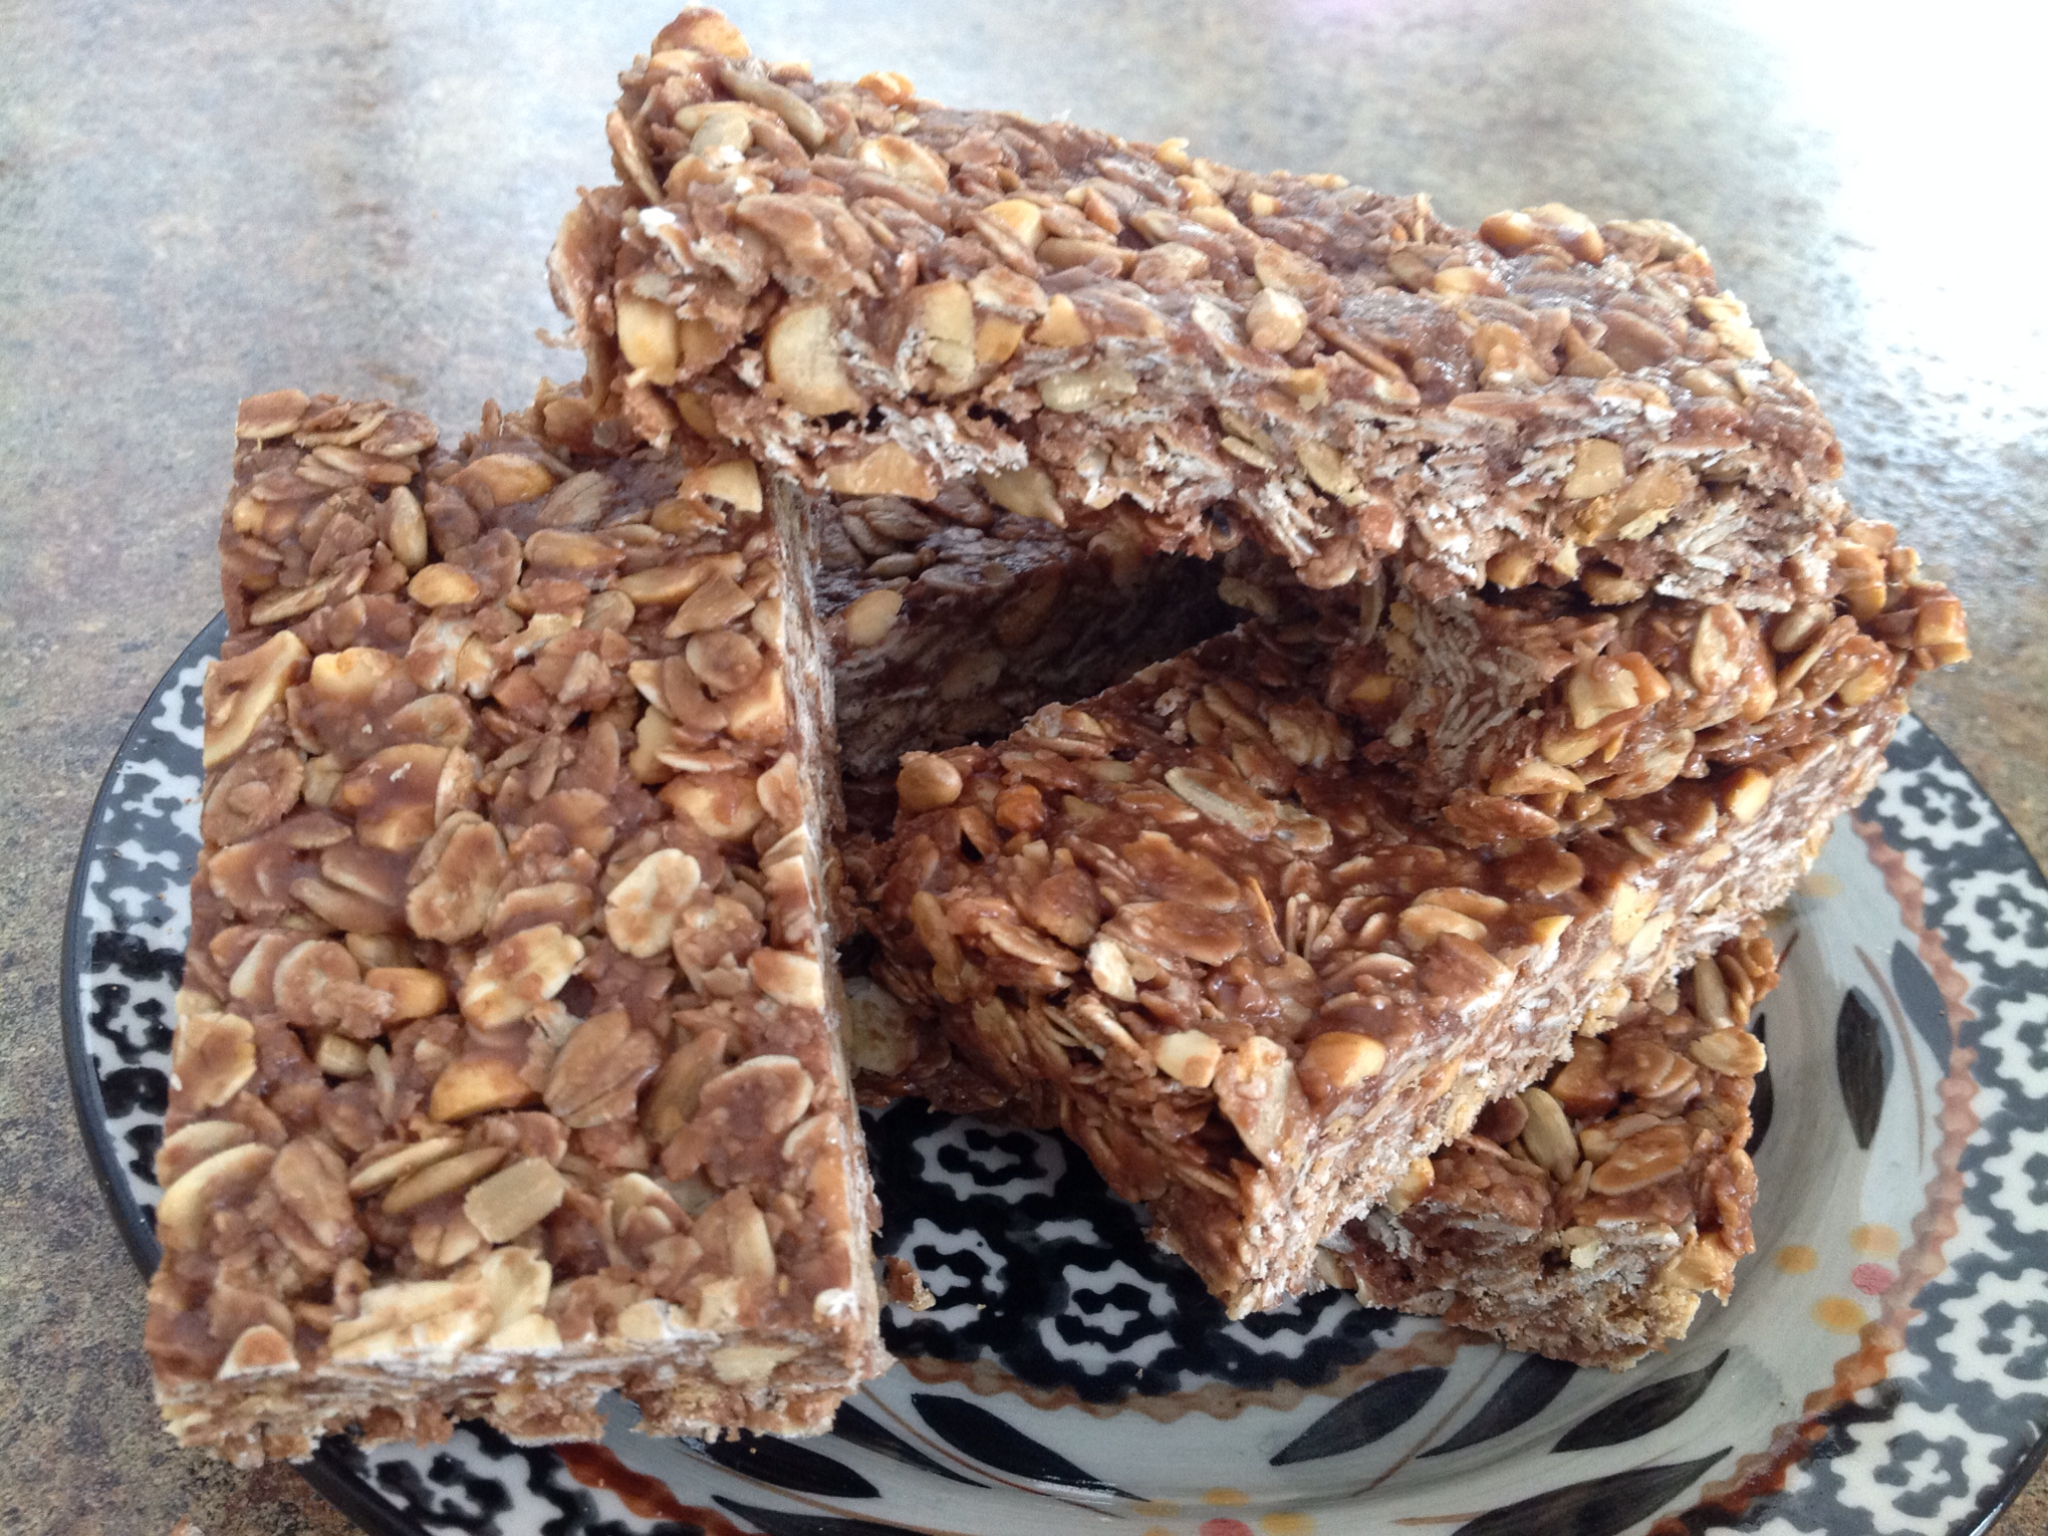
Nutella Granola Bars
2 cups old fashioned oats
3/4 cup lightly salted dry roasted peanuts, coarsely chopped
3/4 cup wheat germ
3/4 cup sunflower kernels
1/2 cup honey or light corn syrup
1/4 cup packed brown sugar
3 tablespoons butter
1/3 cup peanut butter
1/3 cup Nutella
Preheat oven to 400°. In a jelly roll pan, pour oats, peanuts, wheat germ and sunflower kernels. Mix thoroughly and bake for 8-12 minutes or until lightly toasted, stirring occasionally. Remove from the oven and cool on a wire rack. Transfer to a large bowl.
In a small saucepan, combine honey, brown sugar and butter. Cook and stir over medium heat until mixture comes to a boil; cook 2 minutes longer. Remove from heat; stir in peanut butter and Nutella until blended.
Add the warm honey mixture to the dry, toasted ingredients and toss to coat. Press into a greased 13×9″ pan. Cool. Cut into bars. Wrap individually with plastic wrap. Store in an air-tight container.


