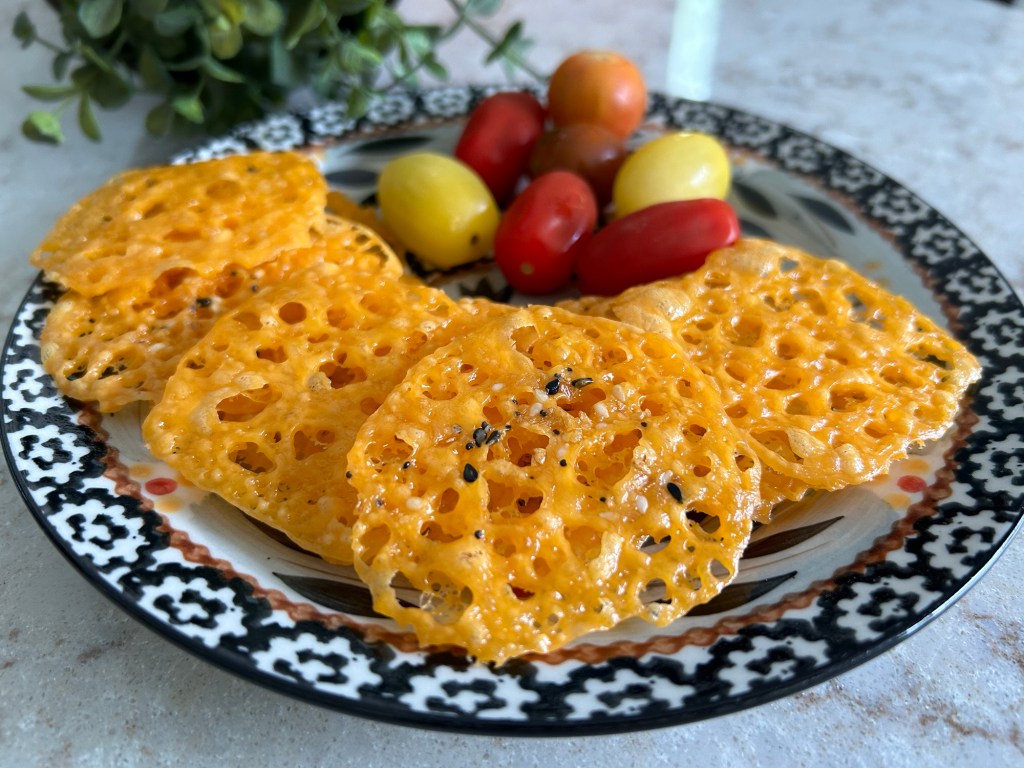
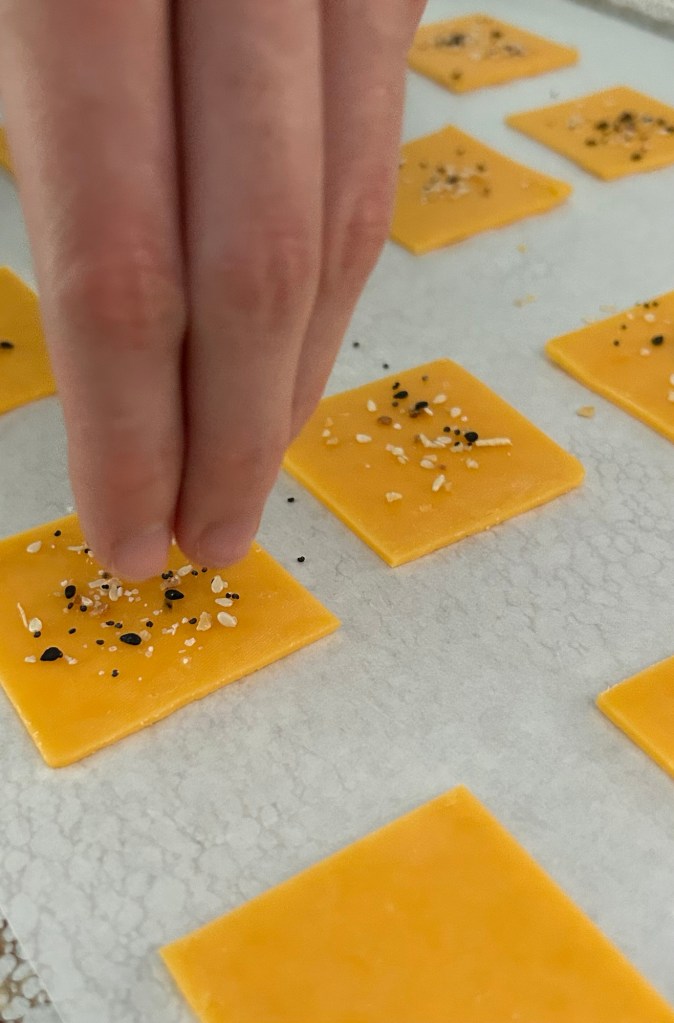
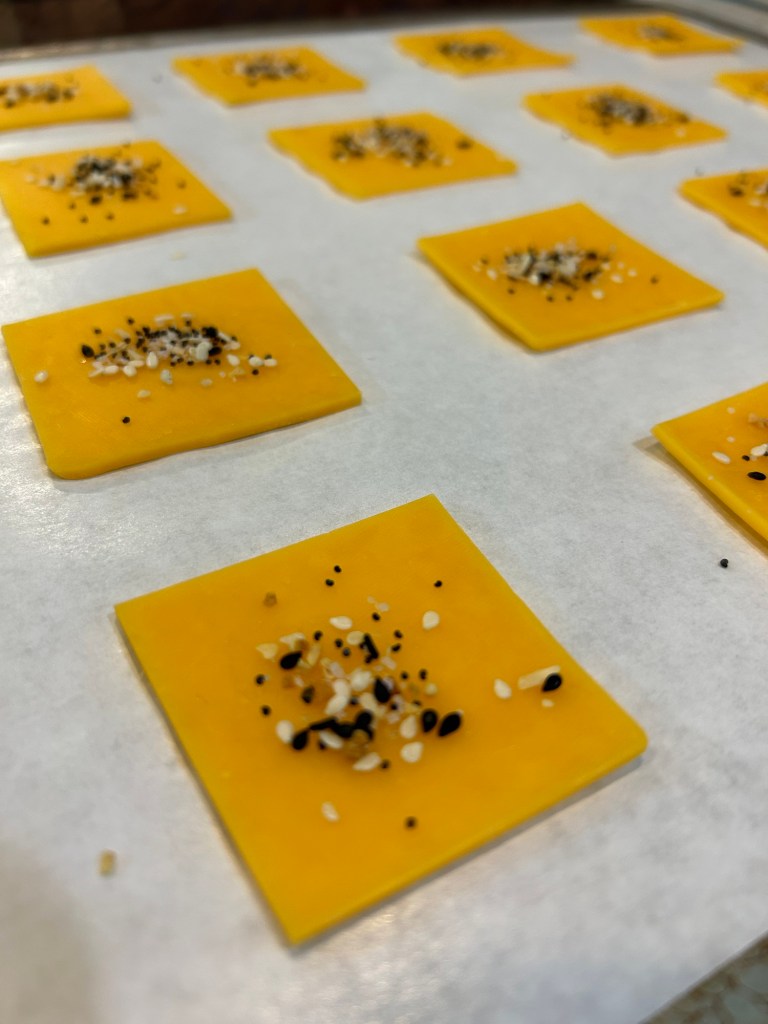
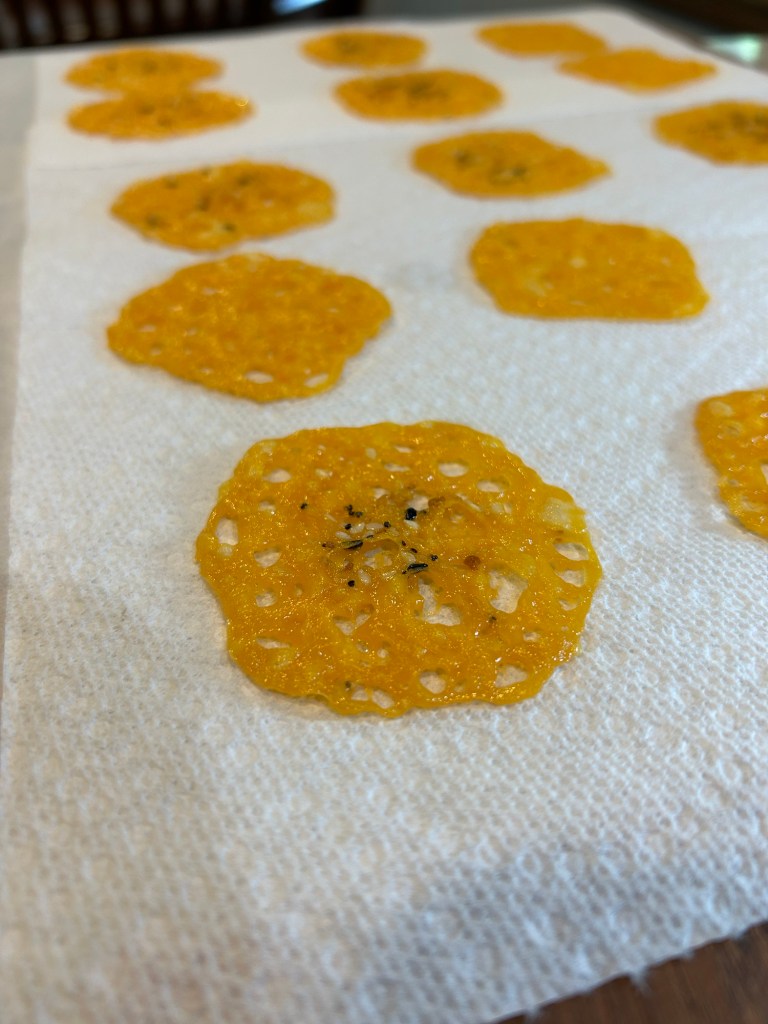
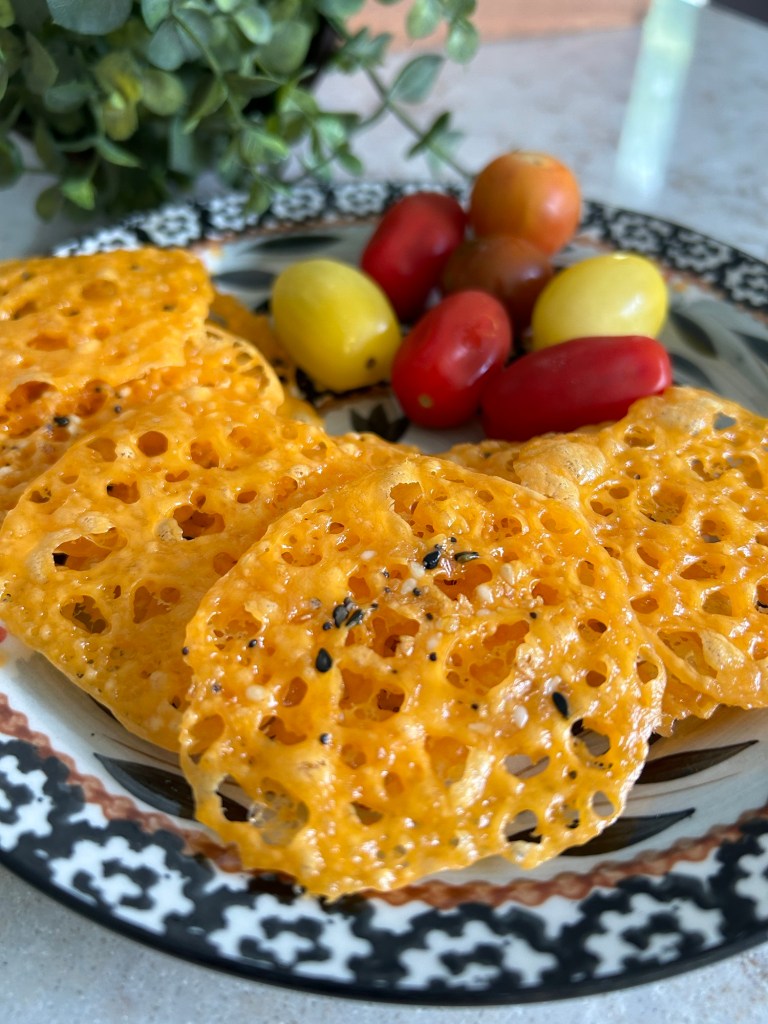
-SUPER EASY cheesy snack. For those watching your carbs, give this recipe a try!
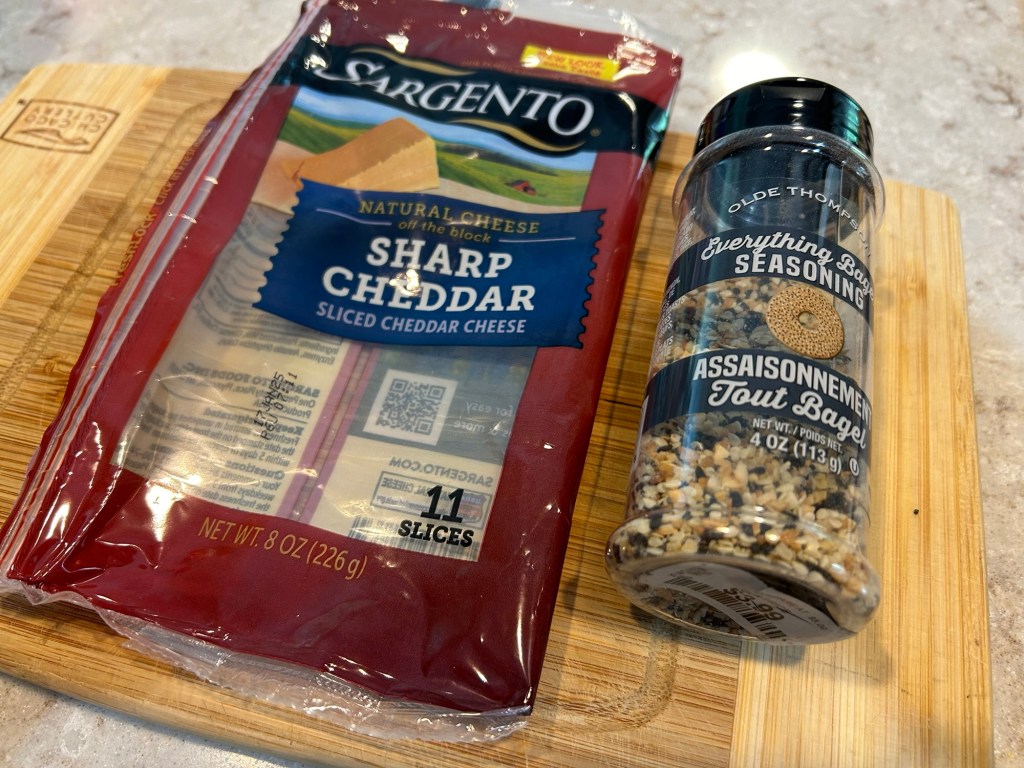
1 package of sliced cheddar cheese
1 Tbs. everything bagel seasoning mix


-SUPER EASY cheesy snack. For those watching your carbs, give this recipe a try!
1 package of sliced cheddar cheese
1 Tbs. everything bagel seasoning mix


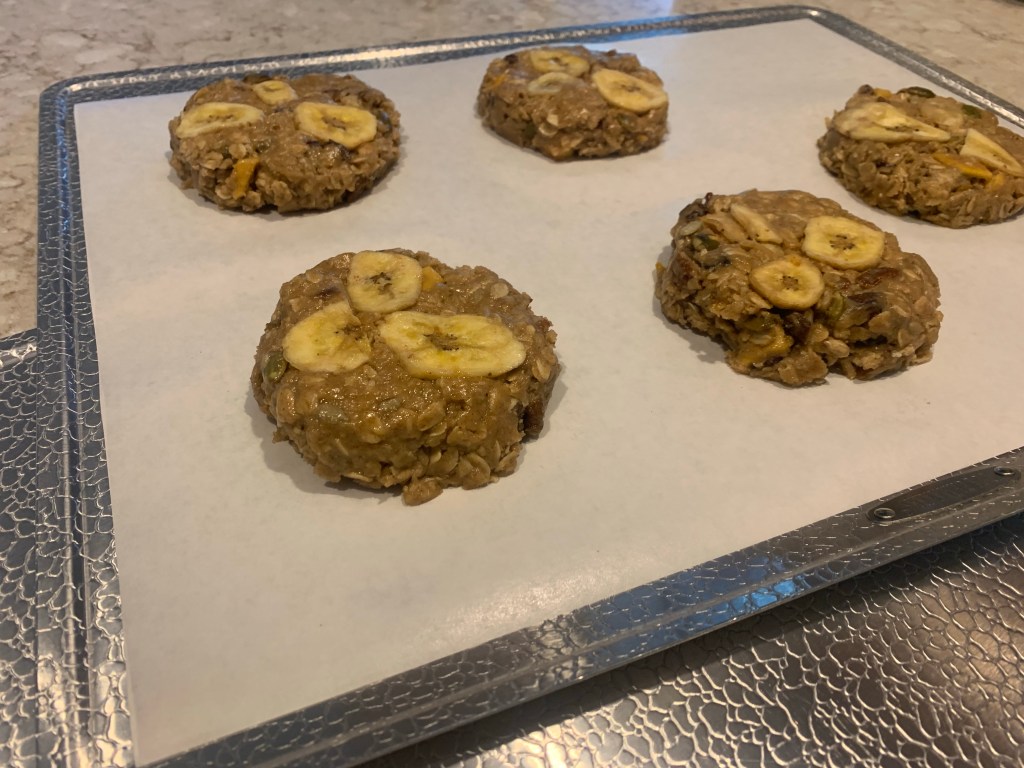
Filled with an abundance of oats, nuts, seeds, and dried fruit, these jumbo cookies are a better alternative to most breakfast pastries. A half-cup measure is used to deposit the flavorful batter on to parchment lined cookie sheets. The result…hearty fruit and nut studded cookies that can be packed into a lunchbox or slipped into a zip-lock bag for a quick mealtime treat.
Ingredients
2 cups whole-wheat flour
2 cups all-purpose flour
4 cups old fashioned oats
1 ½ teaspoons baking soda
½ teaspoon salt
1 cup butter, room temperature
2 cups packed dark-brown sugar
1 cup canola oil
4 large eggs
1 tablespoon vanilla extract
1 teaspoon coconut extract
1 cup pecans or walnuts, coarsely chopped
½ cup pumpkin seeds, unsalted
½ cup sunflower seeds, unsalted
½ cup raisins or chopped dates
½ cup finely chopped dried mango
1 cup banana chips
Directions
Preheat oven to 350 degrees. In a very large bowl, mix together flours, oats, baking soda, and salt. Set aside.
In another large bowl, cream butter until light and fluffy. Add oil and sugar; beat until well combined. Add eggs, 1 at a time, beating well after each. Add vanilla and coconut extract; beat until just combined.
Slowly add flour mixture, and beat until well combined. By hand, Mix in nuts, seeds, and dried fruit, as the batter will be very thick.
Form dough into 19-21 cookies (using 1/2 cup measurement for each), and place on parchment-lined baking sheets (approx. 5 cookies per sheet). Press 3 banana chips into the top of cookie. Flatten cookie slightly/evenly and reshape accordingly. Bake until golden and firm, 18-20 minutes. Let cool completely on baking sheets, about 30 minutes. Store in air-tight container.


Adapted from a Martha Stewart recipe, September 2012

Cowboy Candy serves as a delicious condiment to slather over crackers with cream cheese, spoon over burgers or spicy sausage links, or to top a crispy baked flatbread crust. The sweet and spicy pickled combination makes this a winner every time! Watch out… It’s addictive!

Cowboy Candy
3 pounds jalapeño peppers
6 cups sugar
2 cups apple cider vinegar
1 Tbs garlic powder
1 tsp celery seed
1/2 tsp cayenne pepper
Slice jalapeños into rounds. (We use the slicing blade on our food processor.)
Combine the remaining ingredients in a pot on the stove. Bring to a hard boil over high heat. Reduce heat and keep at a low boil for five minutes.
Add jalapeños and heat through for 3-5 minutes.
Using a slotted spoon, ladle jalapeños into clean jars. Then top with the spicy juice to fill jars within a 1/2” from the rim.
Wipe rims. Twist on lids and store in the fridge for up to one month.
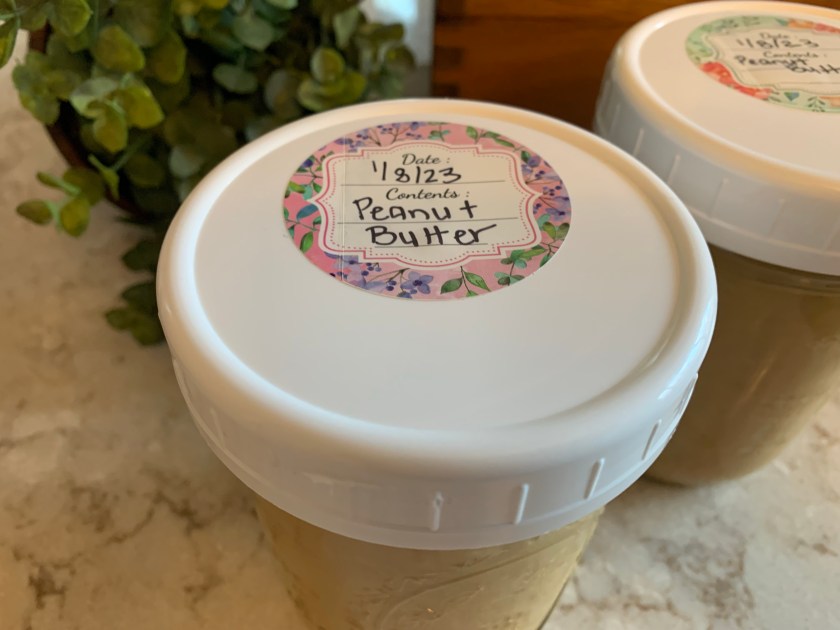
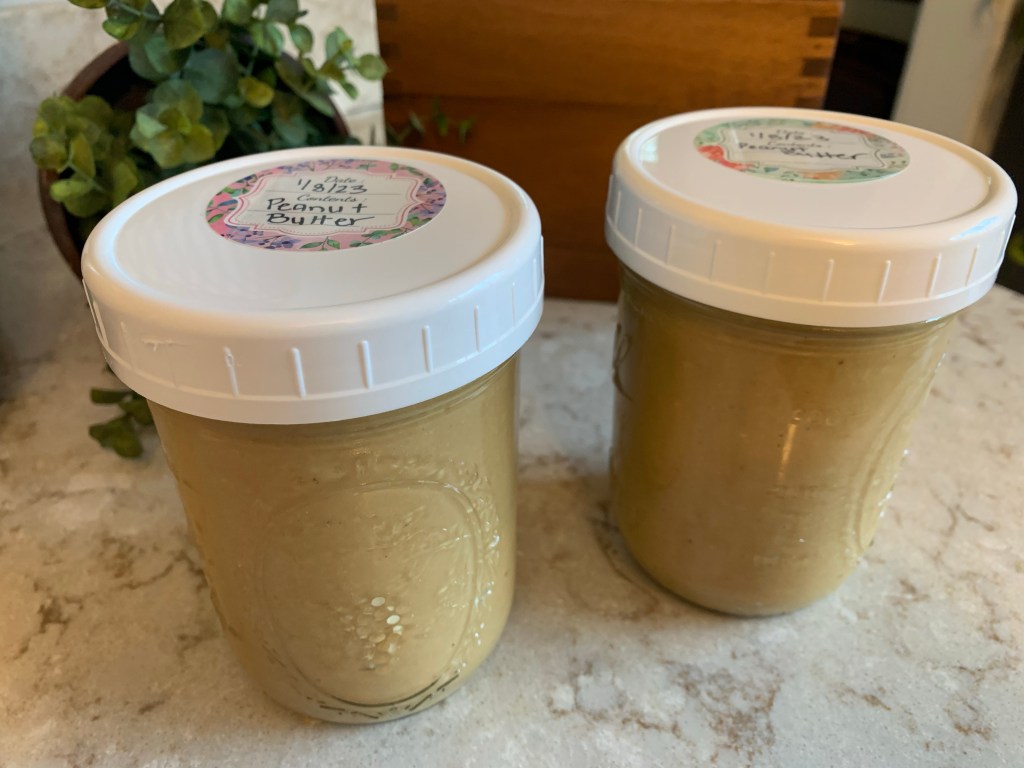
It seems everyone in our household loves to smather peanut butter over an array of crispy crackers, breads, crunchy veggies, and salty pretzels. We also love the scrumptious honey our bees produce yearly. This recipe combines the best of both to make an utterly delicious spread that’s buttery, nutty, and sweet. It’s actually quite addictive and we can usually plow through a jar in no time. We keep a hefty supply of nuts, honey, (and our own tapped maple syrup) on hand to make a fresh batch whenever needed.
Honey Sweetened Peanut Butter
2 cups (16 ounces) raw, shelled peanuts
1/2 teaspoon kosher salt
2 tablespoons canola oil
2 tablespoons honey or maple syrup
Preheat oven to 350°. Place the peanuts on a rimmed baking sheet and bake until lightly golden-brown, about 10 minutes.
Transfer the warm peanuts to a food processor. Pulse a few times just until chopped then run the food processor continuously for 1 minute. Stop and scrape down the sides and bottom of the bowl. The peanut butter will look gritty and dry.
Continue to blend and scrape for several minutes until the peanut butter is smooth and creamy as desired. For crunchy peanut butter, add 1/2 cup additional nuts and pulse to chop nuts into smaller pieces, as desired. Add salt to taste.
Transfer to an airtight container and store in the refrigerator.


Everyone seems to enjoy this recipe. Keep these common convenience ingredients items on hand for a quick and tasty meal.
• 1 9 ¼ ounce bag Fritos corn chips, crushed
• 2 lbs. ground beef, browned and drained
• 1 packet taco seasoning
• 1 small can green chilies, drained
• 1 can roasted corn, drained
• 2 cups sharp shredded cheese
• Taco pie toppings of your choice such as lettuce, tomato, avocado, jalapeños, olives, salsa, etc.
Instructions

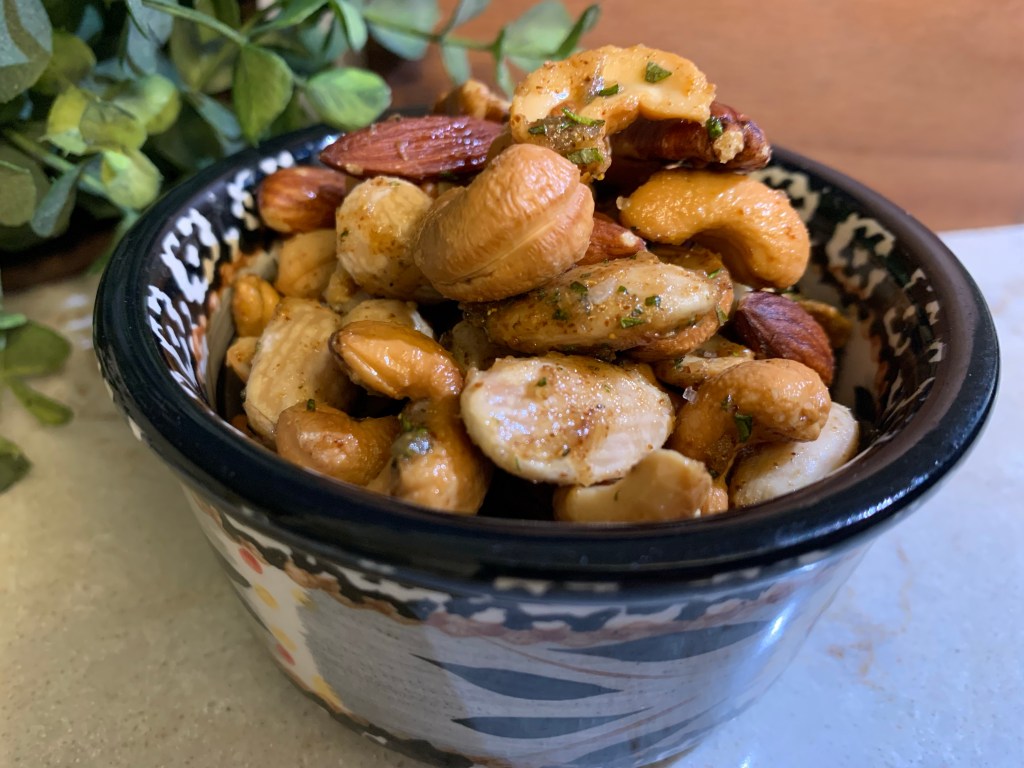
As the summer garden begins to flourish, I find myself trimming down my rosemary plants a little too quickly these days. You see my family is addicted to this recipe for party nuts. The aroma and flavor of rosemary mixed with the kick of cayenne pepper makes for an irresistible treat. Buy canned mixed nuts when they are on sale because these are gone shortly after they come out of the oven. You’ll find yourself making a new batch quite frequently.
The original recipe developed by The Union Square Cafe’ in New York can be found here.
Union Square Cafe (Big Batch) Bar Nuts
4 cups lightly salted mixed nuts (2-8 oz. cans)
2 Tbsp butter, melted
4 Tbsp fresh rosemary, finely chopped
1 tsp cayenne pepper
4 tsp brown sugar
1 tsp kosher salt
Pre-heat oven to 350 degrees.
Line a baking sheet with aluminum foil. Toast nuts on baking sheet until lightly golden, about 10 minutes.
In a large bowl, combine melted butter, chopped rosemary, cayenne pepper and brown sugar; stir until thoroughly combined.
In a large bowl, toss hot nuts with butter and spice mixture. Season with salt and toss to coat thoroughly.


Looking over the side items in the deli case this week, I spied a tasty looking broccoli salad that I’d never purchased before. Although, I had tasted a similar salad during the county fair a few years ago. I had judged the 4-H home food preservation project and a kind group of volunteers had brought lunch in for those of us judging throughout the day. I told one of the volunteers that the broccoli salad was delicious and she replied, “It’s from Walmart, the best!”
This Father’s Day, I’m making my own version of this salad as all of the kids are home to celebrate and the steamy hot temperatures remind me to fill the table with cold salads, fresh fruit, grilled chicken, and icy beverages.
Happy Father’s Day to my sweet hubby, J. A wonderful father to our 3 children…
Fresh Broccoli Salad
For the salad: 6 cups broccoli florets
⅔ cup raisins
½ cup cooked and crumbled bacon
½ cup sunflower seeds
⅓ cup onion, diced finely 1 cup bow tie pasta, cooked, rinsed and cooled 1 cup sharp cheddar cheese, shredded thick
For the dressing:
¾ cup mayonnaise
¼ cup sour cream
1 ½ Tablespoon vinegar
3 Tablespoons sugar
¼ teaspoon salt
¼ teaspoon pepper
In a large bowl, combine broccoli florets, raisins, bacon, sunflower seeds, onion, pasta, and shredded cheese. In a medium sized bowl, whisk together mayonnaise, sour cream, vinegar, sugar, salt, and pepper until well combined. Pour dressing over broccoli mixture and toss well. Keep refrigerated until serving.

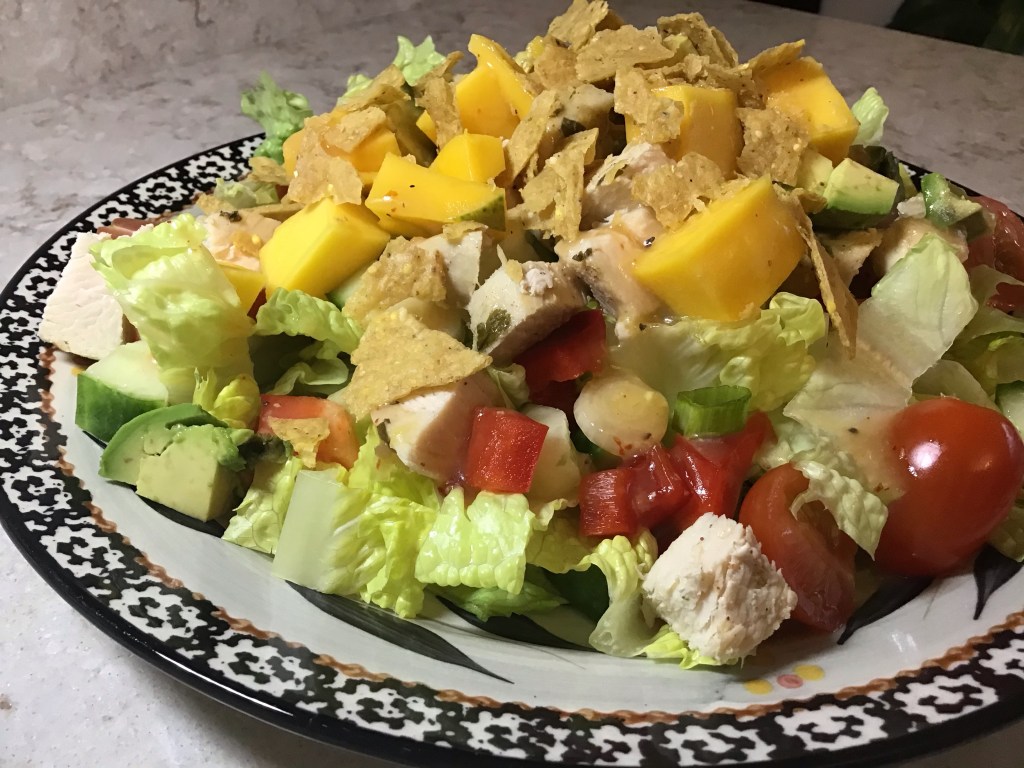
There’s a wonderful Mexican restaurant that I often visit when I head down to Purdue University for a day on campus. This salad is meant to mimic the delicious chili lime salad that is offered on their daily menu. The flavors are amazing as the mixture of the sweet mango and the chili garlic sauce play with the acidity of the lime to combine for a burst of flavor. I often make this at home for a week night meal. While we enjoy this recipe, I sure wish I had the original … it’s just so good!
Chili Lime Chicken Salad
For the salad:
In a large bowl, mix together:
3-4 cups romaine lettuce, chopped
1 1/2 cups cooked chicken, diced
1 large mango, diced
1 avocado, diced
3 green onions, chopped
1 cup English cucumber, diced
3 Roma tomatoes, diced and lightly salted
For the dressing:
Using an 8 ounce mason jar with a tight fitting lid. Add 1/3 cup light olive or canola oil and mix in the following items:
3 tablespoons fresh lime juice
1 tablespoon finely grated fresh ginger
1 ½ teaspoons chili garlic sauce
2 teaspoons sugar
½ teaspoon kosher salt
¼ teaspoon freshly ground pepper
Combine all dressing ingredients in the mason jar. Shake until completely combined; taste. If needed, add more of any ingredient to suit your tastebuds. Refrigerate before pouring over salad.
To add a bit of crunch, crush 1 cup of tortilla chips to sprinkle over the dressed salad. Serve cold.

When my children were young, I used to watch all of the PBS cooking shows during their afternoon nap. I’d fold clothes, wash dishes, clean-up the toy rooms, or catch up on laundry while some of my favorite TV cooking personalities demonstrated current techniques along with new and unique recipes. When I saw a recipe that I wanted to try, I quickly jot down the main ingredients and search the library for similar recipes to combine and develop. One such recipe, Homemade Farmer Cheese…
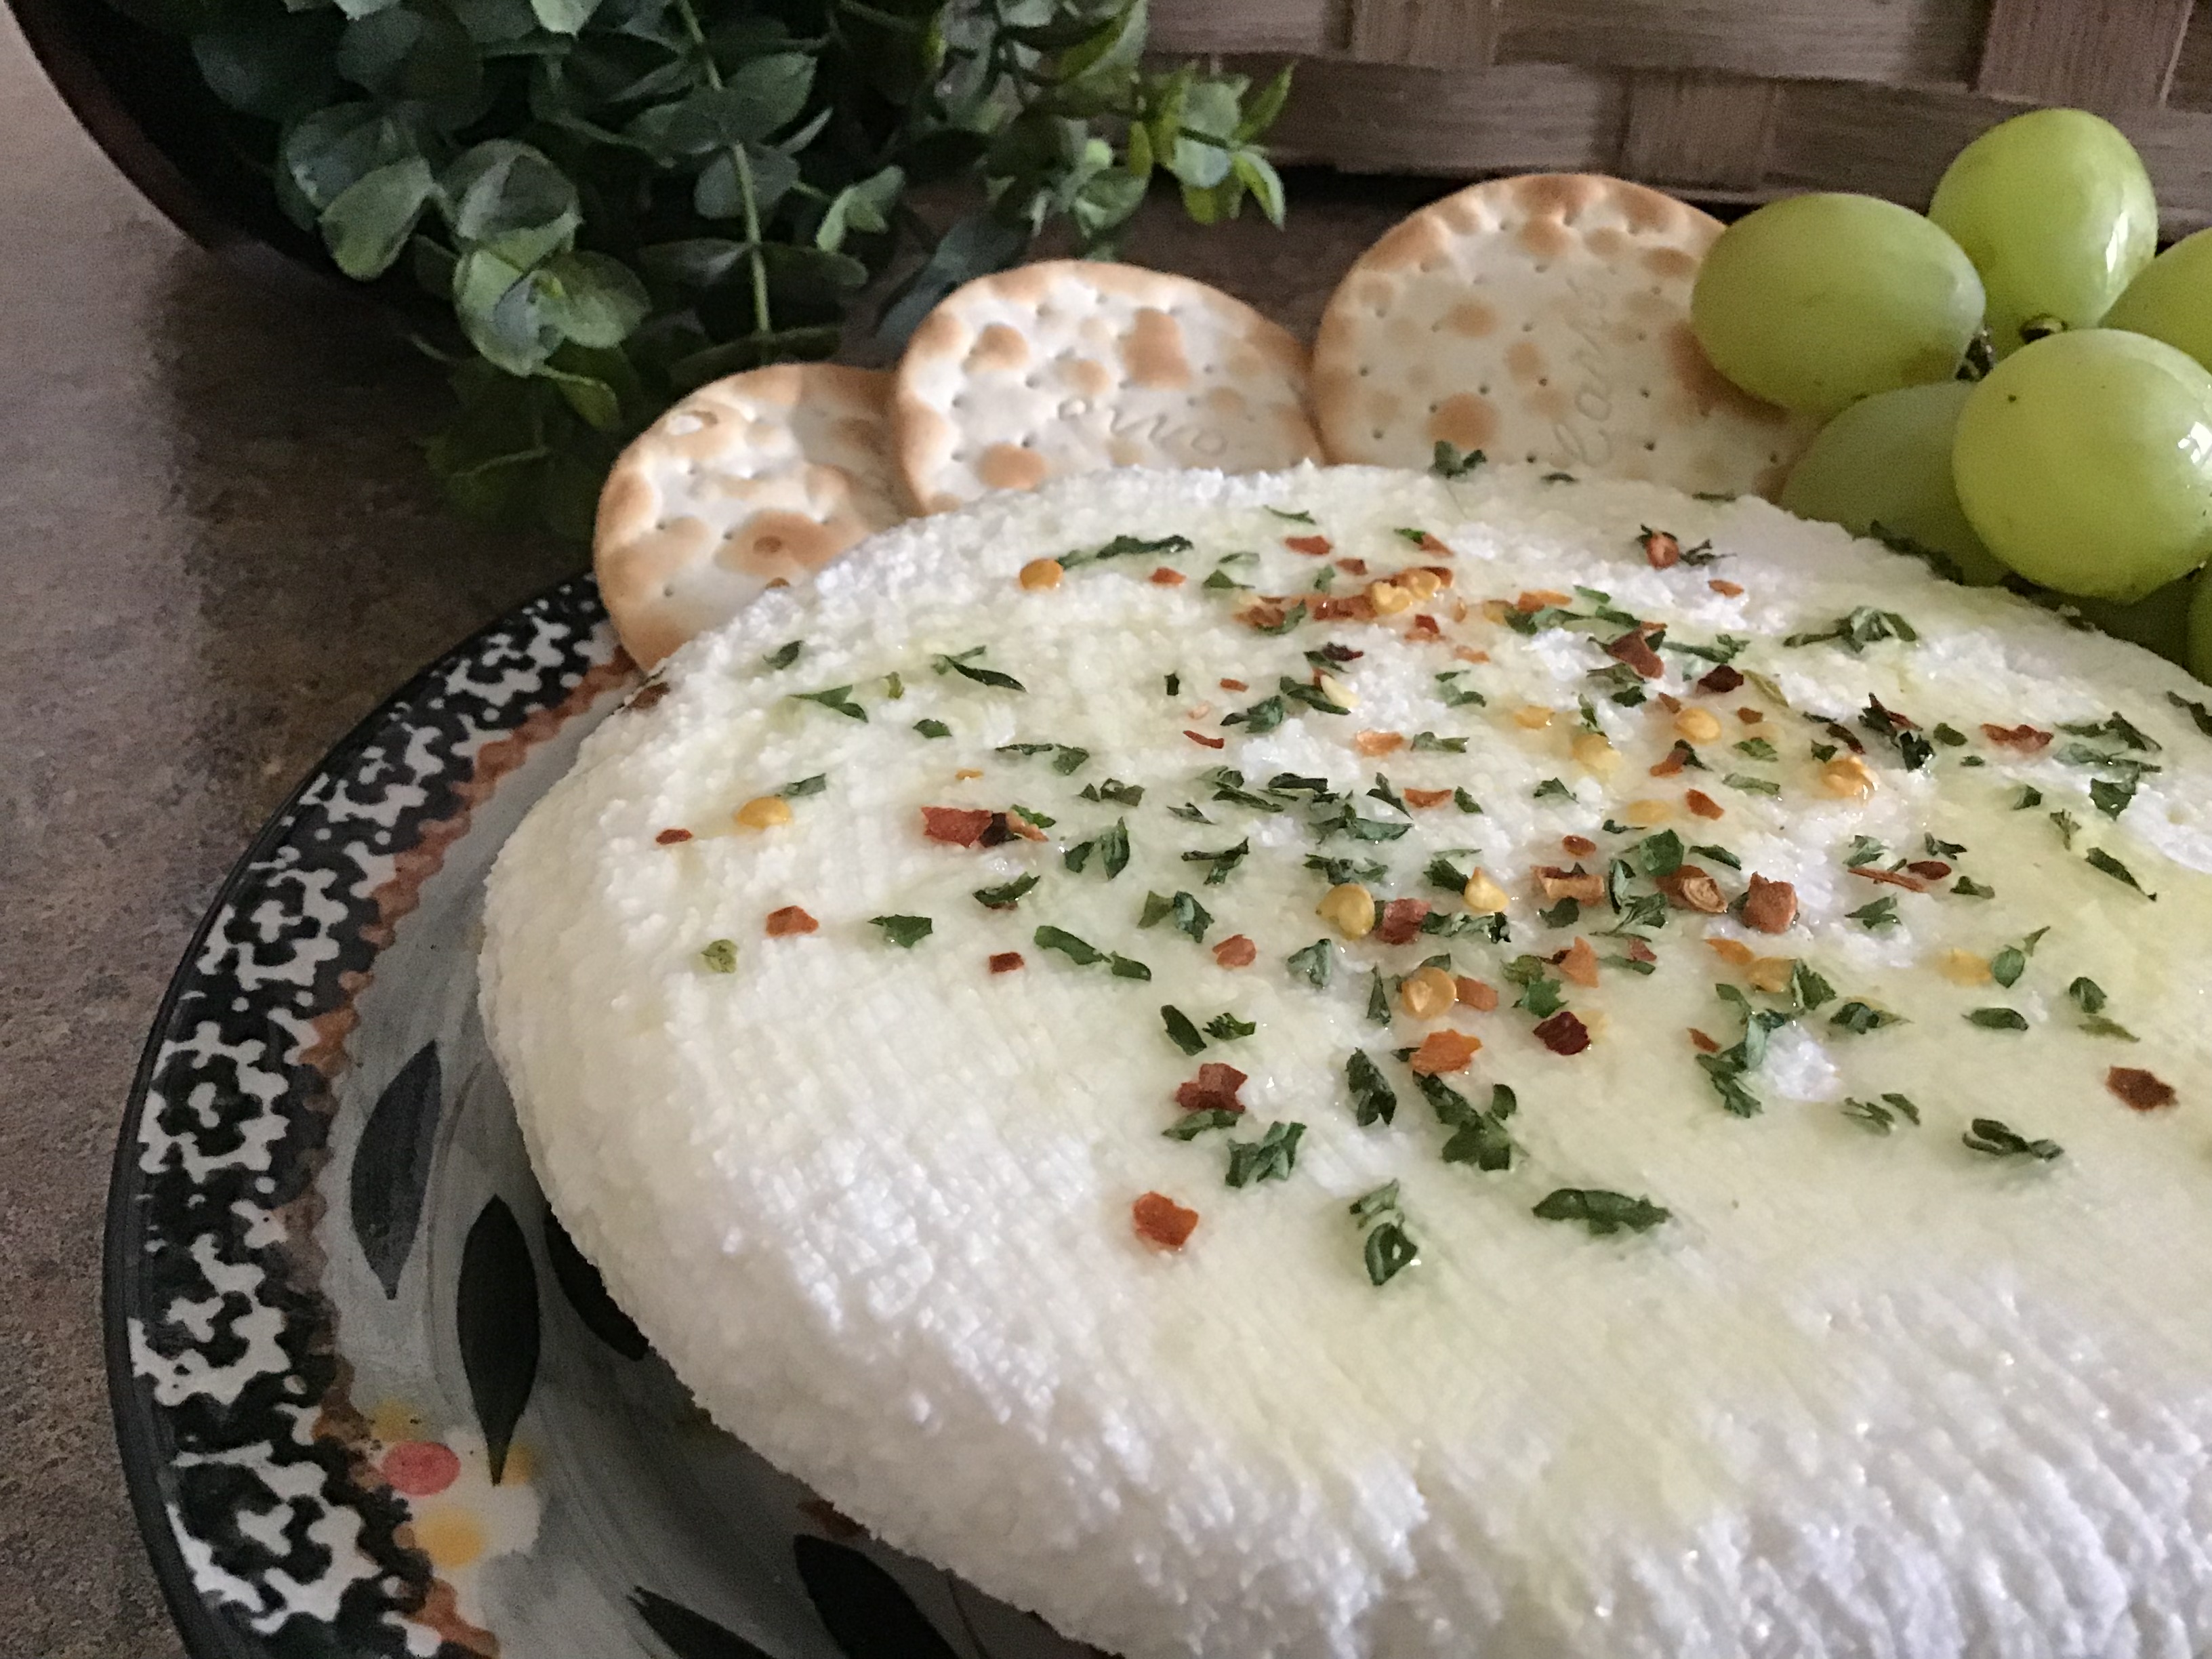
I recently ran across this hand-written recipe in my recipe binder and decided to revisit the idea of making my own cheese. I had pots of beautiful fresh herbs that needed to be trimmed and used before the cold weather made its way to the Midwest. The result was a creamy, flavorful, spreadable mixture that beats the flavor of any store bought variety.
A word of caution… Don’t use ultra-pasteurized milk as it will not curdle as needed for this easy recipe. Also, use a thermometer to measure the temperature of the milk.
Homemade Farmer Cheese
1 gallon whole milk (not ultra-pasteurized)
½ teaspoon salt
¼ cup lemon juice or vinegar
Pour the milk into a large pot, and stir in the salt. Cook over medium heat, stirring occasionally to prevent the milk from scorching on the bottom of the pot.
When the milk begins to simmer and then reaches 190 degrees, turn off the heat. Stir lemon juice or vinegar into the milk. The acid will make the milk curdle. Let sit for 10 minutes.
Line a sieve or colander with a few layers of cheesecloth, and pour the milk through the cloth to catch the curds. The solid within the cheese cloth is the cheese (curd) and the liquid released from the mixture is the whey. Gather the cloth around the cheese, and squeeze out as much of the whey as you can. Tie up the cloth to form a cheese ball or disk, refrigerate in cheesecloth for several hours. Remove from cloth and wrap in plastic, or place in an airtight container. Store in the refrigerator.
Before serving, drizzle with good quality olive oil, sprinkle with course salt and fresh chopped herbs of your choice. I usually use basil, rosemary, and oregano. You can also use crushed red pepper flakes or chopped green onions. Serve on toasted Italian bread or hearty crackers.
For a sweeter flavor, drizzle with honey and serve with bagels, jam, and fruit.

I found this recipe many years ago as I sat in the dentist’s office waiting for my children to finish up with their annual checkup. When I read the ingredient list and noticed how simple the recipe appeared, I walked to the reception desk to see if I might be able to take the magazine home with me. This was an old edition and I thought they might let me have it. The receptionist was quick to agree as she said they just threw out a number of old magazines and this one must have been overlooked. Here is the original recipe as pictured in the magazine several years ago:
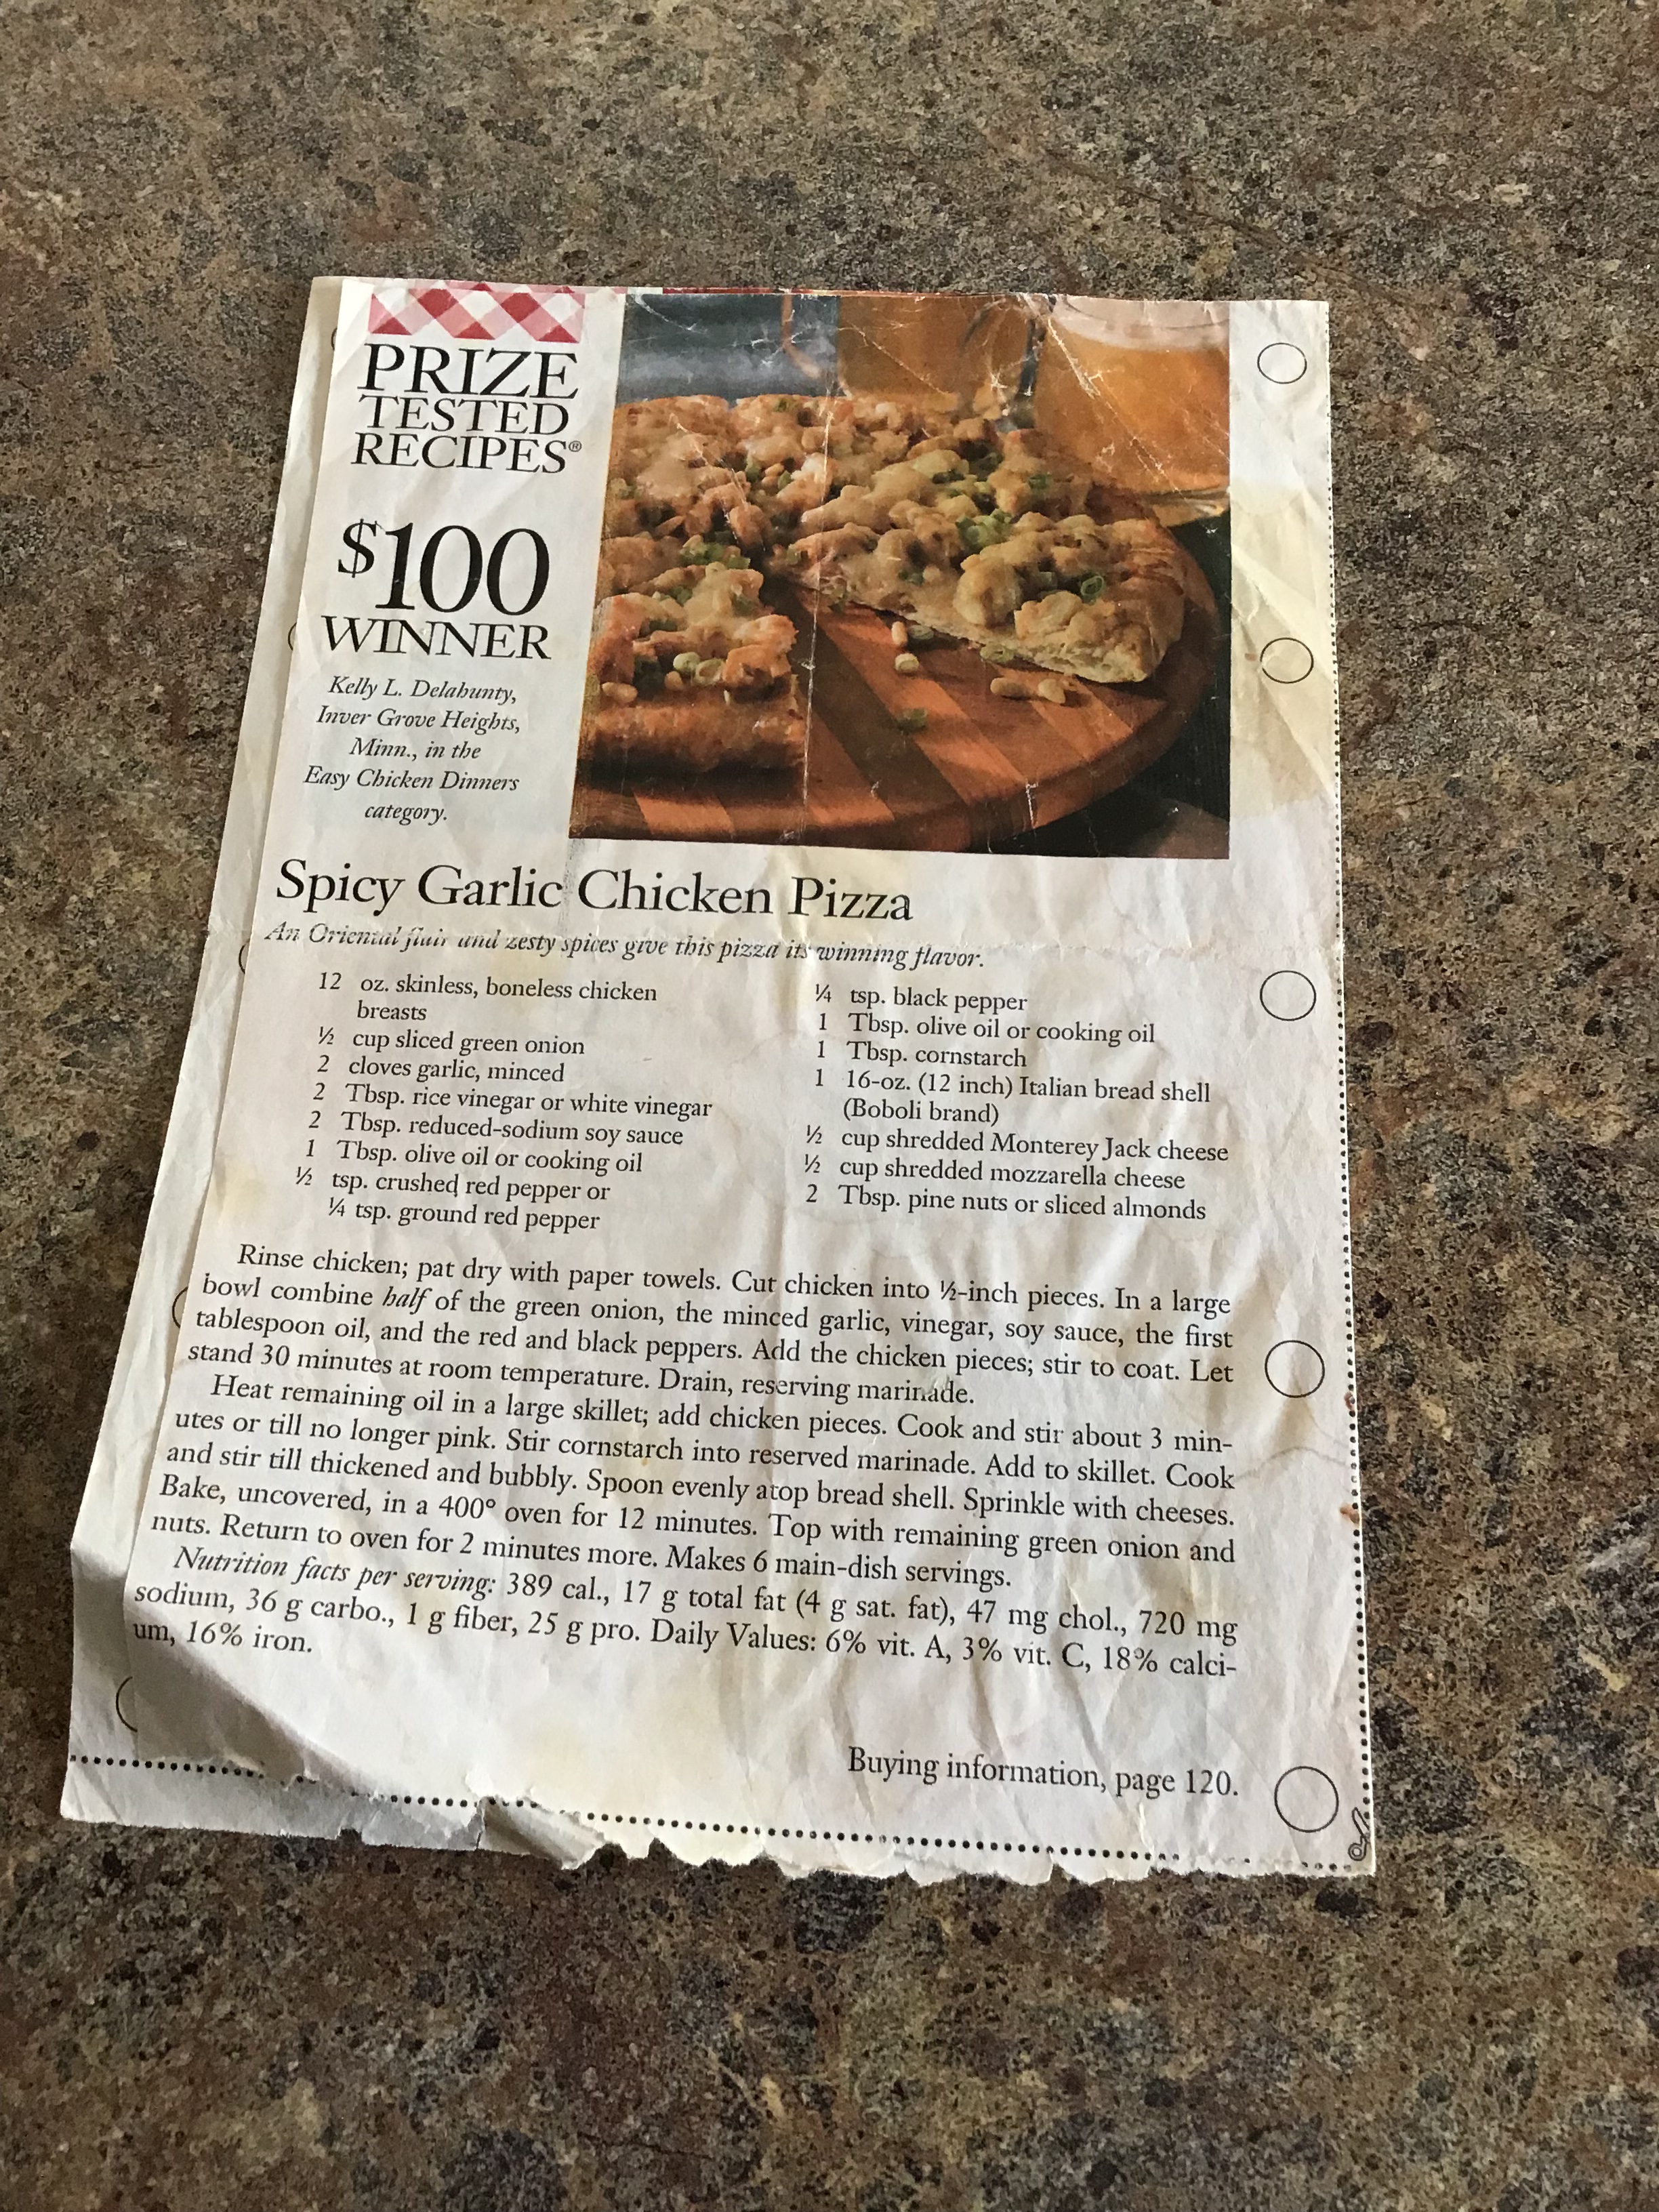
You can see that it’s been well used over the years… Sending along a thank you to Better Homes and Gardens and the contest winner, Kelly for a delicious weeknight recipe.
(I often add a teaspoon of fresh minced ginger to the recipe to add an Asian flair.)
Spicy Garlic Chicken Pizza
12 ounces skinless, boneless chicken breast halves
½ cup sliced green onion
2 cloves garlic, minced
2 tablespoons rice vinegar or white wine vinegar
2 tablespoons reduced-sodium soy sauce
1 tablespoon olive oil or cooking oil
½ teaspoon crushed red pepper or 1/4 teaspoon ground red pepper
¼ teaspoon black pepper
1 tablespoon olive oil or cooking oil
1 tablespoon cornstarch
1 16 ounce (12-inch) Italian bread shell (Boboli)
½ cup shredded Monterey Jack cheese
2 tablespoons pine nuts or sliced almonds
½ cup shredded mozzarella cheese
Cut chicken into 1/2-inch pieces. In a large bowl combine half of the green onion, the minced garlic, rice or white wine vinegar, soy sauce, the 1 tablespoon oil, the crushed or ground red pepper, and the black pepper. Add the chicken pieces; stir to coat. Cover and let stand 30 minutes at room temperature or for 1 hour in refrigerator. Drain, reserving marinade.
Heat remaining oil in a large skillet; add chicken pieces. Cook and stir about 3 minutes or until no longer pink. Stir cornstarch into reserved marinade. Add to skillet. Cook and stir until thickened and bubbly. Spoon evenly atop bread shell. Sprinkle with Monterey Jack and mozzarella cheeses. Bake, uncovered, in a 400 degree F. oven for 12 minutes. Top with remaining green onion and nuts. Return to oven for 2 minutes more. Makes 6 main-dish servings.
