Posted in Crafts, Crochet, Gifts, Vacation

Dollar Tree Crochet Craft Kits

When on vacation or traveling, I like to have a few portable crafts on hand. An unexpected flight delay, a rainy afternoon, or a relaxing day at the pool are all part of the trip. Having a handy craft at the ready can be quite enjoyable. I look for projects that are compact and simplistic, without lots of parts and pieces.

Visiting the local Dollar Tree, I found a few Amigurumi kits that I would bring on my Disney Vacation Club trip. I usually take a day or two to just relax and stay away from the hustle and bustle of the parks and shops. These kits are $1.25, but remember, you get what you pay for… The pattern is VERY difficult to decider and I ran out of yarn for one of the petite pets (dog) and had to improvise with yarn I had left over for another part of the project. You’ll notice I have used gray yarn on the left dog ear because I ran out of brown.

Gray yarn used to trim ear

Before leaving for vacation, I enlarged the pattern in my copier so I have a legible pattern to follow. (The pattern that accompanies the kit is very small and difficult to follow.)

Dog
Enlarged copy of pattern
Bunny
Teddy Bear
Dollar Tree Kits

I also found a YouTube video for compact Easter Crochet Flower that hold Cadbury Eggs for a cute co-worker gift before the holiday. I used Peaches and Creme yarn from Walmart ($1.99 at Florida Walmart) to complete the flowers. These cakes are compact and easy to pack. I also travel with a mesh craft bag that fits in my carry on. Inside I have crochet hooks, stitch markers, TSA approved scissors, tapestry needles, etc.

Easter Egg Flower
Simplistic portable supplies

What crafts do you like to bring along when you travel?

Posted in Baked goods, Baking, breakfast, Brunch, cookies, Food, Gifts, holiday, holidays

Easy Cookie Lollipops

These cookies are super cute and quite tasty. I used the Wilton Easy Cut-Out Cookie recipe to make quick work of this project. Just make the dough, pinch off a small ball, form it around the treat stick, and place your cookie cut-out on top. I used three chocolate chips to top the cookie and then popped them in the oven. Here’s the video for the Wilton recipe.

Wrap them up in a bit of cellophane and you have a lovely gift from the kitchen…
Posted in Baked goods, Baking, Bread, breakfast, Food, Gifts, Homemade Mixes

Peanut Butter and Chocolate Chip Loaf

There is nothing quite as special as a homemade gift. Giving this holiday loaf mix is sure to make anyone smile. Pour the ingredients into stylish jars in the order suggested. Then, creatively attach the bread making instructions for a quick and delicious holiday treat.

Make a day of it… Turn on the Christmas music, gather your bulk supplies, and make an abundance of jars for the special people in your life.

Posted in Crafts, Gifts, Sewing

Machine Embroidered Sweatshirt

My daughter had seen one of the famous Fixer Upper hosts wearing a sweatshirt with the words, “Book Club” screen printed onto the front of the garment. Being an avid reader, she immediately declared her desire to have a shirt like this for Christmas. After looking up the cost for said sweatshirt, I decided to make one of my own using my trusty embroidery machine. Carefully reviewing the garment, I quickly found a few heather colored sweatshirts at the discount store and identified a font that would work the the “Book Club” design. I didn’t care for the font used in the original design so I settled on a text style that looked just like one found when reading a book; a contemporary spin on Times New Roman. Here are the steps I used to embroider font or text onto the front of a basic medium-weight sweatshirt.

Use a temporary spray adhesive (found in the sewing department) to adhere a piece of medium weight stabilizer to the wrong side of the fabric. Make sure the stabilizer is large enough to cover and extend beyond the outside of your embroidery hoop.

Crease the sweatshirt to find it’s center and position the embroidery hoop paying close attention to desired design placement.

Audition various threads to decide which will work best for your design. I used a heavy weight black thread for the book style font.

After you have created your design (I use my laptop), send the design to your sewing machine and begin sewing.

I usually stay with the machine for a simple design and trim threads when possible.

When the machine has completed the design, remove hoop from the embroidery arm and trim any threads carefully.

Remove hoop and turn the garment inside out to sparingly trim threads from the back of the design. I usually leave connecting threads intact to further secure the design. Trim stabilizer, if needed.

With a thick pressing cloth or towel, carefully iron the crease out of the center front area.

Fold the sweatshirt neatly and get it ready for gift giving…

Have fun creating other “book related” designs…

Posted in appetizers/snacks, Canning, Crock pot, Gifts, holiday, slow cooking, Toppings

Slow-Cooker Bacon and Onion Jam

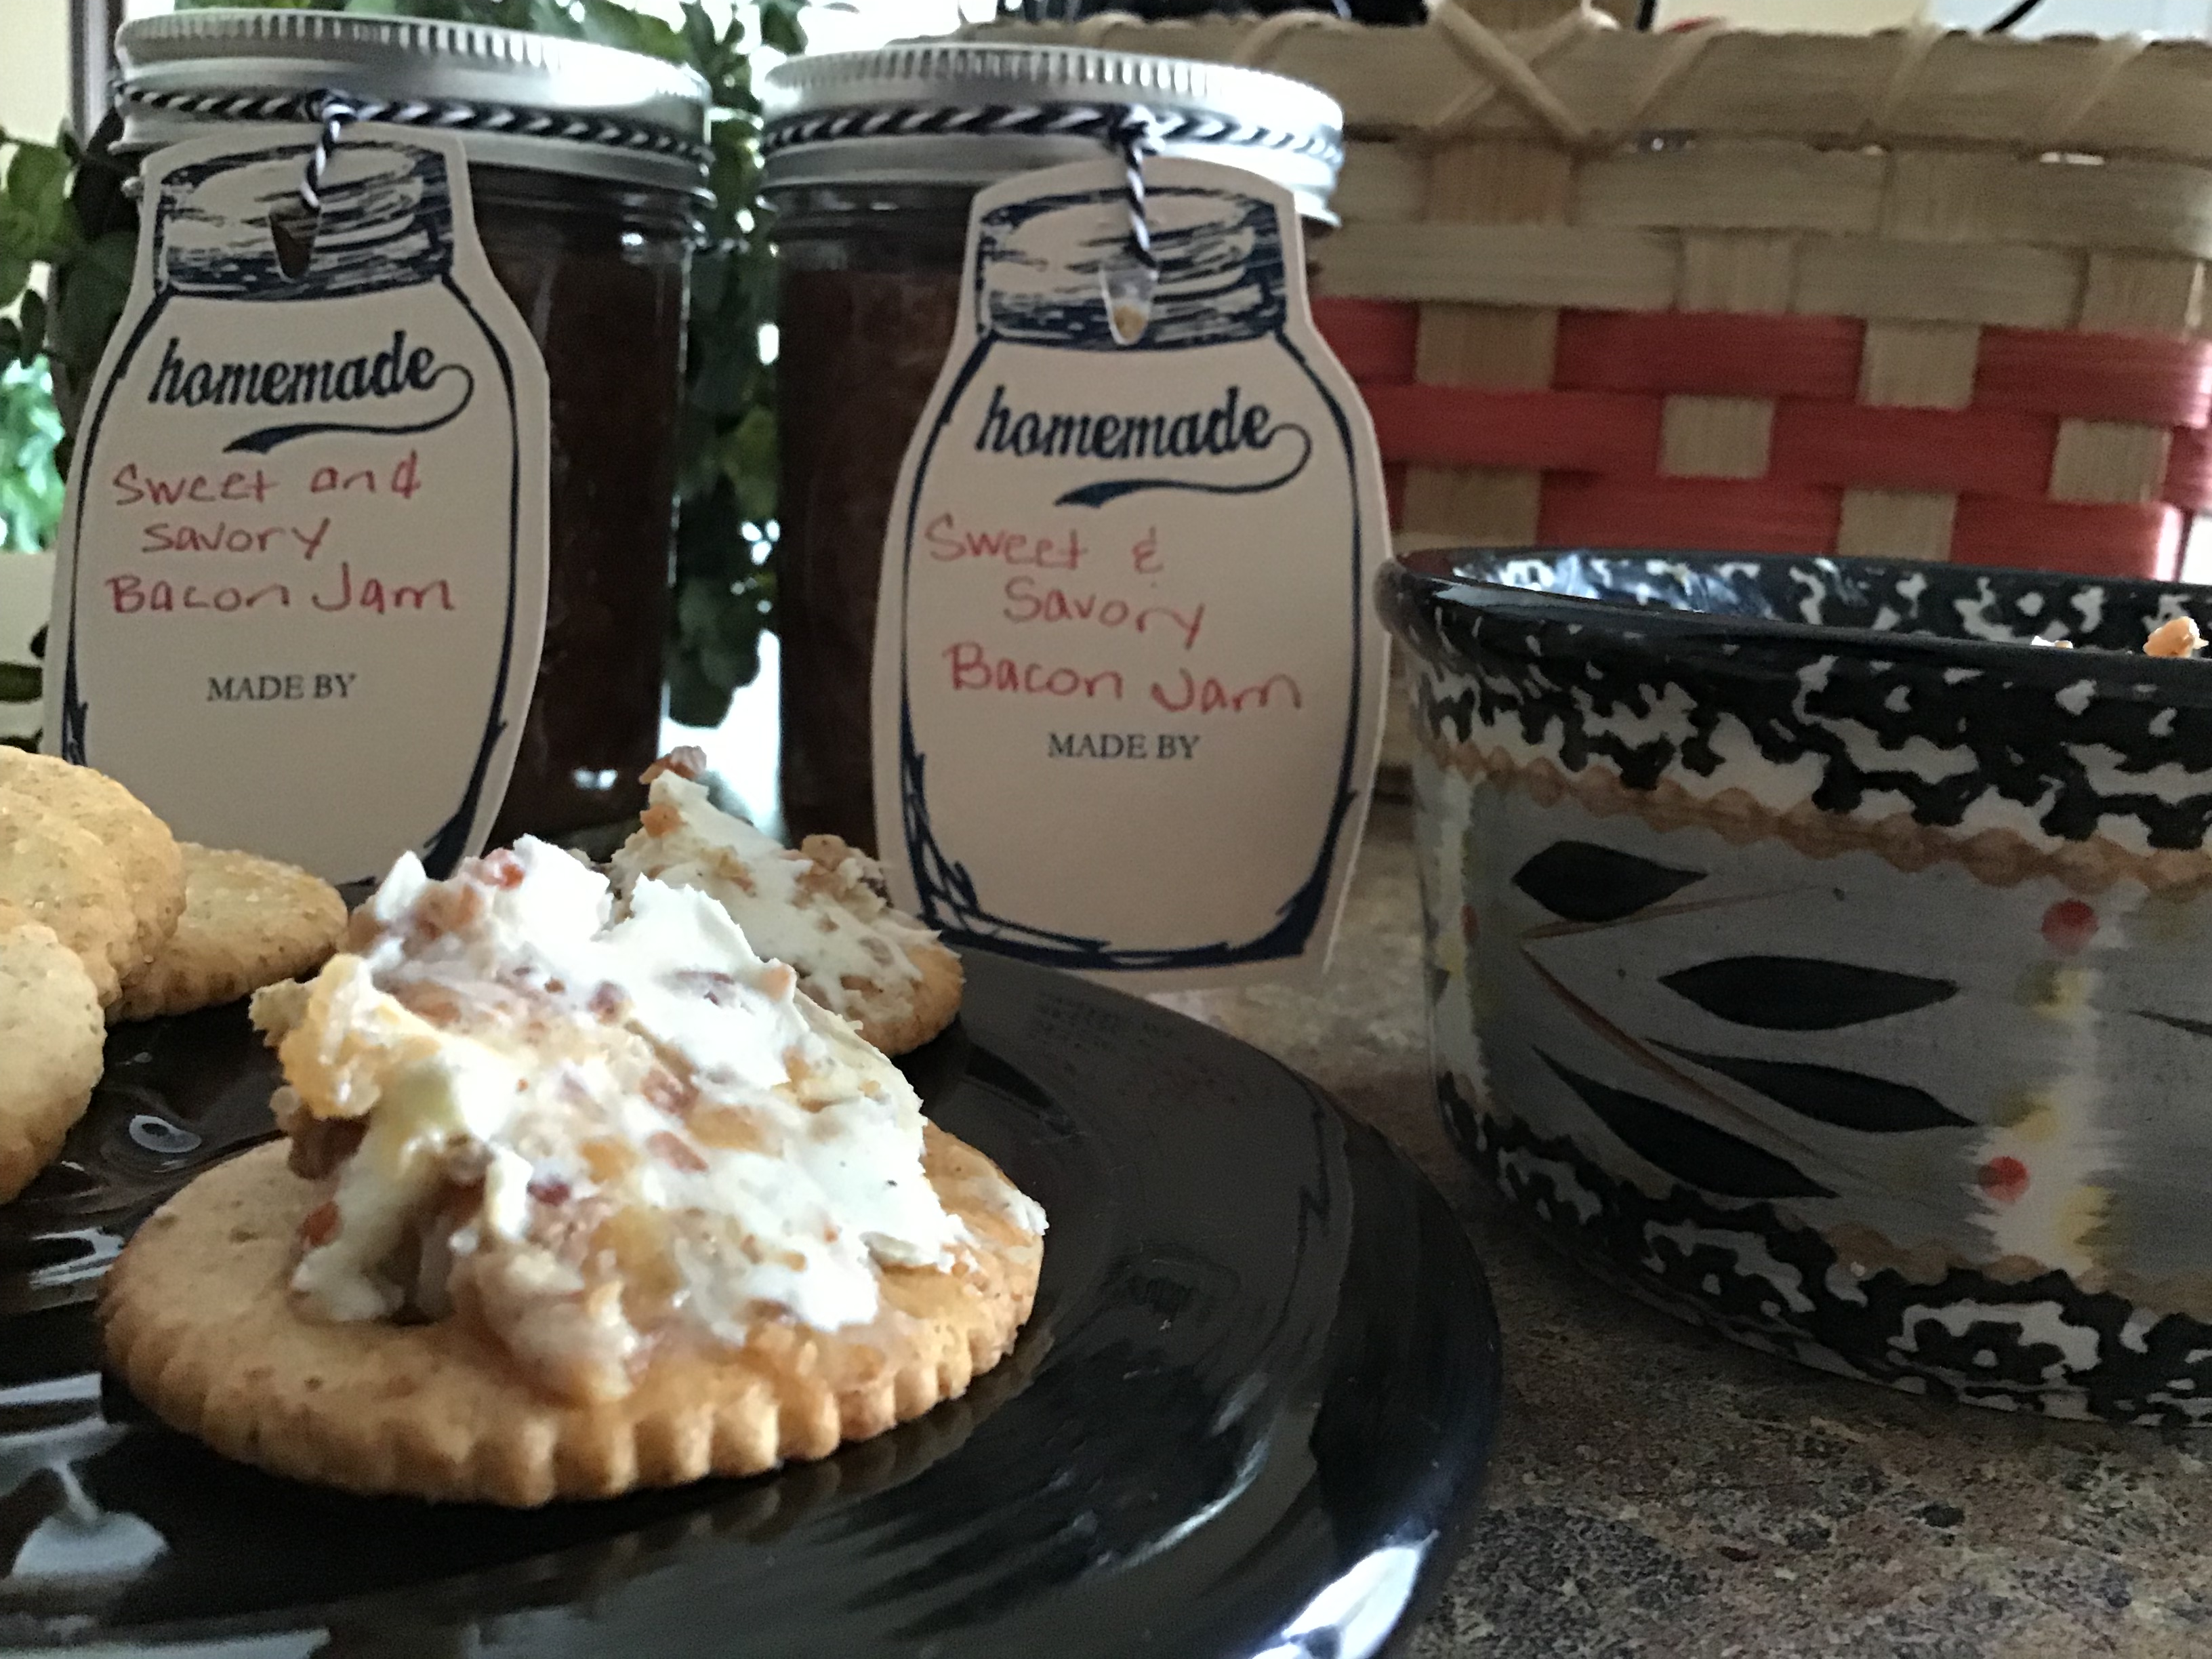
Every year, I try to identify a unique recipe to give to friends and relatives for the gift-giving season. I’m always looking for a recipe that highlights the deep rich flavor of our own homemade maple syrup. This year was no different… I found a great, sweet and savory recipe that sautés delicious ingredients that are eventually added to the slow-cooker, then left to reduce for several hours. Mix this delicious jam with a bit of cream cheese and spread on hearty crackers. Or, warm the jam to top a protein like a chicken breast or a beef burger for an extra boost of flavor. The bacon, grilled onions, maple syrup, and coffee combined together in the slow-cooker add a depth of delicious flavor. This is so good!

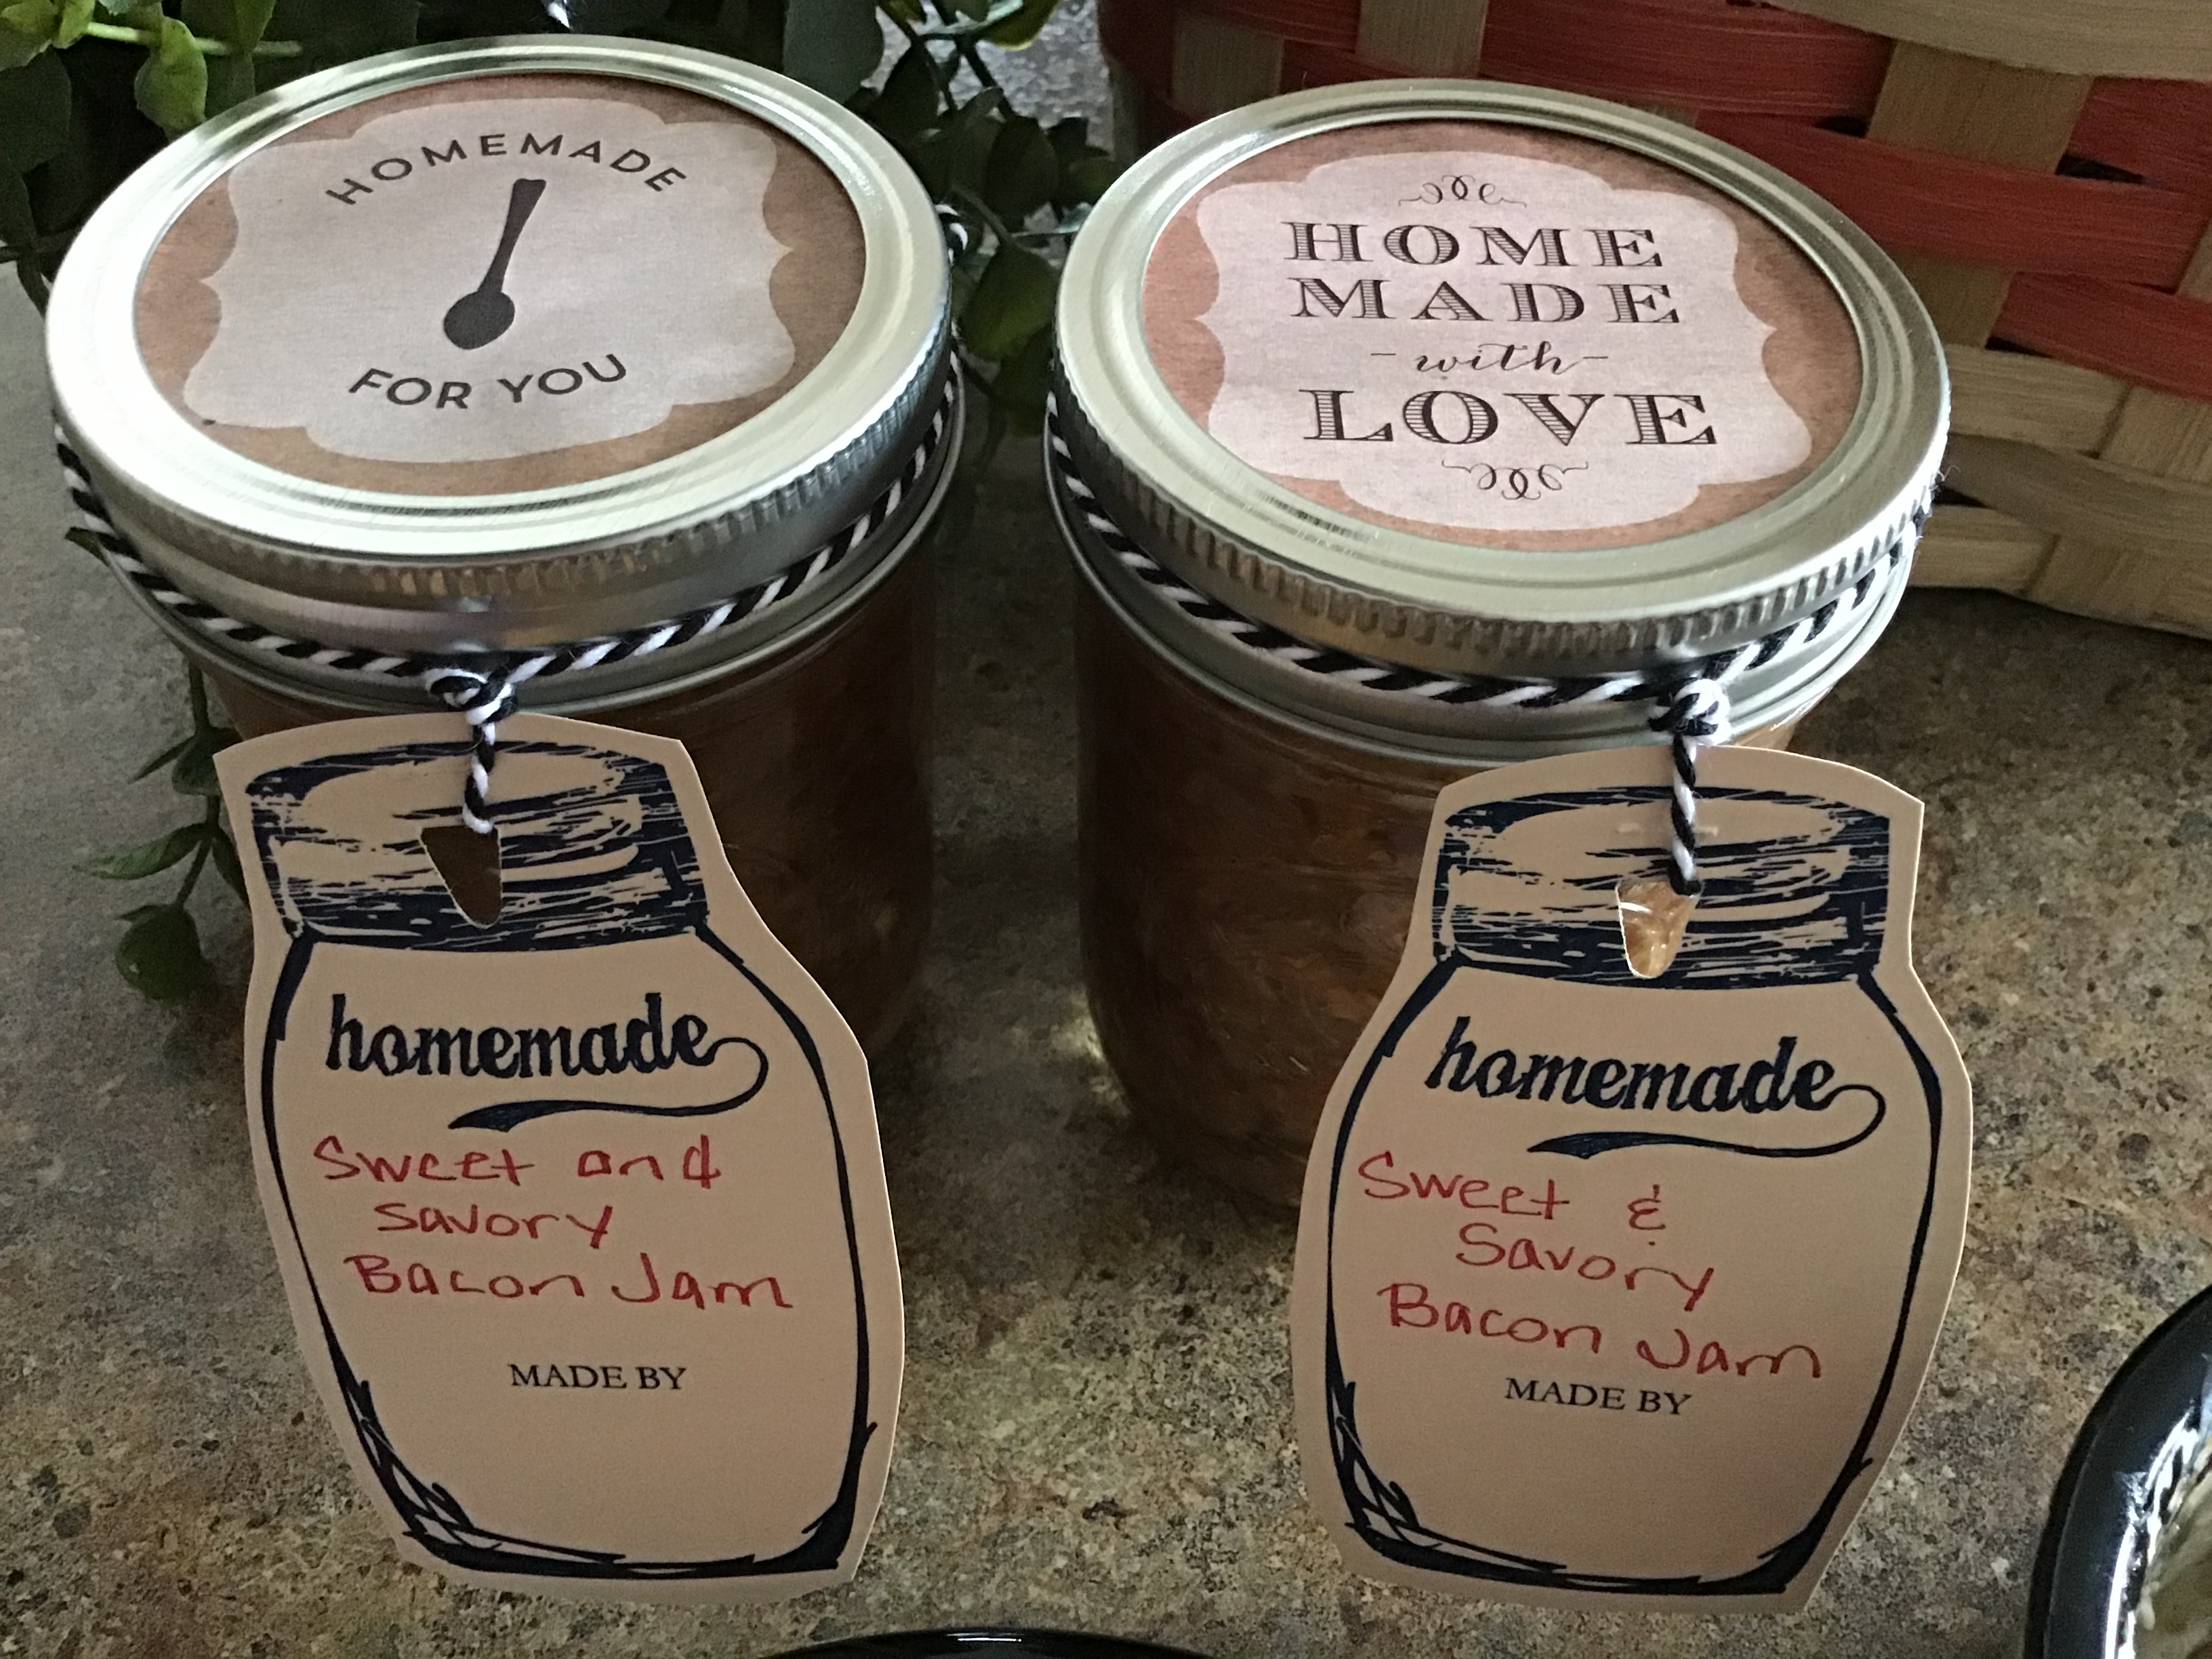
You can find this exceptional recipe here:

https://www.marthastewart.com/326881/slow-cooker-bacon-jam

Slow Cooker Bacon and Onion Jam

Adapted from the above recipe…

1 ½ pounds sliced bacon, cut crosswise into 1-inch pieces

2 medium yellow onions, diced small

3 garlic cloves, chopped

1/2 cup apple cider vinegar

1/4 cup packed brown sugar

2 heaping tablespoon pure maple syrup

3/4 cup brewed coffee

In a large skillet, cook bacon over medium-high, stirring occasionally, until fat is rendered and bacon is lightly browned, about 20 minutes. With a slotted spoon, transfer bacon to paper towels to drain. Pour off all but 1 tablespoon fat from skillet (reserve for another use); add onions and garlic, and cook until onions are translucent, about 6 minutes. Add vinegar, brown sugar, maple syrup, and coffee and bring to a boil, stirring and scraping up browned bits from skillet with a wooden spoon, about 2 minutes. Add bacon and stir to combine.

Transfer mixture to a 6-quart slow cooker and cook on high, uncovered, until liquid is syrupy, 3 1/2 to 4 hours. Transfer to a food processor; pulse until coarsely chopped. Let cool, then refrigerate in airtight containers, up to 4 weeks.
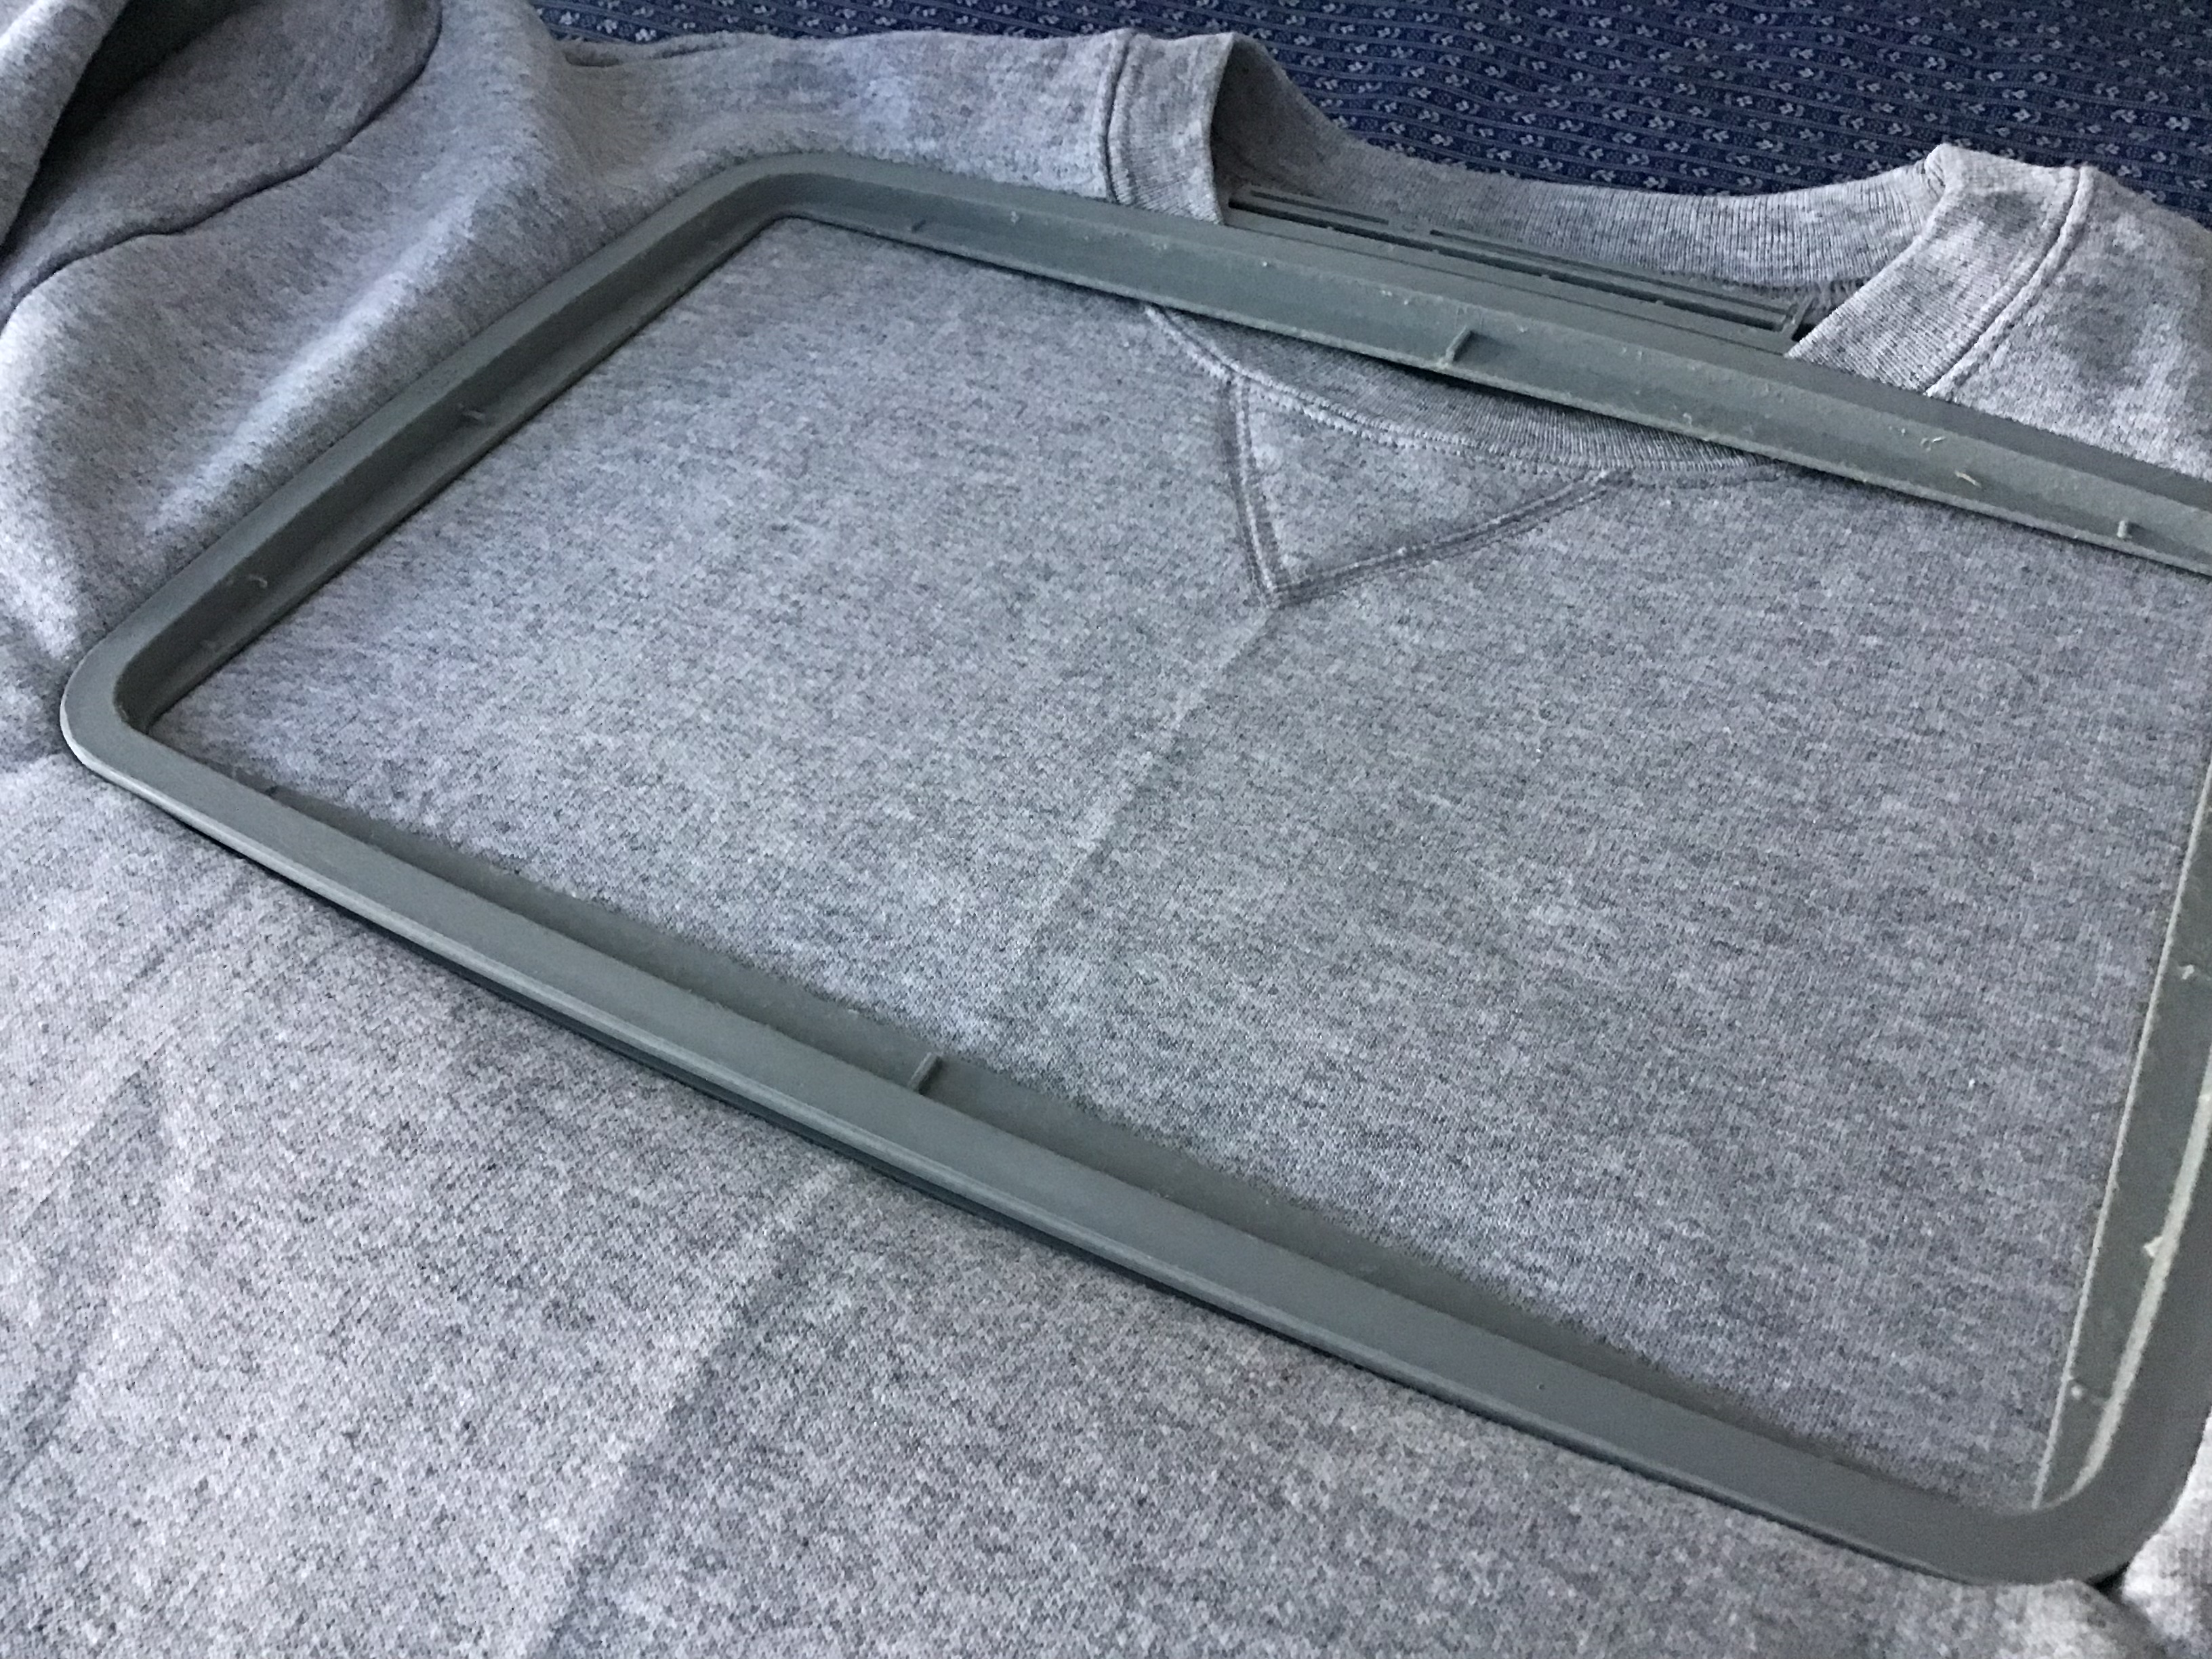
Posted in Baking, Bread, Canning, Gifts, holiday, Home Food Preservation, Homemade Mixes

Sparkling Christmas Jam

Around the holidays I love to make special “gifts from the kitchen” for friends and family.  Most times, I make batches of cookies, breads, candies, or snack mixes.  This year, I made brown bread loaves and Sparking Christmas Jam for everyone.


I was doing a major house cleaning and I had stumbled upon a few boxes of cute little jelly jars.  I was in the mood for a major cleanup and I was trying to get rid of anything I hadn’t used in a while.  This wide mouth batch would work just fine for gift giving jars. I remembered that I had loads of frozen strawberries and cranberries in the freezer that I could use for the intended mix, so I quickly scrubbed the jars in warm soapy water and began to prep the recipe.  Here are the instructions that I used.  

I must admit, the recipe is not very precise and of course, canning is a precise science. When processing for home preservation where items are to be stored on shelves, I only use tested, reputable recipes. Therefore, I processed the jars as instructed but I asked those receiving a jar to KEEP IT IN THE FRIDGE for safety purposes.  I gave them cold, refrigerated jars to remind them where they should be stored. No need to get anyone sick via an oversight when canning! 

This is a scrumptious recipe.  Great with bread and butter or tea and toast… I’ve already gotten a few requests for another jar next year. The beginning of a tradition…?


Merry Christmas and a Happy New Year!  Let’s make this a good one!

Posted in Baked goods, Baking, Bread, Food, Gifts, holidays

Sweet Irish Brown Bread

I was recently given a collection of old community cookbooks.  The “giver” was doing a house remodel and was cleaning out her kitchen for a more updated look.  She had too many cookbooks and was looking to send a few of them my way.  Naturally, I was thrilled.  I love looking through old interesting recipes.  I stumbled across this brown bread recipe that looked quite tasty.  The ingredients reminded me of one of my favorite Irish bread recipes, with perhaps a bit more sugar that I am used to.  I quickly baked up a few loaves and my family was pleasantly surprised.  A simple loaf with a sweet, mellow flavor.  A great base for butter and jam.  

The Brown Bread recipe is pictured below…


The flavor was so wonderful, I baked up a load of loaves for Christmas gifts and packaged them with my Christmas Jam.


Posted in Crafts, Gifts, holiday, holidays

Wrapping Things Up…

In the midst of all of the holiday hoopla and Christmas shopping, I realized that there may be a load of practical gift cards that might be received far better than any piece of clothing or fancy kitchen gadget.  For students, especially those living in highly populated cities, transportation can be an issue.  Gift cards focused on shuttling a person from one destination to another might be much more appreciated versus a piece of clothing.  Train passes, Uber gift cards, bus passes, etc. are all good ideas.  Last year my sister in law gave my children transportation gift cards and they were used to shuttle them to the local grocery store, to the airport, and home from the local burger and brew joint.  (Each of my children are in college and over the age of 21.). They also received gift cards from the local drug store where they were able to by toiletries, milk, and basic groceries while on campus.  Another great idea for college students, gifts cards for sandwich shops and local eateries.  Many dorm cafeterias are closed on Sunday evenings so having a gift card for a local diner is always appreciated.

Be creative as you think of ways to “wrap” your gift cards.  Think of using beautiful paper scraps, college themed papers, Christmas wrap, or themed scrap book papers.  I recently purchased some high-end soap from a local discount store.  The soap was wrapped in a beautiful heavy weight paper that I just couldn’t throw away.  This gave me the idea to use the paper as a wrap for a small gift; hence, a gift wrap for the gift card.  Here’s what I did…

I found a template here. Or, Google various gift card envelope images for the shape you prefer.


I gathered an assortment of scrap paper, and the beautiful wrapping paper found on some milled soaps.

I printed the template and traced the outline on various scraps.I penciled in some fold lines.

I thought it might be nice to have a contrasting liner.Using a few paper punches, I fashioned a gift tag.


Use Christmas paper, shopping bags, newspaper… Whatever you like.This is an enjoyable way to personize and make personal, an ordinary, yet purposeful gift card.


Posted in Gifts, holiday, holidays, Homemade Mixes, Kids in the Kitchen, Soup

Dry Soup Mix in a Cone

A couple of weeks ago, our local woman’s club held a holiday craft-making session for all of its members.  During one of the sessions, I saw a group assembling a dry soup mix in a cone shaped bag.  The leader of the session had carefully measured out ingredients for all to use for their individual bags.  The layered mix looked colorful and interesting.  I complimented her on the clever idea of making such an inexpensive gift packaged in a compact and attractive cellophane bag.  Two days later, she left a couple of different soup packages on my desk while she visited my office.  She included a little note card explaining how each of the soup mixes should be cooked.  I was so appreciative of her gift.  What a kind gesture!

Naturally, I made a pot of soup when I returned home that evening. The Italian Curly Soup recipe made just the right amount and tasted delicious poured over a few mini-meatballs.  Warm and flavorful with a crisp green salad and some crusty bread…

I’d like to send a big shout out to my dear friend… Thank you for the delicious mixes.  Can’t wait to try the Wild Rice Soup recipe.  This is a great and inexpensive “anytime” gift to pass along to someone special in your life… A warm and wonderful gift from the kitchen.

I recently remade the soup  and I have posted a slightly different recipe below…

Italian Curly Soup In a Cone

Layer in a cake decorating disposable cone (or quart sized-jar) the following ingredients:

  • 2 tsp. Italian seasoning
  • 1teaspoon garlic powder
  • 1 tsp. pepper
  • 2 T beef bouillon
  • 1/4 C minced dry onions
  • 1 tsp. sugar
  • 3 cups rotini or curly tri-colored pasta
6 cups water
1 jar of Curly Soup Mix
1 (14 oz) can crushed or diced tomatoes
 
Bring 6 cups of water to a boil in a large soup pot. Add the Curly Soup Mix and can of tomatoes. Bring back to a boil. Lower heat and simmer uncovered for 12-15 minutes or until pasta is tender. Tip: For a full meal pour over Italian sausage pieces or min-meatballs; sprinkle with grated Parmesan cheese. Serve with crisp salad and crusty bread.


How about a piping hot bowl of wild rice soup?   


Here’s another great soup in a jar recipe…

http://foodchannel.com/recipes/creamy-wild-rice-and-mushroom-soup-in-a-jar


Posted in Crafts, Gifts

Footed Market Basket

I had a wonderful time attending a local basketmaking workshop held at a rustic county park in my area. The weather was beautiful and the scenery was gorgeous. We sat under a shelter with several picnic tables that were lined up for all of the class participants. Just prior to the session we were mailed a list of supplies needed for the construction of the basket. We each brought along an old towel, some clips to hold the basket in place, scissors, a large bucket and a spray bottle to keep the wooden strips wet while working with them. We carefully listened to the instructor as she effortlessly managed teaching and assisting the 20 students before her. The item that we would be constructing is called a Footed Market Basket. I tried to take pictures as I worked through the steps while making this adorable basket.

…Can’t wait to sign up for another session!