During the fall and winter months, I am always looking for creative ways to fill lunch boxes with nutritious, mid-day meals. On Sunday evenings, I try to prepare lots of options for the kids to enjoy during the school week. M loves to bring a thermos full of soup to school as she often feels that her classrooms are cold and drafty. She usually requests some kind of vegetable soup to carry in her lunchbox. Currently, her favorite selection is my Cheesy Cream of Broccoli Soup recipe. Adding rice or noodles makes it a bit more hearty and filling. After making the soup on Sunday, I divide it up into small plastic containers and pop it in the fridge. Every morning, before the kids head to school, I heat up individual servings then pour the piping hot soup in the thermos. (Below, I’ve included my secret to keeping rice balls for a week’s worth of soup.) There’s nothing like a bowl of good old fashioned comfort food to fill the tummy at lunchtime.
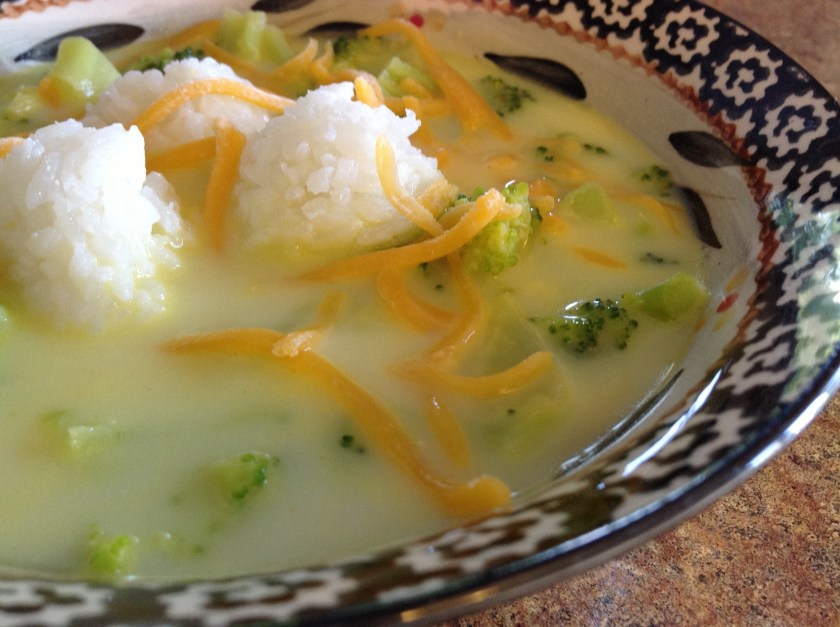
Cheesy Cream of Broccoli Soup with Rice
1 pkg. (16 oz.) frozen chopped broccoli
3/4 cup water
1 can (14.5 oz.) chicken broth
1/4 cup butter or margarine
1/4 cup chopped onion or 2 tsp. onion flakes
1/4 cup all-purpose flour
1 can (12 fl. oz.) Evaporated Milk
2 cups Velveeta Shredded Cheese (melts really well)
In a medium sauce pan, mix water and broccoli; bring to boil. Cover; reduce heat to low. Cook for 5 to 7 minutes or until tender.
Meanwhile, melt butter in a large saucepan over medium heat. Add onion; cook, stirring occasionally, for several minutes or until onion is tender. Stir in flour. Continue to cook on medium heat until bubbly. Gradually stir in evaporated milk. Cook, stirring constantly, until mixture comes to a boil. Add broccoli (with water) Heat through. Remove from heat and stir in cheese until completely melted.
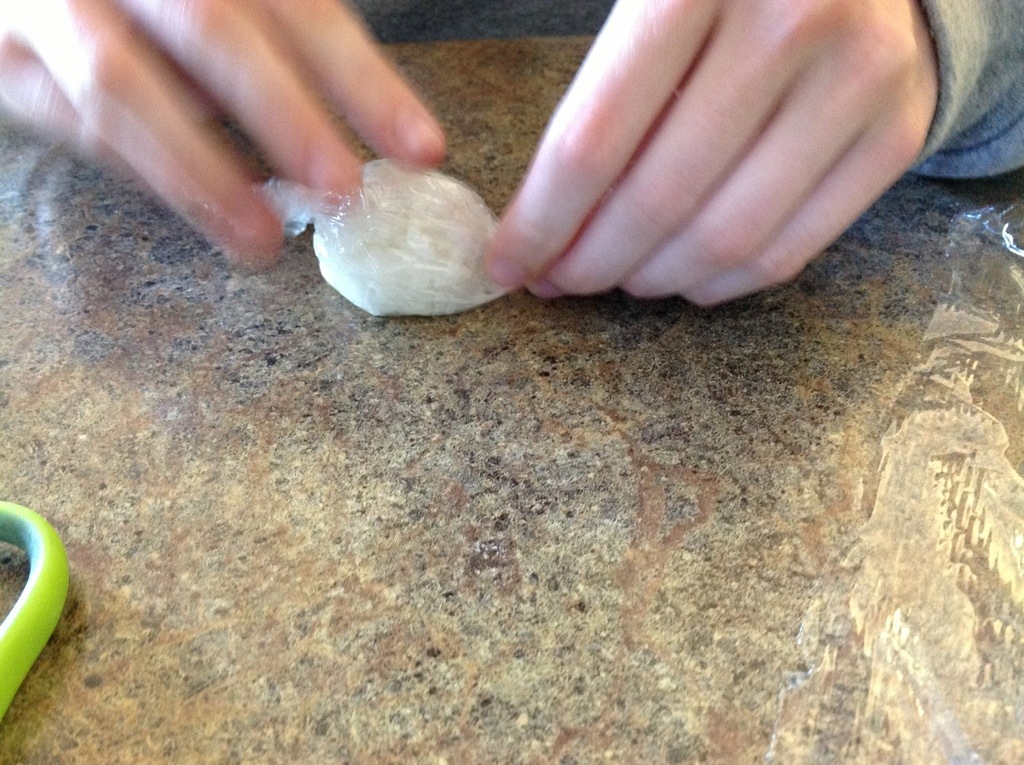
To make rice balls:
This is the kind of rice we buy. It’s called sushi rice.

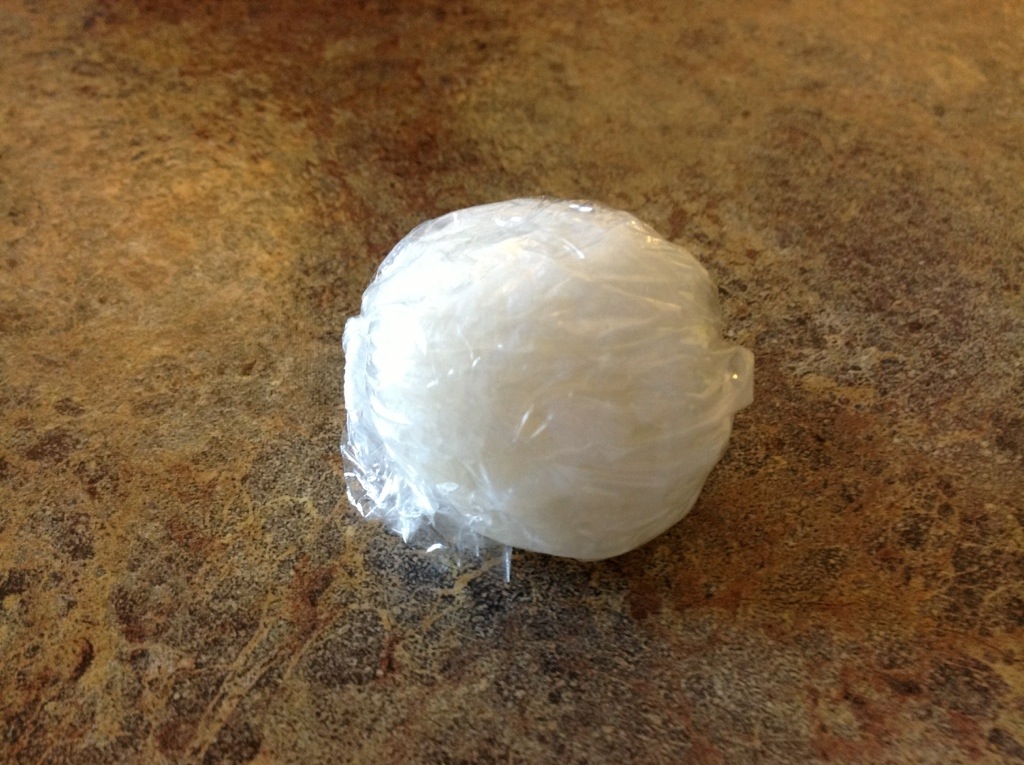
Cook rice according to package directions. After rice has cooled a bit, use a small ice cream scoop to make 2 inch balls of rice. Wrap each ball individually in small pieces of plastic wrap.


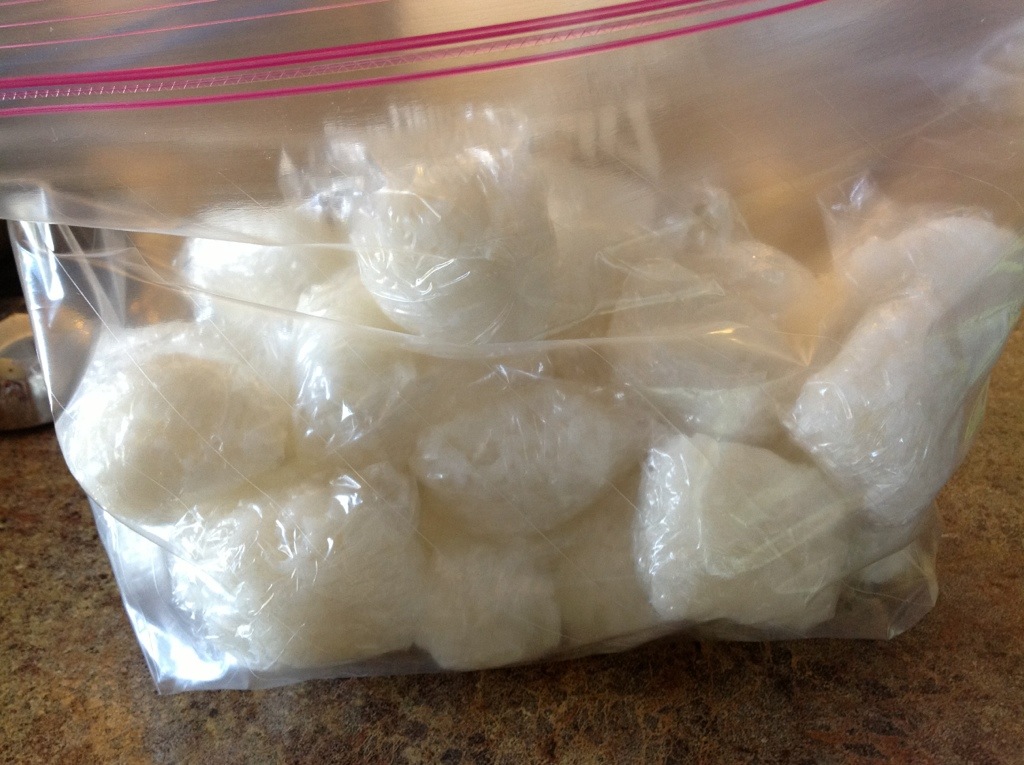
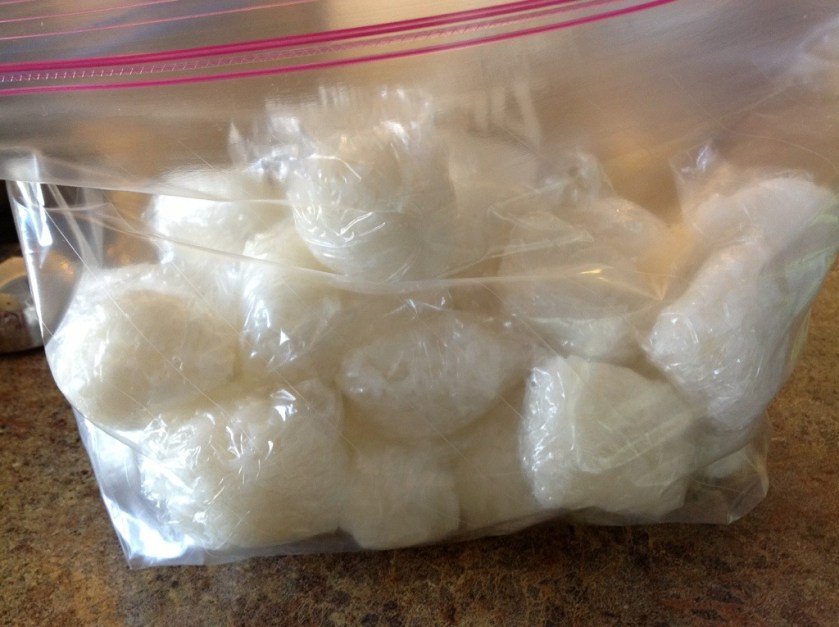
Place wrapped rice balls in a freezer safe bag and store in freezer until ready to use.
Unwrap rice balls and heat in the microwave before placing them in soup dish.