Posted in Gardening

Self-Watering Container Garden

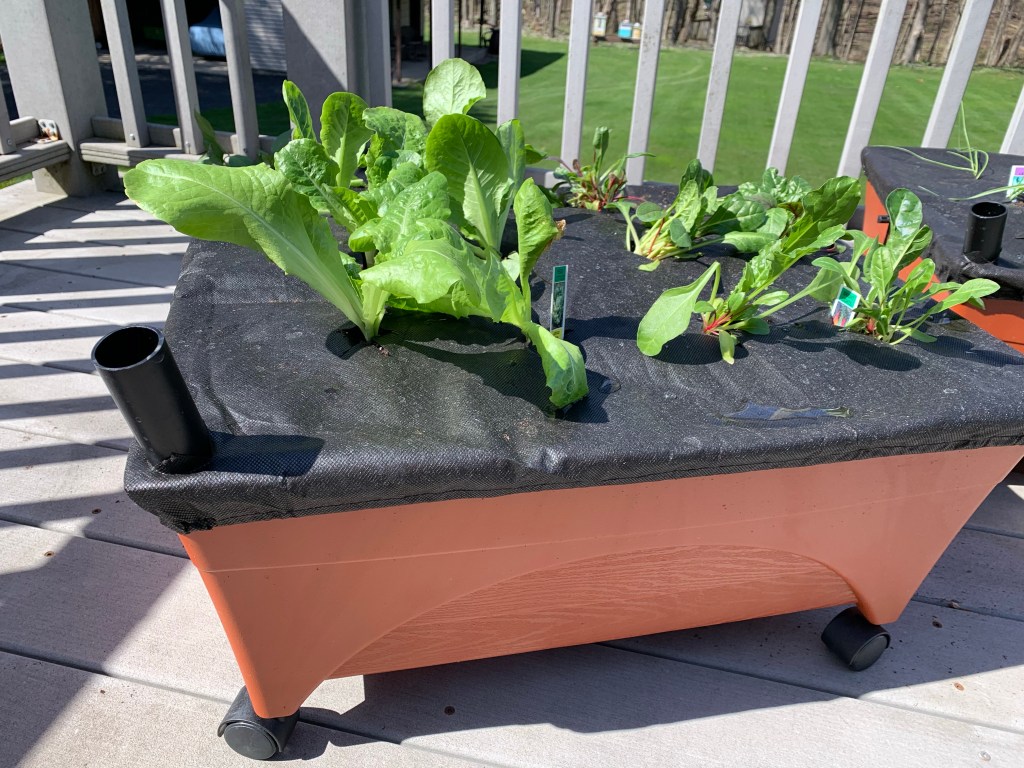
I found these delightful self-watering containers at a local hardware store. I always begin the growing season with the good intention for watering my plants regularly. Slowly but surely, as the season moves into the hot and sticky months, my intentions are quickly forgotten and my garden begins to fade. I’m hoping these little babies will help me find success this year.

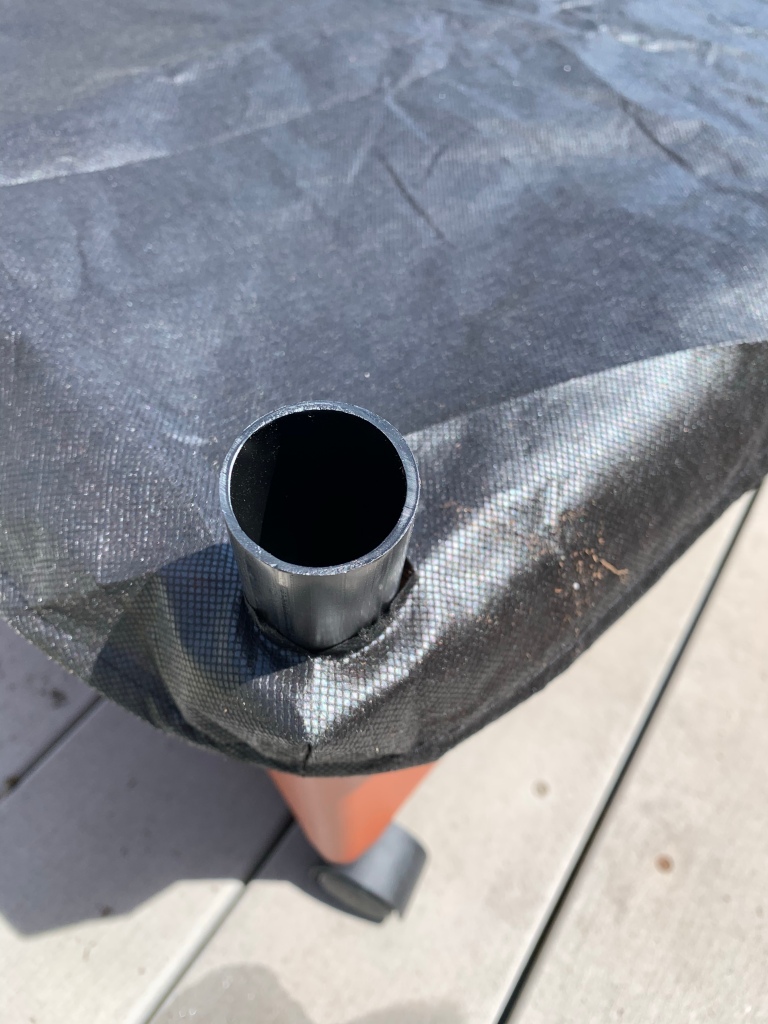
The containers are assembled by adding caster wheels and inserting the watering tube in the corner.
The wicking action is supported by inserting moist potting mix into the three remaining corners.
Continue to fill the container with potting mix and fertilizer.
Filling the container to the rim is essential.
Fit the landscape fabric over top the container. Snip a hole in the fabric for the watering tube.
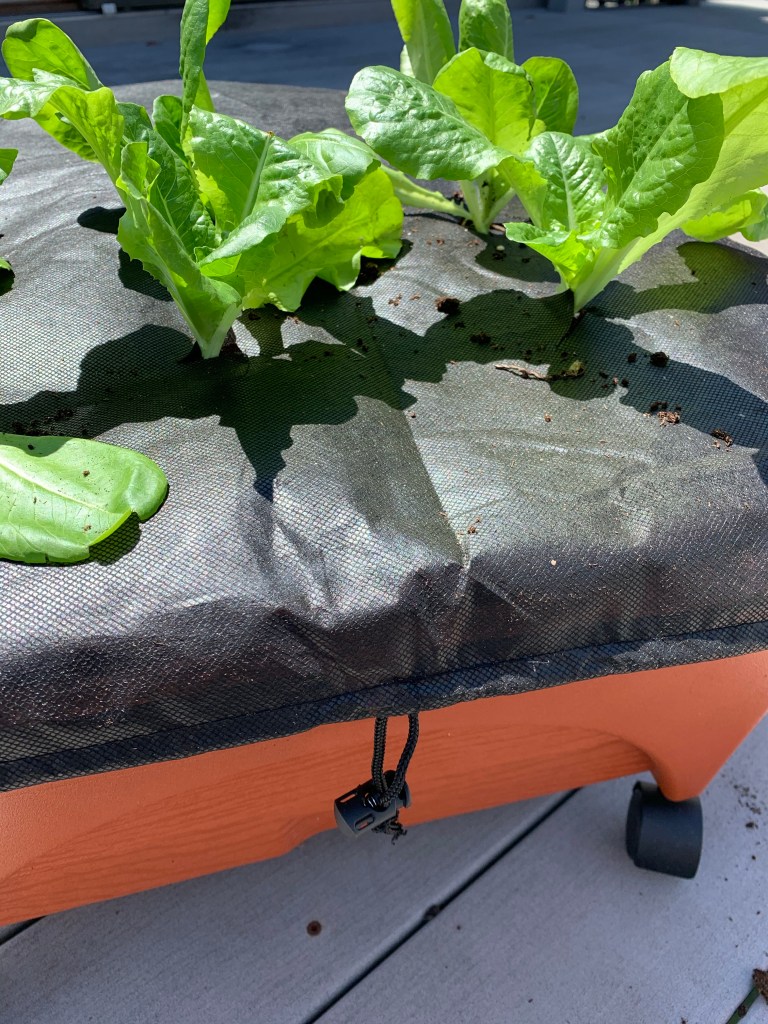
Snip evenly spaced slits into fabric to accommodate plants.
Beginning in the center, work your way out planting greens through the landscape fabric.
Using the watering tube, fill container with water. Secure cloth drawstring and place in the sunshine.
Posted in appetizers/snacks, Dinner, Food, Gardening, Salad, salads

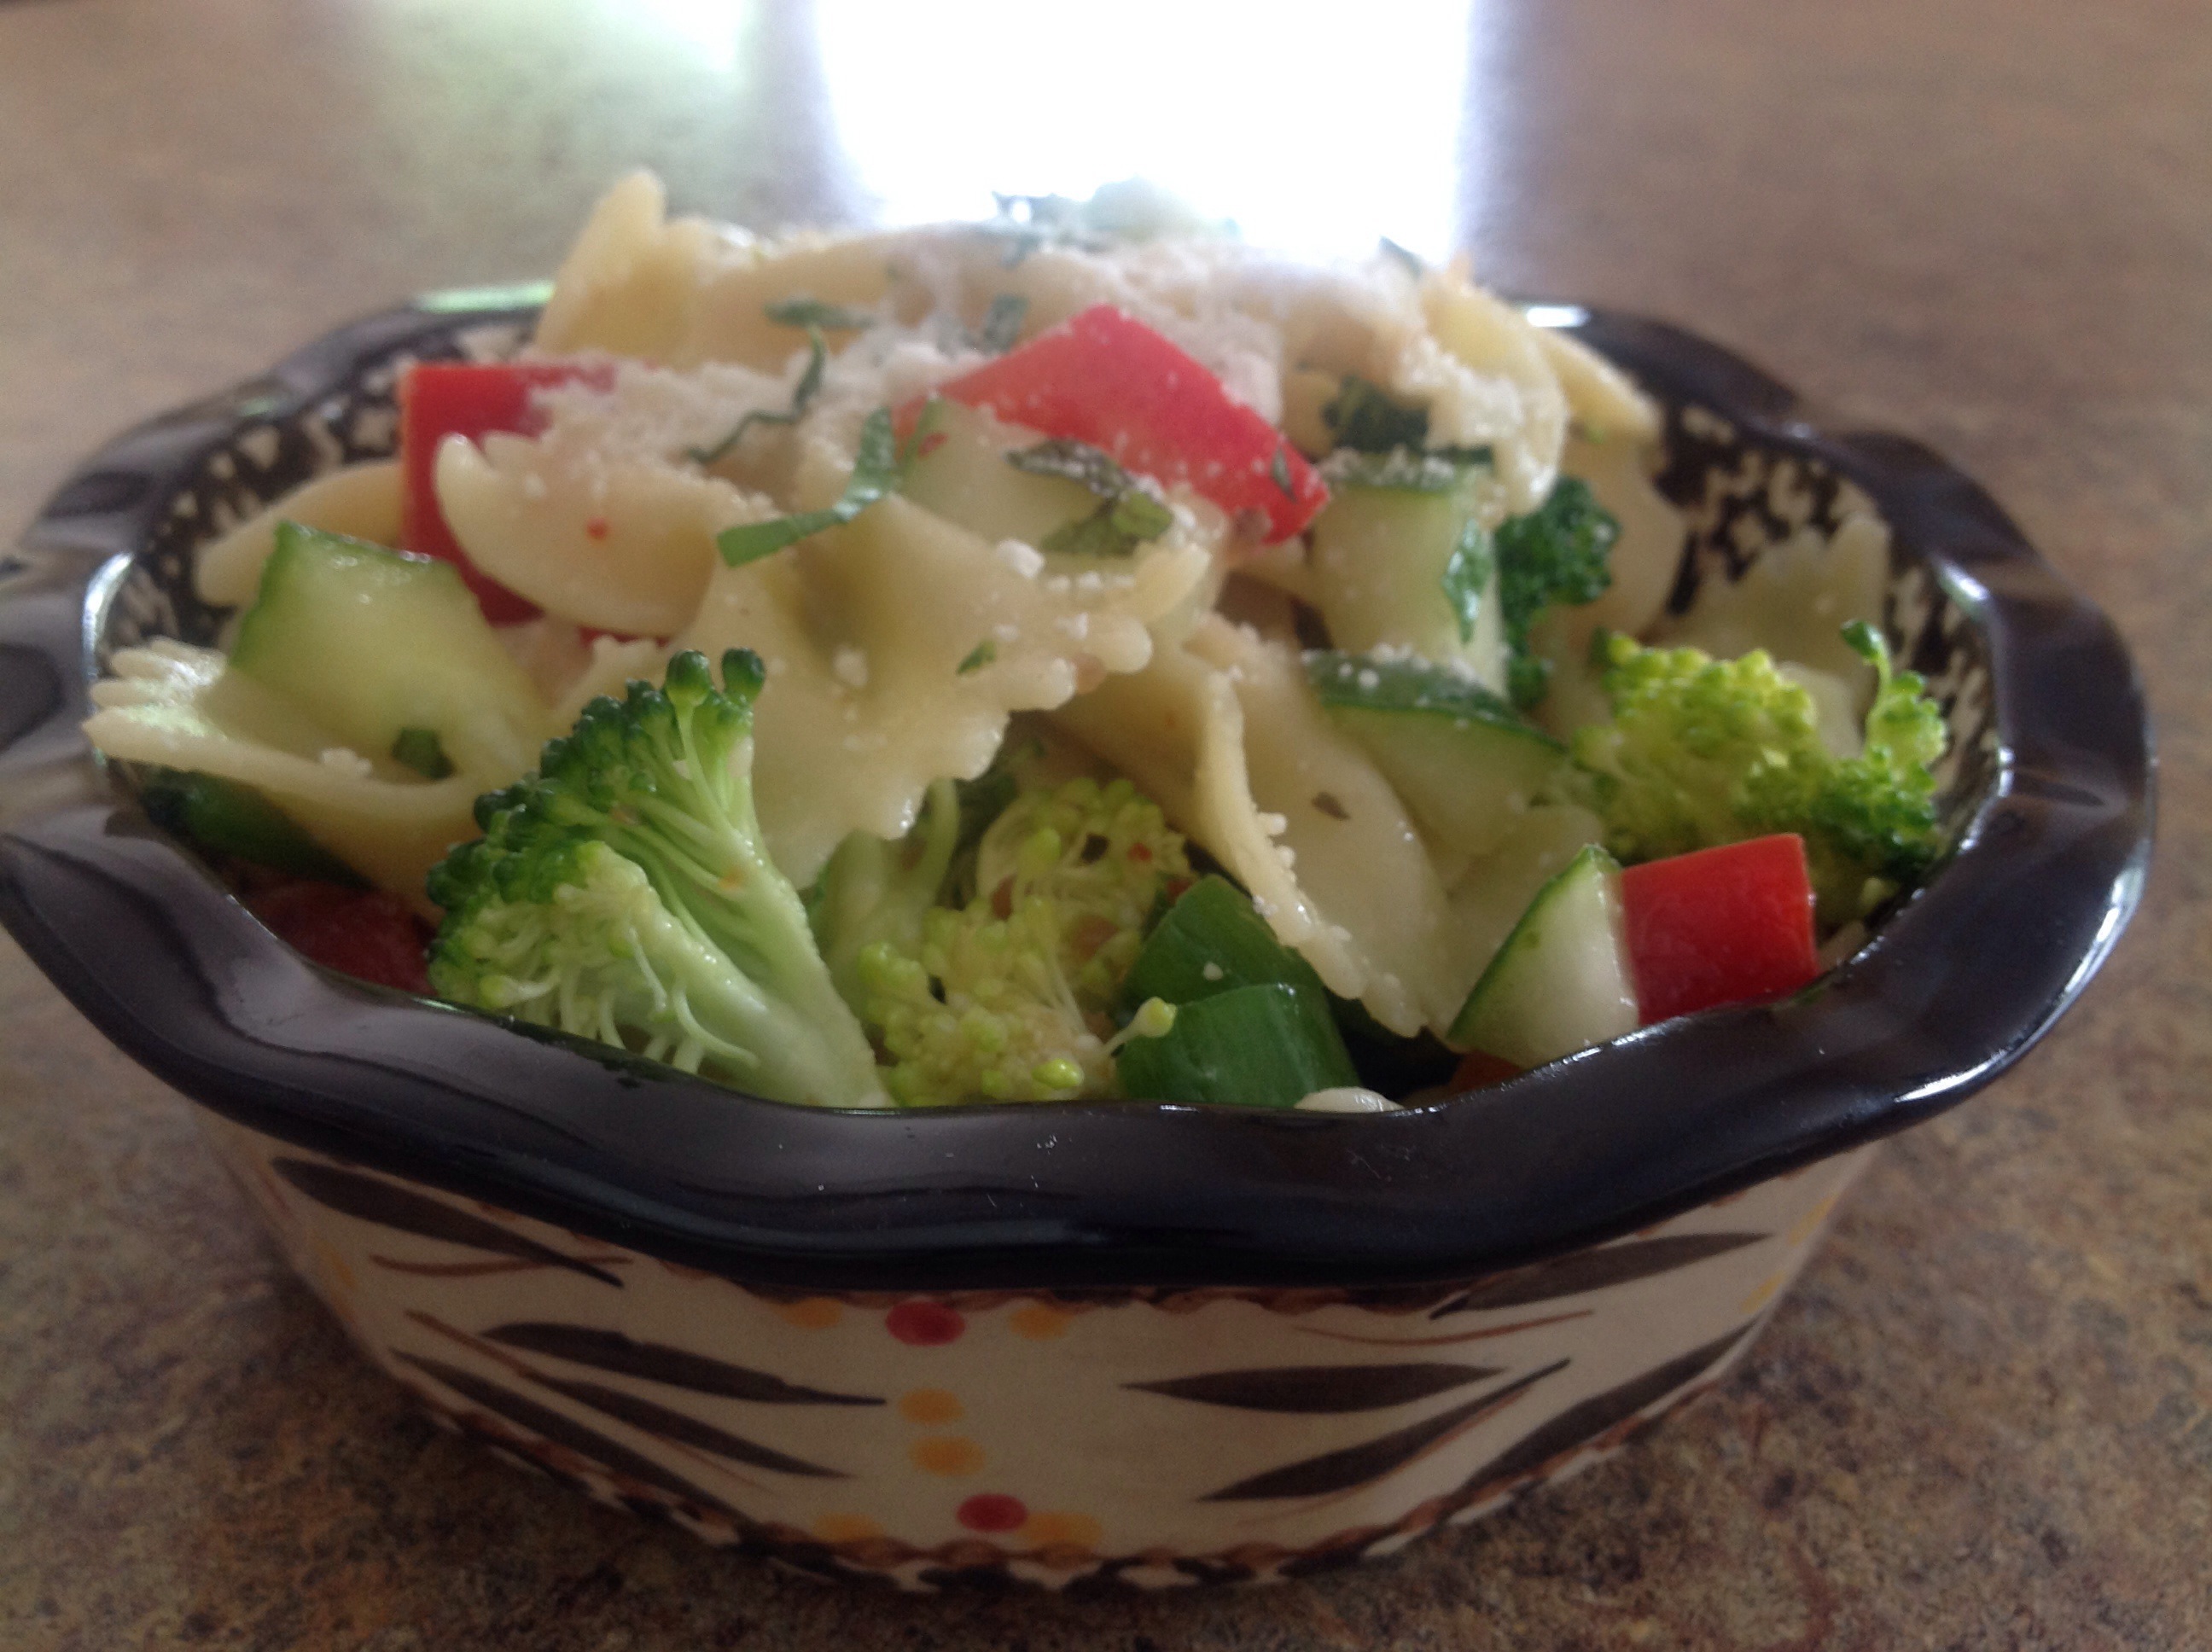
Farmer’s Market Pasta Salad

20140705-142522.jpg
It’s always fun to use up fresh garden veggies by throwing them into a big bowl of tender, herb-spiced pasta. While I have a variety of fruits and vegetables planted in my summer garden, it will be a while before they are ready for harvest. In the meantime, I just love heading out to the local farmer’s market to pick up a healthy dose of garden fresh vegetables for some of my lite warm-weather recipes.
This recipe couldn’t be any easier. Use your favorite vegetables, cheese, or meat to mix into this cold pasta salad. A tall glass of iced tea and some whole grain crackers can round out the meal as the sun shines, the heat sets in, and we welcome the lazy days of summer.

Farmer’s Market Pasta Salad

14 ounces pasta, uncooked
1/2 cucumber, chopped
3 green onions, finely chopped
5 cherry tomatoes, quartered
1 red pepper, chopped
2 carrots, chopped
2 Tablespoons fresh basil, parsley, and oregano, finely chopped
1 cup zesty Italian-style salad dressing
3 Tablespoons Parmesan cheese, grated

Fill a large pot with lightly salted water, bring to a rolling boil over high heat. Stir in pasta, return to a boil. Cook uncovered, stirring occasionally, until the pasta has cooked through, but is still firm to the bite, about 8 minutes. Drain and cool by running cold water over the pasta in a colander set in the sink. Coat with a small amount of dressing to prevent pasta sticking together. Cool completely.
2. Combine pasta, vegetables, and herbs in a large bowl. Pour the remaining Italian dressing over the salad and stir to combine. Cover and refrigerate for at least two hours. Sprinkle on Parmesan cheese before serving.

Posted in appetizers/snacks, Food, Kids in the Kitchen, lunch box

Simply Made Veggie-Style California Roll

20140427-102020.jpg
Our local grocer has a wonderful sushi station set up in the produce section of the store. Each time I visit the store, I load up my cart with a few packages of veggie style California Roll. M loves to take it to school in her bento box. She eats it for lunch or saves it for her after-school snack, just before track practice. Lately, my long work hours have kept me from visiting the market during the sushi making hours. It seems the hours for the station are limited and once the station is closed, the remaining sushi is often removed from the refrigerator case well before I arrive.
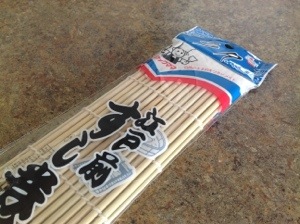
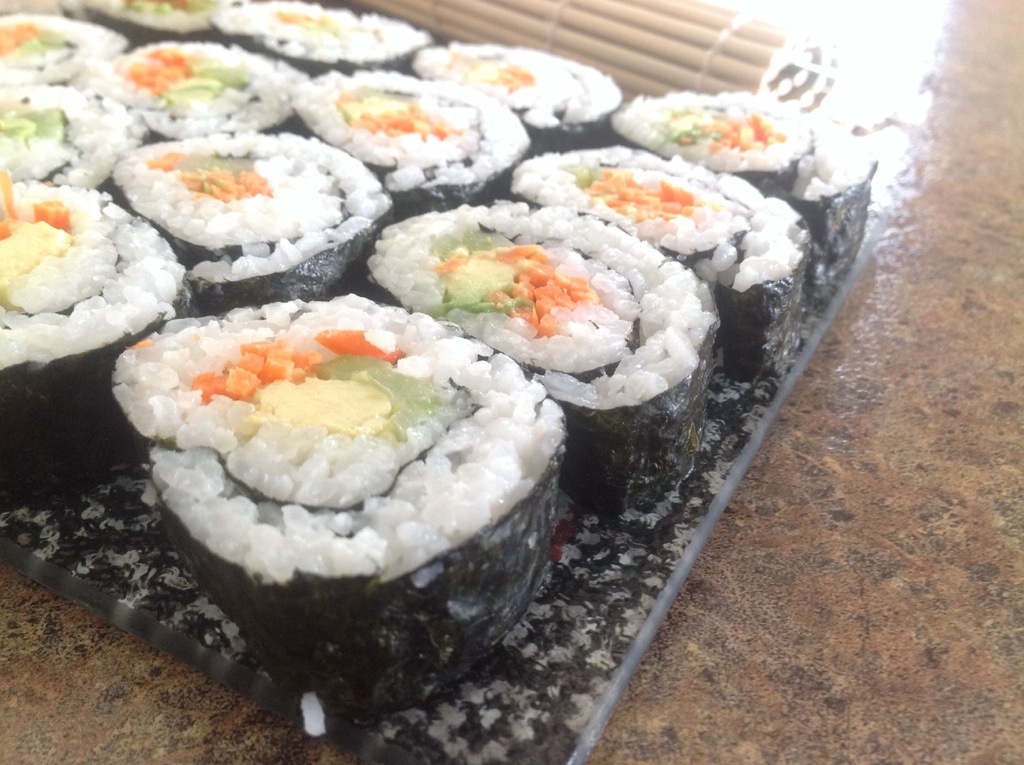
M and I were out shopping yesterday, and once again, the sushi station was closed. As M passed by the station with a disappointed look on her face, she spied a display that included all of the supplies needed to make our own California Roll recipe. We quickly gathered up all the supplies and headed home to begin our sushi making project. On a recent visit to Disney, we had purchased a bamboo sushi rolling sheet so we were excited to finally put it to use. We carefully read the directions for making the rice, although, we eliminated the addiction of sugar and salt. We then proceeded to assemble the California roll. Wow, what a simple project…and so delicious! I hope you have a chance to try the recipe on your own. Add any combination of fresh veggies you prefer…cucumber or jicama might be nice. This is really a fun family cooking project.

Simply Made Veggie California Roll

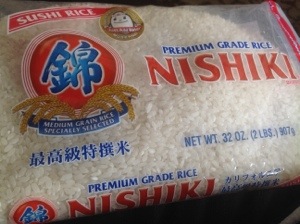
2 cups Premium Grade Nishiki Sushi Rice, cooked according to package directions
1/2 cup seasoned rice vinegar
5 sheets nori (dry seaweed)
1 avocado, sliced thinly,
3 stalked celery, cut julianne style, about the length of the nori sheet
3 carrots, peeled and cut julianne style, about the length of the nori sheet
20140427-102433.jpg

20140427-102447.jpg

20140427-102500.jpg
Transfer cooked rice to a bowl and carefully cut in rice vinegar using a rice paddle or wooden spoon. Allow to cool to room temperature, about 30 minutes. Place a sheet of nori, on the rolling mat.

20140427-102716.jpg
Place 2 to 3 pieces of each of the avocado slices, celery, and carrots on top of the nori in one layer.

20140427-102811.jpg

20140427-102828.jpg
Using the mat as a guide, carefully roll the California roll into a tight log. Remove the rolling mat.

20140427-103006.jpg

20140427-103020.jpg
With a sharp wet knife, cut roll into 6 even pieces. Repeat with remaining sheets of nori and filling. Sprinkle with sesame seeds, if desired.

20140427-103124.jpg

20140427-103146.jpg

Posted in appetizers/snacks, Baked goods, Bread, Food, Kids in the Kitchen, lunch box

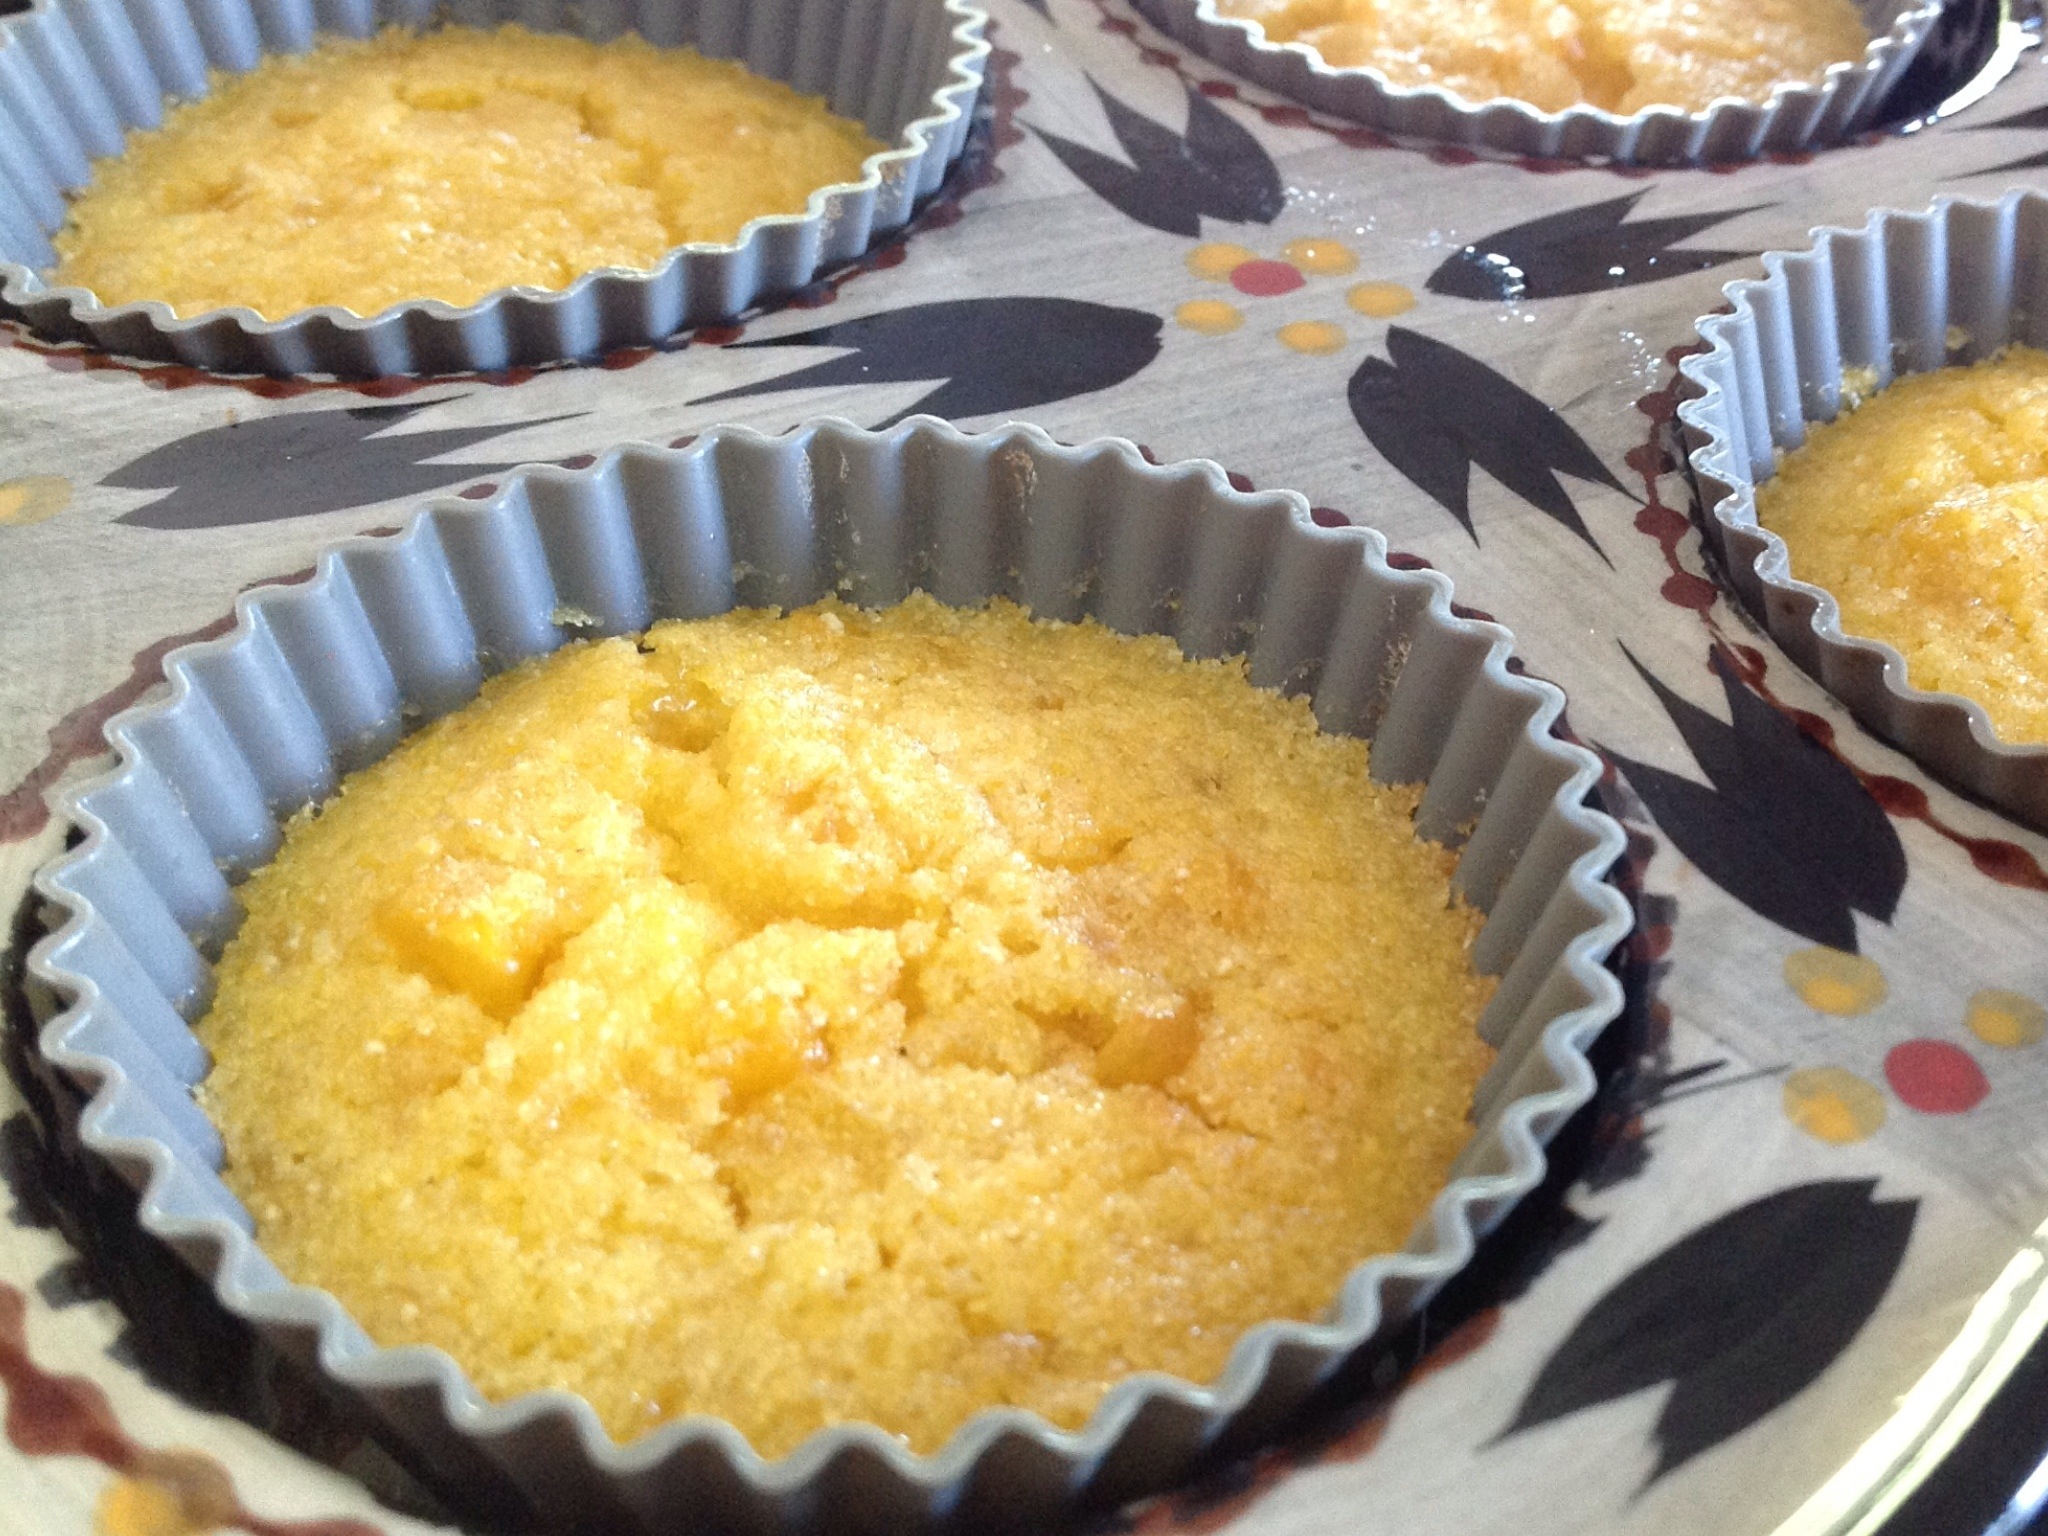
Creamy Corn Bread

20131002-201127.jpg
Lately, M has been taking a thermos of soup in her lunchbox. Every Sunday evening, we make a big pot of soup that will last through the long school week. Recent recipe choices have included cream of broccoli, minestrone, vegetable beef, and other favorites. I’ve also been baking cornbread muffins to accompany the meal. I bake them in silicone muffin liners for easy cleanup.
This Creamy Corn Bread recipe gets its sweetness and creaminess from the corn and yogurt in the mix. No need to add sugar, this bread is sweet, moist, and satisfying!

Creamy Corn Bread

1 egg
1/4 cup butter or margarine, melted
1 (8 3/4-ounce) can whole-kernel corn, drained
1 (8 3/4-ounce) can cream-style corn
1 (8 1/2-ounce) package corn muffin mix
1 (8-ounce) carton plain fat-free yogurt

Preheat oven to 350 degrees. Combine ingredients in a medium bowl; stir well. Pour into a 9×5″ loaf pan coated with cooking spray or spoon into lined muffin pans. Bake at 350° for 40- 45 minutes for loaf pan or 17-20 minutes for muffins.

20131002-201610.jpg

Posted in appetizers/snacks, Food, Gardening, Salad, salads, Sauces

Old Fashioned Thousand Island Dressing

20130911-101912.jpg
When we lived in Chicago, there was a local neighborhood restaurant that served the most delicious salad with greens, cucumbers, chicken breast, croutons and thousand island dressing. Every Sunday we would treat ourselves to their delightful salad along with one of their tasty pizzas.
When I tried to duplicate the salad at home, bottled thousand island dressing just didn’t make the grade. In those days, the Internet was not as extensive as it is now so I scoured my collection of cookbooks for a basic dressing recipe. My old Betty Crocker Cookbook (fifth printing,1988) had the perfect recipe because I had all of the ingredients on hand and could make the dressing with little effort. While I have altered the original recipe a bit, this Old Fashioned Thousand Island Dressing recipe has become a favorite in my house.

Old Fashioned Thousand Island Dressing

1 cup mayonnaise
2 tablespoons sweet pickle relish
2 tablespoons ketchup
1 teaspoon finely chopped onion
1 hard boiled egg, chopped

Mix all ingredients; cover and refrigerate before serving.

Posted in appetizers/snacks, Baked goods, Food, lunch box, side dishes

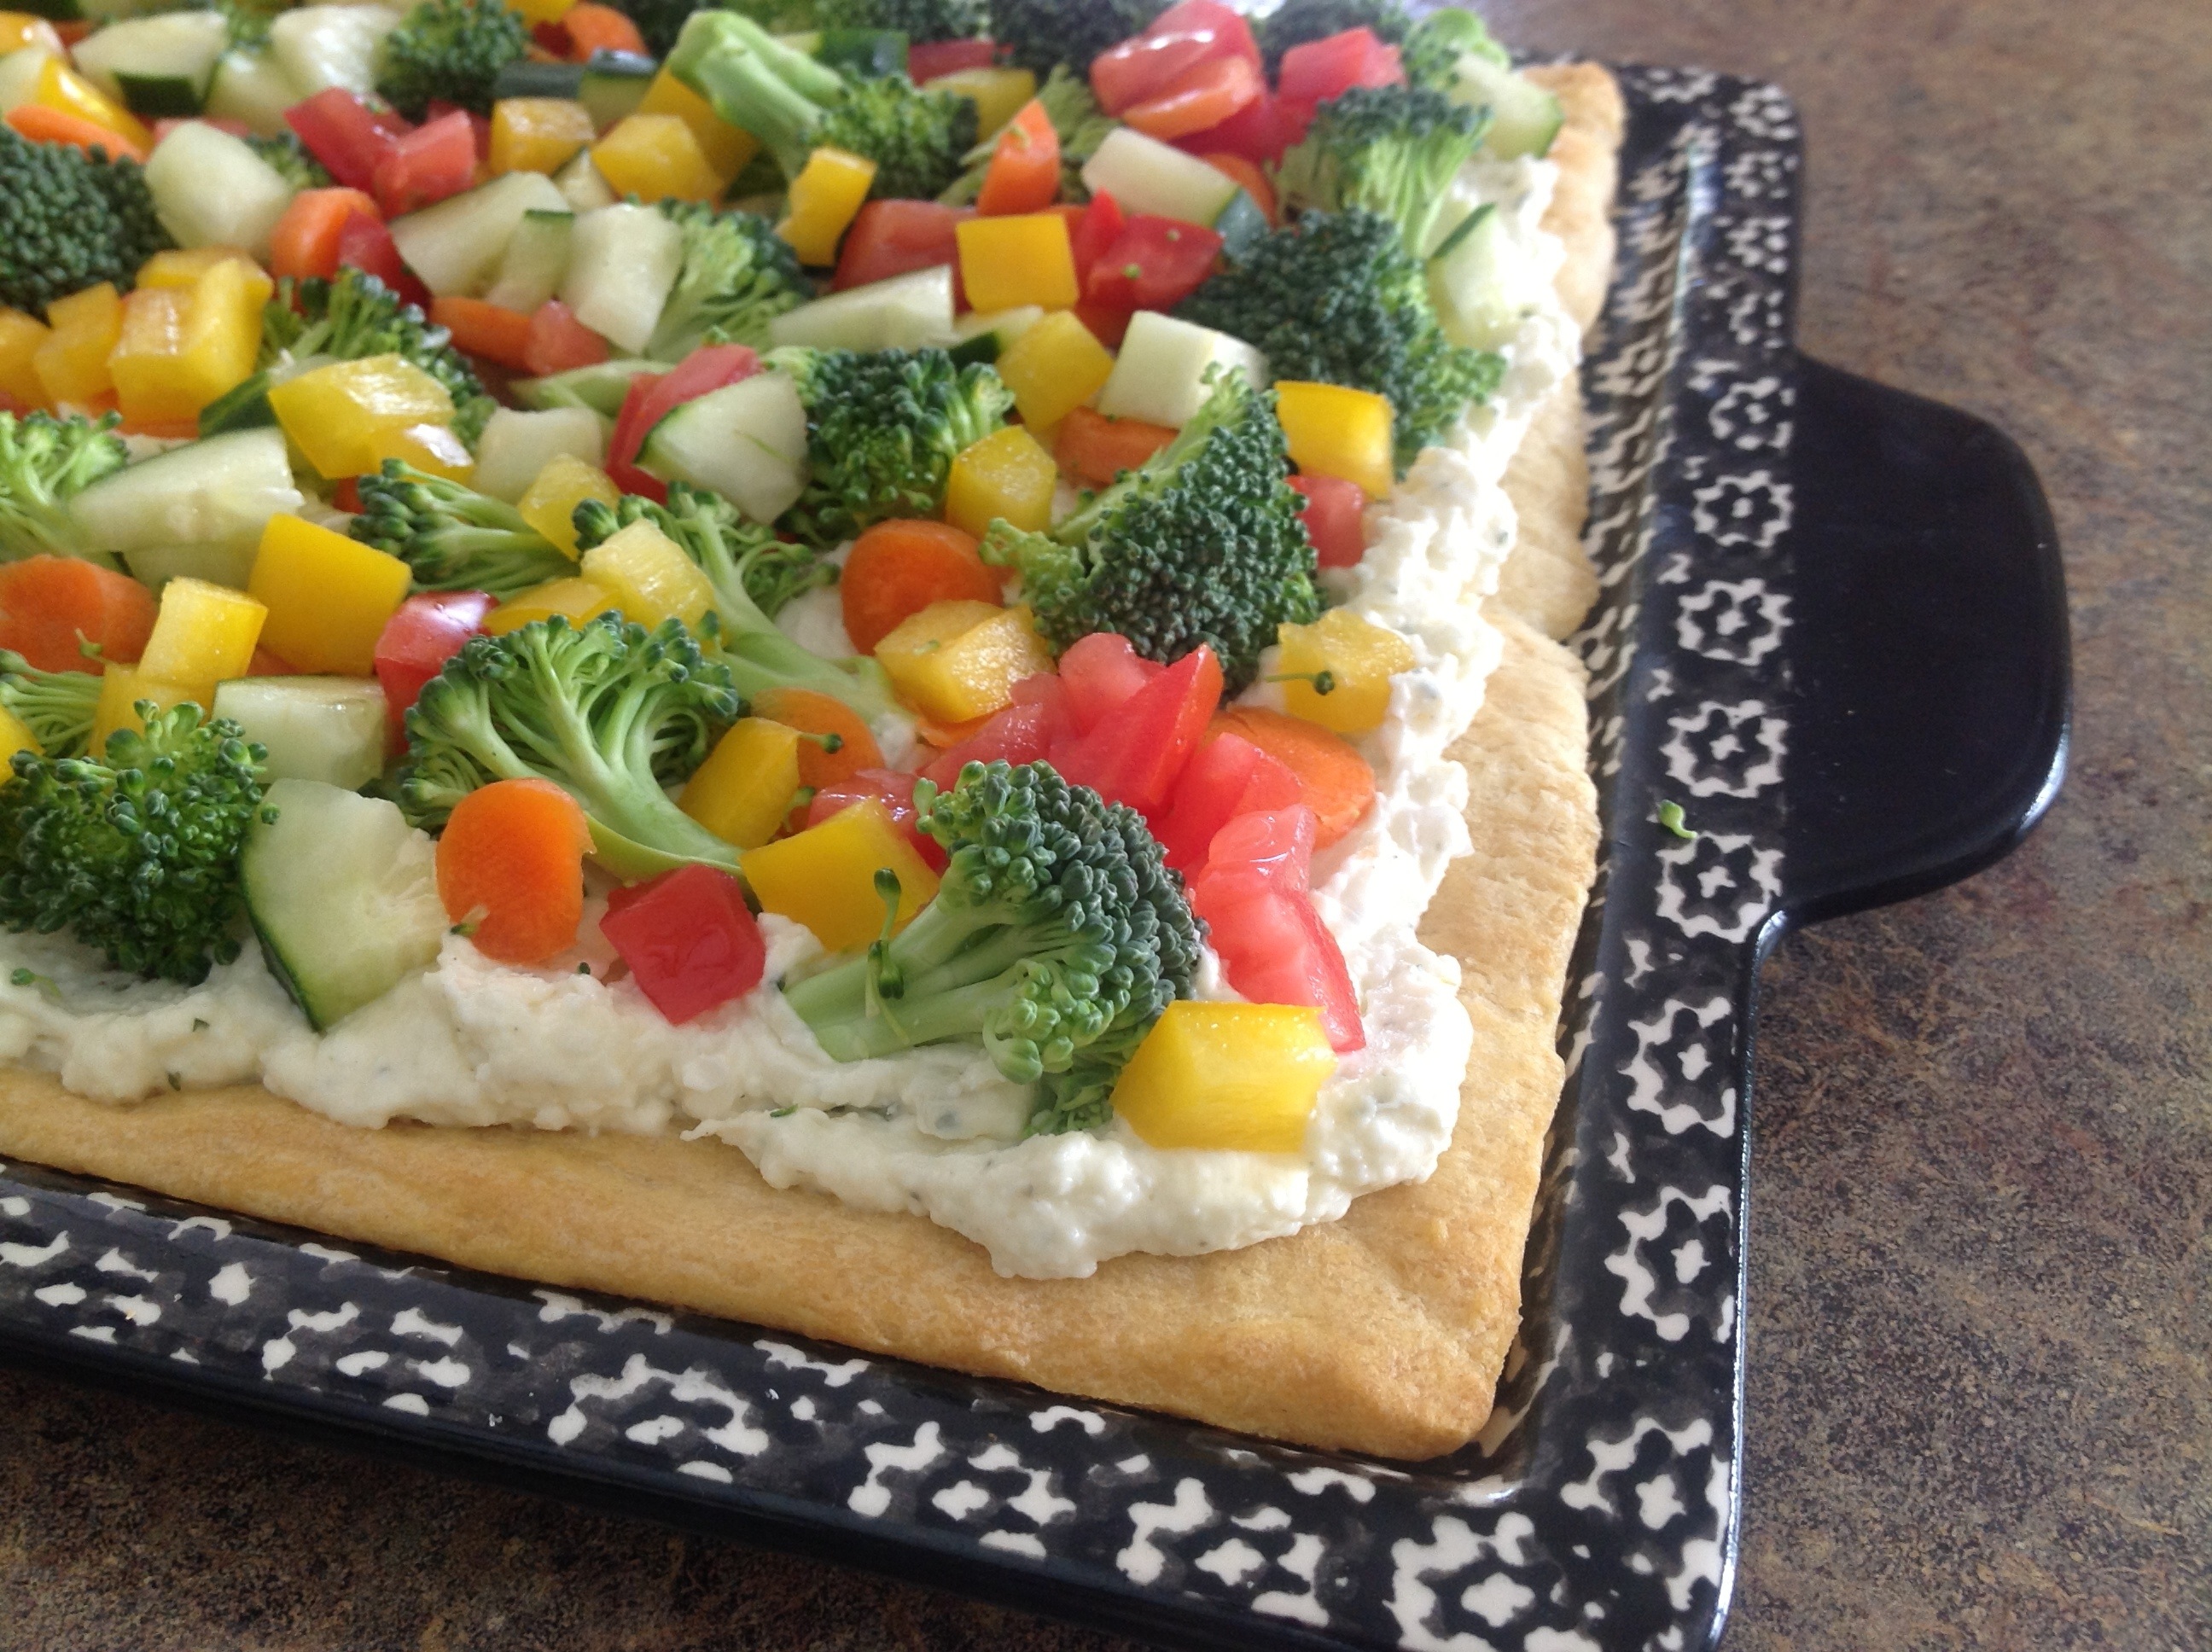
Garden Fresh Veggie Pizza

20130529-070848.jpg
This is surely one of my family’s favorite snacks. As we planted vegetables and herbs this weekend, it made me think of this colorful, nutrition-packed pizza. Most of you have probably seen a variation of this recipe in cookbooks or online… this is the way I have been making it for years. When everyone pitches in to mix the topping and chop the vegetables, this one is a snap to put together. I often cut a few leftover slices to fit into lunchbox containers for the girls. What a great way to get a variety of fresh vegetables on the plate!

20130529-071029.jpg

Garden Fresh Veggie Pizza

2 (8 ounce) packages refrigerated crescent rolls
1 cup lite mayonnaise
1 (8 ounce) package cream cheese, softened
1 (1 ounce) package ranch dressing mix
2 green onions, finely chopped
1 bell pepper, chopped (any color)
1 1/2 cups fresh broccoli, chopped
1 medium tomato, diced
1/2 cup cucumber, diced
1 carrot, thinly sliced

Preheat oven to 350 degrees. Spray a jellyroll pan with non-stick cooking spray. Pat crescent roll sheet into a jellyroll pan, pinching seams to close any holes. Bake for 10 minutes, let cool.
In a mixing bowl, combine mayonnaise, cream cheese, ranch dip mix. Spread this mixture on top of the cooled crust. Arrange all of the prepared fresh vegetables on top of the creamed mixture. Cover and refrigerate until well chilled. Cut into squares and serve.

Posted in Crafts, Gifts

DIY – Plant Markers

20130527-223015.jpg
Every spring, when I plant seeds in my garden, I buy unique (often expensive) plant markers to identify my herbs and vegetables. It’s not that I can’t identify my plants without the markers…its just that I like the way the markers look in my garden.
Well, it never fails…by late August, the markers have faded, rusted, or have gone missing. I usually end up throwing the silly things out in November and buying a whole new batch for the next growing season. This year, visiting the paint department at our local hardware store, I got the idea of using paint stirring sticks (that are free) to make my own plant markers. While they may only last one or two seasons, at least they are reasonably priced! The girls and I had fun making them together. This is also a great gift idea for Mother’s or Father’s Day.

DIY – Plant Markers

Visit your local hardware store and ask for a few paint stirring sticks. ( We are painting our bathroom and laundry room so they gave us plenty of sticks with our paint purchase).

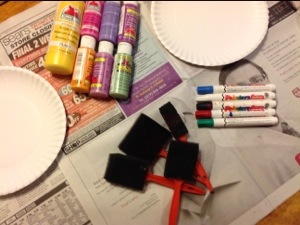
Supplies

Paint Stirring Sticks
Craft Paint
Permanent Black Sharpie Marker or Paint Markers
Satin Clear Spray Paint or Spray Sealer

20130528-125042.jpg

20130528-125107.jpg

20130528-125121.jpg

20130528-125138.jpg

20130528-125159.jpg
Paint both sides of the sticks with craft paint; letting them dry thoroughly between coats. Use the permanent marker to write various plant names on the paint sticks. Spray several coats of clear spray paint or sealer over entire stick. Let dry completely before putting them outdoors.

20130528-125636.jpg

20130528-125714.jpg