Posted in Crafts, Gifts, holiday, holidays

Wrapping Things Up…

In the midst of all of the holiday hoopla and Christmas shopping, I realized that there may be a load of practical gift cards that might be received far better than any piece of clothing or fancy kitchen gadget.  For students, especially those living in highly populated cities, transportation can be an issue.  Gift cards focused on shuttling a person from one destination to another might be much more appreciated versus a piece of clothing.  Train passes, Uber gift cards, bus passes, etc. are all good ideas.  Last year my sister in law gave my children transportation gift cards and they were used to shuttle them to the local grocery store, to the airport, and home from the local burger and brew joint.  (Each of my children are in college and over the age of 21.). They also received gift cards from the local drug store where they were able to by toiletries, milk, and basic groceries while on campus.  Another great idea for college students, gifts cards for sandwich shops and local eateries.  Many dorm cafeterias are closed on Sunday evenings so having a gift card for a local diner is always appreciated.

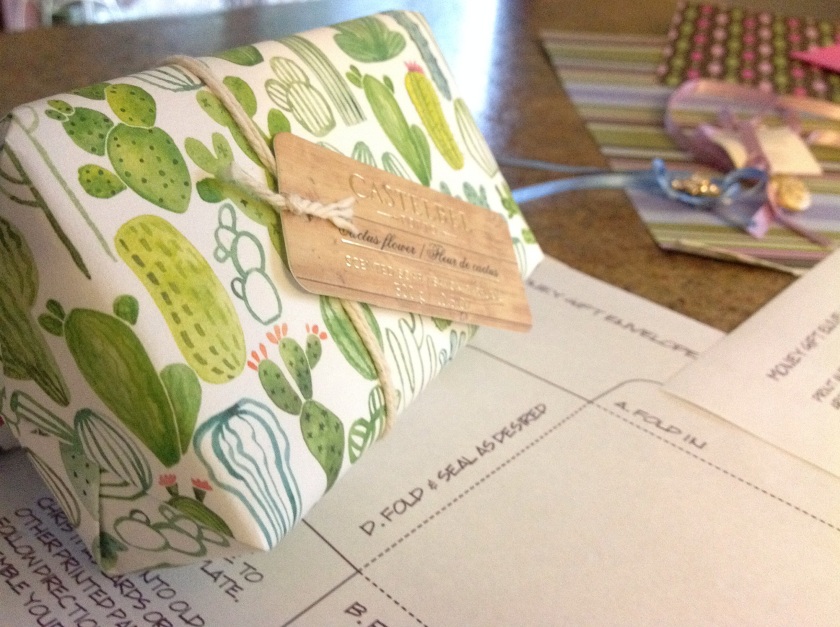
Be creative as you think of ways to “wrap” your gift cards.  Think of using beautiful paper scraps, college themed papers, Christmas wrap, or themed scrap book papers.  I recently purchased some high-end soap from a local discount store.  The soap was wrapped in a beautiful heavy weight paper that I just couldn’t throw away.  This gave me the idea to use the paper as a wrap for a small gift; hence, a gift wrap for the gift card.  Here’s what I did…

I found a template here. Or, Google various gift card envelope images for the shape you prefer.


I gathered an assortment of scrap paper, and the beautiful wrapping paper found on some milled soaps.

I printed the template and traced the outline on various scraps.
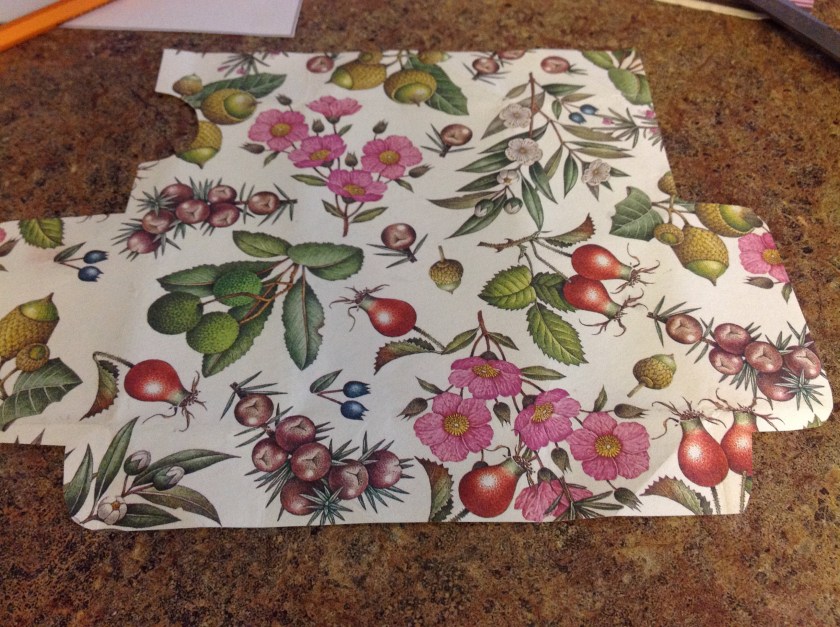
I penciled in some fold lines.

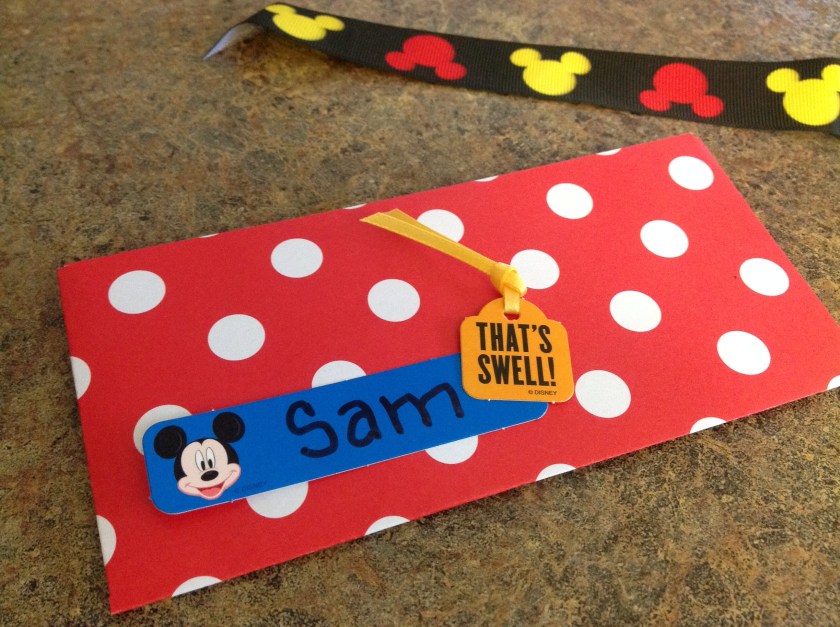
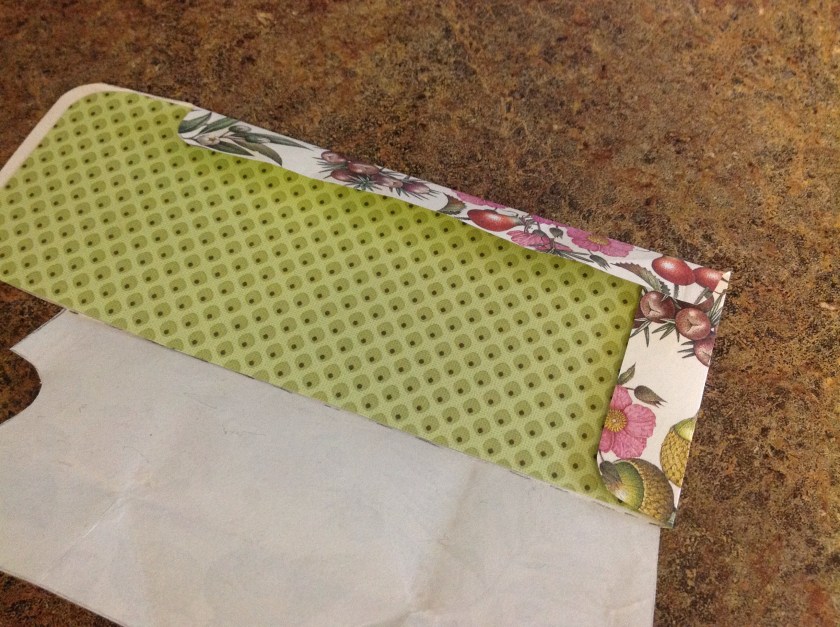
I thought it might be nice to have a contrasting liner.Using a few paper punches, I fashioned a gift tag.


Use Christmas paper, shopping bags, newspaper… Whatever you like.
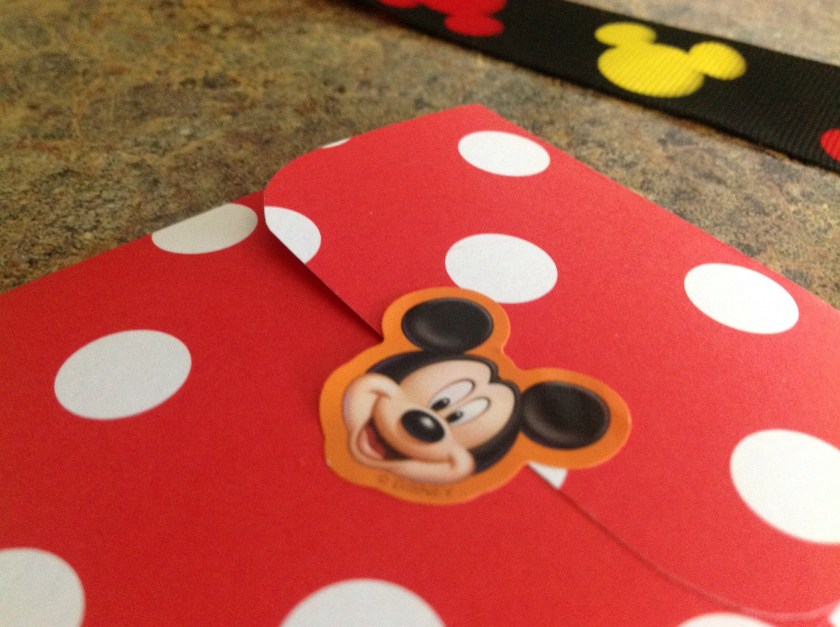
This is an enjoyable way to personize and make personal, an ordinary, yet purposeful gift card.


Posted in Baked goods, Baking, Bread, breakfast, Cake, Desserts, Food

Easy Peasy Pound Cake

This week marks the beginning of the official holiday season.  Like many of you, my calendar is filled with holiday commitments, most of which require a carry-in dish or baked treat to bring along to the party.  I really enjoy this time of year and I do my best to take advantage of a few stress-free tips that can really simplify things.  One such tip would be to choose recipes that are easy yet flavorful.  The recipe below includes ingredients that are nearly always on-hand in my kitchen. It’s adapted from a recipe that I found in an old community cookbook many years ago.  This one’s a no brainer for me… It always turns out perfect.  A few simple ingredients bake up a moist and flavorful, good ole’ fashioned, pound cake.  

Easy Peasy Pound Cake

3 cups flour

1 tablespoon baking powder

1/2 teaspoon salt

2 1/2 cups sugar

1 1/2 cups butter

6 eggs

1 1/2 teaspoons vanilla or almond extract

3/4 cup milk

Grease and flour a Bundt pan (take your time with this step, getting all of the softened butter and flour into all the nooks and crannies). DON’T PREHEAT THE OVEN.

In a medium bowl, mix flour, baking powder and salt. Set aside.

In a large bowl, cream sugar and butter until light and fluffy. Add eggs one at a time, mixing well after each addition. Add vanilla/almond extract and continue mixing well.

Add flour mixture alternately with milk. Beat until smooth batter is smooth. Pour into prepared pan.

Place cake into the oven, set the temperature to 350 degrees and bake for approximately 60 to 90 minutes, or until toothpick inserted into center of cake comes out clean.

Posted in Gifts, holiday, holidays, Homemade Mixes, Kids in the Kitchen, Soup

Dry Soup Mix in a Cone

A couple of weeks ago, our local woman’s club held a holiday craft-making session for all of its members.  During one of the sessions, I saw a group assembling a dry soup mix in a cone shaped bag.  The leader of the session had carefully measured out ingredients for all to use for their individual bags.  The layered mix looked colorful and interesting.  I complimented her on the clever idea of making such an inexpensive gift packaged in a compact and attractive cellophane bag.  Two days later, she left a couple of different soup packages on my desk while she visited my office.  She included a little note card explaining how each of the soup mixes should be cooked.  I was so appreciative of her gift.  What a kind gesture!

Naturally, I made a pot of soup when I returned home that evening. The Italian Curly Soup recipe made just the right amount and tasted delicious poured over a few mini-meatballs.  Warm and flavorful with a crisp green salad and some crusty bread…

I’d like to send a big shout out to my dear friend… Thank you for the delicious mixes.  Can’t wait to try the Wild Rice Soup recipe.  This is a great and inexpensive “anytime” gift to pass along to someone special in your life… A warm and wonderful gift from the kitchen.

I recently remade the soup  and I have posted a slightly different recipe below…

Italian Curly Soup In a Cone

Layer in a cake decorating disposable cone (or quart sized-jar) the following ingredients:

  • 2 tsp. Italian seasoning
  • 1teaspoon garlic powder
  • 1 tsp. pepper
  • 2 T beef bouillon
  • 1/4 C minced dry onions
  • 1 tsp. sugar
  • 3 cups rotini or curly tri-colored pasta
6 cups water
1 jar of Curly Soup Mix
1 (14 oz) can crushed or diced tomatoes
 
Bring 6 cups of water to a boil in a large soup pot. Add the Curly Soup Mix and can of tomatoes. Bring back to a boil. Lower heat and simmer uncovered for 12-15 minutes or until pasta is tender. Tip: For a full meal pour over Italian sausage pieces or min-meatballs; sprinkle with grated Parmesan cheese. Serve with crisp salad and crusty bread.


How about a piping hot bowl of wild rice soup?   


Here’s another great soup in a jar recipe…

Creamy Wild Rice and Mushroom Soup in a Jar


Posted in Food, Salad, salads, side dishes

Butternut Squash Salad in a Jar

I’m always looking for a “silver lining” when I’m inconvenienced or when things just don’t seem to be going my way.  Recently, I found that silver lining in a major road construction project that closed a through-fare  that I frequented on my daily jaunt back and forth to work.  Because of the construction, a detour took me down a winding country road that was quite scenic as the fall landscape was beautiful.  Tucked in among the oak trees and farm land sat a roadside farm stand that was bursting at the seams with an abundance of cool weather vegetables, plump ripe tomatoes, and an assortment of peppers.  The entire front yard displayed a sea of beautiful orange pumpkins where families strolled to pick out a few of their favorites.  I had my eyes on the butternut squash as I pulled my vehicle to the side of the road. Hand written prices were scrawled on a mini chalkboard that was propped up against the old wooden flat bed wagon. A tin can was laid out for patrons to square up their bill and honestly leave the amount due.  It was like a blast from the past.  I was thrilled to have found this quiet piece of paradise alongside the road construction and the hectic traffic of the day. 

Arriving home, I searched the web for a delicious looking recipe where I could use my butternut squash.  I stumbled on this salad in a jar recipe and immediately gathered the ingredients I would need for the colorful dish. I chose this recipe because of the maple syrup in the dressing.  We tapped our trees this past spring and I wanted to use our own maple syrup with the other dressing ingredients.  I made a few slight changes to the recipe…  Instead of pepitas, I used sunflower seeds and instead of the quinoa, I used couscous. I used a container of field greens for the salad mix.  This is a delicious recipe that I will be sure to make again.  Here’s the link for this “Fall Mason Jar Salad with Maple Balsamic Dressing”…

https://www.spoonfulofflavor.com/2015/09/14/fall-mason-jar-salad-with-maple-balsamic-dressing/

Posted in Chicken, Food, glazes, Grilling

Teriyaki Chicken Marinade


When I grill chicken, I usually use a bottled marinade to flavor and tenderize the meat.  Well, this week I ran out of my favorite supermarket brand and decided to revisit an old recipe of my own.  I often pair this marinade with a few finely chopped slices of pineapple to give it a Hawaiian flair.  A hearty helping of rice and vegetables works great with this teriyaki grilled chicken dish.

Teriyaki Chicken Marinade

1 cup soy sauce

1 cup water

3/4 cup sugar

1/4 cup Worcestershire sauce

3 tablespoons white vinegar

 3 tablespoons vegetable oil

1/2 medium onion, minced

2 cloves garlic, minced

1 teaspoon fresh ginger, graded

1/2 cup finely chopped pineapple, optional

In a medium bowl, mix the soy sauce, water, sugar, Worcestershire sauce, vinegar, oil, onions, garlic, and ginger. Whisk together until sugar is dissolved. Add optional pineapple.  Using a plastic bag or covered container.  Pour mixture over chicken pieces and marinate for 3 hours or overnight.  Grill or bake chicken until a minimum internal temperature of 165 degrees is reached.

Posted in Casserole, Low Carb, Main Dish

Creamy Low-Carb (Mock) Mac and Cheese


I’ve been meaning to try this recipe adapted from a collection of similar recipes.  I happened to notice that our local grocer had riced cauliflower on sale and thought I would use the opportunity to make a little “comfort food” for this chilly Sunday afternoon.  The texture of the diced cauliflower simulates the texture of rice or noodles.  It’s certainly not exactly like my original version of mac and cheese that my family has grown to love, but it’s close enough for carb concious gals like me.

Creamy Low-Carb Mac and Cheese


1- 12 ounce bag riced cauliflower

3/4 cup cream or half and half

2 oz cream cheese

1/4 teaspoon dry mustard

1/2 teaspoon pepper

1/2 teaspoon garlic powder

1/2 teaspoon onion powder

1 1/2 cup shredded sharp Cheddar cheese

Steam or microwave riced cauliflower as directed. Pat dry with paper towels. Spray 13X9″ baking pan with non-stick spray. In a small saucepan bring cream to a simmer, add cream cheese stirring until cream cheese melts. Add dry mustard powder, pepper, garlic powder and onion powder; whisk to incorporate. Turn off heat and add 1 cup of shredded cheddar cheese slowly, stirring well to incorporate. Put cauliflower into prepared casserole dish, evenly pour cheese sauce over cauliflower.  Sprinkle the last 1/2 cup of cheese over the top. Bake at 375 degrees until topping is melted and beginning to brown, or about 15-20 minutes.  Remove  from oven and let sit for 5 minutes before serving.

Posted in Dinner, Food, lunch box, Soup

Creamy Tomato Basil Soup

Another school year begins…

Our daughter is beginning her clinical year up in Evanston, IL.  Once again, we loaded up all of her belongings to move her into a cute little apartment, not far from the “Purple Line” in a beautiful part of town, just outside the Northwestern University campus.  The cool breezes off the shores of Lake Michigan have made for an unseasonably cooler summer.  

After settling her into the apartment, we walked into town to find a local place to eat lunch.  We spotted an adorable restaurant called The Farmhouse-Evanston.  The menu touted local foods, brews, and seasonal fare.  With a chill in the air, the tomato soup and grilled cheese sandwich sounded wonderful. My daughter ordered it without hesitation.  All through the meal, she raved about the creamy soup and hearty, three-cheese sandwich.  

After returning home, I was inspired to make a big pot of flavorful tomato soup for the family. What a treat.  This recipe makes enough to serve the whole clan with extras to pack into containers for weekday lunches.

…Outstanding soup!  Don’t forget to garnish with pieces of garlic toast, Parmesan cheese, and fresh basil.
Creamy Tomato and Basil Soup

3 tablespoons olive oil
4 garlic cloves, minced

1 large white onion, chopped

2 (28 oz) cans San Marzano whole, peeled tomatoes

1 1/2 cups water

3 teaspoons chicken soup base

2 1/2 tablespoons sugar

1/4 cup half and half

6 – 8 large fresh basil leaves, roughly chopped

1/4 teaspoon dried Italian seasonings

1 teaspoon kosher salt or to taste

3/4 teaspoon ground black pepper or to taste

In a medium pot, heat olive oil over medium-high heat. Add garlic and saute for 30 seconds, don’t over cook.  Add onion; stir and cook until translucent.

Add the two can of tomatoes with juice, chicken base, water, and sugar. Bring to a low simmer. Cook uncovered, for 12-15 minutes. Add the half & half, basil, Italian seasonings, salt and pepper.

Using an immersion blender,  puree soup until smooth. Serve immediately with a hearty grilled cheese sandwich or a fresh salad.

Posted in appetizers/snacks, Canning, Home Food Preservation, Kids in the Kitchen, Toppings

Lemony Strawberry Jam

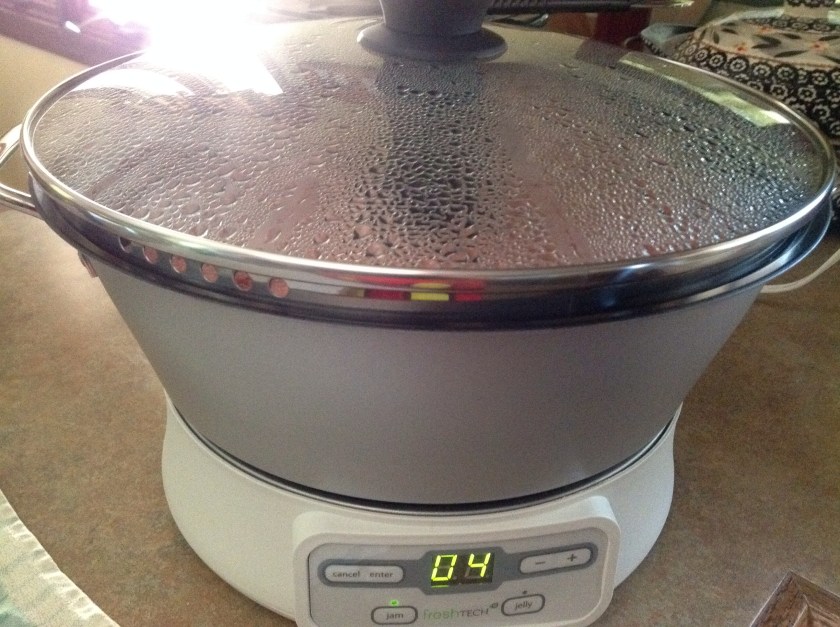
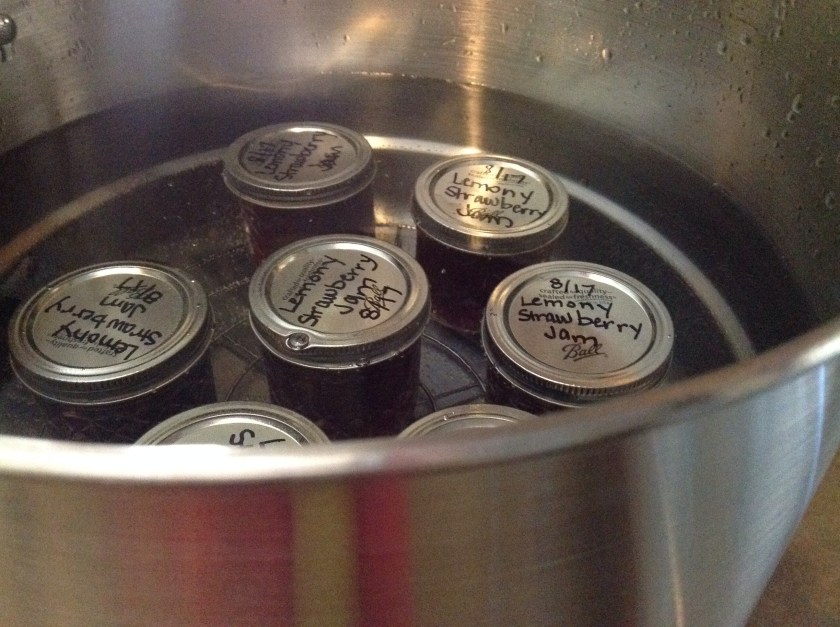
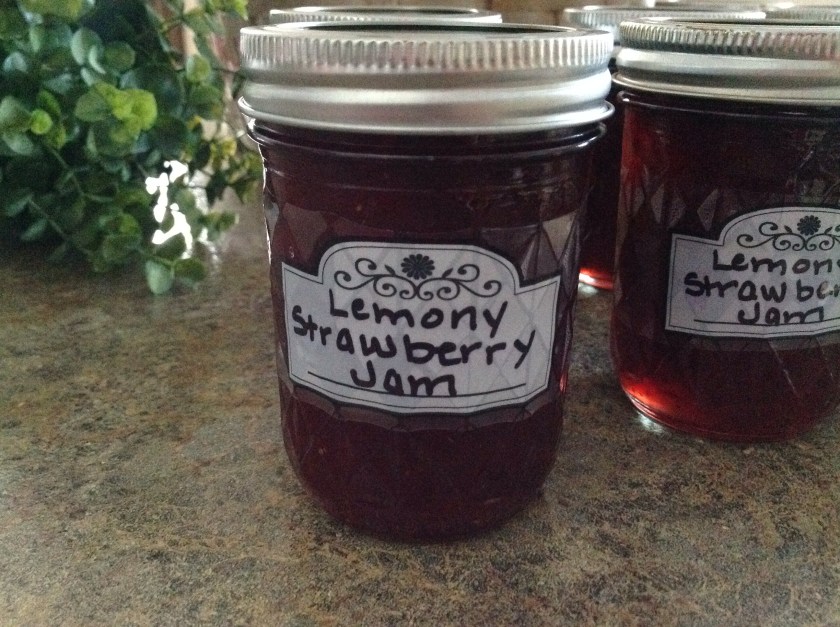
I was recently asked to do a food demonstration at a local county fair.  I thought it might be fun to showcase some of the new home food preservation products and make some lemon and strawberry jam.  I bought a bag of lemons, some sugar, pectin and fresh strawberries for the occasion.  A few portable appliances were easy to load into the back of my car and plug into the electrical outlet at the Home and Family Arts Building.  I had a blast making jam for all of the folks visiting the fairgrounds.  I was happy to answer questions and drum up some new found interest in canning.  If you have never preserved food or if you’re looking for a fresh new way to can fruit with ease, check out some of the new items on the market and get busy canning nature’s bounty!
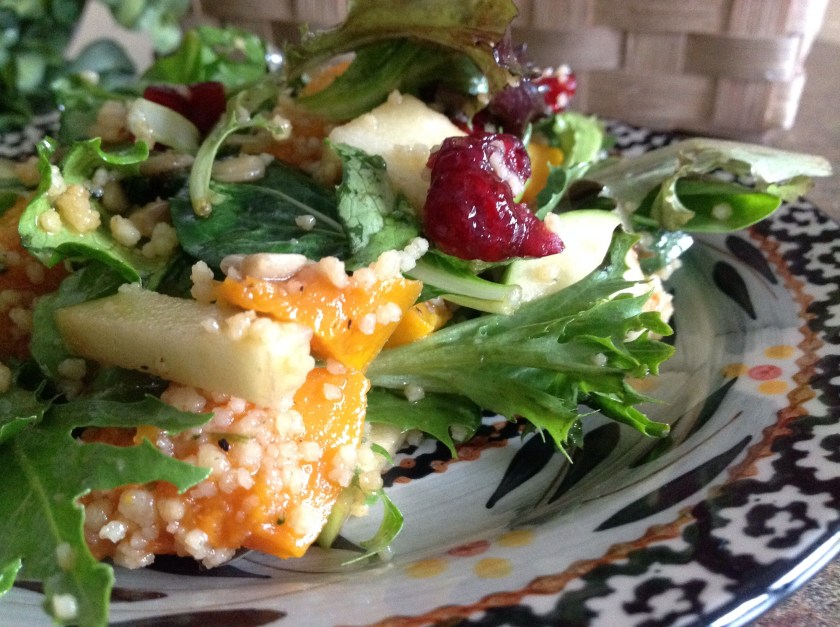


Sprinkle in the pectin…

Add the crushed strawberries…

A fresh additon… lemon zest

Time to give this a stir…

Add sugar and bring to a rolling boil…    This is an amazing little appliance.  Portable, electric, and easy to clean…  Small batch canning is highlighted with this jam and jelly maker.

Getting ready to process…

Set to “canning mode”…

Simply delicious!

Lemony Strawberry Jam

Strawberries

Lemons

Sugar

Pectin

Check out the recipe at the link below.  Follow the recipe exactly as written.  This is a must when preserving foods.  No substitutions, unless directed.  Always use reputable, tested recipes for home food preservation.

https://www.freshpreserving.com/lemony-strawberry-jam—ball-auto-canner-recipes-br1393.html

Posted in Baked goods, Baking, Bread, breakfast, Brunch, Desserts, Food

Back To School Blueberry Bread

It’s that time of year again… Back to school!   This is a great quick bread loaf to bake in quantity and pop in the freezer for lunchbox treats throughout the year.  We recently visited our daughter who has started her clinical year at a hospital in Illinois.  I brought along an assortment of quick breads that I carefully sliced and individually wrapped for the freezer.  This way, she can take out one slice at a time and pack it into her lunch bag for a morning snack or a lunchtime treat. As I think back to all of the blueberry recipes I’ve made for the family, this one is surely a winner!


Back to School Blueberry Bread

1/3 cup butter, melted

1 cup sugar

3 tablespoons fresh lemon juice

2 eggs

1 1/2 cups all-purpose flour

1 teaspoon baking powder

1/2 teaspoon salt

1/2 cup milk

1 cup fresh blueberries

1/2 cup walnuts, chopped

2 tablespoons grated fresh lemon peel

GLAZE:

2 tablespoons fresh lemon juice

1/4 cup sugar or 1 cup powdered sugar

In a large bowl, beat the butter, sugar, lemon juice and eggs. Combine the flour, baking powder and salt; stir into egg mixture alternately with milk, beating well. Fold in the blueberries, nuts and lemon peel.

Transfer to a greased 9X5″ loaf pan. Bake at 350° for 60-70 minutes or until a toothpick inserted near the center comes out clean. Cool for 10 minutes before removing from pan.  Continue to cool on a wire rack.  

Combine the glaze ingredients and drizzle over warm bread. Cool completely before slicing.


Posted in Baked goods, Baking, cookies

M’s Triple Chippers

 
This is a great basic cookie recipe that is truly scrumptious as the mix of chips adds a special taste to the batter.  Have you ever started a recipe only to find that you didn’t have all of the ingredients needed? 

Well, resourceful M found herself in this situation and took a simple recipe and added a mixture of chips that we had available on the baking shelf, turning this into an absolutely delicious treat.
M’s Triple Chippers

1 cup butter, softened
1 cup white sugar

1 cup packed brown sugar

2 eggs

2 teaspoons vanilla extract

1 teaspoon baking soda

2 teaspoons hot water

3 cups all-purpose flour 

1/2 teaspoon salt

3/4 cup semisweet chocolate chips

3/4 cup peanut butter chips

1/2 cup butterscotch chips

Preheat oven to 350 degrees.  Cream together butter, white sugar, and brown sugar until smooth. Beat in the eggs one at a time, then stir in the vanilla. Dissolve baking soda in hot water. Add to batter; stir completely.  Stir in flour, salt, and chips.  Use large ice cream scoop to drop onto cookie sheets.  Bake for 10-12 minutes in the preheated oven, or until edges are nicely browned.