Posted in breakfast, Brunch, Dinner, Food, Gardening, side dishes

Roasted Smashed Potatoes

20131109-070603.jpg
This is a fancy potato recipe that serves as a quick and easy side dish for beef, chicken, or pork. Look for small red potatoes about 1 1/2- 2″ in diameter for best results. I often use multi-colored fingerlings as well. This cooking method produces a crispy outer skin yet leaves a soft tender center in the bite-sized potatoes. Season them with your favorite herbs and spices. I have served them with breakfast, along side bacon and eggs. And they are equally delicious served along side a sirloin steak or chicken breast with a green vegetable side dish.

Roasted Smashed Potatoes

2 pounds small red potatoes
6 tablespoons olive oil
1 teaspoon chopped fresh rosemary leaves
1 teaspoon garlic powder
Kosher salt
Ground black pepper to taste

Place washed potatoes in a large pot and cover completely with water. Season with kosher salt and bring to a boil; simmer until potatoes are tender when knife is inserted in the center. Drain.
Preheat oven to 450 degrees. Drizzle 3 tablespoons oil over potatoes and roll to coat. Space potatoes evenly on a baking sheet. With the bottom of a measuring cup, press down evenly on each potato, flattening potatoes to about 1/3 to 1/2″ thick. Sprinkle with rosemary leaves and garlic powder. Season generously with salt and pepper; drizzle evenly with remaining 3 tablespoons oil. Roast potatoes on top rack 10 minutes. Transfer baking sheet to bottom rack and continue to roast until potatoes are well browned, about 20-25 minutes longer. Serve immediately.
Posted in appetizers/snacks, Baked goods, Baking, breakfast, Brunch, Food, lunch box

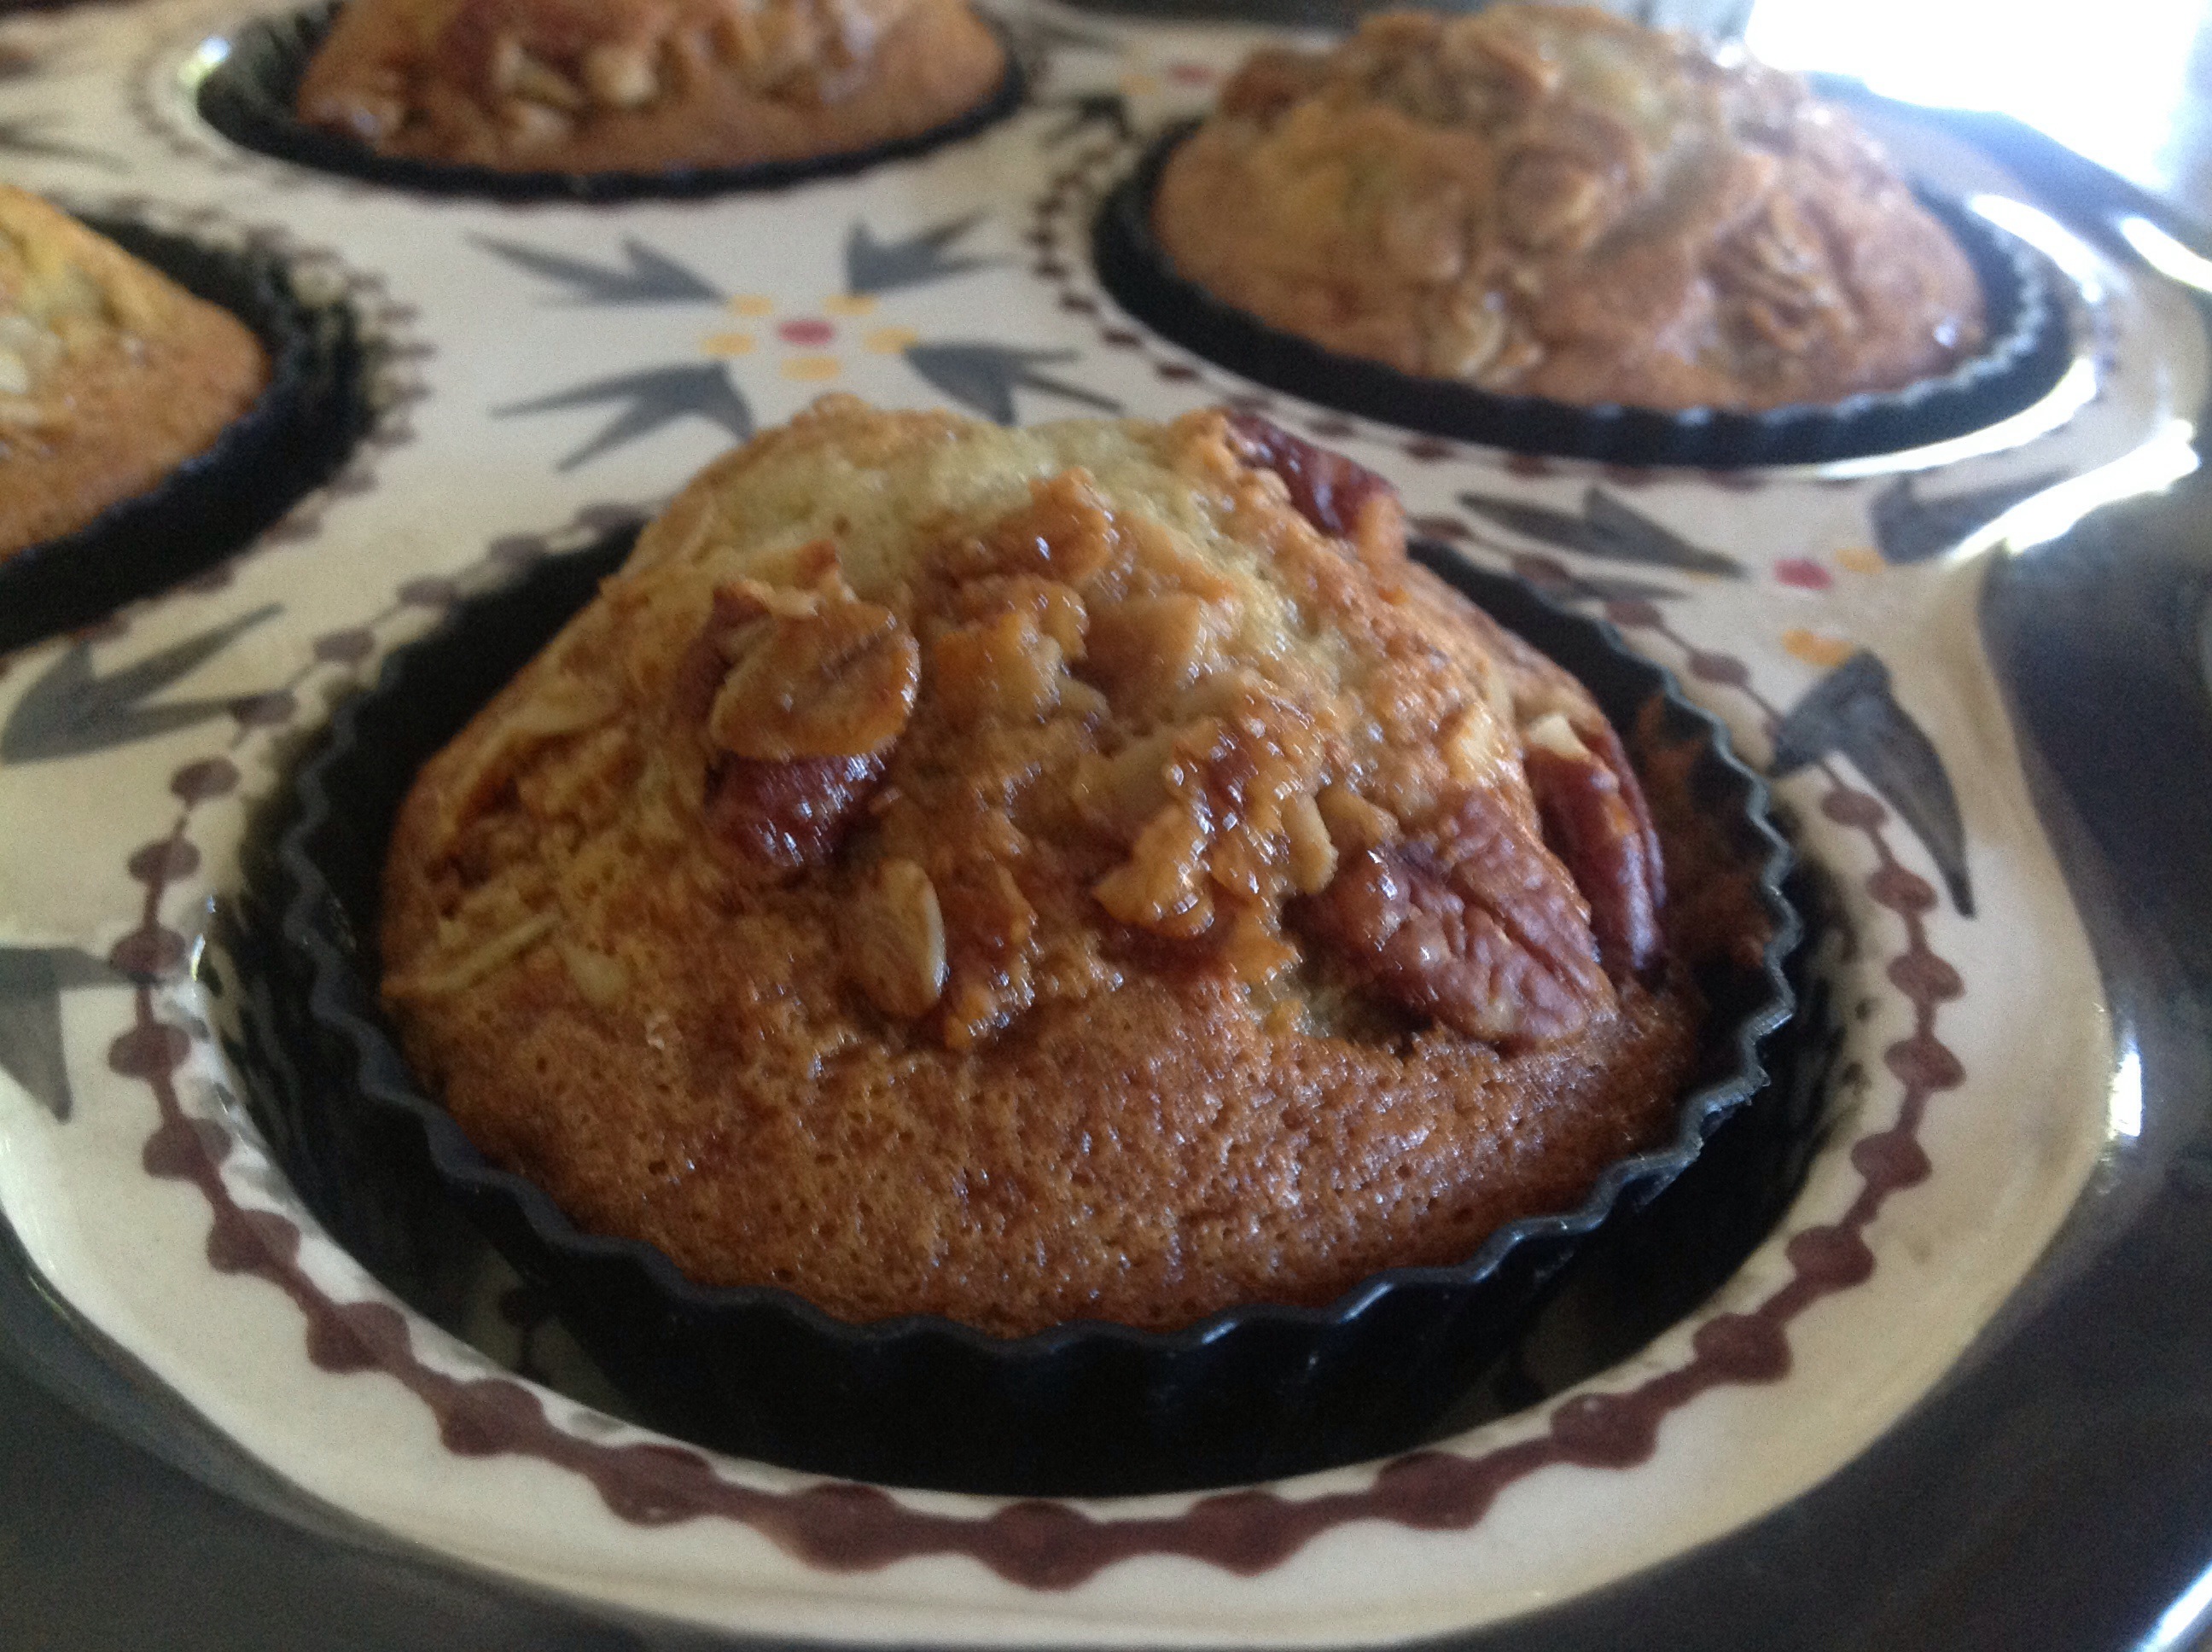
Granola Topped Apple Morning Muffins

20131103-060250.jpg
Recently, I combined three of my favorite recipes to make these delicious muffins. It seems I have been making granola and applesauce quite regularly these past few months. Often, I have a little bit of each left after making lunches for the week. About a month ago, I decided to put the scraps to use by incorporating them into a muffin recipe. I folded the chunky homemade applesauce into a basic muffin recipe and sprinkled granola over the top of each muffin. My granola recipe has a bit of maple syrup in it so it adds another layer of flavor to the crunchy topped muffins. (Substitute your own favorites, if you would like.)
These muffins look and smell delicious as they come out of the oven. It’s hard to resist brewing a hot cup of coffee and sitting down with one of these gems in the early morning hours, as a new day begins.

Granola Topped Apple Morning Muffins

1 cup butter, softened
1 cup sugar
1 cup brown sugar, firmly packed
2 eggs
1 teaspoon vanilla extract
2 cups applesauce
4 cups all-purpose flour
1 teaspoon baking soda
1 teaspoon ground cinnamon
1 teaspoon ground allspice
1/4 teaspoon ground cloves
1 cup chopped pecans, optional
Granola for topping

Preheat oven to 350 degrees. In a medium bowl, cream butter and sugars together. Add eggs and vanilla; mix well. Stir in applesauce. Combine the flour, baking soda and spices; stir into creamed mixture. Fold in nuts.
Fill greased or paper-lined muffin cups three-fourths full. Sprinkle granola over individual muffins. Bake for 20-25 minutes or until a toothpick comes out clean. This makes about 2 dozen regular-sized muffins.

Here is the link for the chunky applesauce and granola topping

Posted in Baked goods, Baking, Desserts, Food, Kids in the Kitchen

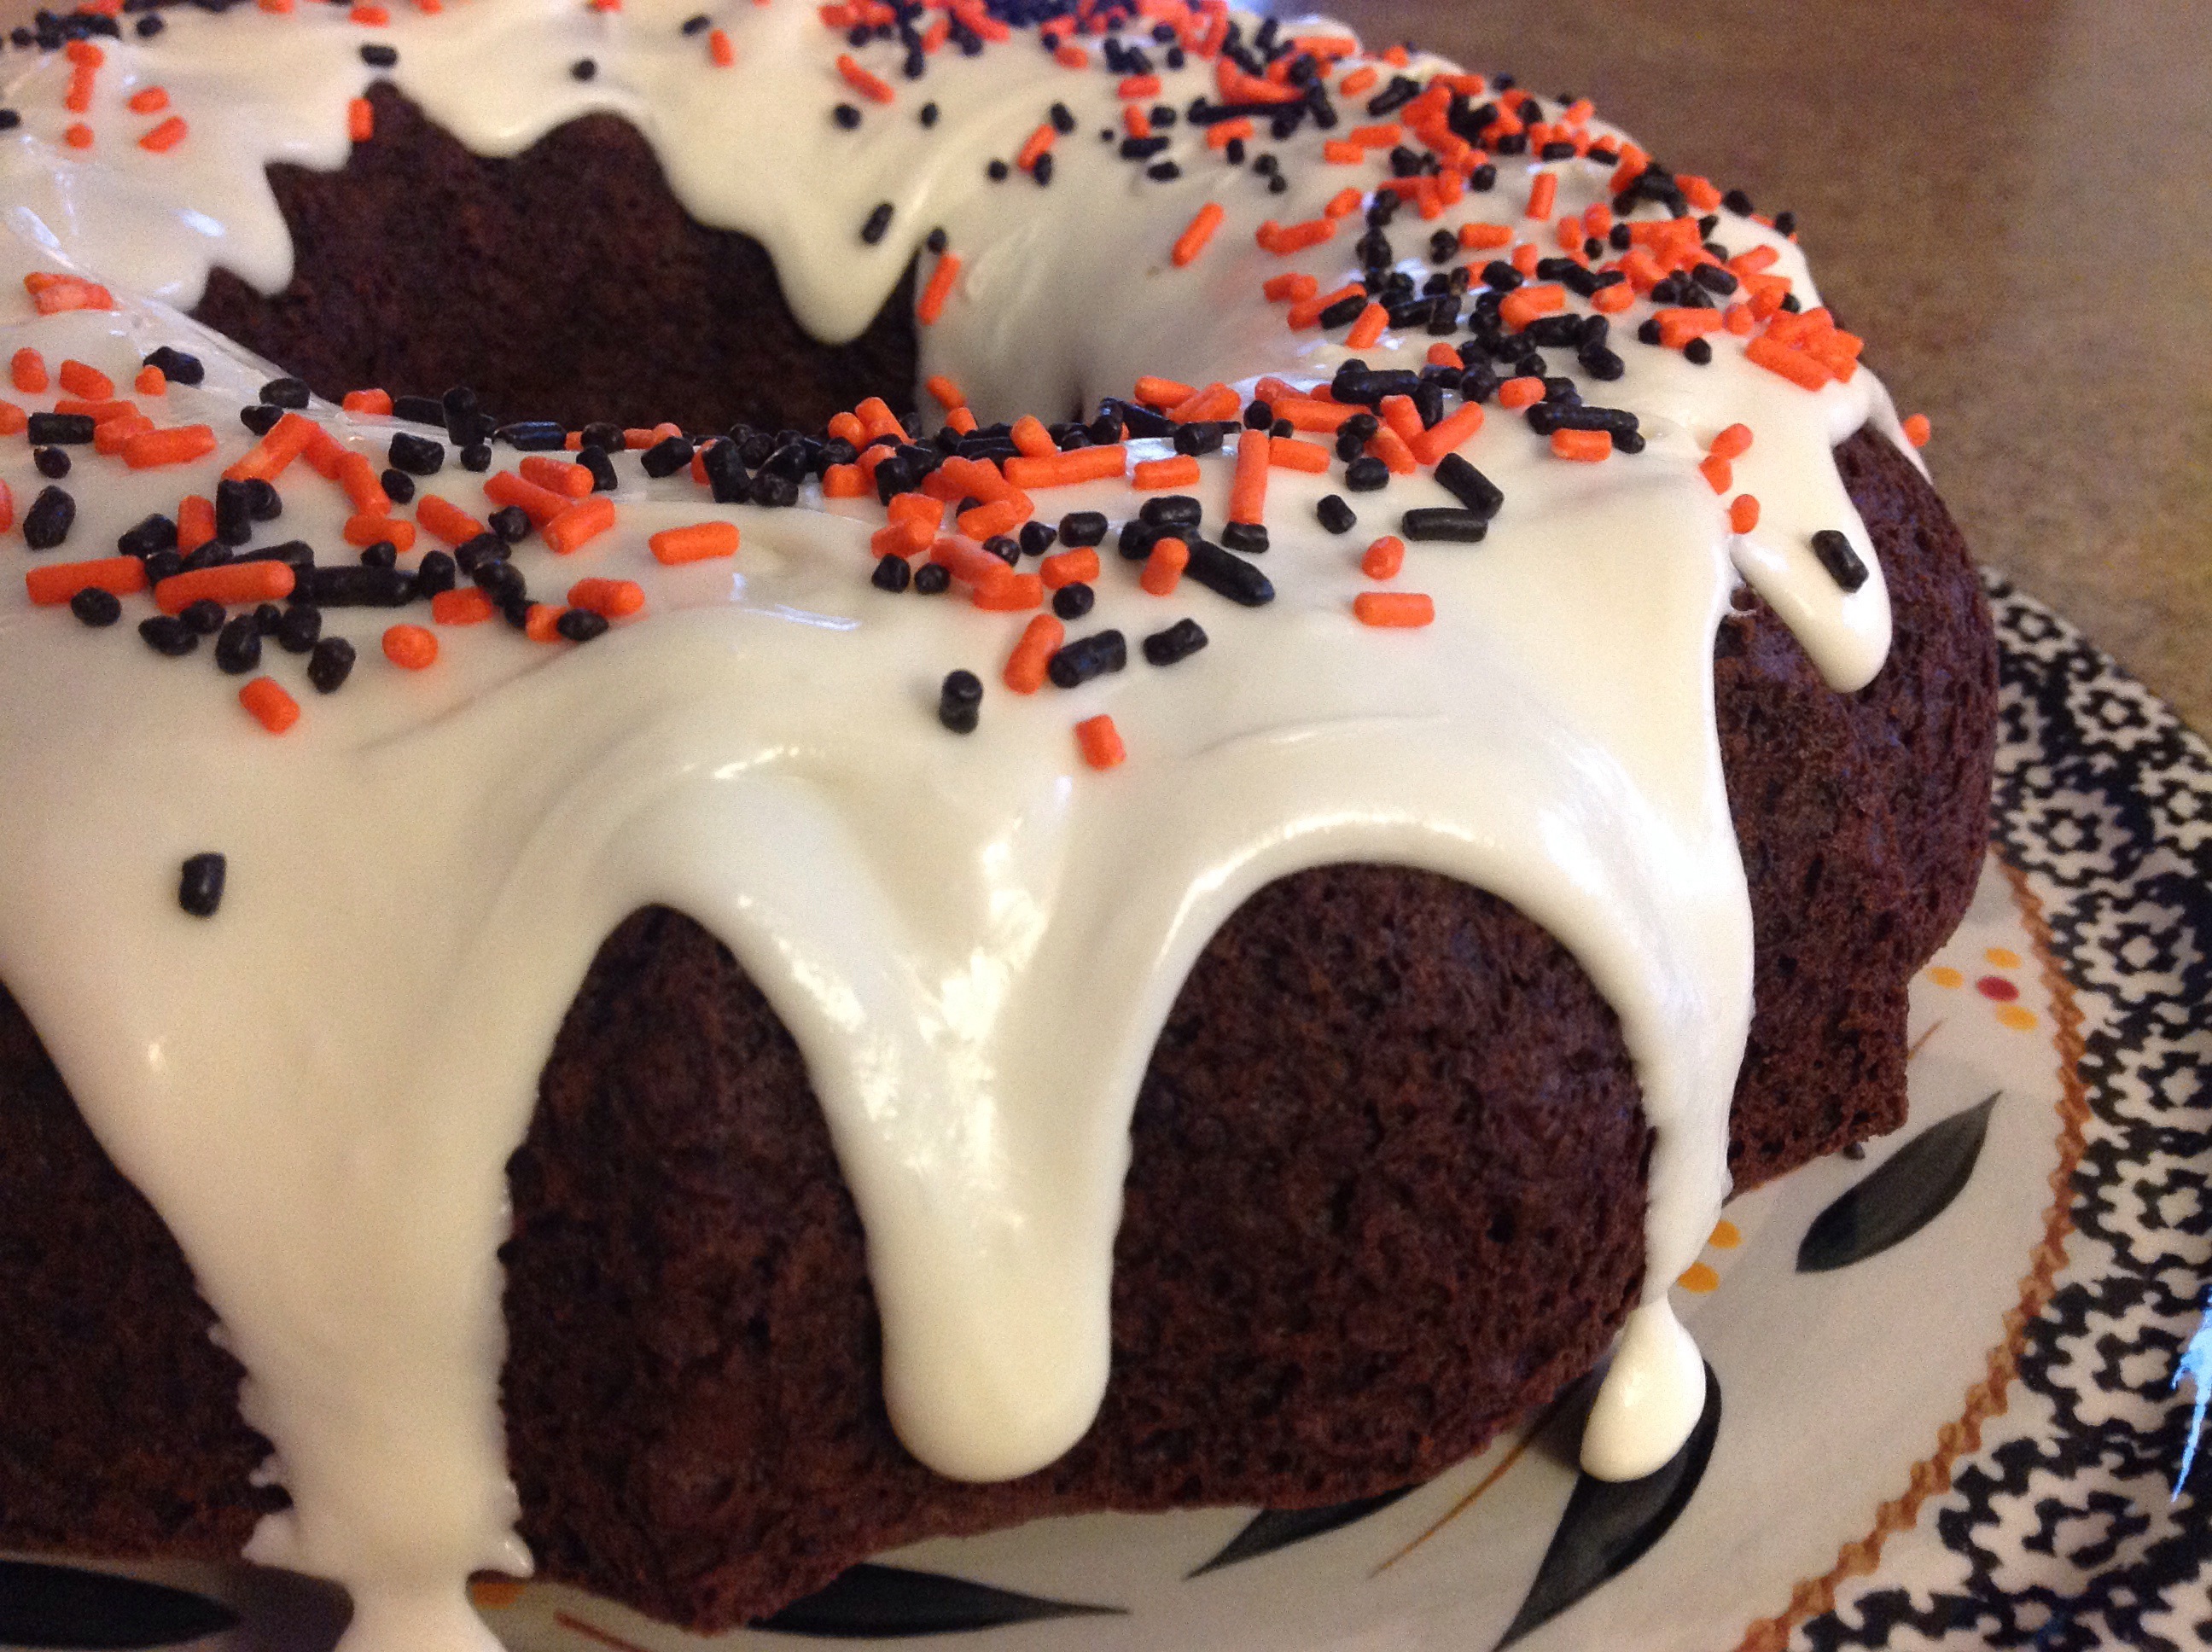
Holiday Mayonnaise Cake

20131031-145420.jpg

Happy Halloween!
Here’s a moist and flavorful recipe that is sure to put a smile on your face for the holiday! One of the main ingredients is mayonnaise. I have made this cake for years and it’s one of my most requested recipes. You can find the full recipe here. For this cake I used cream cheese frosting and holiday sprinkles but you can use anything that you like. Enjoy!

Posted in breakfast, Brunch, Dinner, Food, Grilling, Main Dish, Skillet Meal

Homemade Savory Breakfast Sausage

20131027-075507.jpg
There is a small neighborhood grocery store not far from my home. It carries an assortment of staple groceries for local families needing a few things, without having to travel into town for a big shopping haul. After a late Friday work meeting, I stopped in to buy some milk and eggs for the weekend.
As I headed to the back of the store, I was lured in by the selection of fresh cut meat the butcher had displayed in the meat case. For a small market, this grocer always carries a wide variety of cuts that are quite reasonably priced. I purchased some chicken breasts, ground beef, and a few pounds of freshly ground pork.
This butcher incorporates just the right blend of pork cuts to make the perfect homemade sausage recipe. I knead lots of ingredients into a big bowl of ground pork and shape the mass into several round patties very similar to the familiar pre-packaged, national brand, sausage patties found in the refrigerator case in a typical grocery store. These homemade patties far exceed the flavor and tenderness of store bought sausage. Add your own ingredients to suit your family’s taste…

Homemade Savory breakfast Sausage Patties

2 pounds ground pork
2 teaspoons dried sage
2 teaspoons salt
1 1/2 teaspoon ground black pepper
1/4 teaspoon dried marjoram
1 tablespoon brown sugar
1/8 teaspoon crushed red pepper flakes
1/8 teaspoon ground cloves

In a large bowl, combine the sage, salt, ground black pepper, marjoram, brown sugar, crushed red pepper and cloves with ground pork. Mix well with your hands and form into patties, if desired. Sauté the patties in a large skillet over medium high heat for 5-7 minutes per side, or until internal temperature reaches 160 degrees and meat is no longer pink.
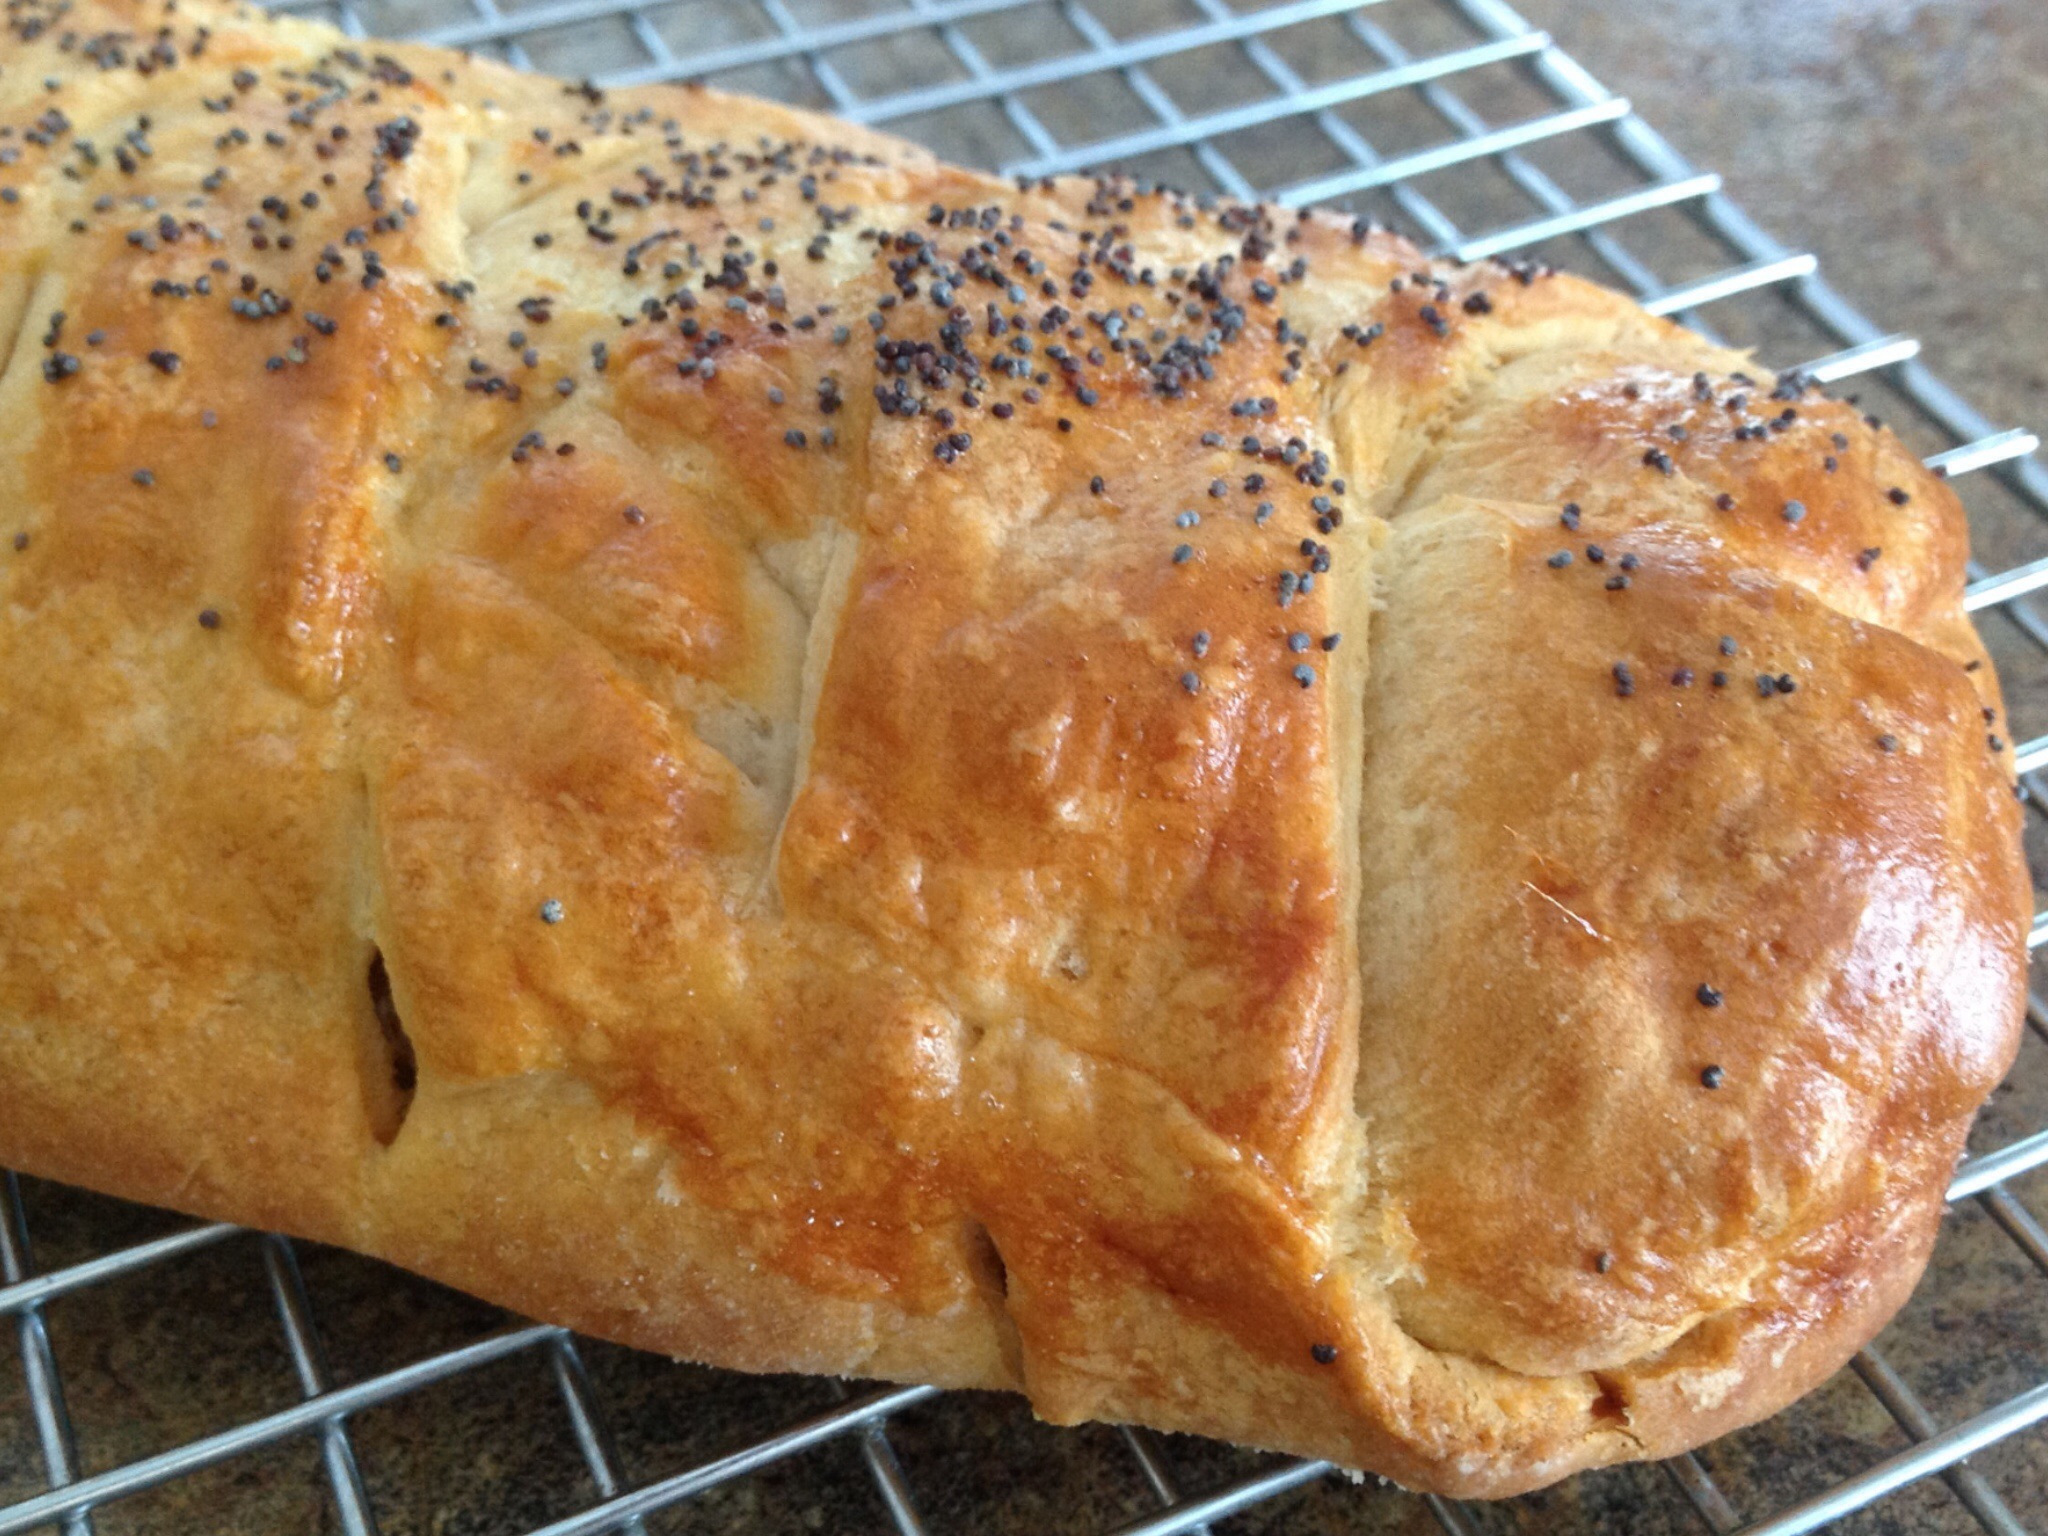
Note: You can use the bulk sausage to make this delicious Savory Sausage Crescent Braid recipe too!

20131027-075703.jpg

Posted in Baked goods, Baking, Desserts, Food, Gardening, Gifts, lunch box

Sunflower Lollipop Cookies

20131025-162537.jpg
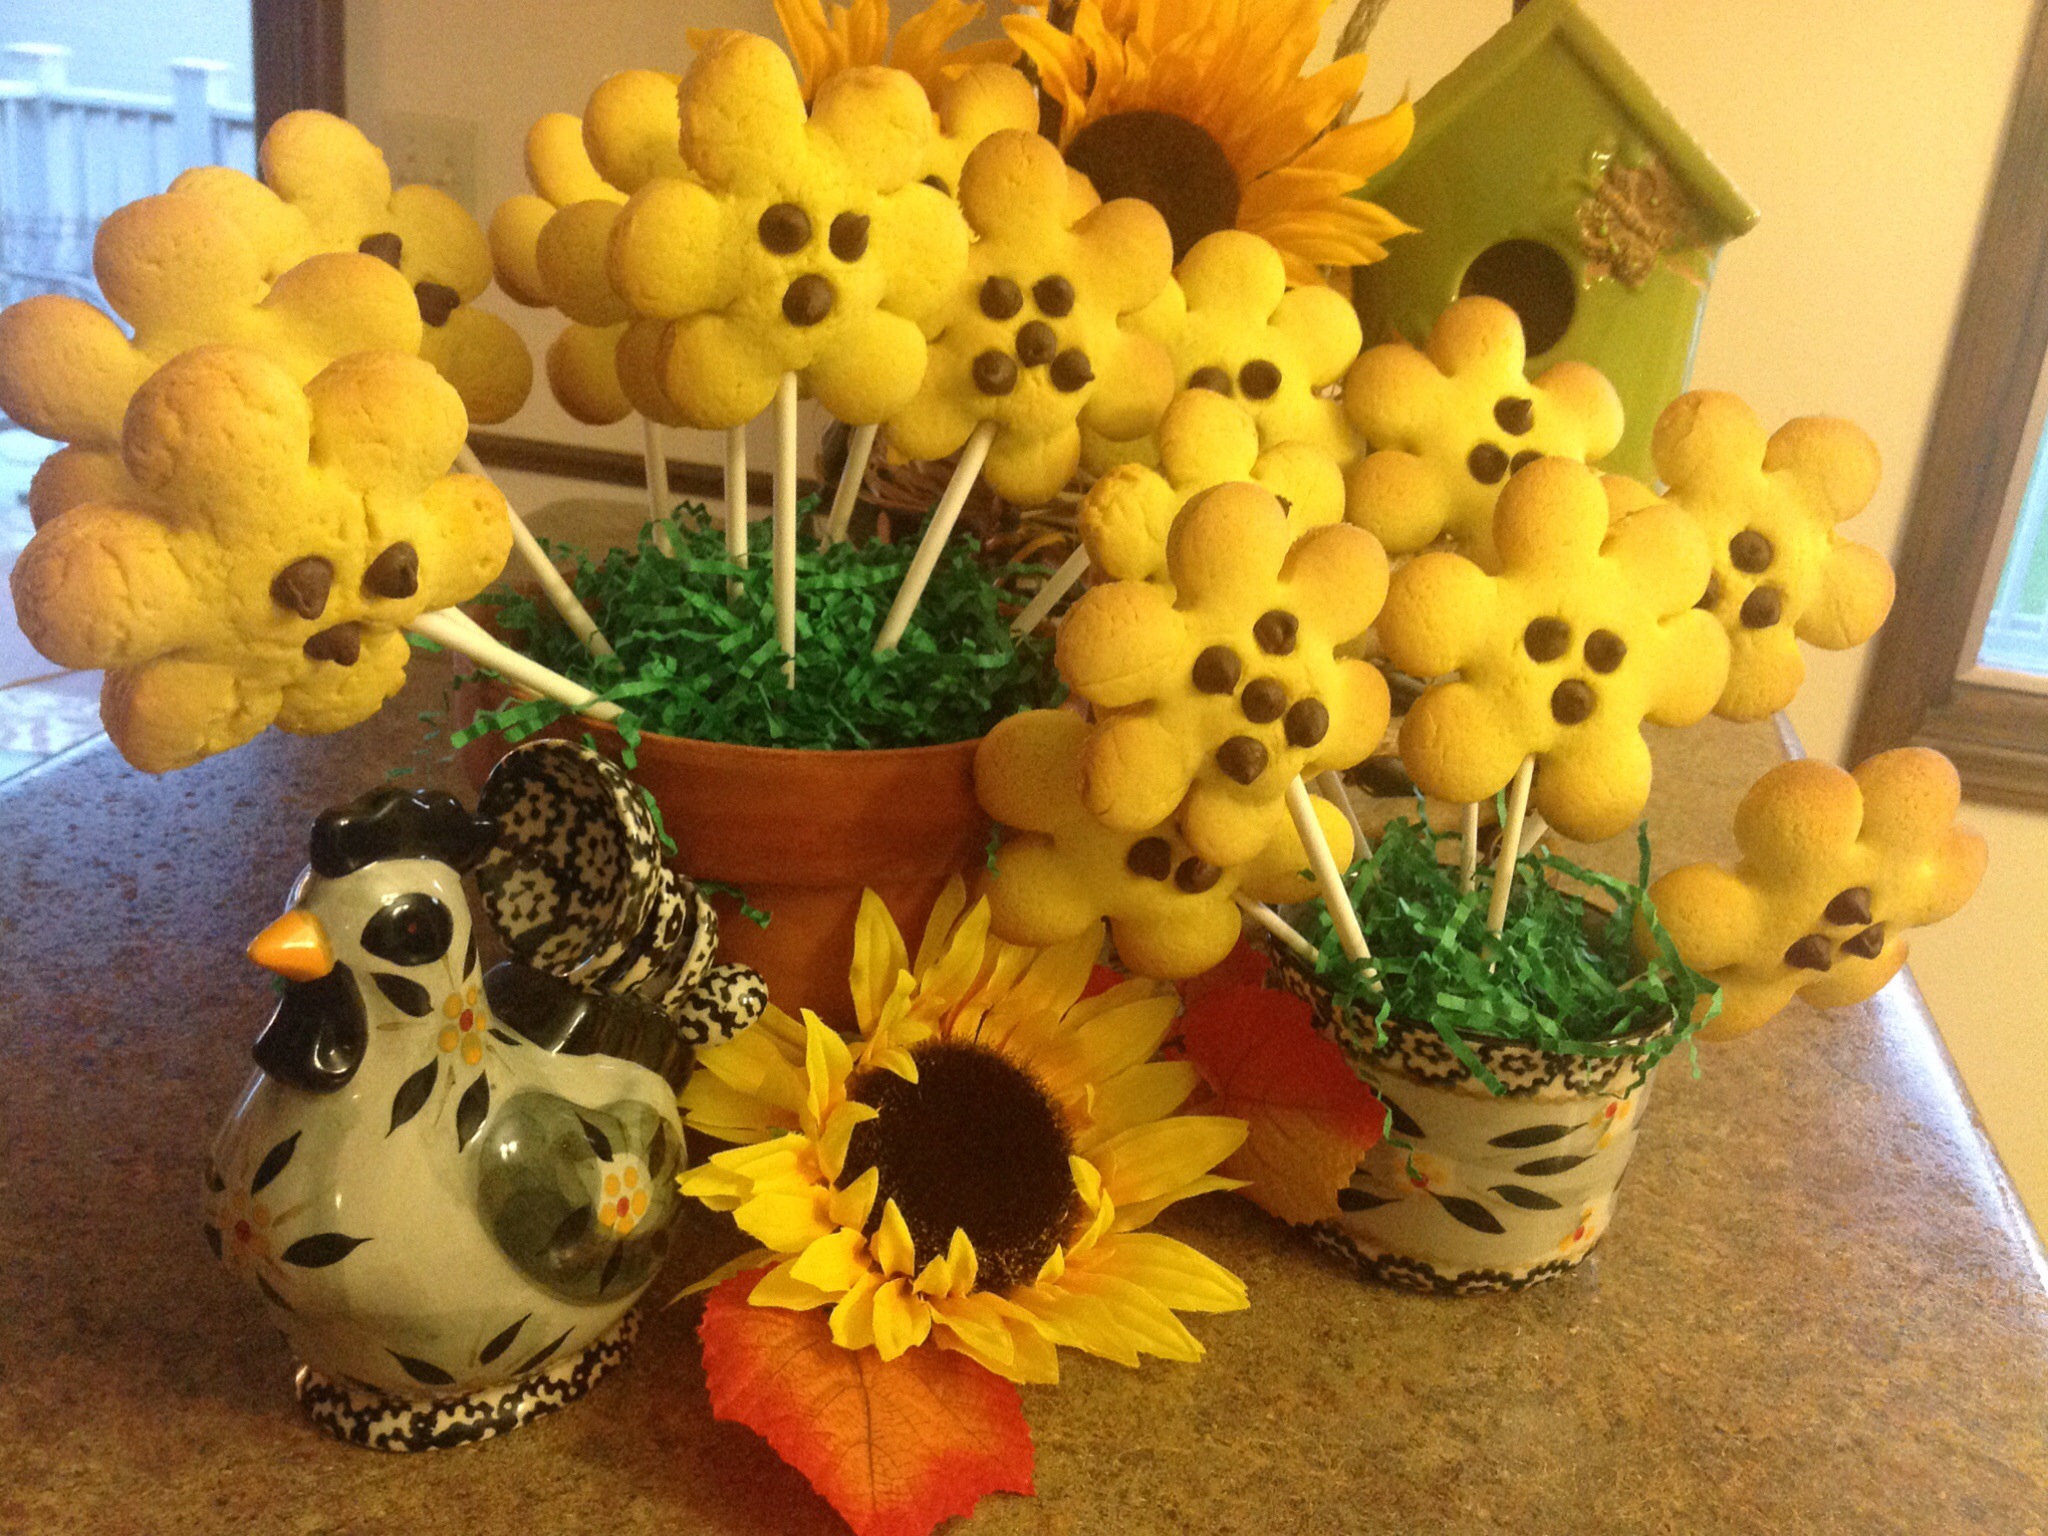
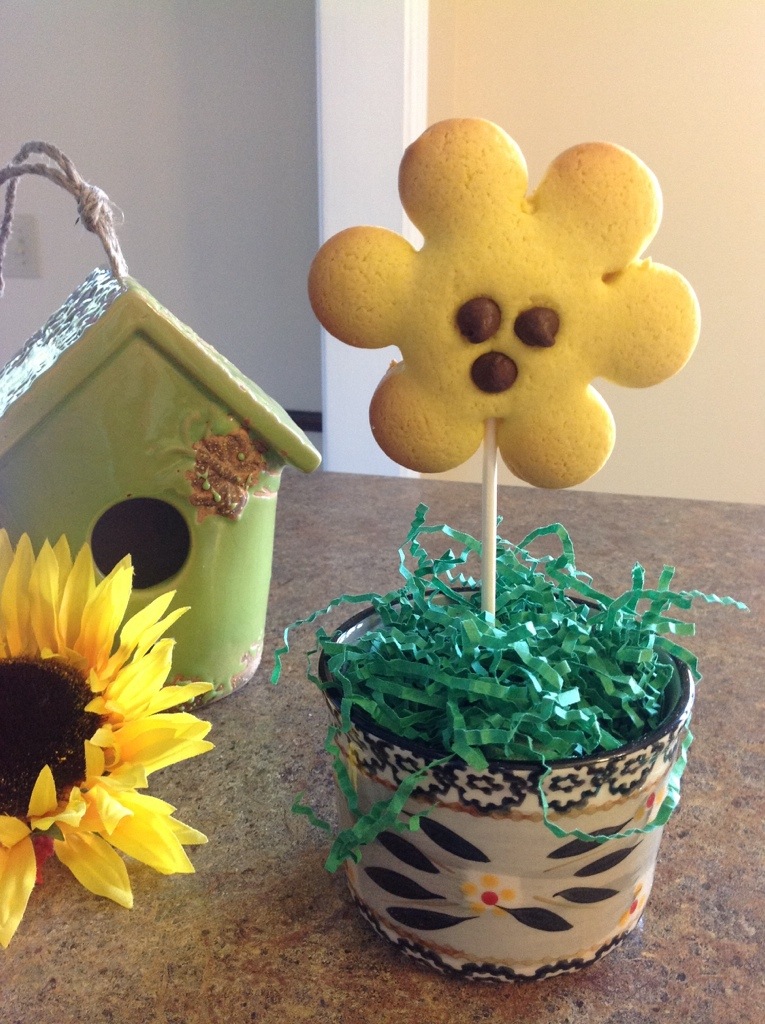
This recipe is from an old cookbook that I have used for years. When my children were little, we lived one block away from their grade school. For school parties, I always made a basket of lollipop cookies reflecting whichever festive holiday season the classroom may be celebrating…sunflowers for the early fall, ghosts and goblins for Halloween, colorful leaves and turkeys for Thanksgiving, Christmas trees and snow people for the winter parties. I’d pack a festive bucket or basket with floral foam, push the lollipop sticks into the foam, wrap the whole thing in cellophane wrap and tie a pretty bow to the outside of the package. Everyone’s eyes would light up as I entered the classroom with my package of goodies.
What I like most about this recipe is that the cookie dough is simple to make with just a few ingredients and that the dough doesn’t have to be chilled before rolling it out. (When I start a project, I want to get it done quick… I have no patience waiting for the dough to chill and harden for an hour.)
Adding food coloring to the dough is also a time-saver…no need for icing. This recipe has always been a holiday favorite in my house!

Sunflower Lollipop Cookies

1 cup butter or margarine, softened
1 cup sugar
1 large egg
1 teaspoon vanilla
2 teaspoons baking powder
3 cups flour
1 cup semi-sweet chocolate chips

(Extra Supplies)
Flower cookie cutter
Yellow icing color
1 pkg. 8″ lollipop sticks

Preheat the oven to 350 degrees. In a large bowl, cream butter and sugar with an electric mixer. Beat in egg and vanilla. Add baking powder and flour. Tint cookie dough with icing color. Pinch off a small amount of dough, make twelve to eighteen 1/4″ balls. Place balls, 3″ apart on cookie sheets. This will serve as the cookie base. Press lollipop stick into each ball; flatten slightly. Roll remaining dough out at 1/4″ thick. Cut dough, dipping cookie cutters in flour before use. Place cutout cookie on each stick, press lightly to attached cutout to cookie base. Add chocolate chips to each cutout center. Bake for 8-12 minutes until slightly golden around the edges. Cool completely before carefully removing from cookie sheet.

(Adapted from Wilton Gifts from the Kitchen Cookbook)

20131025-162921.jpg

20131027-051745.jpg

Posted in appetizers/snacks, Baked goods, Baking, Bread, breakfast, Brunch, lunch box

Bread Machine Cinnamon Raisin Bread

20131023-084314.jpg
A few weeks ago, as I was looking through my old recipe notes, I came across a recipe that I haven’t made for some time. Lately, my bread machine has been working double time to provide lots of loaves for school lunches. In the last two weeks, I’ve probably made this recipe 3 or 4 times. It makes a sweet, light, loaf that slices easily for peanut butter and jelly sandwiches or for a hearty slice of toast. By the end of the week, when the loaf is nearly finished, I cube the end of the bread up to be used in a Saturday morning cinnamon toast casserole so that nothing is wasted.

Bread Machine Cinnamon Raisin Bread

1 cup water
2 tablespoons Butter or Margarine, softened
3 cups Bread Flour
3 tablespoons Sugar
1 1/2 teaspoons Salt
1 teaspoon Ground Cinnamon
2 1/2 teaspoons Bread Machine Yeast
1/2 cup Raisins

Place all ingredients, except raisins, in bread machine pan in the order recommended by the manufacturer. For best results, raisins can be added during the first kneading cycle so that the become well incorporated in the dough. This should be about half-way through the cycle.
Select Basic/Light cycle on the bread machine. When finished baking, remove from pan and cool on wire rack.

20131023-084552.jpg

Posted in appetizers/snacks, breakfast, Desserts, Kids in the Kitchen, lunch box, No-Bake

No-Bake Oat and Honey Snack Bites

20131020-134944.jpg
If you like peanut butter, you will love this no-bake treat. I’ve made several variations of this recipe over the years but this one is so simple and produces about 36 rounds of goodness. After parking these in the fridge for about 30 minutes, I pack them in a Tupperware container so I can tuck them into lunch boxes all week long.

No-Bake Oat and Honey Snack Bites

2 1/4 cups old fashioned oats
1 cup natural peanut butter
1/3 cup honey
1/3 cup maple syrup
1/2 cup chocolate chips

Combine peanut butter, honey, and maple syrup; mix thoroughly. Sprinkle in the oats and chocolate chips. Use a small ice cream scoop to shape dough into individual 1″ balls. Place on a cookie sheet and chill for 30 minutes. Pack into air-tight container. Store in the fridge until ready to serve.

Posted in appetizers/snacks, Beef, Dinner, Main Dish

Copy Cat White Castle Sliders

20131017-095758.jpg
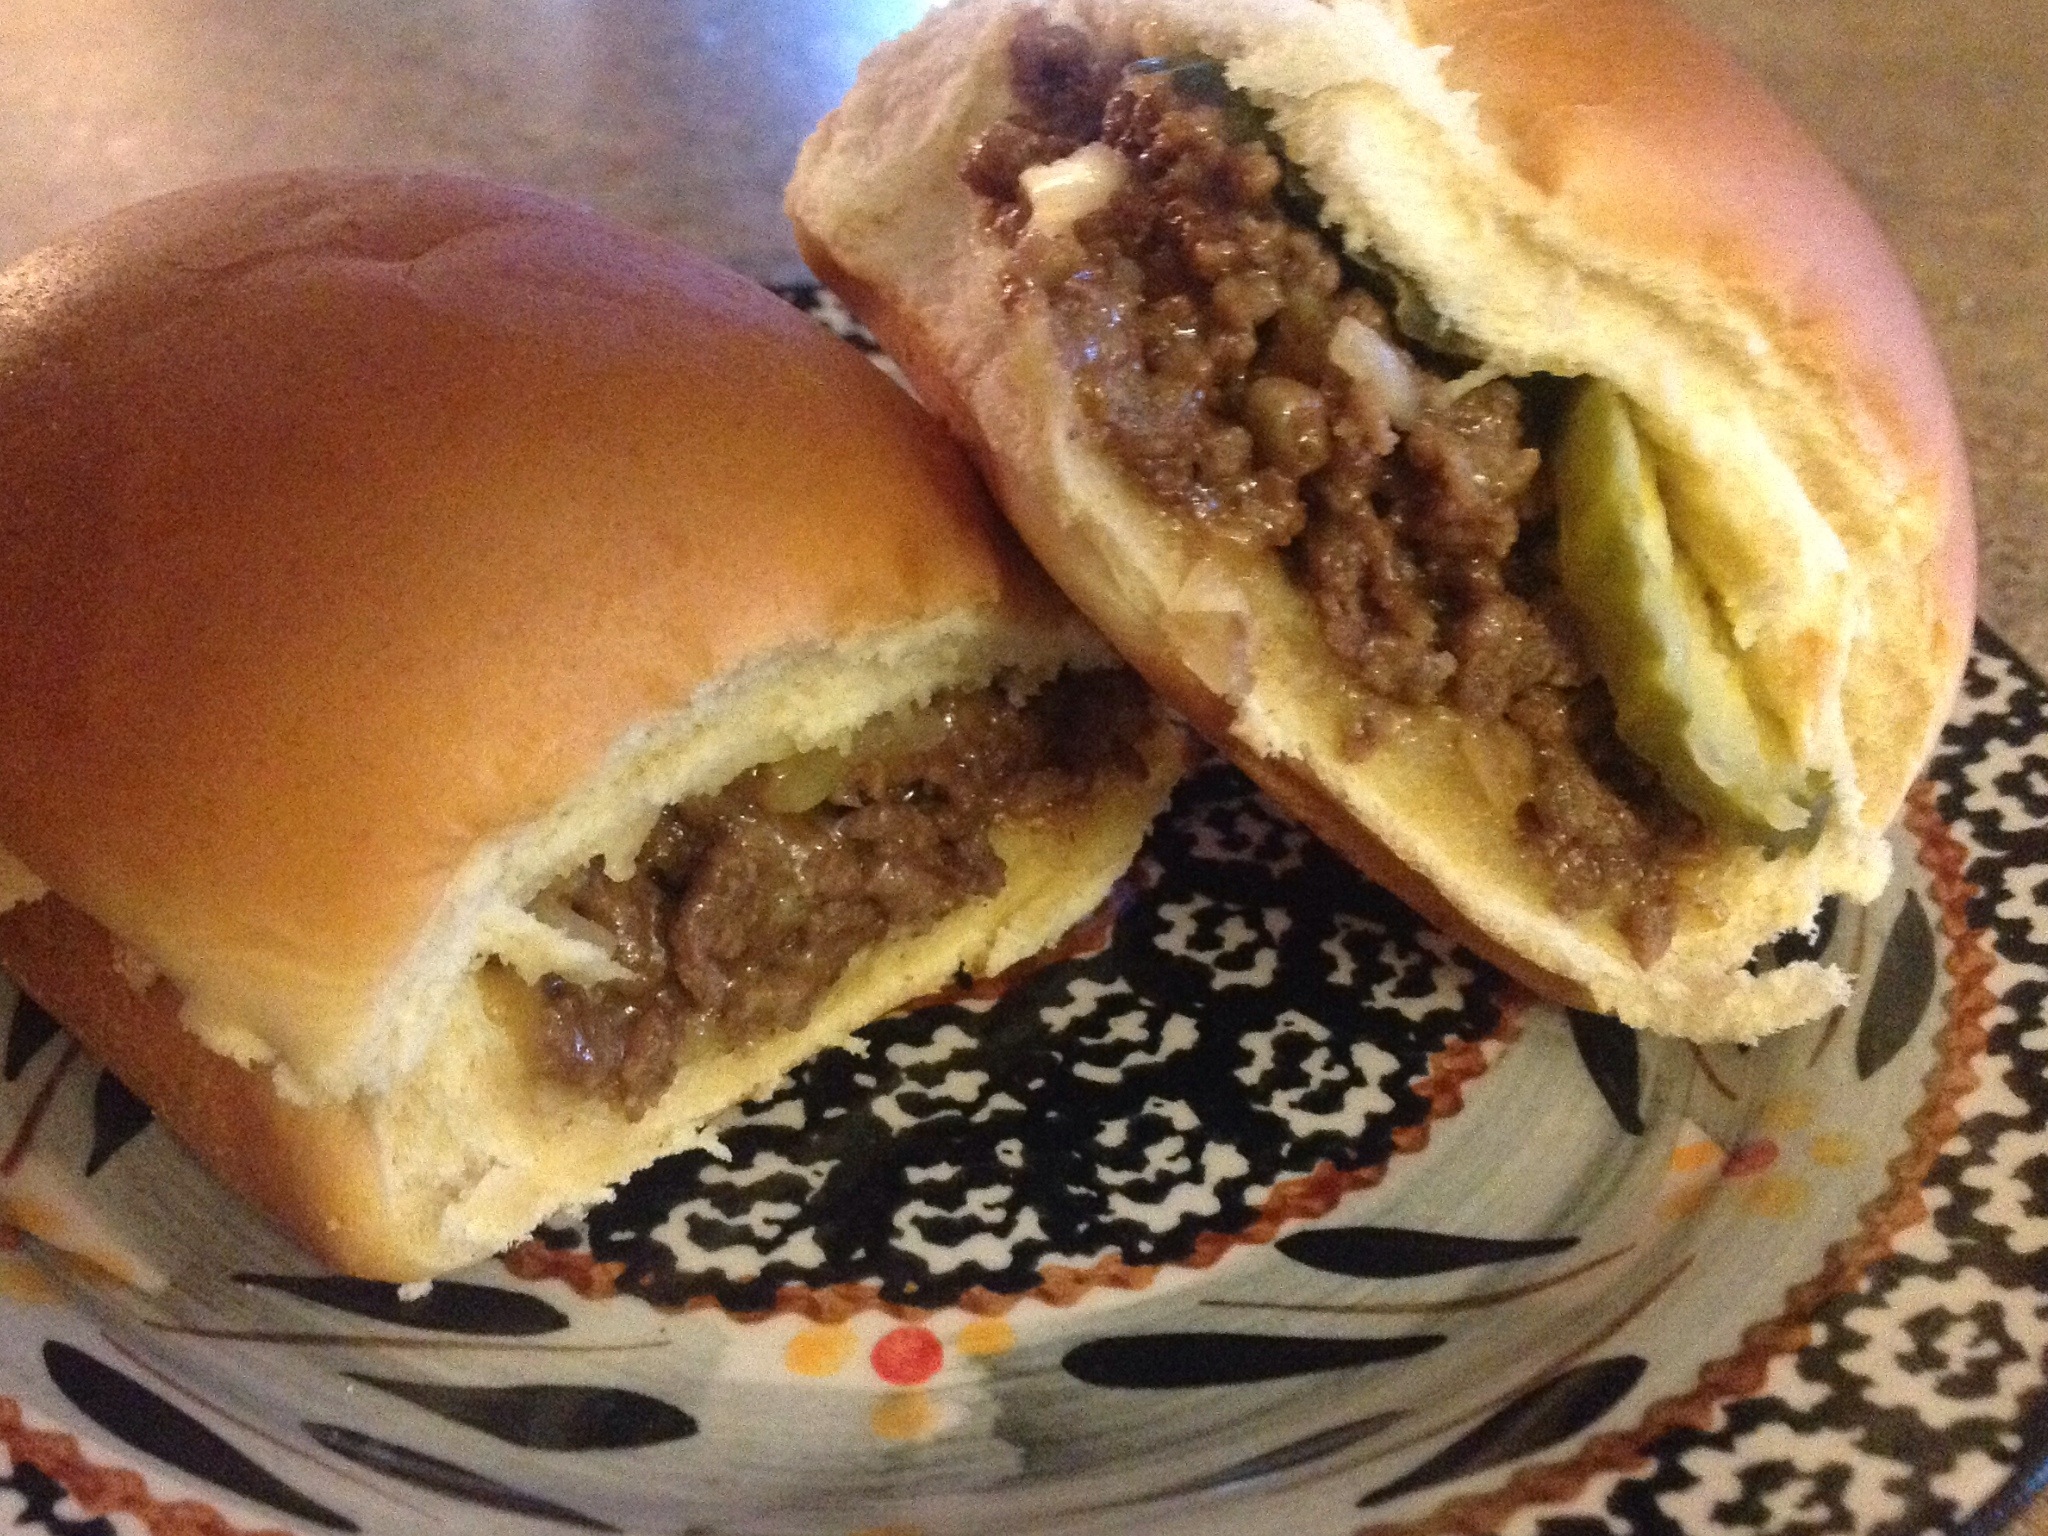
My mother-in-law gave me this recipe when I was a newlywed. She had served these delicious mini-burgers for a friendly gathering and I was hooked the minute I tasted them. In the Chicagoland area, there is a fast food restaurant that serves these bite-sized burgers in large quantities. It’s fun to make a load of these for tailgating finger food. I often pack the foil wrapped, pre-cooked burgers in the crockpot to stay warm at the tailgate party. They are always a crowd-pleasing hit!

Copy Cat White Castle Sliders

2 pounds ground beef
1 (1.25 ounce) envelope onion soup mix
1/2 cup mayonnaise
2 cups shredded Cheddar cheese
24 dinner rolls, split
1/2 cup sliced hamburger pickles, drained

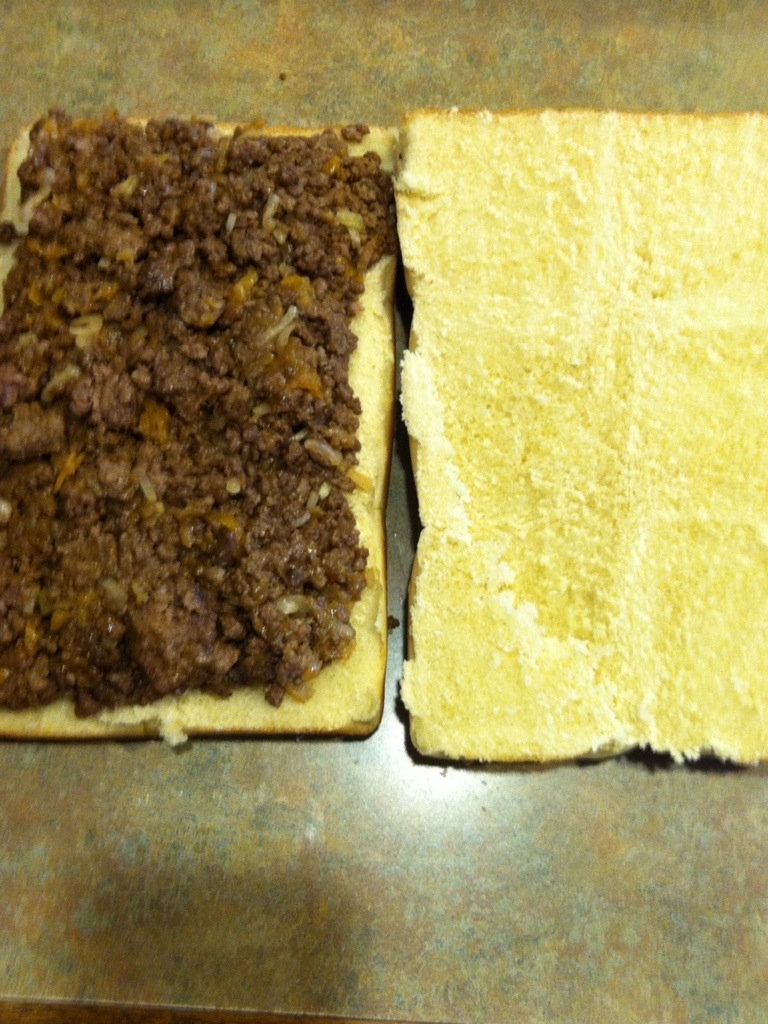
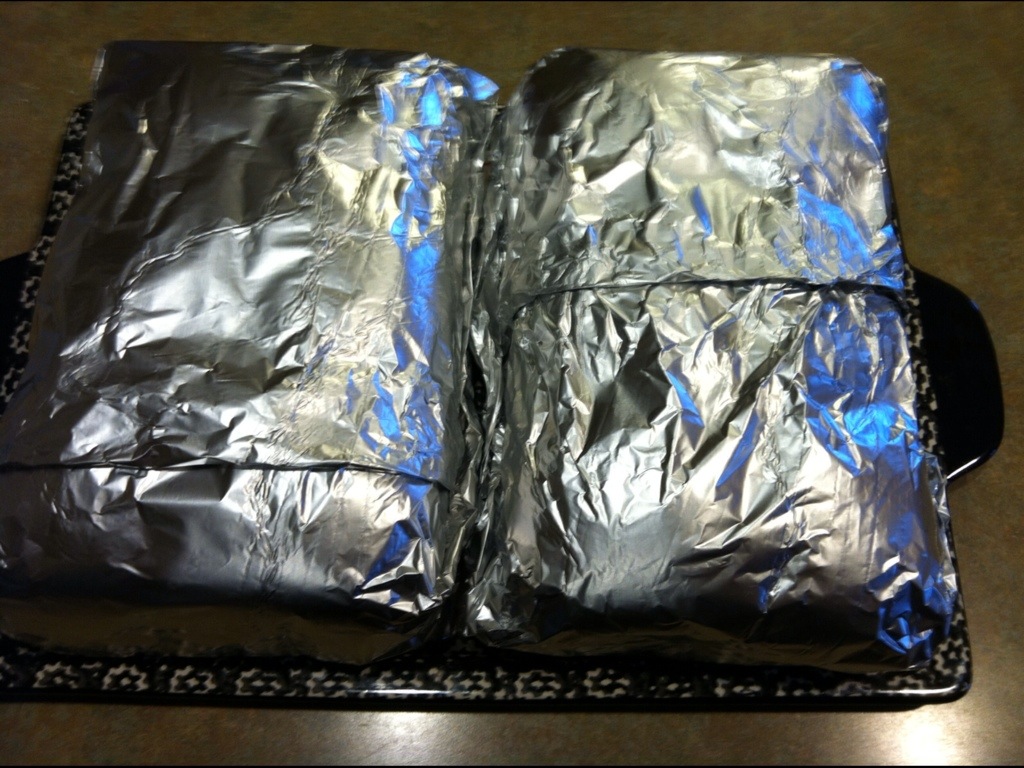
Preheat an oven to 350 degrees. In a large skillet, brown the ground beef; drain. Mix the onion soup mix, mayonnaise and cheddar cheese into the ground beef mixture. Cover, remove from heat. Lay the bottoms of the dinner rolls on a sheet of aluminum foil large enough to completely wrap and seal in the burgers. Spread the cheese and beef mixture on the bottom half of each roll. Top each burger with two pickle slices. Replace the tops. Cover and completely wrap the burgers with the aluminum foil. (The idea is to steam the burgers enclosed in the foil.) Bake until the burgers are heated through and cheese melts, about 30 minutes.

Below, I’ve included a few step-by-step photos….

20131017-102945.jpg

20131017-102957.jpg

20131017-103010.jpg

20131017-103021.jpg

20131017-103033.jpg

Posted in appetizers/snacks, Baking, breakfast, Gardening, lunch box

Chunky Homemade Applesauce with Simple Granola Topping

20131013-204517.jpg
We spent a beautiful afternoon at the local apple orchard last weekend. I had my mind set on making several batches of homemade applesauce while the fruit is in abundance and is reasonably priced.
When we first moved to our current home, J and I planted several apple trees on the back portion of our property. That was 13 years ago and we have not been able to harvest one single apple since then. We planted them in an open area beyond our woods which must be the perfect spot for all of the local deer to munch on whatever fruit begin to grow on the miniature trees.
In our area there are several great orchards so taking a trip to purchase bulk fruit and vegetables isn’t too much trouble. We picked up lots of apples, sweet potatoes, cider, fresh apple donuts, and chestnuts.
I’ve been making this particular applesauce recipe for years and years. The addition of vanilla makes a world of difference, adding an extra layer of flavor. If you own an apple peeler/corer, it will make this recipe super quick and easy to assemble.

20131013-204635.jpg
Chunky Homemade Applesauce with Simple Granola Topping

8 cups apples, peeled, cored, and chopped
1/2 cup packed brown sugar
1 teaspoon ground cinnamon
2 teaspoons vanilla extract

In a large pot, combine apples, brown sugar and cinnamon. Cook over medium-low heat for about 30 minutes; while stirring occasionally.
Remove from heat; stir in vanilla. Mash apples to desired consistency. Refrigerate until ready to serve.

Simple Granola Topping

3 cups rolled oats
1 cup pecans, chopped
1/4 cup brown sugar
1/4 cup maple syrup
1/4 cup vegetable oil
3/4 teaspoon salt
1 cup raisins or dried fruit, if desired

Preheat oven to 300 degrees. In a large bowl, combine the oats, nuts, and brown sugar. In a separate bowl, combine maple syrup, oil, and salt. Combine both mixtures and pour onto parchment lines sheet pan. Cook for 30-40 minutes, stirring occasionally to achieve an even color. Add raisins or dried fruit if desired.

20131013-204858.jpg

Posted in appetizers/snacks, Baked goods, breakfast, Brunch, Desserts, Food

Ken Williams Orchards Apple Slices

20131010-191142.jpg
Many years ago, we traveled from Chicago up to a beautiful apple orchard in Three Oaks, Michigan called Ken Williams Orchards. After a day of picking and picnicking, we headed to the counter to pay for our bushel of apples. On the counter sat a sheet of paper that was entitled, “Favorite Apple Recipes” and listed five of the orchard’s favorite recipes. I asked the clerk if I could have the sheet and she said, “Sure, take one, they’re free!”
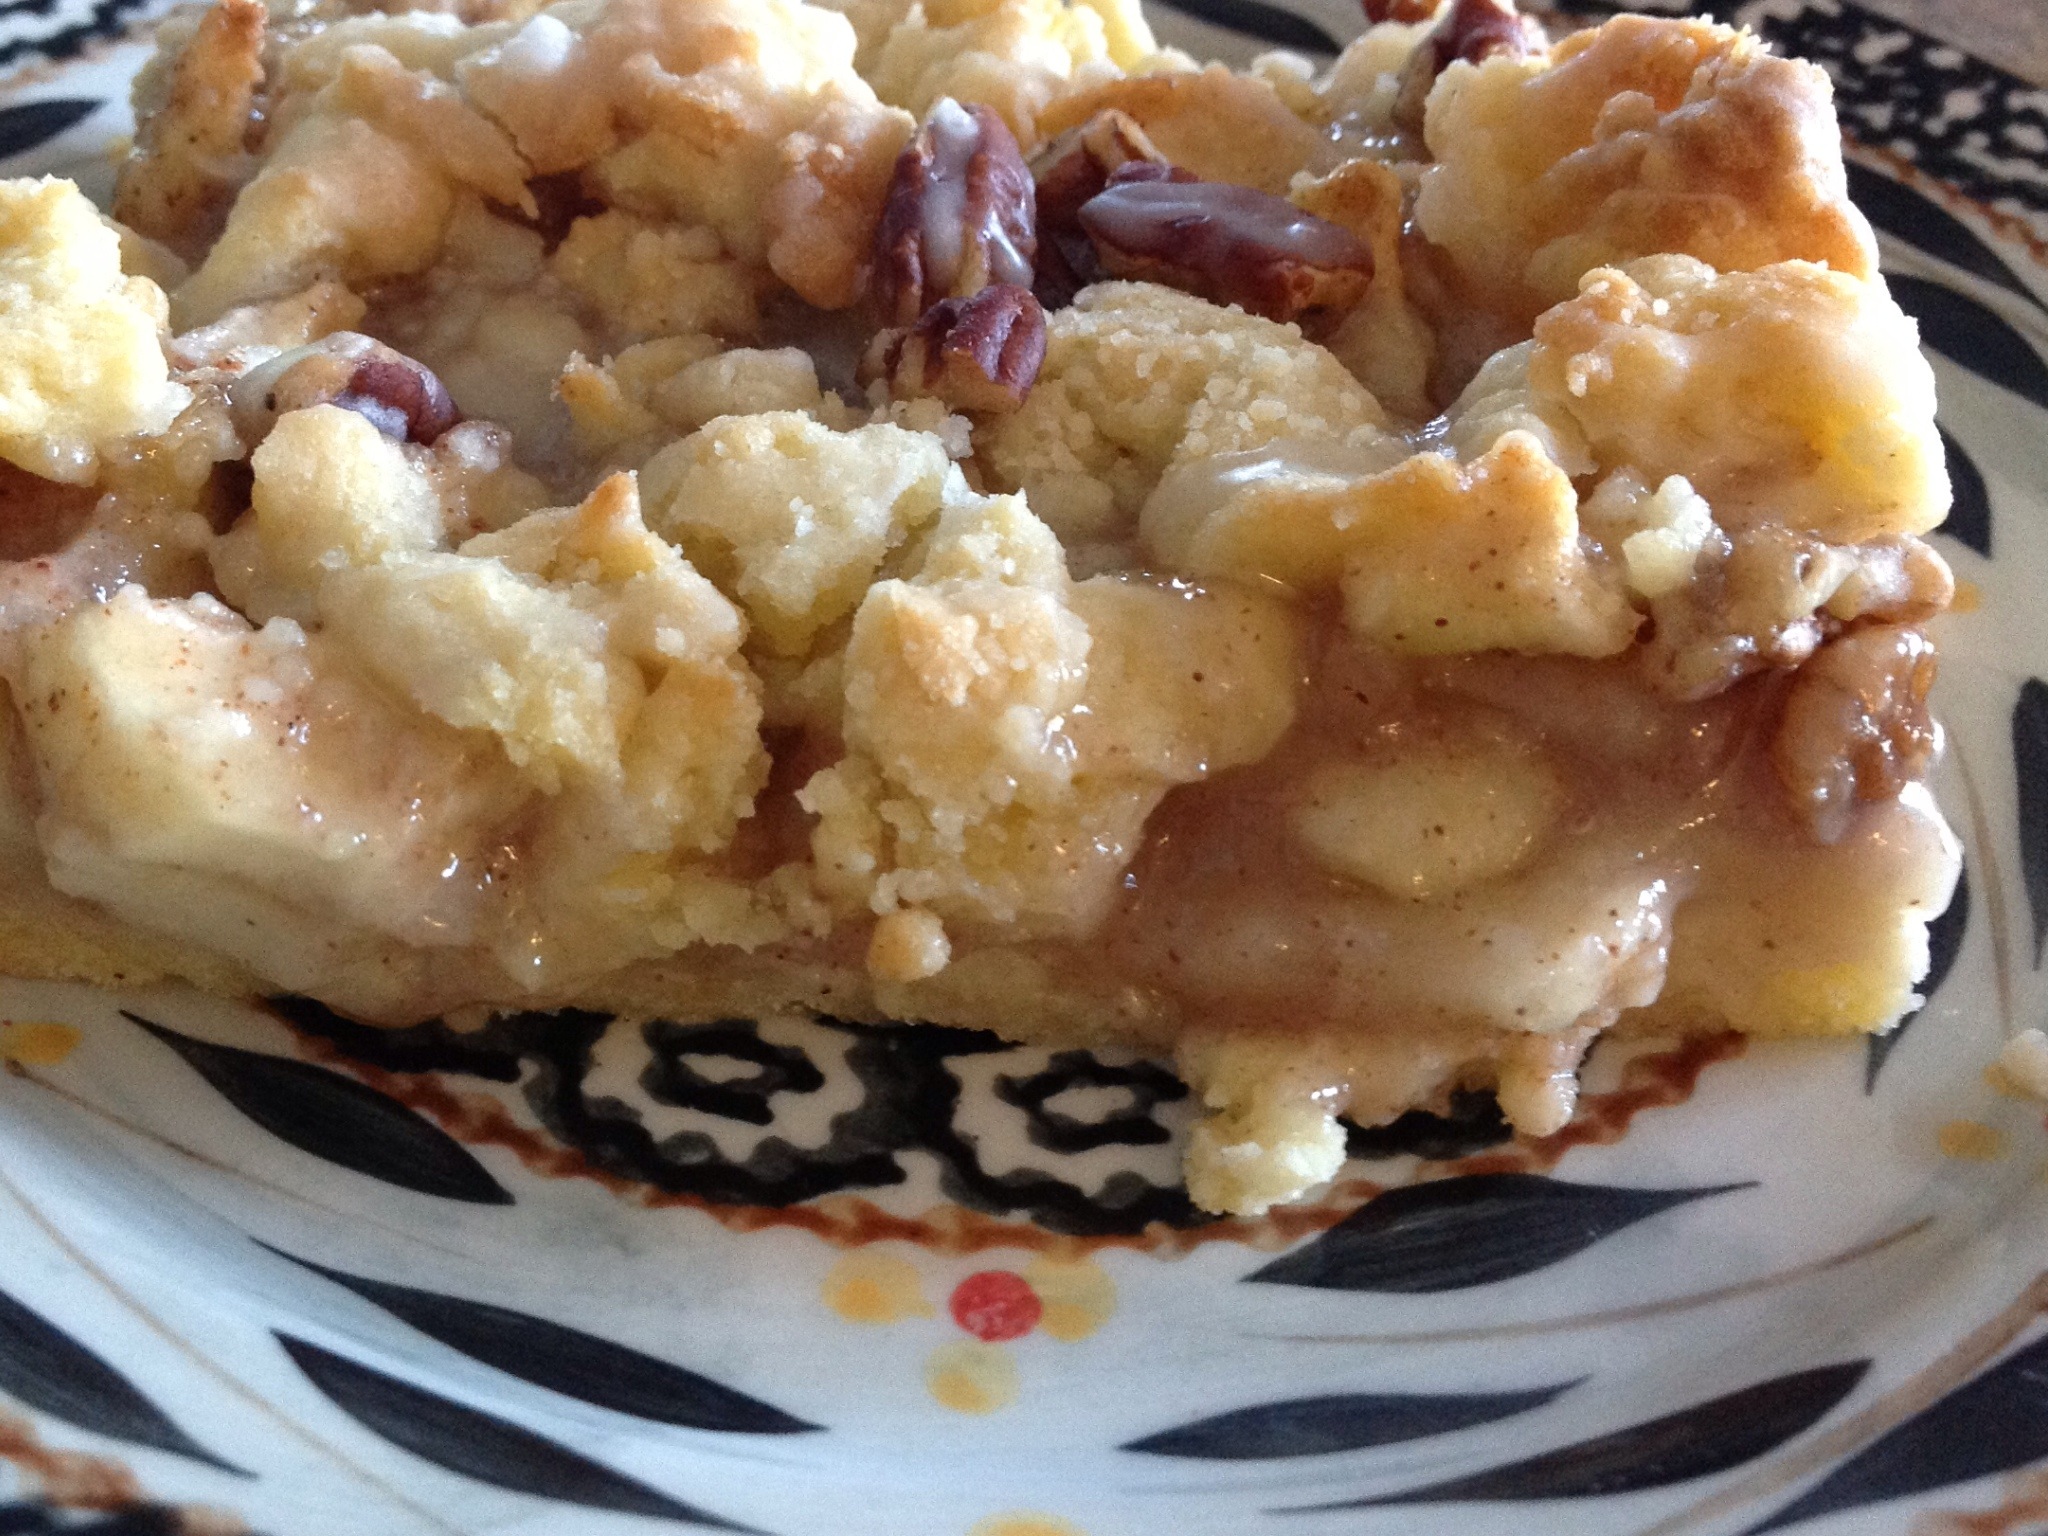
Well, I have used this recipe sheet over and over for the last 16 years…our favorite recipe of the bunch is something called Apple Bars. I have changed the recipe a bit and I call them apple slices. It really doesn’t matter what you call them…they will always be delicious! This is definitely the best apple slice recipe I have ever tasted.

Ken William’s Orchards Apple Slices

2 1/4 cups flour, divided
1 1/4 cups sugar, divided
1/2 teaspoon baking powder
1/2 teaspoon salt
1 cup butter or margarine
2 egg yolks
4 cups sliced apples
1 teaspoon cinnamon
1 cup powdered sugar
1 teaspoon vanilla
1 tablespoon milk

Combine 2 cups of flour, 1/2 cup sugar, baking powder and salt. Cut in butter until crumbs are the size of peas. Stir in egg yoke. Press half of the mixture in the bottom of a 9×13″ baking pan, and reserve the rest. Combine apples, remaining flour, sugar, and cinnamon; place apple mixture over crust in pan. Sprinkle with remaining crumbs. Bake at 350 degrees for 40-45 minutes. Cool and drizzle with thin icing of powdered sugar, vanilla and milk.

20131010-191304.jpg

20131010-191322.jpg