 This week I had to head out of town for a business trip. When I travel, I’m often thrown off balance by the pre-selected conference meals provided as I can’t always follow my regular routine. Meal times are usually less than ideal and the meal selection is often standard fare and can be limited in variety.
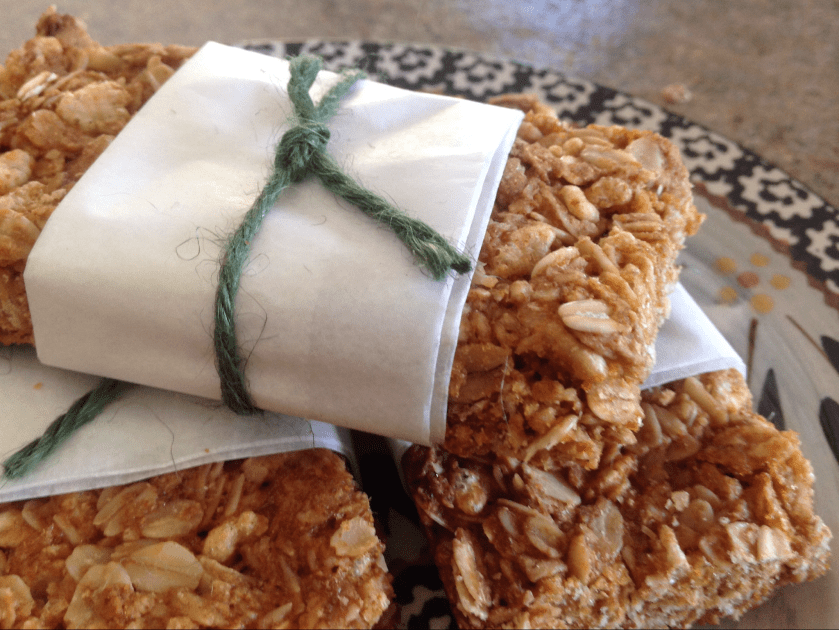
So, before leaving for my trip this week, I made sure to pack quite a few of these Wholesome Granola Bars. It’s always good to travel with a stash of wholesome snacks when you’re away from the comforts of home.
On Thursday, these babies really came in handy. We had eaten an early lunch and our dinner was scheduled for 6:30 pm. Just before heading out to an evening meeting, I shared a few of the bars with my colleagues and they were thrilled to have a healthy snack on hand to tide them over until dinner. The best part… This flavorful, grainy bar provided a healthy choice over other tempting fast food favorites. The whole grains in the recipe deliver long lasting energy that really helps when you need a little something to give you a boost. Make sure to individually wrap the bars to lock in moisture and freshness.
Wholesome Granola Bars
3 1/4 cups old fashioned oats
3/4 cup crispy rice cereal
2/3 cup whole wheat flour
3 tablespoons brown sugar
1 teaspoon baking soda
1 teaspoon salt
1 1/2 teaspoons cinnamon
2/3 cup honey
1/3 cup canola oil
2 teaspoons vanilla extract
Preheat oven to 350 degrees. Lightly spray a 13×9″ baking pan with cooking spray. In a large bowl, stir together the dry ingredients. Stir in the honey, oil, and vanilla; mix thoroughly until all ingredients are combined. Evenly press mixture into prepared pan. Bake 20-25 minutes or until light golden brown.