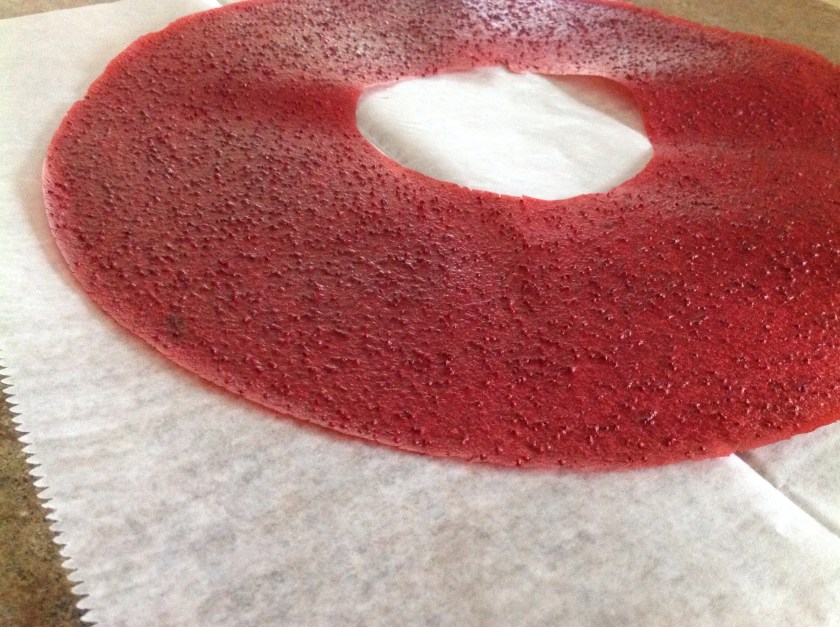
 Today we had the pleasure of experiencing our first honey harvest. Our bees have been busy visiting fields of clover and Queen Anne’s Lace over the past several weeks. After watching hours of video focused on harvesting honey and rendering beeswax, we finally took a leap of faith and carefully extracted the liquid gold produced by our very own bees.
Here’s a step by step look at the process:

We carefully swept the bees off of the short, capped honey frames to prepare for extraction.
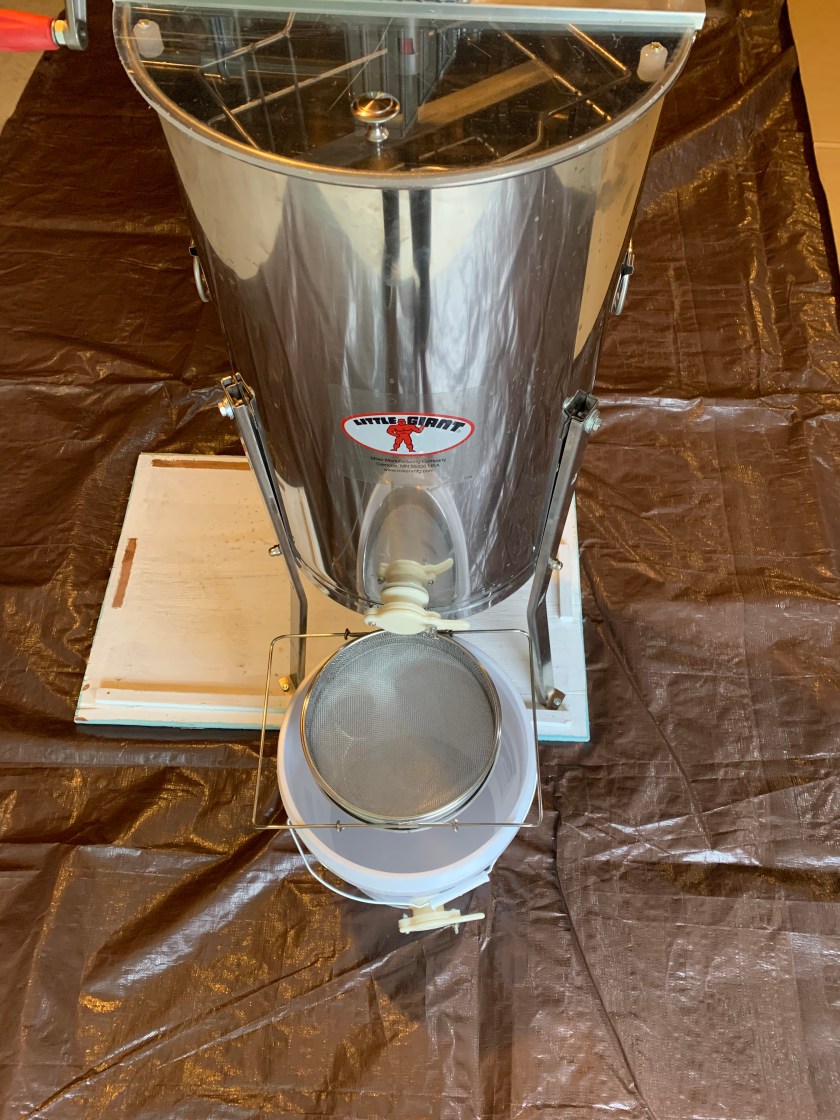
We set up the extractor and a screened sieve to remove the honey and filter out the wax and other unwanted items. A clean and organized area is imperative. We had buckets of soapy water with sanitizer and tarped surfaces in the extraction area.


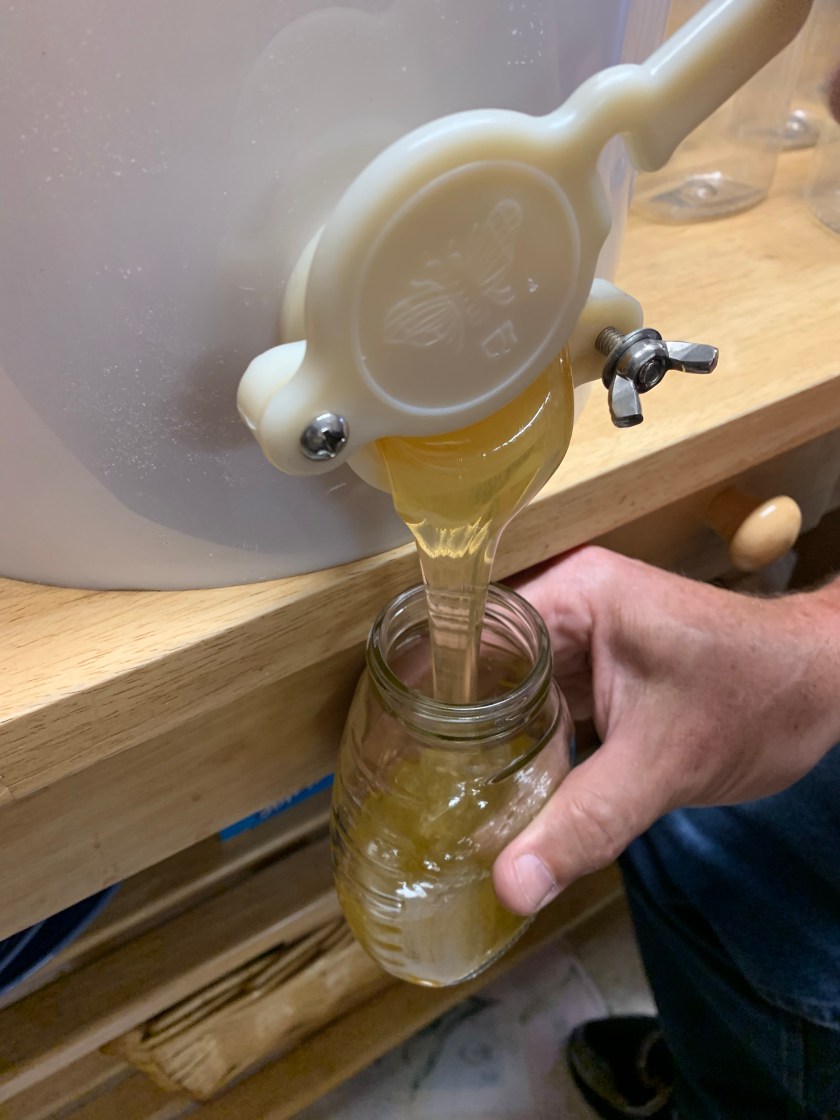
After the extractor does its work (we have a hand crank version), the gate can be opened to pour unfiltered honey into a clean, food-safe bucket. The sieve and filter will take out the impurities.

We cleaned and sanitized our honey containers prior to setting up our bottling station.
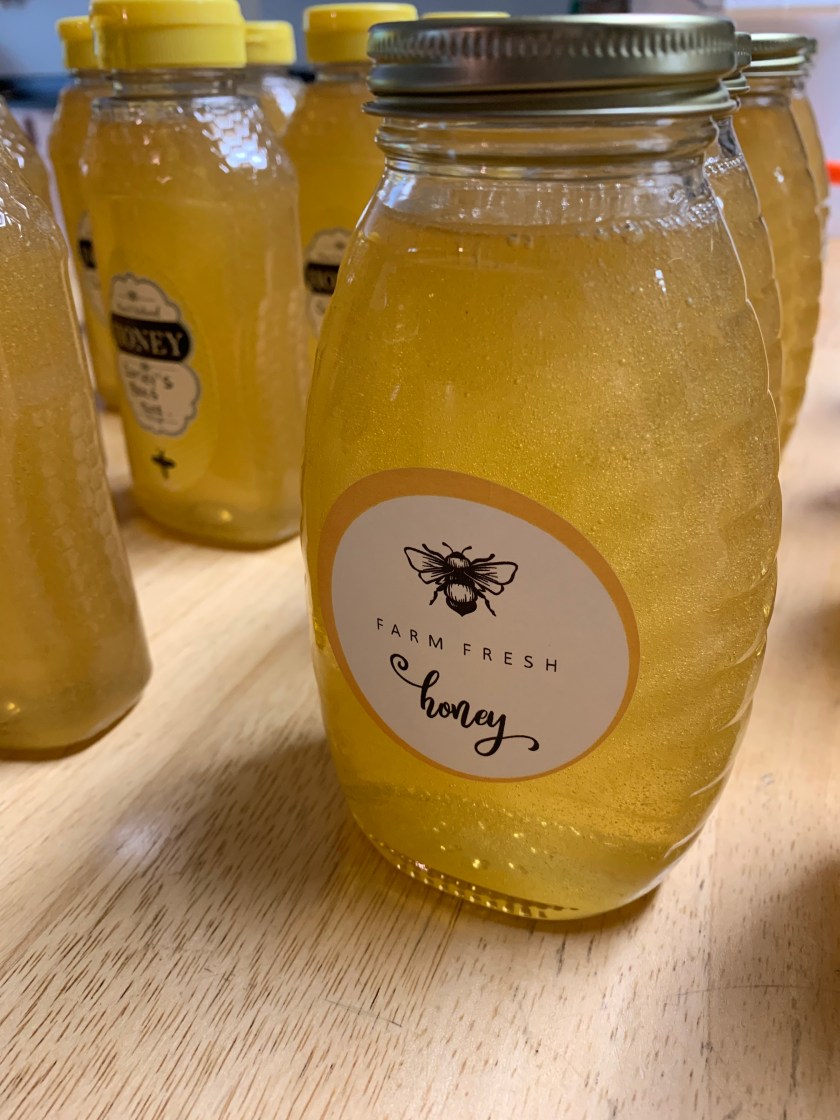
The filtered honey is ready for bottling. We used 12 and 16 ounce jars. We wanted to try a mixture of plastic and glass jars.
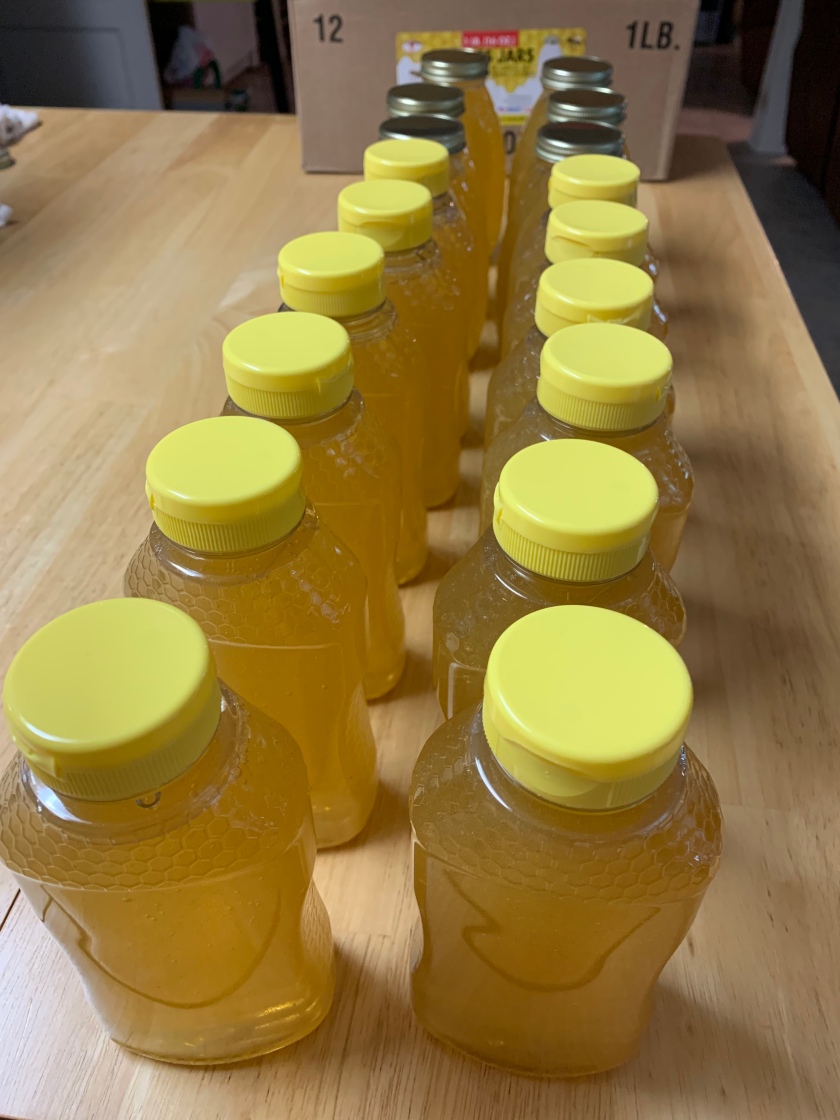

We were able to bottle 12- 12 ounce, 12- 16 ounce, and 2- 4 ounce jars. What a delight to get so much honey from just 8 short frames.

I order a few different labels from Amazon to finish off the process. I think I’ll order a set of more personally printed labels for next year.
Now, it’s time to render the filtered wax to make our own beeswax blocks for future projects.


 l
l


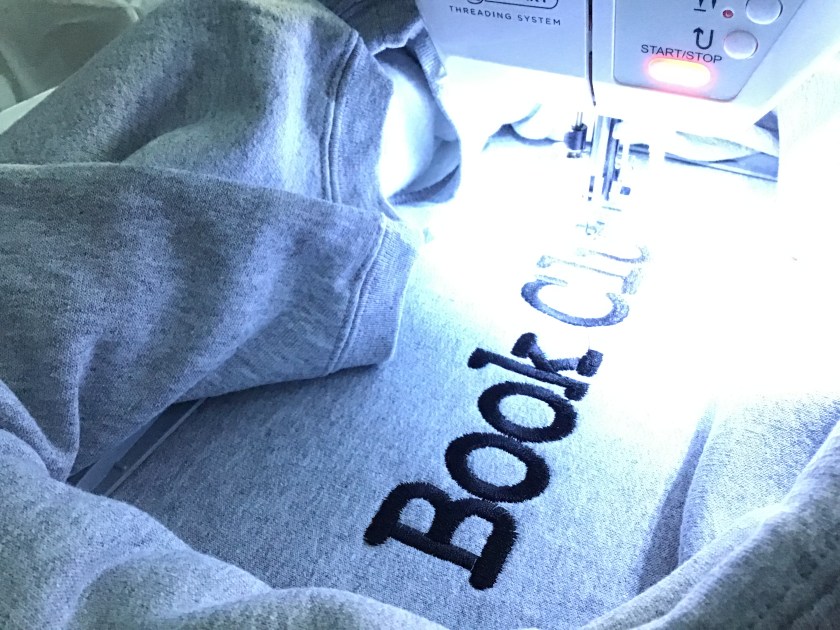
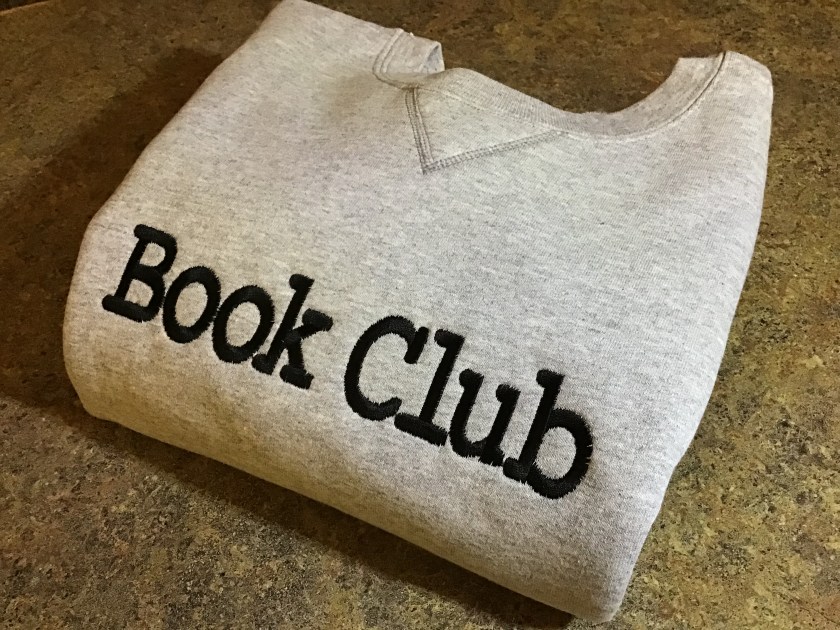
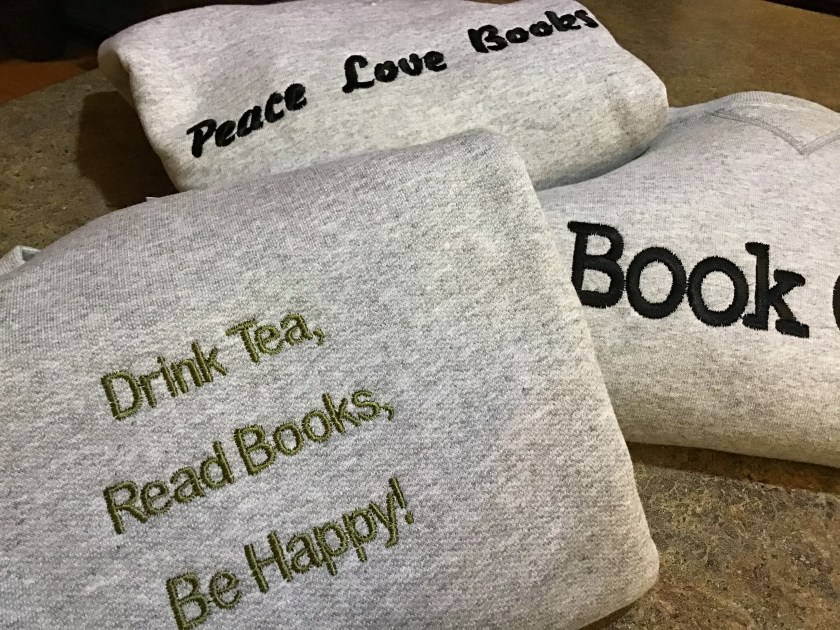
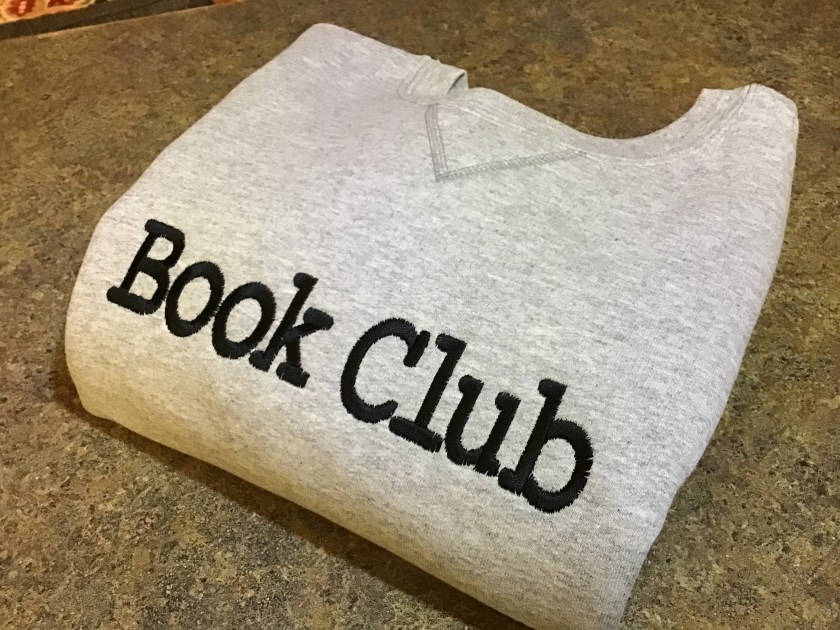 My daughter had seen one of the famous Fixer Upper hosts wearing a sweatshirt with the words, “Book Club” screen printed onto the front of the garment. Being an avid reader, she immediately declared her desire to have a shirt like this for Christmas. After looking up the cost for said sweatshirt, I decided to make one of my own using my trusty embroidery machine. Carefully reviewing the garment, I quickly found a few heather colored sweatshirts at the discount store and identified a font that would work the the “Book Club” design. I didn’t care for the font used in the original design so I settled on a text style that looked just like one found when reading a book; a contemporary spin on Times New Roman. Here are the steps I used to embroider font or text onto the front of a basic medium-weight sweatshirt.


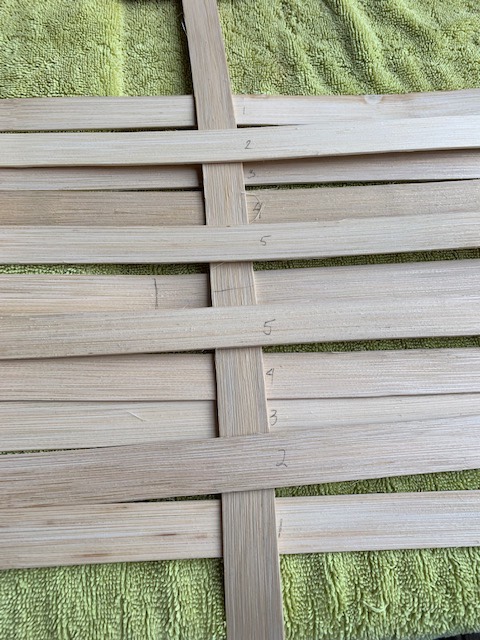
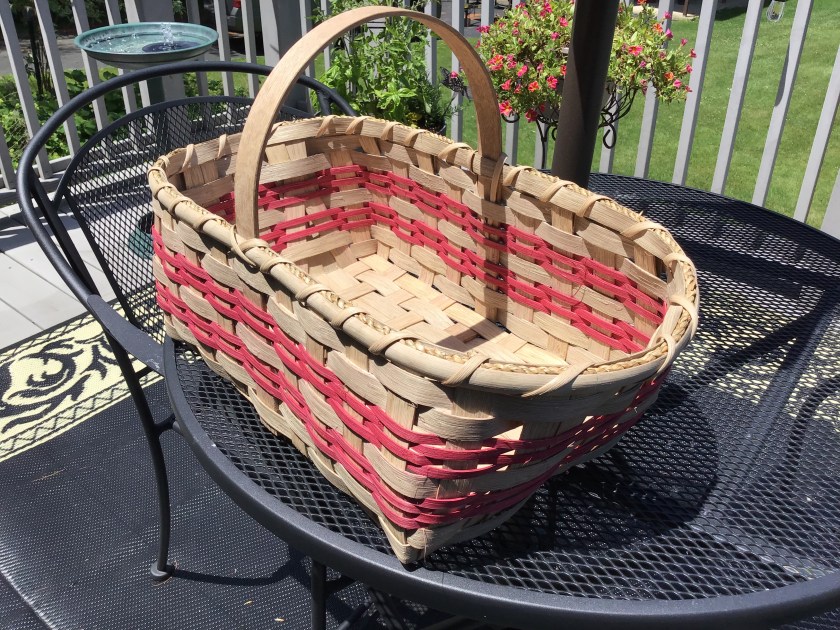
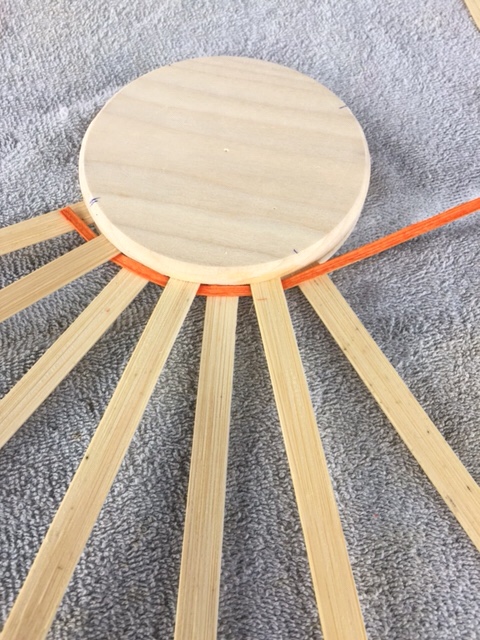
 Dividing the disk into 4 equal parts, place 23 spokes within the well of the disk; weaving while working in the spokes.
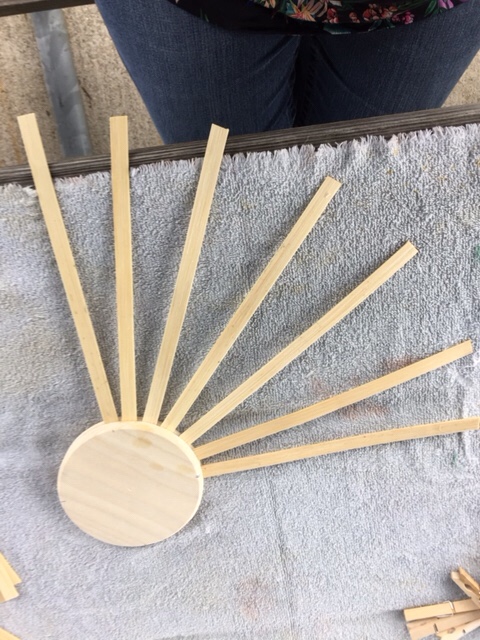

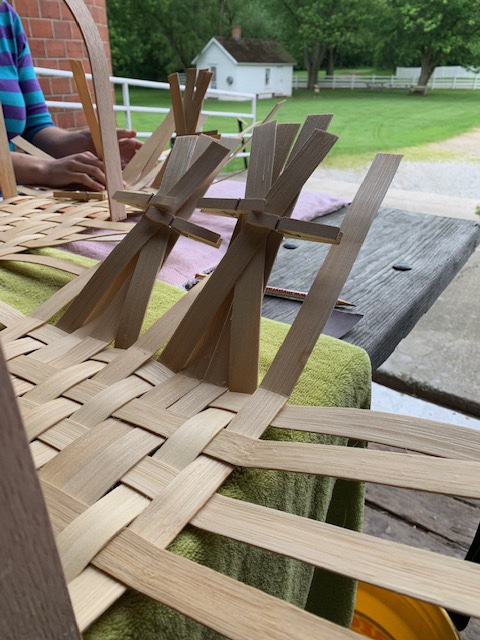
 After weaving 6 continuous rows, gently begin shaping the basket upwards. Continue weaving upward for 14 more rows; loosely weaving to shape the belly of the pumpkin.
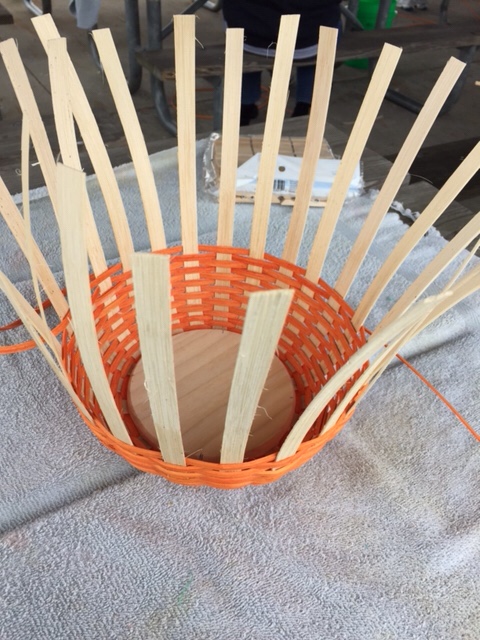

 At row 19 or 20 begin to tighten the weave to form the top of the pumpkin.
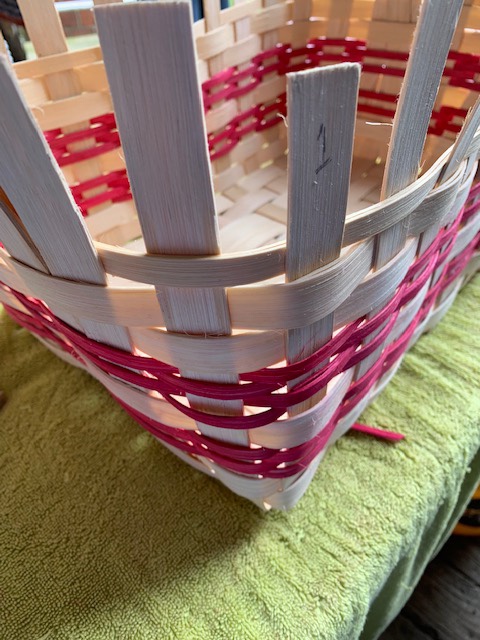
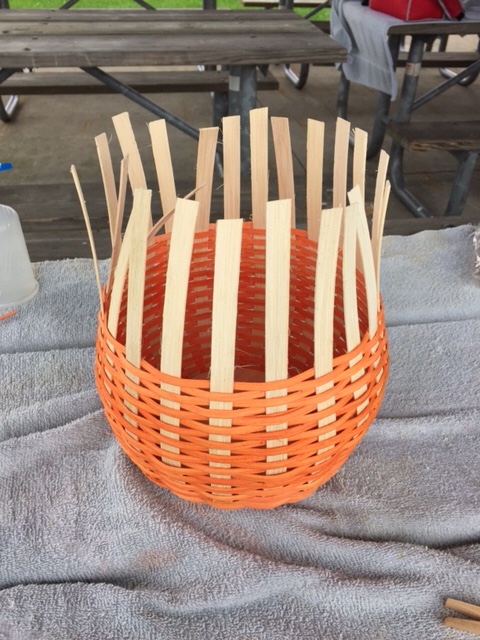
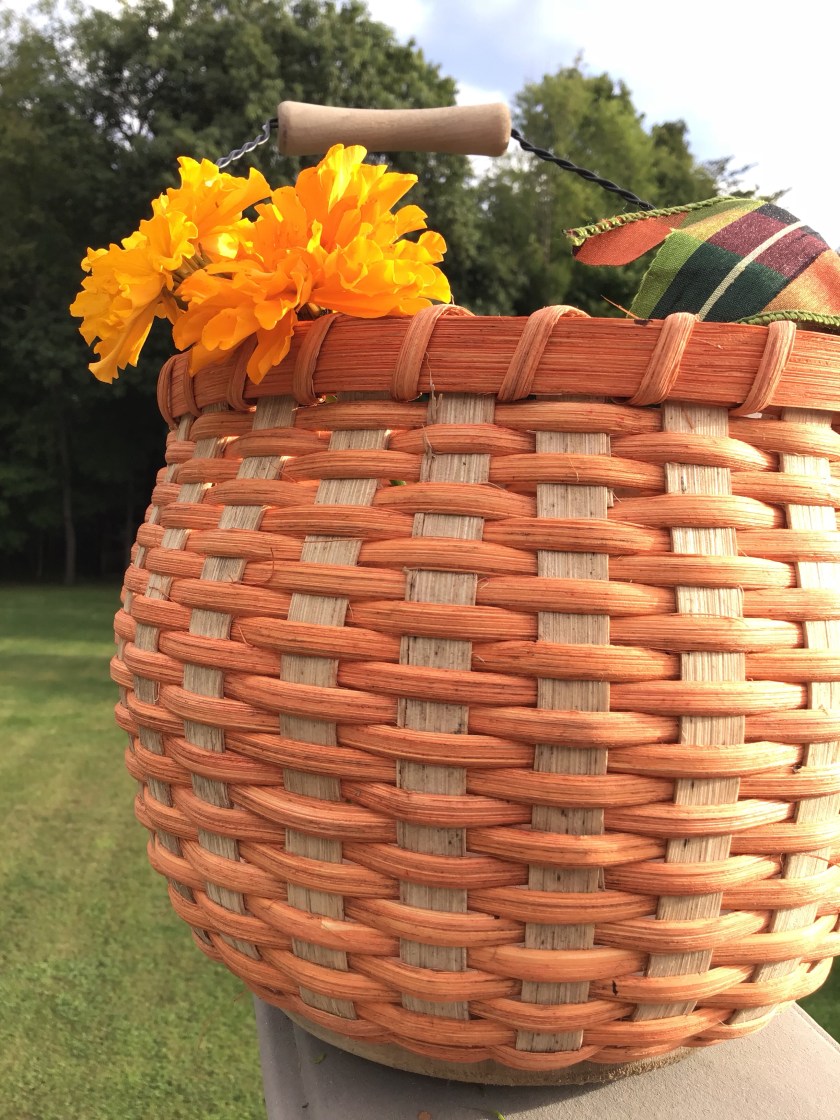
 Bend down, every other spoke. Clip; mark remaining spokes to bend under and secure under weave.
 Secure wire handle before finishing rim of the basket.
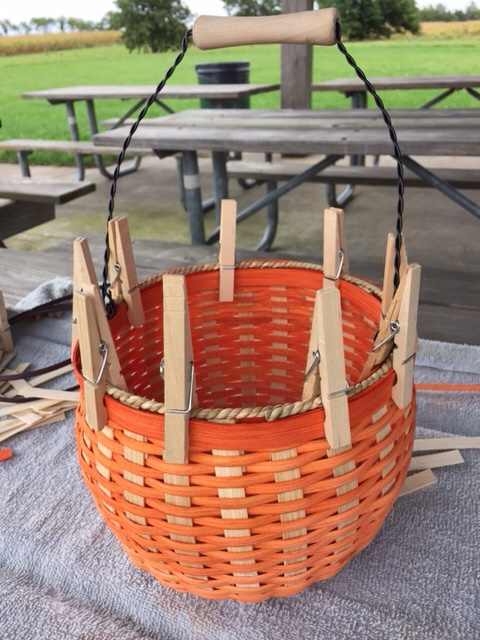
 Complete basket rim with sea grass and lashing.
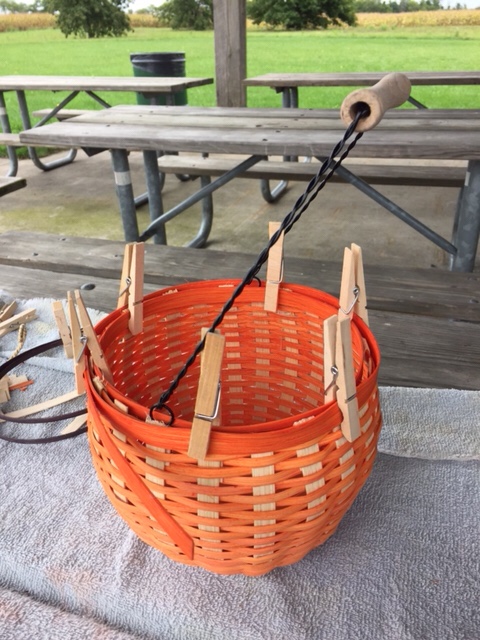
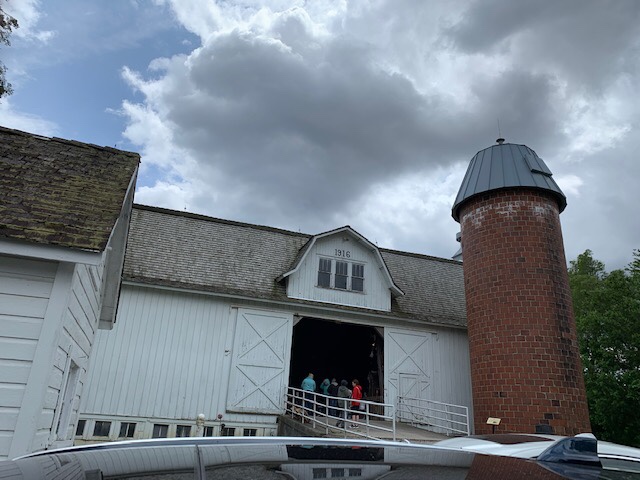
 We enjoyed a beautiful, but chilly, day at our local county park!


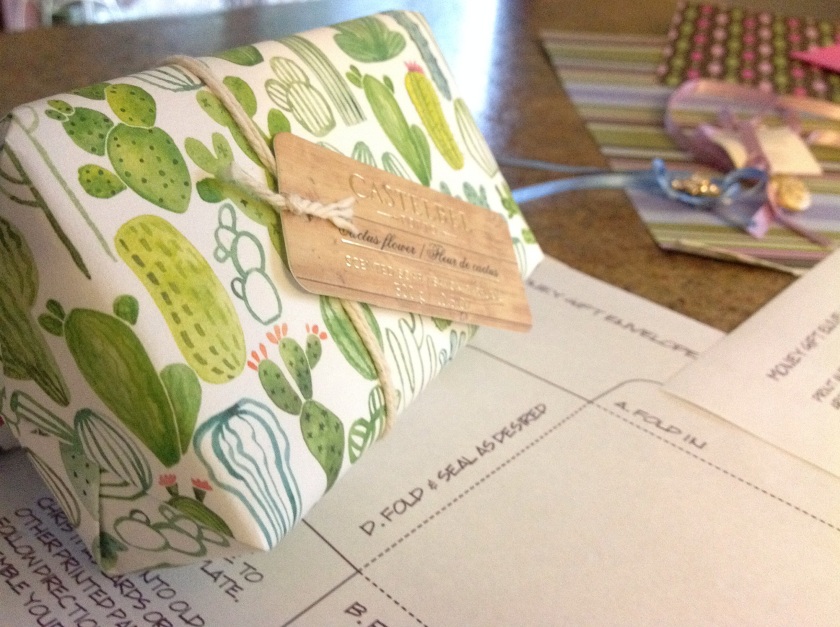 I gathered an assortment of scrap paper, and the beautiful wrapping paper found on some milled soaps.
 I printed the template and traced the outline on various scraps.
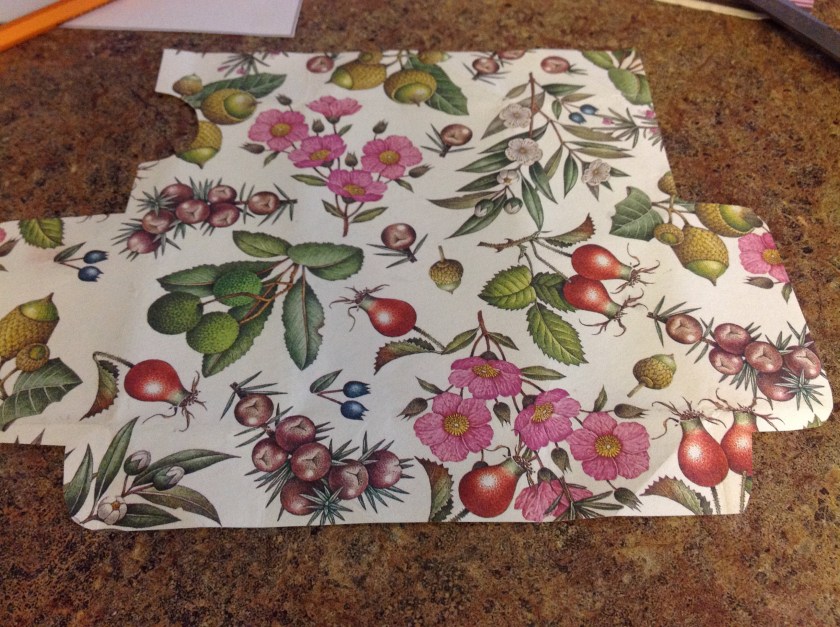 I penciled in some fold lines.

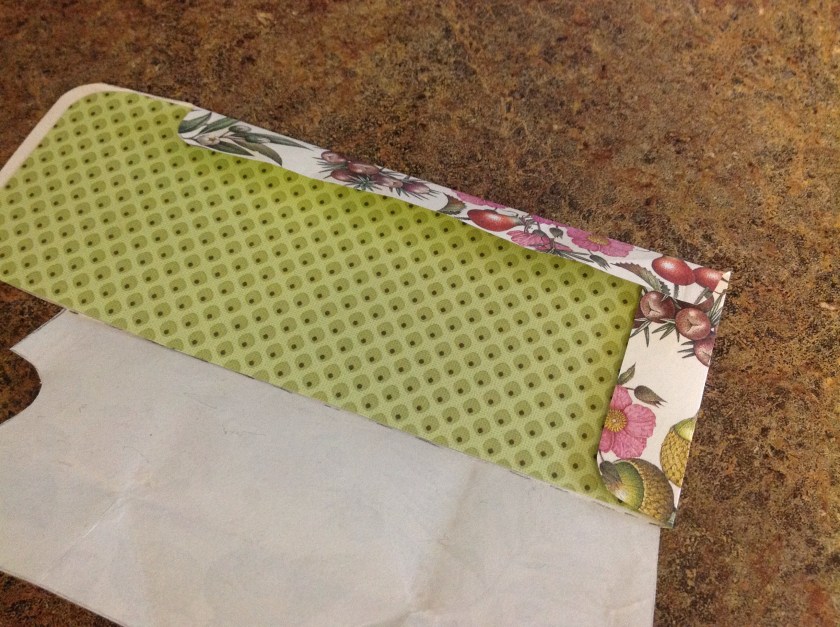 I thought it might be nice to have a contrasting liner.
 Using a few paper punches, I fashioned a gift tag.


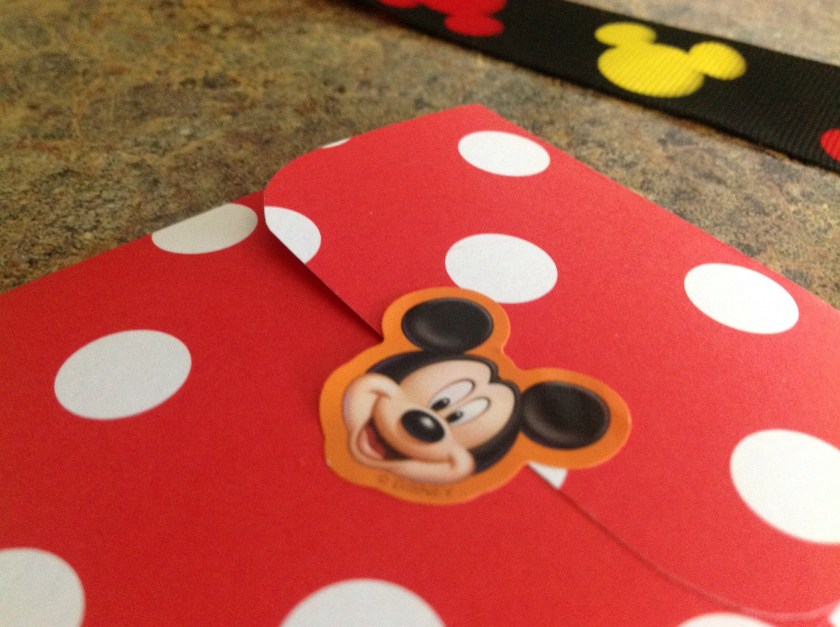
 Use Christmas paper, shopping bags, newspaper… Whatever you like.
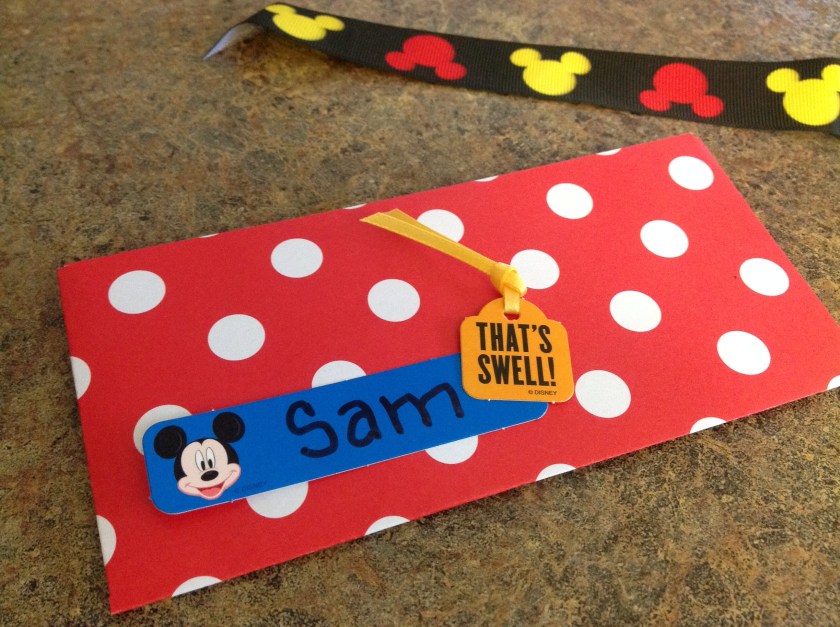 This is an enjoyable way to personize and make personal, an ordinary, yet purposeful gift card.
