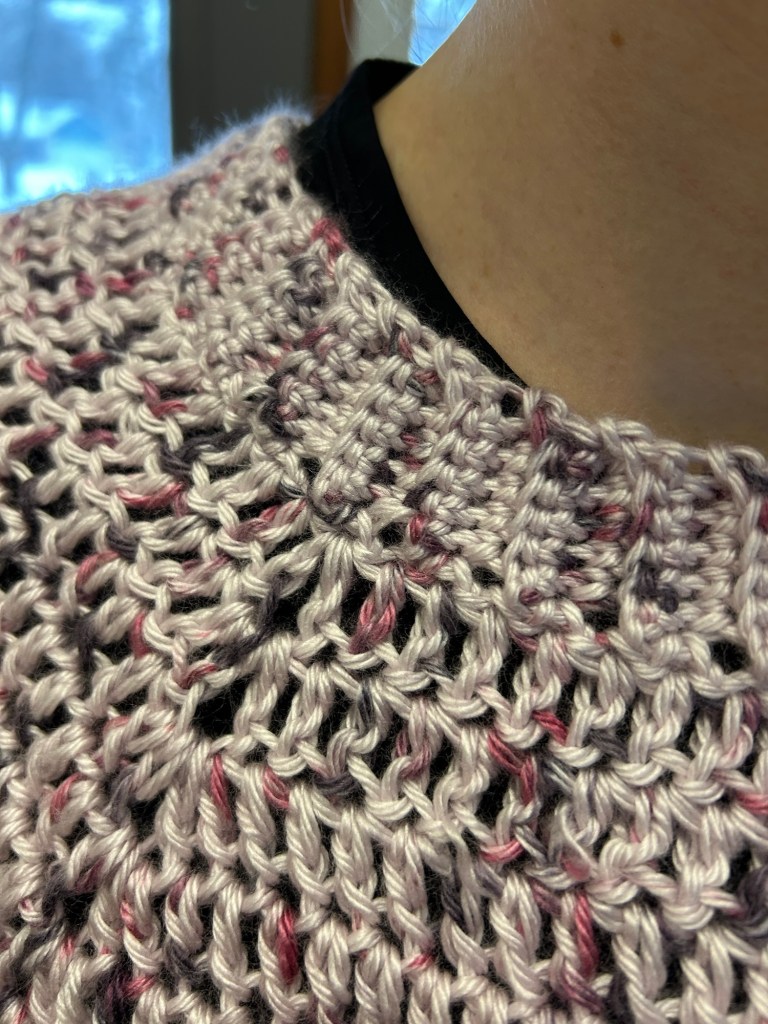
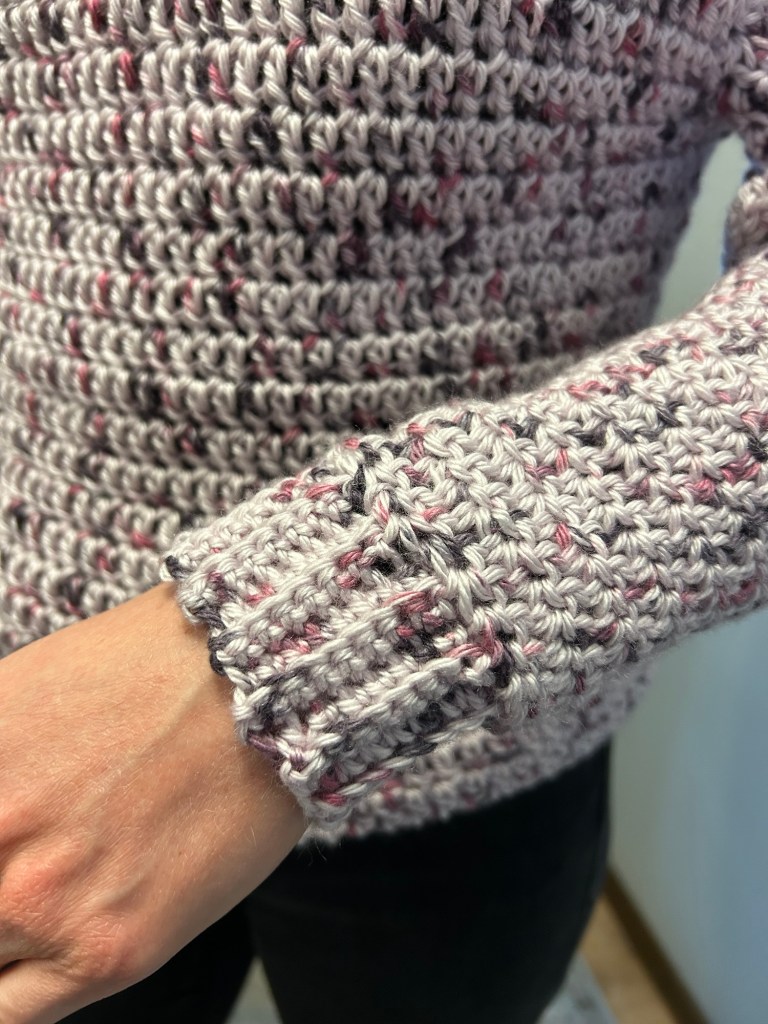
I’ve only been crocheting for a short time, but I’ve recently started making wearable pieces for myself and my family. This seamless beginner sweater was such a joy to work on. I even brought the project along on our winter vacation and spent sunny Florida afternoons crocheting outdoors. The tutorial I followed is linked here.
Begin crocheting at the neckline ribbingComplete crochet at sleeve ribbing
The Midwest has been piling up snow these past few weeks, and now the temperatures are set to take a sharp dive. But no worries—I’ve spent the day doing some of my favorite cozy activities: making book sleeves, and crocheting. It’s always nice to slow down and enjoy the things you love.
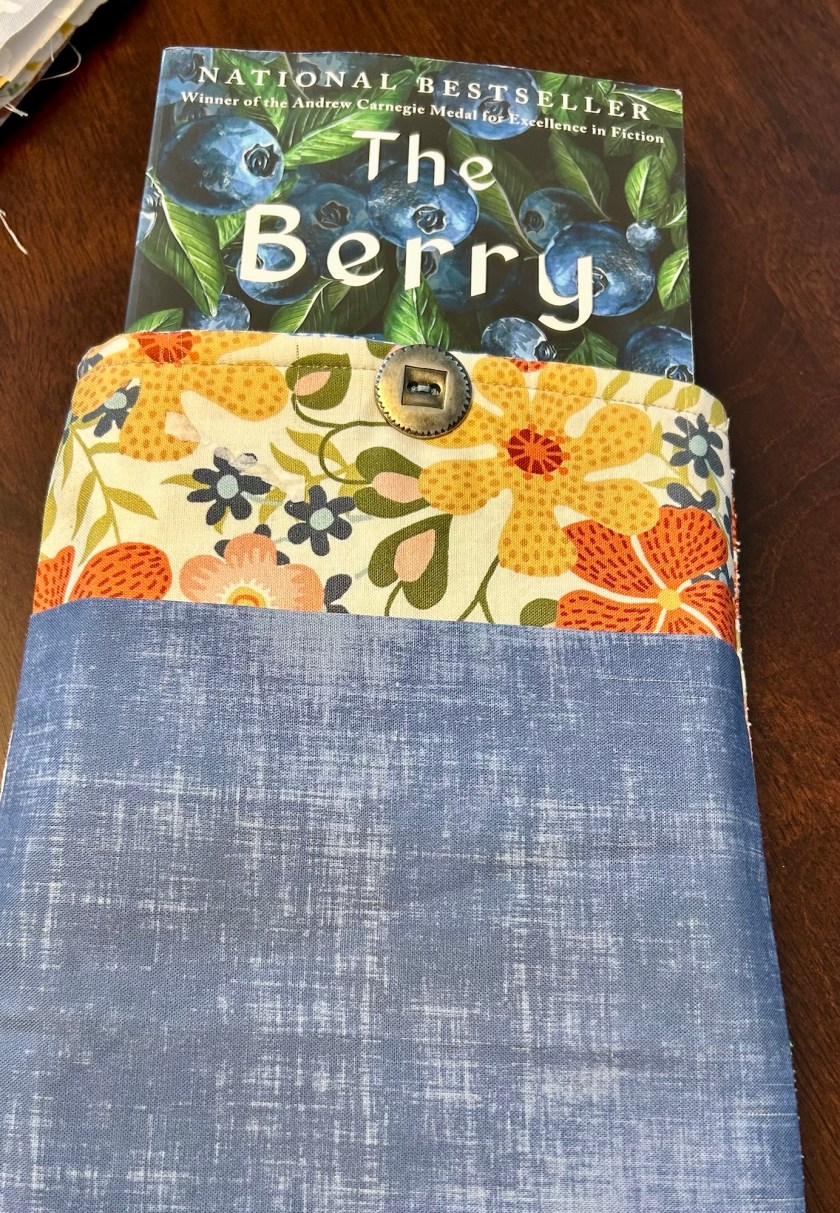
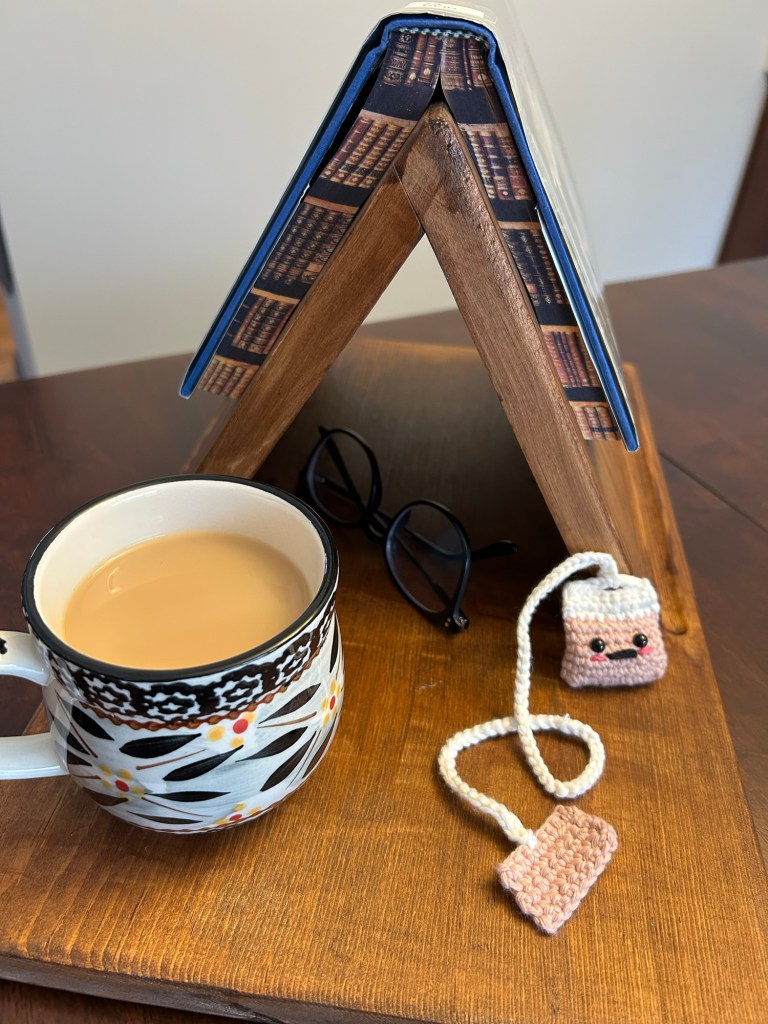
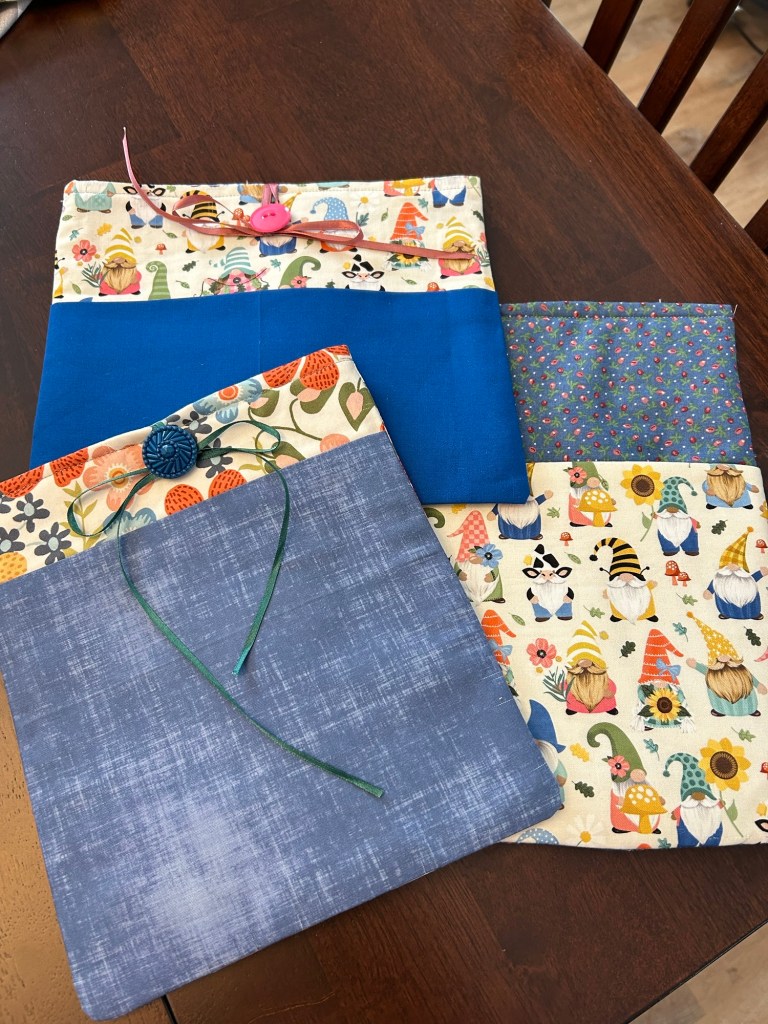
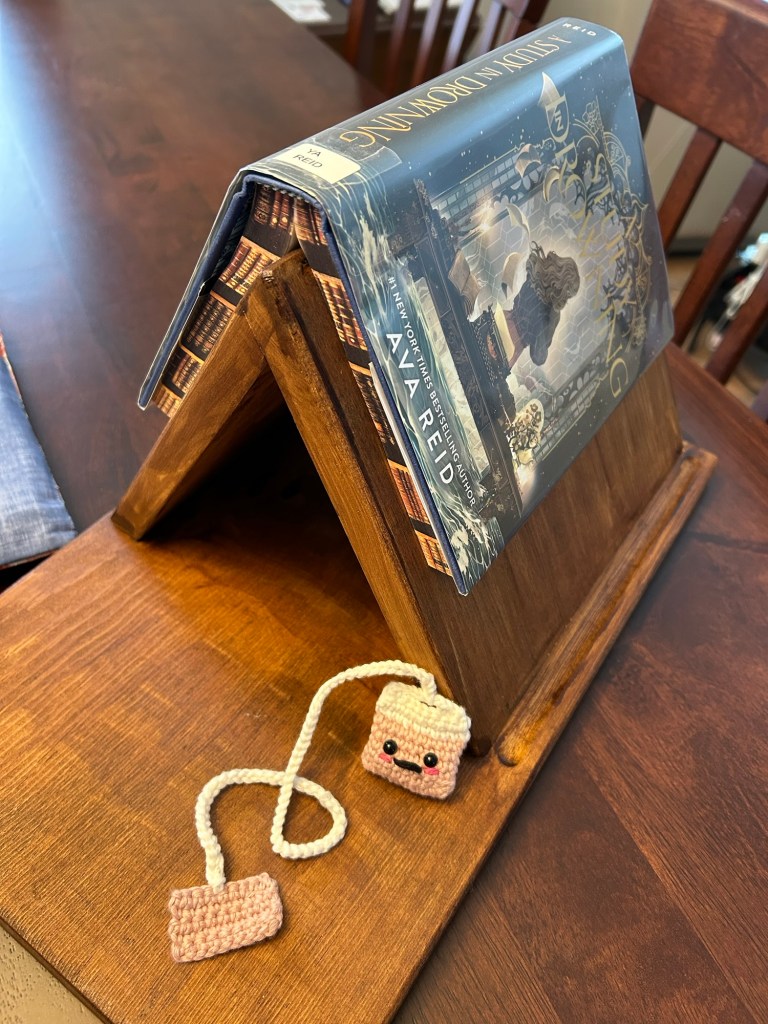
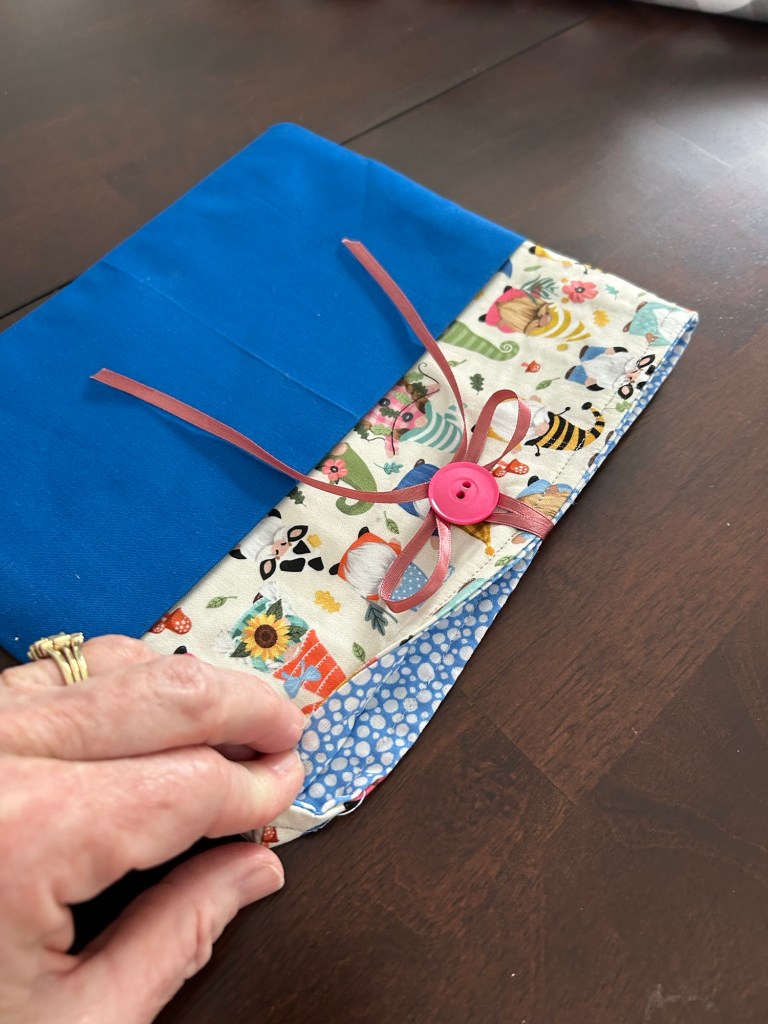
Reading is one of my absolute favorite pastimes, and these book sleeves are both cute and practical—they keep my books safe while I’m on the go. Lately, I’ve also been seeing that popular book rest and mug holder everywhere online. I asked my husband to create his own version, and I couldn’t be happier with his design!
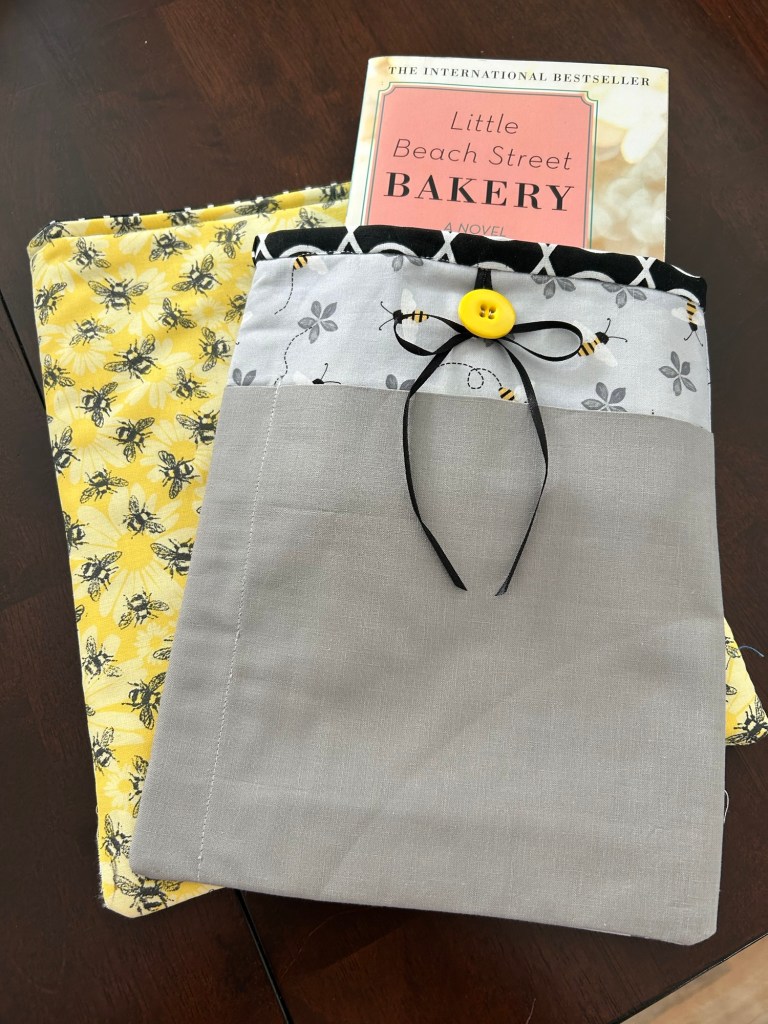
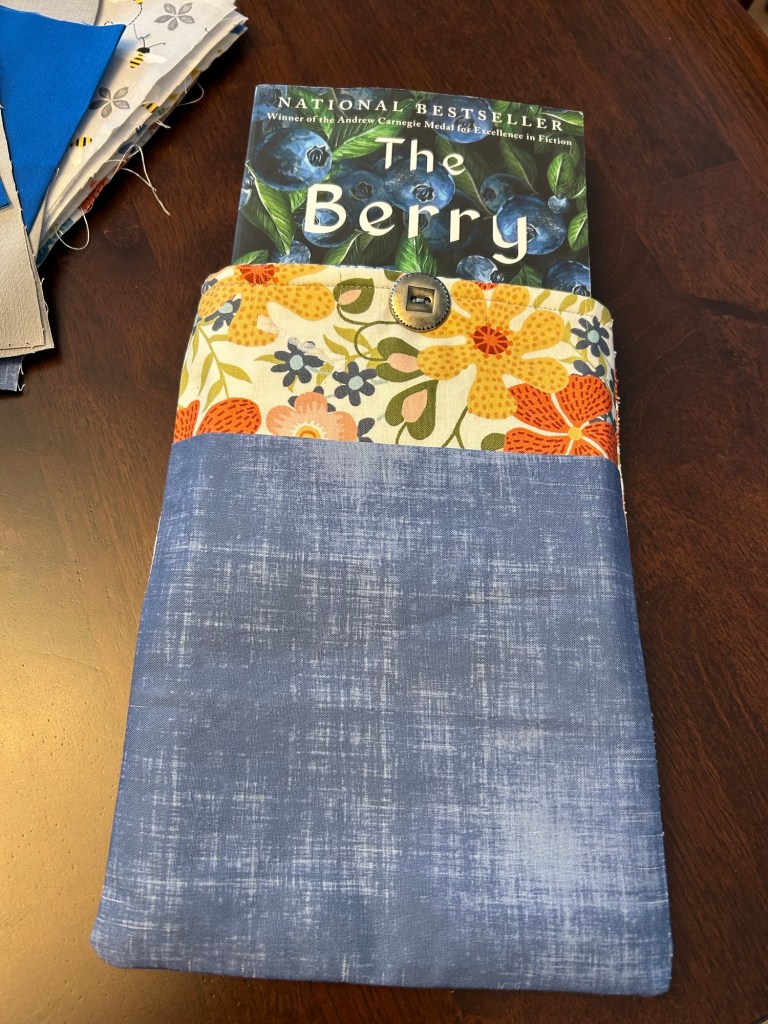
Handmade Book SleevesHandmade Book SleeveHandmade Book SleeveBook Rest and BookmarkCoordinate Your Scrap Fabric
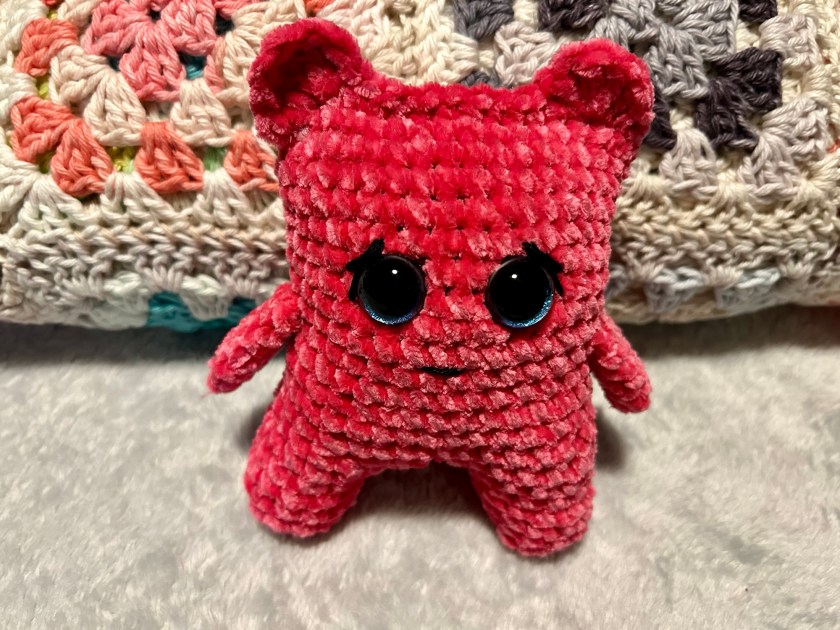
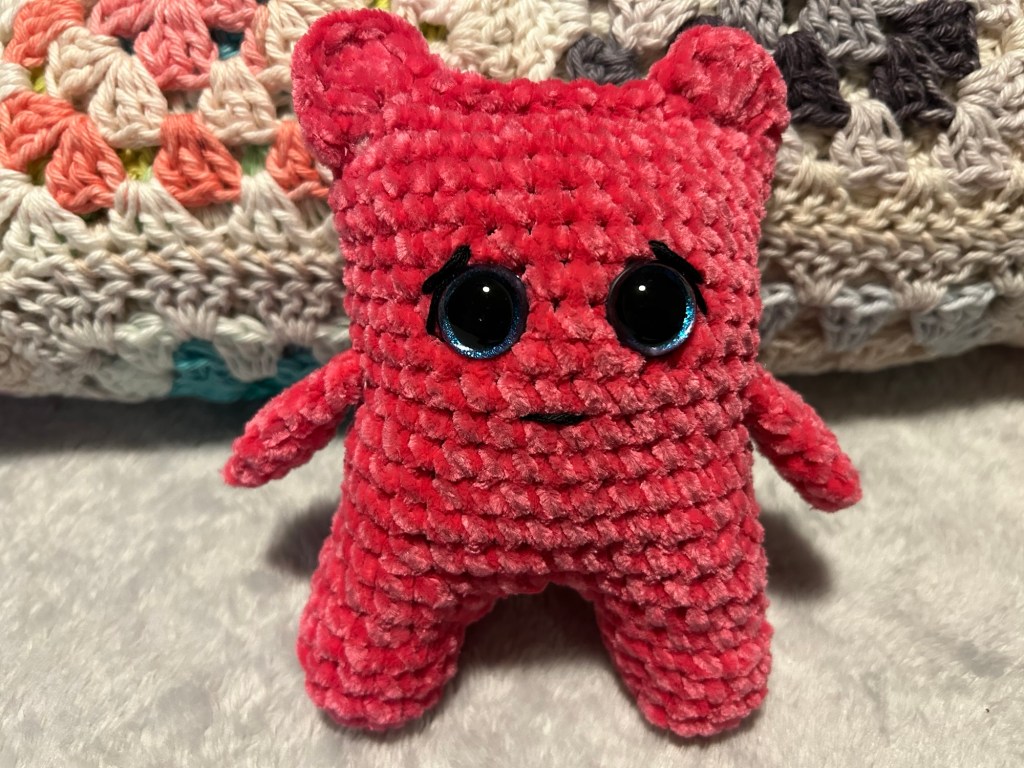
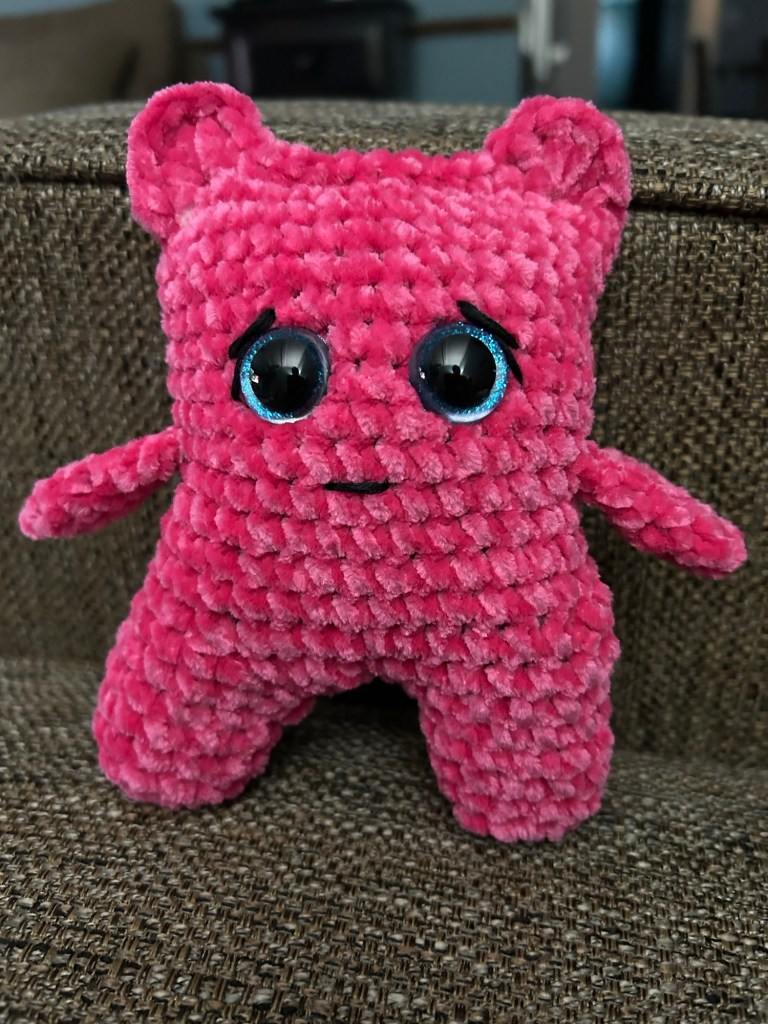
I love this idea for the kiddos going back to school or maybe heading to school for the first time. This “Pocket Pal” can be put into the backpack for a bit of plushie comfort while away from home. I used scrap yarn to make this easy amigurumi. I found the tutorial here. I’ll be making a whole bunch of these cute plushies. The creator of the tutorial calls them “Pocket Monsters”👹. Sooo cute!
When on vacation or traveling, I like to have a few portable crafts on hand. An unexpected flight delay, a rainy afternoon, or a relaxing day at the pool are all part of the trip. Having a handy craft at the ready can be quite enjoyable. I look for projects that are compact and simplistic, without lots of parts and pieces.
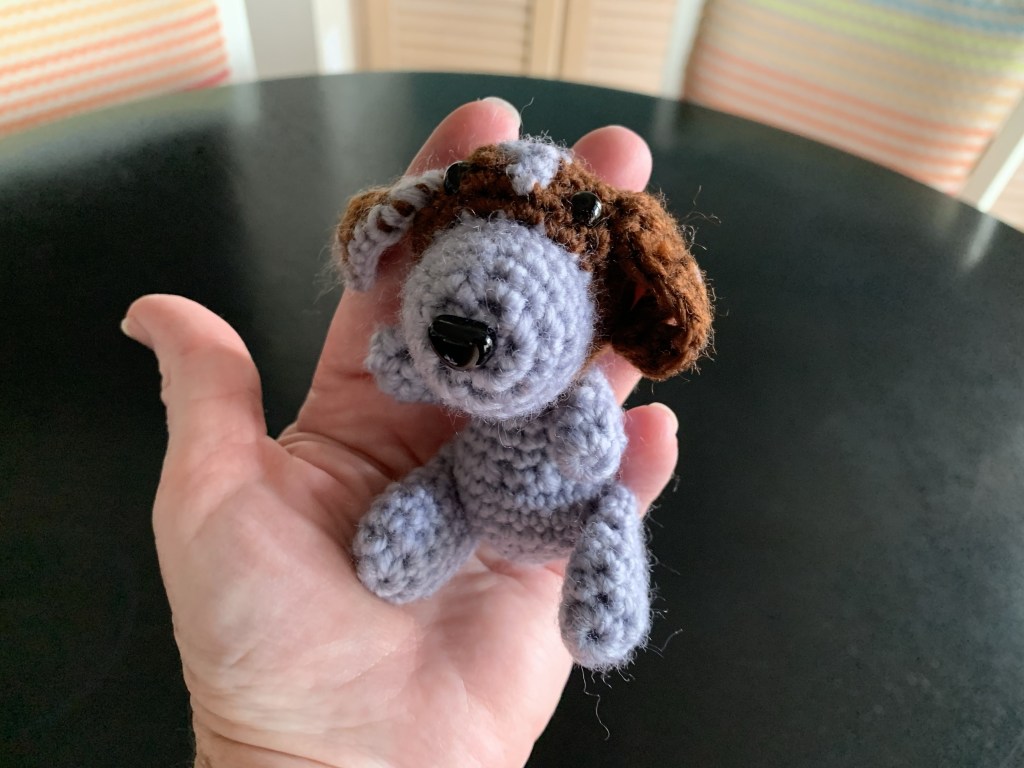
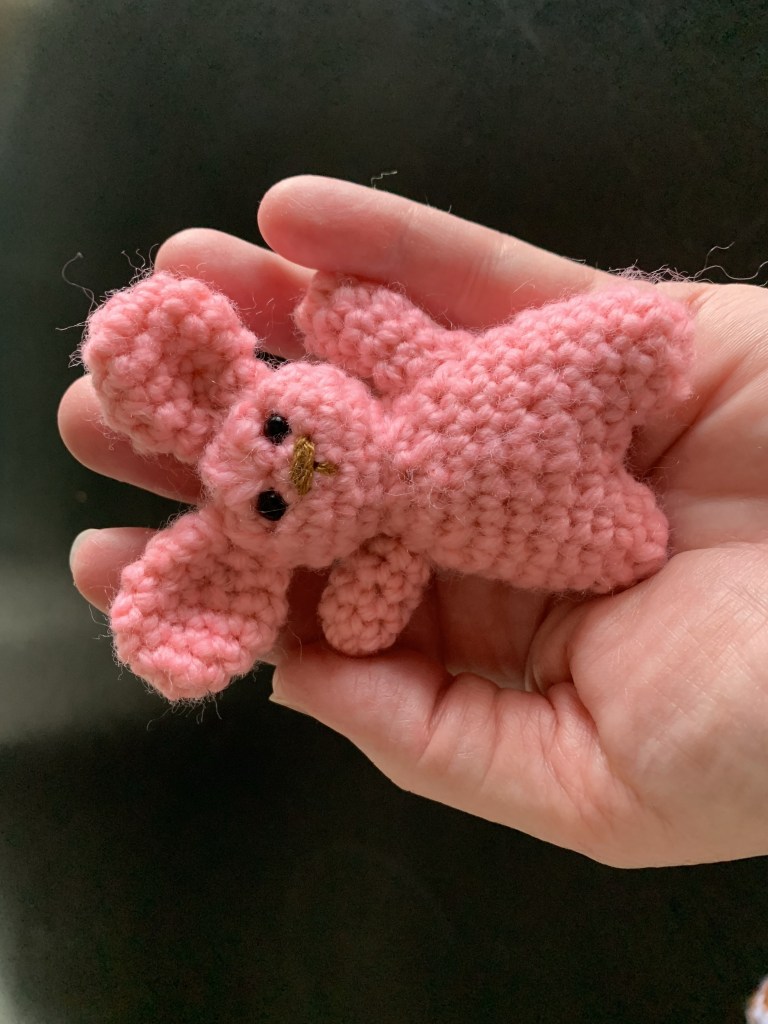
Visiting the local Dollar Tree, I found a few Amigurumi kits that I would bring on my Disney Vacation Club trip. I usually take a day or two to just relax and stay away from the hustle and bustle of the parks and shops. These kits are $1.25, but remember, you get what you pay for… The pattern is VERY difficult to decider and I ran out of yarn for one of the petite pets (dog) and had to improvise with yarn I had left over for another part of the project. You’ll notice I have used gray yarn on the left dog ear because I ran out of brown.
Gray yarn used to trim ear
Before leaving for vacation, I enlarged the pattern in my copier so I have a legible pattern to follow. (The pattern that accompanies the kit is very small and difficult to follow.)
DogEnlarged copy of patternBunnyTeddy BearDollar Tree Kits
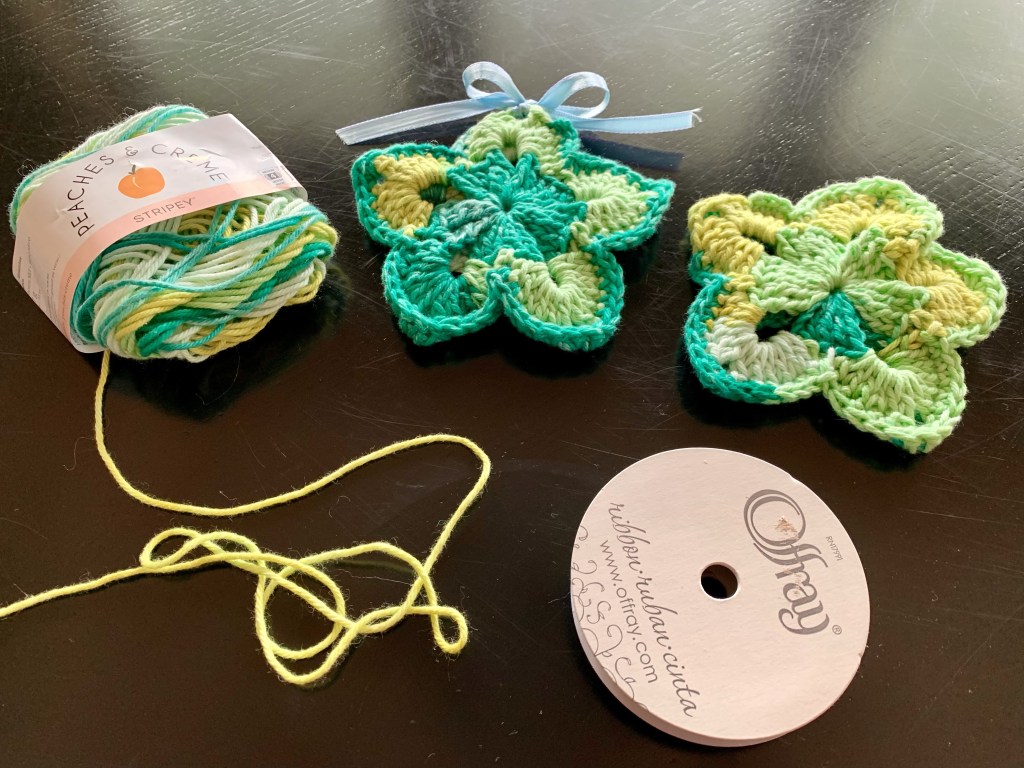
I also found a YouTube video for compact Easter Crochet Flower that hold Cadbury Eggs for a cute co-worker gift before the holiday. I used Peaches and Creme yarn from Walmart ($1.99 at Florida Walmart) to complete the flowers. These cakes are compact and easy to pack. I also travel with a mesh craft bag that fits in my carry on. Inside I have crochet hooks, stitch markers, TSA approved scissors, tapestry needles, etc.
Easter Egg FlowerSimplistic portable supplies
What crafts do you like to bring along when you travel?
Cowboy Candy serves as a delicious condiment to slather over crackers with cream cheese, spoon over burgers or spicy sausage links, or to top a crispy baked flatbread crust. The sweet and spicy pickled combination makes this a winner every time! Watch out… It’s addictive!
Cowboy Candy
3 pounds jalapeño peppers
6 cups sugar
2 cups apple cider vinegar
1 Tbs garlic powder
1 tsp celery seed
1/2 tsp cayenne pepper
Slice jalapeños into rounds. (We use the slicing blade on our food processor.)
Combine the remaining ingredients in a pot on the stove. Bring to a hard boil over high heat. Reduce heat and keep at a low boil for five minutes.
Add jalapeños and heat through for 3-5 minutes.
Using a slotted spoon, ladle jalapeños into clean jars. Then top with the spicy juice to fill jars within a 1/2” from the rim.
Wipe rims. Twist on lids and store in the fridge for up to one month.
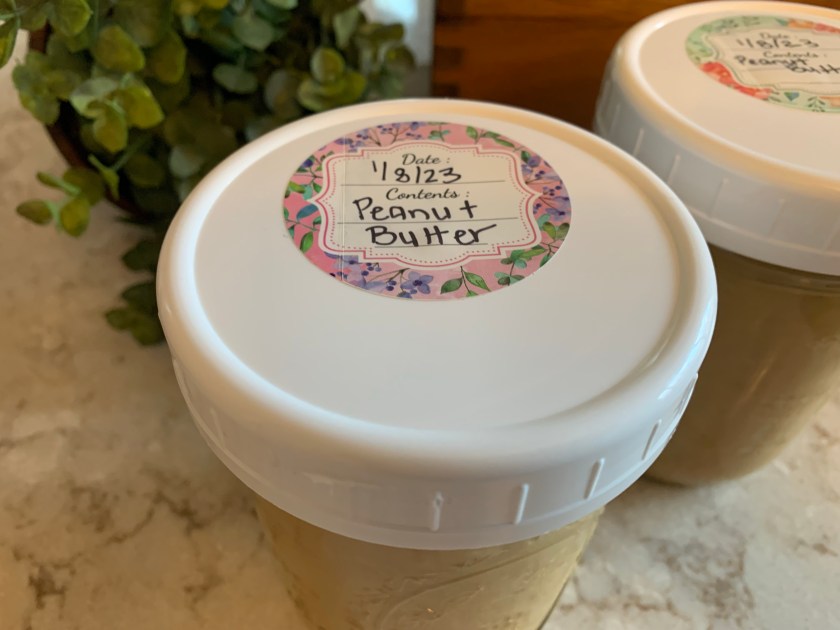
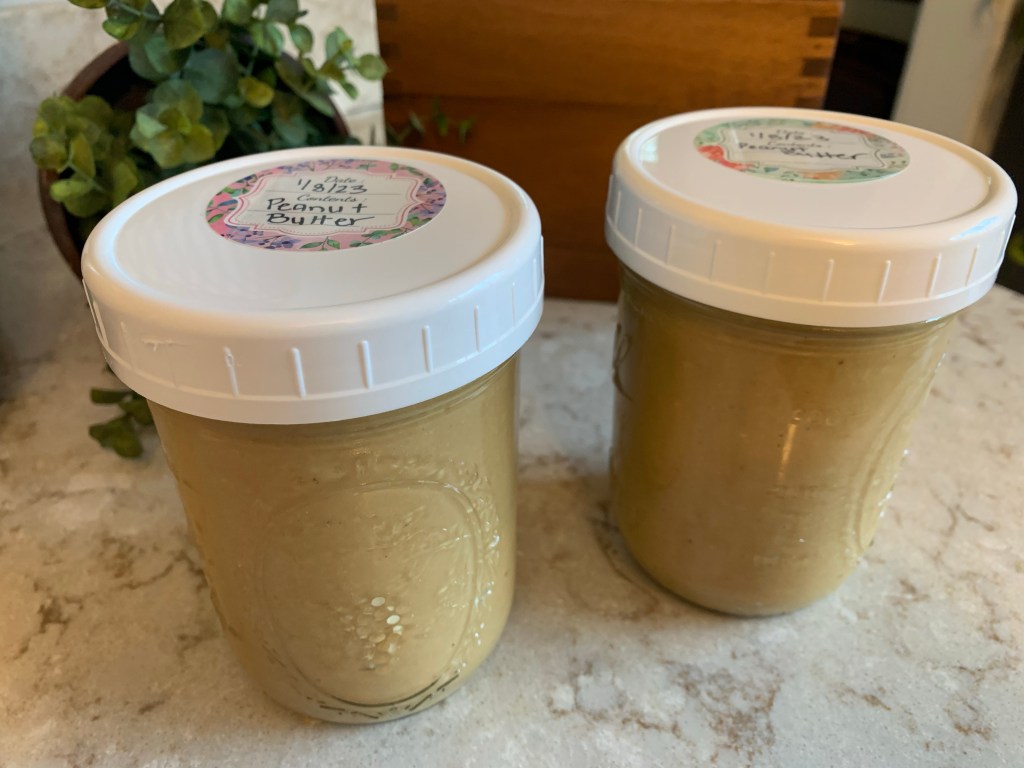
It seems everyone in our household loves to smather peanut butter over an array of crispy crackers, breads, crunchy veggies, and salty pretzels. We also love the scrumptious honey our bees produce yearly. This recipe combines the best of both to make an utterly delicious spread that’s buttery, nutty, and sweet. It’s actually quite addictive and we can usually plow through a jar in no time. We keep a hefty supply of nuts, honey, (and our own tapped maple syrup) on hand to make a fresh batch whenever needed.
Honey Sweetened Peanut Butter
2 cups (16 ounces) raw, shelled peanuts 1/2 teaspoon kosher salt 2 tablespoons canola oil 2 tablespoons honey or maple syrup
Preheat oven to 350°. Place the peanuts on a rimmed baking sheet and bake until lightly golden-brown, about 10 minutes.
Transfer the warm peanuts to a food processor. Pulse a few times just until chopped then run the food processor continuously for 1 minute. Stop and scrape down the sides and bottom of the bowl. The peanut butter will look gritty and dry.
Continue to blend and scrape for several minutes until the peanut butter is smooth and creamy as desired. For crunchy peanut butter, add 1/2 cup additional nuts and pulse to chop nuts into smaller pieces, as desired. Add salt to taste.
Transfer to an airtight container and store in the refrigerator.
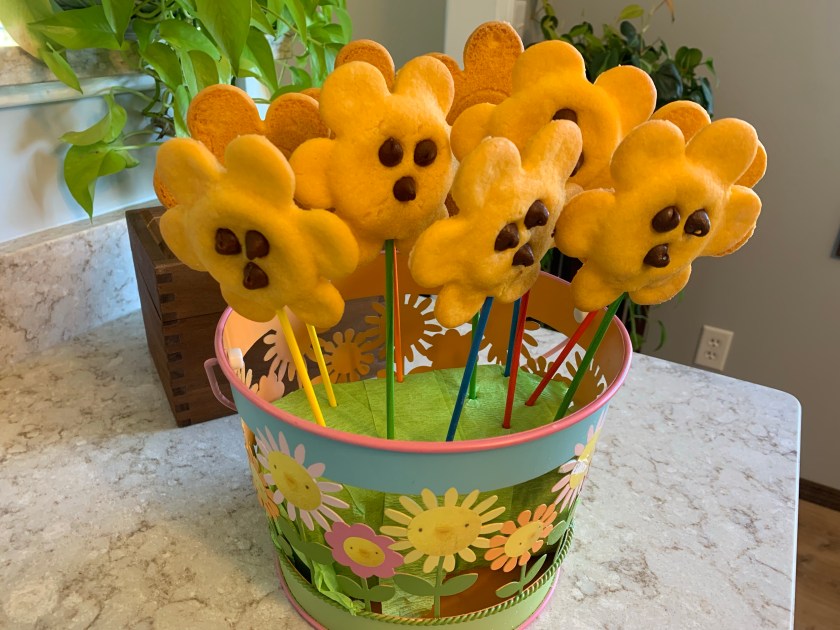
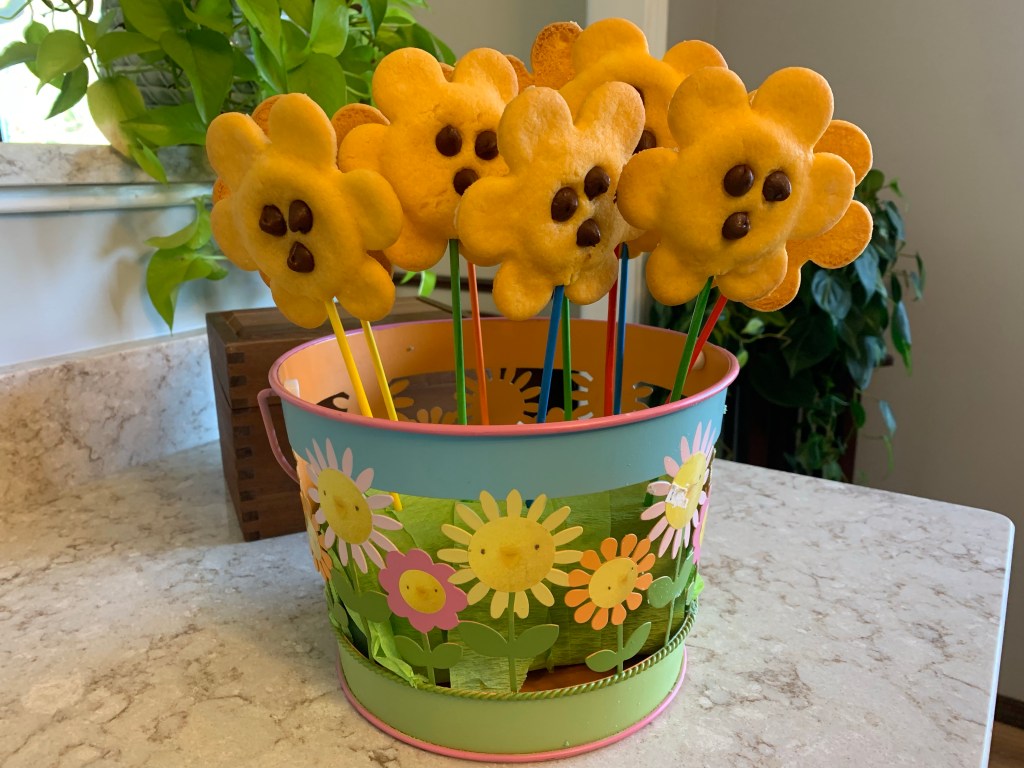
These cookies are super cute and quite tasty. I used the Wilton Easy Cut-Out Cookie recipe to make quick work of this project. Just make the dough, pinch off a small ball, form it around the treat stick, and place your cookie cut-out on top. I used three chocolate chips to top the cookie and then popped them in the oven. Here’s the video for the Wilton recipe.
Wrap them up in a bit of cellophane and you have a lovely gift from the kitchen…
During the recent Thanksgiving holiday, the weather turned cold. I had an idea to cook up a large pot of hearty soup; a comfort food that is always a good idea during the Midwestern winter months. I had plenty of leftover vegetables that I’d purchased to make stuffing and to season other dishes. So, Friday morning I threw a few chicken breasts into a pot of simmering water and set out to make a soup for those looking for a comforting bowl of deliciousness during the weekend.
While I could have used my leftover turkey for this recipe, I chose to leave it for sandwiches as the family likes to pile turkey, stuffing, and cranberry sauce on a hearty wheat bread for traditional turkey leftover sandwiches. I did, however, toast some super thin Pepperidge Farm’s bread to act as a crispy accent to the smooth and creamy soup. I hope you try this delicious soup as this one warms the soul…
Note: I keep chicken stock base in my pantry for times when I don’t have chicken broth on the shelf. Follow the directions on the side of the container to substitute this base for the canned broth.
Creamy Chicken Rice Soup
1 tablespoon oil 1 cup carrots, chopped 1 cup celery, chopped 1/2 cup onion, chopped 1 clove garlic, minced 1/3 cup long grain rice, uncooked 3/4 teaspoon dried basil 1/4 teaspoon pepper 2 cans (14-1/2 ounces each) chicken broth 3 tablespoons flour 1 can (5 ounces) evaporated milk 2 cups chicken breast, cooked and cubed
In a large saucepan, heat oil over medium-high heat; sauté carrot, celery and onion until tender. Add garlic; cook until vegetables are translucent. Stir in rice, seasonings and broth; bring to a boil. Reduce heat; simmer, covered about 15 minutes, until the rice is tender. In a small bowl, mix flour and evaporated milk until smooth; stir into soup. Bring to a boil; cook and stir until thickened, about 2 minutes. Stir in chicken and heat through.
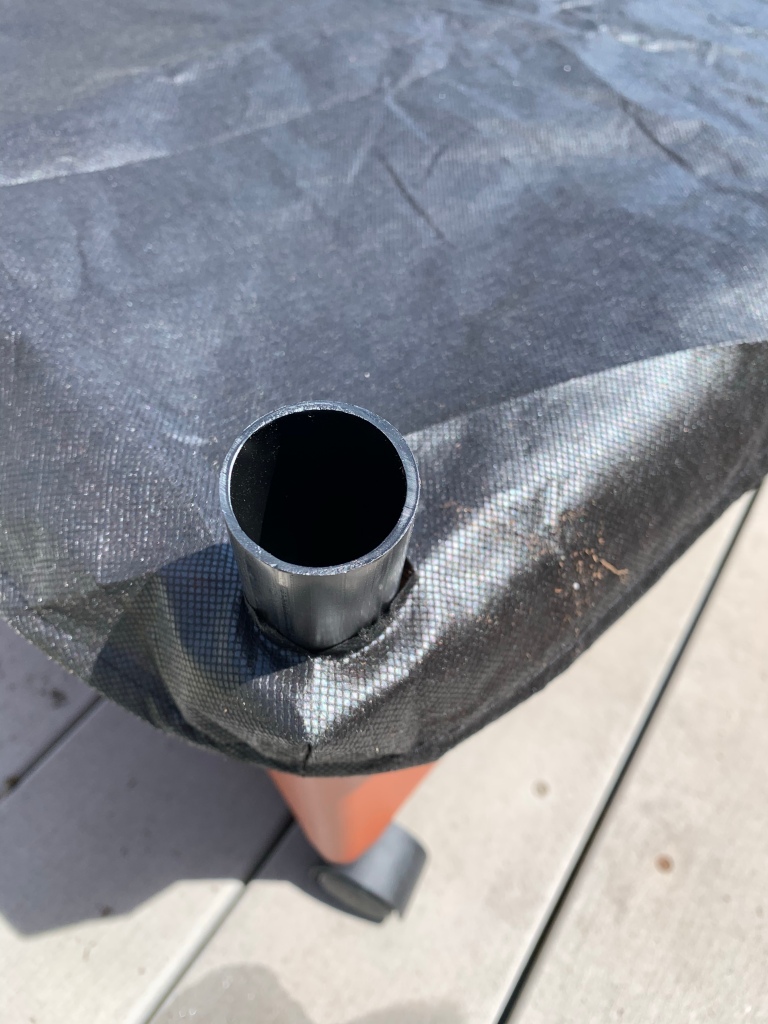
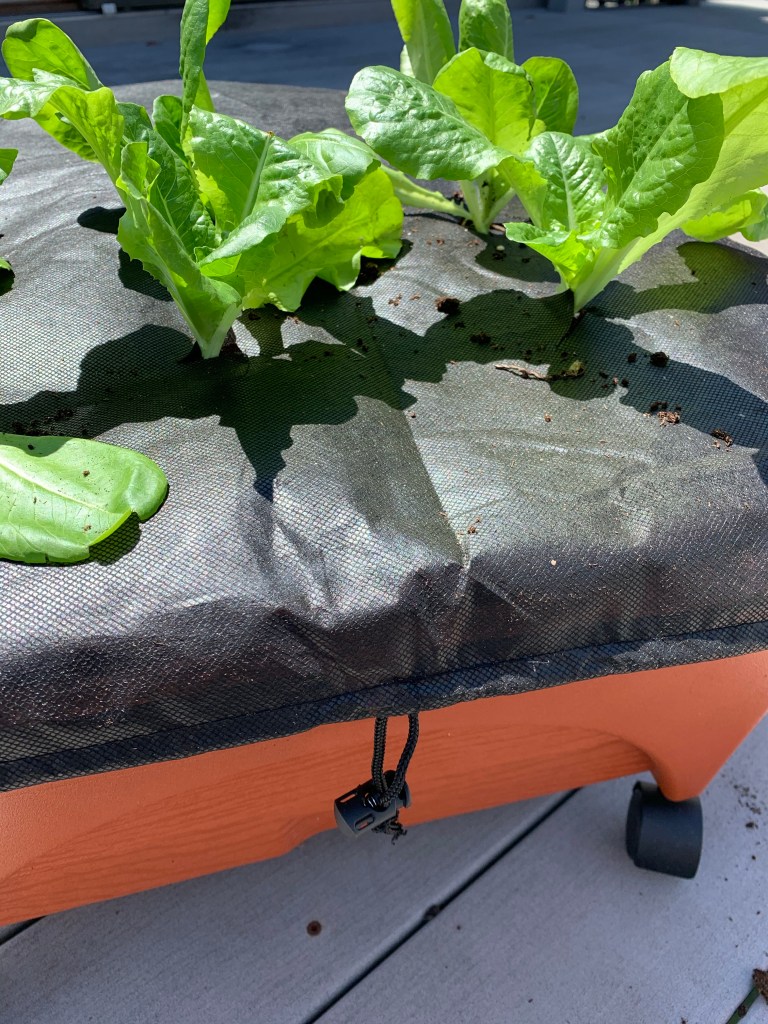
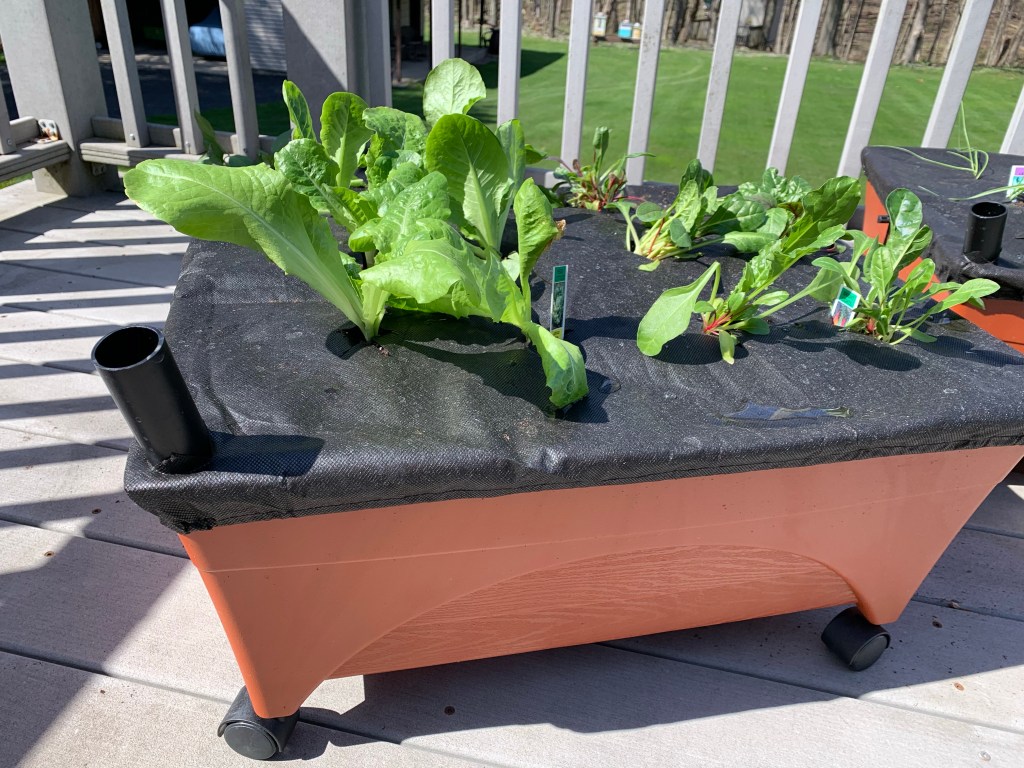
I found these delightful self-watering containers at a local hardware store. I always begin the growing season with the good intention for watering my plants regularly. Slowly but surely, as the season moves into the hot and sticky months, my intentions are quickly forgotten and my garden begins to fade. I’m hoping these little babies will help me find success this year.
The containers are assembled by adding caster wheels and inserting the watering tube in the corner.The wicking action is supported by inserting moist potting mix into the three remaining corners.Continue to fill the container with potting mix and fertilizer.Filling the container to the rim is essential.Fit the landscape fabric over top the container. Snip a hole in the fabric for the watering tube.Snip evenly spaced slits into fabric to accommodate plants.Beginning in the center, work your way out planting greens through the landscape fabric.Using the watering tube, fill container with water. Secure cloth drawstring and place in the sunshine.
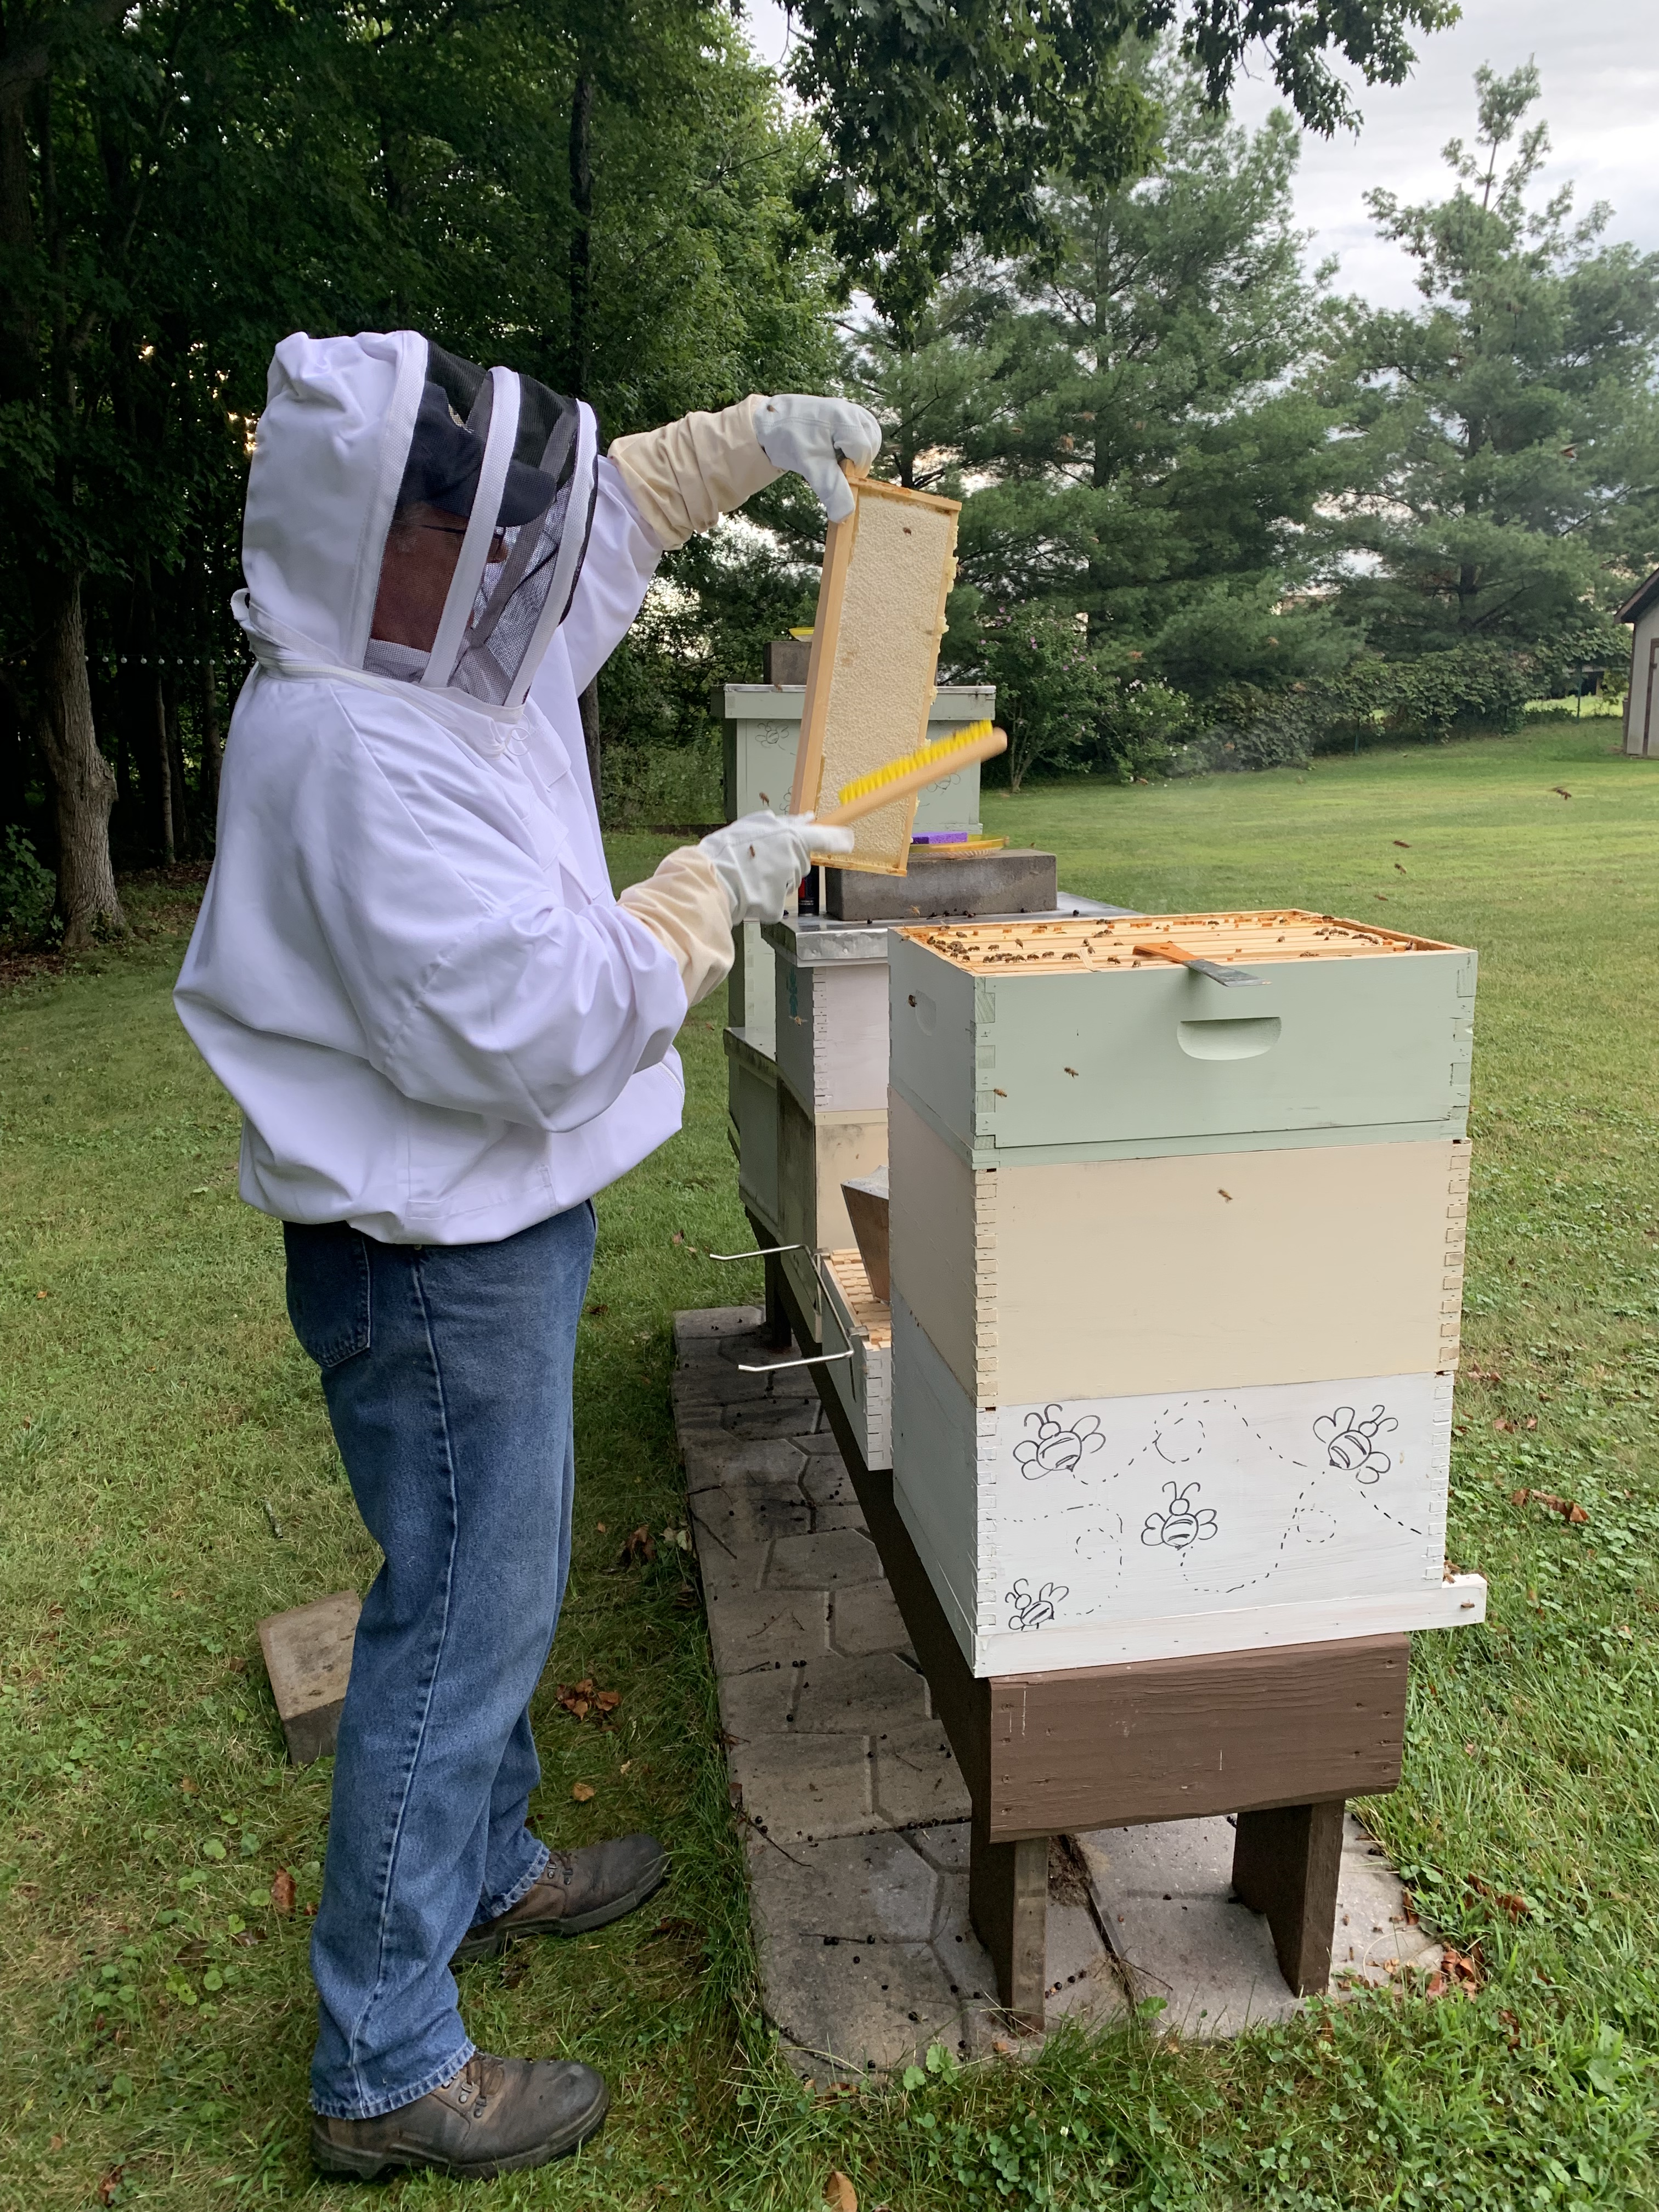
Today we had the pleasure of experiencing our first honey harvest. Our bees have been busy visiting fields of clover and Queen Anne’s Lace over the past several weeks. After watching hours of video focused on harvesting honey and rendering beeswax, we finally took a leap of faith and carefully extracted the liquid gold produced by our very own bees.
Here’s a step by step look at the process:
We carefully swept the bees off of the short, capped honey frames to prepare for extraction.
We set up the extractor and a screened sieve to remove the honey and filter out the wax and other unwanted items. A clean and organized area is imperative. We had buckets of soapy water with sanitizer and tarped surfaces in the extraction area.
After the extractor does its work (we have a hand crank version), the gate can be opened to pour unfiltered honey into a clean, food-safe bucket. The sieve and filter will take out the impurities.
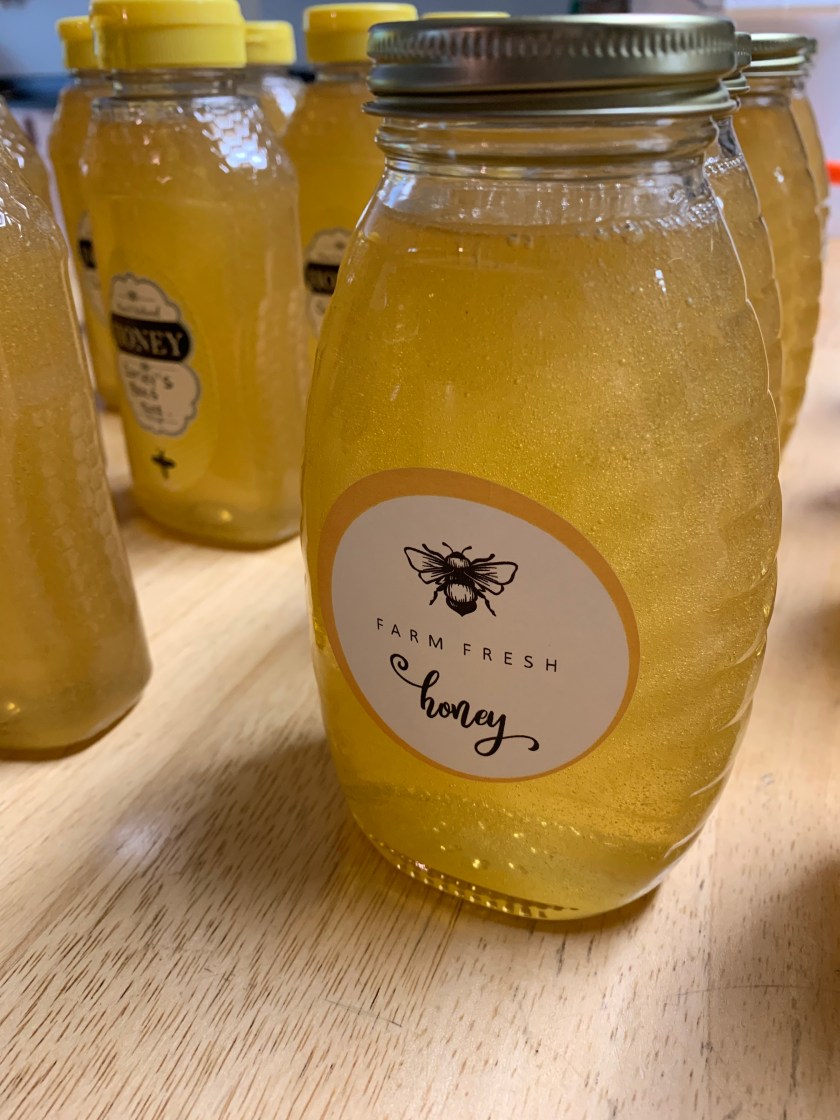
We cleaned and sanitized our honey containers prior to setting up our bottling station.
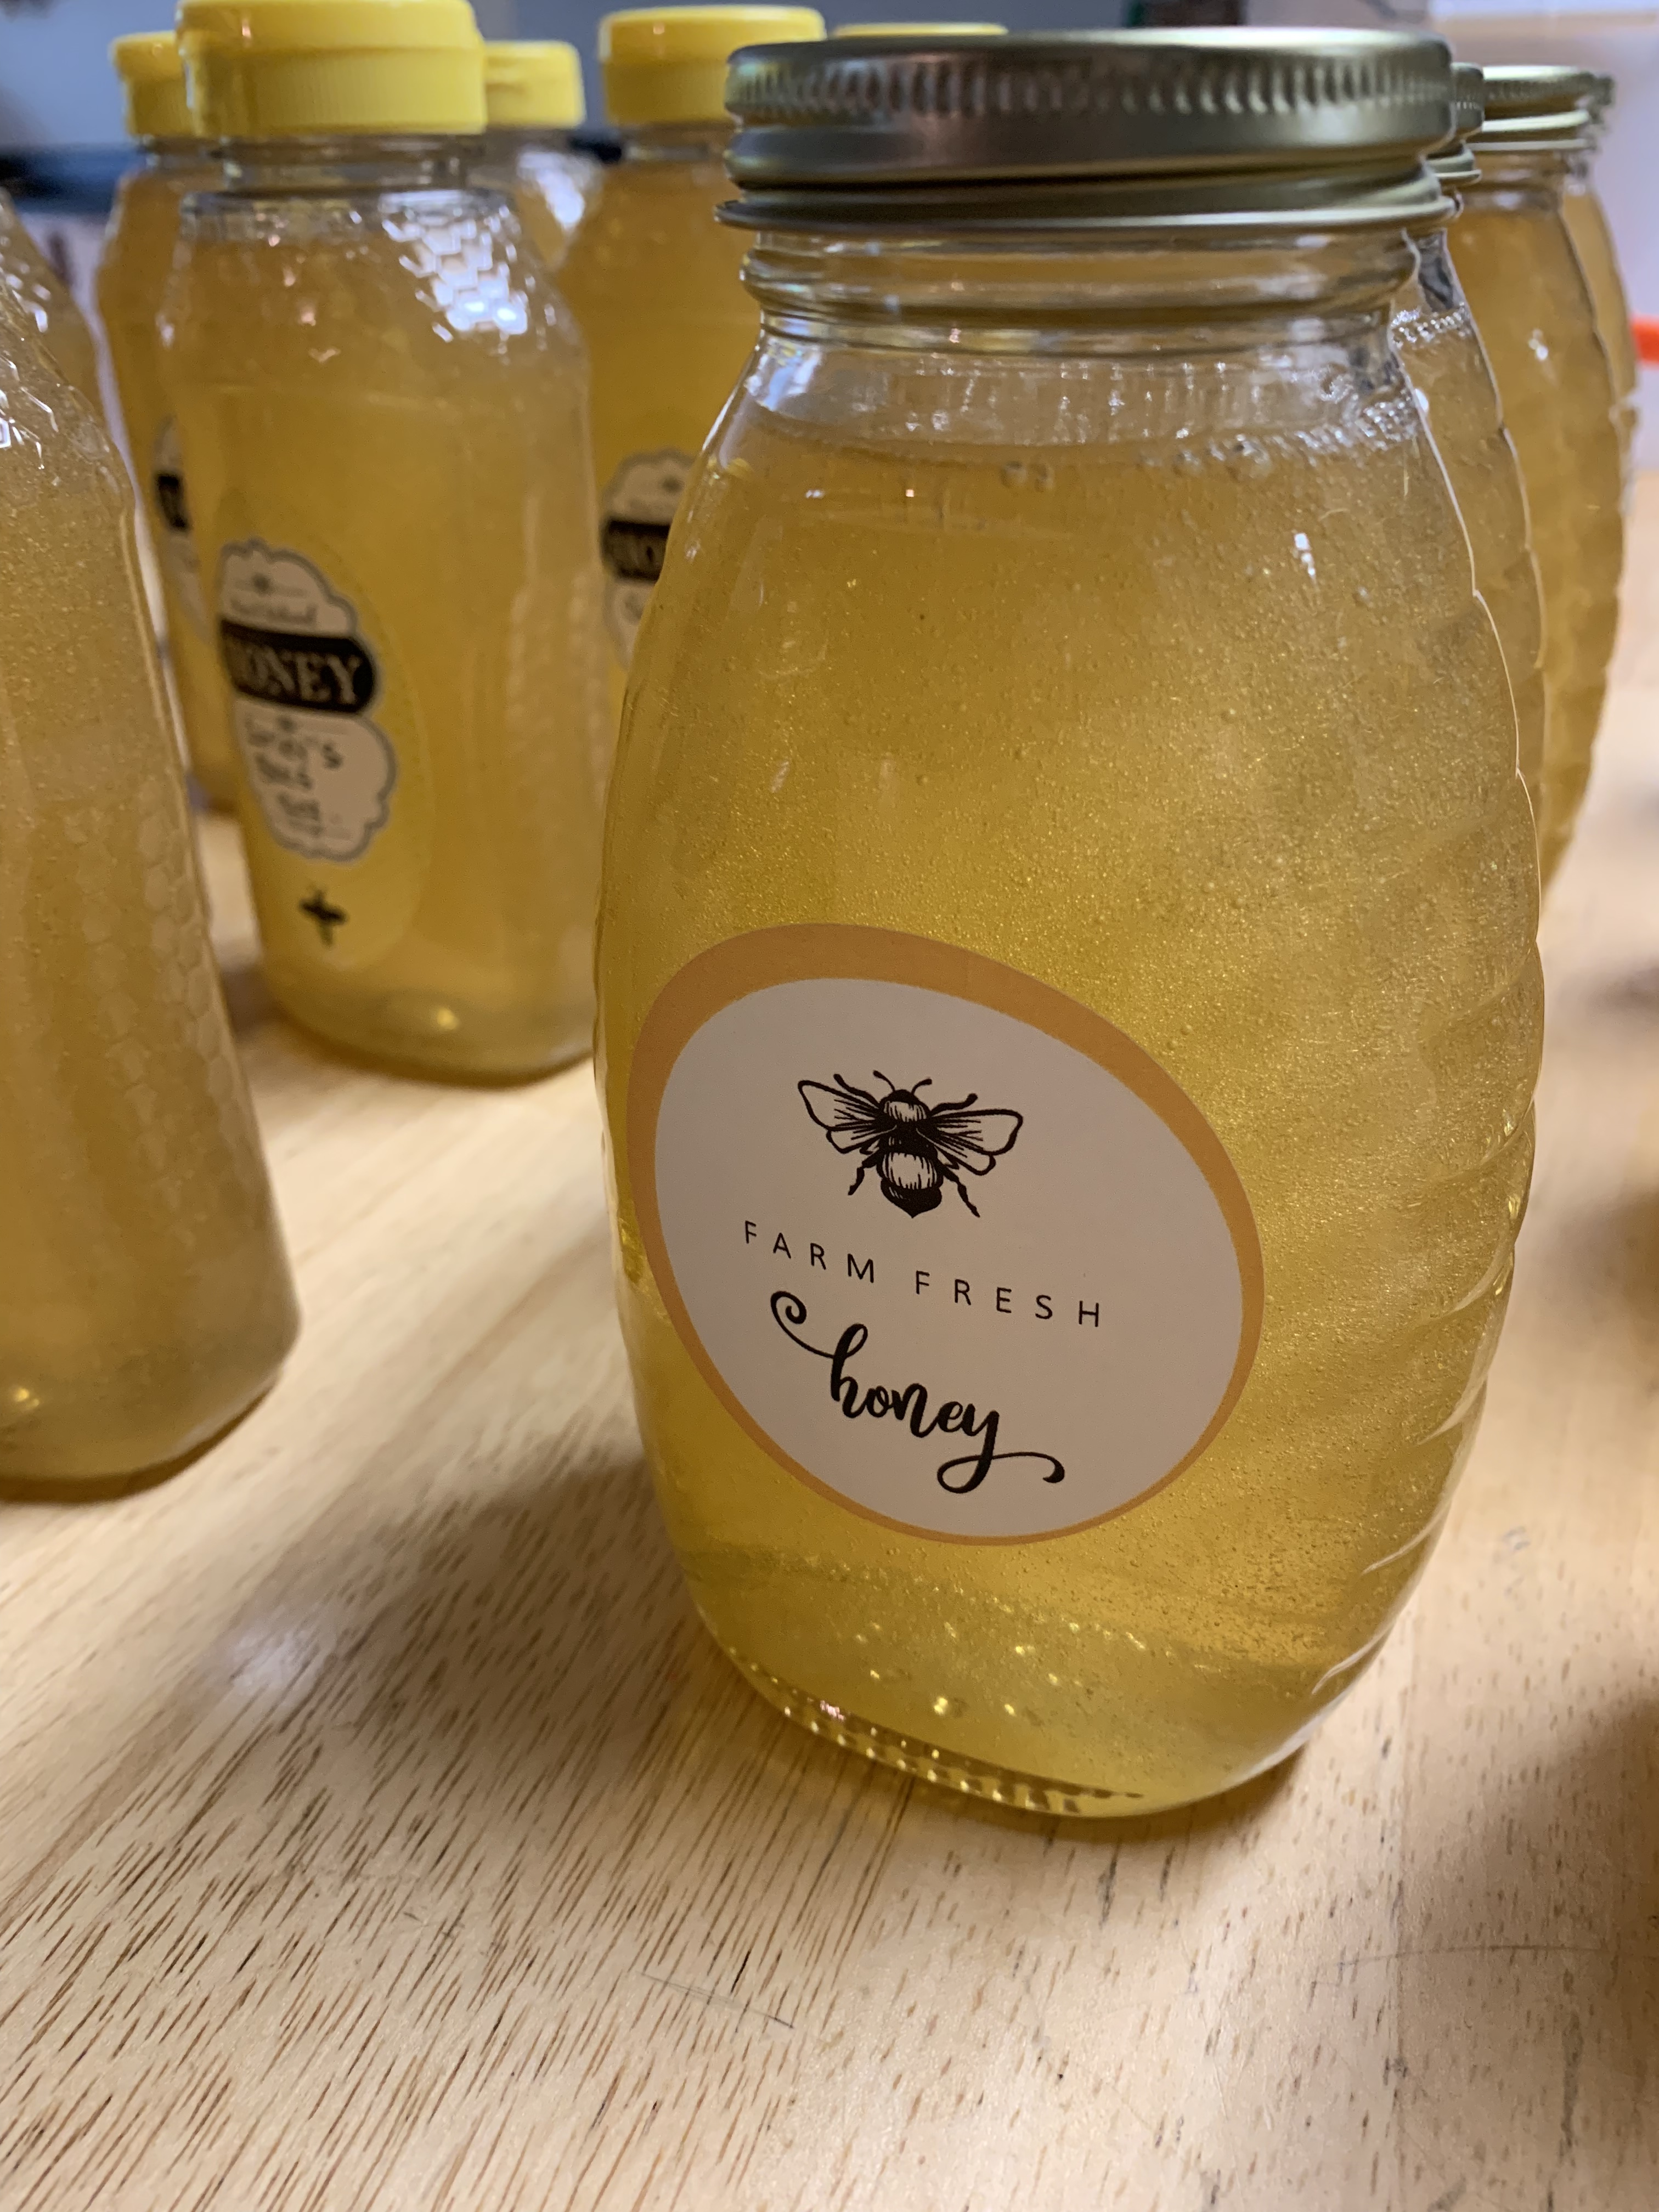
The filtered honey is ready for bottling. We used 12 and 16 ounce jars. We wanted to try a mixture of plastic and glass jars.
We were able to bottle 12- 12 ounce, 12- 16 ounce, and 2- 4 ounce jars. What a delight to get so much honey from just 8 short frames.
I order a few different labels from Amazon to finish off the process. I think I’ll order a set of more personally printed labels for next year.
Now, it’s time to render the filtered wax to make our own beeswax blocks for future projects.


 Today we had the pleasure of experiencing our first honey harvest. Our bees have been busy visiting fields of clover and Queen Anne’s Lace over the past several weeks. After watching hours of video focused on harvesting honey and rendering beeswax, we finally took a leap of faith and carefully extracted the liquid gold produced by our very own bees.