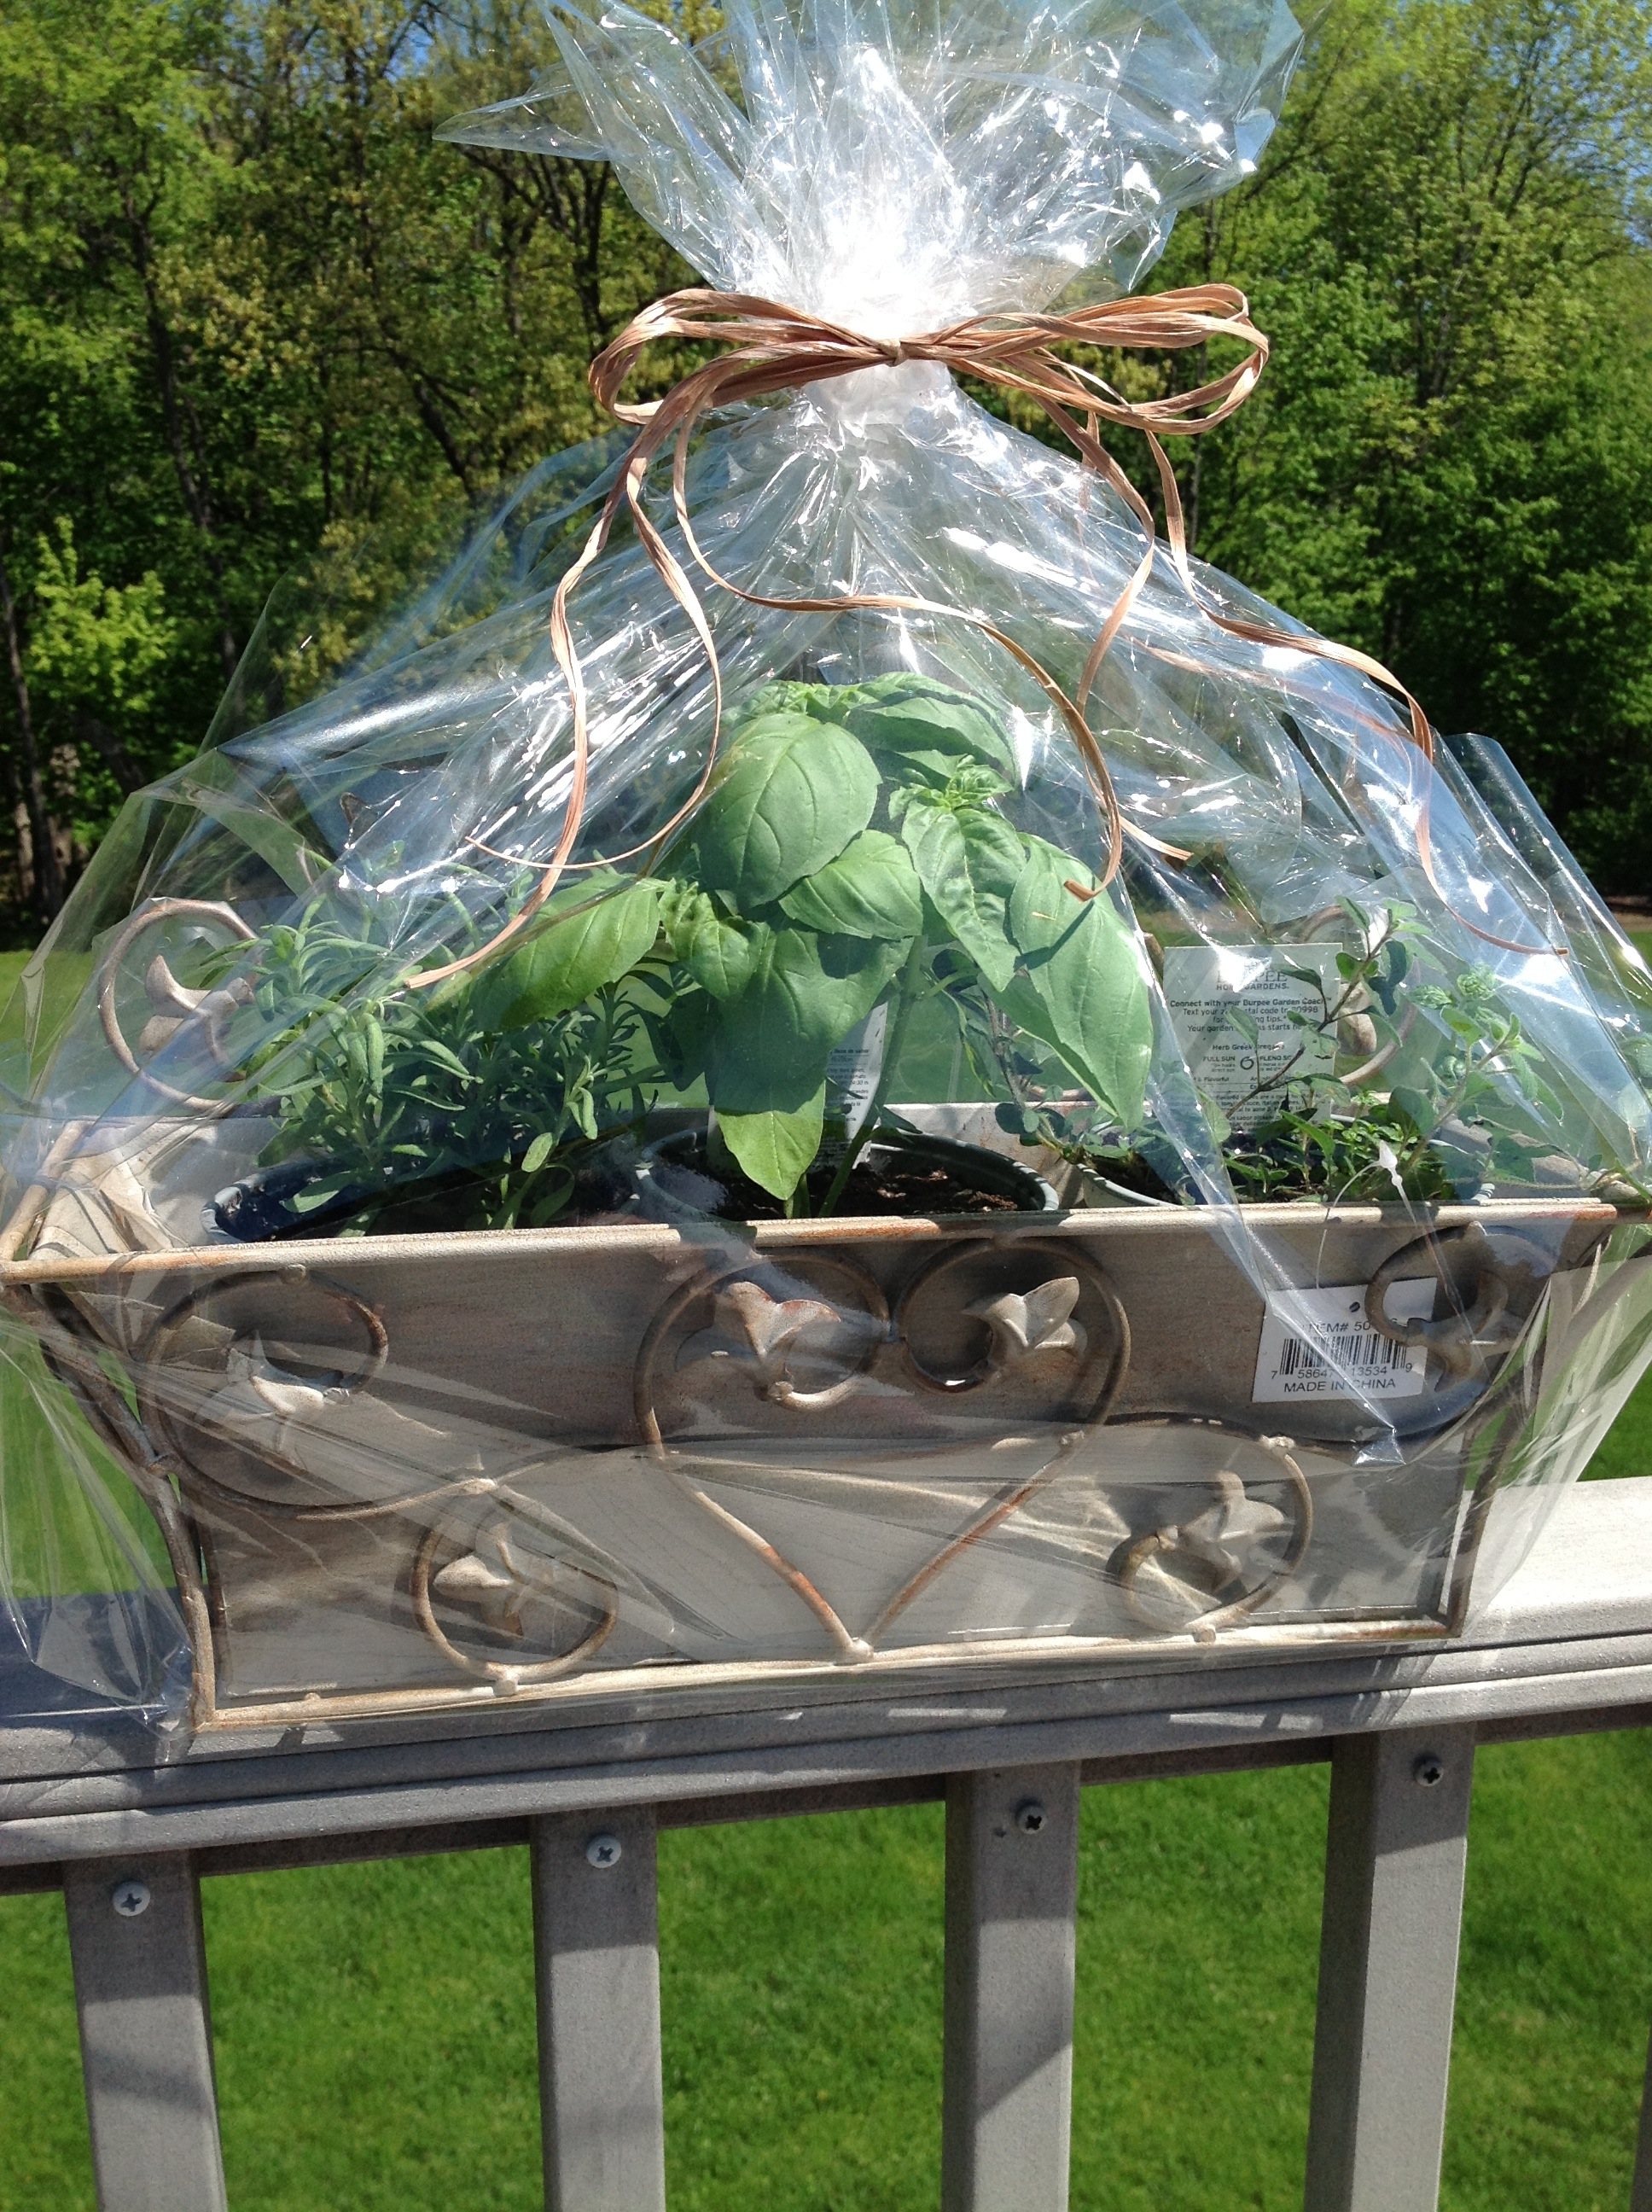
This is surely one of my family’s favorite snacks. As we planted vegetables and herbs this weekend, it made me think of this colorful, nutrition-packed pizza. Most of you have probably seen a variation of this recipe in cookbooks or online… this is the way I have been making it for years. When everyone pitches in to mix the topping and chop the vegetables, this one is a snap to put together. I often cut a few leftover slices to fit into lunchbox containers for the girls. What a great way to get a variety of fresh vegetables on the plate!

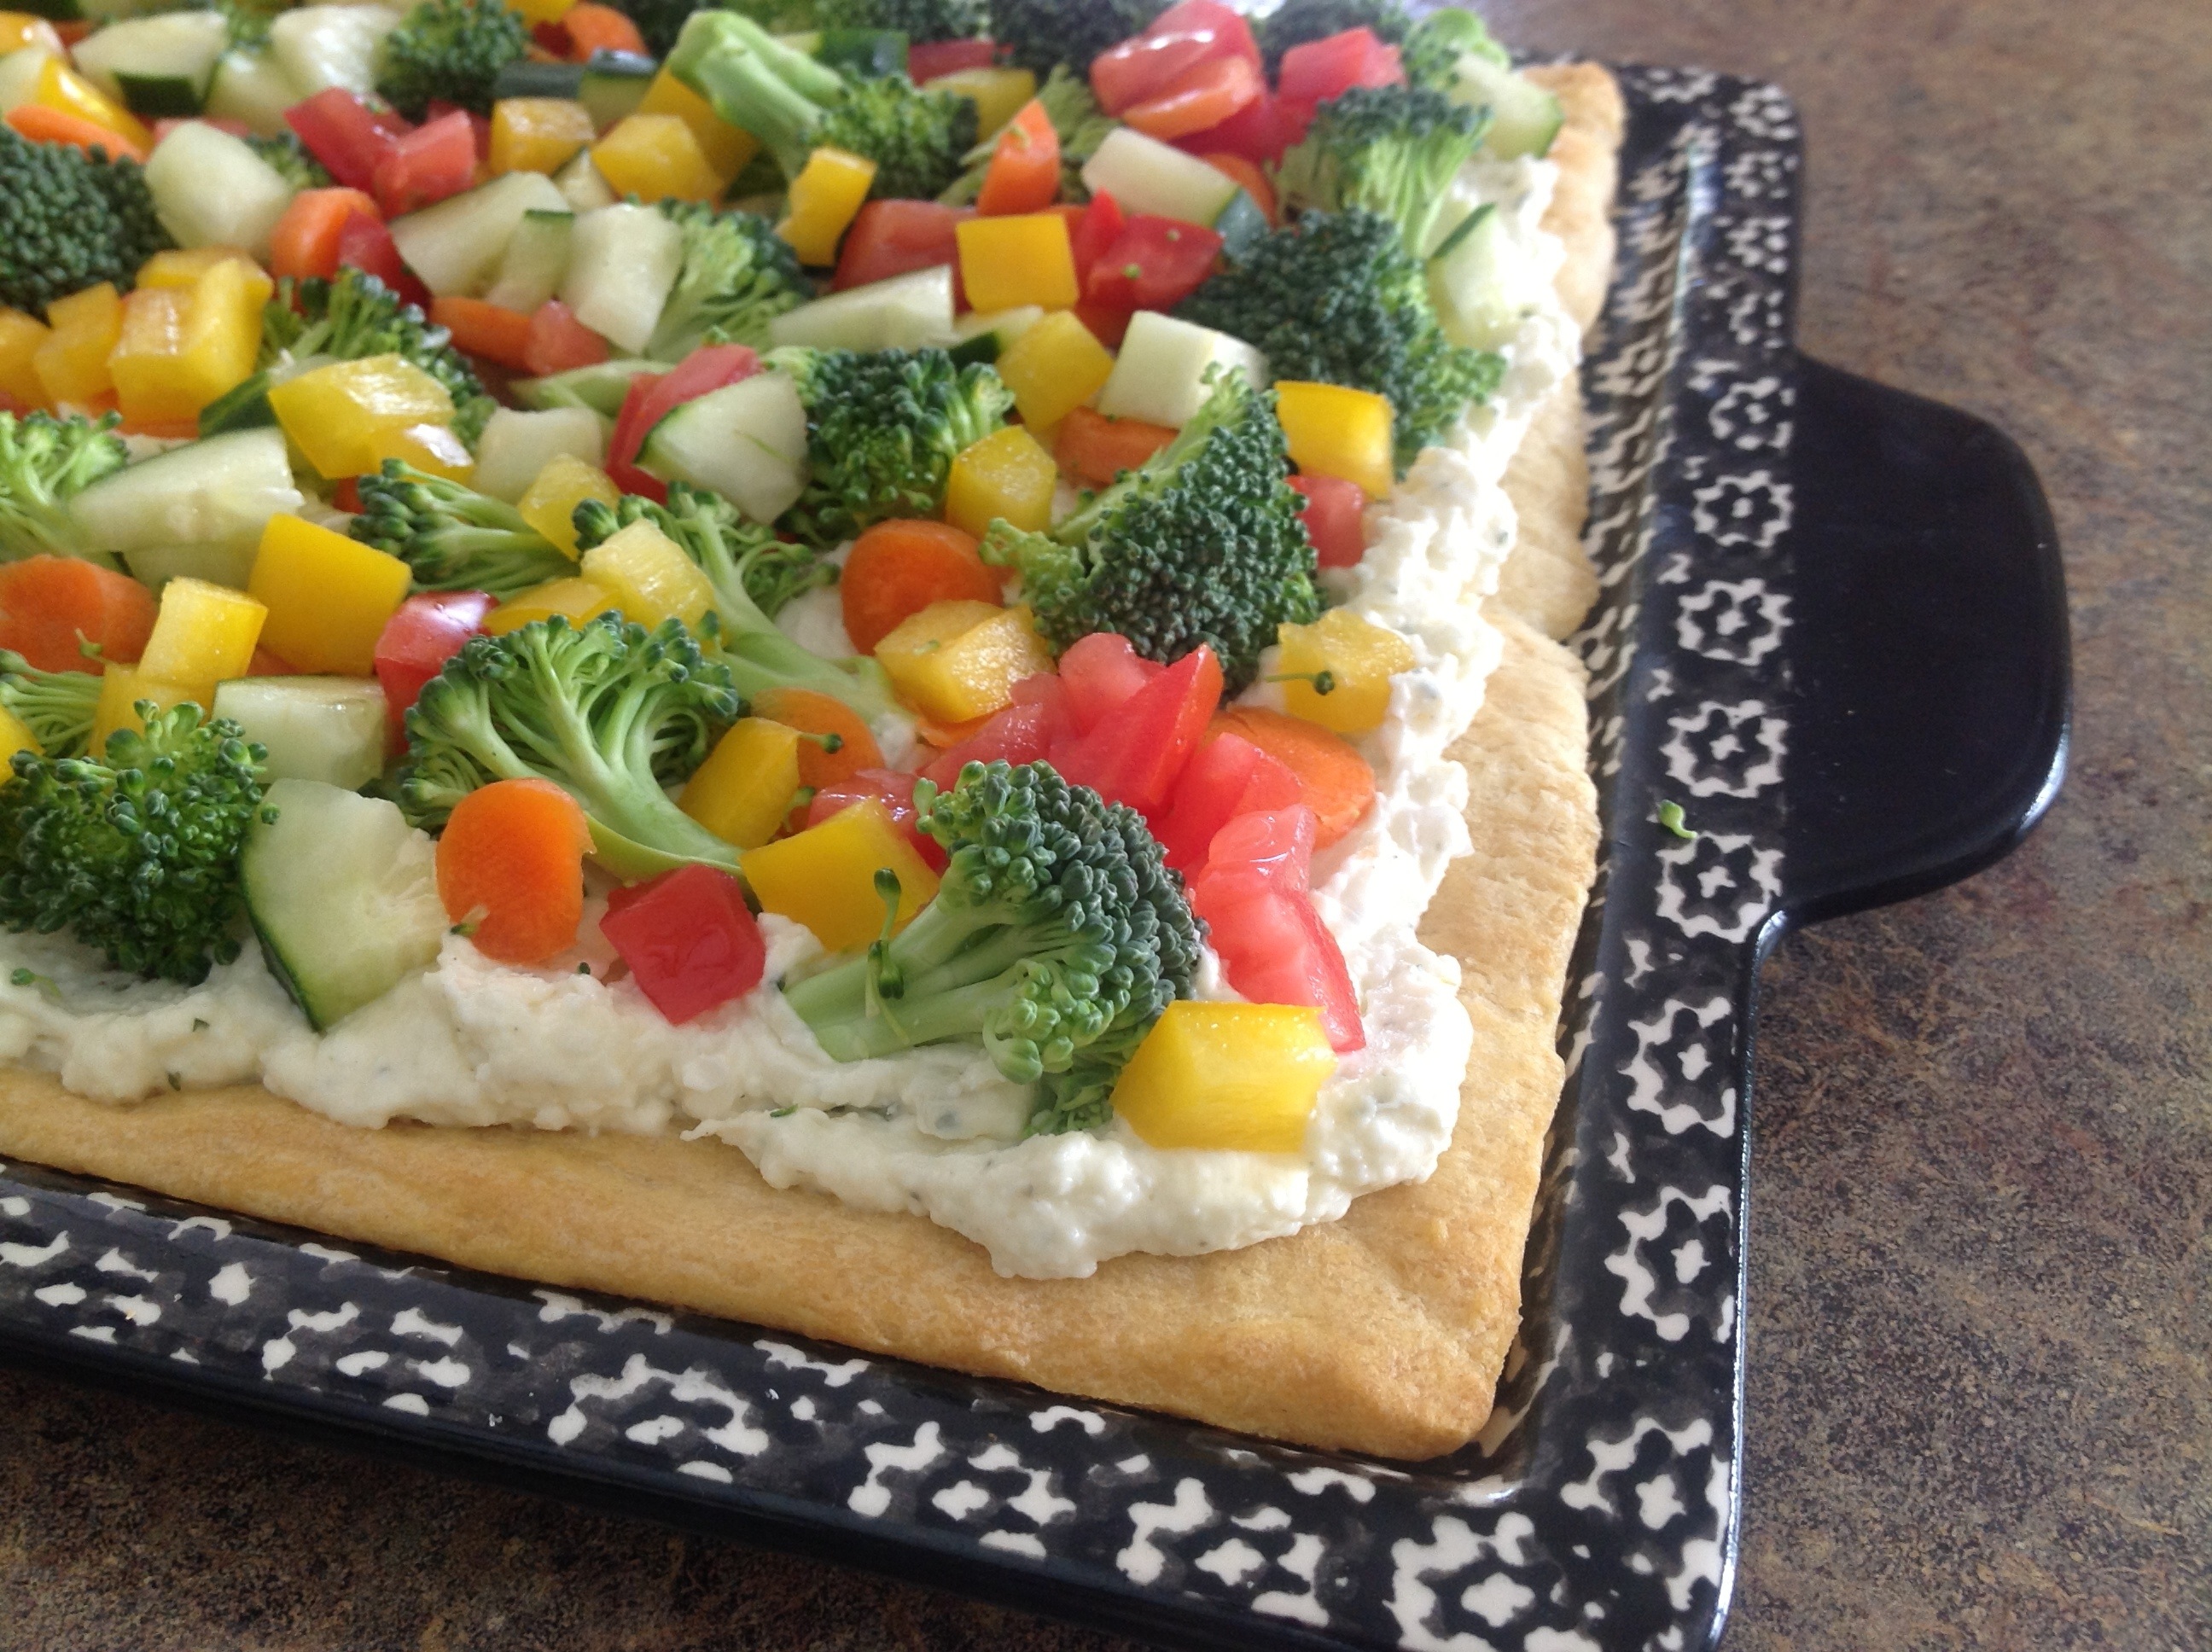
Garden Fresh Veggie Pizza
2 (8 ounce) packages refrigerated crescent rolls
1 cup lite mayonnaise
1 (8 ounce) package cream cheese, softened
1 (1 ounce) package ranch dressing mix
2 green onions, finely chopped
1 bell pepper, chopped (any color)
1 1/2 cups fresh broccoli, chopped
1 medium tomato, diced
1/2 cup cucumber, diced
1 carrot, thinly sliced
Preheat oven to 350 degrees. Spray a jellyroll pan with non-stick cooking spray. Pat crescent roll sheet into a jellyroll pan, pinching seams to close any holes. Bake for 10 minutes, let cool.
In a mixing bowl, combine mayonnaise, cream cheese, ranch dip mix. Spread this mixture on top of the cooled crust. Arrange all of the prepared fresh vegetables on top of the creamed mixture. Cover and refrigerate until well chilled. Cut into squares and serve.