Posted in Baked goods, Baking, Chocolate, Desserts

Crazy Delicious Chocolate Pudding Poke Cake

20140313-221819.jpg
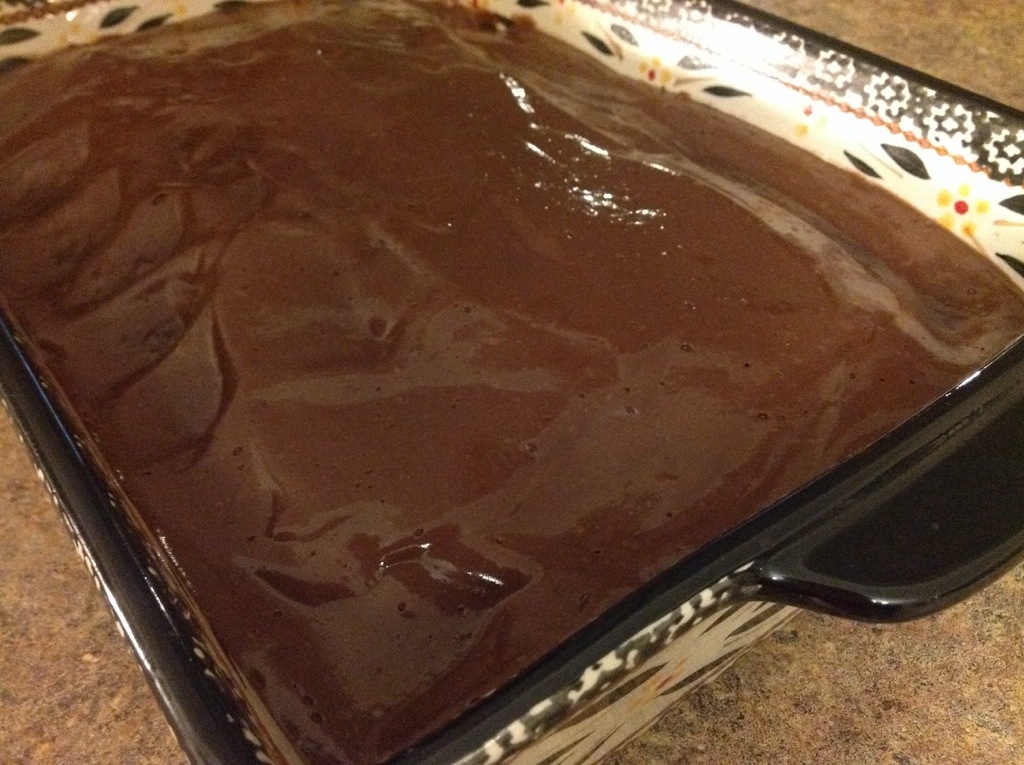
We celebrated J’s birthday with this wonderfully delicious Chocolate Pudding Poke Cake. After the birthday boy blew out the candles, the cake received rave reviews from the birthday crowd. This rich, chocolatey cake served along with a few scoops of vanilla ice cream makes for a delicious birthday treat. With just a few convenient ingredients, this outstanding dessert can be assembled in no time at all. It will disappear quite quickly so be sure to keep the basic ingredients on hand for another round of deliciousness!

Crazy Delicious Chocolate Pudding Poke Cake

1 box Devil’s Food Chocolate cake mix
(Water, vegetable oil and eggs called for on cake mix box)
1 box milk chocolate instant pudding and pie filling mix (4 serving size)
2 cups cold milk

Preheat oven to 350 degrees. Spray with cooking spray, a 13×9″pan. Mix and bake cake according to package directions; cool completely. With the handle of a wooden spoon, poke holes in the cake every 1/2″. In a medium bowl, beat instant pudding mix and cold milk with a whisk as directed on package. Pour pudding evenly over cake. Run knife around sides of pan to loosen cake. Refrigerate about 2 hours or until chilled. Store covered in the refrigerator until ready to serve.

20140313-222751.jpg

Posted in Uncategorized

Just Like Grandma’s Irish Brown Bread

lmc's avatarSimply Made Kitchen and Crafts

20130612-113854.jpg
When I was a young girl, my family used to travel to Ireland every year for our summer holiday. My father worked for TWA (Trans World Airlines) and we had a great travel benefit that we regularly used. My mother was born and raised in County Clare and my father from County Kerry. Our wonderful trips into Milltown Malbay, Spanish Point or visiting Ballybunion always bring the fondest of memories.
Oh, the stories I could tell of the laughs we shared as a family. We would load our tiny rental car up with 8 kids, two adults, and lots of luggage. Relatives would meet us at Shannon Airport and take on a portion of our luggage as we headed toward Milltown.
One of my most vivid memories relates to my grandmother, my mother’s mom. She would get up early to milk the cows and feed the chickens. Then, she would…

View original post 269 more words

Posted in Baked goods, Baking, breakfast, Homemade Mixes

Rita’s Oat and Raisin Breakfast Cereal

20140309-173122.jpg
I bumped into an old friend the other day. She and I used to work together. Our paths would often cross as we headed in and out of the office. Most of our work was done in the field so we weren’t able to see one another on a regular basis. Whenever we had the opportunity to stop and catch up for a bit, she would always share her latest recipe find. The recipes that she enjoyed most, were those that were simple, healthy, and inexpensive.
Well, I have since moved up in rank and our paths really don’t cross any longer. But to my delight, she sent an email the other day, with an invitation to lunch. I was thrilled to hear from her so we met for a quick bite to eat at a local restaurant. The minutes passed as we shared stories of kids, husbands, work, and the daily grind. It was so great to see her. Without fail, she slipped me a piece of paper as we parted ways. On it was printed her latest recipe find. She calls it Peanut Butter Granola but after making it this morning, I’m calling it Rita’s Oat and Raisin Breakfast Cereal. The texture is softer and less crunchy as compared to a traditional granola. My daughter, M ate it as a breakfast cereal this morning and raved about the texture and taste. I hope you enjoy it…Thanks, Rita!

Rita’s Oat and Raisin Breakfast Cereal

2 cups old fashioned oats
1/2 cup raisins
2 1/2 cup rice cereal
1/2 cup apple juice
1/4 cup brown sugar
1 teaspoon vanilla extract
1/2 cup natural peanut butter

Stir together in a mixing bowl, whole oats, rice cereal, and raisins. In a saucepan, bring to a boil the apple juice and brown sugar. Remove from the stove and suit in vanilla and peanut butter. When peanut butter has dissolved, pour over cereal mixture in the bowl and stir until thoroughly combined. Pour mixture onto a jelly roll pan and bake at 300 degrees for 10 minutes. Cool completely and store in an air-tight container.

20140309-173342.jpg

Posted in Baked goods, Baking, Bread, Food, Uncategorized

Mary’s Irish Scones

lmc's avatarSimply Made Kitchen and Crafts

20130514-220948.jpg

My family has been making these scones for as long as I can remember. As a young girl, I used to watch my mom make batches of these buttermilk scones without having to use a recipe. She would mix everything up by hand, then swiftly kneed and cut triangular shapes from the rolled dough. During the Lenten season, Mom would make several batches as we would have scones and tea for Friday dinner.
These days, I regularly make scones for my family. I, too, can make them without the recipe but I use a biscuit cutter to uniformly cut the soft dough into circular shapes. We often top the baked scones with homemade strawberry-rhubarb jam.(Although, J and M prefer to top them with gobs of peanut butter.) After removing a batch from the oven, it isn’t long before they’ve all been eaten and everyone is asking for more.

Mary’s Irish…

View original post 119 more words

Posted in Baked goods, Baking, breakfast, Brunch, Cake, Desserts

Yogurt and Cinnamon Apple Coffee Cake

20140303-211030.jpg
I really like using up the last of the yogurt container by slipping the contents into a smoothie, a parfait, or a muffin/cake mix. Last summer, I opened a large container of vanilla yogurt and as I pulled back the lid, I found a recipe for delicious muffins that included a bit of yogurt in the recipe. After making the first batch of the muffins, I knew that I would use yogurt to substitute for some of the added fat in many of my treasured recipes. The yogurt helps to moisten and lighten up the cake’s consistency and is certainly a healthier alternative to sour cream or added oil/butter.
This coffee cake recipe is a perfect example. Omitting sour cream and adding apples to the original recipe makes for a flavorful moist morning treat. In fact, enjoy this comfort food anytime. Add a piping hot cup of tea or coffee and a good book…and you will be set for a lazy winter weekend afternoon.

Yogurt and Cinnamon Apple Coffee Cake

1 1/2 cups vanilla yogurt
2/3 cup oil
2 tablespoons lemon juice (optional)
1 cup sugar
3 large eggs
1 1/2 teaspoons vanilla
4 small tart apples, peeled, cored, and diced
2 1/2 cups flour
2 1/2 teaspoons baking powder
3/4 teaspoon baking soda
1/2 teaspoon salt
1/8 teaspoon ground nutmeg
2 1/2 teaspoons cinnamon, divided
1/2 cup brown sugar
2 tablespoons unsalted butter, cubed

Preheat oven to 350 degrees. Lightly spray with cooking spray, a 9×13″ baking pan. Mix together the yogurt, oil, lemon juice, sugar, eggs, and vanilla in a large bowl. Fold in chopped apples. In a separate bowl, mix together flour, baking powder, baking soda, salt, nutmeg, and 1/2 teaspoon cinnamon. Stir into liquid ingredients just until no lumps remain.
In a small bowl, mix the remaining 2 teaspoons cinnamon with the brown sugar and butter.
Pour half of the batter into the cake pan. Sprinkle the batter with half of the cinnamon-brown sugar mixture. Spread the rest of the batter over top, and sprinkle with the remaining cinnamon-brown sugar mixture. Bake for 45 to 55 minutes, cool before cutting cake.

Posted in Baked goods, Baking, Bread, lunch box

Cindy’s Sweet Potato Morning Glory Muffins

20140225-063152.jpg
This past weekend, as I sat on the bleachers watching the boy’s sectional swim meet, my dear friend, Cindy asked if I had taken the time to make her Sweet Potato Morning Glory Muffins. I thought about it for a minute and said I wasn’t even sure that she gave me the recipe. She said that I had “liked” it on her Facebook page so I must have seen the recipe. Well, shortly after I arrived home, I asked M if she might be interested in making the muffins for her lunchbox this week. She agreed that the recipe sounded great. Last night, after her distance track practice, M threw together the ingredients for these delicious muffins. Wow, they are incredibly delicious! We packed them in an air-tight container so that, hopefully, she will have them for the rest of the school week. Thanks, Cindy, for a fabulous recipe! It’s a keeper!

Cindy’s Sweet Potato Morning Glory Muffins

3/4 cup almond flour
1 tsp cinnamon
1 tsp vanilla extract
1 tsp baking powder
2 eggs, lightly beaten
1/2 cup mashed sweet potato
1/2 cup shredded coconut
1/2 cup raisins
1/2 cup chopped walnuts
1/4 cup honey
1/8 cup shredded carrot

Preheat oven to 350 degrees. Combine almond flour, cinnamon, and baking powder in a large mixing bowl; mix well. Add remaining ingredients and mix just until thoroughly blended.
Coat muffin tin with non-stick cooking spray (or use paper liners) and divide batter among 18 mini muffin cups.
Bake for 11- 13 minutes or until muffins are cooked all the way through.
Allow to cool before serving.

Posted in Crafts, Gifts, Sewing

Machine Embroidery – Towels

20140223-220719.jpg
Every year, about this time, I volunteer to embroider the state towels for our boy’s and girl’s high school swim teams. Today I spent the day embroidering towels for next weekend’s state event.
Towels are often tricky to embroider so I thought I would take you through the process that I use to make sure my machine embroidery looks clean and concise. Remember that it’s very important to stabilize your work so that the stitching sits on top of the fabric instead of burying itself in the nap of the towel. The stabilizer will also ensure a solid foundation for the design.

20140223-221336.jpg
Make sure to choose a thread color that compliments the fabric color. I used maroon thread against the camel colored towel to signify our team colors…maroon and gold.

20140223-221500.jpg
Hoop a piece of tear-away stabilizer in the embroidery hoop.

20140223-221613.jpg
Carefully spray the stabilizer with a temporary adhesive made specifically for fabric projects. I really like the Sulky brand spray adhesive but my JoAnn Fabrics doesn’t seem to carry it anymore.

20140223-221716.jpg
Next, fold the towel in half, length-wise, right sides together. Center the towel over the hoop, carefully placing the fold at the center register marks.

20140223-221840.jpg
Open out the towel and smooth it in place. Secure a piece of water soluble stabilizer on top of towel, fitting inside the hoop.

20140223-222007.jpg
Slip the hoop into the embroidery module and stitch your design.

20140223-222104.jpg
After you’ve completed your design, remove from machine, trim threads and tear away the stabilizer.

20140223-222200.jpg
Remove excess soluble stabilizer, I use a burst of steam from the iron to clean up any remaining bits left behind.

20140223-222301.jpg
Here’s the finished product. I am currently working on my 12th towel and still have a few more to go. Happy Stitching!

Posted in Baked goods, Baking, Chocolate, Desserts

Chocolatey Angel Food Cake

20140217-071519.jpg

With busy weekend activities, sporting events, and altered work schedules out of the way, we were finally able to celebrate Valentine’s Day on Sunday. The suggestion of a nice dinner at a favorite restaurant was a welcome treat. While dinner was taken care of by the restaurant staff, we decided to choose a movie and gather at home to share a homemade chocolatey dessert.
This is a great last minute recipe as there are only three ingredients involved. Water, cake mix and premium cocoa. That’s it. The light airy texture of the angel food cake, mixed with the rich chocolate flavor of the cocoa make for a delicious valentine treat. A few scoops of French vanilla ice cream and a scattering of berries make this dessert a bit more decadent. What a wonderful way to spend a quiet evening with the family!

Chocolatey Angel Food Cake

1 pkg. (14.5 to 16 oz.) angel food cake mix
1/2 cup premium baking cocoa
powdered sugar (optional)
Fresh berries (optional)

Preheat the oven according to cake mix package directions. In a large bowl, carefully combine cocoa with angel food cake mix. Prepare and bake the cake mix according to package directions. Finish cake by drizzling with icing or sprinkling with powdered sugar; garnish with berries.

20140217-072053.jpg

Posted in Dinner, Food, Main Dish, One Pot Meal, Soup

Hearty Pepperoni Pizza Soup

20140213-212636.jpg
A couple of weeks ago, a friend mentioned that she had enjoyed a cup of pizza soup when visiting a local restaurant. It sparked a memory of a hearty soup that I had made years ago. So I headed to my trusty files to see if I could track down the recipe. I was quite pleased when I found what I was looking for.
As I began to assemble the ingredients for the recipe, I remembered that I had an interesting ingredient in the fridge that I hoped would be a flavorful addition to my soup recipe. You see, I have grown quite fond of a new item called basil paste, that I found in the produce section of the grocery store some time ago. It’s flavor is so similar to the wonderfully unique taste of fresh basil that we pick in abundance during the summer months, here in the states. A dollop of this paste stirred into a piping hot bowl of soup just transforms the flavor into something along the lines of a pizza margherita; one of my favorite pizza recipes.

20140213-214243.jpg
Like much of the country, we in the Midwest, are experiencing some mighty cold temperatures this winter. (I feel like I am cold all the time.). After making this soup this past weekend, I carefully packed it into serving sized containers so that I could carry it to work along with a salad for lunch. There’s something about the fresh hearty flavor and its piping hot state that just warms me to the core. I find myself counting the minutes until lunch time. When paired with a salad, and maybe a slice of crusty bread, this soup makes for a warm and comforting meal.

Hearty Pepperoni Pizza Soup

1/2 lb. Italian sausage, casings removed
1/2 cup green pepper, diced
1/2 cup mushrooms, chopped (optional)
1/2 cup onion, diced
2 cups water
15 ounces pizza sauce
8 ounces sliced pepperoni, finely chopped
1 cup chopped tomatoes
1/4 teaspoon Italian seasoning
1/4 cup grated Parmesan cheese
1 teaspoon basil paste

In a large saucepan, sauté Italian sausage, green pepper and onion until onions are translucent and sausage is no longer pink; drain. Add water, pizza sauce, pepperoni, tomatoes, and Italian seasoning. Cover, and bring to a boil. Reduce heat; and simmer covered for 20 minutes, stirring occasionally. Before serving, stir in basil paste and top with Parmesan cheese.

Posted in Baked goods, Baking, cookies, Desserts

Valentine Shortbread Cookies

20140208-082224.jpg
Every year, when the swim season is at its peak and our swimmers are getting ready for the big championship meets, the girl’s team picks a secret buddy to surprise with a week’s worth of little gifts.
This week, M and I scoured the shelves of the local discount stores to find little trinkets and goodies to pack into colorful bags, each marked with an inspirational swimming quote. In the early morning hours, the girls sneak into the pool locker room and place the goodie bag in front of their “buddy’s” locker. It’s all in good fun and a welcome release from the daily grind of swimming yard after yard in the pool, during the long winter months. Yesterday, M surprised her “buddy” with a beautiful container full of Valentine Shortbread Cookies and a few other little trinkets.
These cookies are kind of over the top in the “sweets department”. The recipe includes lots of creamy butter and a load of sugar. Certainly not something you’d want to munch on everyday. But for this special occasion, and for the upcoming Valentines Day holiday, maybe this is the cookie you’d like to make and share with your sweetheart!

Valentine Shortbread Cookies

2 cups butter, softened
1 cup white sugar
1teaspoons vanilla extract
1 teaspoon almond extract
4 cups flour
1/4 cup Wilton sprinkles + extra for topping

Preheat oven to 350 degrees. Cream together butter and sugar until light and fluffy. Stir in vanilla and almond extract. Carefully add flour and mix well. Gently fold sprinkles into batter. Using a small ice cream scoop, form cookies and place on baking sheets. Flatten slightly with the bottom of a glass or with slightly damp fingers. Lightly pat remaining sprinkles into top of cookies. Bake for 10 – 12 minutes. Drizzle with powdered sugar glaze when cooled.

20140208-082327.jpg