Posted in Beef, Dinner, Soup

Cheeseburger Soup

Years ago, when our children were little, we used to hold an annual fall party for family and friends on our beautiful wooded lot.  We’d elaborately decorate the barn and yard with hay bales and pumpkins, colored lights and corn stalks.  I’d cook large pots of soup, chili, baked beans and bratwurst.  A dessert table always displayed an abundance of tasty autumn treats to satisfy all of the guests.  This cheeseburger soup was always a staple recipe made for the festive backyard party. I would double or triple the ingredients and separate the batch to freeze a portion in serving sized containers.  This way, we had a supply on hand to enjoy during the cool autumn and winter months. 

Cheeseburger Soup

2 pound ground beef
1 cup diced  onion

1 cup diced carrots

1 cup diced celery

1 1/2 teaspoons dried basil

1 1/2 teaspoons dried parsley flakes

4 tablespoons butter, divided

6 cups chicken broth  (I use chicken soup base mixed with water, as directed on package)

5 cups diced peeled potatoes

1/4 cup flour

4 cups (16 ounces) process cheese (Velveeta), cubed

2 cups milk

1 1/2 teaspoon salt 

1 teaspoon pepper 

In a large soup pot, brown beef; drain and set aside. In the same pot, sauté the onion, carrots, celery, basil and parsley in 1 tablespoon butter until vegetables are tender, about 10 minutes. Add the broth, potatoes and beef; bring to a boil. Reduce heat; cover and simmer for 10-12 minutes or until potatoes are tender.

Meanwhile, in a small saucepan, melt remaining butter. Add flour; cook and stir for 3-5 minutes or until bubbly. Add to soup; bring to a boil. Cook and stir for 2 minutes. Reduce heat to low. Stir in the cheese, milk, salt and pepper; cook and stir until cheese melts. 

Tip: I make my own croutons to top the soup.  Just cube a few slices of day old bread or leftover buns and sprinkle them with oil, garlic powder and salt (to taste).  Bake in a 350 degree oven for 12-15 minutes or until crispy and golden brown.  Cool; store in an airtight container.
Posted in appetizers/snacks, Baked goods, Food, Homemade Mixes

Sweet and Spicy Roasted Nuts


As the cool winds blow down the length of Lake Michigan, they usher in autumn showers and chilly temperatures.  This weekend we are experiencing “lake effect rains” and the cooler temperatures have me searching through my files for all of my favorite “comfort food” recipes. 

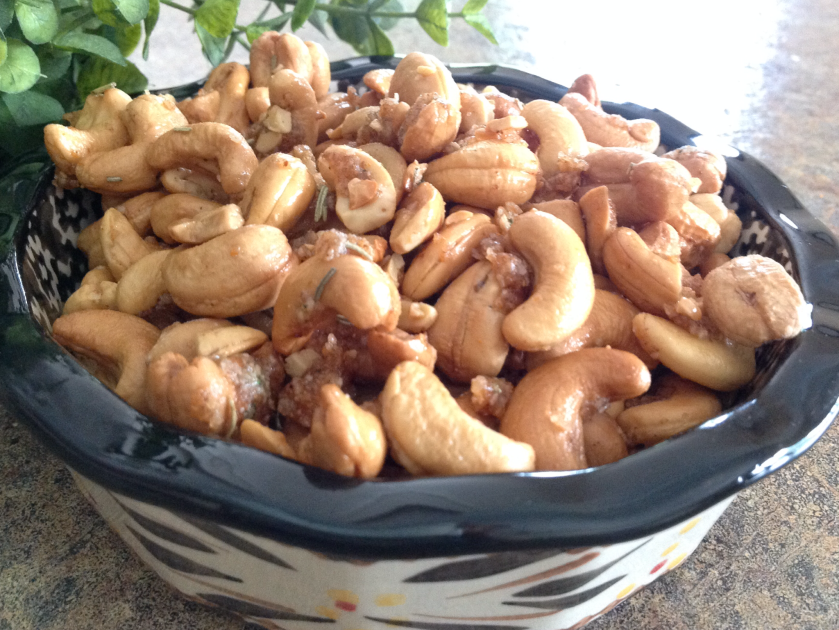
This irresistible snack is great for a fall tailgate party or family get-together.  Roasted cashews mixed with a blend of sweet and spicy ingredients make this crunchy finger-food hard to resist.  Nearly everyone that has tried these spiced nuts find them irresistible.  Make a couple of batches because they’re usually gobbled up rather quickly.

Sweet and Spicy Roasted Nuts

1 1/2 lbs. cashew nuts

1½ tablespoons butter, melted

2 tablespoons fresh rosemary, finely chopped

2 teaspoons brown sugar 

½ teaspoons cayenne pepper

2 teaspoons sea salt

Preheat oven to 375 degrees.  Spread cashews in a single layer on a jelly roll pan.  Roast the cashews for 8 to 12 minutes, or until lightly toasted and golden brown. 

Meanwhile, in a large mixing bowl, combine fresh rosemary, brown sugar, cayenne, and salt; add melted butter, mixing well.Remove the nuts from the oven and carefully add hot cashews to the spice mixture.  With a large spoon or spatula fold in the nuts to completely coat with the spice mixture. Cool cashews in a single layer on a piece of foil or parchment. Serve warm or  transfer to an airtight container and keep at room temperature for a few days.

(adapted from the Food Network)

Posted in Beef, Dinner, Main Dish, Soup

Our Award-Winning Chili

20140128-130935.jpg
Award Winning Chili and Creamy Cornbread Muffins, a wonderful dinner combination for these sub-zero Midwestern temperatures.

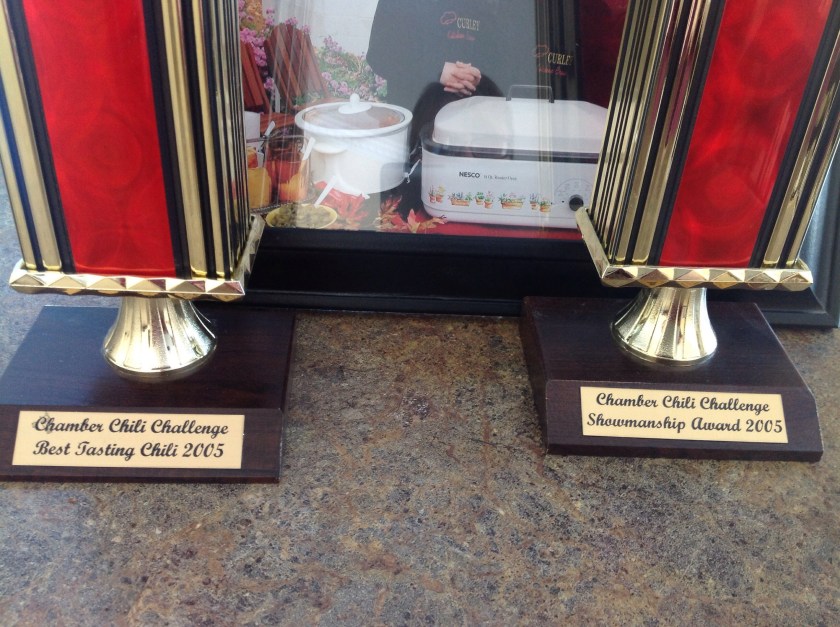
Several years ago, (2005 to be exact) our small town’s Chamber of Commerce hosted a chili cook-off. It was held in a lovely park located in the town square on a crisp fall day. On the west side of the park, the usual hustle and bustle of the Saturday morning farmer’s market was in full swing. Tables and chairs were set up around the beautiful gazebo located in the center of the park. And all of the chili cook-off competitors situated their booths around the gazebo.
I had read about the cook-off in the local paper and thought that entering the competition would be a great way to spend a beautiful fall day with the family and to see how my chili would fare against the others. I had been serving this recipe for years and friends and family seemed to love it.
The morning of the cook-off, we got up early, packed up the car with chili fixings and decorations for our booth. I was intent on winning the trophy for the best chili and the sportsmanship award, given to the most neighborly participant that had gone the extra yard to create a festive looking booth. I have an embroidery machine so I had embroidered custom attire for the day. I had purchased a few yards of cotton fabric to make chef hats and simple pants for the kids. We all wore matching embroidered sweatshirts to show off our family name. The kids were young and eager to help. They were excited about the festivities for the day.
I have fond memories of this day as we did indeed win top prize in both categories. From then on, this has been the recipe that I turn to when making a big pot of chili during the fall and winter months. It’s actually a very simple recipe full of flavor and warmth.
I must say, the weather these past several weeks has been brutal. I have been scouring my recipes to provide hearty meals for the family. It seems we are constantly out shoveling snow, heading off to work or school and returning home only to find that the snow needs to be tended to again. This chili recipe really hits the spot during the cold winter months in the Midwest.

Our Award-Winning Chili

5 slices of bacon
2 onions, chopped
3 cloves garlic, minced
1 pound ground chuck
3/4 pound beef sirloin, cubed
1 (14.5 ounce) can diced tomatoes
1 (12 fluid ounce) can or bottle beer
1 cup brewed coffee
2 (6 ounce) cans tomato paste
1 (14 ounce) can beef broth
1/2 cup packed brown sugar
3 1/2 tablespoons chili powder
1 tablespoon ground cumin
1 tablespoon unsweetened cocoa powder
1/2 teaspoon cinnamon
1 teaspoon dried oregano
1 teaspoon ground cayenne pepper
1 teaspoon salt
3 (15 ounce) cans kidney beans

In a large pot over medium heat, cook bacon until crisp. Remove to paper towels. Cook onions, garlic, ground chuck and sirloin cubes in bacon drippings until brown; drain. Crumble cooled bacon and return to pot.
Mix in the remaining ingredients and bring to a boil. Reduce heat to low, and simmer for 1 1/2 hours.

20140128-131159.jpg

Posted in appetizers/snacks, Beef, Dinner, Main Dish

Copy Cat White Castle Sliders

20131017-095758.jpg
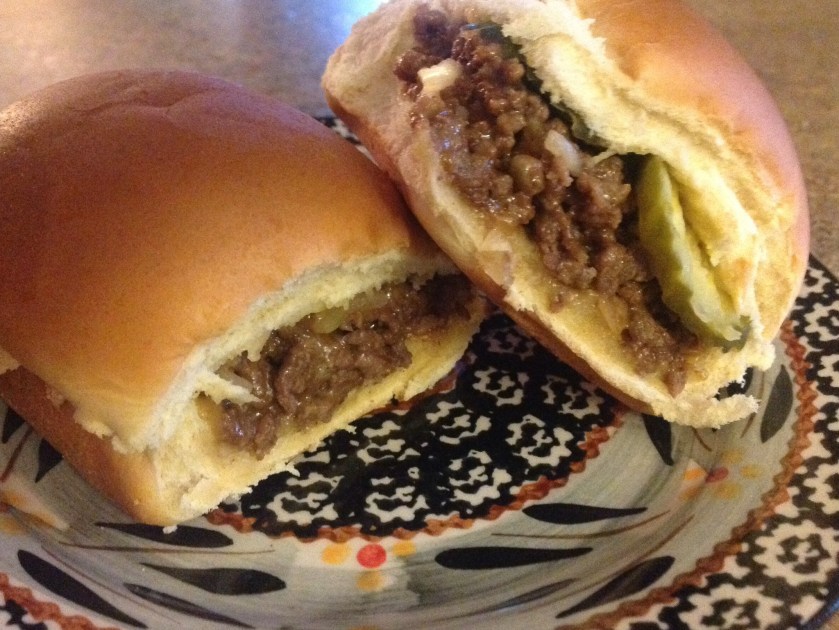
My mother-in-law gave me this recipe when I was a newlywed. She had served these delicious mini-burgers for a friendly gathering and I was hooked the minute I tasted them. In the Chicagoland area, there is a fast food restaurant that serves these bite-sized burgers in large quantities. It’s fun to make a load of these for tailgating finger food. I often pack the foil wrapped, pre-cooked burgers in the crockpot to stay warm at the tailgate party. They are always a crowd-pleasing hit!

Copy Cat White Castle Sliders

2 pounds ground beef
1 (1.25 ounce) envelope onion soup mix
1/2 cup mayonnaise
2 cups shredded Cheddar cheese
24 dinner rolls, split
1/2 cup sliced hamburger pickles, drained

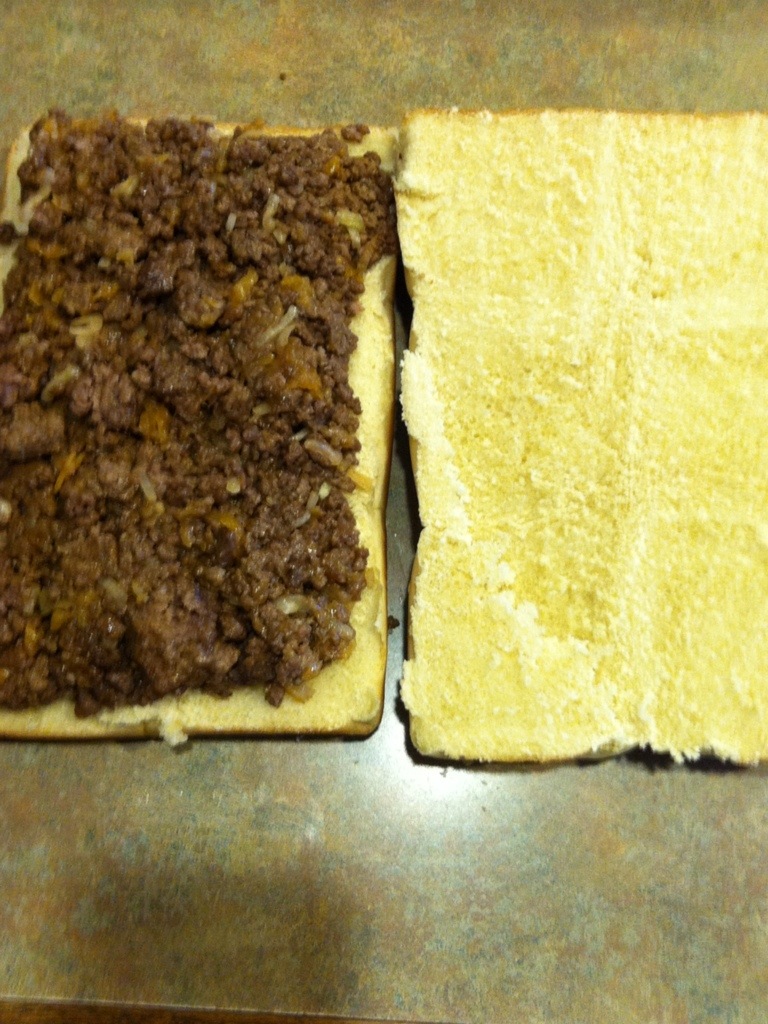
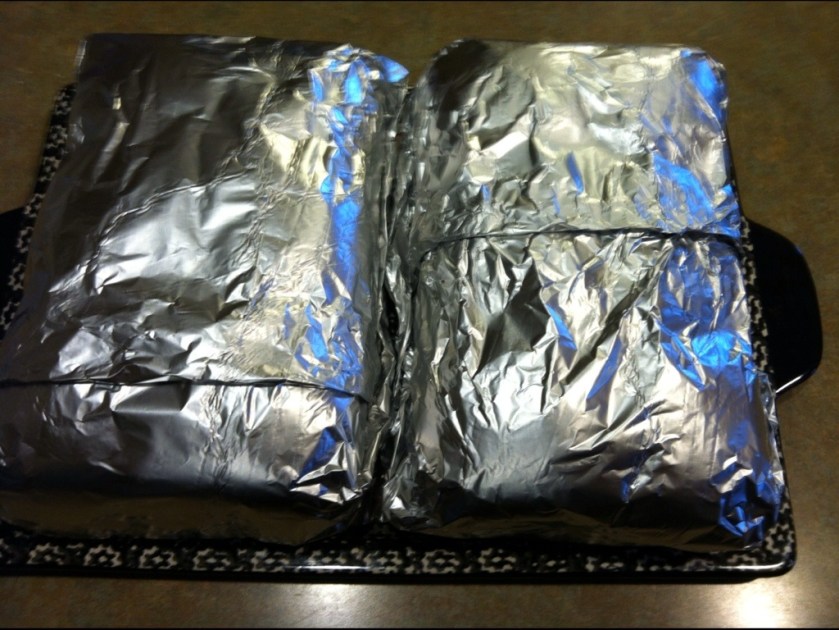
Preheat an oven to 350 degrees. In a large skillet, brown the ground beef; drain. Mix the onion soup mix, mayonnaise and cheddar cheese into the ground beef mixture. Cover, remove from heat. Lay the bottoms of the dinner rolls on a sheet of aluminum foil large enough to completely wrap and seal in the burgers. Spread the cheese and beef mixture on the bottom half of each roll. Top each burger with two pickle slices. Replace the tops. Cover and completely wrap the burgers with the aluminum foil. (The idea is to steam the burgers enclosed in the foil.) Bake until the burgers are heated through and cheese melts, about 30 minutes.

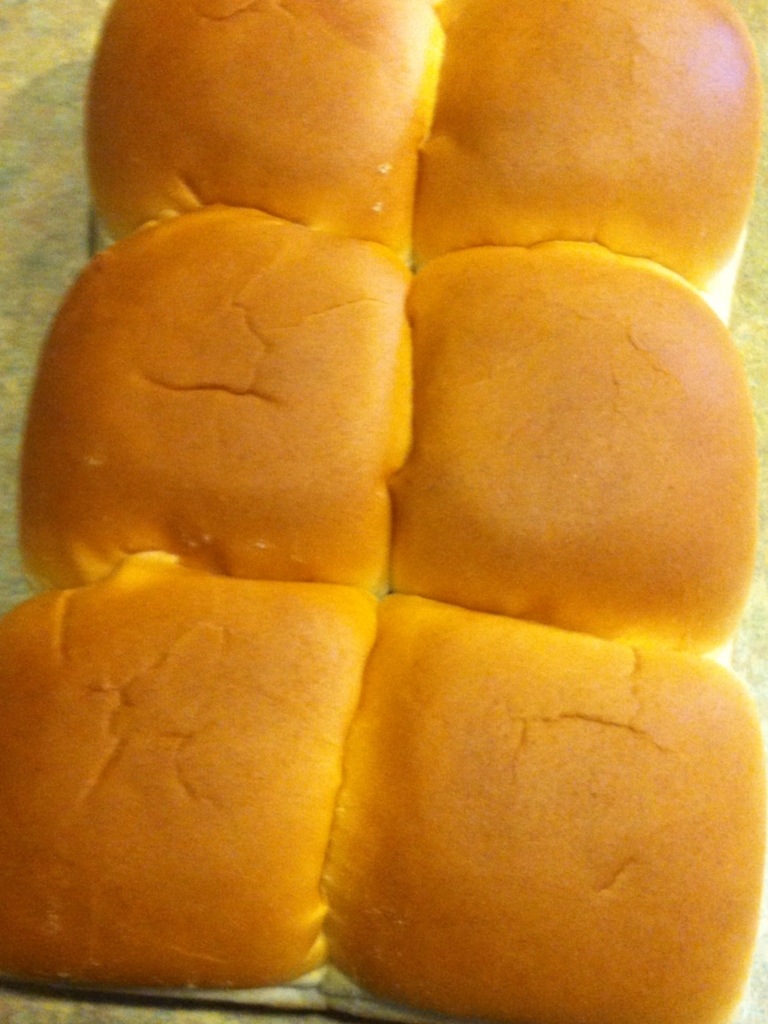
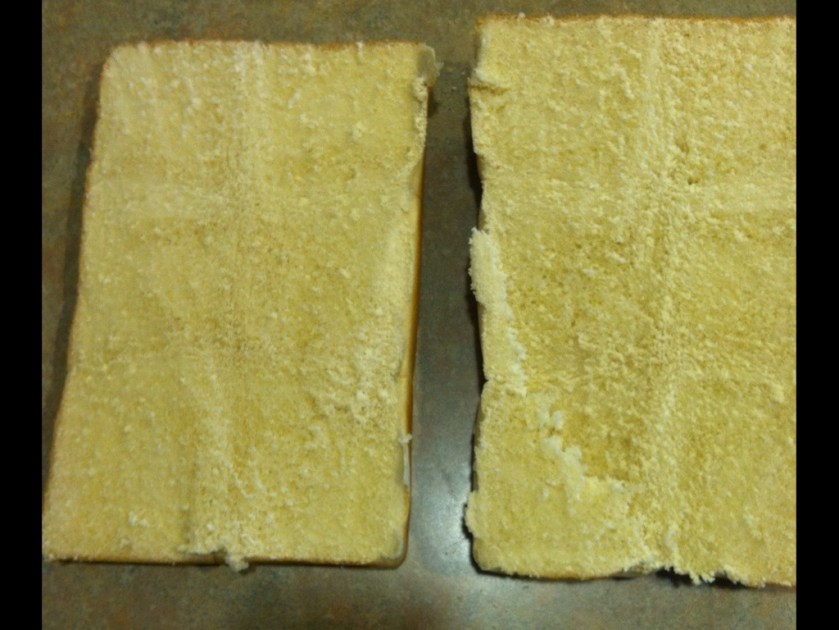
Below, I’ve included a few step-by-step photos….

20131017-102945.jpg

20131017-102957.jpg

20131017-103010.jpg

20131017-103021.jpg

20131017-103033.jpg