
Every year, about this time, I volunteer to embroider the state towels for our boy’s and girl’s high school swim teams. Today I spent the day embroidering towels for next weekend’s state event.
Towels are often tricky to embroider so I thought I would take you through the process that I use to make sure my machine embroidery looks clean and concise. Remember that it’s very important to stabilize your work so that the stitching sits on top of the fabric instead of burying itself in the nap of the towel. The stabilizer will also ensure a solid foundation for the design.

Make sure to choose a thread color that compliments the fabric color. I used maroon thread against the camel colored towel to signify our team colors…maroon and gold.
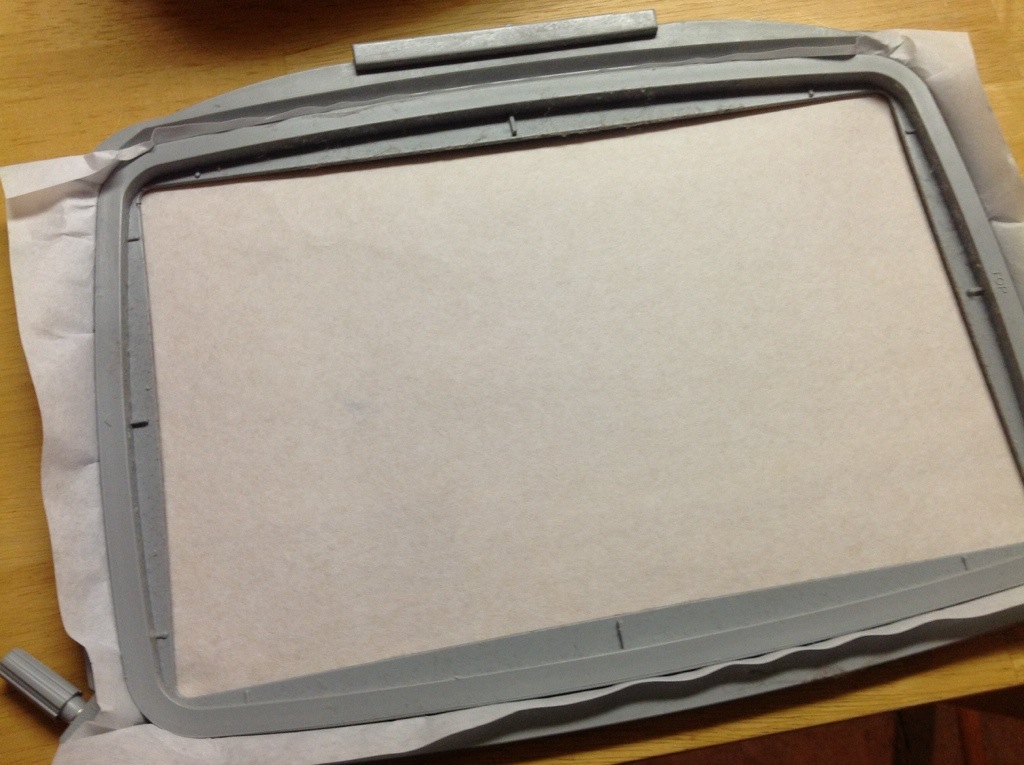
Hoop a piece of tear-away stabilizer in the embroidery hoop.

Carefully spray the stabilizer with a temporary adhesive made specifically for fabric projects. I really like the Sulky brand spray adhesive but my JoAnn Fabrics doesn’t seem to carry it anymore.
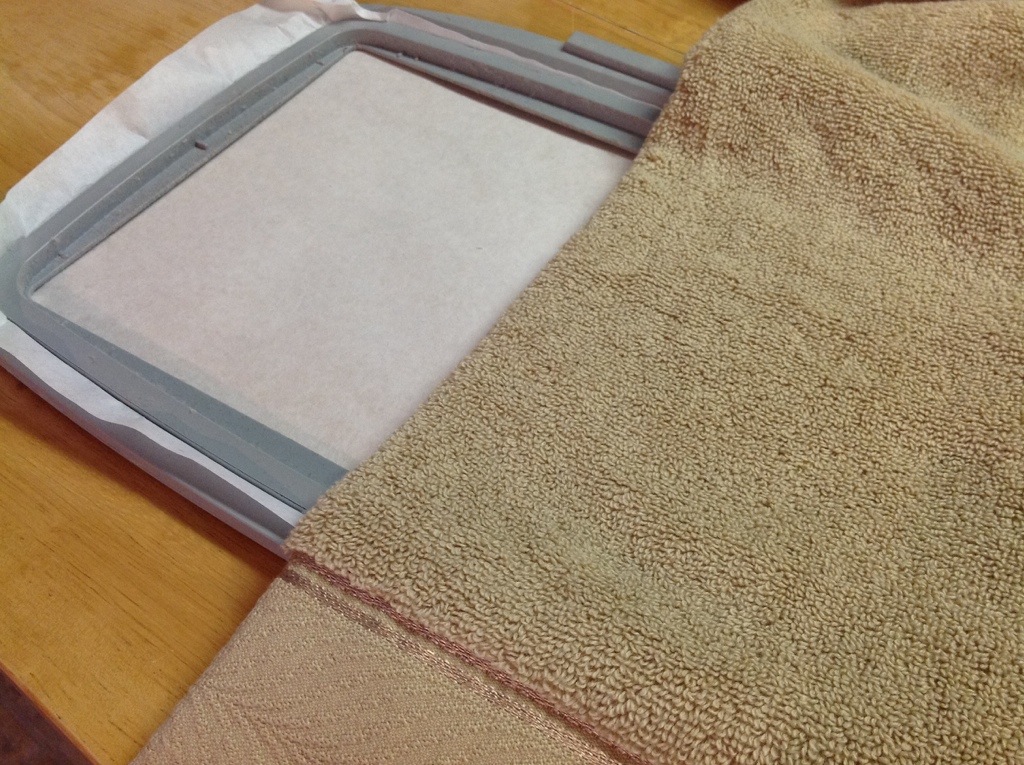
Next, fold the towel in half, length-wise, right sides together. Center the towel over the hoop, carefully placing the fold at the center register marks.

Open out the towel and smooth it in place. Secure a piece of water soluble stabilizer on top of towel, fitting inside the hoop.

Slip the hoop into the embroidery module and stitch your design.

After you’ve completed your design, remove from machine, trim threads and tear away the stabilizer.

Remove excess soluble stabilizer, I use a burst of steam from the iron to clean up any remaining bits left behind.

Here’s the finished product. I am currently working on my 12th towel and still have a few more to go. Happy Stitching!


