 Today we had the pleasure of experiencing our first honey harvest. Our bees have been busy visiting fields of clover and Queen Anne’s Lace over the past several weeks. After watching hours of video focused on harvesting honey and rendering beeswax, we finally took a leap of faith and carefully extracted the liquid gold produced by our very own bees.
Here’s a step by step look at the process:

We carefully swept the bees off of the short, capped honey frames to prepare for extraction.
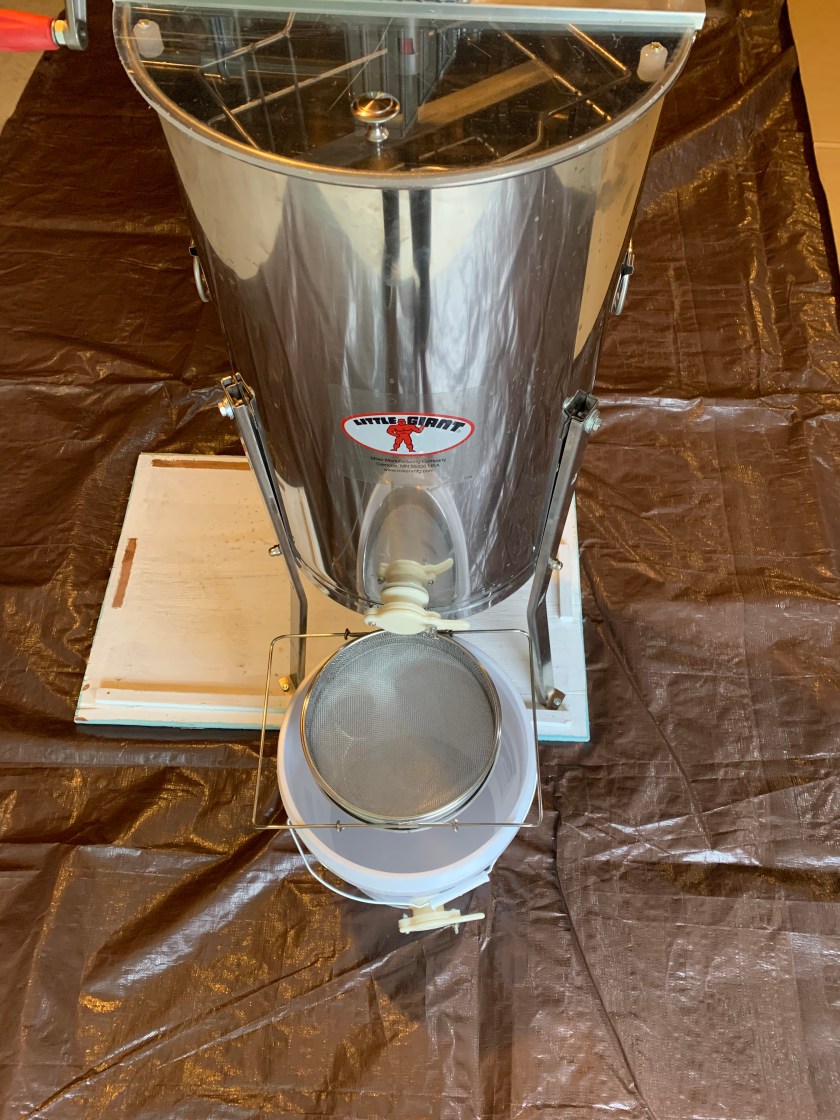
We set up the extractor and a screened sieve to remove the honey and filter out the wax and other unwanted items. A clean and organized area is imperative. We had buckets of soapy water with sanitizer and tarped surfaces in the extraction area.


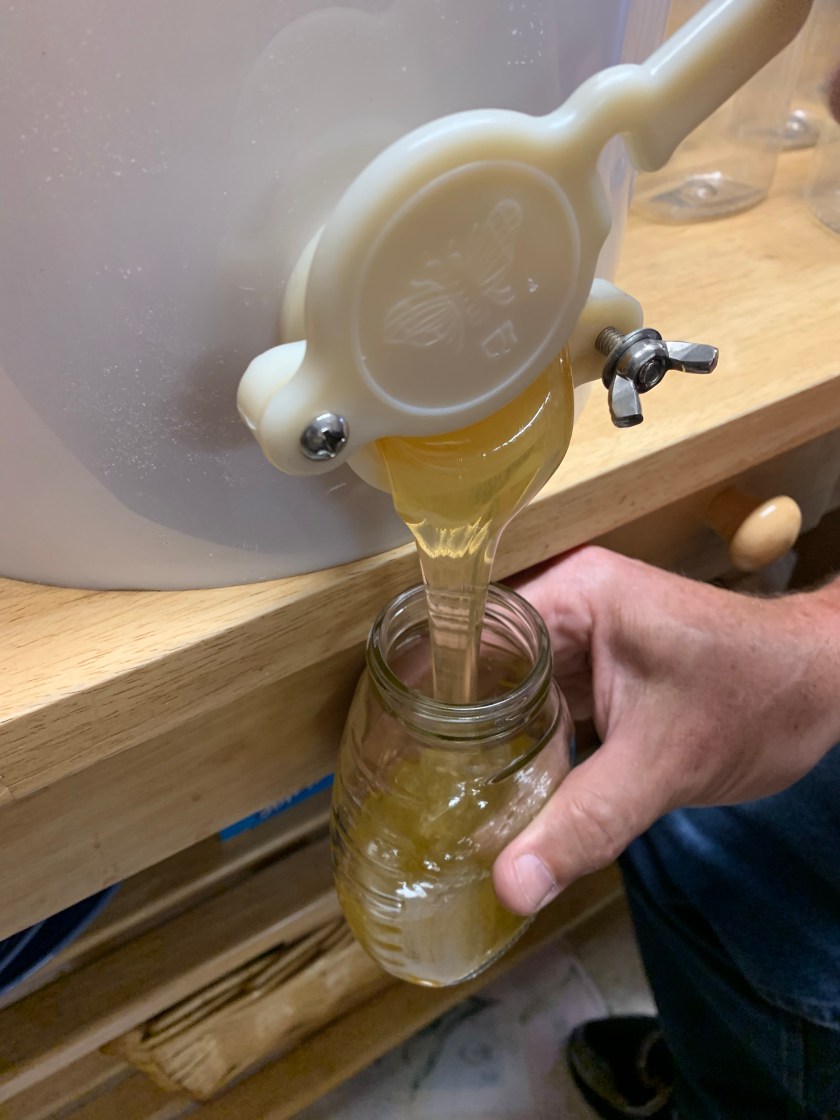
After the extractor does its work (we have a hand crank version), the gate can be opened to pour unfiltered honey into a clean, food-safe bucket. The sieve and filter will take out the impurities.

We cleaned and sanitized our honey containers prior to setting up our bottling station.
The filtered honey is ready for bottling. We used 12 and 16 ounce jars. We wanted to try a mixture of plastic and glass jars.
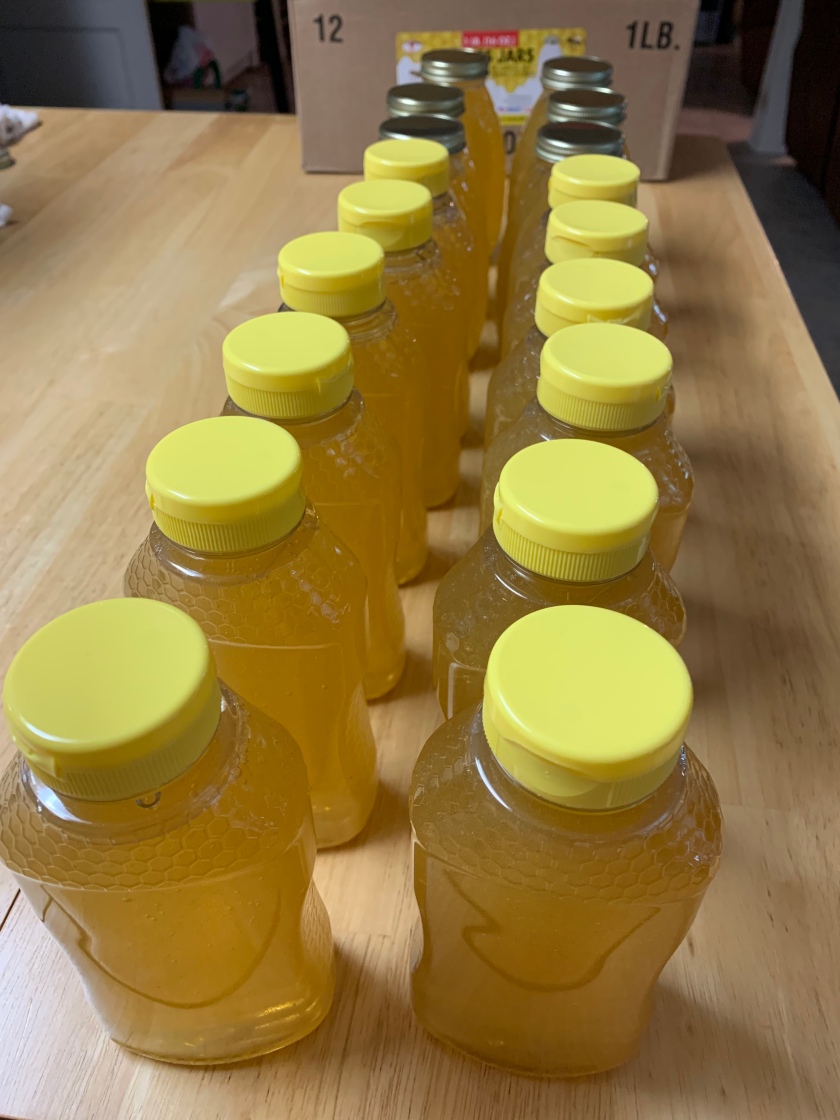

We were able to bottle 12- 12 ounce, 12- 16 ounce, and 2- 4 ounce jars. What a delight to get so much honey from just 8 short frames.

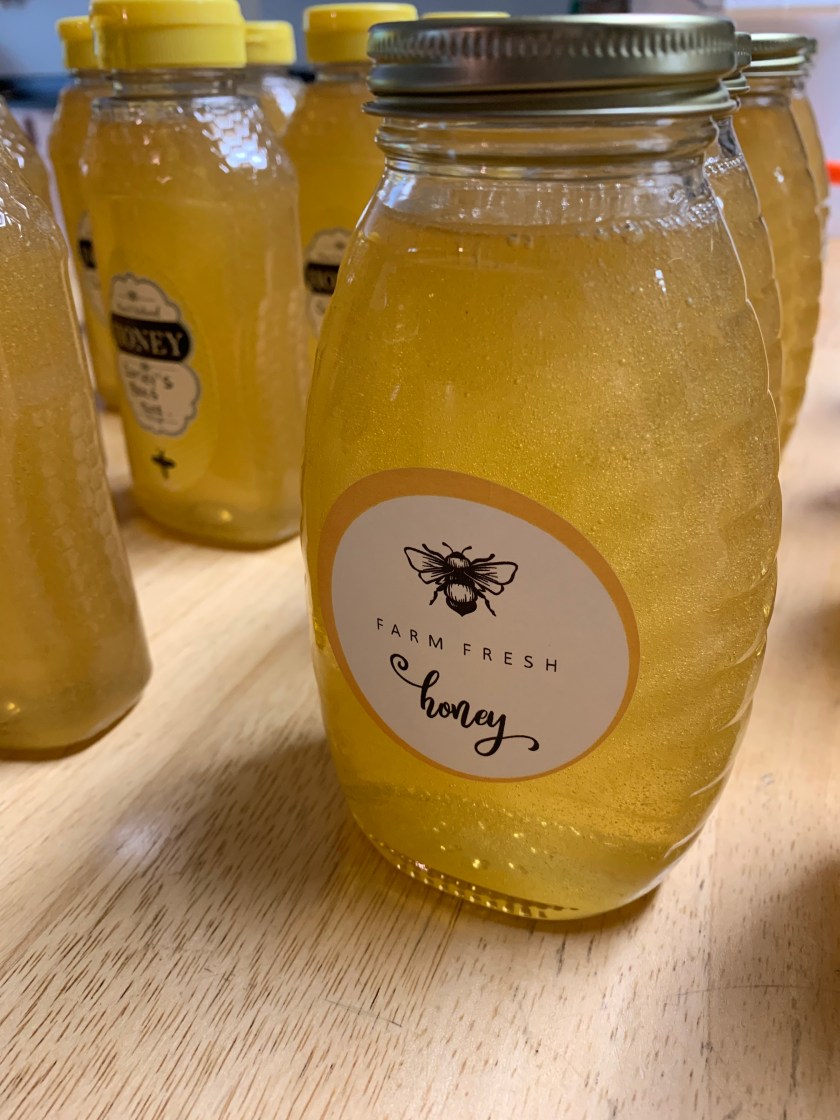
I order a few different labels from Amazon to finish off the process. I think I’ll order a set of more personally printed labels for next year.
Now, it’s time to render the filtered wax to make our own beeswax blocks for future projects.


