We recently took a weekend visit to Northern Ohio. We wanted to spend time with family, watch our nephew play some amazing high school football, and enjoy the rolling hills and colorful treelined byways while visiting a few local Amish community shops.
When in Ohio, I try to take the opportunity to stop at Marc’s, a local discount store that can offer some amazing deals. It’s “hit or miss”, but I often stock up on coffee, staples and seasonal trinkets that are placed on entry area shelves listed at rock bottom, close-out prices.
After carefully searching the bountiful shelves, I ended up buying a few color coordinated cutting boards, silicone trivets, and pin-striped double oven mitts to give as Christmas gift sets this holiday season. I often pair kitchen items with wholesome baked goods for a more personal holiday gift. I also bought large boxes of flavored k-cups, cereal, and oatmeal.
I purchased several boxes of this low-sugar cereal with this granola recipe in mind… Kashi Original GoLean has lots of fun shapes and textures nestled within the box.
 I also use our own maple syrup to sweeten the mix and it’s sticky properties help to form the crunchy granola clusters. Pair this delicious granola with Greek yogurt and sweet crunchy apples for an awesome breakfast combination. What a way to start the day!
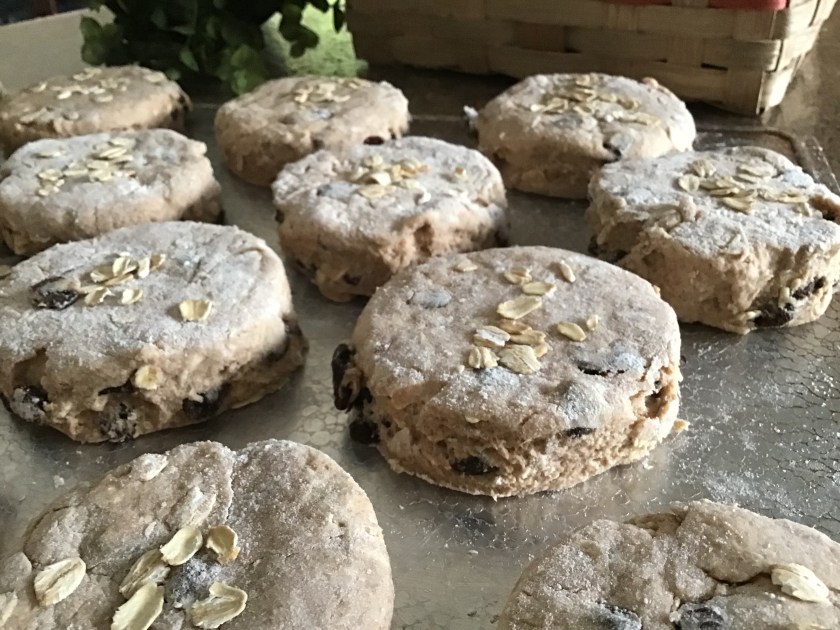
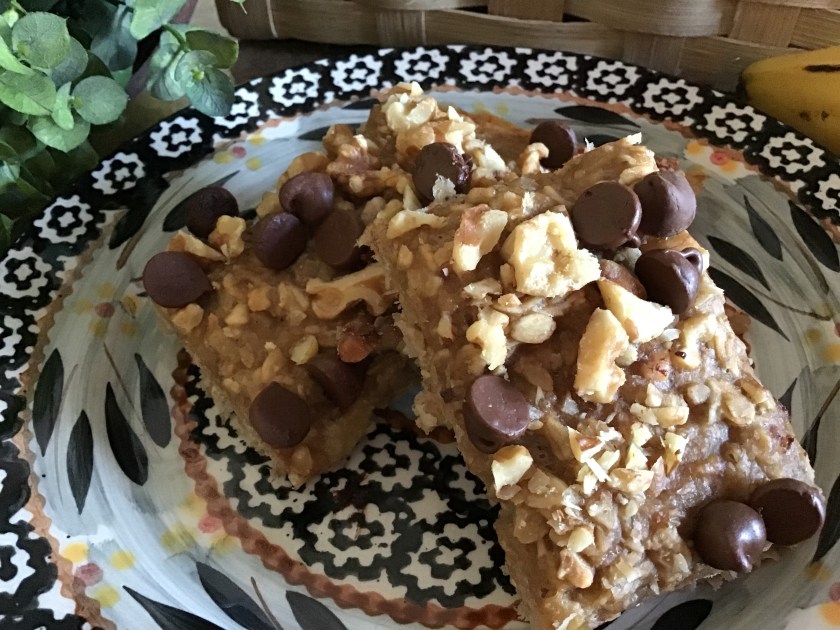
Scrumptious Granola Clusters
4 cups dry, sugarless breakfast cereal ( I use Kashi GoLean Original pictured above)
1 cup chopped walnuts
1/2 cup sunflower seeds
3/4 teaspoon salt
1/2 teaspoon cinnamon
1/2 cup coconut oil, melted
1/2 cup maple syrup or honey
1 teaspoon vanilla extract
2/3 cup dried fruit (optional)
Preheat oven to 325 degrees and line a large, jellyroll pan with aluminum foil or parchment, lightly sprayed with cooking spray. In a large mixing bowl, combine the cereal, nuts and seeds. Stir to blend.
In a small saucepan, combine the oil, maple syrup and/or honey, cinnamon and salt. Bring to a boil, remove from heat and stir in vanilla. Pour hot mixture into dry cereal mixture. Mix well, until every oat and nut is lightly coated. Pour the granola onto your prepared pan and use a large spoon to spread it in an even layer. Bake until golden, about 18 to 20 minutes, stirring halfway. The granola will continue to crisp up as it cools.
Let the granola cool for 10 minutes before breaking it into pieces and stirring in the (optional) dried fruit. Store the granola in an airtight container at room temperature for 1 to 2 weeks, or in a sealed freezer bag in the freezer.


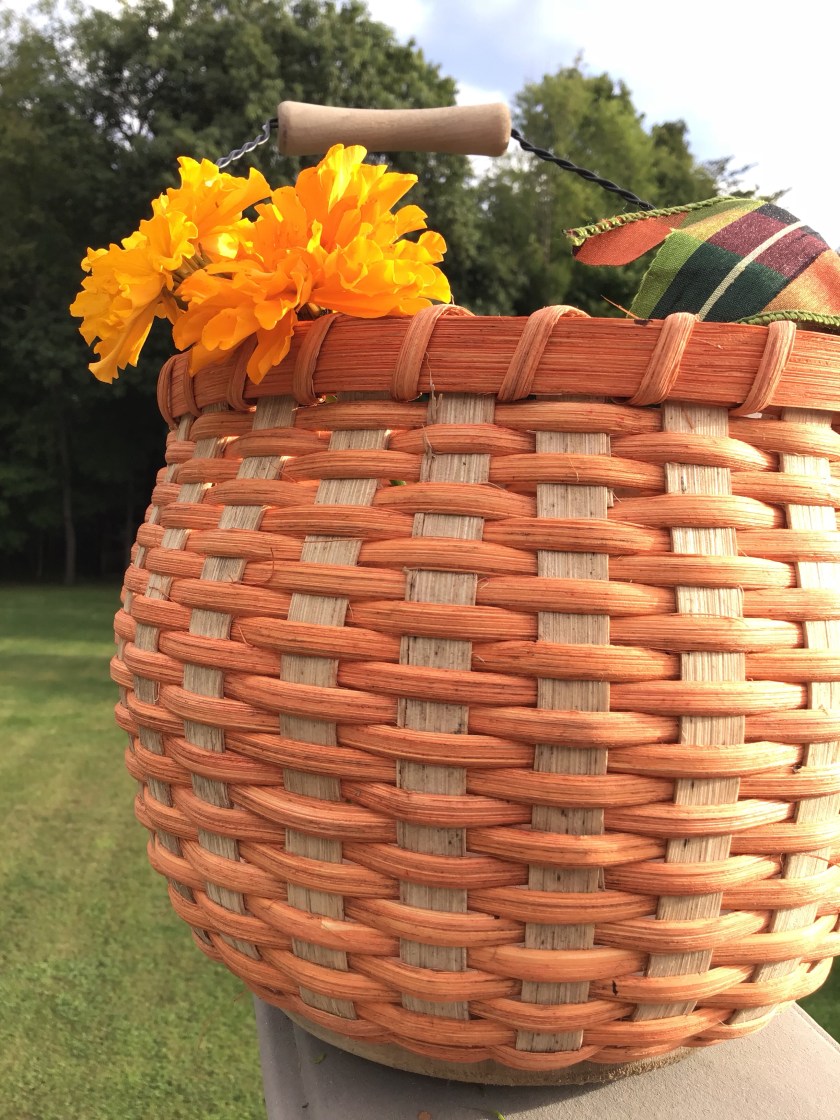
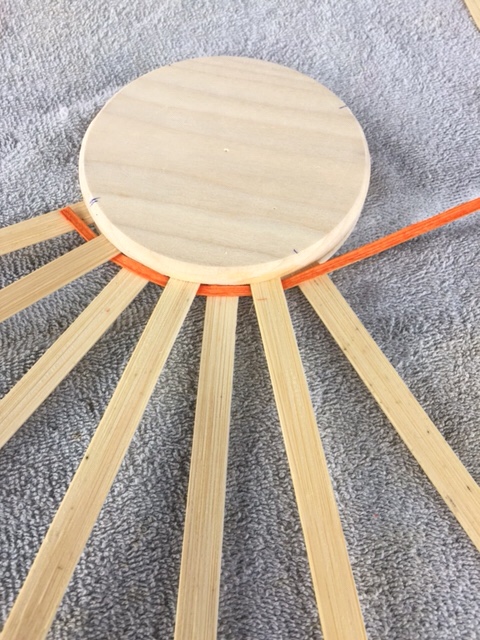
 Dividing the disk into 4 equal parts, place 23 spokes within the well of the disk; weaving while working in the spokes.
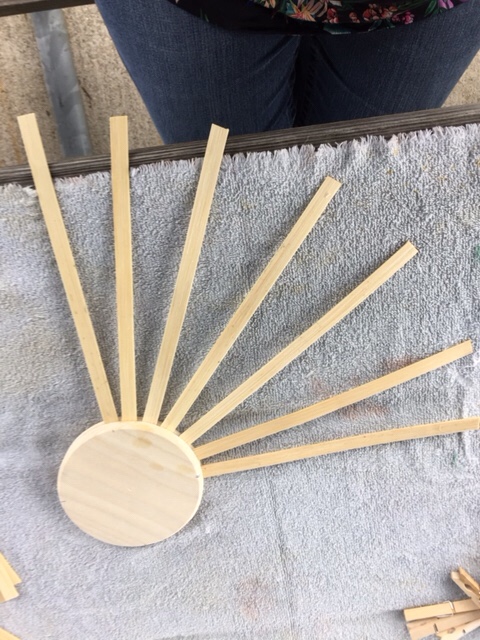

 After weaving 6 continuous rows, gently begin shaping the basket upwards. Continue weaving upward for 14 more rows; loosely weaving to shape the belly of the pumpkin.
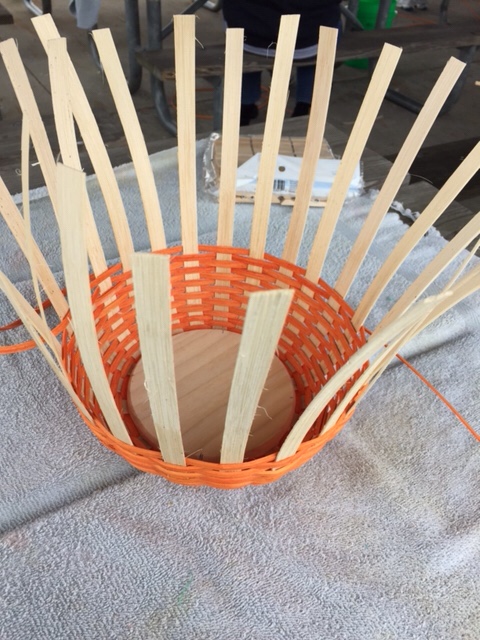

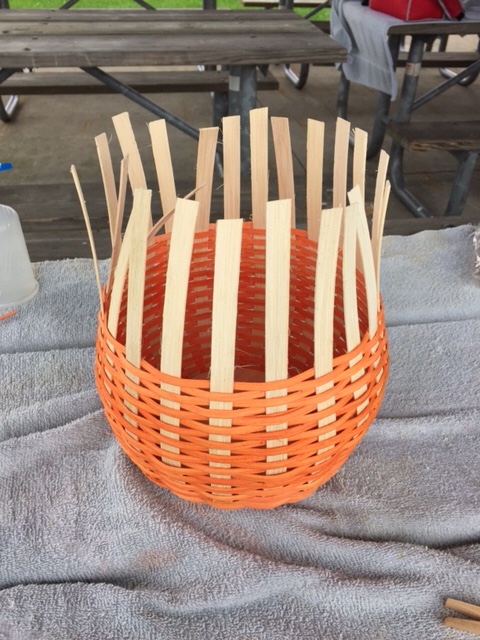 At row 19 or 20 begin to tighten the weave to form the top of the pumpkin.
 Bend down, every other spoke. Clip; mark remaining spokes to bend under and secure under weave.
 Secure wire handle before finishing rim of the basket.
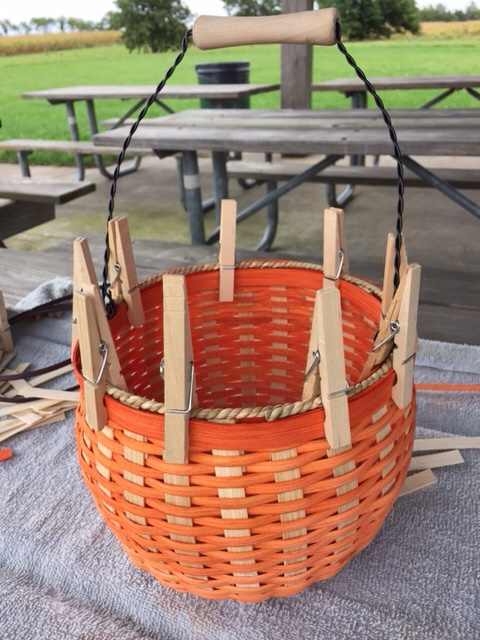
 Complete basket rim with sea grass and lashing.
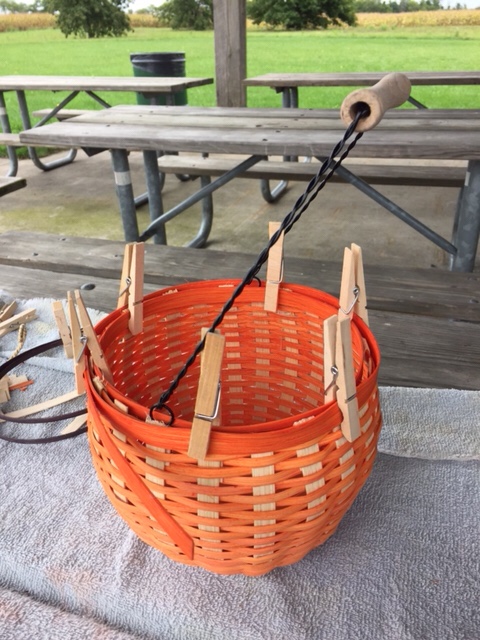
 We enjoyed a beautiful, but chilly, day at our local county park!