
Once again, I was able to join a great group of individuals at one of the local county parks for a day of basket making. I took several pictures throughout the day to capture the steps used to assemble this potluck or market basket. For those of you that are interested in basket making, I strongly suggest you find a class in your area. This is a dying art and learning the basic skills will build toward ideas for advanced methods. Local libraries, park district programs, and 4-H program leaders often offer hands-on opportunities to assemble basic baskets. Many basketmaking supply shops also offer classes. I really enjoy the process and certainly, the complete project. I always sign my baskets as I look forward to handing them down through the generations.
Sharing a few basketmaking tips…

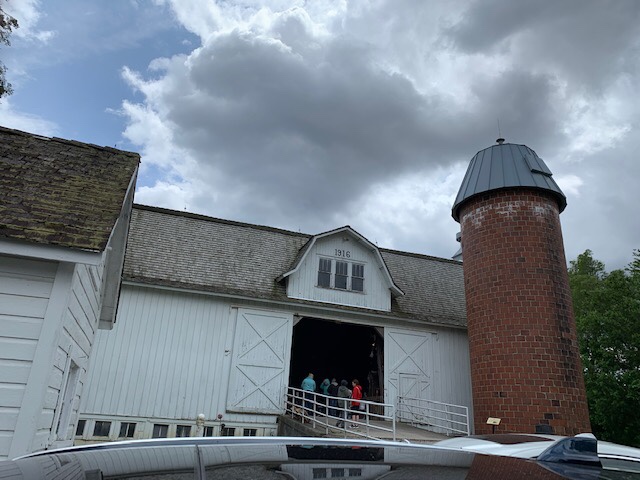
We experienced some weather difficulties so we relocated to the interior of the old 1920’s barn. This June morning was cold and rainy. We usually meet in a covered pavilion but the winds were very strong and continued to blow away our supplies.
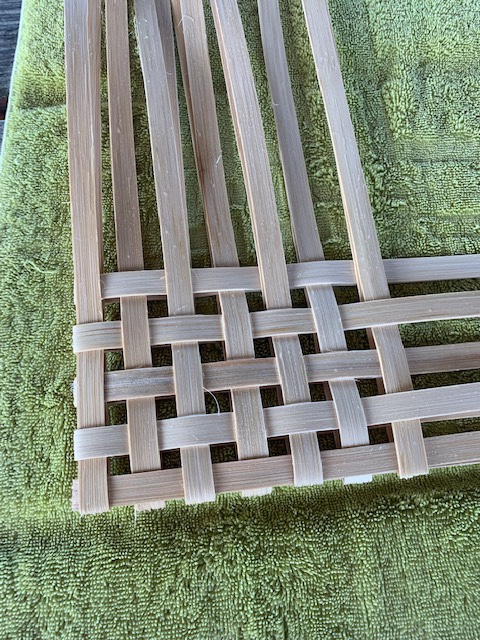
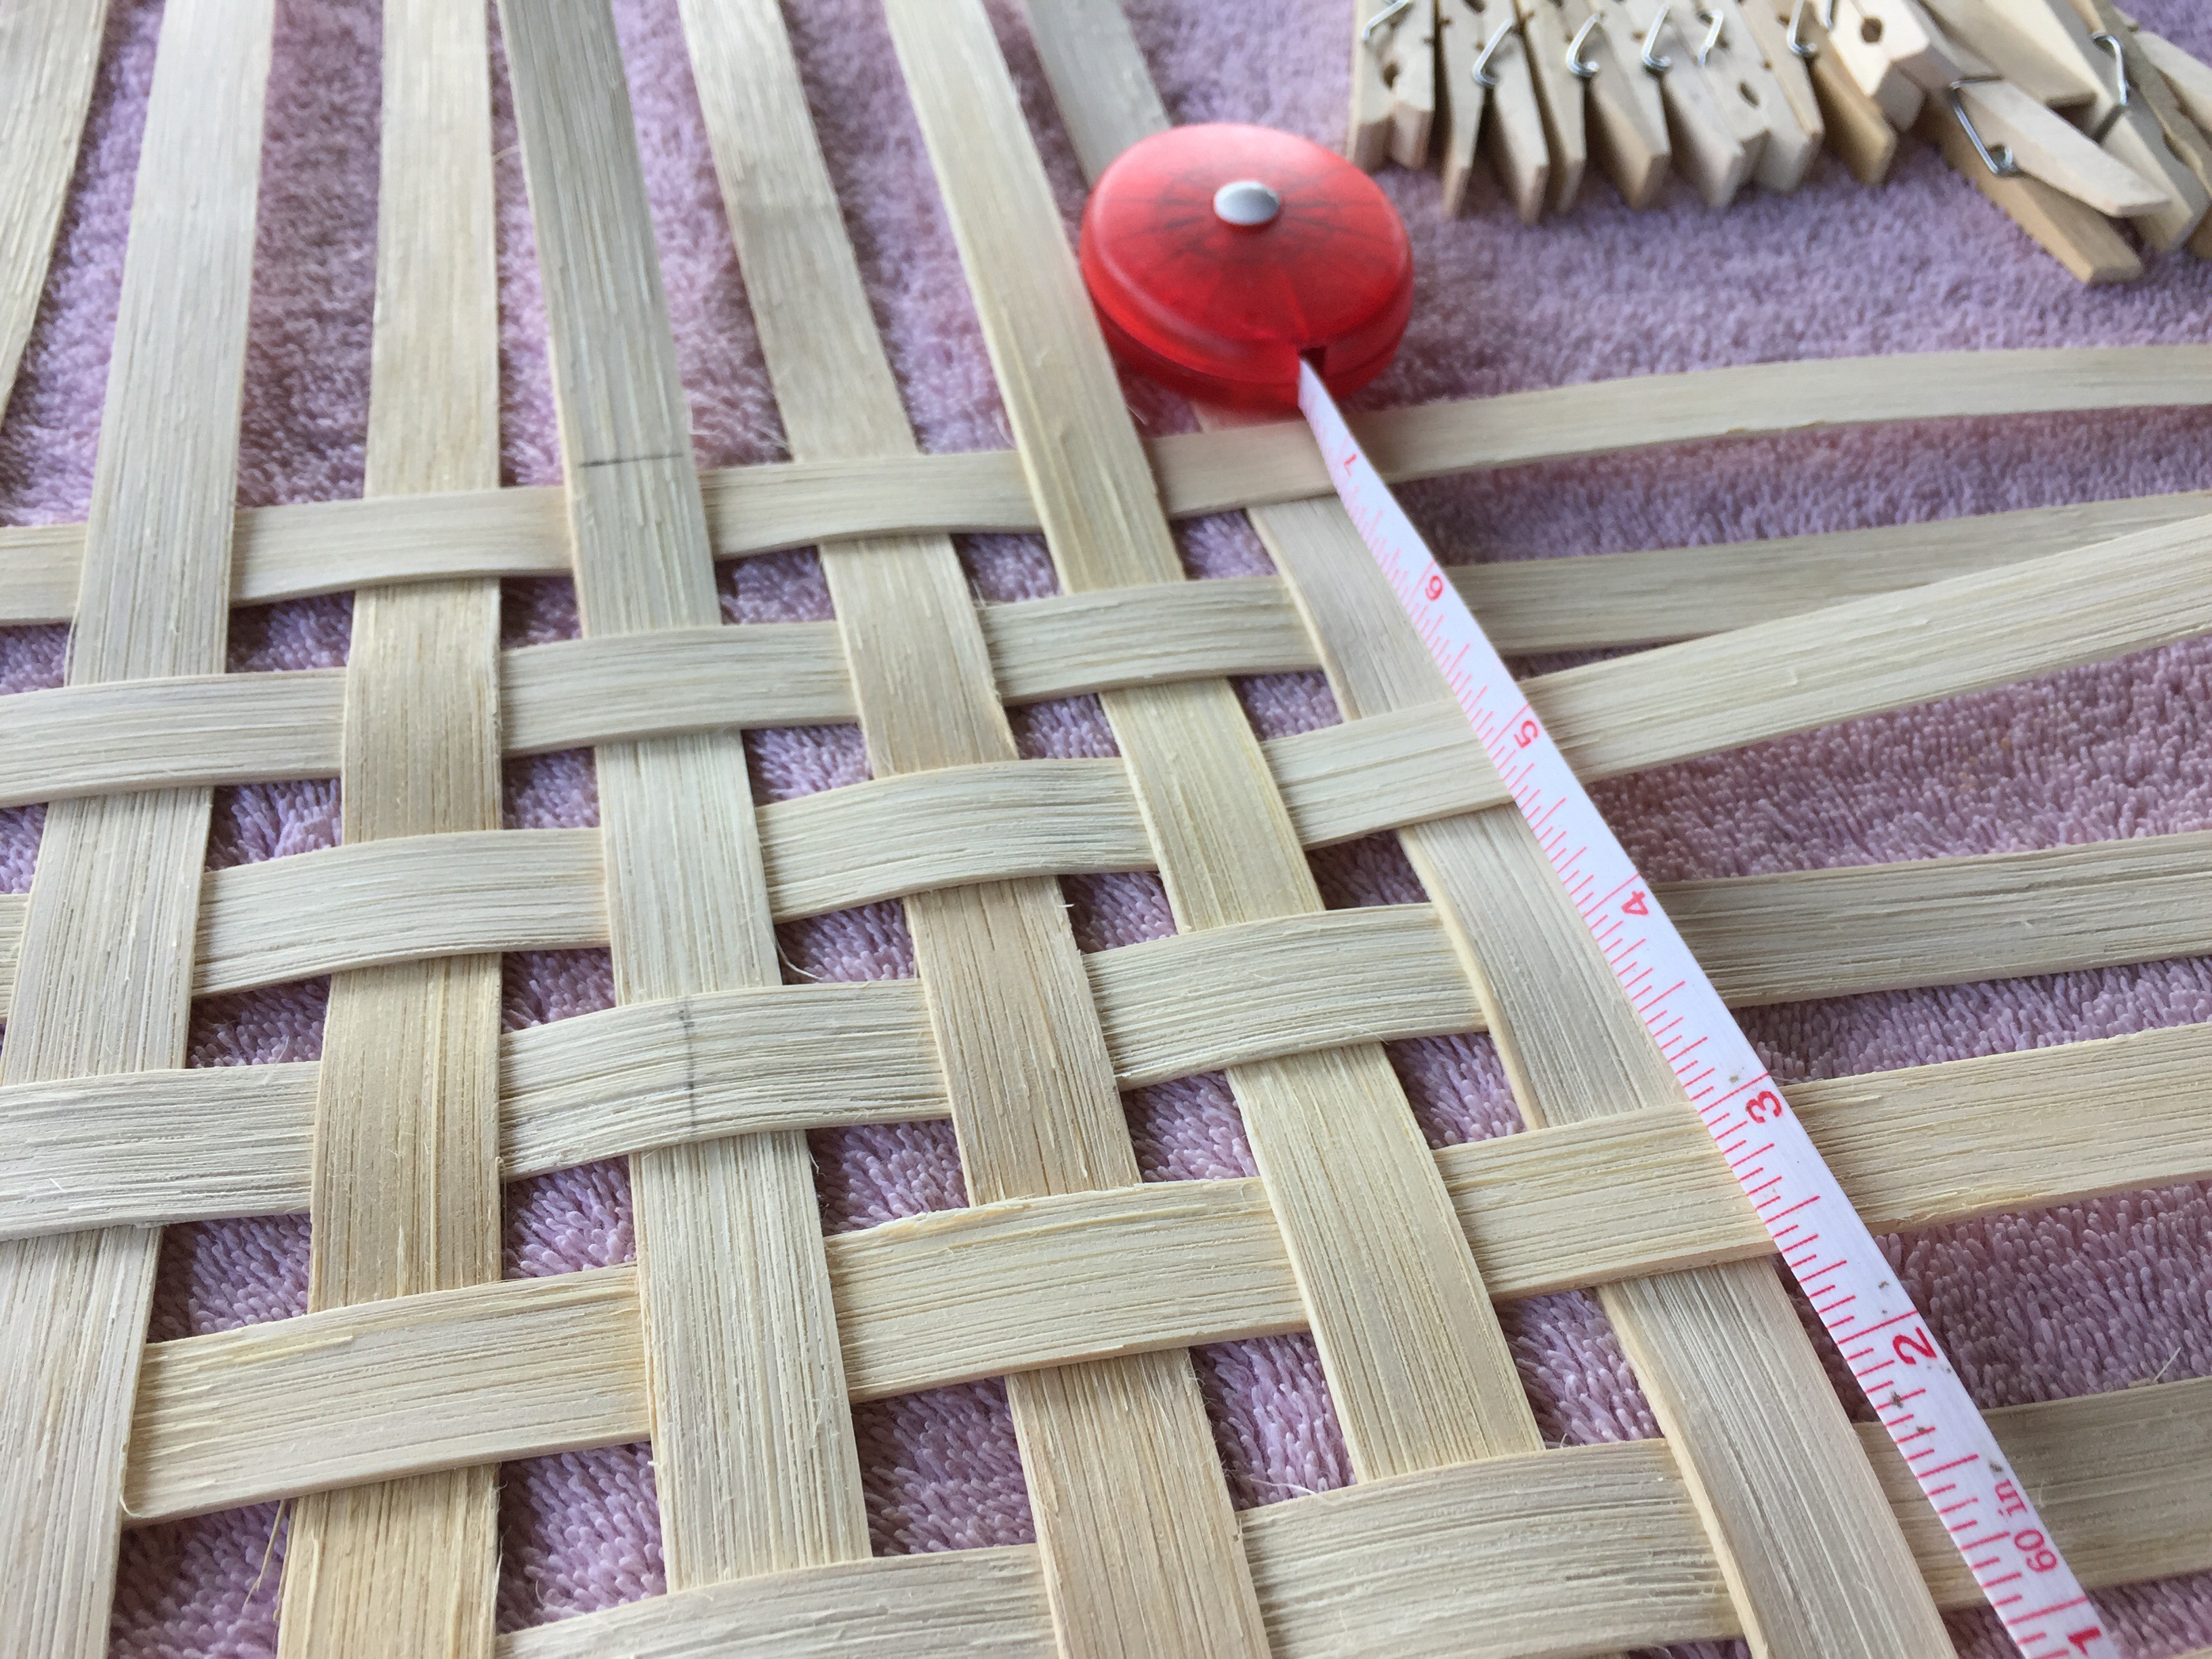
First, I measured 15 inches of weaving material (strips) for the length of the basket. l
l
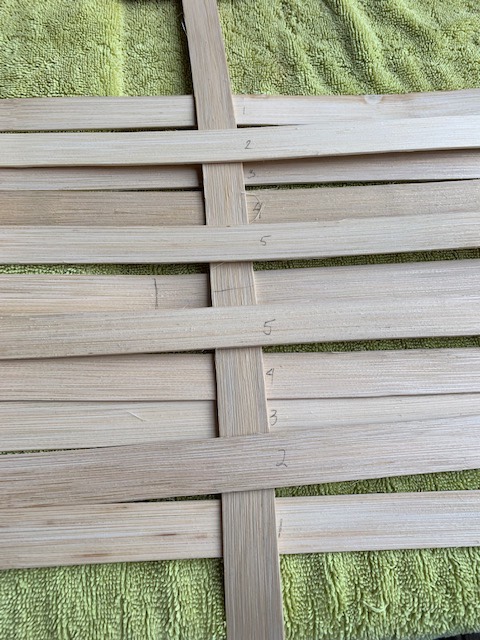


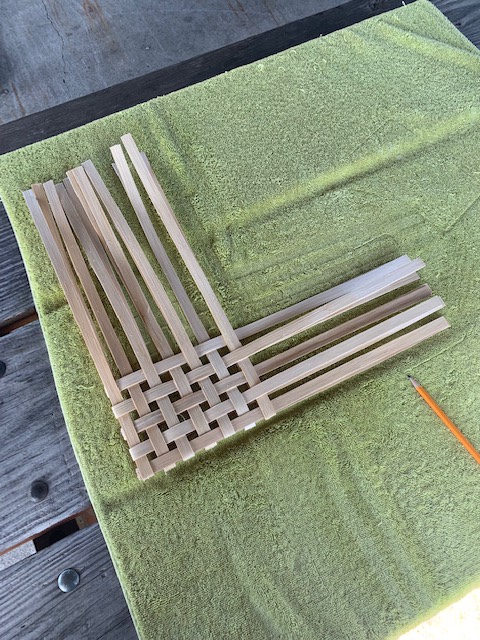
I numerically marked all of my strips to help me weave a pattern on one side of the handle. Then, I duplicated the process on the other side of the wooden handle. Centering the project is very important.


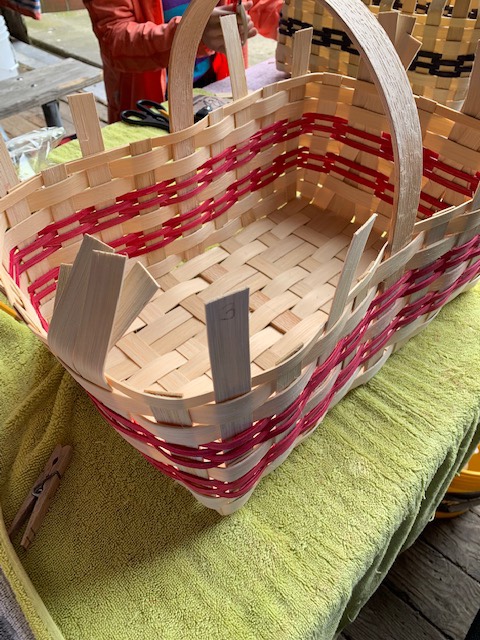
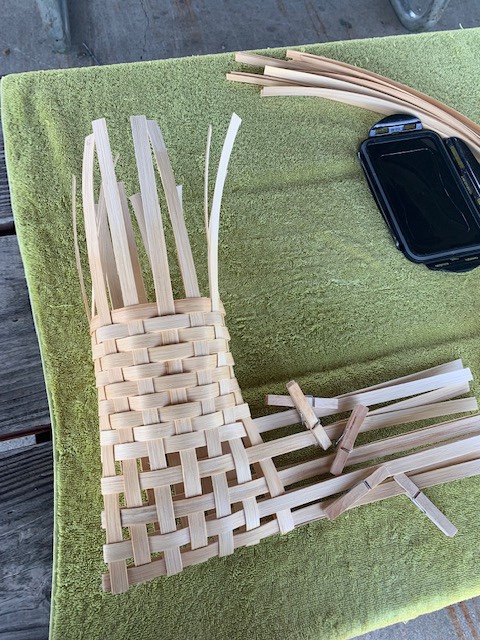
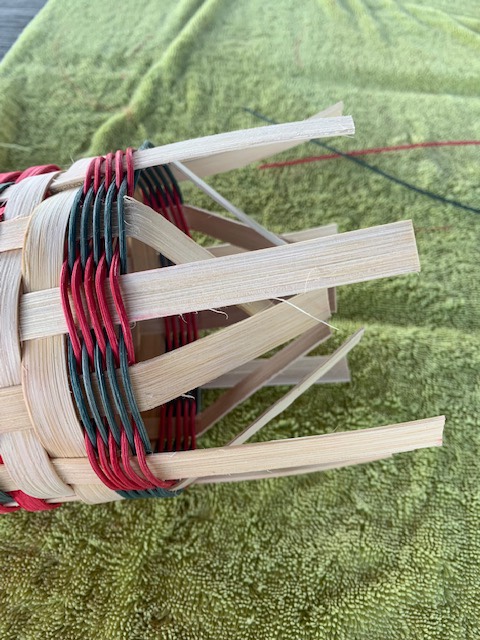
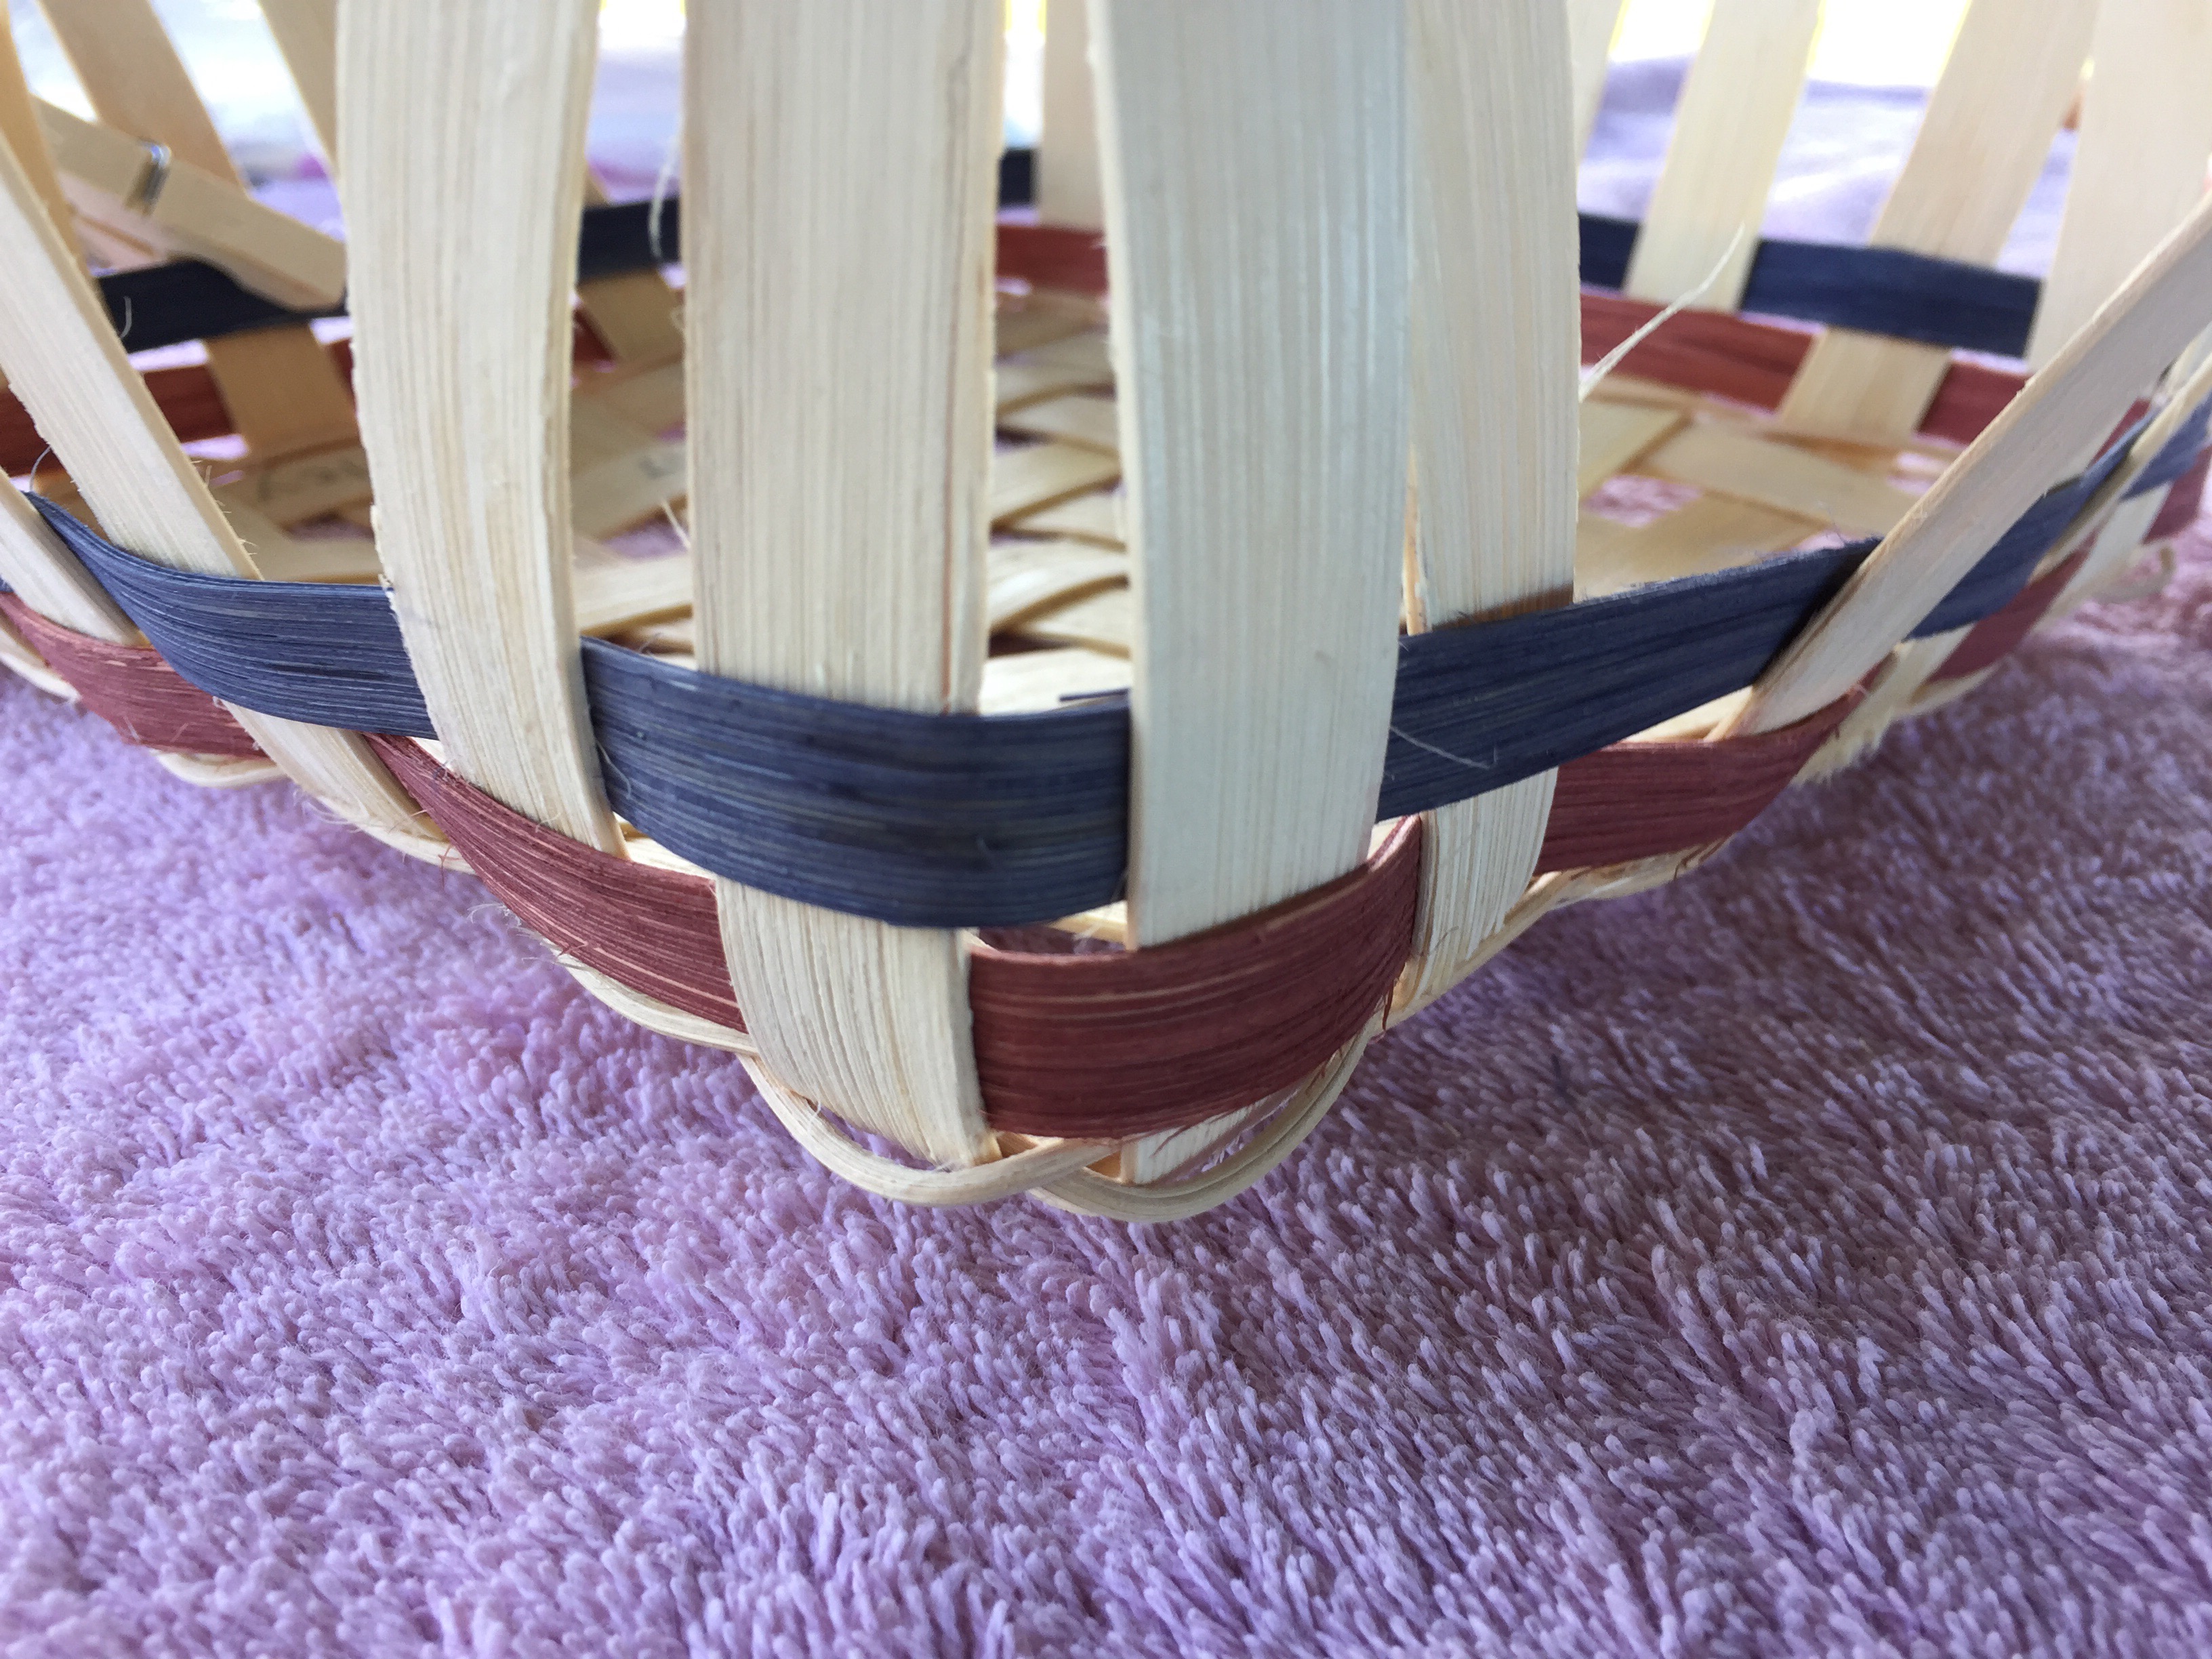
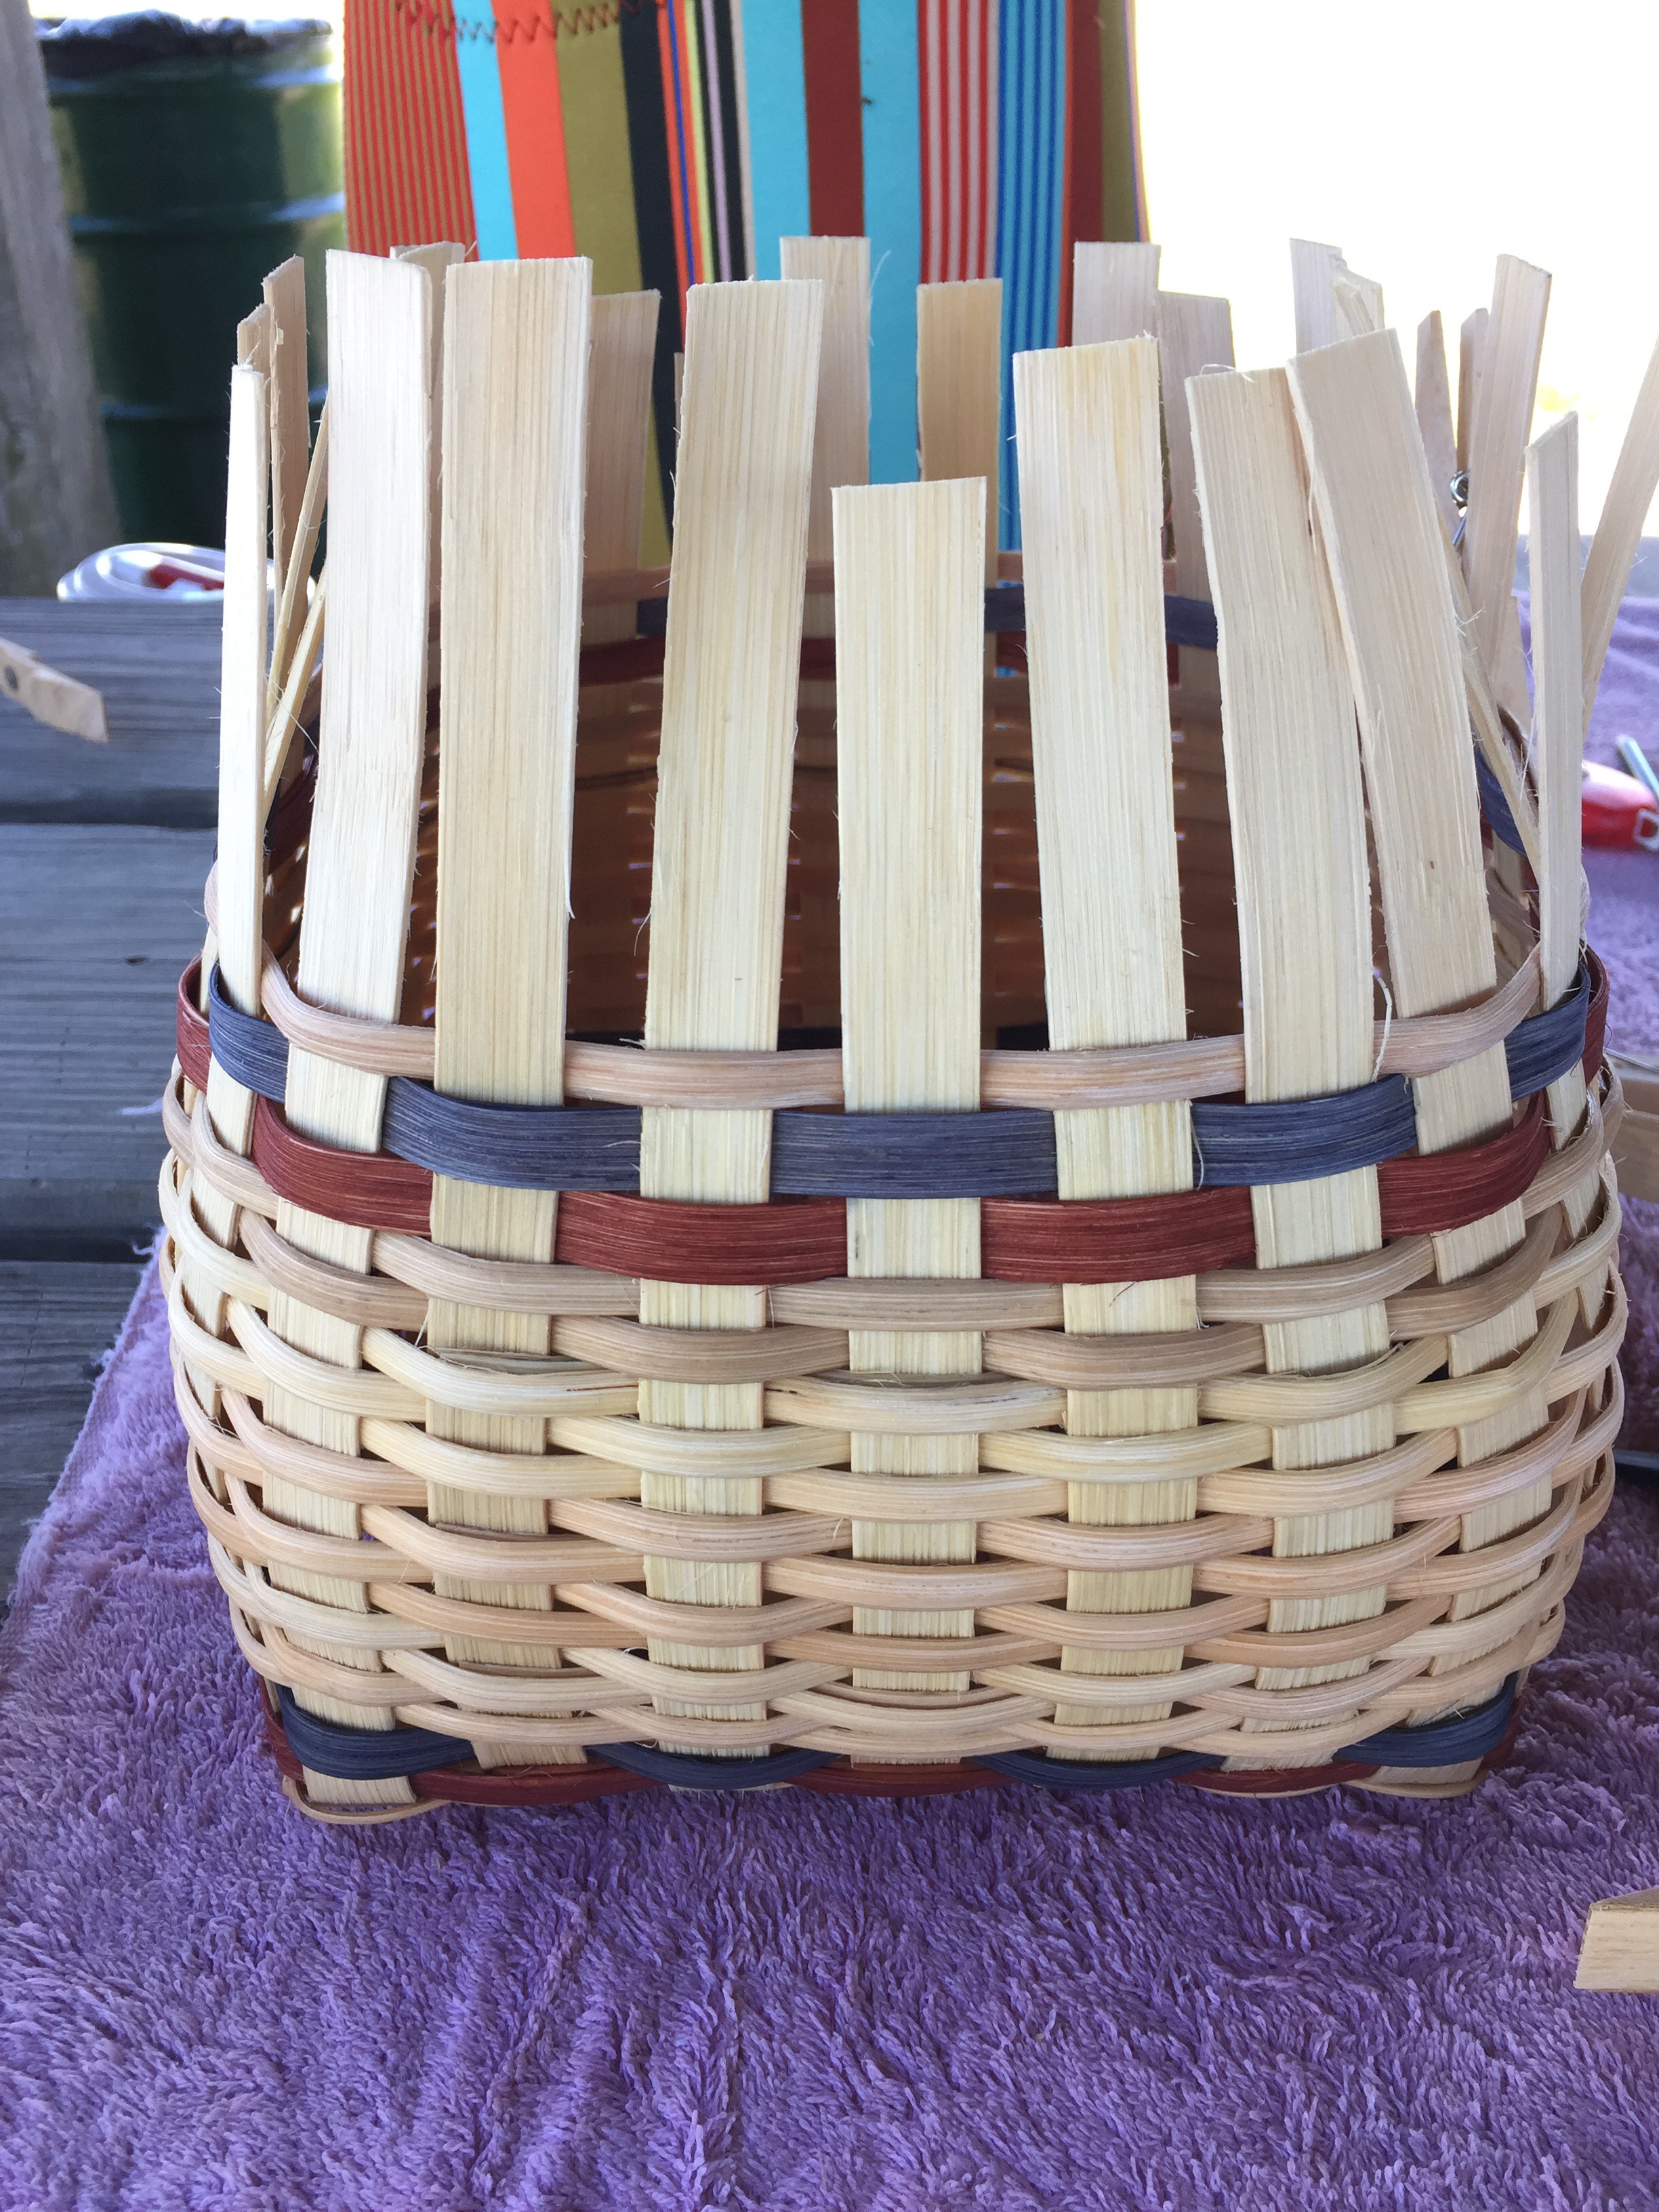
Then, it was time to start working on the sides. I wanted to maintain my pattern up the side of the basket, so I used clothes pins to help me achieve this. The first row is always the most difficult to manage. The clothes pins act as another pair of “hands”.


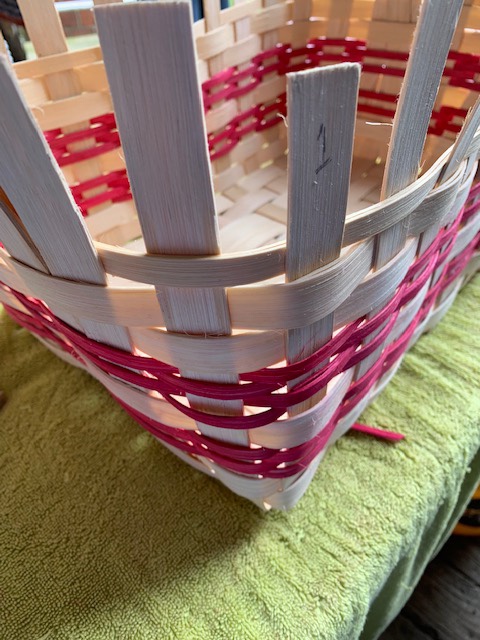
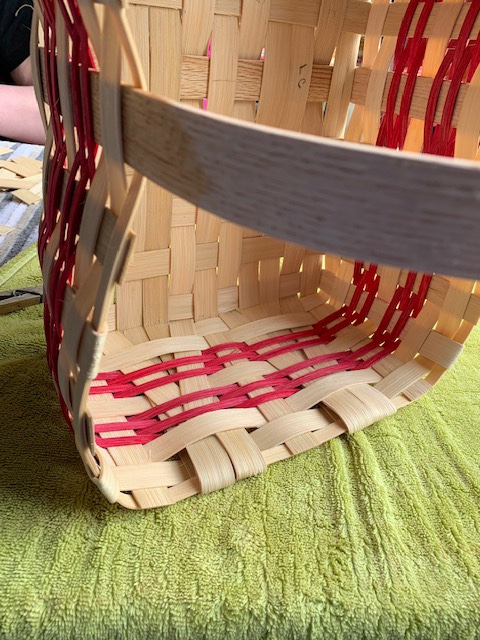
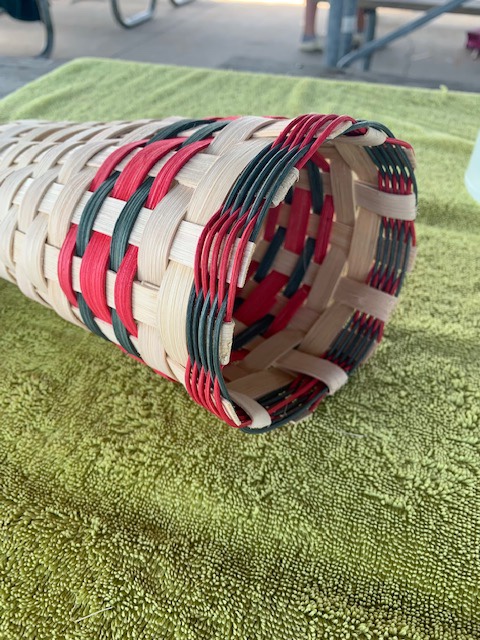
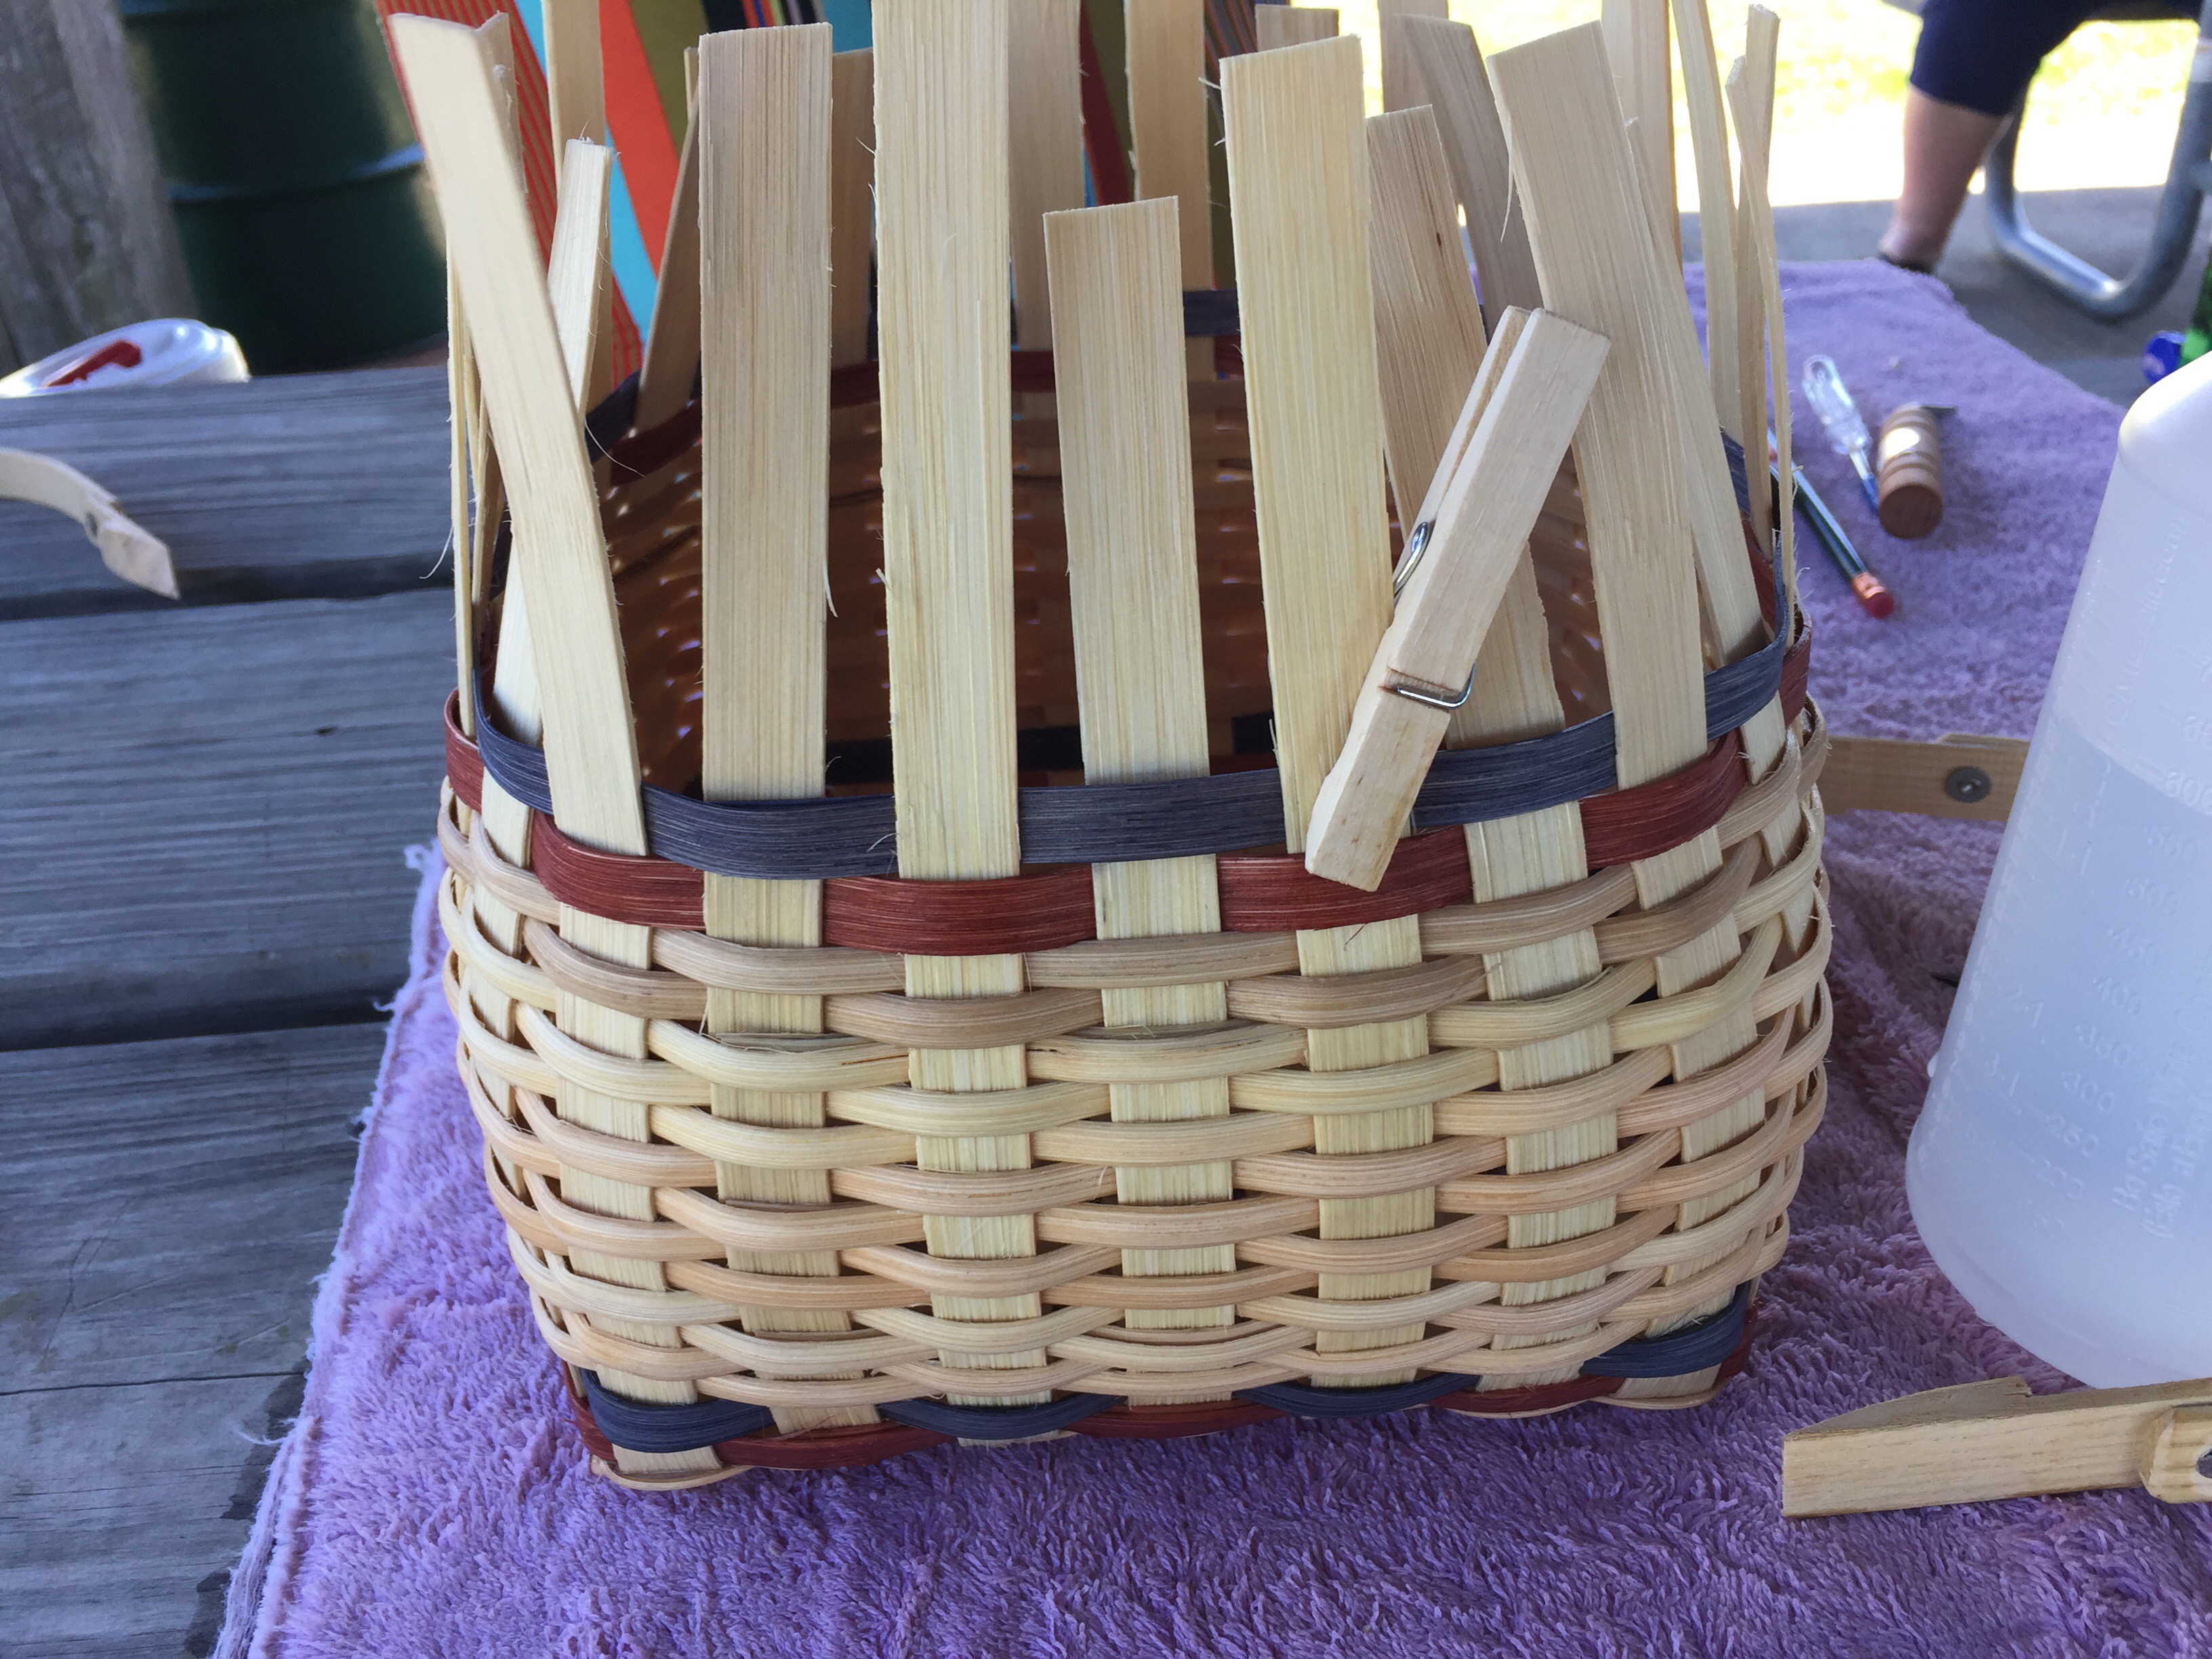
Continue working up the side of the basket, adding any details desired. I added a colorful pattern of dyed strips. Make sure to alter the starting point for each strip, rotating the basket a half turn for an altered starting point for each row. Continue to shape the basket while building the sides.


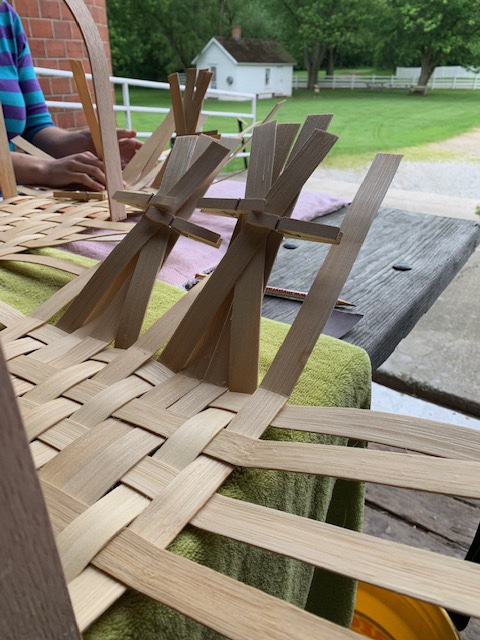
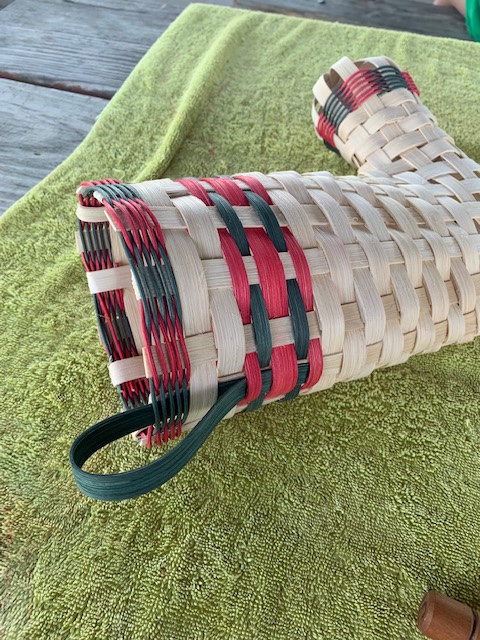
Trim and bend alternate strips along the top edge of the basket making sure to leave enough length to insert strips under the existing basket weave.


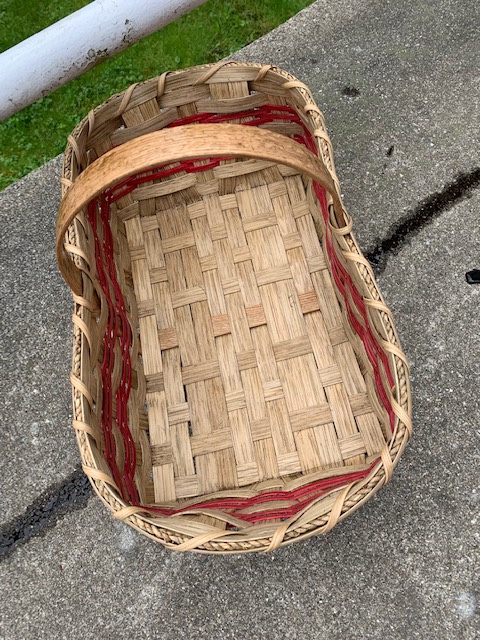
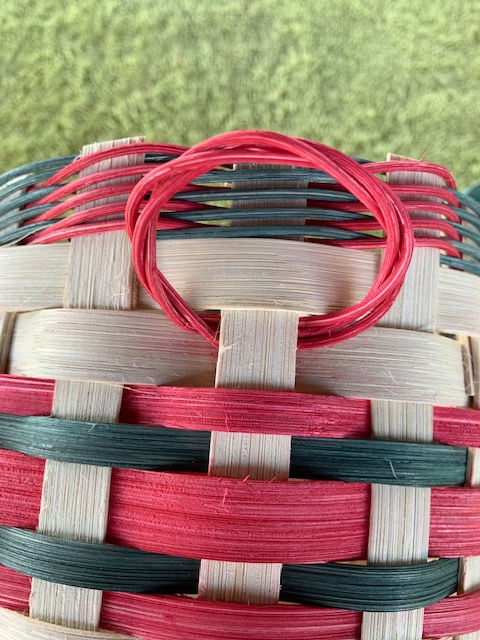
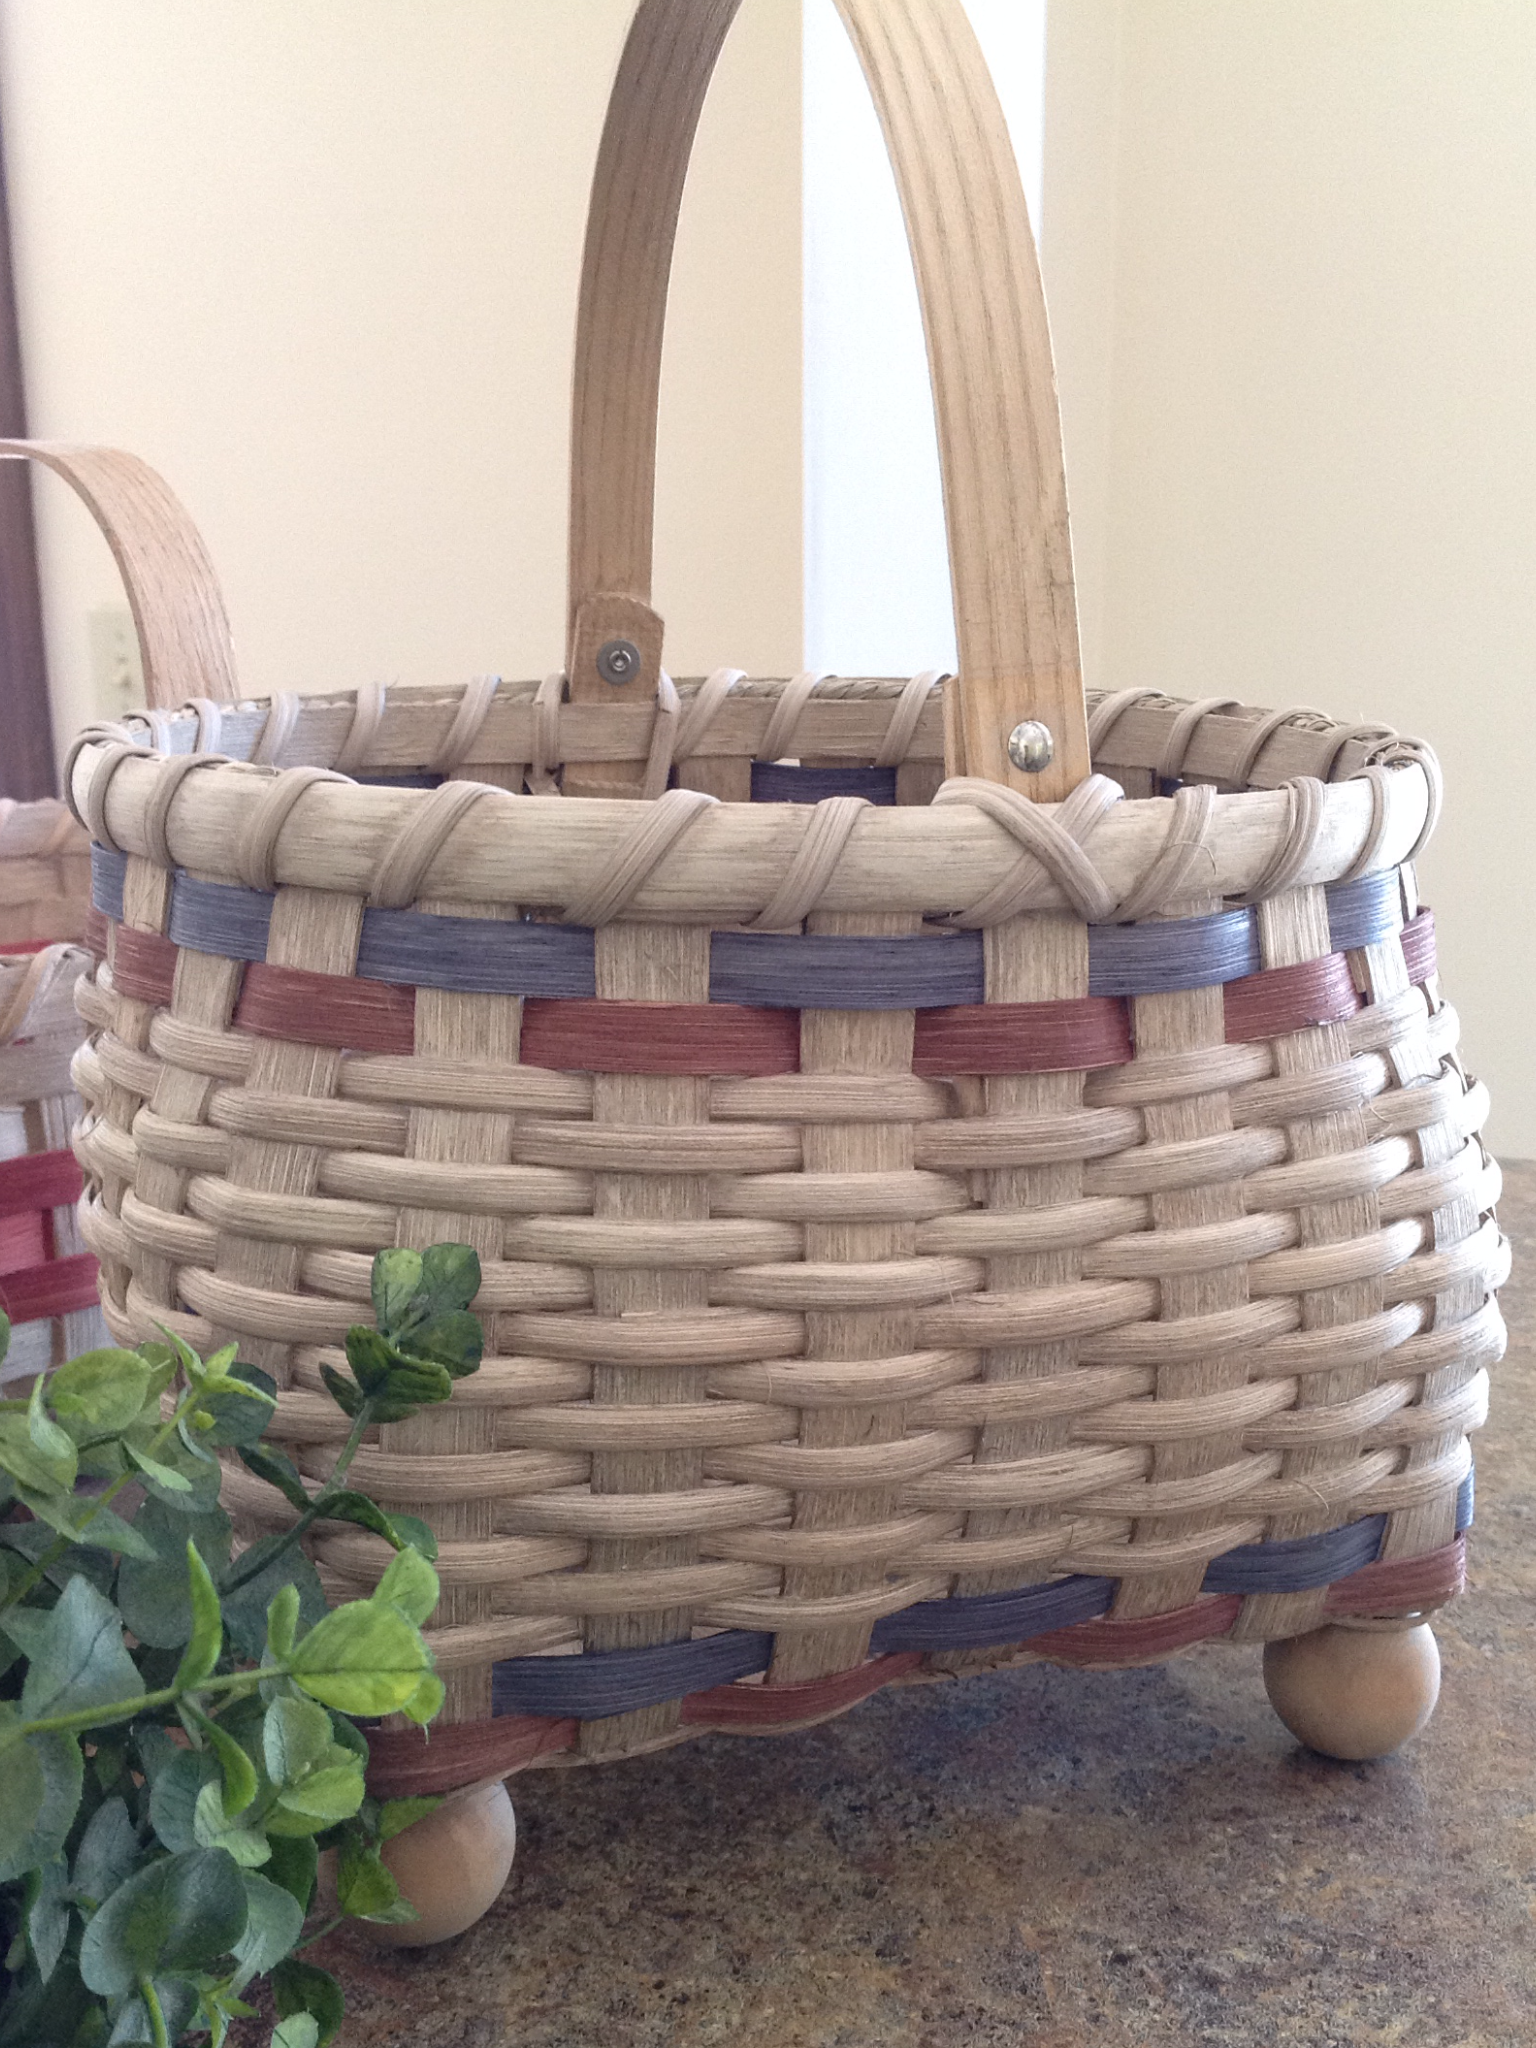
Now it’s time for the finishing touches. An edge is placed on the top of the basket and sea grass is placed between the (half-round) edging strips. Once again, clothes pins act as extra “hands” to hold it all in place.


Lashing is used to complete the project and pull all of the finished edge pieces together.
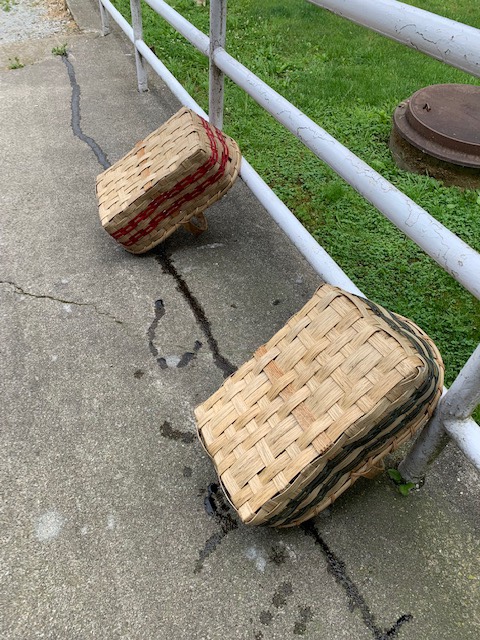
A final dip in a black walnut wash finishes off the project by adding a weathered or aged look to the basket. Here the baskets dry in the shade of the old barn.
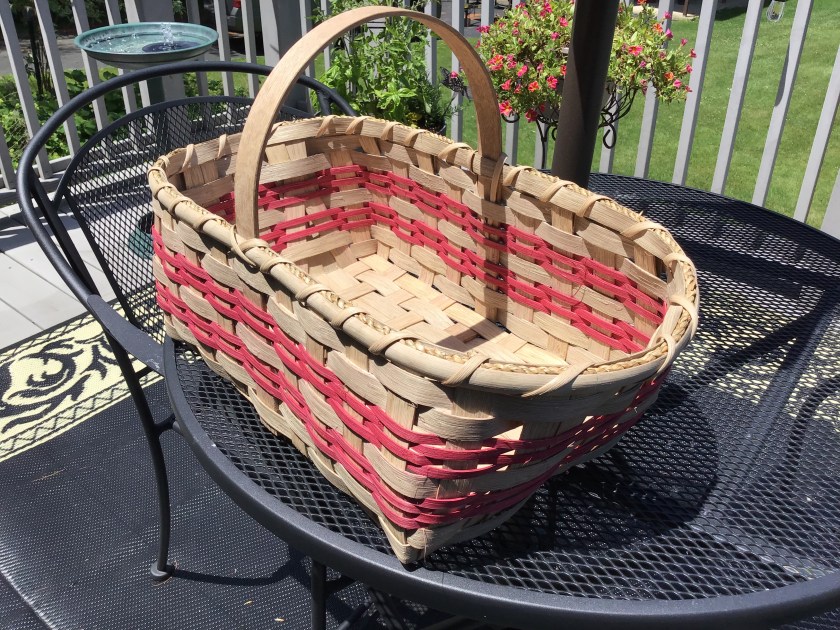

I love the size and shape of this beautiful basket. I can’t wait for our next basketmaking session!


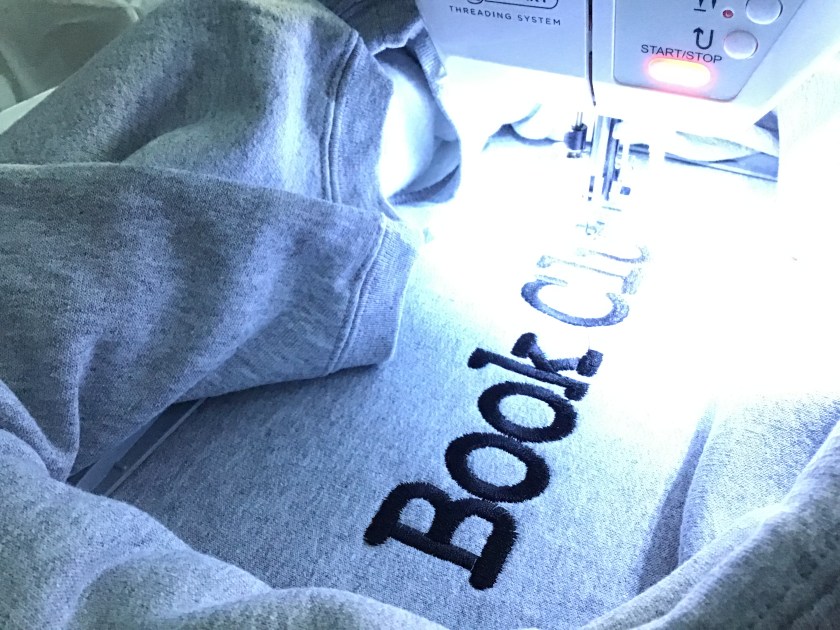
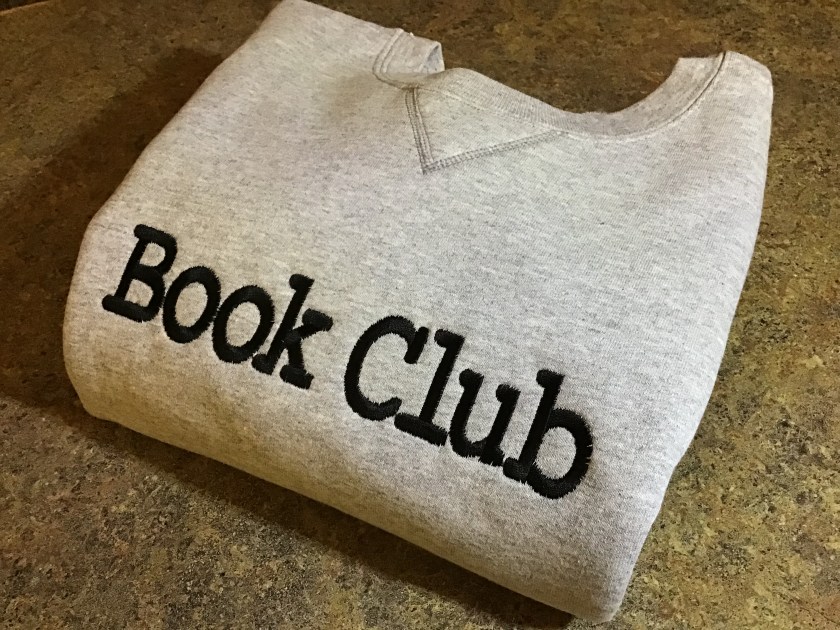
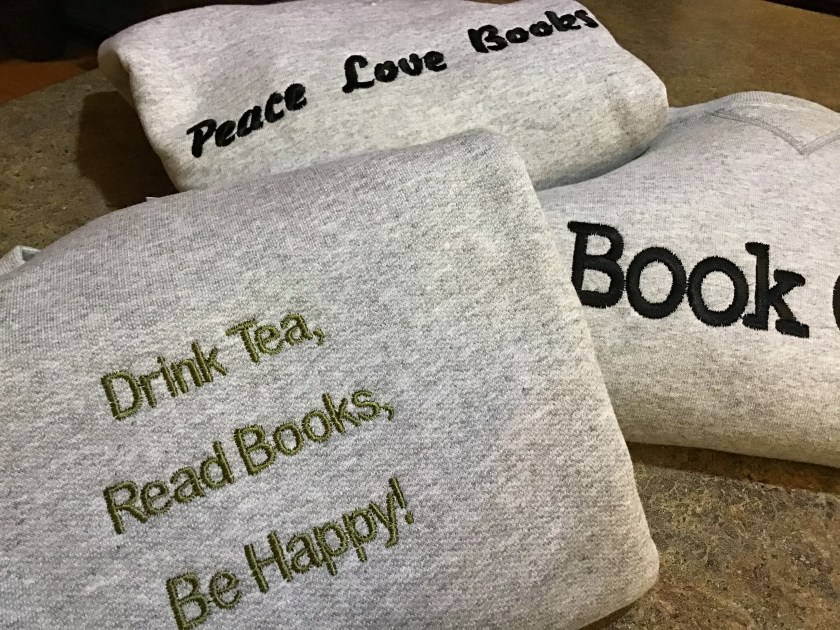
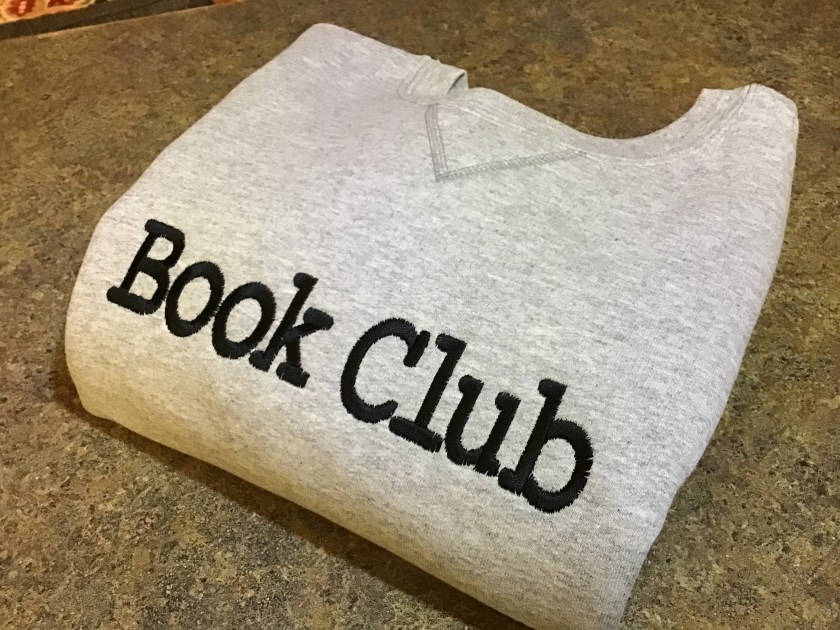 My daughter had seen one of the famous Fixer Upper hosts wearing a sweatshirt with the words, “Book Club” screen printed onto the front of the garment. Being an avid reader, she immediately declared her desire to have a shirt like this for Christmas. After looking up the cost for said sweatshirt, I decided to make one of my own using my trusty embroidery machine. Carefully reviewing the garment, I quickly found a few heather colored sweatshirts at the discount store and identified a font that would work the the “Book Club” design. I didn’t care for the font used in the original design so I settled on a text style that looked just like one found when reading a book; a contemporary spin on Times New Roman. Here are the steps I used to embroider font or text onto the front of a basic medium-weight sweatshirt.


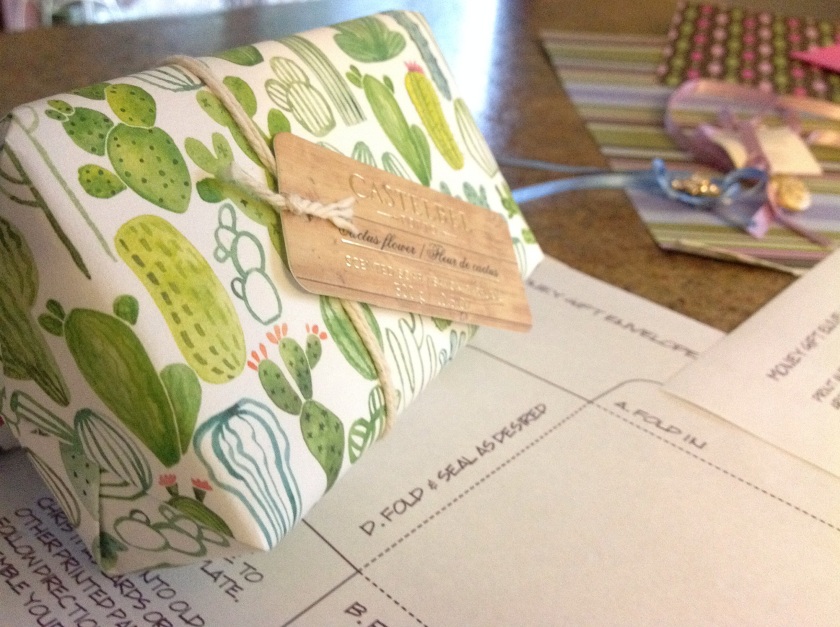 I gathered an assortment of scrap paper, and the beautiful wrapping paper found on some milled soaps.
 I printed the template and traced the outline on various scraps.
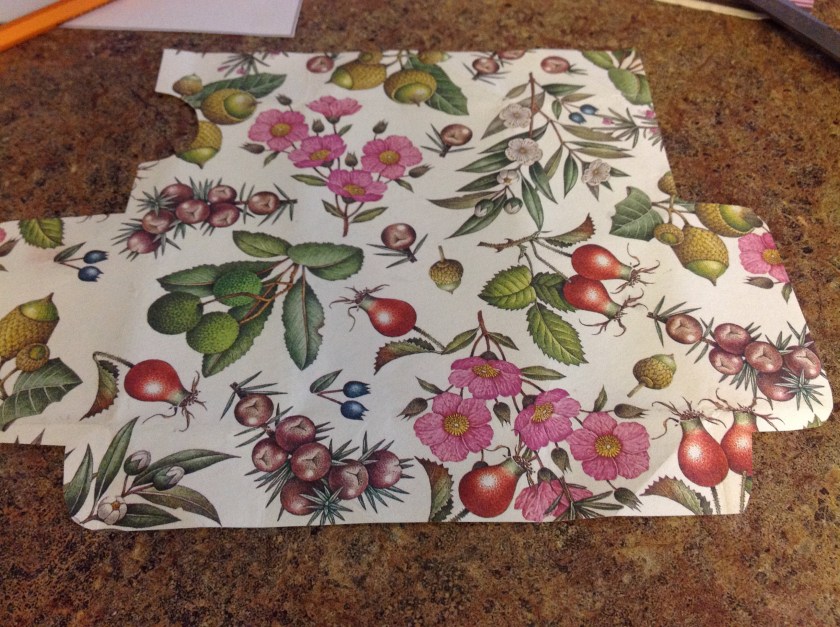 I penciled in some fold lines.

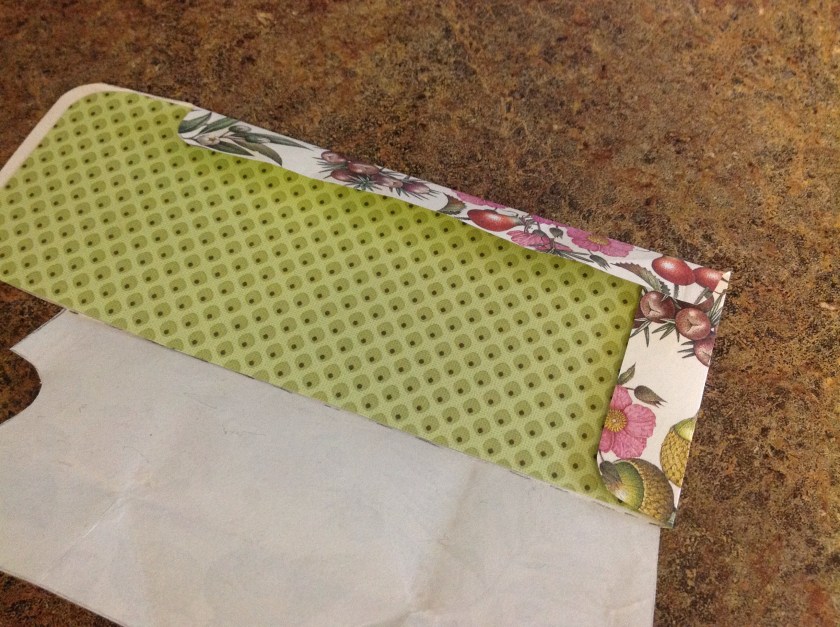 I thought it might be nice to have a contrasting liner.
 Using a few paper punches, I fashioned a gift tag.


 Use Christmas paper, shopping bags, newspaper… Whatever you like.
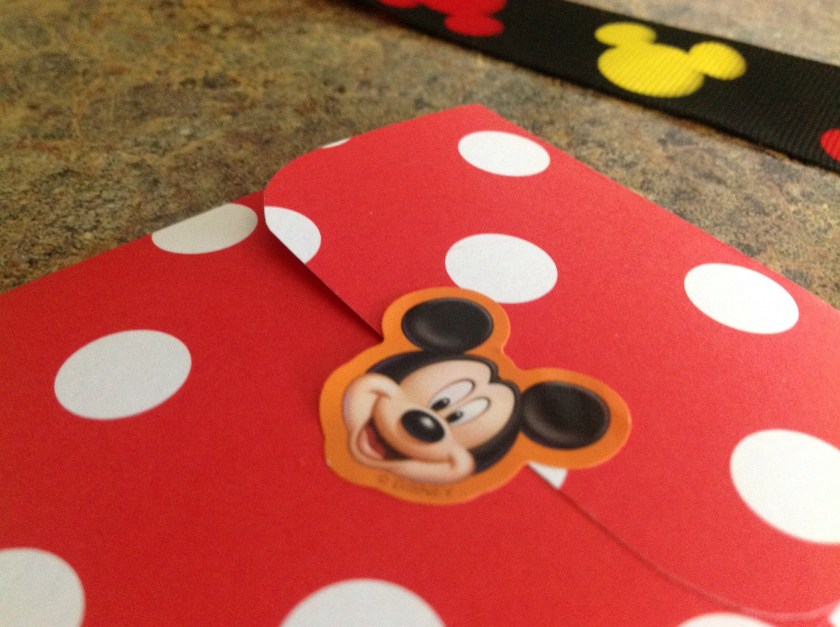
 This is an enjoyable way to personize and make personal, an ordinary, yet purposeful gift card.


 At a recent holiday party, one of my co-workers was kind enough to demonstrate the assembly of this adorable sock snowman craft. You won’t believe how quick and easy this no-sew project is to assemble. A simple white sock, some string, and a few sewing notions make for the cutest of holiday projects for any age to enjoy.


