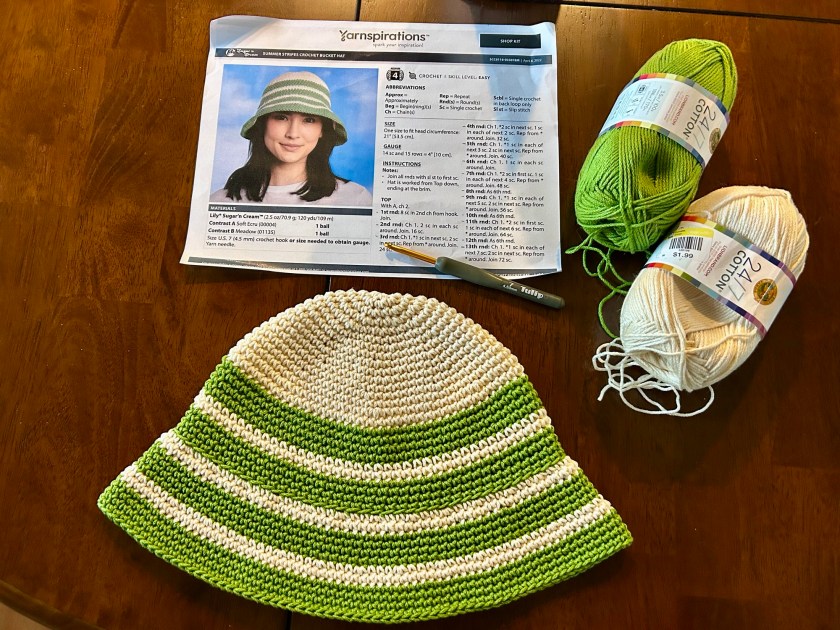
I’m completely thrilled to welcome the warmer weather and sunshine – spring and summer are officially bucket hat seasons! This hat cost me less than a dollar to crochet thanks to a lucky Goodwill find last year: several full skeins of 24/7 Cotton yarn in a variety of colors for $1.00 per skien. I used a free Yarnspirations pattern and whipped this one up in just over an hour. This hat fits a 21–22” head circumference and was such a quick, satisfying project that I’ll definitely be making again (and again). I hope you give it a try too!
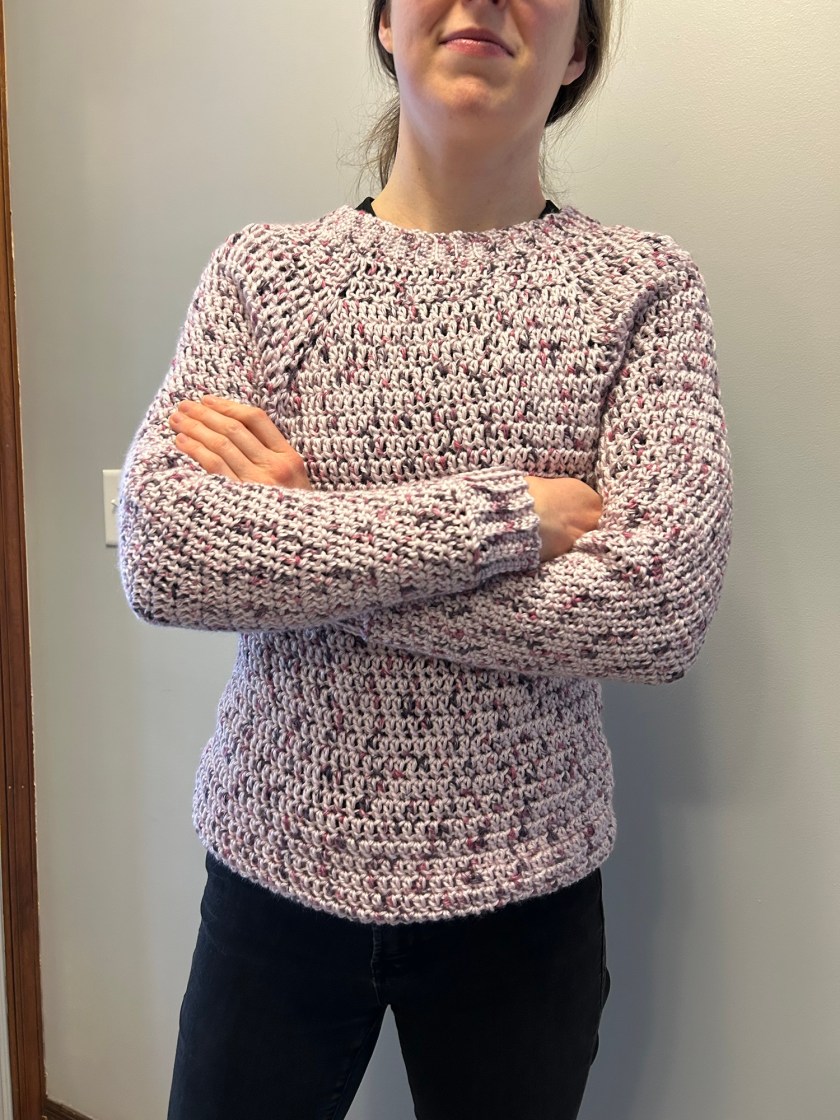
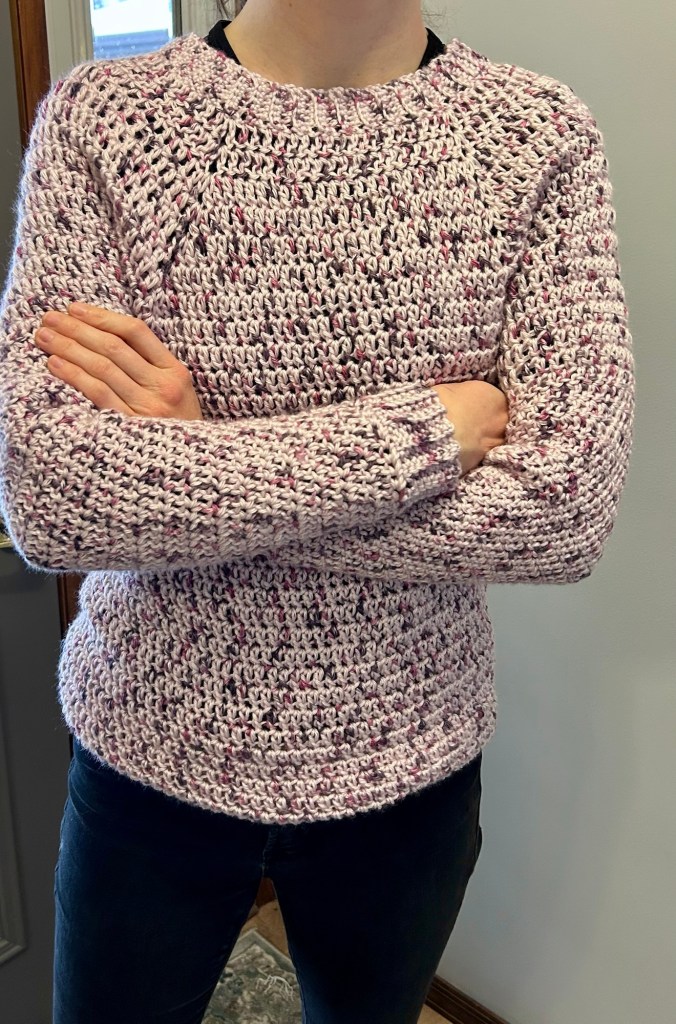
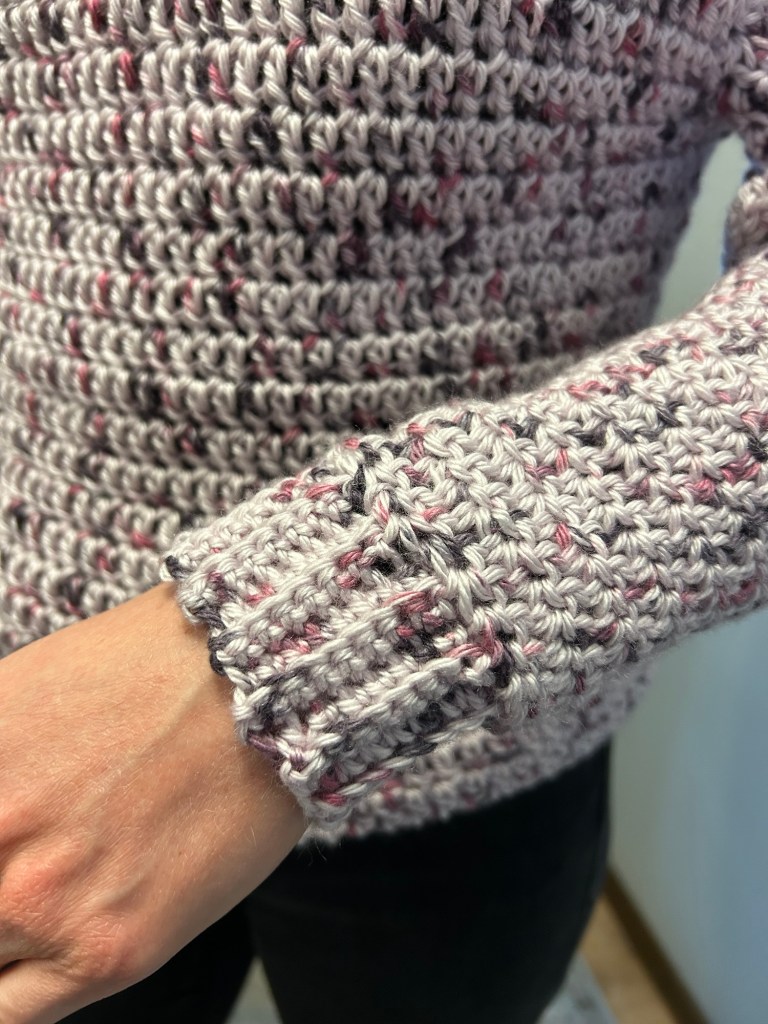
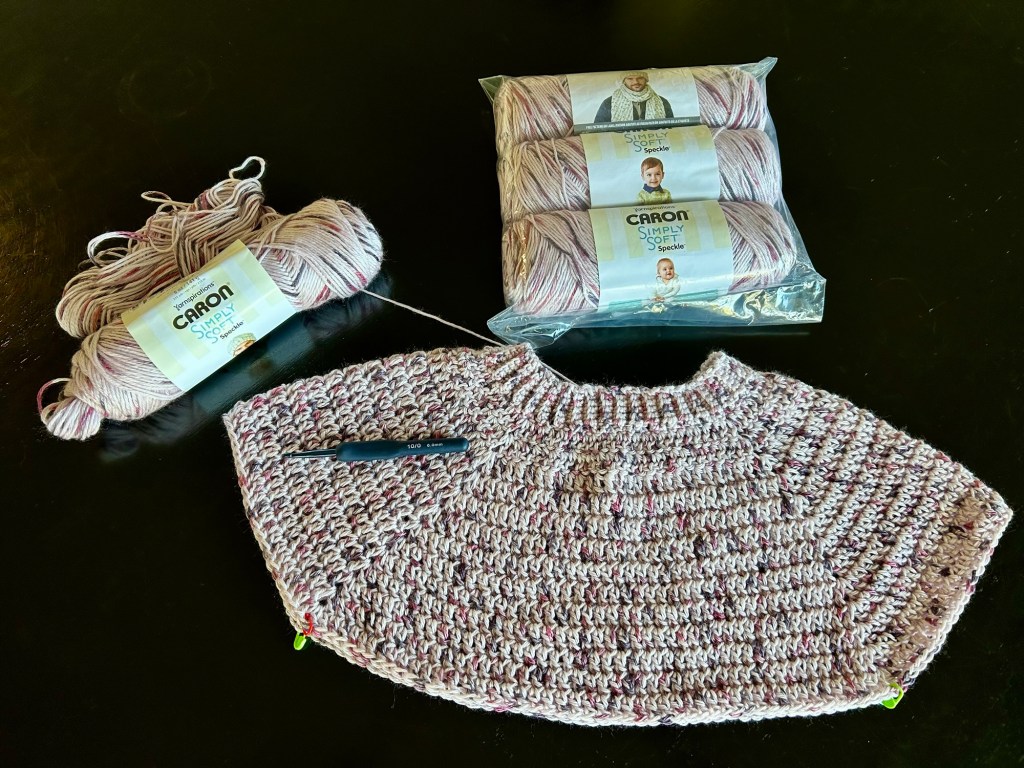
I’ve only been crocheting for a short time, but I’ve recently started making wearable pieces for myself and my family. This seamless beginner sweater was such a joy to work on. I even brought the project along on our winter vacation and spent sunny Florida afternoons crocheting outdoors. The tutorial I followed is linked here.
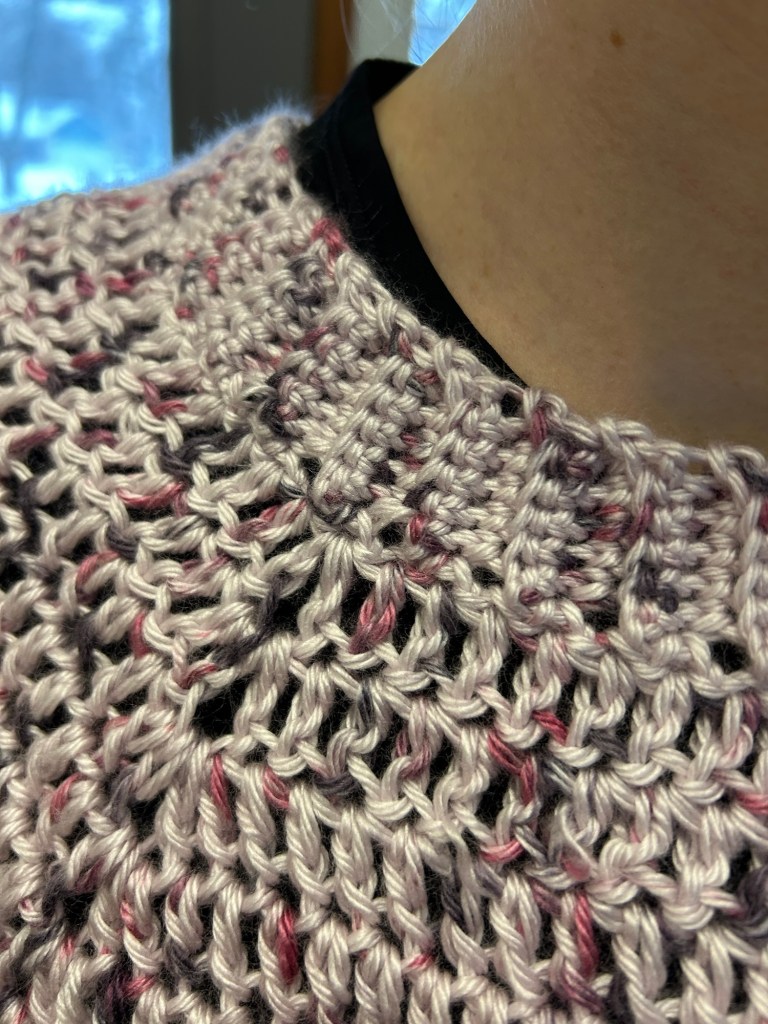
Begin crocheting at the neckline ribbingComplete crochet at sleeve ribbing
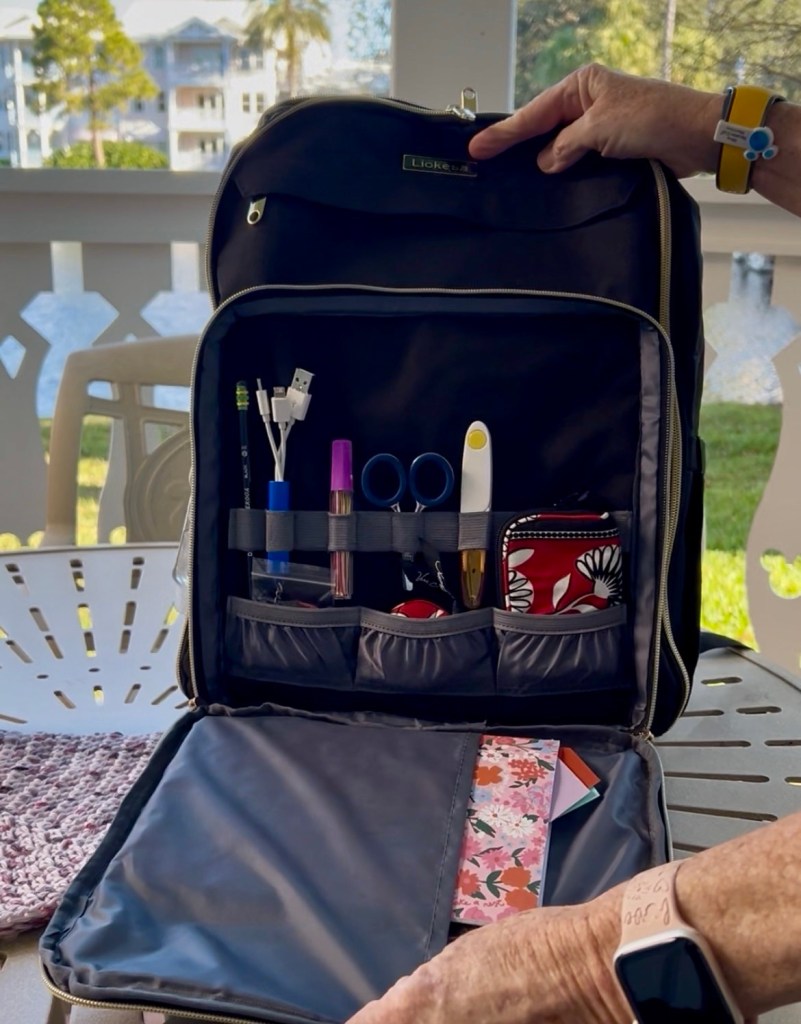
You may have seen pricey versions of crochet travel bags designed to hold your WIPs and supplies—but this one offers all the same features without the hefty price tag. I love that it fits neatly under the airplane seat in front of you, and the well-placed pockets keep everything within easy reach. It truly is an excellent crochet travel bag, and I absolutely adore it!
Crochet Bag Tour
Amazon has a plethora of excellent craft backpack options. Here’s the link for the bag I purchased and reviewed above. The additional exterior charging port is incredibly convenient too!
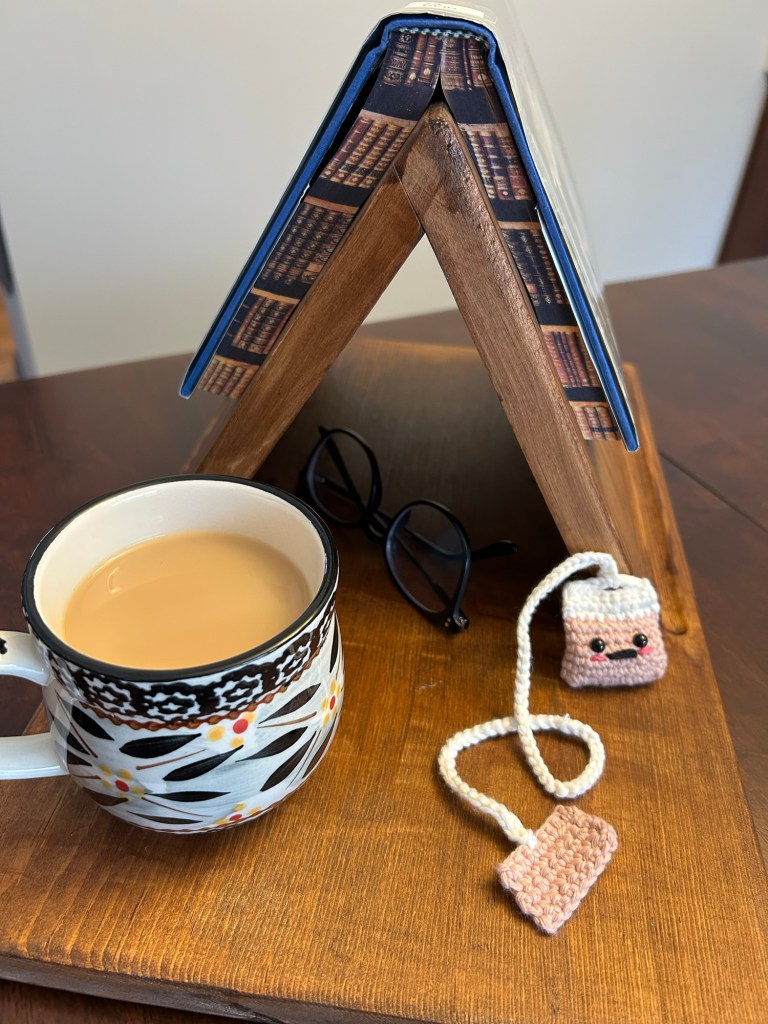
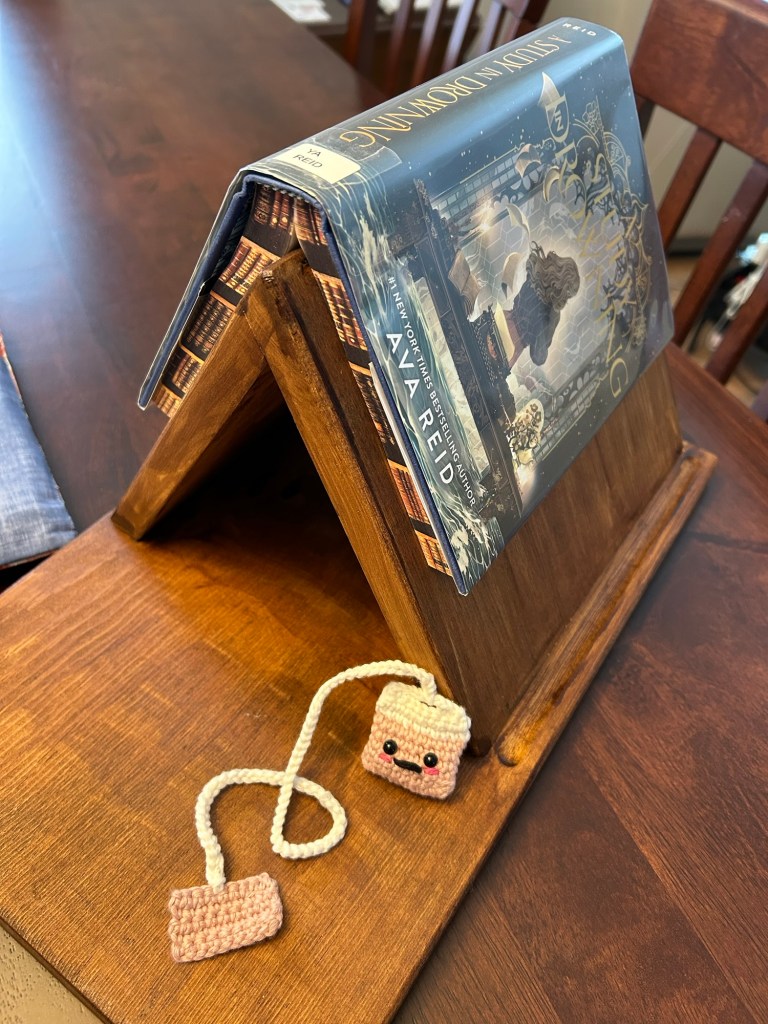
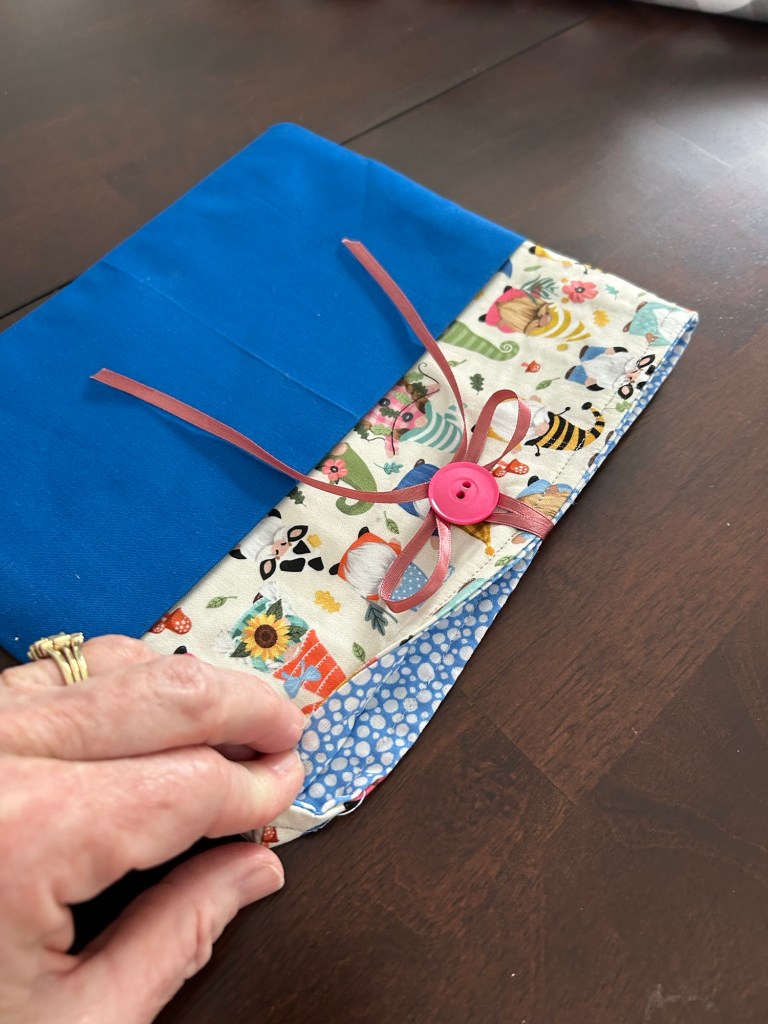
The Midwest has been piling up snow these past few weeks, and now the temperatures are set to take a sharp dive. But no worries—I’ve spent the day doing some of my favorite cozy activities: making book sleeves, and crocheting. It’s always nice to slow down and enjoy the things you love.
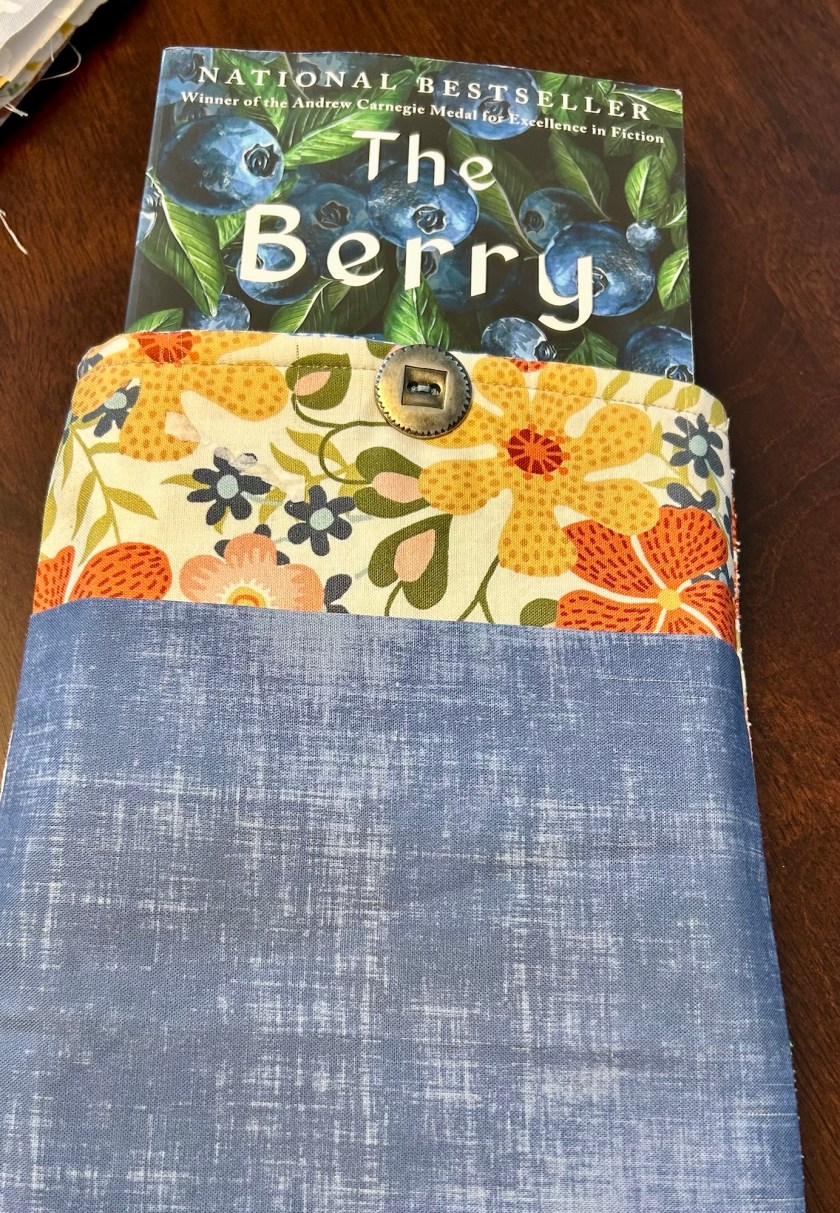
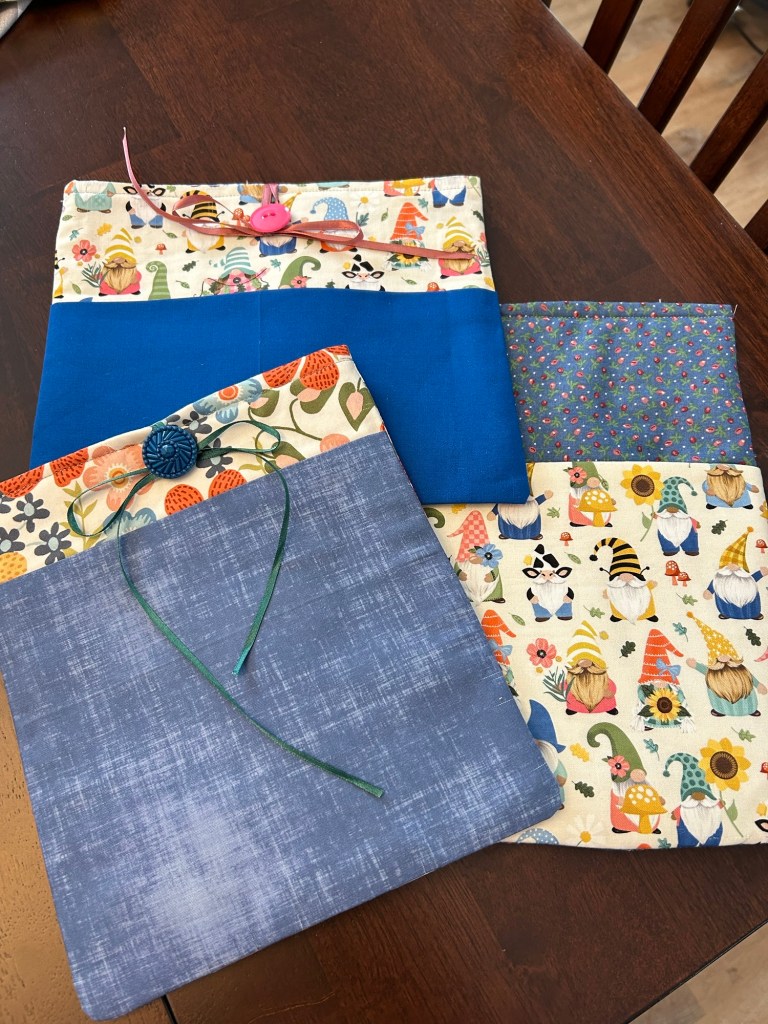
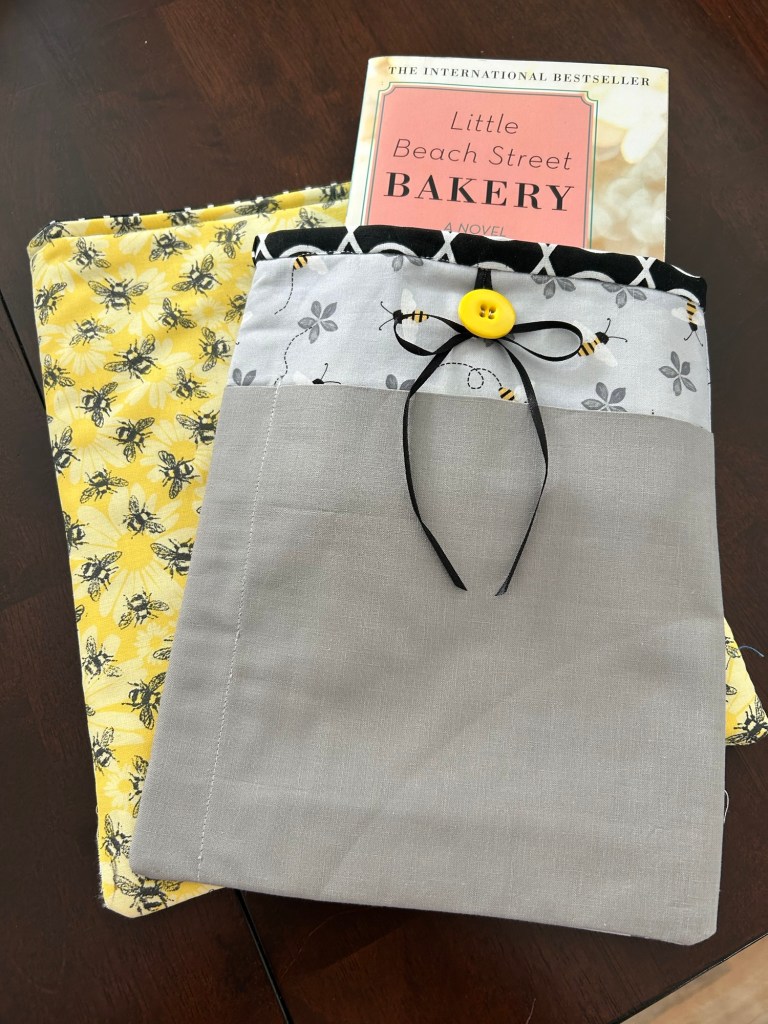
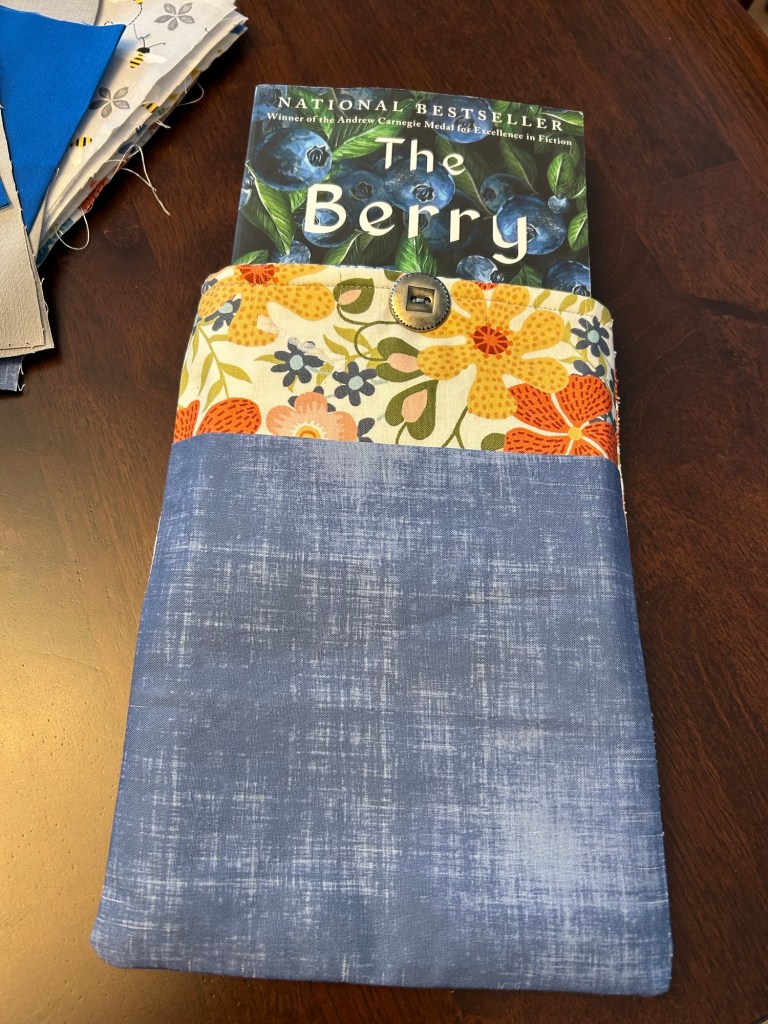
Reading is one of my absolute favorite pastimes, and these book sleeves are both cute and practical—they keep my books safe while I’m on the go. Lately, I’ve also been seeing that popular book rest and mug holder everywhere online. I asked my husband to create his own version, and I couldn’t be happier with his design!
Handmade Book SleevesHandmade Book SleeveHandmade Book SleeveBook Rest and BookmarkCoordinate Your Scrap Fabric
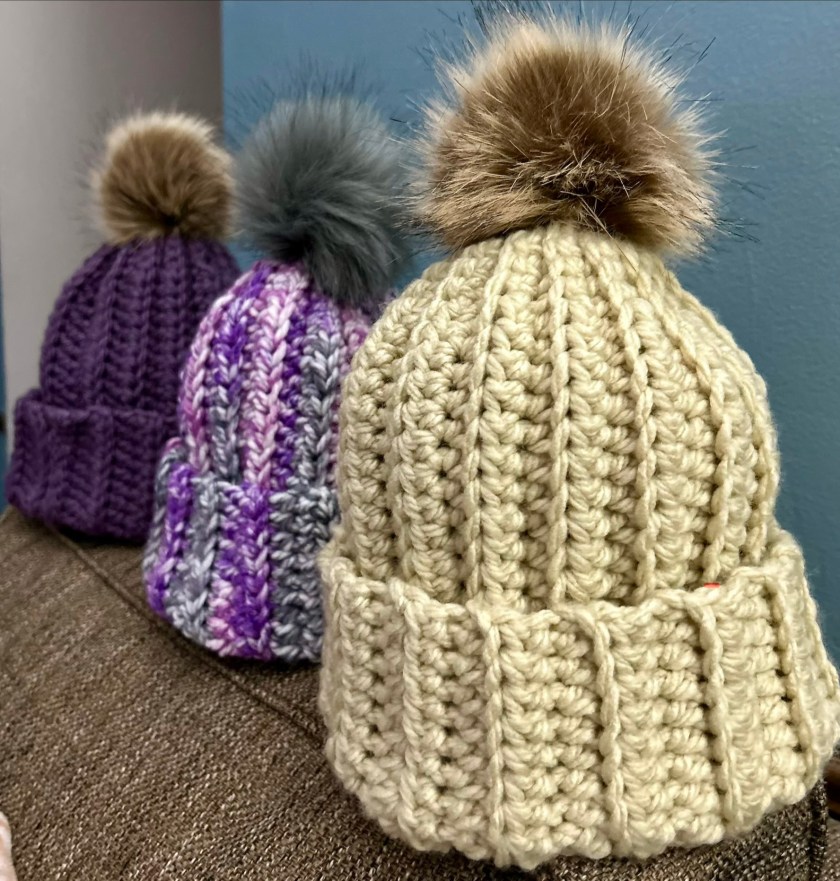
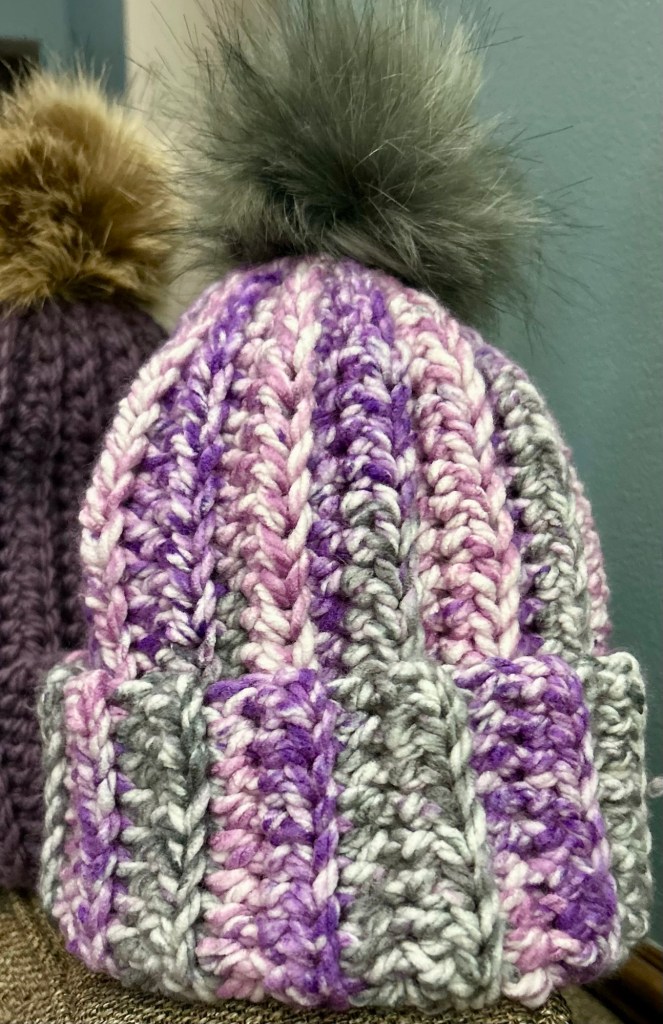
I’m not a very experienced crocheter but I’ve started to dip my toe in the wearable’s pool. I’ve always made blankets and dish towels with an occasional poncho, but I’ve not really made anything a bit more structured to wear. I recently made myself a granny square sweater and I thought I might try my hand at using single skeins to make winter hats. I followed a tutorial by Elise Crochets. https://m.youtube.com/watch?v=E5yInVAx8gE
It’s easy to follow and uses a slip stitch method to taper the top of the hat making a more fitted look. I purchased some inexpensive 5” pom poms for an updated look. If you’re a beginner and have single balls of yarn on hand – This one-skein beginner beanie is a winner!
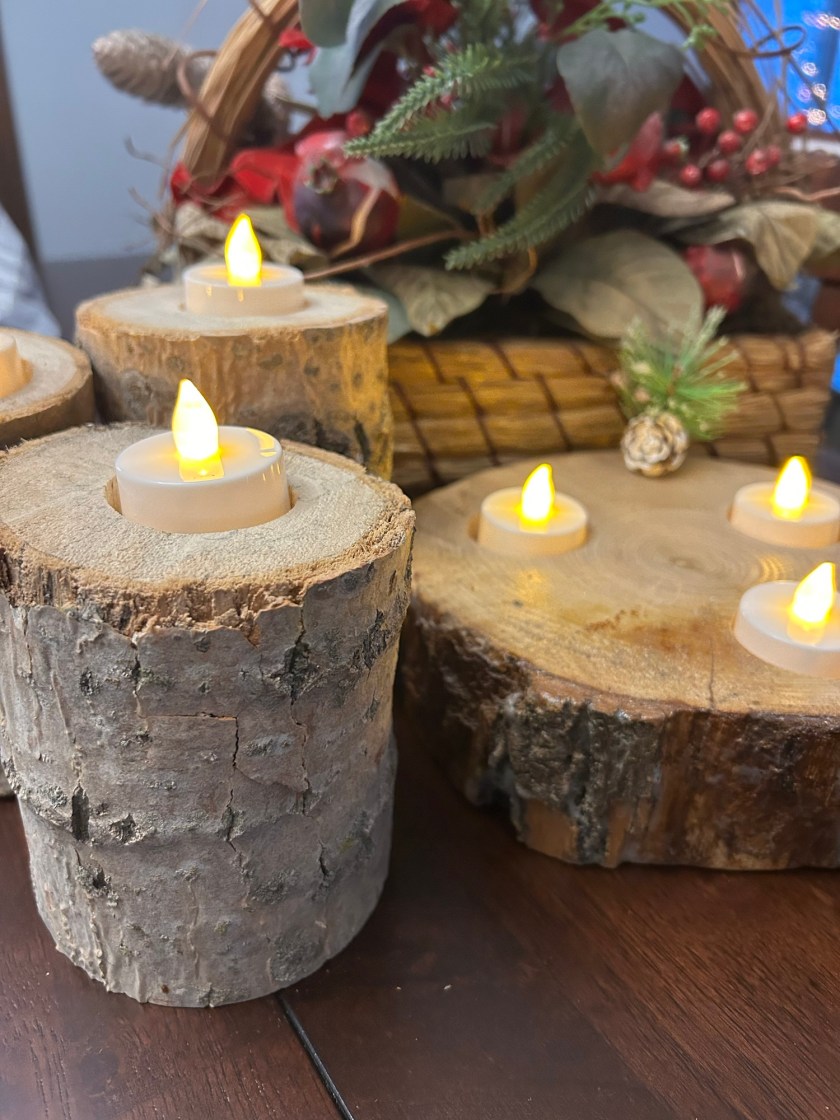
After seasonal storms sweep through the Midwestern countryside, our wooded lot is often scattered with fallen branches and trees. During the cooler months, we gather this found wood to fuel our winter fires, and occasionally set aside special pieces for craft projects.
One of my favorite holiday ideas is creating a rustic Christmas tablescape with flameless candles nestled in wooden stumps. While real tea lights may look charming, they pose a fire risk in dry wood—so flameless candles are the safer choice.
To make these, simply drill a hole into each stump using a bit that matches the candle’s width, going deep enough for the candle to sit securely. Arrange stumps of varying sizes and shapes together, then add greenery for a festive, natural touch.
Wishing you a warm and happy holiday season!
Winter CandlesWoodland Candles IlluminatedWrap with festive twine
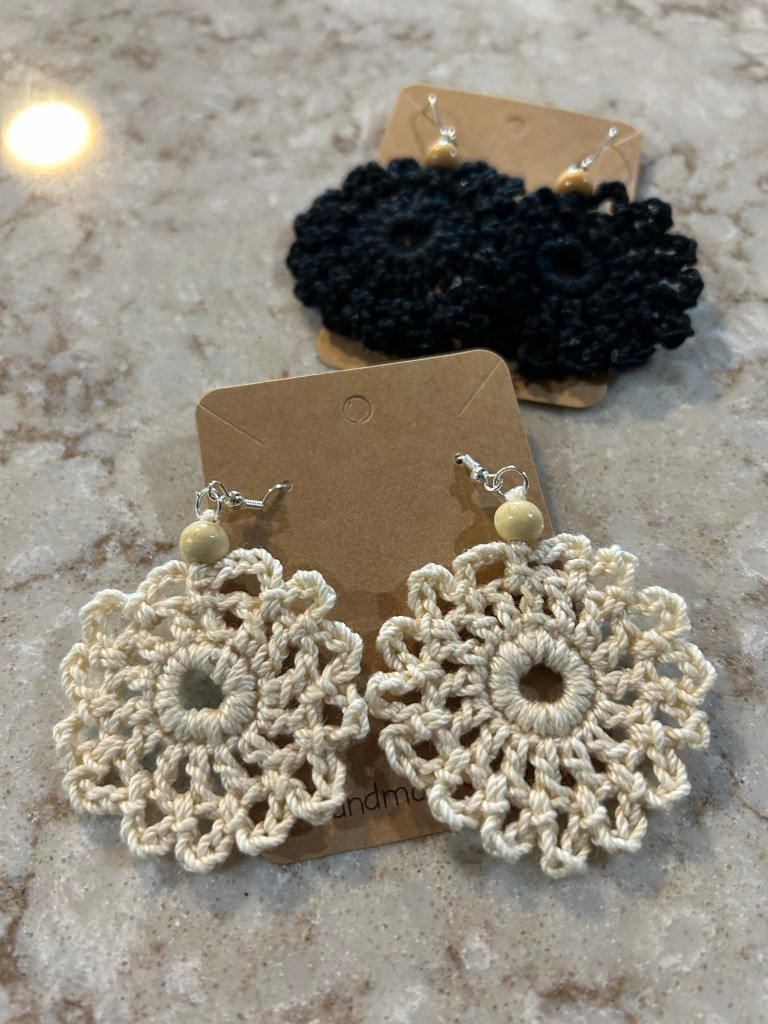
I’ve only been crocheting for a little while, but I recently stumbled upon a wonderfully simple earring pattern that uses embroidery thread to create vibrant, eye-catching pieces—perfect for summer outfits. I’ve already made a few pairs and packaged them up for my daughters. Finding this free pattern from You Should Craft felt like striking gold!
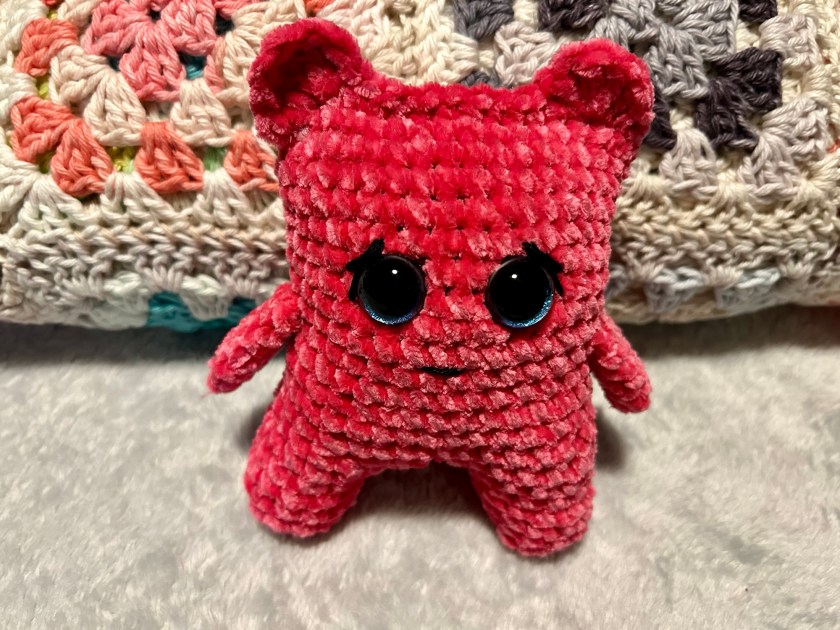
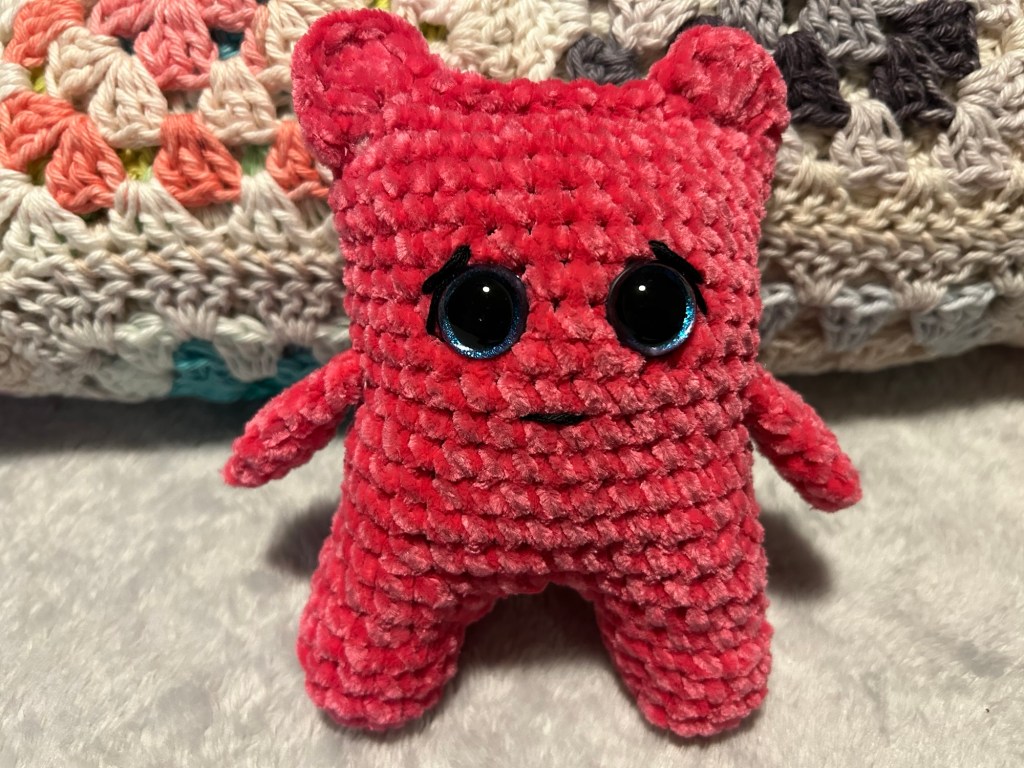
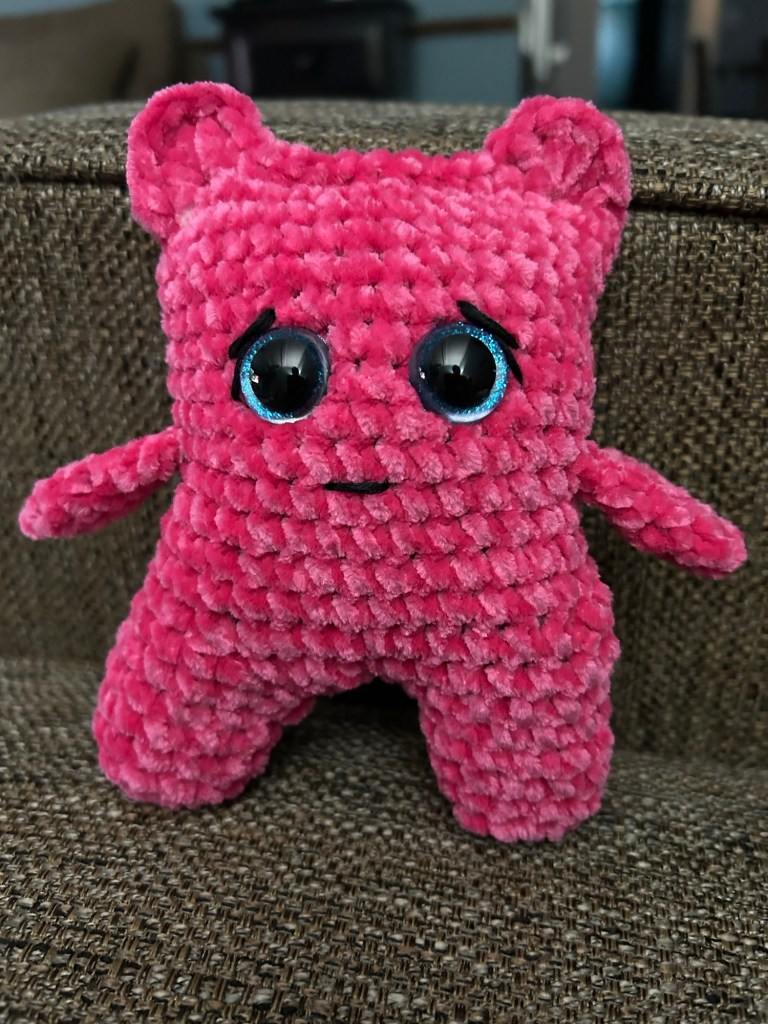
I love this idea for the kiddos going back to school or maybe heading to school for the first time. This “Pocket Pal” can be put into the backpack for a bit of plushie comfort while away from home. I used scrap yarn to make this easy amigurumi. I found the tutorial here. I’ll be making a whole bunch of these cute plushies. The creator of the tutorial calls them “Pocket Monsters”👹. Sooo cute!
When on vacation or traveling, I like to have a few portable crafts on hand. An unexpected flight delay, a rainy afternoon, or a relaxing day at the pool are all part of the trip. Having a handy craft at the ready can be quite enjoyable. I look for projects that are compact and simplistic, without lots of parts and pieces.
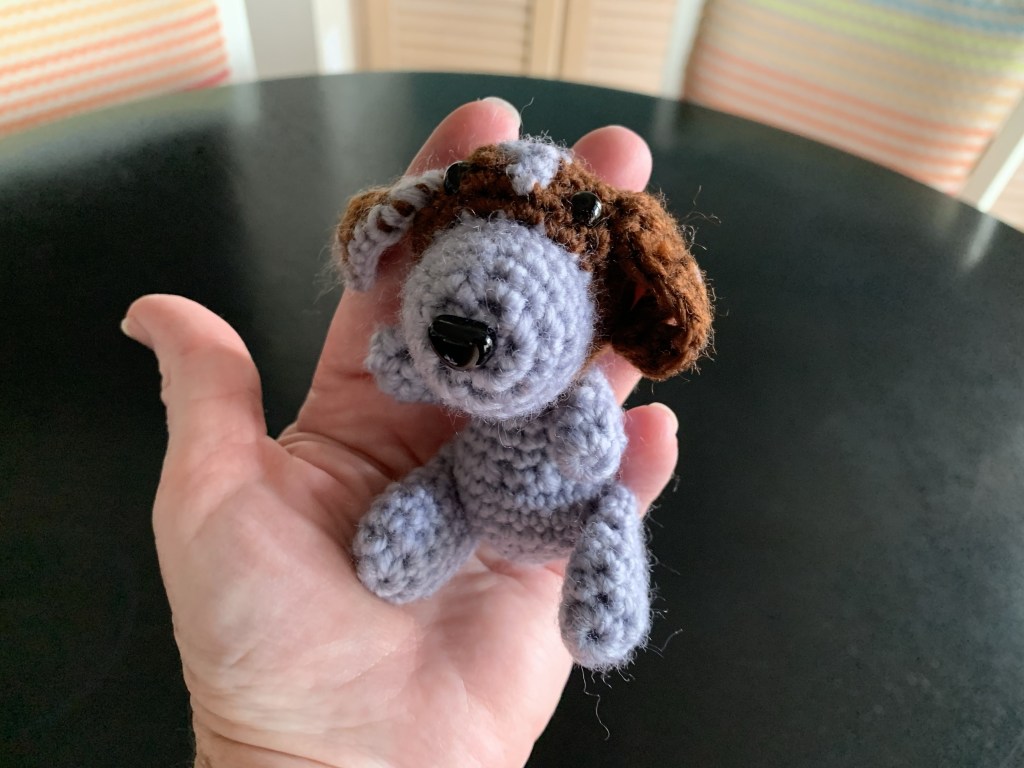
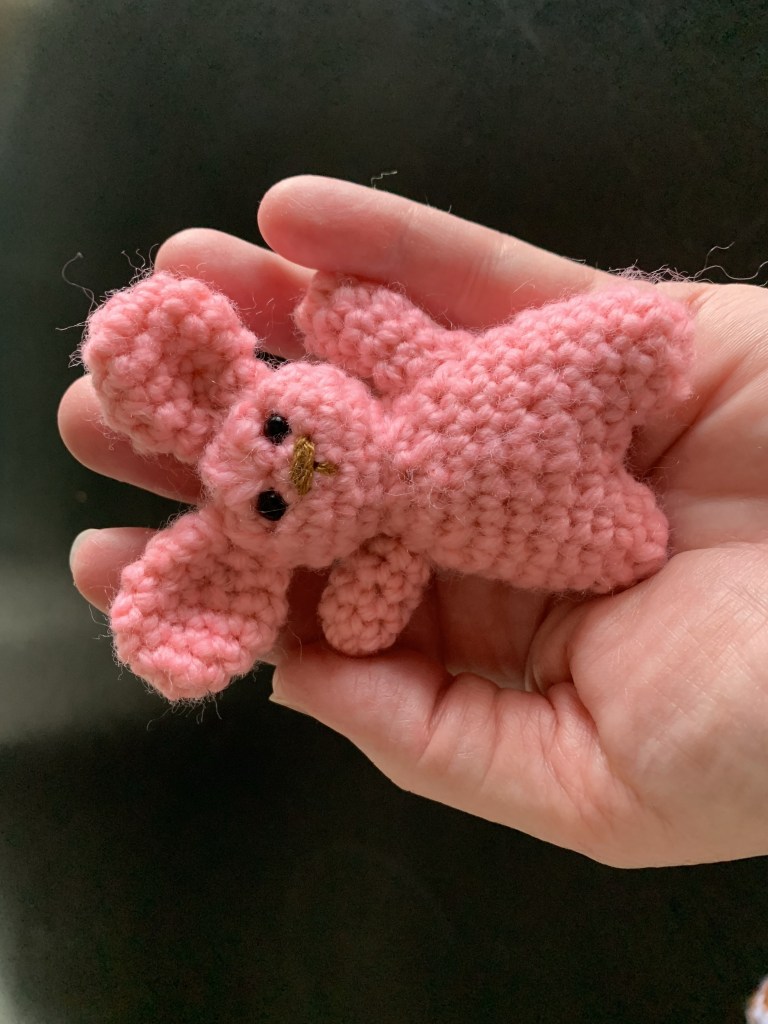
Visiting the local Dollar Tree, I found a few Amigurumi kits that I would bring on my Disney Vacation Club trip. I usually take a day or two to just relax and stay away from the hustle and bustle of the parks and shops. These kits are $1.25, but remember, you get what you pay for… The pattern is VERY difficult to decider and I ran out of yarn for one of the petite pets (dog) and had to improvise with yarn I had left over for another part of the project. You’ll notice I have used gray yarn on the left dog ear because I ran out of brown.
Gray yarn used to trim ear
Before leaving for vacation, I enlarged the pattern in my copier so I have a legible pattern to follow. (The pattern that accompanies the kit is very small and difficult to follow.)
DogEnlarged copy of patternBunnyTeddy BearDollar Tree Kits
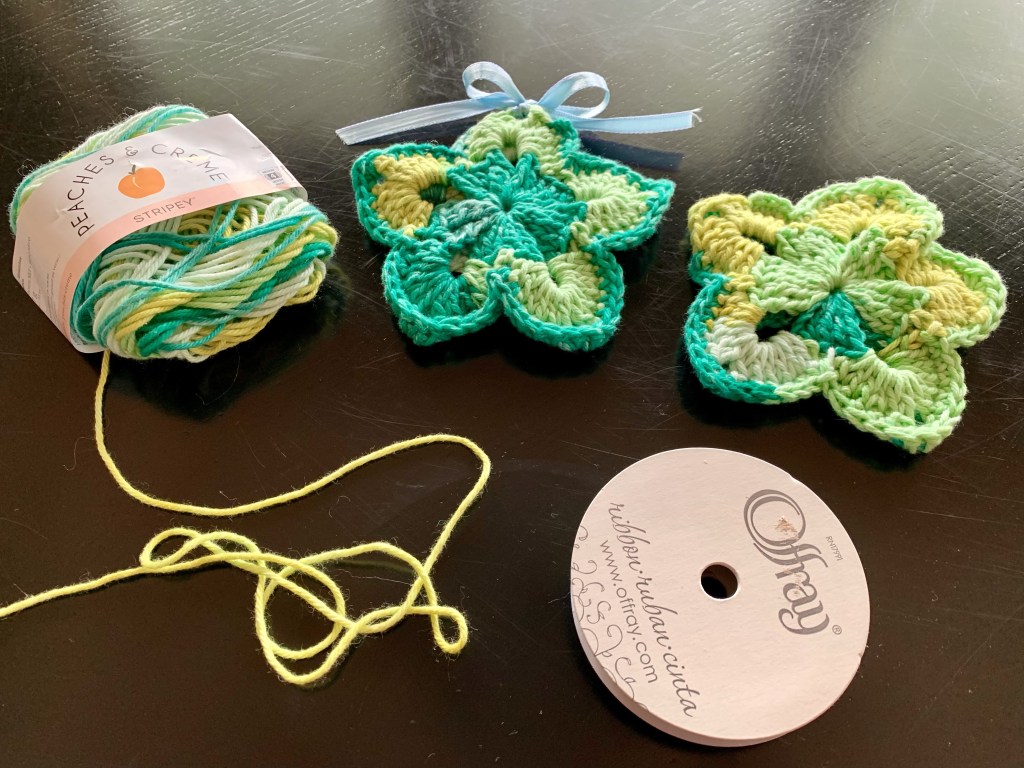
I also found a YouTube video for compact Easter Crochet Flower that hold Cadbury Eggs for a cute co-worker gift before the holiday. I used Peaches and Creme yarn from Walmart ($1.99 at Florida Walmart) to complete the flowers. These cakes are compact and easy to pack. I also travel with a mesh craft bag that fits in my carry on. Inside I have crochet hooks, stitch markers, TSA approved scissors, tapestry needles, etc.
Easter Egg FlowerSimplistic portable supplies
What crafts do you like to bring along when you travel?
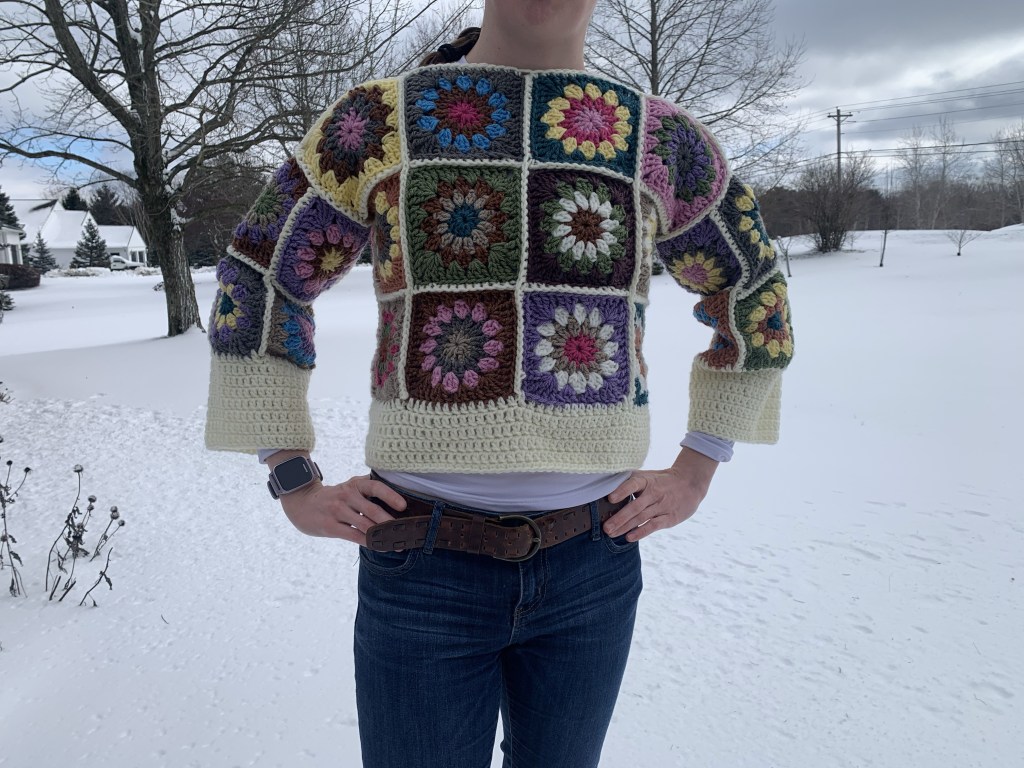
Baby it’s cold outside! The midwest winter has returned to Indiana and it’s the perfect time to take on a crochet project. I loved making this boxy sweater as this granny square pattern uses up the many scrap balls of yarn I have hanging around in my yarn baskets. While I didn’t rely on a specific pattern for this sweater, I took some advice from YouTube crafters and used my daughter’s general body measurements to gauge the size for this garment. She is an extra small size but wanted a chunky, loose-fitting cropped style that she could wear over a long-sleeved t-shirt or turtle neck. Here are the two resources I used for general guidance.