Posted in Dinner, Food, lunch box, Soup

Creamy Tomato Basil Soup

Another school year begins…

Our daughter is beginning her clinical year up in Evanston, IL.  Once again, we loaded up all of her belongings to move her into a cute little apartment, not far from the “Purple Line” in a beautiful part of town, just outside the Northwestern University campus.  The cool breezes off the shores of Lake Michigan have made for an unseasonably cooler summer.  

After settling her into the apartment, we walked into town to find a local place to eat lunch.  We spotted an adorable restaurant called The Farmhouse-Evanston.  The menu touted local foods, brews, and seasonal fare.  With a chill in the air, the tomato soup and grilled cheese sandwich sounded wonderful. My daughter ordered it without hesitation.  All through the meal, she raved about the creamy soup and hearty, three-cheese sandwich.  

After returning home, I was inspired to make a big pot of flavorful tomato soup for the family. What a treat.  This recipe makes enough to serve the whole clan with extras to pack into containers for weekday lunches.

…Outstanding soup!  Don’t forget to garnish with pieces of garlic toast, Parmesan cheese, and fresh basil.
Creamy Tomato and Basil Soup

3 tablespoons olive oil
4 garlic cloves, minced

1 large white onion, chopped

2 (28 oz) cans San Marzano whole, peeled tomatoes

1 1/2 cups water

3 teaspoons chicken soup base

2 1/2 tablespoons sugar

1/4 cup half and half

6 – 8 large fresh basil leaves, roughly chopped

1/4 teaspoon dried Italian seasonings

1 teaspoon kosher salt or to taste

3/4 teaspoon ground black pepper or to taste

In a medium pot, heat olive oil over medium-high heat. Add garlic and saute for 30 seconds, don’t over cook.  Add onion; stir and cook until translucent.

Add the two can of tomatoes with juice, chicken base, water, and sugar. Bring to a low simmer. Cook uncovered, for 12-15 minutes. Add the half & half, basil, Italian seasonings, salt and pepper.

Using an immersion blender,  puree soup until smooth. Serve immediately with a hearty grilled cheese sandwich or a fresh salad.

Posted in appetizers/snacks, Canning, Home Food Preservation, Kids in the Kitchen, Toppings

Lemony Strawberry Jam

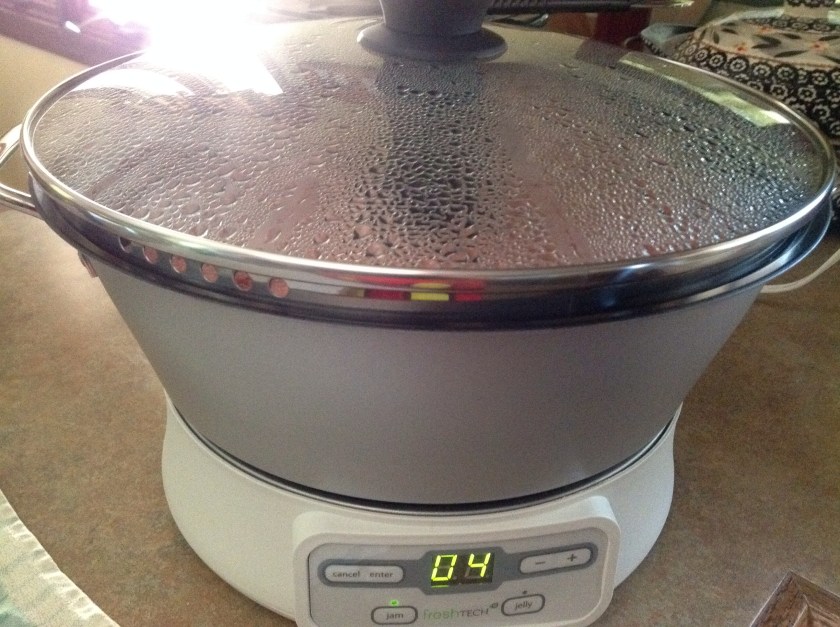
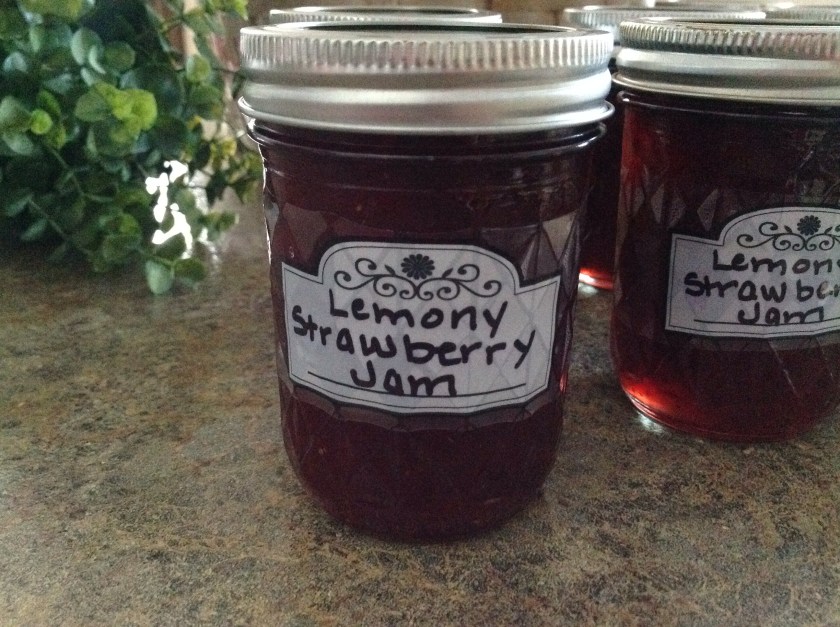
I was recently asked to do a food demonstration at a local county fair.  I thought it might be fun to showcase some of the new home food preservation products and make some lemon and strawberry jam.  I bought a bag of lemons, some sugar, pectin and fresh strawberries for the occasion.  A few portable appliances were easy to load into the back of my car and plug into the electrical outlet at the Home and Family Arts Building.  I had a blast making jam for all of the folks visiting the fairgrounds.  I was happy to answer questions and drum up some new found interest in canning.  If you have never preserved food or if you’re looking for a fresh new way to can fruit with ease, check out some of the new items on the market and get busy canning nature’s bounty!
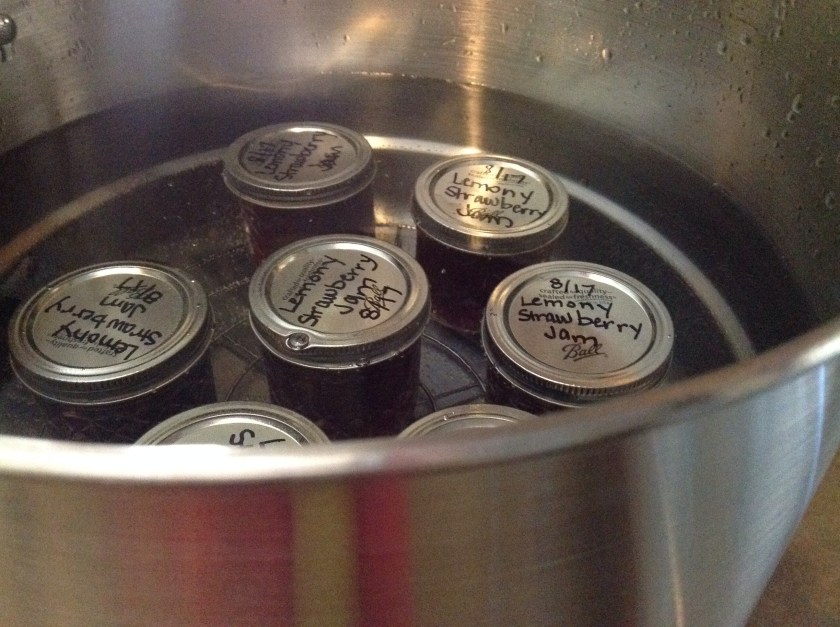
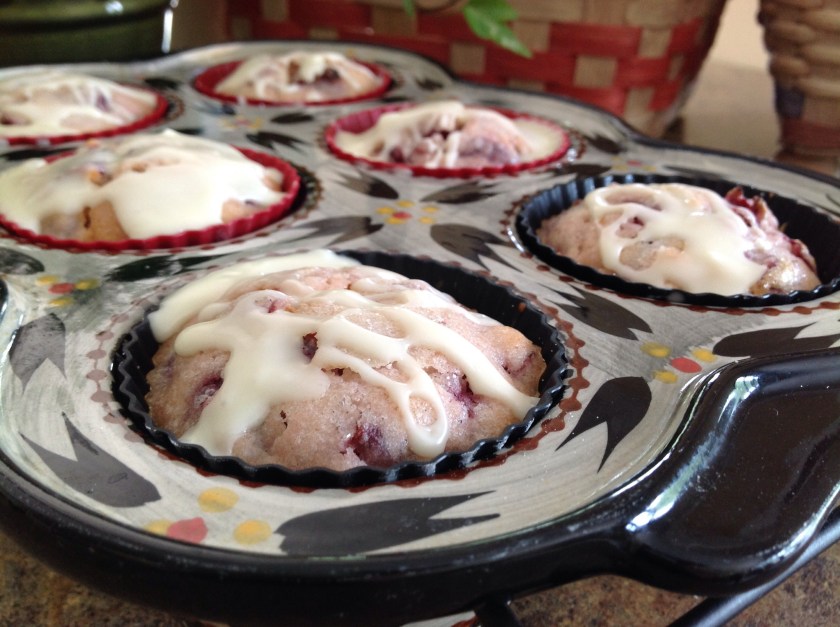


Sprinkle in the pectin…

Add the crushed strawberries…

A fresh additon… lemon zest

Time to give this a stir…

Add sugar and bring to a rolling boil…    This is an amazing little appliance.  Portable, electric, and easy to clean…  Small batch canning is highlighted with this jam and jelly maker.

Getting ready to process…

Set to “canning mode”…

Simply delicious!

Lemony Strawberry Jam

Strawberries

Lemons

Sugar

Pectin

Check out the recipe at the link below.  Follow the recipe exactly as written.  This is a must when preserving foods.  No substitutions, unless directed.  Always use reputable, tested recipes for home food preservation.

https://www.freshpreserving.com/lemony-strawberry-jam—ball-auto-canner-recipes-br1393.html

Posted in Baked goods, Baking, Bread, breakfast, Brunch, Desserts, Food

Back To School Blueberry Bread

It’s that time of year again… Back to school!   This is a great quick bread loaf to bake in quantity and pop in the freezer for lunchbox treats throughout the year.  We recently visited our daughter who has started her clinical year at a hospital in Illinois.  I brought along an assortment of quick breads that I carefully sliced and individually wrapped for the freezer.  This way, she can take out one slice at a time and pack it into her lunch bag for a morning snack or a lunchtime treat. As I think back to all of the blueberry recipes I’ve made for the family, this one is surely a winner!


Back to School Blueberry Bread

1/3 cup butter, melted

1 cup sugar

3 tablespoons fresh lemon juice

2 eggs

1 1/2 cups all-purpose flour

1 teaspoon baking powder

1/2 teaspoon salt

1/2 cup milk

1 cup fresh blueberries

1/2 cup walnuts, chopped

2 tablespoons grated fresh lemon peel

GLAZE:

2 tablespoons fresh lemon juice

1/4 cup sugar or 1 cup powdered sugar

In a large bowl, beat the butter, sugar, lemon juice and eggs. Combine the flour, baking powder and salt; stir into egg mixture alternately with milk, beating well. Fold in the blueberries, nuts and lemon peel.

Transfer to a greased 9X5″ loaf pan. Bake at 350° for 60-70 minutes or until a toothpick inserted near the center comes out clean. Cool for 10 minutes before removing from pan.  Continue to cool on a wire rack.  

Combine the glaze ingredients and drizzle over warm bread. Cool completely before slicing.


Posted in Baked goods, Baking, cookies

M’s Triple Chippers

 
This is a great basic cookie recipe that is truly scrumptious as the mix of chips adds a special taste to the batter.  Have you ever started a recipe only to find that you didn’t have all of the ingredients needed? 

Well, resourceful M found herself in this situation and took a simple recipe and added a mixture of chips that we had available on the baking shelf, turning this into an absolutely delicious treat.
M’s Triple Chippers

1 cup butter, softened
1 cup white sugar

1 cup packed brown sugar

2 eggs

2 teaspoons vanilla extract

1 teaspoon baking soda

2 teaspoons hot water

3 cups all-purpose flour 

1/2 teaspoon salt

3/4 cup semisweet chocolate chips

3/4 cup peanut butter chips

1/2 cup butterscotch chips

Preheat oven to 350 degrees.  Cream together butter, white sugar, and brown sugar until smooth. Beat in the eggs one at a time, then stir in the vanilla. Dissolve baking soda in hot water. Add to batter; stir completely.  Stir in flour, salt, and chips.  Use large ice cream scoop to drop onto cookie sheets.  Bake for 10-12 minutes in the preheated oven, or until edges are nicely browned.

Posted in Baked goods, Baking, Desserts, holiday

Blueberry Pie with Oat Crumble Topping

This past holiday weekend was mild and breezy…the perfect opportunity to head up the road to a local farm to purchase some plump, ripe blueberries.  The trip was inspired by my niece who had been “baking up a storm” to celebrate her mother’s (my sister’s) birthday.  My sister celebrates her birthday on Independence Day so her daughter prepared a few festive goodies for the occasion. After seeing a few pictures of the table setting for the party, I was inspired to uncover our vintage Mustang convertible and take a drive down the country road to pick up a five-pound box of freshly picked berries.  This is one of my favorite pie recipes as it is super simple, made with fresh, bright flavors and ingredients. There is nothing like sharing a piece of blueberry pie after dinner on a Sunday evening with the family before starting another busy work week.

Blueberry Pie with Oat Crumble Topping

1 pre-made pie crust

1/2 cup white sugar

1/3 cup all-purpose flour

2 teaspoons grated lemon zest

1 tablespoon fresh lemon juice

5 cups fresh blueberries

Topping:

2/3 cup packed brown sugar

3/4 cup old fashioned oats

1/2 cup all-purpose flour

1/2 teaspoon ground cinnamon

Pinch of nutmeg

6 tablespoons butter

Preheat the oven to 375 degrees.

Press the pie crust into the bottom and up the sides of a 9″ pie plate. In a large bowl, stir together the sugar and flour, lemon zest and lemon juice. Gently stir in the blueberries. Carefully, pour blueberry mixture into the pie crust.In a medium bowl, stir together the brown sugar, oats, flour, cinnamon, and nutmeg.  Mix in butter using a pastry blender or fork until crumbly. Spread the crumb topping evenly over the pie filling.

Bake for 40-45 minutes in the preheated oven, or until browned on top. Cover with foil if crust starts to get too dark before baking is complete.  Cool before slicing.

Posted in Baked goods, Baking, Gardening, Home Food Preservation

Iced Sour Cherry Muffins/Quick Bread


One of my co-workers sent me a text the other night.  She wanted to know if she might be able to successfully dry some of her sour cherries in the oven.  Her cherry tree had produced a bumper crop of fruit and she was creatively thinking of ways to preserve the bounty.  I quickly suggested she borrow my dehydrator as it is super easy to dry fruits and vegetables in this portable unit.  In return, she offered me some of those beautiful sour cherries.  I felt like one lucky girl!  

I quickly pitted, chopped and bagged the fruit to put in the freezer as I wasn’t quite sure what I would make with them.   Cherry pie filling… sour cherry jam… muffins … scones?  I settled on Iced Sour Cherry Muffins. What a great choice as these muffins are tart and sweet, packed with a good dose of sour cherries. The recipe only needed two cups worth of fruit so I froze the rest of the cherries for another day, another recipe.  I used some of the batter for muffins and the rest for a small loaf of quick bread.  Again, I am one lucky girl! 

 
Iced Sour Cherry Muffins/Quick Bread 

 ¾ cup buttermilk 

 ¼ cup orange juice 

 ⅔ cup canola oil 

 1 large egg 

 1 teaspoon orange extract 

 1 heaping tablespoon orange zest 

 2 cups flour 

 1 cup sugar 

 1 tsp baking powder 

 2 cups sour cherries (pitted and chopped) 

 2 tablespoons brown sugar and cinnamon instant oatmeal (optional) 

Preheat oven to 350 degrees. If making muffins, line pans with paper liners or use silicone muffin cups.  If making quick bread, spray small loaf pans with cooking spray.   

In a medium bowl mix together buttermilk, orange juice, extract, canola oil and egg; mix well.  Next, add the orange zest, flour, sugar, and baking powder; mix well.  Carefully fold in the cherries, just until combined.  Scoop batter into muffins cups about ¾ full. Sprinkle with instant oatmeal mix (optional).   

 Bake for 25 minutes, or until a tooth pick inserted into the center comes out clean.  (If making 7×3″ loaves, fill and bake for 40-50 minutes or until a toothpick inserted into the center comes out clean.)

Let rest for a few minutes, and then transfer to a wire cooling rack and allow to cool completely before icing. 

 For glaze:
1 cup confectioners’ sugar

1 tablespoon milk or orange juice

In a medium mixing bowl, combine ingredients and mix well. If glaze is too thick, carefully add extra juice or water (a 1/2 teaspoon at a time) until mixture is smooth and creamy. Lightly drizzle glaze over cooled muffins.

Posted in Crafts, Gifts

Footed Market Basket

I had a wonderful time attending a local basketmaking workshop held at a rustic county park in my area. The weather was beautiful and the scenery was gorgeous. We sat under a shelter with several picnic tables that were lined up for all of the class participants. Just prior to the session we were mailed a list of supplies needed for the construction of the basket. We each brought along an old towel, some clips to hold the basket in place, scissors, a large bucket and a spray bottle to keep the wooden strips wet while working with them. We carefully listened to the instructor as she effortlessly managed teaching and assisting the 20 students before her. The item that we would be constructing is called a Footed Market Basket. I tried to take pictures as I worked through the steps while making this adorable basket.

…Can’t wait to sign up for another session!

Posted in Baked goods, Baking, Bread, breakfast, eggs

Classic Pancakes for a Crowd


During the summer months, when our children are home from college, I am often amazed by the amount of food that passes through my kitchen.  While we all have a responsibility to report to work every morning, the never ending supply or food provided for breakfast, lunch, and dinner amazes me.  We are not a family that chooses to eat “out” very often so packing or making quick meals can be a challenge. The weekends are used as a time to prepare foods that can be reheated during the week for a quick start to the day. We’ll make a crockpot full of steel cut oats that will be divided up into serving sized containers for a week’s worth of breakfasts or sometimes I make omelette muffins for a handy, bite-sized meal. This recipe for Morning Glory Oatmeal is devine. This weekend, I made Pancakes for a Crowd that would feed the group during our Saturday morning breakfast with leftovers for a “re-heat” during the week. 

I love the ole’ fashioned tradition of actually gathering around the kitchen table for a home cooked meal.  We all have busy schedules but this ritual  is incredibly important to me.  It gives us a chance to catch up, talk about our week, and come together as a family.  Then, it’s out the door and off in our separate ways to tend to our busy lives…


This recipe is adapted from an old Betty Crocker Cookbook that I have had for over twenty five years.  I triple the ingredients to make enough pancakes to feed a family of five with about ten left over.  I make sure to have on hand a small jar of homemade maple syrup from the trees on our land.  During the week, a full breakfast is a bit much so I notice the children will spread a dollop of peanut butter or homemade strawberry jam on a flapjack, roll it up and head out the door with a hand held meal for the road.   A healthier version of these pancakes can be found here.

Pancakes for a Crowd

3 egg, beaten

3 cup all-purpose flour or whole wheat flour

3 tablespoon sugar

1 tablespoon baking powder

3/4 teaspoon salt

2 1/2 cup milk ( more or less for a thinner/thicker batter)

6 tablespoons vegetable oil or melted butter

In medium bowl, stir  together ingredients just until flour is moistened (batter will be slightly lumpy); do not overmix or pancakes will be tough. 

Heat a non-stick griddle or skillet over medium-high heat; use cooking oil if necessary. Pour about 1/4 cup batter onto griddle for each pancake. Cook 2 to 3 minutes or until bubbly on top and dry around edges. Turn; cook other side until golden brown.

Pack up extras after the meal for leftovers during the week…


Posted in Crafts

Beginner Garden Basket

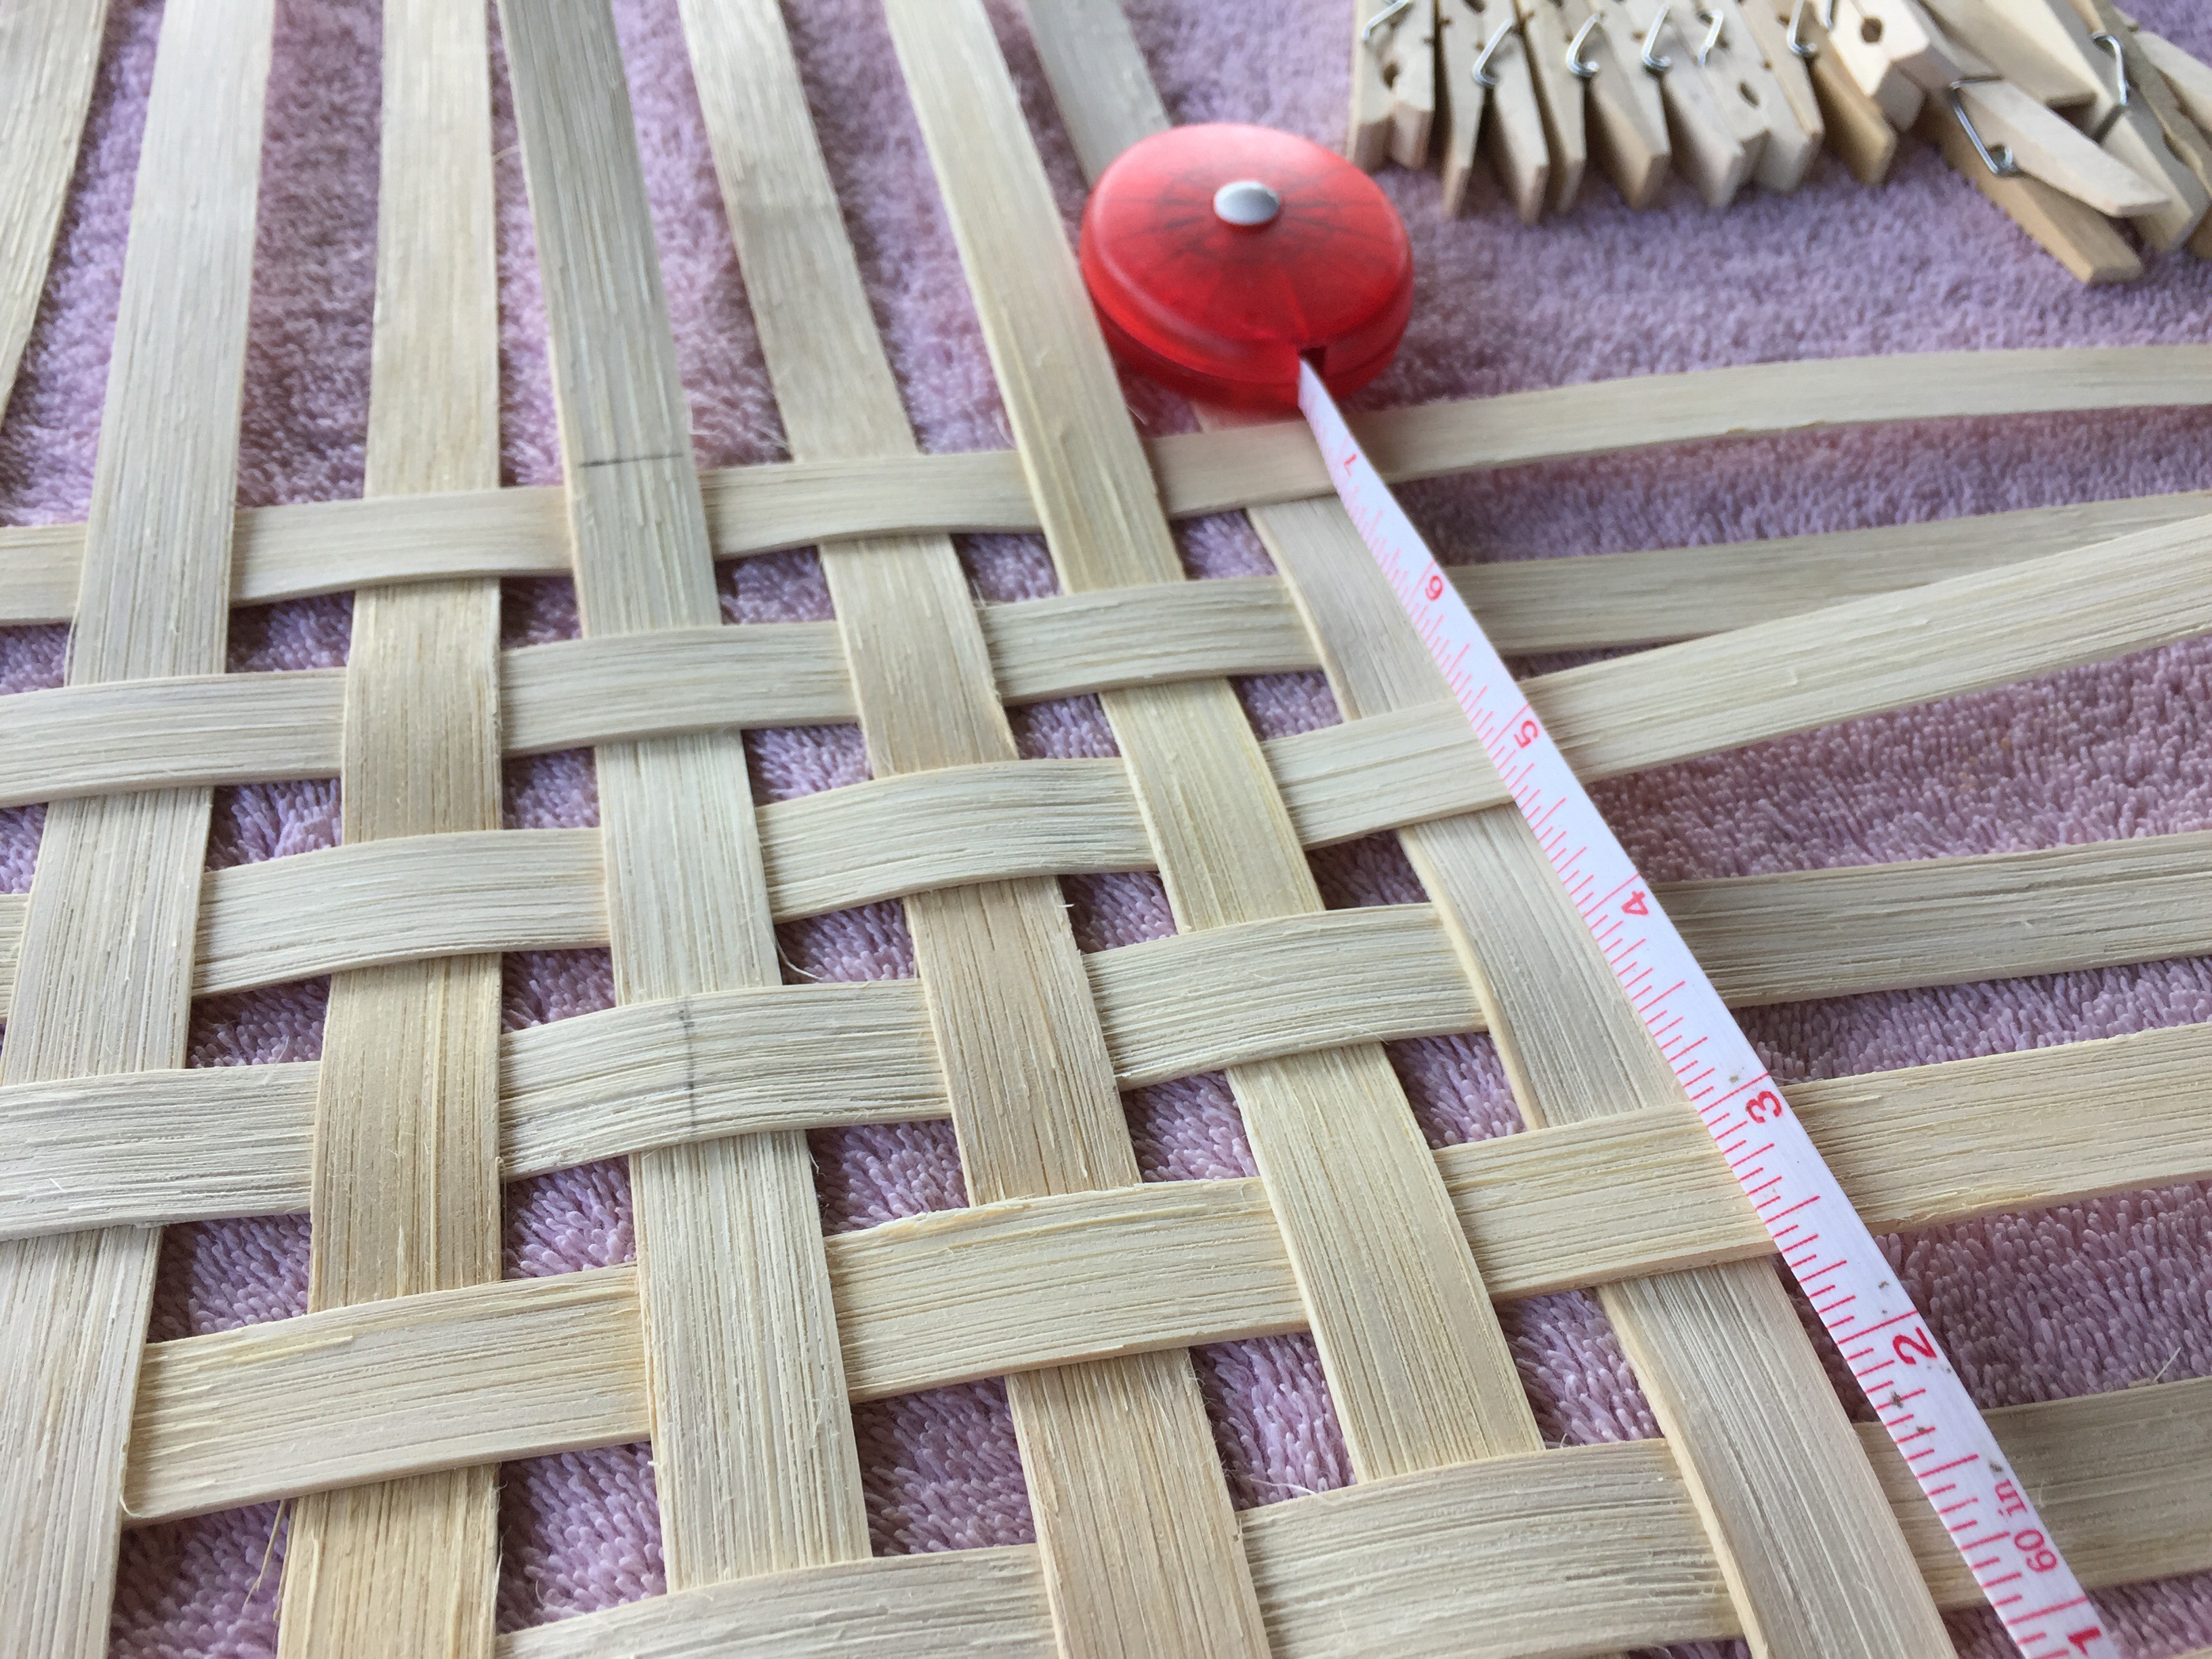
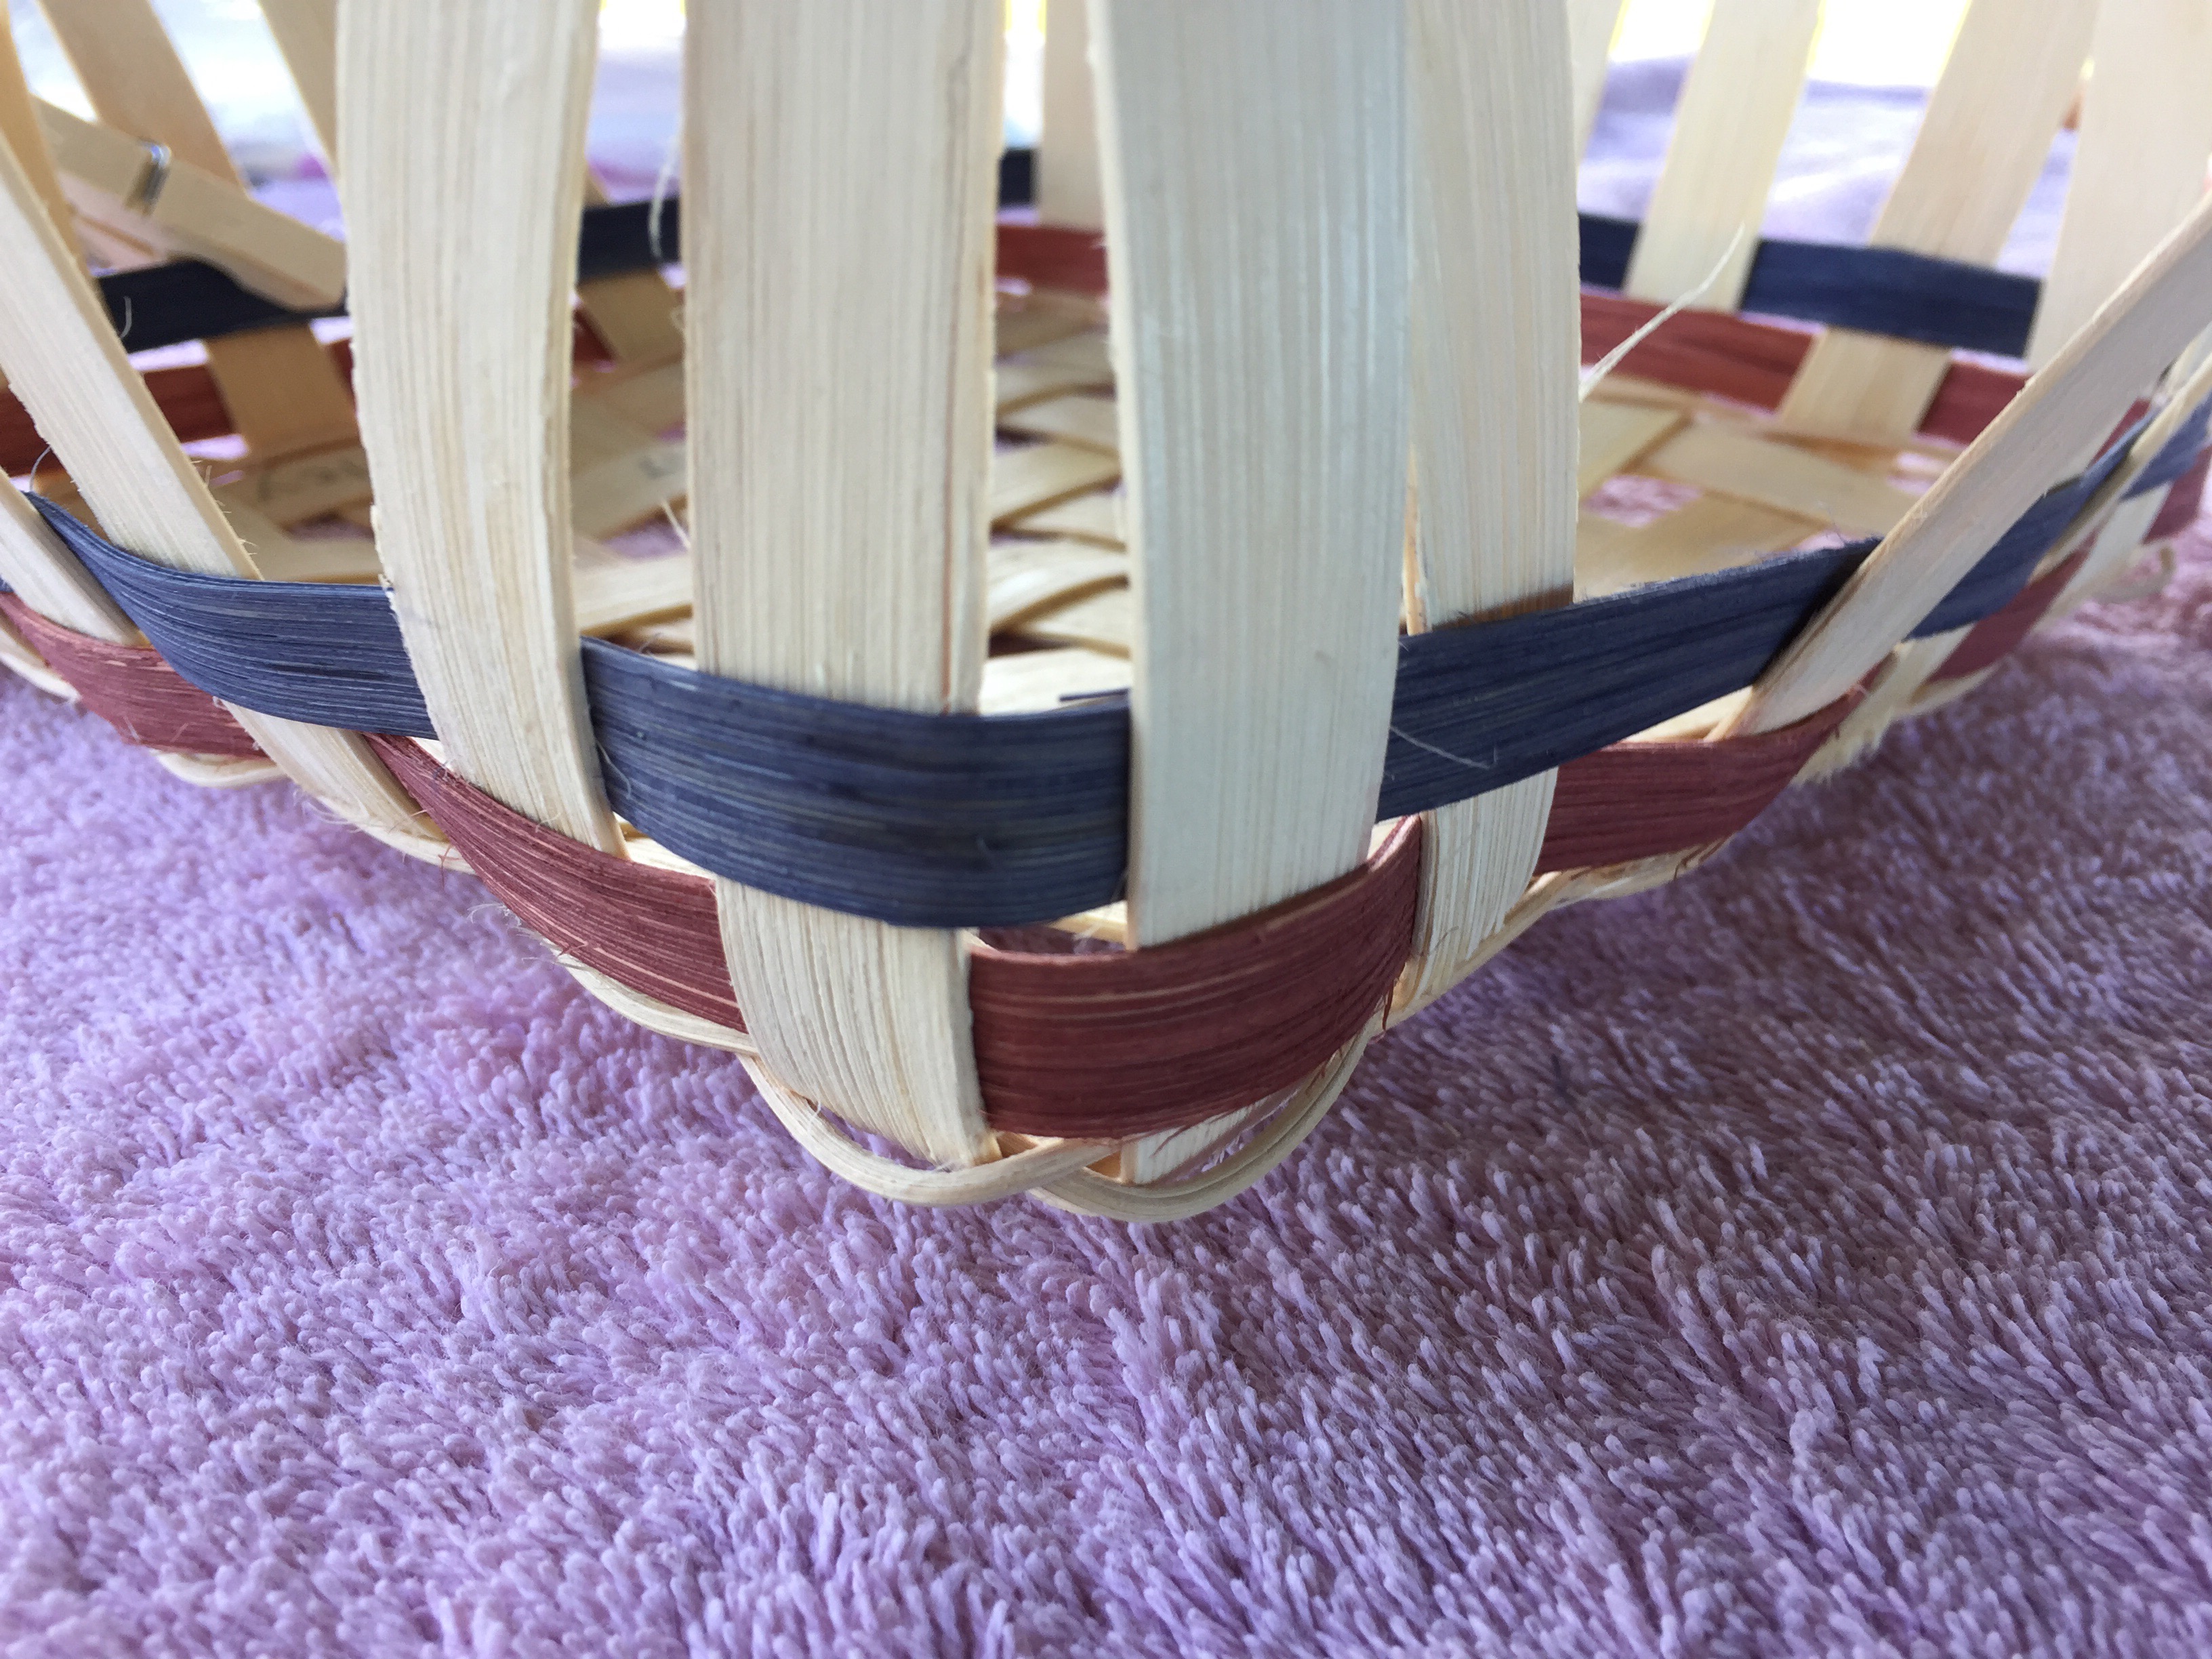
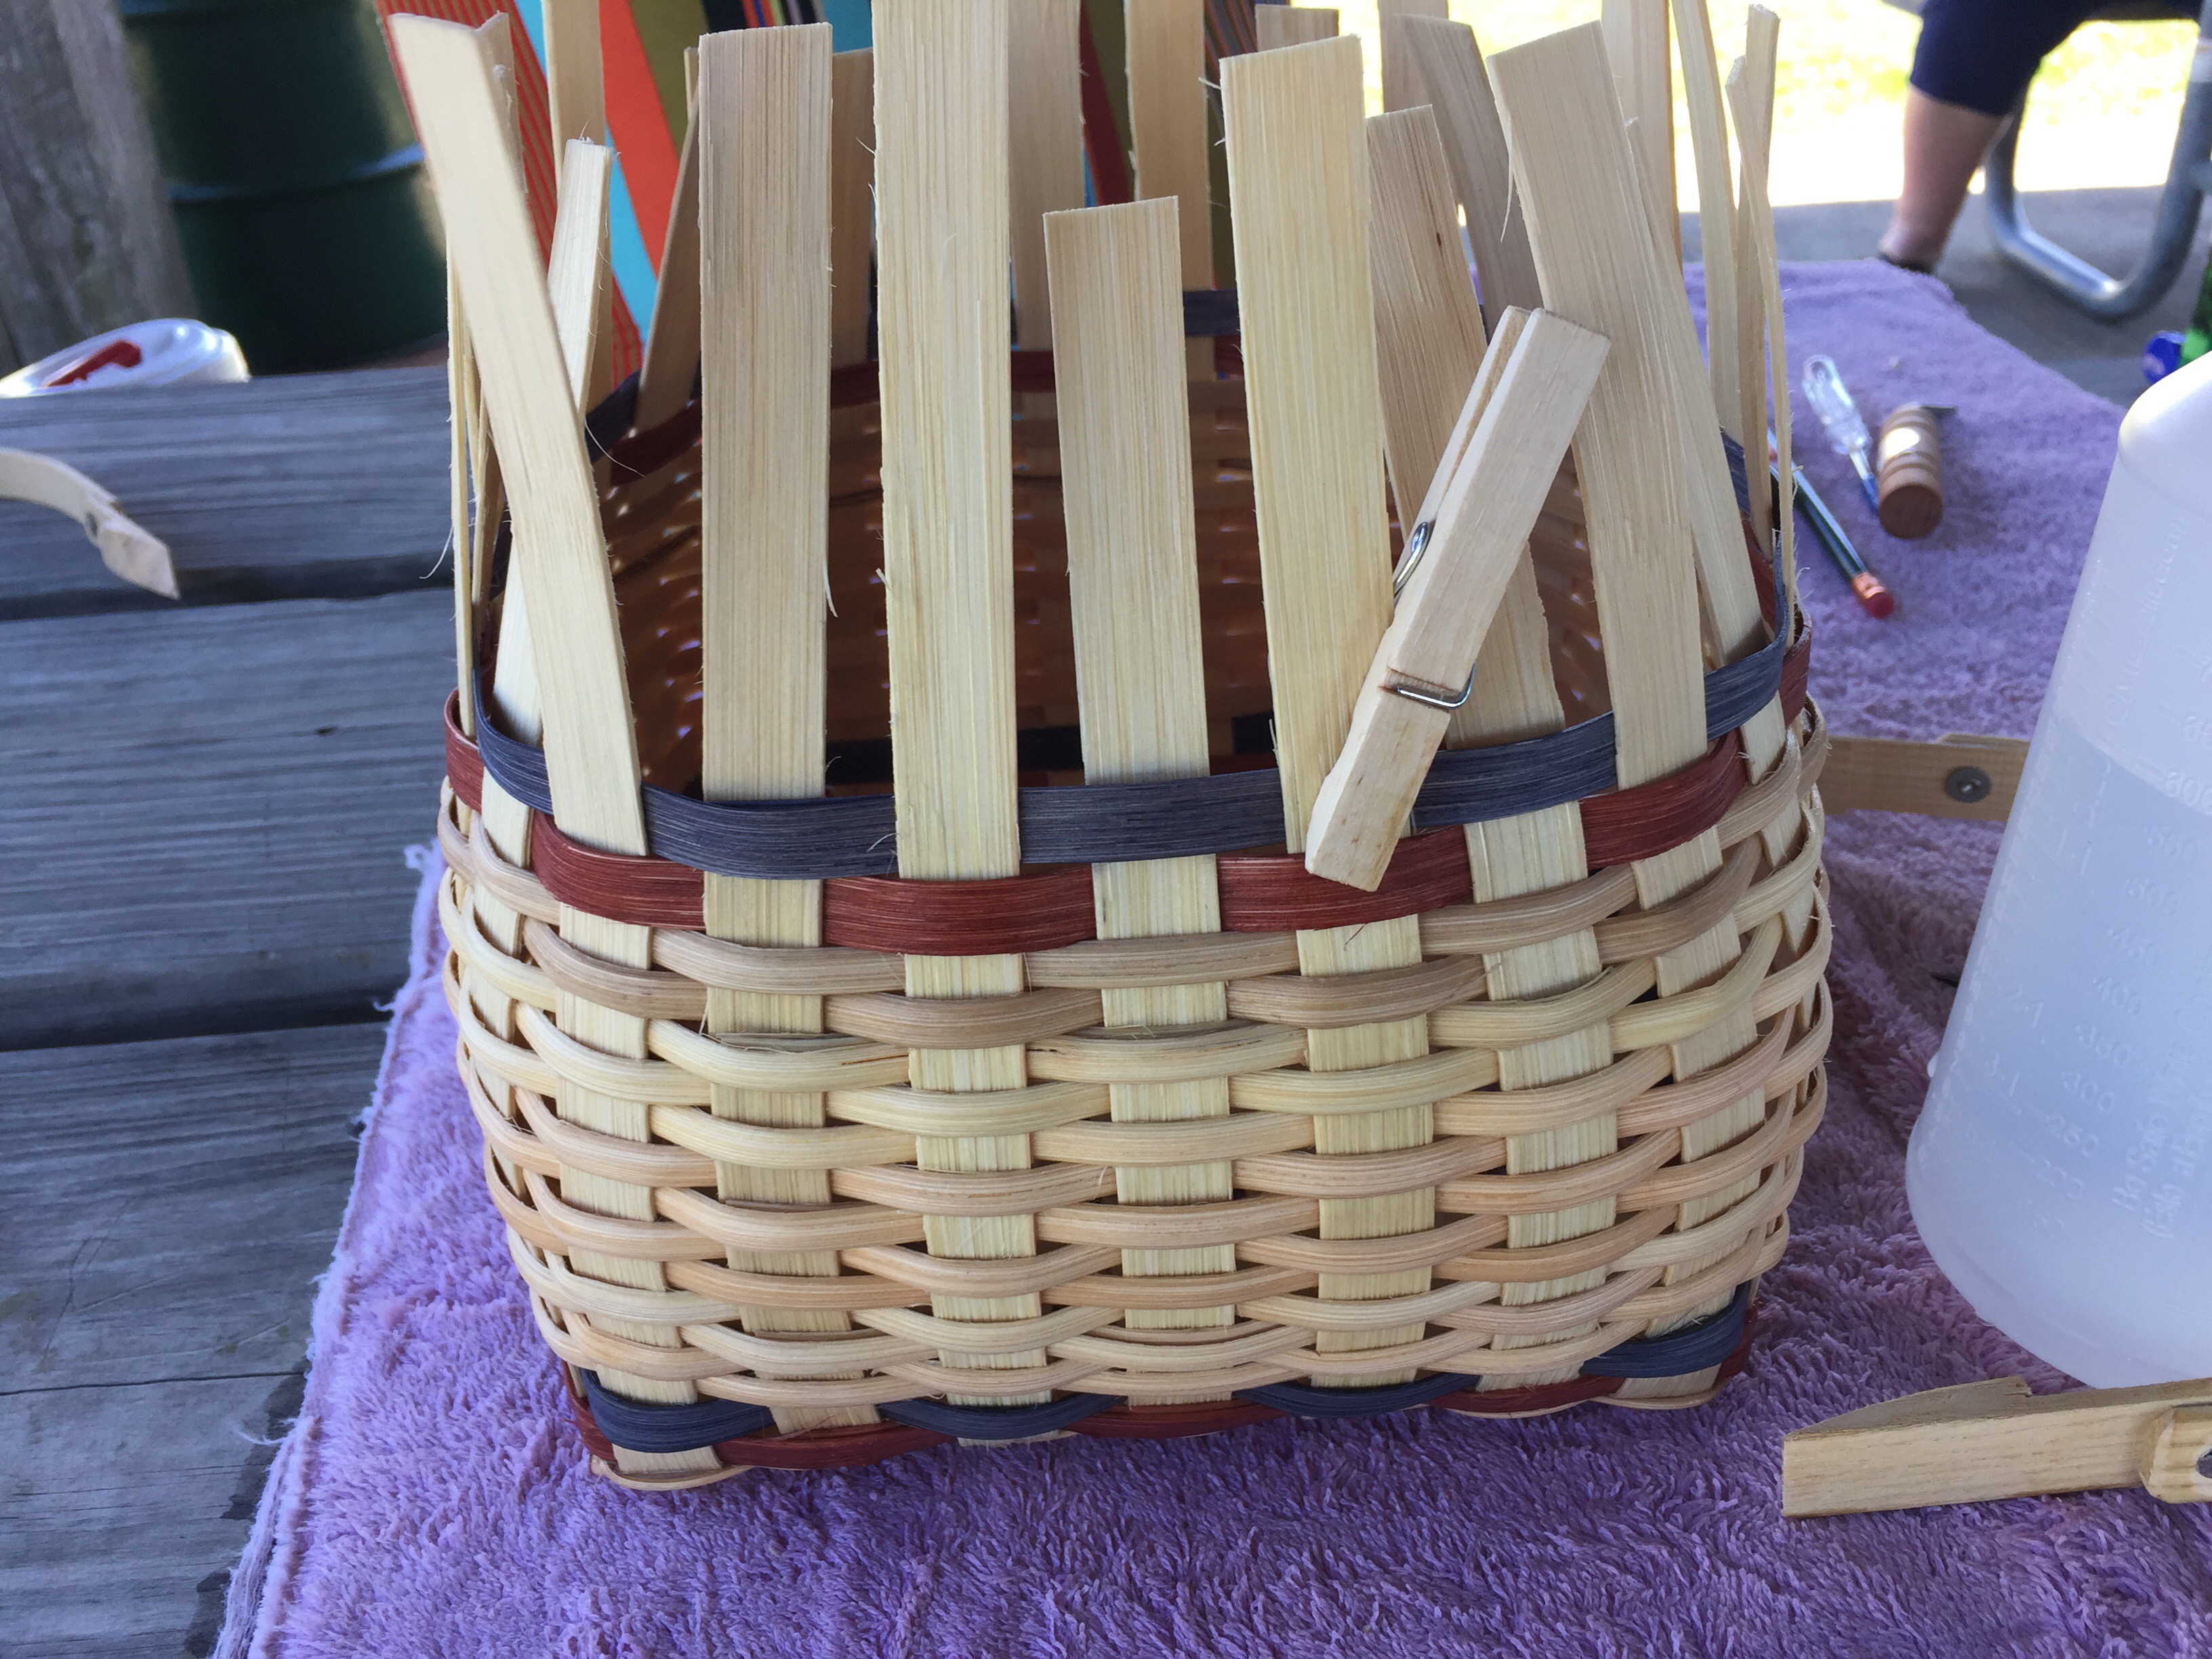
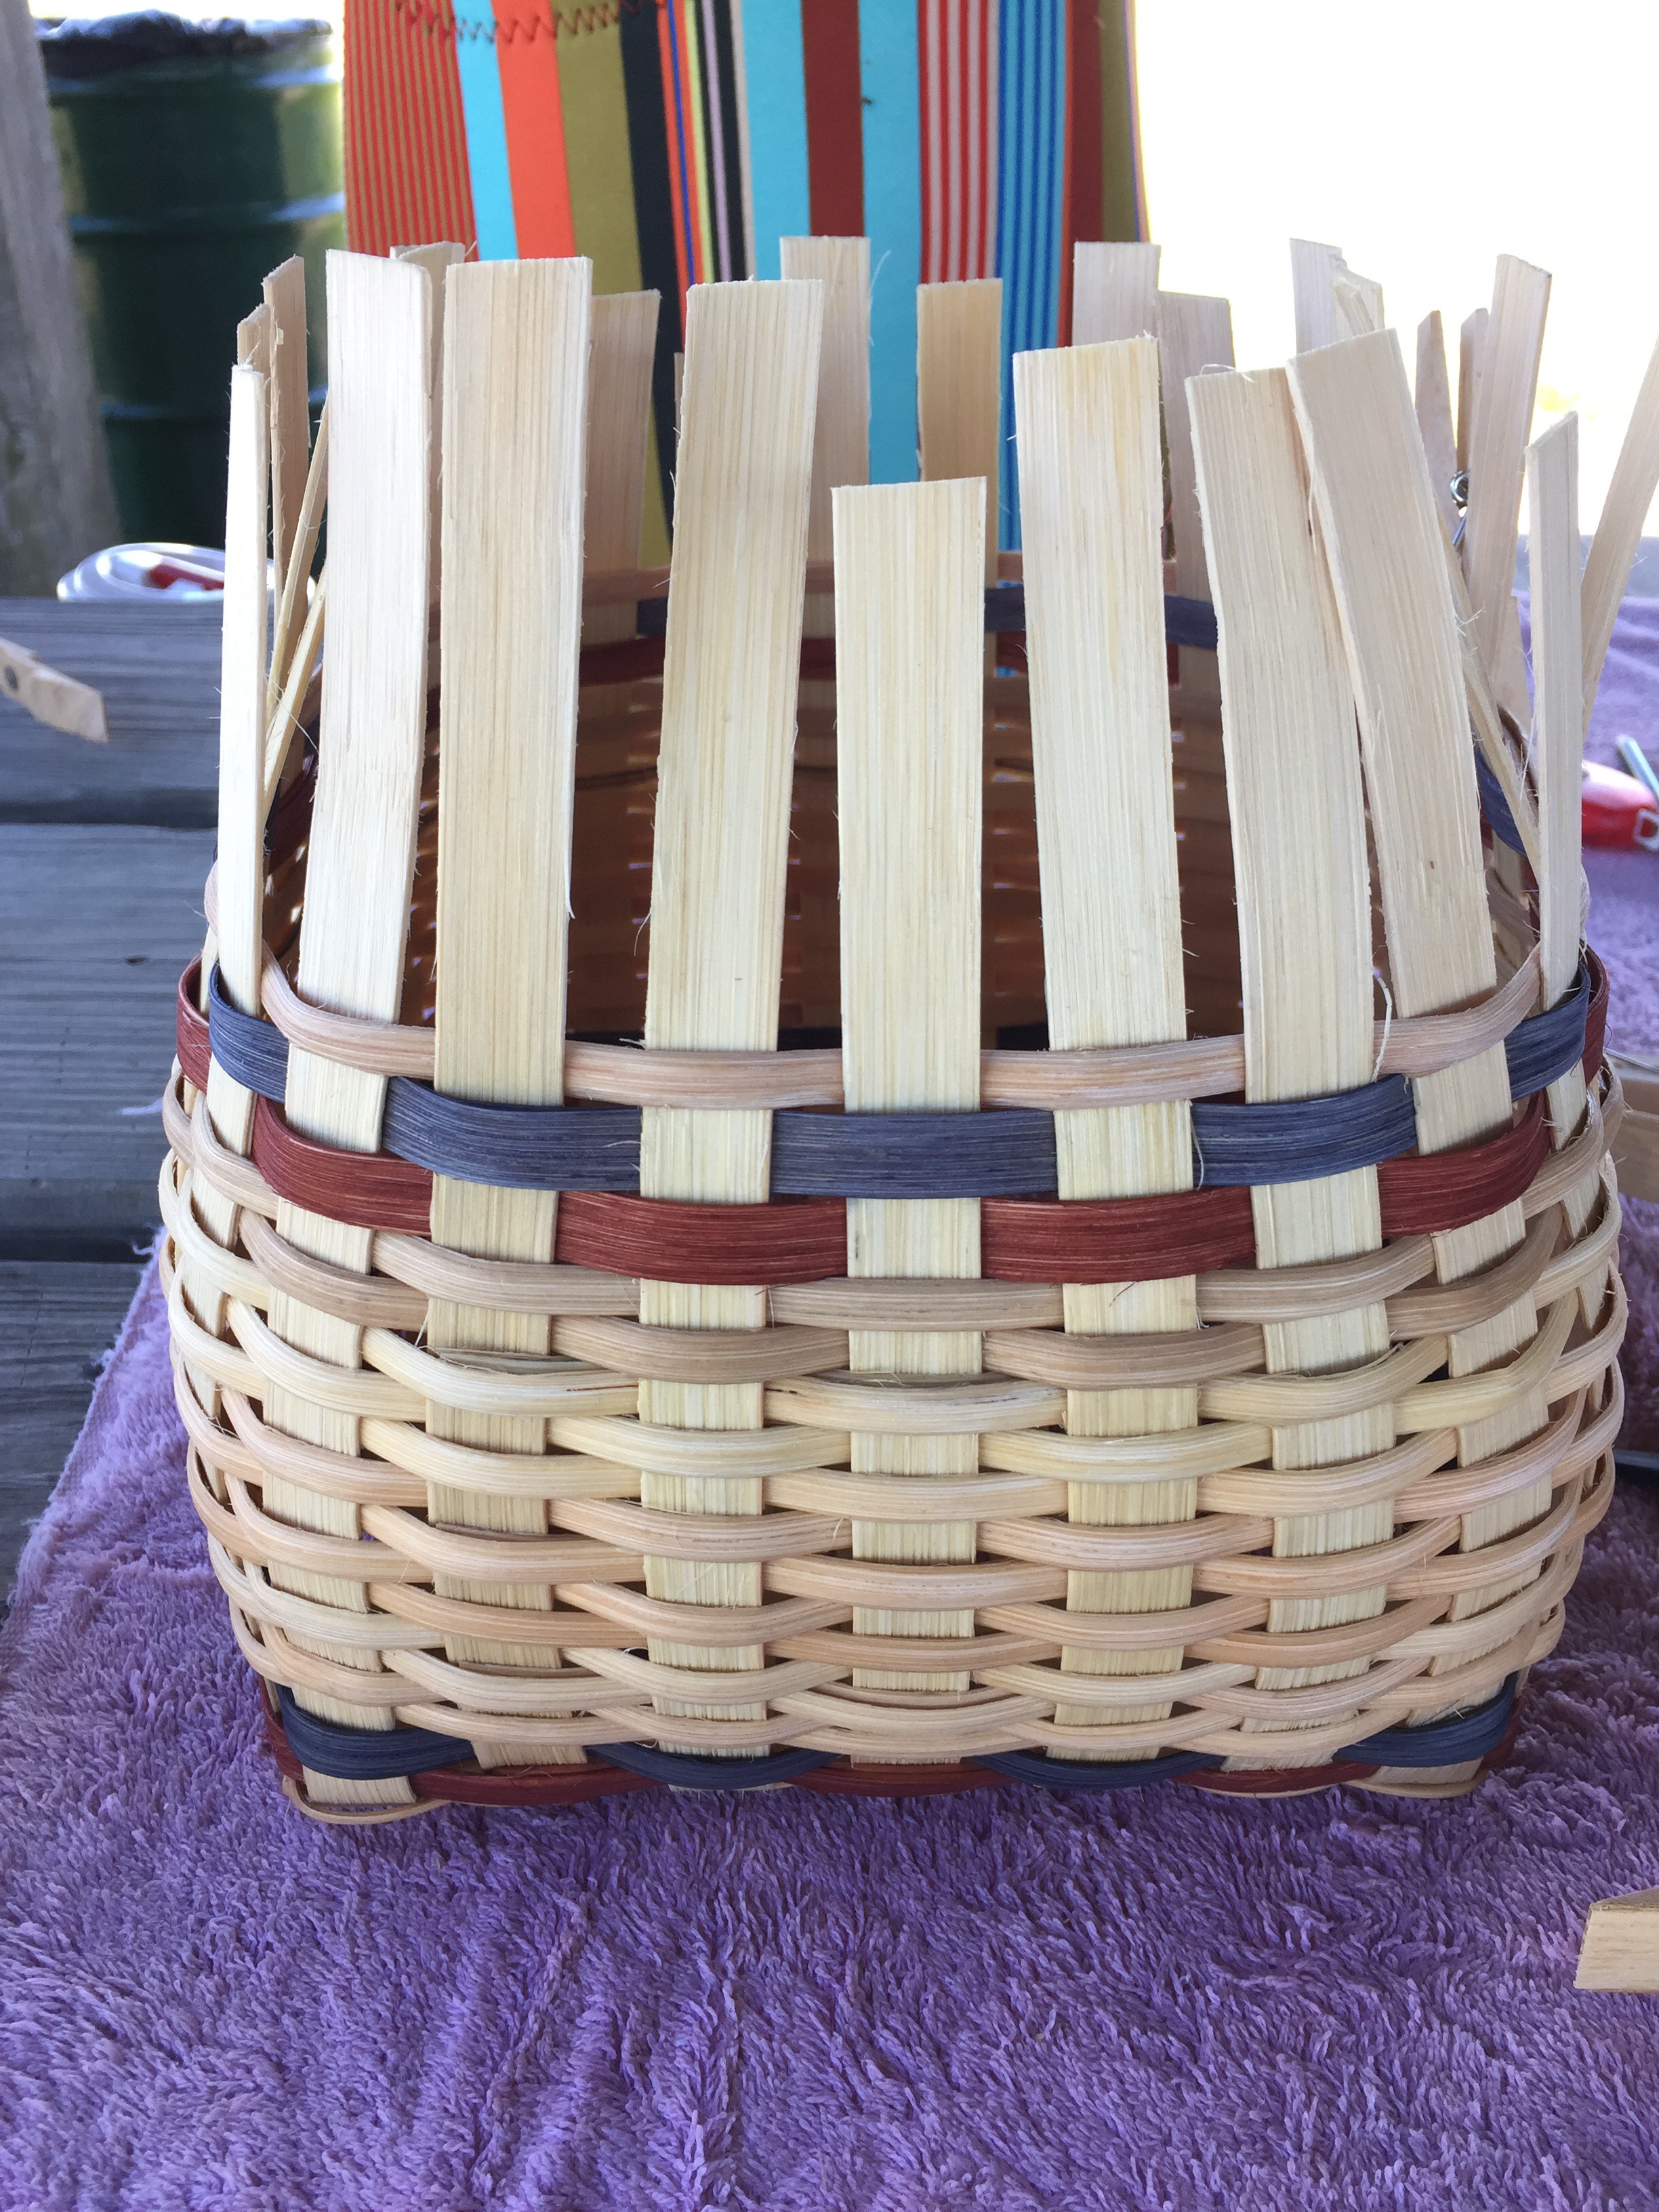
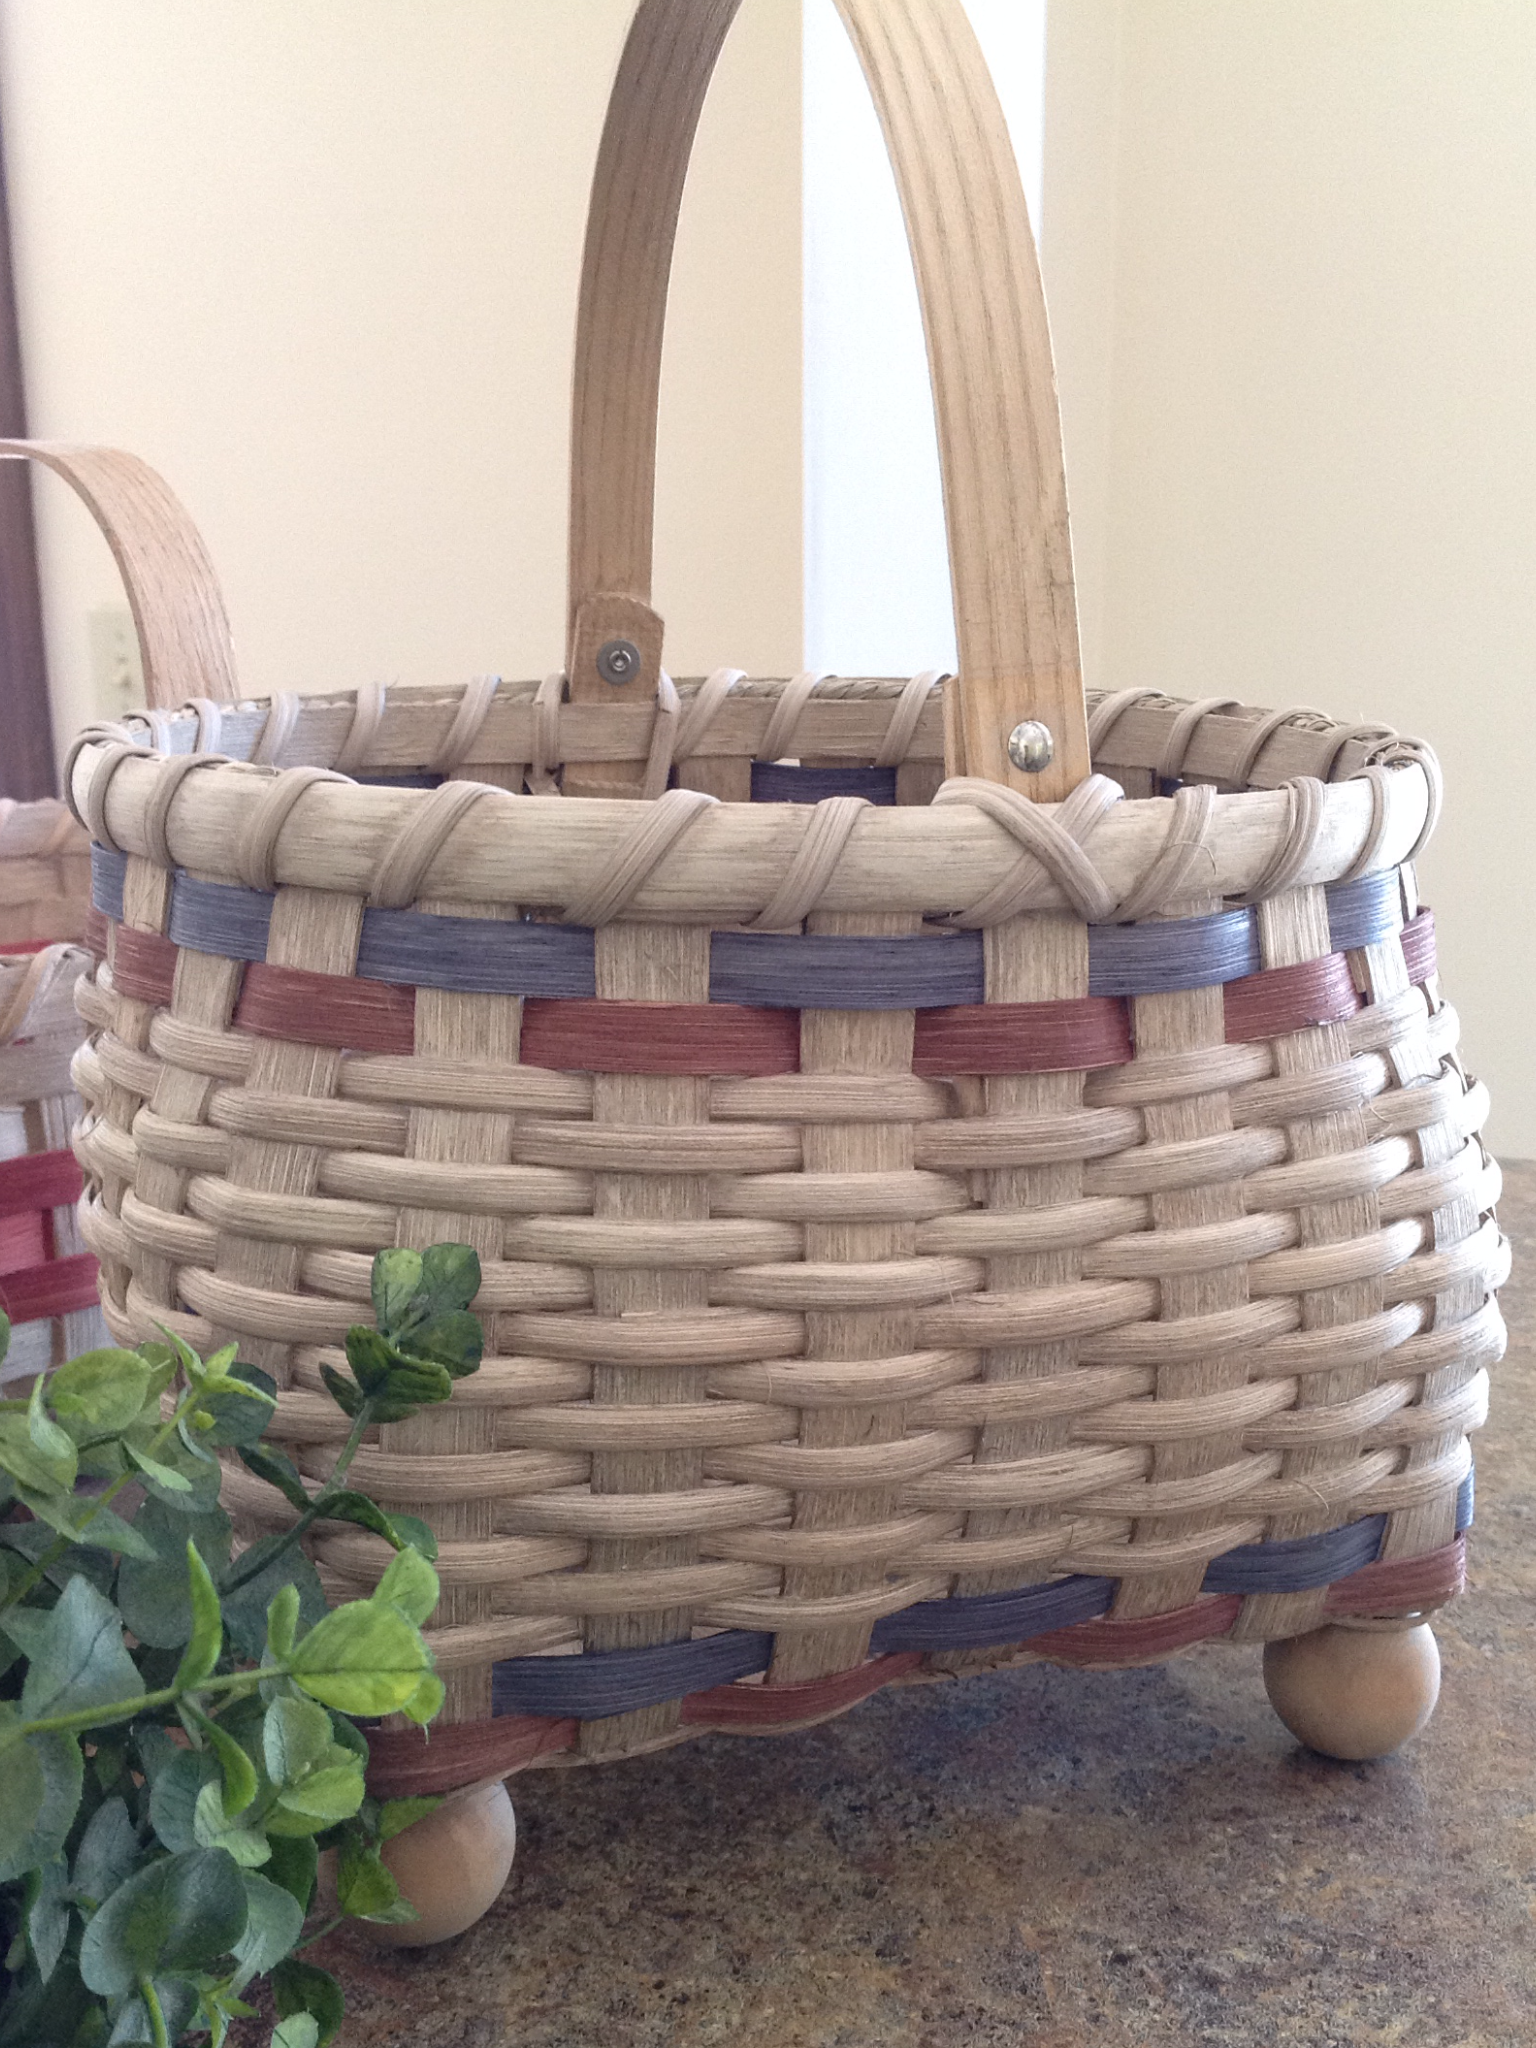
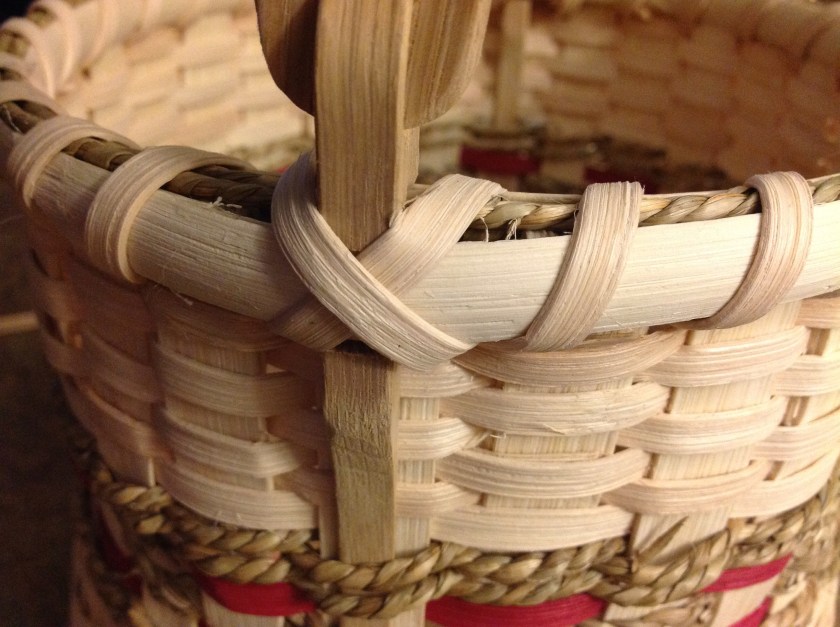
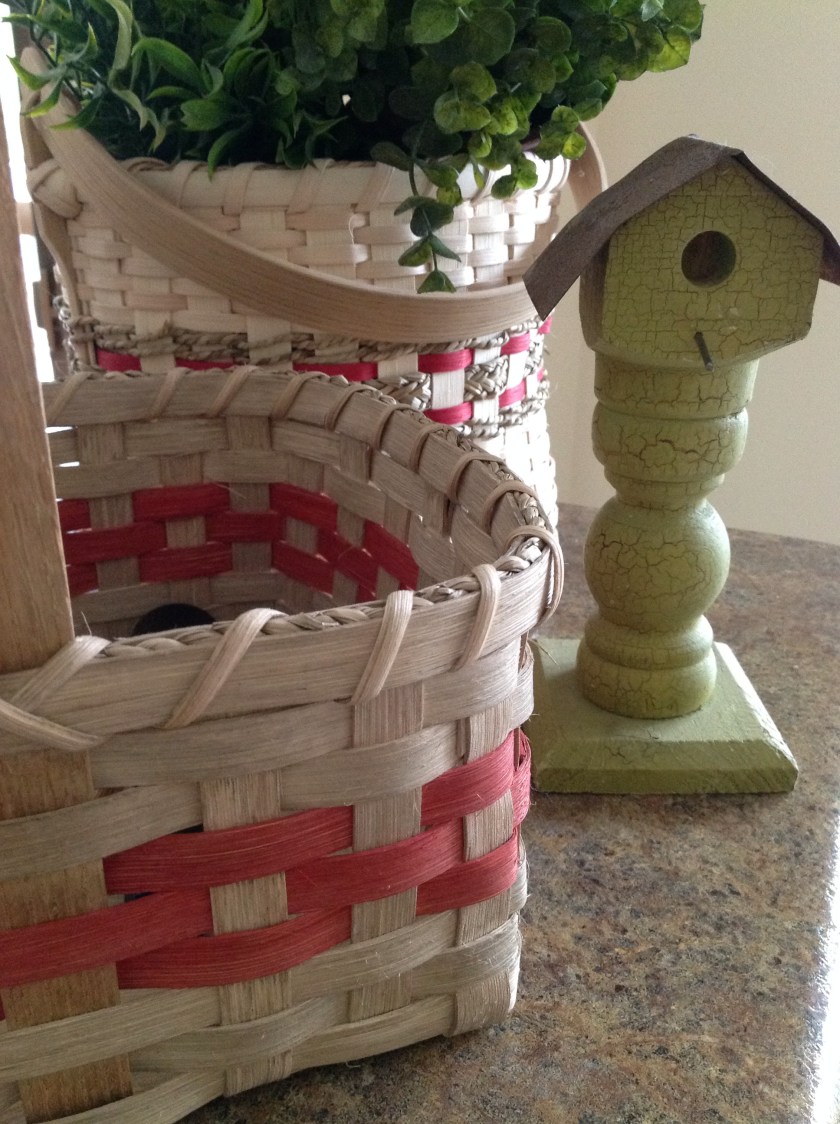
On a recent trip to Kentucky, I purchased an adorable basket kit.  I must say, I’m not an experienced basket weaver, in fact, I am constantly seeking out classes so that I might gain more knowledge and skill pertaining to this craft.  Unfortunately, I have been unsuccessful finding a face-to-face class in my area so I usually review an abundance of internet videos to try to learn more about basket construction. 

When I entered the darling, rustic shop,  I was mesmerized by the abundance of wood strips, twine and basket making supplies carefully organized and perfectly displayed from floor to ceiling.  I must have spent 45 minutes just looking over everything the owner had displayed. I was taking it all in when a friendly women asked if I needed assistance.  I explained to the owner that I had very little experience and would like to complete a simple project.  She suggested a garden basket that was hanging from the ceiling along with several other beautiful creations.  With some hesitation, I purchased the suggested kit.  

When I returned home and opened the package to review the project.  I was pleasantly surprised by the simplistic instructions and the quality materials provided by the owner of this darling shop. Within the kit, each small bundle of wooden strips and twine was carefully measured and labeled to help me navigate through the supplies.  


It took me some time to come up with the courage to begin this project, but once I started, I kept at it until the basket was complete.  I am thrilled with the end product.  While it’s not perfect, (It’s a little wonky and maybe a bit slimmer than was intended) it’s one of my first basket weaving projects and I’m quite happy with my beginner skills.

Edit
I tried to take a few pictures as I progressed through the instructions. Those of you that might be basket makers can chime in to let me know if I’m doing something wrong…

I cut a circle of craft paper tracing the wood basket bottom disk and folding the paper to divide it into four equal parts.


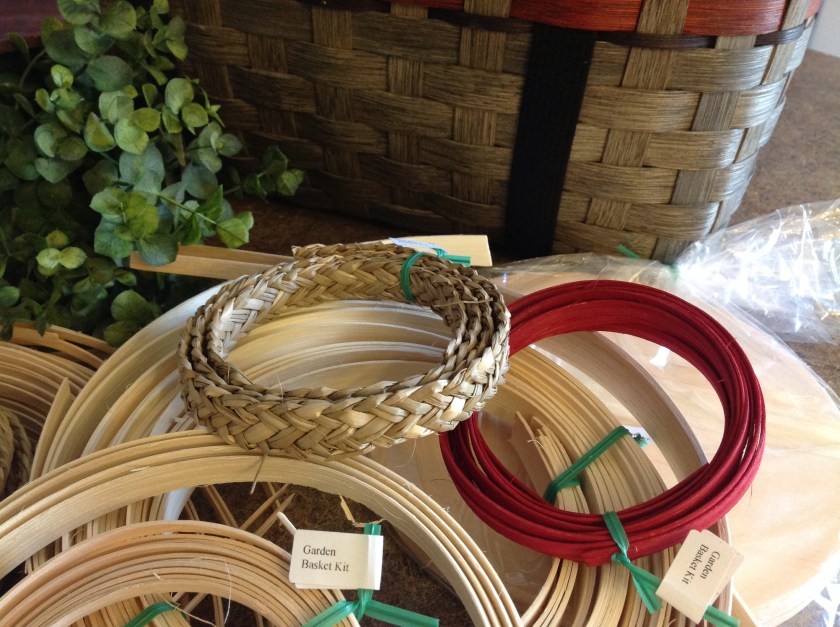
I then marked the wooden bottom.

I soaked the wooden strips to make them pliable.

I evenly place the spokes around the disk.

Time to add some twine.

As per my instructions, I begin weaving up the side of the basket.


I soaked the colored strips for a short period as they have a tendency to bleed onto the natural wood.

Trimming and bending the rim…

Tightening things up and making a space for the handle…


Setting in the hinged handle…

Finishing up…


Not perfect, but it will do just fine!

Posted in Baked goods, Baking, Bread, breakfast

Semi-homemade Scones

Well, another school year is over… Yesterday we made our annual trip down to campus to load up the car with dorm room accessories and furniture that will be stored away for the summer. Packing and unpacking can make for a long day!  Sometimes it’s hard to find a break to stop for a meal as parking is limited and the anticipation of the heavy traffic on the return trip home makes everyone anxious. 

Having said this, I was prepared for the worst as I loaded up a goodie bag with scones, yogurt, cold pizza, bottled water, sandwiches, homemade applesauce and a few energy bars as we started out on our daylong voyage.  I have a recipe that combines just a few ingredients to make a batch of tasty scones so I got up early to prepare them for the trip.  I must say, I had to slap a few hands as I took the scones out of the oven for everyone wanted to nibble on the treats before leaving the house. I quickly covered the tray with a light tea towel and told everyone to find something else to eat.  These little gems were to be packed in with the other goodies we would eat after a long day of packing and pitching.  Here’s the recipe for the tasty 4-ingredient scones.  They are made using a muffin mix which is super convenient, quick, and easy!  I had an egg white left over from another recipe so I brushed the tops of the scones and sprinkled them with a bit of sugar before popping them in the oven.

Edit
Semi-Homemade Scones

One 18-ounce box of cranberry-orange muffin mix. 

(Krusteaz or another brand with canned berries included)

1 egg, slightly beaten

1/2 cup Greek yogurt (plain or vanilla)

2 tablespoons water

Extra flour for dusting

Preheat oven to 375 degrees. Use non-stick spray to lightly coat a cookie sheet.

Pour the muffin mix into a large bowl.  Add egg, yogurt and water. Stir to mix batter. Batter will be thick. Rinse and drain the cranberries that come with the mix and stir into batter. Pour mixture onto a lightly floured surface on pat together to make a flat round about 1″ thick.  Add flour if needed.  Cut the round into 8 triangles by slicing in half, then fourths, then 8 triangles.  Carefully place onto a lightly greased baking sheet.   Bake for 15-20 minutes. Slightly cool; remove to a baking rack to cool completely.