This is one of our absolute favorite pickle recipes. I make them year round, using pickling cucumbers during the growing season and English cucumbers during the winter months. Recently, I started adding a mild spicy pepper to the jar for an added kick. When making pub burgers, potato salad, or a vegetable tray, these pickles are always a great accompaniment to the dish.

Garlic & Dill Refrigerator Pickles
Note: The ingredient amounts listed in this recipe are for a single one quart jar. Make as many quarts as you like by doubling or tripling ingredient amounts to fit your need.
3-5 pickling cucumbers or 1-2 English cucumbers per jar
1 mild flavored pepper, sliced
1 1/4 cups water
1 cup vinegar
1/4 teaspoon mustard seed
1/4 teaspoon whole allspice
1/4 teaspoon celery seed
1/4 teaspoon dill seed
1/4 teaspoon red pepper flakes
1/4 teaspoon whole cloves
1/4 teaspoon whole pepper corns
2 crushed fresh garlic cloves
Several small sprigs of fresh dill – to taste
1 teaspoon sugar
1 tablespoon kosher salt
Prepare jars by washing in warm soapy water. Also, wash rings and bands; let air dry.
In a medium saucepan combine water, vinegar, salt, and sugar. Heat on high, stirring until salt and sugar are completely dissolved. Turn off heat; cool completely.
To prepare cucumbers; wash, trim ends, and slice to desired size. Crush garlic and add to jars with dried spices and fresh dill. Firmly pack cucumbers and pepper slices into jars, leaving about an inch of headspace.
Add cooled liquid to jars until the spaces surrounding the cucumbers are filled, leaving 1 inch head space. Place the jars in the refrigerator and let sit for 5 to 7 days; each day giving the jars a light shake to redistribute the spices. After 7 days, enjoy the crispy crunch of these delicious pickles. These will keep in the refrigerator for up to a month.

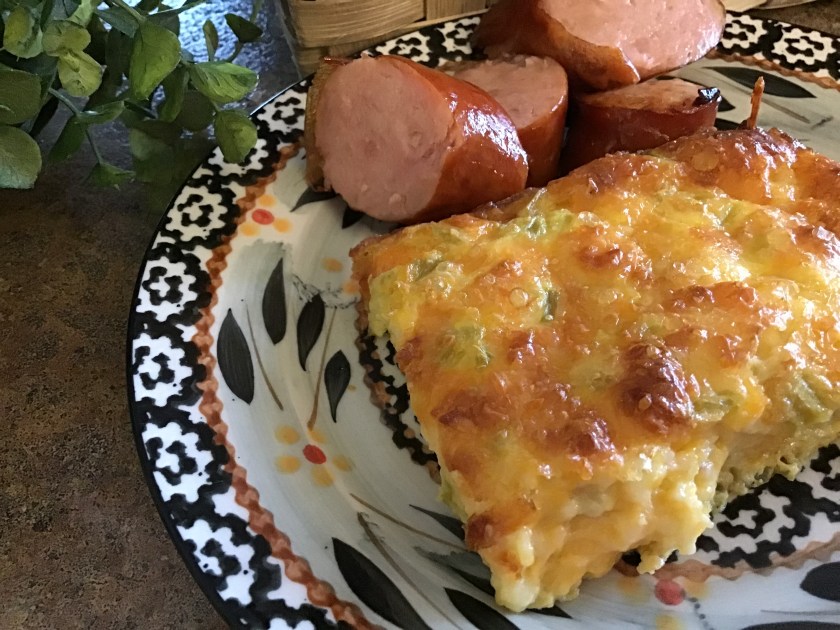


 I really try to keep my carb intake to a minimum. Here’s a great recipe that fits the bill when I want something flavorful, fluffy and delicious to start my day. After this casserole has slightly cooled, I slice the dish into 3” squares so that I can quickly pop a portion into my lunch bag or to have as a mid-morning snack. My family can slip a square or two between two slices of wheat toast for a tasty little sandwich.


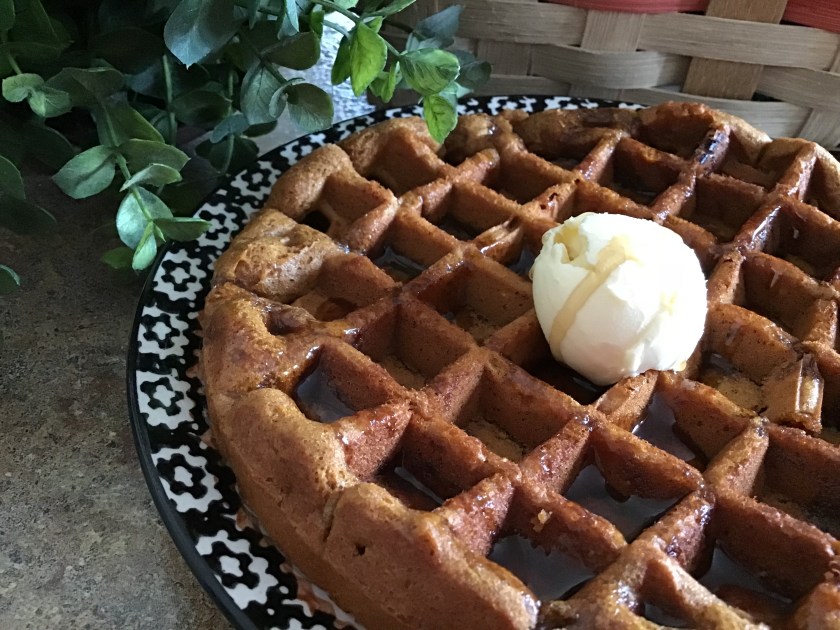
 I also use our own maple syrup to sweeten the mix and it’s sticky properties help to form the crunchy granola clusters. Pair this delicious granola with Greek yogurt and sweet crunchy apples for an awesome breakfast combination. What a way to start the day!


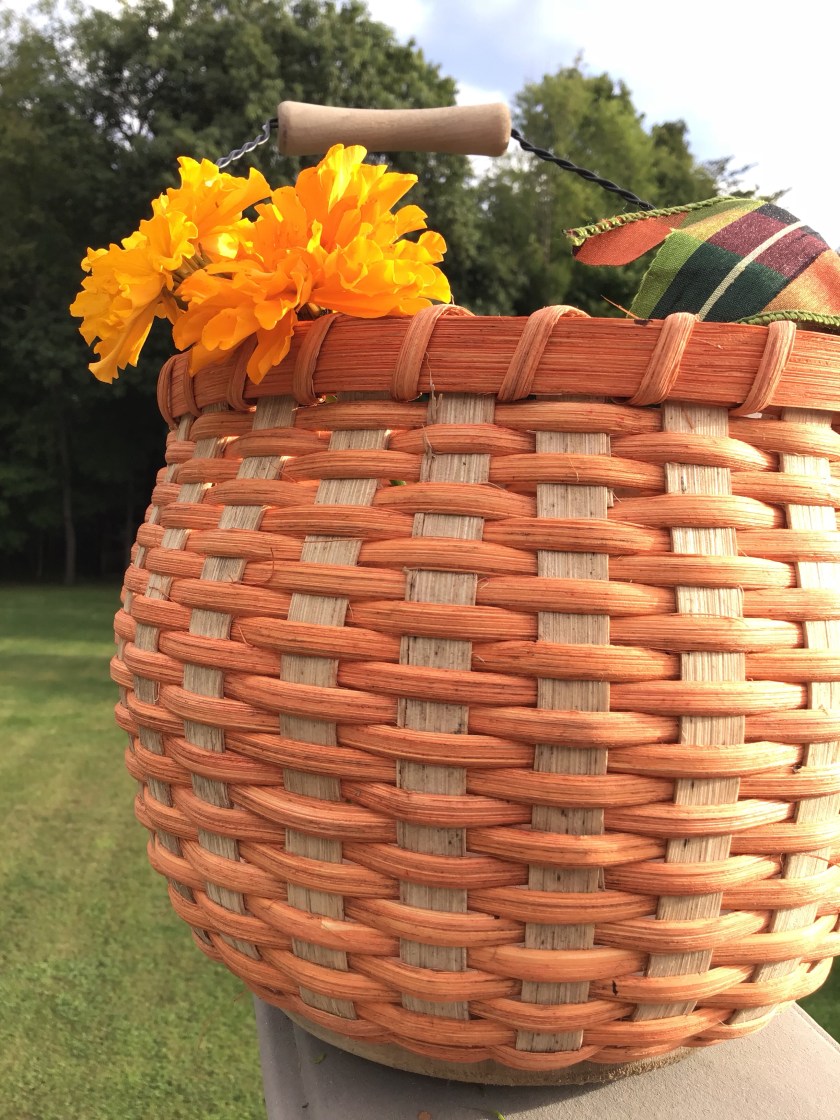
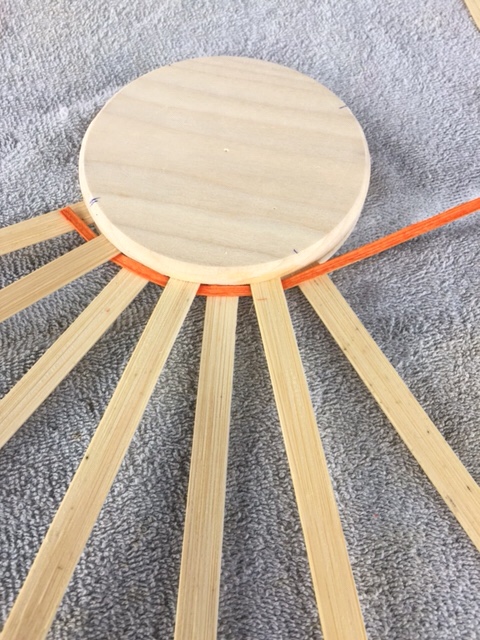
 Dividing the disk into 4 equal parts, place 23 spokes within the well of the disk; weaving while working in the spokes.
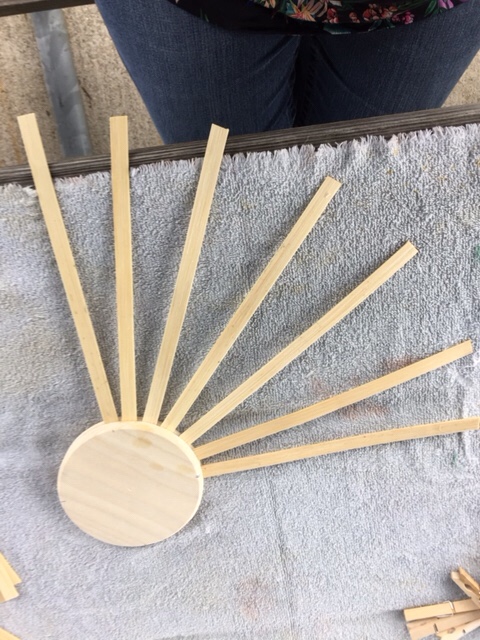

 After weaving 6 continuous rows, gently begin shaping the basket upwards. Continue weaving upward for 14 more rows; loosely weaving to shape the belly of the pumpkin.
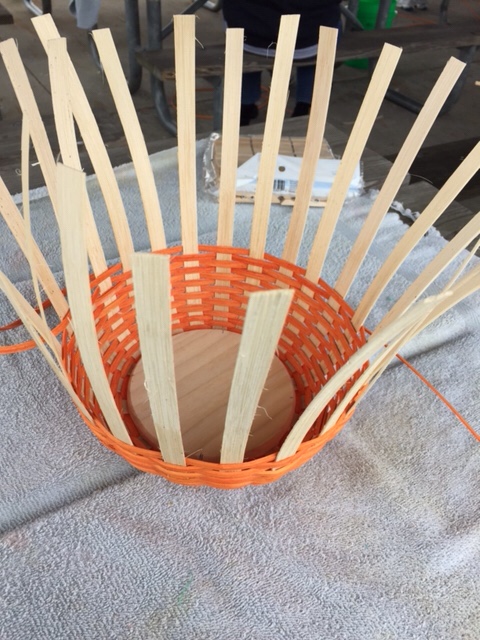

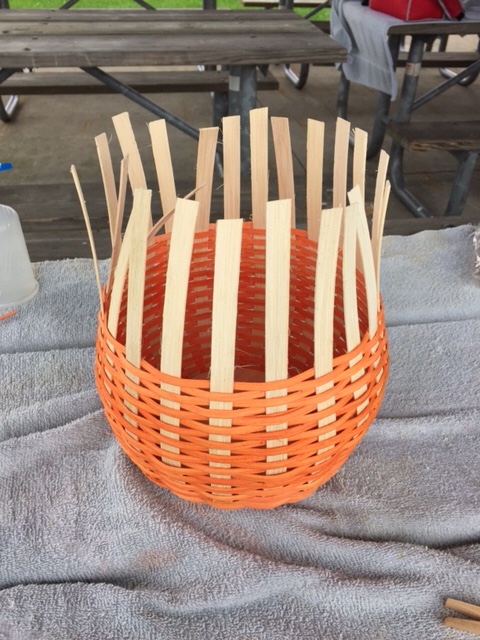 At row 19 or 20 begin to tighten the weave to form the top of the pumpkin.
 Bend down, every other spoke. Clip; mark remaining spokes to bend under and secure under weave.
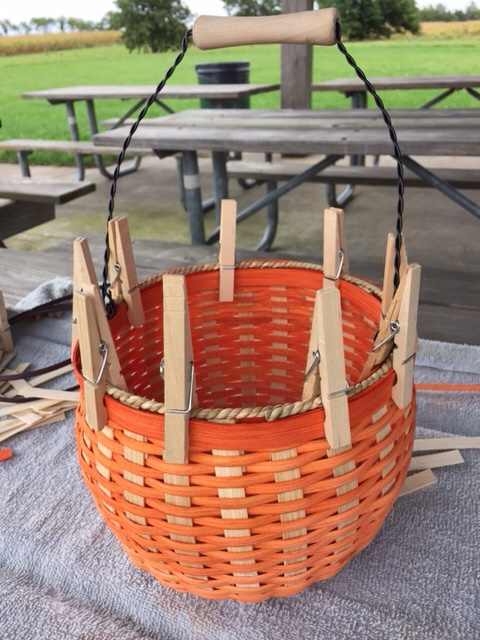
 Secure wire handle before finishing rim of the basket.
 Complete basket rim with sea grass and lashing.
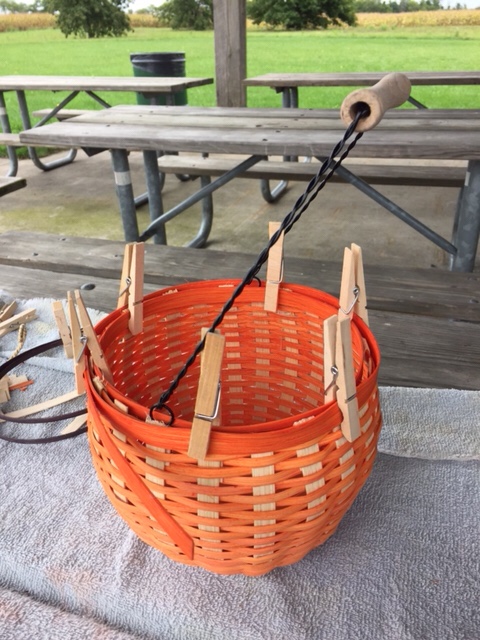
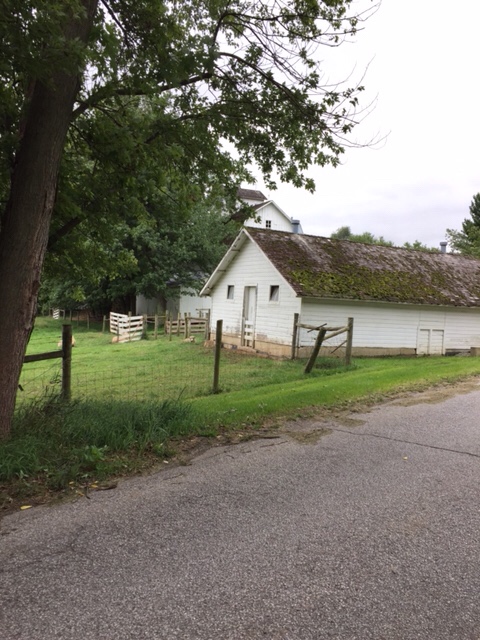
 We enjoyed a beautiful, but chilly, day at our local county park!