Posted in appetizers/snacks, Baked goods, Desserts, Food, lunch box

Chocolatey Oat and Peanut Butter Cookies

20130815-091224.jpg
So, tomorrow my oldest will be leaving for college…I am surely going to miss her smiling face on a daily basis. It will be hard for me to let her go….
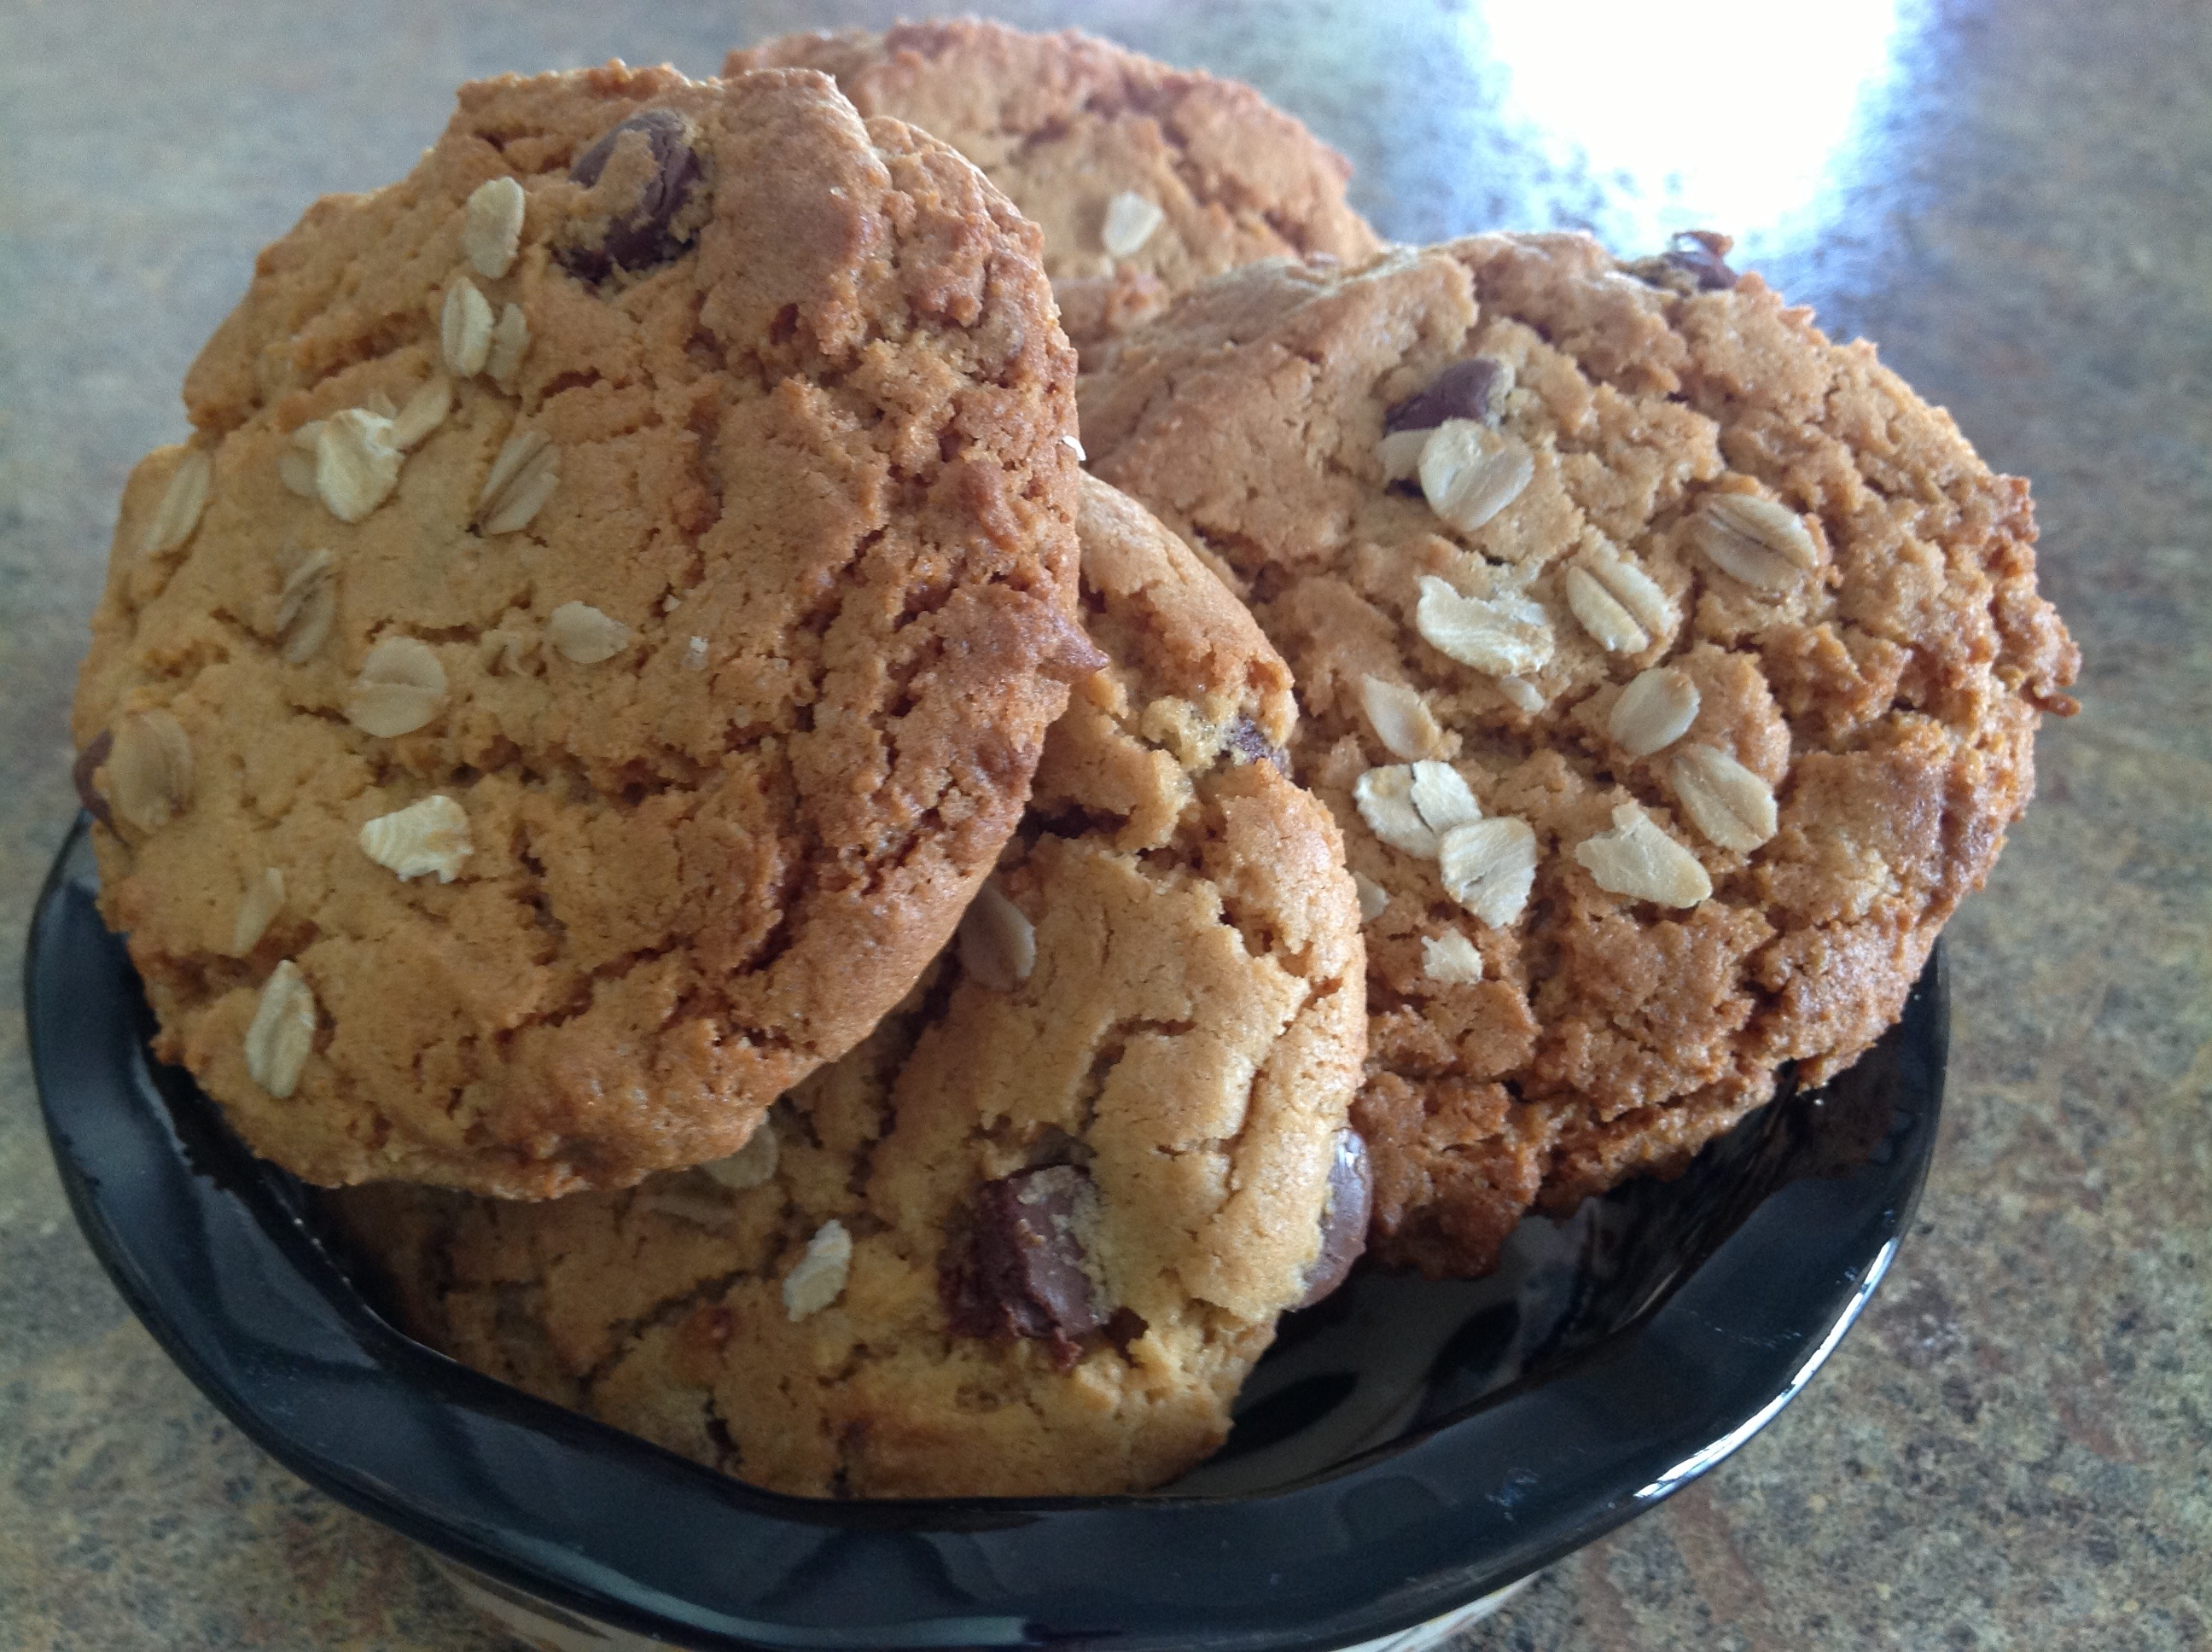
I have spent a good part of the morning baking goodies to pack in containers and load into boxes. Cooling on the counter top, there is a loaf of Irish soda bread, a tray of granola bars, and some Chocolatey Oat and Peanut Butter Cookies (recipe below).
I will wait for them to cool completely and then arrange them in containers for the long drive down to Purdue University. My hope is to continue to send her “care packages” on a weekly basis so that she knows that we miss her and that she is in our thoughts…sending a little “home-baked love” her way as she begins her journey through college life on campus. We love you, K!

Chocolatey Oat and Peanut Butter Cookies

2 cups peanut butter
1/4 cup old fashioned oats
2 cups sugar
2 eggs
1 teaspoon vanilla extract
2 teaspoons baking soda
1/4 teaspoon salt
1/2 cup chocolate chips
Extra oats for sprinkling

Preheat oven to 350 degrees. Lightly spray cookie sheets with non-stick spray. In a medium bowl, stir peanut butter, oats, and sugar together until smooth. Beat in the eggs. Mix in the baking soda, salt, and vanilla. Stir in chocolate chips. Roll dough into 1 inch balls (or scoop out dough with a small ice cream scoop) and place 2 inches apart onto the prepared cookie sheets. Press down with slightly damp fingers. Lightly sprinkle with extra oats.
Bake for 10-12 minutes. Allow cookies to cool for 5-10 minutes before removing to a wire rack to cool completely.

Posted in breakfast, Brunch, Food

Blueberry Oatmeal Flapjacks

20130814-185946.jpg
Pancakes are a breakfast favorite in my house. The problem is, I don’t always have time in the early morning hours to make fresh pancakes for my crew. As the new school year will be starting up again next week, I have been making and freezing batches of pancakes to be thawed and reheated for busy school mornings. This recipe is hearty and filling because of the added oatmeal and berries. I try to use old fashioned oats instead of the quick oats for a heartier, whole grain flavor and texture. I first made this recipe when my children were very young. Every time I try to cut corners and make the pre-mixed, boxed pancake recipe, my kids complain about the bland, rubbery taste and texture. I have learned that my Blueberry Oatmeal Flapjacks are definitely worth the extra time and effort.

Blueberry Oatmeal Flapjacks

1 cup all-purpose flour
1 cup quick cooking oats
2 tablespoons sugar
2 teaspoons baking powder
1 teaspoon baking soda
1/2 teaspoon salt
1 1/2 cups buttermilk
1 teaspoon vanilla extract
1 tsp almond extract
1/4 cup vegetable oil
2 eggs
1 cup fresh blueberries

In a large bowl, combine flour, oats, sugar, baking powder, baking soda, salt. In a separate bowl, combine buttermilk, vanilla, oil and egg. Pour wet ingredients into dry ingredients and mix well. Carefully fold in blueberries.
Heat a lightly buttered griddle or frying pan over medium high heat. Pour the batter onto the griddle, using approximately 1/4 cup for each pancake. Brown on both sides and serve hot.

20130814-190137.jpg

20130814-190156.jpg

Posted in Food, Gardening, Grilling, side dishes

Grilled Corn on the Cob

20130801-192307.jpg
Ok…it’s grilling season and the Indiana corn is ripe for the picking. As blueberry season winds down…fresh vegetables are truly showing off their colors. This year, we planted plenty of tomatoes, cucumbers, celery, herbs, peppers, cauliflower and squash. Our property seems to be surrounded by acres and acres of beautiful golden corn. Farmers in the area often put a table out at the end of their driveway with a load of fresh picked corn. Next to the corn sits a coffee can where neighbors and others passing by can leave their money to pay for their corn purchase.
This recipe is surprisingly tasty. The corn in Indiana is super sweet so the flavorful herbs contrast the sweetness quite well. While I often steam or boil corn on the cob…this recipe is a nice change of pace.

Grilled Corn on the Cob

6 ears of corn, husked and cleaned
1/2 teaspoon chili powder
1/4 teaspoon dried oregano
1/4 teaspoon onion powder
1/4 teaspoon garlic powder
1/4 teaspoon salt
1/4 teaspoon pepper
A pinch of cayenne pepper
1/2 cup butter, softened

Preheat the grill to medium-high heat. In a medium bowl, mix together the chili powder, oregano, onion powder, cayenne pepper, garlic powder, salt, and pepper. Mix the softened butter into the dry ingredients. Brush this mixture on each ear of corn. Wrap each ear tightly in aluminum foil so melted butter does not leak out during cooking.
Place wrapped corn on the preheated grill. Grill for 20 to 30 minutes turning corn several times during cooking.

Posted in breakfast, Brunch, Food, Kids in the Kitchen, lunch box, slow cooking

Slow Cooker Breakfast Granola

20130730-175600.jpg
My kids seem to be addicted to granola. If I had to buy it pre-packaged every week, I’d be bankrupt. Thankfully, I have several recipes for this crunchy, delicious and versatile treat. We use it to top yogurt or ice cream, add milk (cold or hot) to eat it as a breakfast cereal, and mix it with sweet and salty treats to make a trail mix. What I like about this recipe is that you can set it in the crockpot and let it cook for a few hours without heating up the house with the conventional oven during the summer months. The key is to slightly prop the crockpot open with a wooden skewer. This tiny opening lets the moisture out but keeps the heat inside the liner. Stirring the mixture every 30-35 minutes is also the key to success.

Slow Cooker Breakfast Granola

4 cups old fashioned rolled oats
1/2 teaspoon vanilla
1/4 cup honey
1/4 cup maple syrup
3 1/2 tablespoons canola oil
1/2 cup chopped pecans (optional)
1/2 cup dried cranberries or raisins (optional)

Spray the liner of the slow cooker with cooking spray. In a separate bowl, mix oats, vanilla, honey, syrup, and canola oil. Pour into prepared slow cooker.
Cook the granola on low for 2 1/2-3 hours, venting the lid slightly. ( I use a wooden skewer.) Stir mixture well every 30-35 minutes. Cook until golden brown and quite dry.
Pour the finished granola onto a baking sheet lined with parchment paper and allow to cool completely. Add pecans, cranberries, or raisins if desired. Store in an airtight container.

20130930-065925.jpg

Posted in Baked goods, Desserts, Food

Rich Chocolate Mayonnaise Cake

20130729-185743.jpg
I have been making this recipe for years. While this cake is delicious anytime, I think the flavor is best when the cake has had a day to sit. However, once your family knows that the cake is out of the oven, the countdown begins as to when it’s cool enough to eat. And after the first slice is gone, it seems only minutes before the rest of the cake follows and only a few crumbs are left at the bottom of the baking pan. Either way, this is an awesome cake recipe.
The mayonnaise may seem like an odd ingredient but it sure makes this cake moist and flavorful.

Rich Chocolate Mayonnaise Cake

2 cups hot tap water
2 cups mayonnaise
2 teaspoons vanilla extract
2 cups sugar
4 cups flour
2 teaspoons baking soda
6 tablespoons unsweetened cocoa powder

Preheat oven to 350 degrees. Spray with non-stick spray, a 9×13 inch pan.
In a large bowl, mix together flour, sugar, cocoa and baking soda. Add the mayonnaise, water, and vanilla. Beat for about 2 minutes. Pour batter into prepared baking pan. Bake at 350 degrees for 30-35 minutes.

20130729-185856.jpg

Posted in and sauces, breakfast, Brunch, Food, glazes, Main Dish

Lazy Day Eggs Benedict

20130728-161039.jpg
Saturday morning and what to make for breakfast… The weather has turned cool and the sky is filled with rain threatening clouds. Everyone heads into the family room, staking their claim in a comfy position to relax and enjoy a lazy morning with nothing on the calendar. These days are few and far between…work, school, and sport schedules seem to dictate the agenda seven days a week. This weekend we are free to do as we like.
I can’t believe that the month of July is coming to a close. Soon we will be buying school supplies and everyone will be headed back to school. My heart is heavy as I think about our first child heading off to college this year…How will we manage without her? This will be a difficult transition for me…I will miss her so.
This morning, as I searched the refrigerator for ingredients to make a family breakfast. I pulled out fresh fruit, Greek yogurt, eggs, and bagels. As I set things out on the counter, I realized that I had enough to make one of my favorite breakfast items, Eggs Benedict. I usually use English muffins for the base but only had bagels this morning. This is my homemade version of a true breakfast classic.

Lazy Day Eggs Benedict

3 English muffins or bagels, sliced in half
6 slices of lunch meat ham or or Canadian bacon
Scrambled Eggs
Hollandaise Sauce

Scrambled eggs

6 eggs
3 tablespoons water
Salt and pepper to taste

In a small bowl, whisk together the eggs and water using a fork. In a non-stick skillet, pour in the eggs; stir constantly as they cook. Remove the eggs to a plate when they are set, but still moist. Do not over cook. Season to taste with salt and pepper.

Hollandaise Sauce

3 egg yolks
1/4 teaspoon Dijon mustard
1 tablespoon lemon juice
1 dash hot pepper sauce
1/2 cup butter, melted

In a blender, combine the egg yolks, mustard, lemon juice and hot pepper sauce. Cover, and blend for about 5 seconds. Set the blender on high speed, and pour the melted butter into the egg yolk mixture in a thin stream until thickened. Pour mixture into a sauce pan to cook through. Set on low heat until ready to serve.

Putting it all together…
Lightly toast 3 English muffins or bagels (6 halves). Assemble by placing a piece of ham or Canadian bacon on the muffin or bagel. Top with a generous amount of scrambled eggs. Spoon warm hollandaise sauce over the eggs. Salt and pepper to taste.

Posted in appetizers/snacks, Desserts, Food, Kids in the Kitchen, No-Bake

Bananas and Berries Frozen Graham Bars

20130727-082829.jpg
As some of you might know, I am a coupon girl! I never leave the house without a fist full of carefully selected coupons when I am headed to the grocery store. I have the “SnipSnap” App on my phone so I can get a deal nearly everywhere I go. Well, last week there was a sale on graham crackers and I had coupons to reduce the price to 75 cents per box. I bought 6 boxes. We were headed out of town for a week and I thought they would be a great car snack to pack for the trip. When I arrived home with my groceries, M spied a cool recipe on the back of one of the graham cracker boxes and she asked if she could make the recipe for dessert. She said that it was a no-bake recipe. I was delighted because it was too hot to turn on the oven to compete with the air conditioner.
The next day, I headed to work and M made the frozen graham cracker recipe. We have an agreement that while Dad and I aren’t home, no ovens or blenders are to be used without permission. The original recipe called for pulsing the fruit in the blender. Instead, M chopped the fruit and added it to the yogurt mixture. When I arrived home from work, I was thrilled to see her creation and ohhhh, they were so yummy and refreshing. They were gone in no time at all!
Below, I have listed our adapted recipe but have included the website for the original recipe as well.

Bananas and Berries Frozen Graham Bars

10-1/2 cinnamon topped graham crackers, broken into quarters to make 42 rectangles
1/2 cup fresh strawberries, sliced
1/2 cup bananas, mashed
1/4 cup blueberries, sliced
1 cup vanilla nonfat Greek-style yogurt
1 cup frozen whipped topping, thawed

Line a 9-inch square pan with waxed paper, placed so paper extends over the sides of the pan . Arrange half the graham cracker pieces, in 3 rows on bottom of pan.
In a medium bowl, combine strawberries, bananas, and blueberries. Add the yogurt and whipped topping; mix well. Spread fruit and yogurt mixture over graham cracker pieces. Top with remaining graham crackers aligning to match the graham cracker pieces on bottom layer.
Place in the freezer for 4 hours. Use waxed paper handles to remove dessert from pan; cut between graham crackers to form bars.

Original website:
http://www.snackworks.com/recipe/banana-berry-frozen-yogurt-bars-155123.aspx

Posted in Chicken, Food, Main Dish

BBQ Honey Teriyaki Chicken

20130726-213454.jpg
Recently, we had an open house graduation party for my oldest daughter. We were expecting 75-100 people and had made arrangements with a Chicago pizzeria to come to our home with a pizza oven to cook made-to-order pizza upon request. We have had this particular pizzeria here several times over the years because everyone raves about the flavor of their pizza and I love that most of the work is done for me when preparing for a party. I usually make a few salads and desserts while the pizza is taken care of by our pizza guy.
Well, this year things didn’t go so smoothly. We had told the pizzeria that the party was set to begin at 1:00pm and that we would set up an area with tables for pizza preparation and serving. Well, about one hour before the party, I sensed that something was wrong when no one was here to start the oven and prep for the party. I called the restaurant and got no answer. I called a friend of the owner next, looking for a cell number to talk directly to the owner. After a confusing conversation, we realized that the pizzeria had booked us for the wrong date! I was panicked trying to think about how I would manage serving all of our guests with just the salads and desserts I had prepared. Here it was 25 minutes before the party was to begin and we were without our unique main dish. Well, I spent no time worrying and put myself in damage control mode. I opened my huge freezer and found 6 – 3 lb. bags of frozen chicken breasts. I ripped open the bags and threw the chicken in as many roasting pans as I could find. I instructed my oldest son to turn on the outdoor gas grill at the highest heat possible. I have 3 indoor ovens so I turned them all on and popped the pans of chicken in. While my son grilled the first batch of frozen chicken, I tried to thaw the remaining chicken in the oven. I sent my daughter on a hunt to find any kind of bottled marinade available in the pantry. She found Sweet Baby Ray’s Teriyaki Marinade Sauce. I poured it into a bowl and gave my son a brush to slather it on the barbecued breasts. As he pulled the finished breasts off of the grill. I pulled another batch out of the oven and threw them on the grill to finish cooking. We made a fabulous team and within 25 minutes we had made quite a few breasts that were ready for initial serving. I sliced each of the breasts in bite sized pieces to fit on bakery rolls that we had purchased to go with the salads. All the while, my husband was manning the beverage area, greeting guests and refilling drinks. My sister jumped in the car with her husband heading to the local grocery store to fill the shopping cart with an assortment of foods suitable for the buffet. You can ‘t imagine how quickly we worked together. And oh how surprised and delighted we were when our guests praised our efforts and raved about the great tasting flavor of the chicken. After all of the guests said their good-byes and I had a chance to catch my breath, I was thankful for the help of family and friends, good company, and relieved that it was all over. Things have a way of working out. When the going gets tough…family and friends pull together and help each other out. …Can’t wait till next year as we will do it all over again when our twins graduate!

Marinated Teriyaki Chicken

1 3 lb. bag frozen chicken breasts
Sweet Baby Ray’s Honey Teriyaki Marinade

Preheat barbecue on high heat and carefully oil barbecue rack. Lower the temperature to a medium- low setting and place thawed chicken breasts on the grill. Continue to grill flipping breasts to cook evenly. When meat has reached desired internal temperature, remove from grill and slather with marinade to coat completely.

Posted in Baked goods, Brunch, Desserts, Food

Apple-Blueberry Slices

20130725-183933.jpg
When my kids were young, we used to find every opportunity available to pack up the car to find a local farm or orchard where we could pick the latest harvest. We’d arrive home with our bounty of goodies and spend the next few days canning, freezing, and baking with the produce that we picked. One of my favorite apple orchards was in Wisconsin. The owner would always have a recipe sheet displayed on the front counter for customers to take home with their purchase. All of the recipes were tested on the owner’s family and proved to be delicious.
One year, we picked bushels of apples and arrived at the front counter to see the usual list with various apple recipes listed along the front and back of the page. When I got home, I tried the recipe for Apple Slices. Wow, was it delicious! Every time I make the slices, I am asked for the recipe.
This week I added a handful of blueberries to the filling mix. I had a few leftover blueberries and I thought they would compliment the apple and cinnamon flavors.
I was right! These are delicious! The original apple slice recipe will always be at the top of my favorite recipe’s list.
Here’s the recipe for the revised apple-blueberry version.

Apple-Blueberry Slices

Dough:
1 cup white sugar
1 teaspoon baking powder
3 cups all-purpose flour
1 cup shortening
1 egg, slightly beaten
Filling:
3 cups apples, cored, peeled and chopped
1 cup fresh blueberries
1/2 cup sugar
1/2 teaspoon cinnamon
3 teaspoons cornstarch

Preheat the oven to 375 degrees. Spray with cooking spray a 9×13″ pan.
For the dough: In a medium bowl, stir together the sugar, flour, and baking powder. Cut in shortening and egg. Dough will be crumbly. Pat half of dough into the prepared pan. Set the rest aside.
For the filling: In another bowl, stir together the sugar, cinnamon, and cornstarch. Gently mix in the apples and blueberries. Sprinkle the apple-blueberry mixture evenly over the crust. Crumble remaining dough over the apple- blueberry layer. Bake for 45 minutes, or until top is slightly brown. Cool completely. Use my powdered sugar glaze recipe to drizzle over cooled pan.

Posted in Baked goods, Brunch, Food

Cinnamon Roll Coffee Cake

20130710-172539.jpg
Boy, if you don’t like this cake, I don’t know what to say! A bonus…it’s super easy to make. Once again, I started with a basic cake mix.
Years ago, I found a recipe for a cinnamon coffee cake that was a bit time consuming to pull together. It tasted great so I continued to make it for the family. Then, a couple of years ago, I found a similar (but easier) recipe in the newspaper and tucked it away for another day. Yesterday, I had a taste for my original cinnamon coffee cake recipe. While looking through my recipe binder, I found the page ripped from the newspaper that I had tucked away some time ago. I thought…why not give it a try? After altering the recipe a bit, I quickly mixed it up and threw it in the oven.
Well, the smell of the cinnamon and extracts was enough to make me salivate in front of the oven, as I watched the cake rise and take shape. Mmmmm, it sure smelled wonderful! And, after letting it cool and giving it a taste, I was not disappointed! This sweet, moist, cinnamon roll coffee cake is absolutely delicious!

Cinnamon Roll Coffee Cake

1 box yellow or white pudding cake mix
1 teaspoon almond extract
1 teaspoon vanilla extract
1 teaspoon butter extract
Topping
1/2 cup brown sugar
2 teaspoon cinnamon
1 tablespoon softened margarine
1/2 cup chopped pecans (optional)

Prepare cake mix as directed on the package. Add extracts to the batter and mix well. Spray, with cooking spray, a 13×9″ baking dish. In a separate bowl, mix together the topping ingredients. Pour half of the batter in the baking dish. Sprinkle half of the topping mixture over the batter. Pour on the remaining batter and finish by adding the remaining topping. Swirl through the cake mix with a knife. Bake according to package directions. Cool and top with my powdered sugar icing. Yummy!