A couple of years ago, I won a prize at the local county fair for my award winning blueberry margarita pie. I received a gift certificate from a local sewing shop. When I stepped into the shop to redeem my award, I was thrilled to see all of the sewing and quilting projects placed around the store for customers to view. I asked the sales clerk about a lime green bag that was perched on a shelf and she replied, “Oh, that’s a toothbrush project”. She proceeded to tell me how to assemble the bag and offered the directions from a rack of patterns. Right then I knew what I would spend my gift certificate on. I ‘m so happy to have learned how to make this simple toothbrush project.
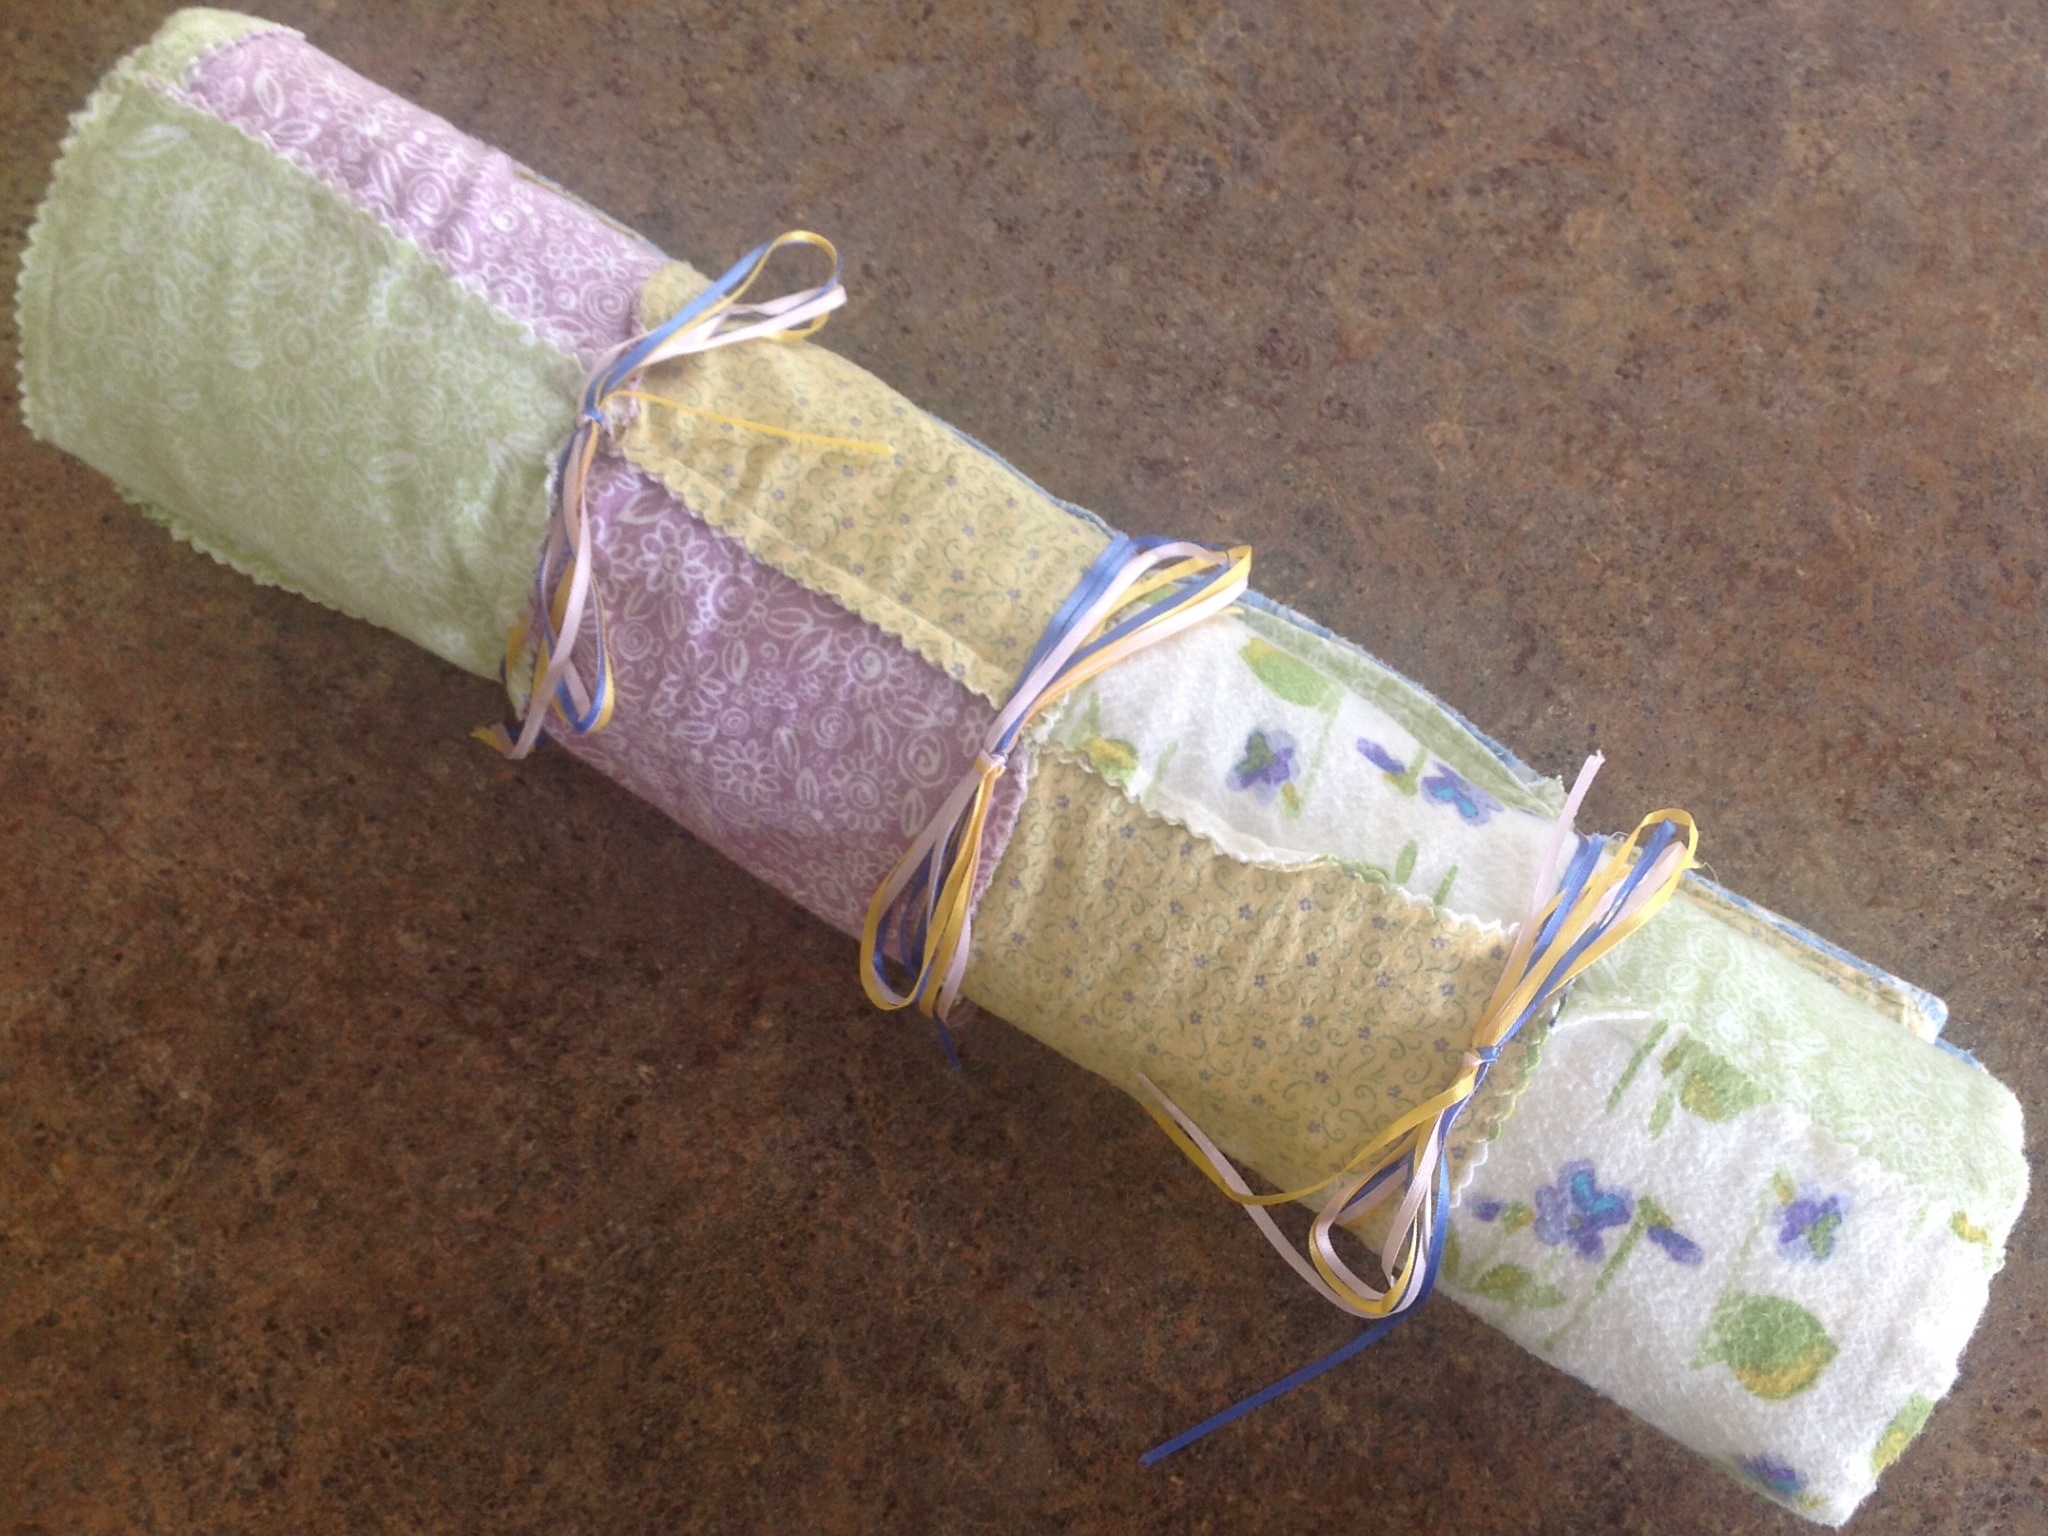
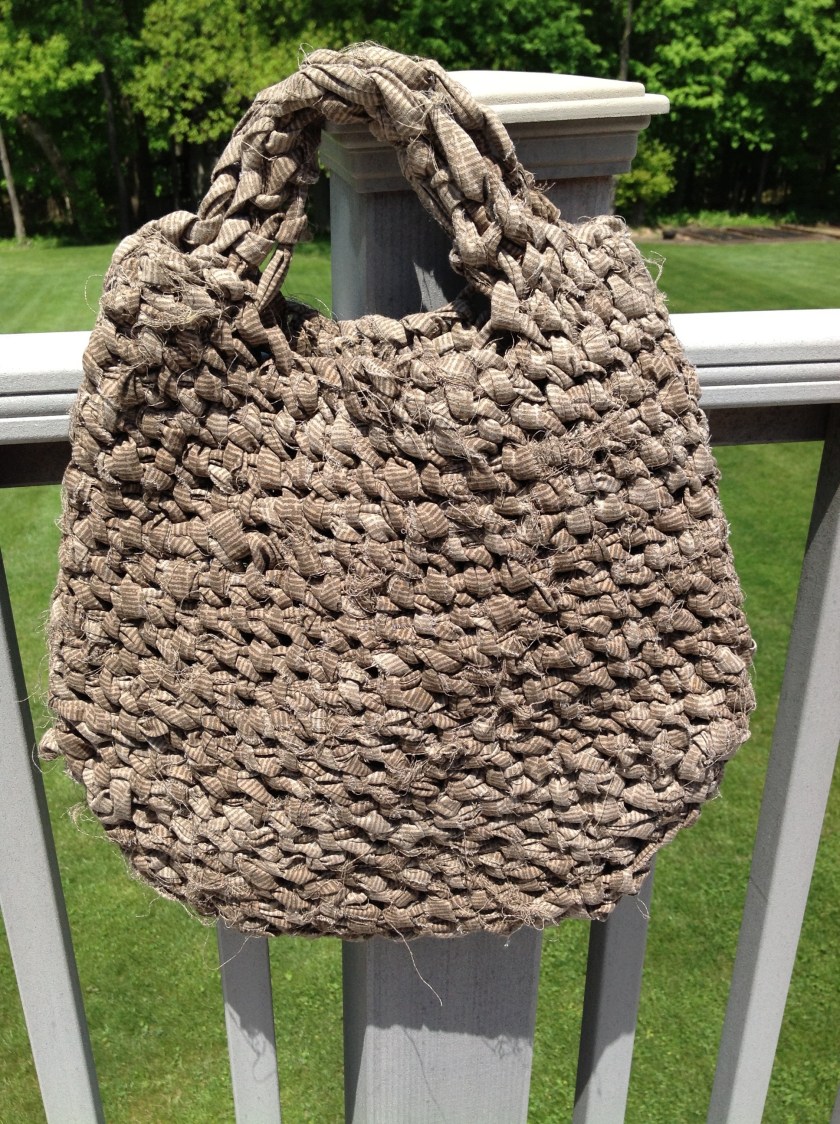
Crafty Toothbrush Rag Bag
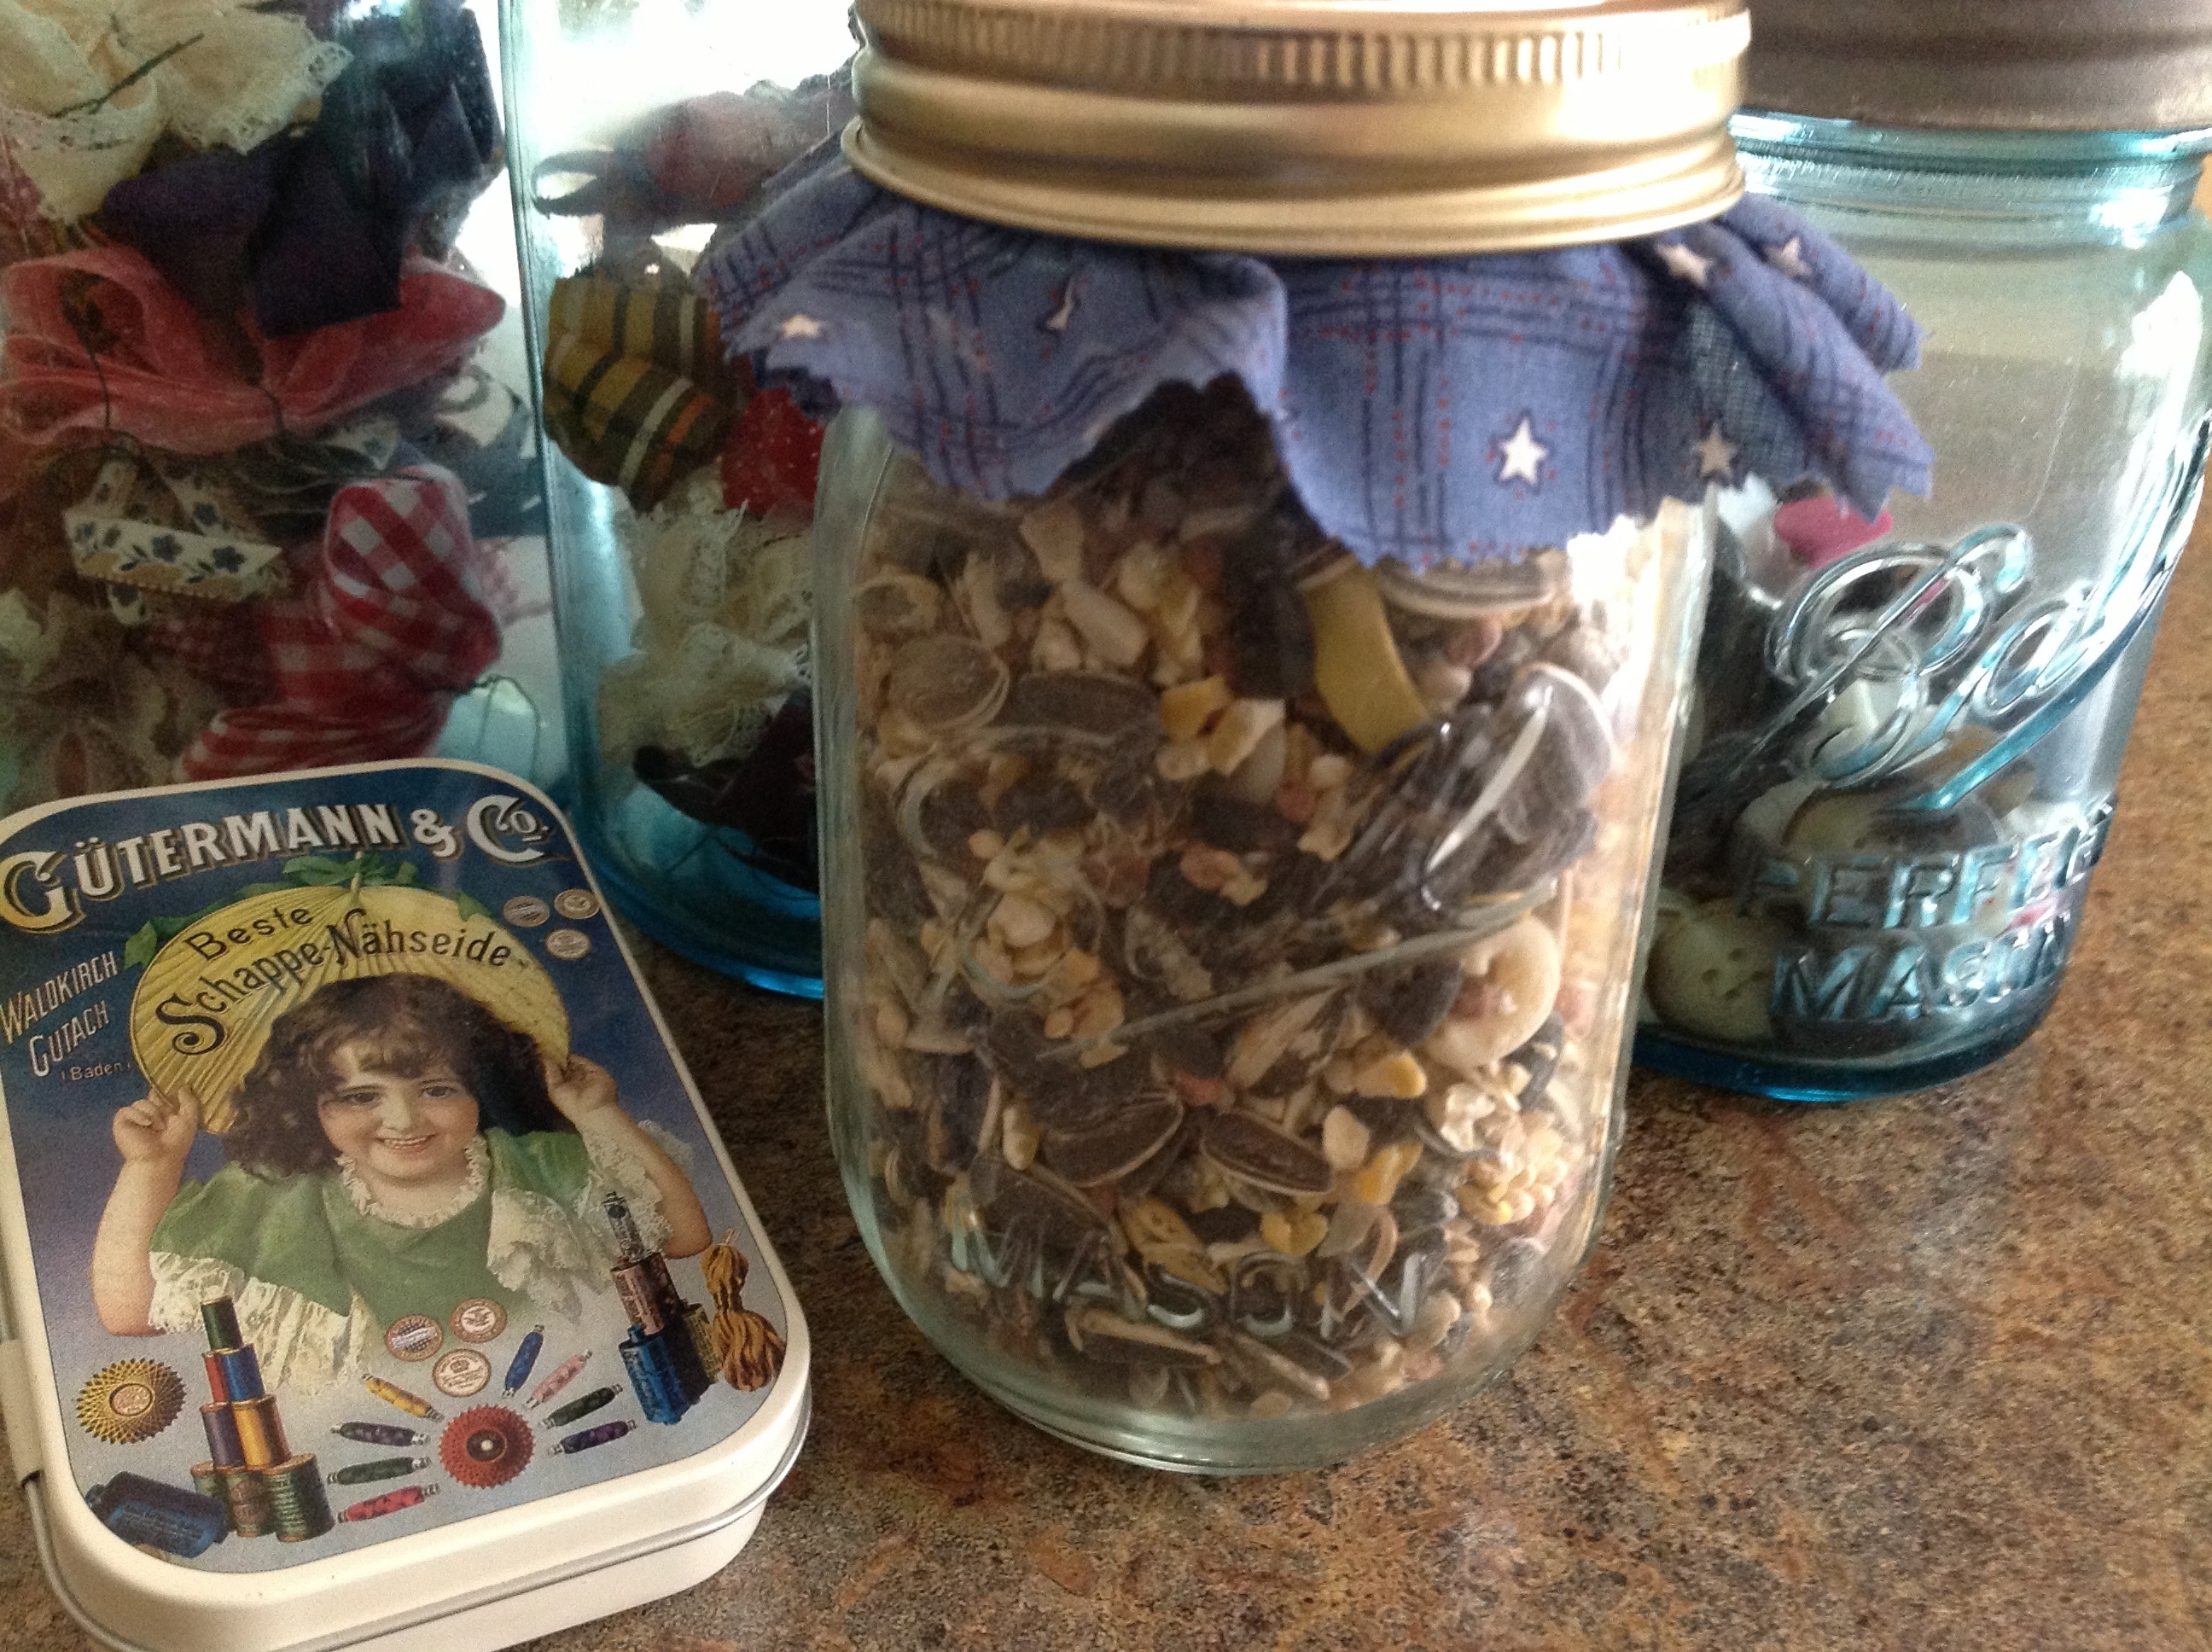
Old sheets or scrap fabric yardage
Toothbrush shuttle
Large safety pin
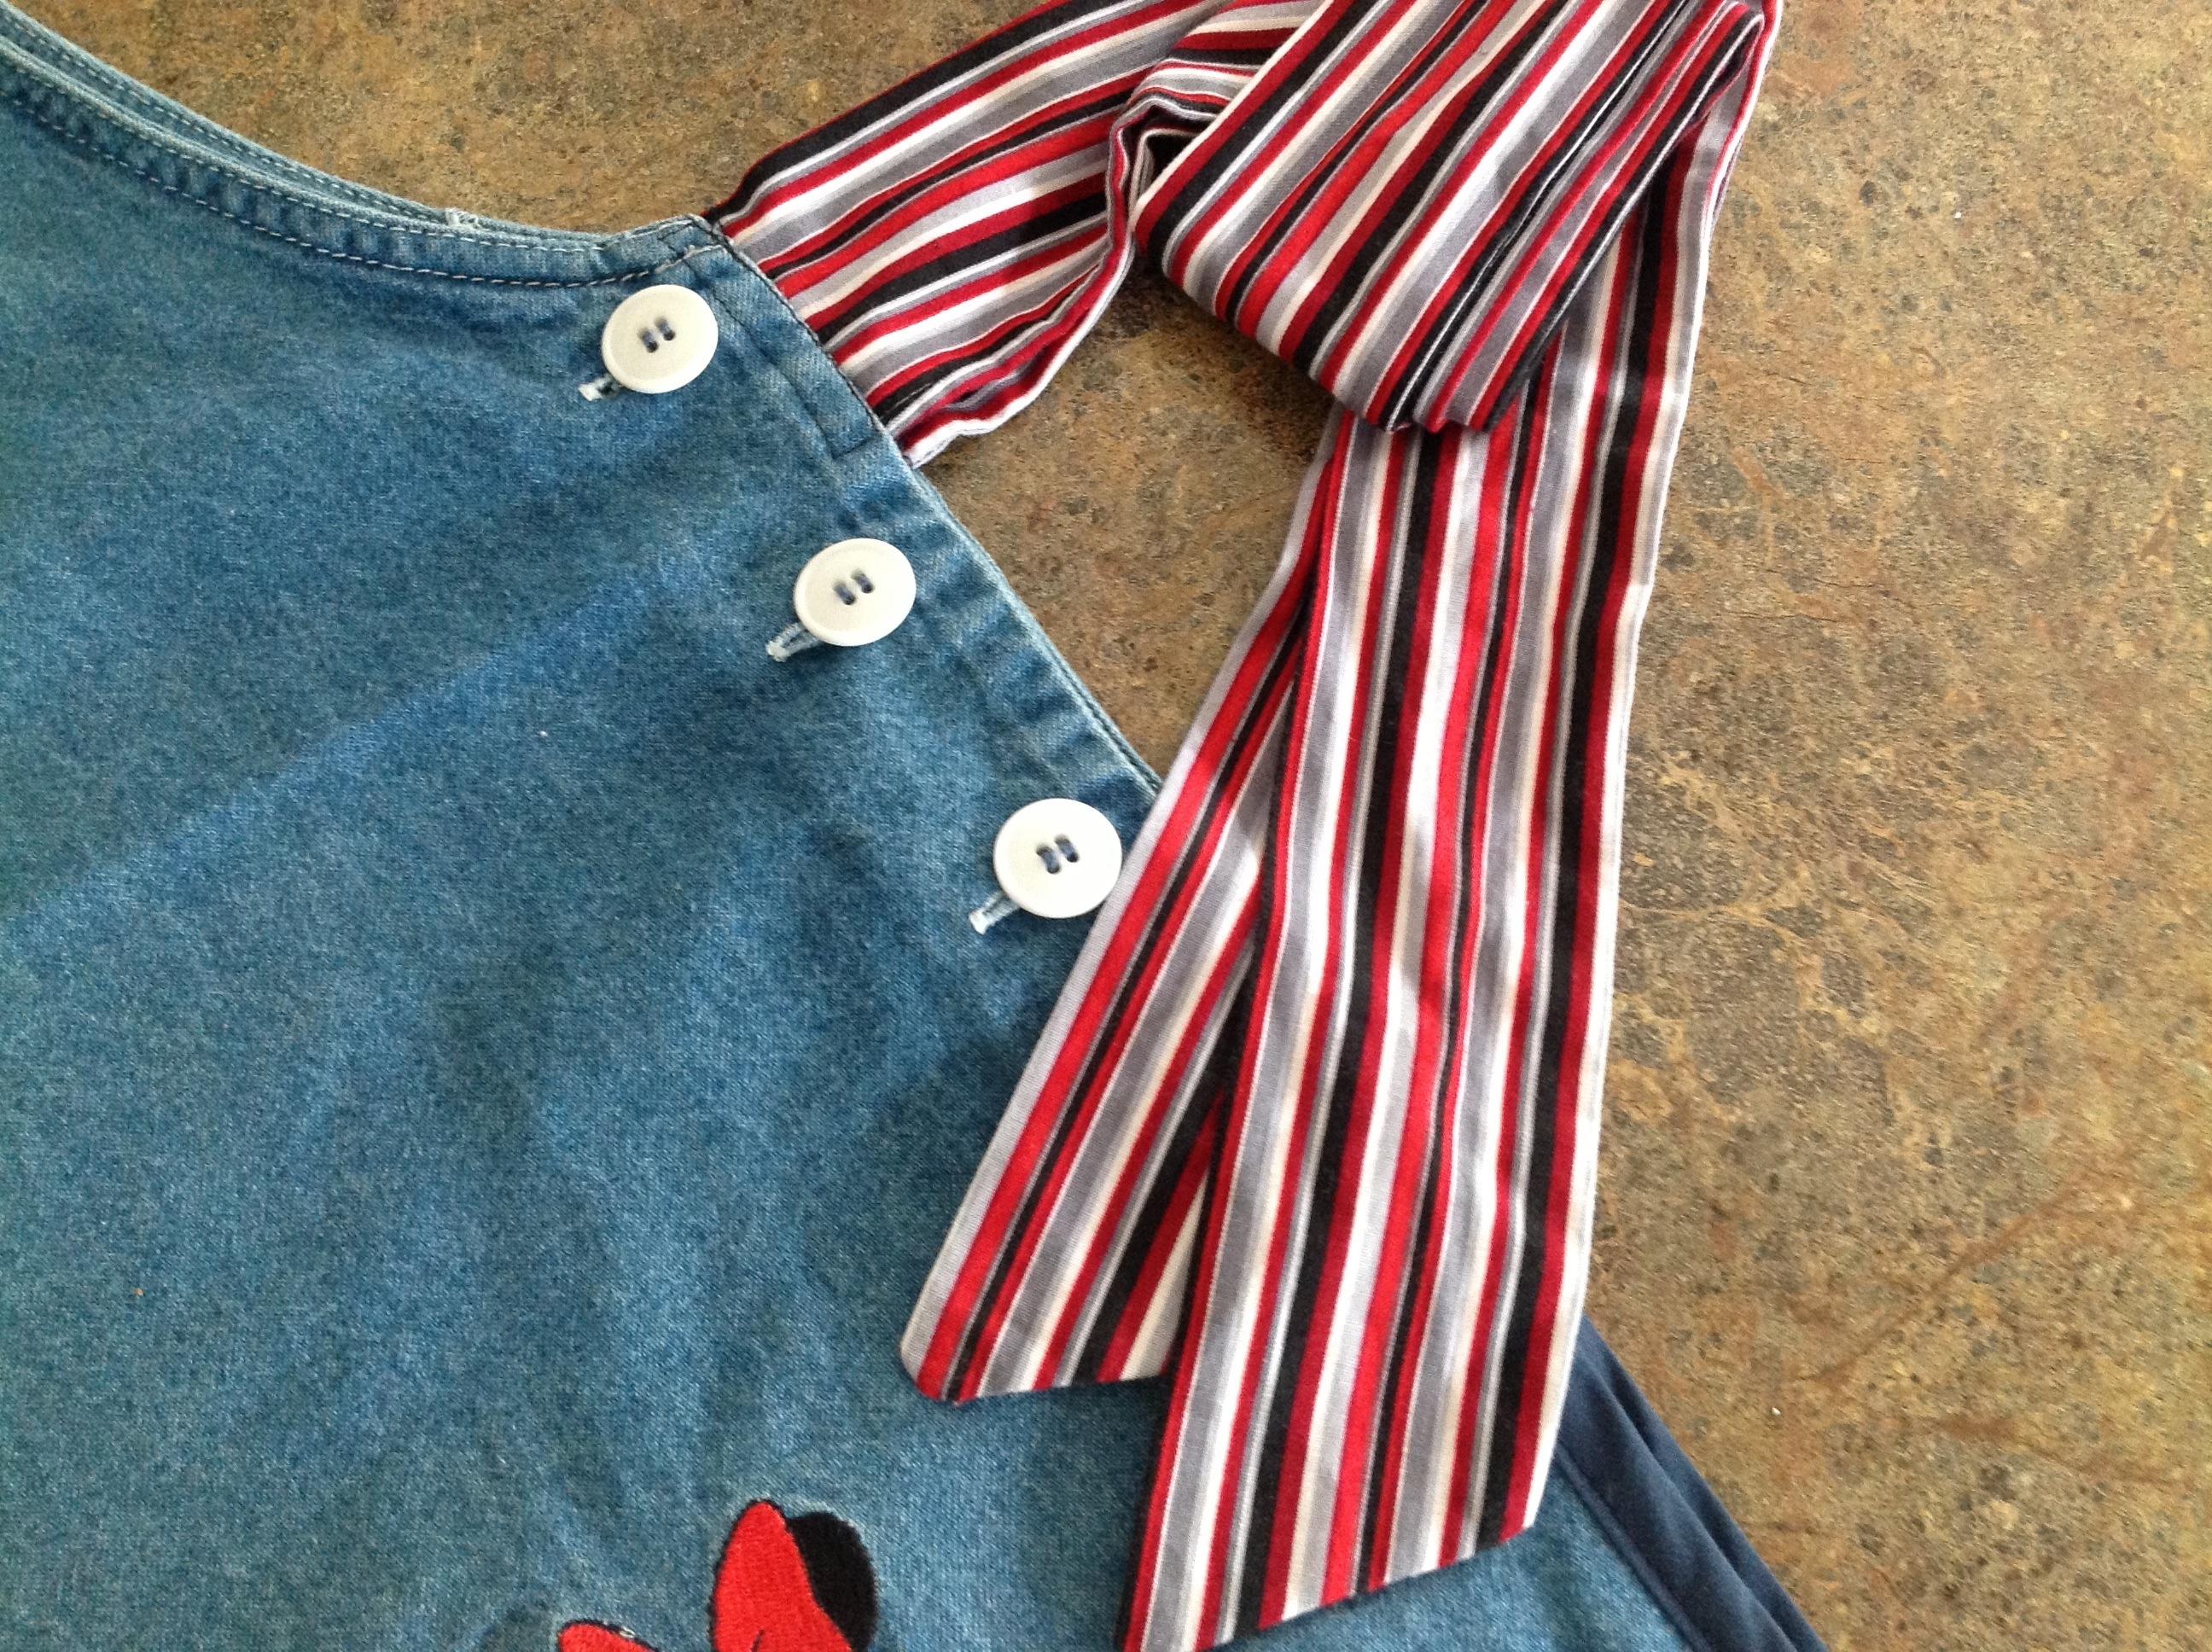
Decorative handle, optional
Gather up all of your old sheets or colorful yardage scraps; any width and pattern, preferably 3-6 feet long. Tear a sheet in half crosswise and make snippets at 1” intervals. Rip each sheet into strips 1” x 3 to 6 feet long. These are the pieces you’ll use to braid your bag. Start with about 20 to 30 strips and cut small lengthwise slits in both ends of each strip.
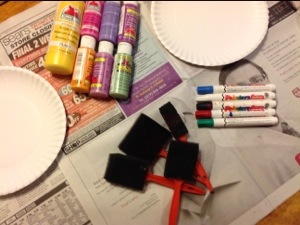
Cut the bristle end off of a toothbrush using a small hand saw. Shape the end into a dull point using rough sandpaper. Drill an oval shaped hole in handle. This is your modified toothbrush shuttle.
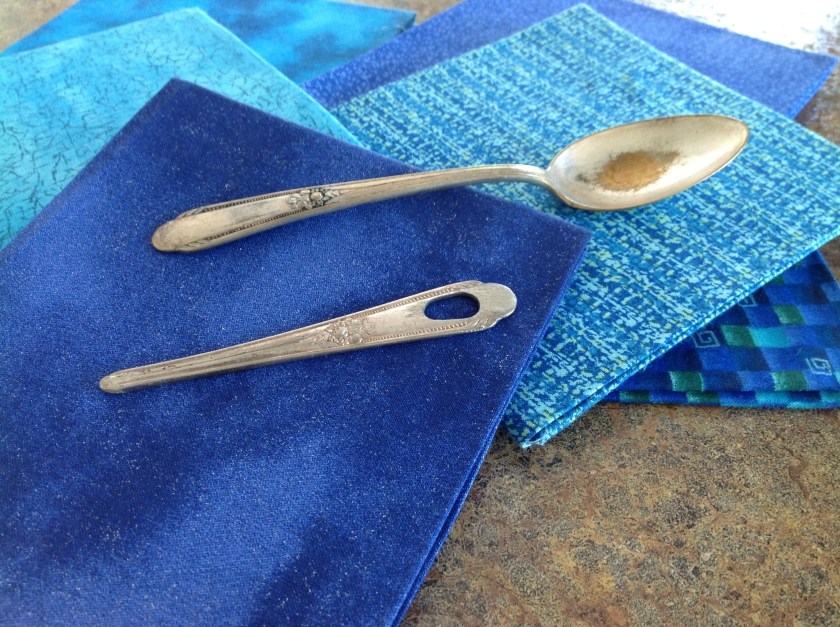
My husband was clever enough to cut down a silver spoon for me. He then drilled a hole in it to make a shuttle for the fabric.
Thread fabric strips through the hole in the end of the toothbrush/spoon. Place one fabric strip with a small slit in the end on top of another fabric strip with the same slit. Bring the bottom strip up through the top strip and the tail end of this bottom strip through the same slit, then pull to form a knot. (This can be tricky at first, but remember that your main goal is to make a knot connecting strips together so that you can eventually form a continuous strip for your bag.)
Use a safety pin to secure the two knotted strips to whatever base you’ll be using, such as a fabric couch, bed spread or pillow. Begin actually braiding your bag by attaching your toothbrush shuttle to the left strip and bringing it over and then under the right strip, pulling it gently to form a knot. Make four of these knots to form the center of the bottom of your bag. Turn the base with four knots completely around so you can begin the braiding process; be sure to keep your toothbrush shuttle on the left side. Find the hole in the first knot and push your shuttle down through it, bringing it up and over the right strip and tightening it to form a knot; do the same with all four knots. Continue in this way adding more strips as needed. Once you have reached a desired size for the bottom of your bag, begin to decrease the number of stitches while curving the braid to begin to form the sides of the bag. Continue adding strips and braiding until you have reached your desired bag height. Tie a secure knot in the inside of your bag and secure decorative handles at the top edges of bag if desired.