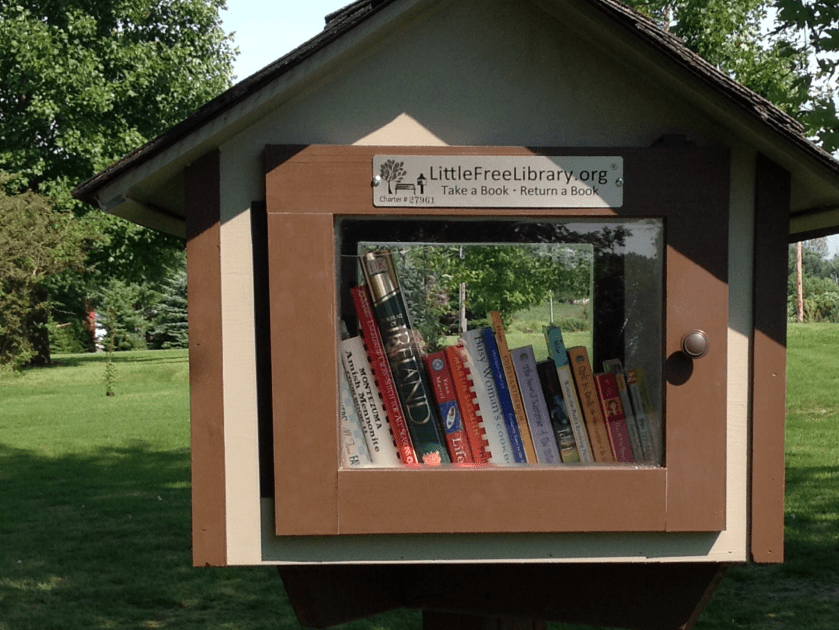
For the past several months, I’ve been working with a local literacy coalition to help promote the love of reading in our schools and regional communities. One of the ideas that we proposed was to promote Little Free Libraries in our urban and rural environments. I figured the best way for me to promote this idea was to create one myself.
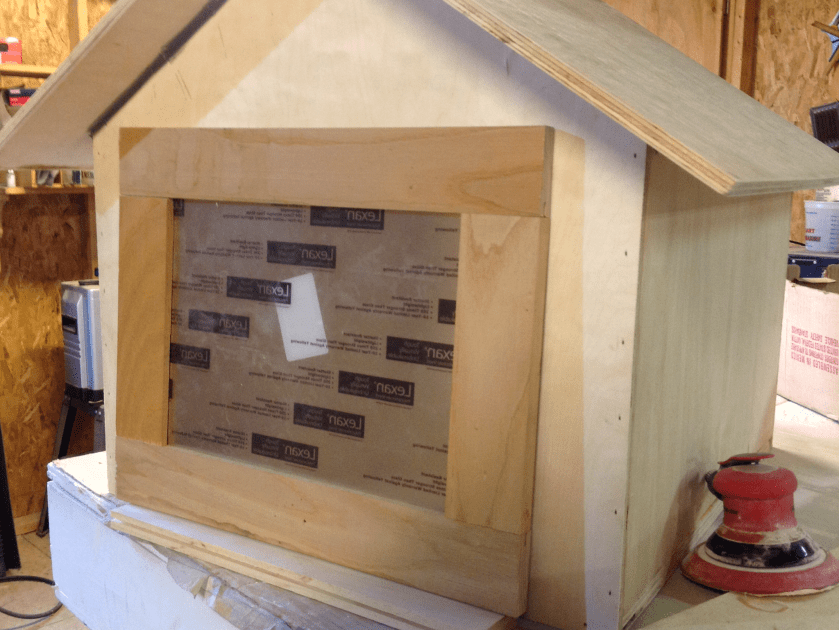
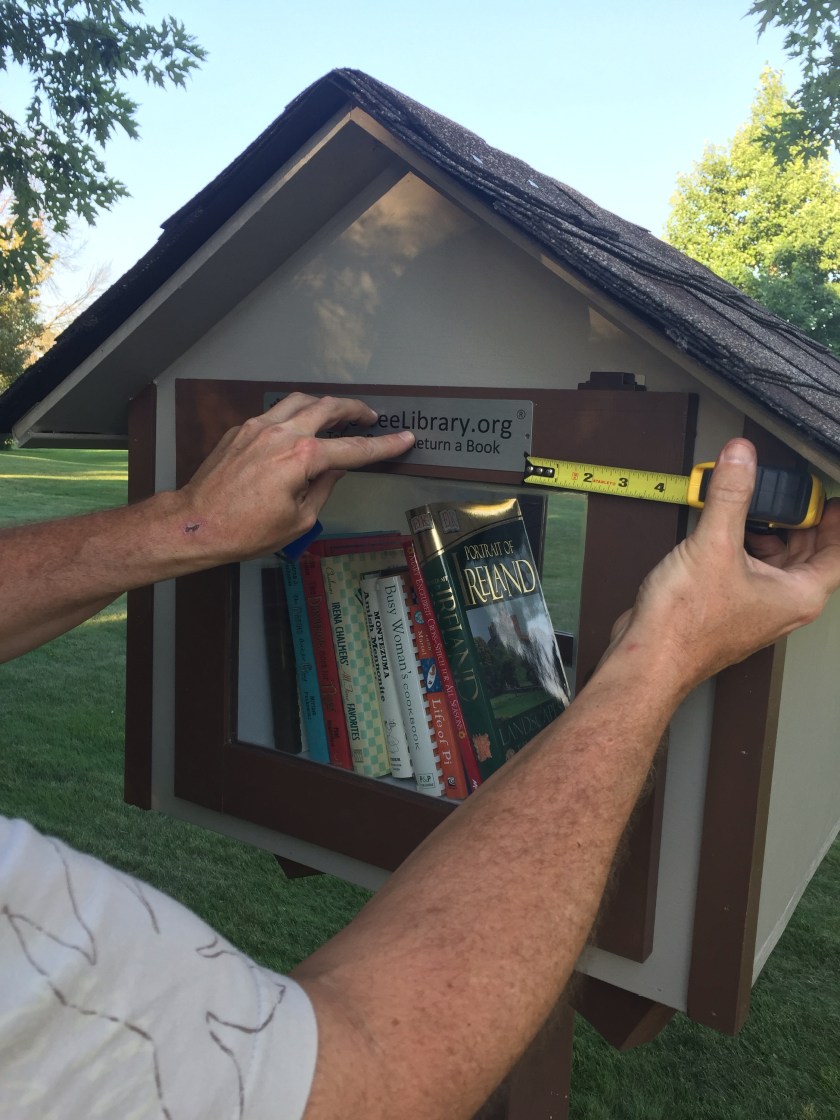
Throughout the campaign we’ve been stressing the use of recycled materials and simplistic design. When I presented the idea to my husband, the creative juices began to flow and he soon constructed this adorable residential Little Free Library. To learn more about constructing and registering your very own LFL, visit littlefreelibrary.org
This is a grass roots movement and the LFL site includes a world map where registered LFL locations are posted so that those interested in doing a tour or an afternoon bike ride to visit all of the “mini libraries” in their area can print the map and get going.
As I mentioned earlier, we promote the idea of using simplistic, recycled materials to bring to life this lovely idea to stress the importance of reading in your community. Use old furniture, large baskets, cartons, or plastic tubs to make inexpensive, upcyled models. My husband found scrap wood and other building materials to make this LFL for our home. His skill level might be better than most but don’t stress about the perfect model. Stick with your skill level and be as simplistic or as ornate as you like. Check out all the images on the site to inspire ideas for your very own Little Free Library.