Posted in Baked goods, Baking, Bread, breakfast, Brunch, Gardening

Key Lime and Blueberry Muffins

20140907-134807.jpg
Well, it seems the last of the blueberries have made their way to the farmer’s market as the fall season begins and apples, peaches, and pears showcase their beauty and flavor in the weeks to come.
As I peered into the fridge this morning, I noticed a pint of blueberries and a few containers of key lime Greek yogurt on the shelf. I remembered using this combination of flavors some years ago in a blueberry yogurt muffin recipe that I had in my kitchen file. I rummaged through the worn folder to find what I was looking for and was delighted to see I hadn’t misplaced it. The combination of key lime and blueberry is quite similar to that of lemon and blueberry except for the added punch that key lime lends to the recipe. Give this one a try, I think you’ll like it.

Key Lime and Blueberry Muffins

1 cup flour
6 tablespoons sugar
1/4 teaspoon salt
1/4 teaspoon baking powder
1/4 teaspoon baking soda
1 egg
1/2 cup key lime flavored Greek yogurt
1 teaspoon vanilla extract
3 tablespoons oil
2 tablespoons milk
1/2 cup fresh blueberries

Note: This recipe makes 6 regular-sized muffins.

In a bowl, combine dry ingredients. In a separate bowl, combine the egg, yogurt, vanilla, oil and milk. Stir in the dry ingredients just until moistened; fold in the blueberries.
Fill greased or paper-lined muffin cups three-fourths full. Lightly sprinkle with crumble topping, optional. (See recipe below)

Crumble Topping
1/2 c. flour
1/2 c. sugar
3 tbsp. butter
Combine flour, sugar. Cut in butter. Sprinkle over muffins before baking. Store any leftovers in the fridge for future baking.

Bake muffins at 350° for 20-22 minutes or until a toothpick inserted near the
center comes out clean. Cool for 5 minutes before removing from pan. Continue cooling on a wired rack.

Posted in appetizers/snacks, Baked goods, Baking, Bread, Main Dish

Garden Fresh Focaccia Bread with Tomatoes and Basil

20140823-110537.jpg
Last week, M called my cell phone to ask if I had a quick pizza crust recipe. She and K had gathered lots of fresh basil and a few ripe Roma tomatoes from the garden and wanted to make a crusty bread base for the garden fresh toppings.
I asked her to search the pantry shelves for a pouch of Betty Crocker pre-mixed pizza crust ingredients that I often buy when I see the pouches on sale. Both girls looked though the pantry shelves and came up empty. I suggested they find my recipe for focaccia bread in the kitchen file. It’s a great recipe as it always turns out perfect and the mix, rise and bake time is pretty reasonable for a quick meal. When I returned home from work, the smell of Italian bread filled the air and the half eaten focaccia sat on the counter. It seems no one could resist the incredible aroma and tummies were filled straight away. The girls had chopped tomatoes and basil while the bread was baking and sprinkled the chopped toppings on the bread as soon as it was removed from the oven. A pinch of course kosher salt added to the flavor.
I usually serve this crispy, flavorful crust with a lite salad and we are never disappointed.

Garden Fresh Focaccia Bread

2 3/4 cups flour
1 teaspoon salt
1 teaspoon sugar
1 tablespoon active dry yeast
1 teaspoon garlic powder
1 teaspoon dried oregano
1/2 teaspoon dried thyme
1teaspoon dried basil
1 pinch ground black pepper
1 tablespoon vegetable oil
1 cup water
2 tablespoons olive oil
1 tablespoon grated Parmesan cheese
1 cup mozzarella

In a large mixing bowl, combine the first nine (dry) ingredients. Mix in the vegetable oil and water.
Pull dough together and turn out onto a lightly floured surface; knead until smooth. Lightly oil a large bowl, place the dough in the bowl, and turn to coat with oil. Cover with a damp cloth, and let rise in a warm place for 20 minutes.
Preheat oven to 450 degrees. Punch down dough and place on greased baking/cookie sheet. Pat into a 1/4 to 1/2″ thick rectangle. Brush top with olive oil.
Bake in preheated oven for 10 minutes, top with Parmesan and mozzarella cheese. Continue to bake for more 5 minutes until cheese is melted and bread is golden brown. Optional: After removing from the oven, top with sliced tomatoes and basil.

Posted in Baked goods, Baking, Bread, breakfast, Brunch, Food, Kids in the Kitchen, lunch box

Summer Harvest Zucchini Quick Bread

20140811-070422.jpg
This week my cell phone chirped as I sat in my office finishing up some paperwork. It was M. She called to report that we were nearly out of all-purpose flour and she wanted to make zucchini bread. A co-worker had brought in a few beautiful zucchini and laid them on the lunch table announcing she had harvested way too many zucchini and we should take whatever we might use. Naturally, I snatched up the largest I could find as I love to bake zucchini bread and freeze it through the winter months.
Reporting back to M, I asked her to look through my file of old recipes kept in the kitchen desk, to find a quick bread recipe that would use only the ingredients she had on hand. To my delight, when I returned home from work, M had made oodles of muffins and quick breads to share with the family. She had used up most of the overly ripe fruit and veggies that she found on the counter top and in the crisper drawer. M’s a resourceful child and it makes her happy to turn to baking to relax and enjoy time on her hands for the summer. It won’t be long before the school bell rings and the race begins all over again. I’m glad she has found a relaxing hobby as she follows in her mother’s footsteps.

Summer Harvest Zucchini Quick Bread

3 eggs
1 cup vegetable oil
1/2 cup sugar
1 cup packed brown sugar
2 cups grated zucchini
2 teaspoons vanilla extract
1 cup all-purpose flour
1 cup whole wheat flour
1/4 teaspoon baking powder
2 teaspoons baking soda
1 teaspoon salt
3 teaspoons ground cinnamon
1 cup chopped walnuts or pecans
1/4 cup wheat germ ( with extra for topping)

Preheat oven to 350 degrees and grease a (9x5x2 3/4″) loaf pan. In a large bowl, combine eggs, oil, sugars, zucchini, and vanilla. Mix well. Add flours, baking powder, soda, salt, wheat germ, and cinnamon; stir to combine. Stir in nuts. Pour batter into prepared pan. Sprinkle a teaspoon of wheat germ over the batter.
Bake for 55-60 minutes, or until a tester inserted in the center comes out clean.

Posted in Baked goods, Baking, Bread, breakfast, Brunch, Food

Oh My Goodness Oat-n-Nut Blueberry Scones

20140803-092840.jpgAfter a busy week of meetings, county fair obligations, car pools, and laundry, I finally found time for a little early morning baking. Yesterday, while the house was quiet and the family was still sound asleep, I brewed a cup of coffee and popped a few batches of scones into the oven for a light and fancy breakfast. As the children woke and entered the kitchen, I could see their eyes widen as they caught a whiff of the delicious scones while they finished baking. The almond extract, pecans, and blueberries all lent a hand as their enticing aromas danced through the house. Gosh, I miss the days when I could find time to bake nearly every day. Times change and busy schedules prevail. Still, it was wonderful to find time this week to enjoy the pleasures of early morning baking and cherished time spent with the family over breakfast.

20140803-093000.jpgOh My Goodness Oat-n-Nut Blueberry Scones

1 1/2 cups whole oats
1/2 cup whole wheat flour
1/2 cup all-purpose flour
1/3 cup white sugar
1/2 teaspoon salt
3/4 teaspoon baking soda
3/4 teaspoon baking powder
6 tablespoons butter, cubed
1/2 cup milk
1 teaspoon almond extract
1 cup fresh blueberries
1/2 cup pecans, chopped

Preheat oven to 375 degrees. Lightly grease a baking sheet. Combine oatmeal, flours, sugar, baking soda, baking powder, and salt together in a medium sized bowl. Use a pastry cutter or two forks and cut in the butter with the flour mixture until crumbly and well blended. Stir milk and extract into the flour mixture until just combined. Lightly fold in the pecans and blueberries. On a lightly floured surface, collect the dough into a ball and pat into a large circle about 1″ thick. Cut into 8 wedges, and place on prepared baking sheet. Bake in preheated oven until lightly browned, 20 to 25 minutes.

Posted in Baked goods, Baking, Bread, breakfast, Brunch, Food, Kids in the Kitchen, Pancakes

Super Healthy Kids Whole Wheat Waffles

20140731-055523.jpg
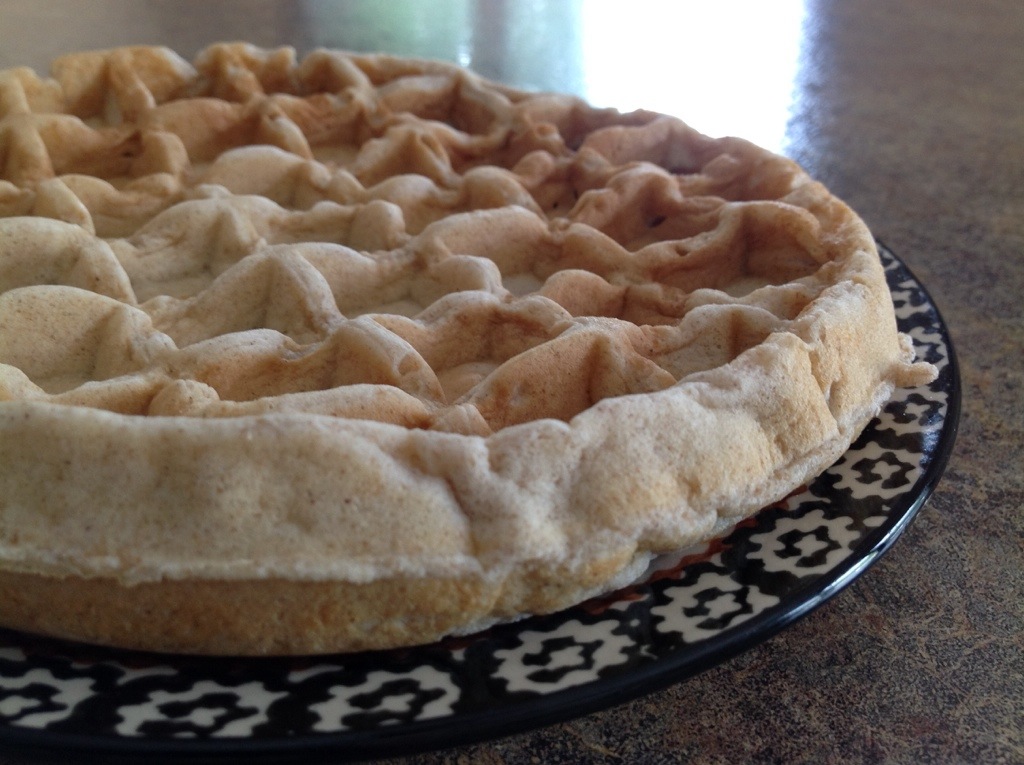
M recently went on a cooking rampage and spent the day making healthy meals and snacks. She made several loaves of fresh zucchini bread, mini cupcake frittatas, and a load of flavorful whole grain waffles. One of her favorite go-to websites is called superhealthykids.com so M rifled through their pages to find what she thought would be a delicious breakfast recipe. She settled on the whole wheat waffle recipe. Earlier in the week, M and I had visited a local farm stand where we picked out loads of beautiful berries. She thought they could be used to add a bit of pizzaz to her breakfast accompanied by a hefty dollop of creamy Greek yogurt.
So if you’re in the mood, head on over to superhealthykids.com and check out this great recipe for waffles. Dress them up with your favorite healthy toppings. Store leftovers in the fridge or freezer and pop one in the toaster for a fresh baked taste every morning. As you know, breakfast truly is the most important meal of the day!

Super Healthy Kids Whole Wheat Waffles

2 1/4 cup whole wheat flour
1 cup flour
5 teaspoons baking powder
2 teaspoon salt
4 tablespoons sugar
4 eggs
3 cups fat free organic milk
1/2 cup canola oil
1 teaspoon vanilla extract
1 teaspoon almond extract
1 teaspoon ground cinnamon

Mix all ingredients together, batter will be lumpy. Fill 1/4 measuring cup with batter. Pour onto hot, greased waffle iron. Cook batter until golden brown. Remove from waffle iron and top with berries, yogurt, peanut butter, or other fruit.
(Adapted from the recipe found on Superhealthykids.com

20140731-055622.jpg

Posted in Baked goods, Baking, Bread, breakfast, Brunch

Bountiful Blueberry Bread

20140713-072719.jpg
As the steamy months of July and August set in, blueberry season is upon us. Farmers all over the Midwest have sent out postcards to local residents reminding them to stop by the farm for a taste of the season’s best.
Several farms in our area sit just a few minutes from our home. Making the daily drive back from work, I usually stop by for a large 5 lb. box of fresh picked berries.
Years ago, our family used to picnic at the local blueberry farms as we would spend the early morning hours picking blueberries that would be eaten or frozen for future use. As my children grow older and our days a bit more busy, we have difficulty finding the time to pick berries as we once did. None the less, we still seem to find time to enjoy the flavor of these beautiful little gems.

Bountiful Blueberry Bread

1 1/2 cups all-purpose flour
3/4 cup sugar
2 teaspoons baking powder
1/8 teaspoon salt
1/2 cup vanilla yogurt
1/4 cup milk
1/4 cup vegetable oil
1 egg
1/2 teaspoon vanilla extract
1 teaspoon almond extract
1 1/2 cups blueberries, coated with 2 teaspoons of flour

Preheat oven to 350 degrees. Spry with cooking spray a loaf pan.
Mix flour, sugar, baking powder, and salt in a large bowl. Stir yogurt, milk, oil, egg, vanilla, and almond extract into flour mixture until batter is just blended. Gently fold blueberries into batter; pour into prepared loaf pan.
Bake in the preheated oven for 60 minutes or until a toothpick inserted into the center comes out clean.

Posted in Baked goods, Baking, Bread, Cake, Desserts, Food, holiday

Old Fashioned Vanilla Pound Cake

20140416-212050.jpg
You probably recognize this cake shape from an earlier post. Yup, it’s the Mickey Mouse cake mold that we purchased in Disney World a couple of weeks ago. My twins, M and P just celebrated a birthday and M requested this delicious vanilla pound cake with cream cheese icing and strawberry topping. I usually use this recipe to make my Easter Lamb Cake. I use a special two-piece mold for a three dimensional cake. I am happy to say that this flat mold worked out just as well. Follow the recipe below for instructions to fill a more traditional pan size. A good rule of thumb when using a pan other than suggested in the recipe is to make sure that you don’t fill the pan too high or you’ll have a real mess on your hands! The pan will often overflow or you’ll end up with a lopsided, domed cake that often needs to be shaved down for a uniform shape. For a moist, dense cake, try to set your kitchen timer a few minutes less than the suggested time so that you can check out the cake before it becomes too well done. Ovens vary in temperature so get to know your oven. This way, you can avoid an over-baked cake that will most likely end up dry and crumbly. I must admit, this is a great pound cake recipe. I hope you have a chance to try this old fashioned favorite. It’s certainly isn’t a figure friendly recipe but it’s sure to please when baking for a special occasion.

Old Fashioned Vanilla Pound Cake

2 2/3 cups sugar
2 cups butter
8 eggs
8 tablespoons milk
1 teaspoon vanilla extract
1 teaspoon almond extract
3 1/2 cups cake flour

Preheat oven to 325 degrees. Separate the yolks from the egg whites. Reserve the yokes. In a stainless steel bowl, beat the whites to form stiff peaks.
In a large bowl, cream sugar and butter thoroughly. Beat in egg yolks. Stir in milk, vanilla and almond extract. Add flour, 1 cup at a time. Carefully, fold in egg whites. Pour batter into well greased 10″ tube pan and bake for 90 minutes. Cool completely. Sprinkle with powdered sugar or frost with your favorite cream cheese frosting. Optional: Top with fresh fruit before serving.

Posted in Baked goods, Baking, Bread, breakfast, Brunch, Food

PB&J French Toast

20140402-202012.jpg
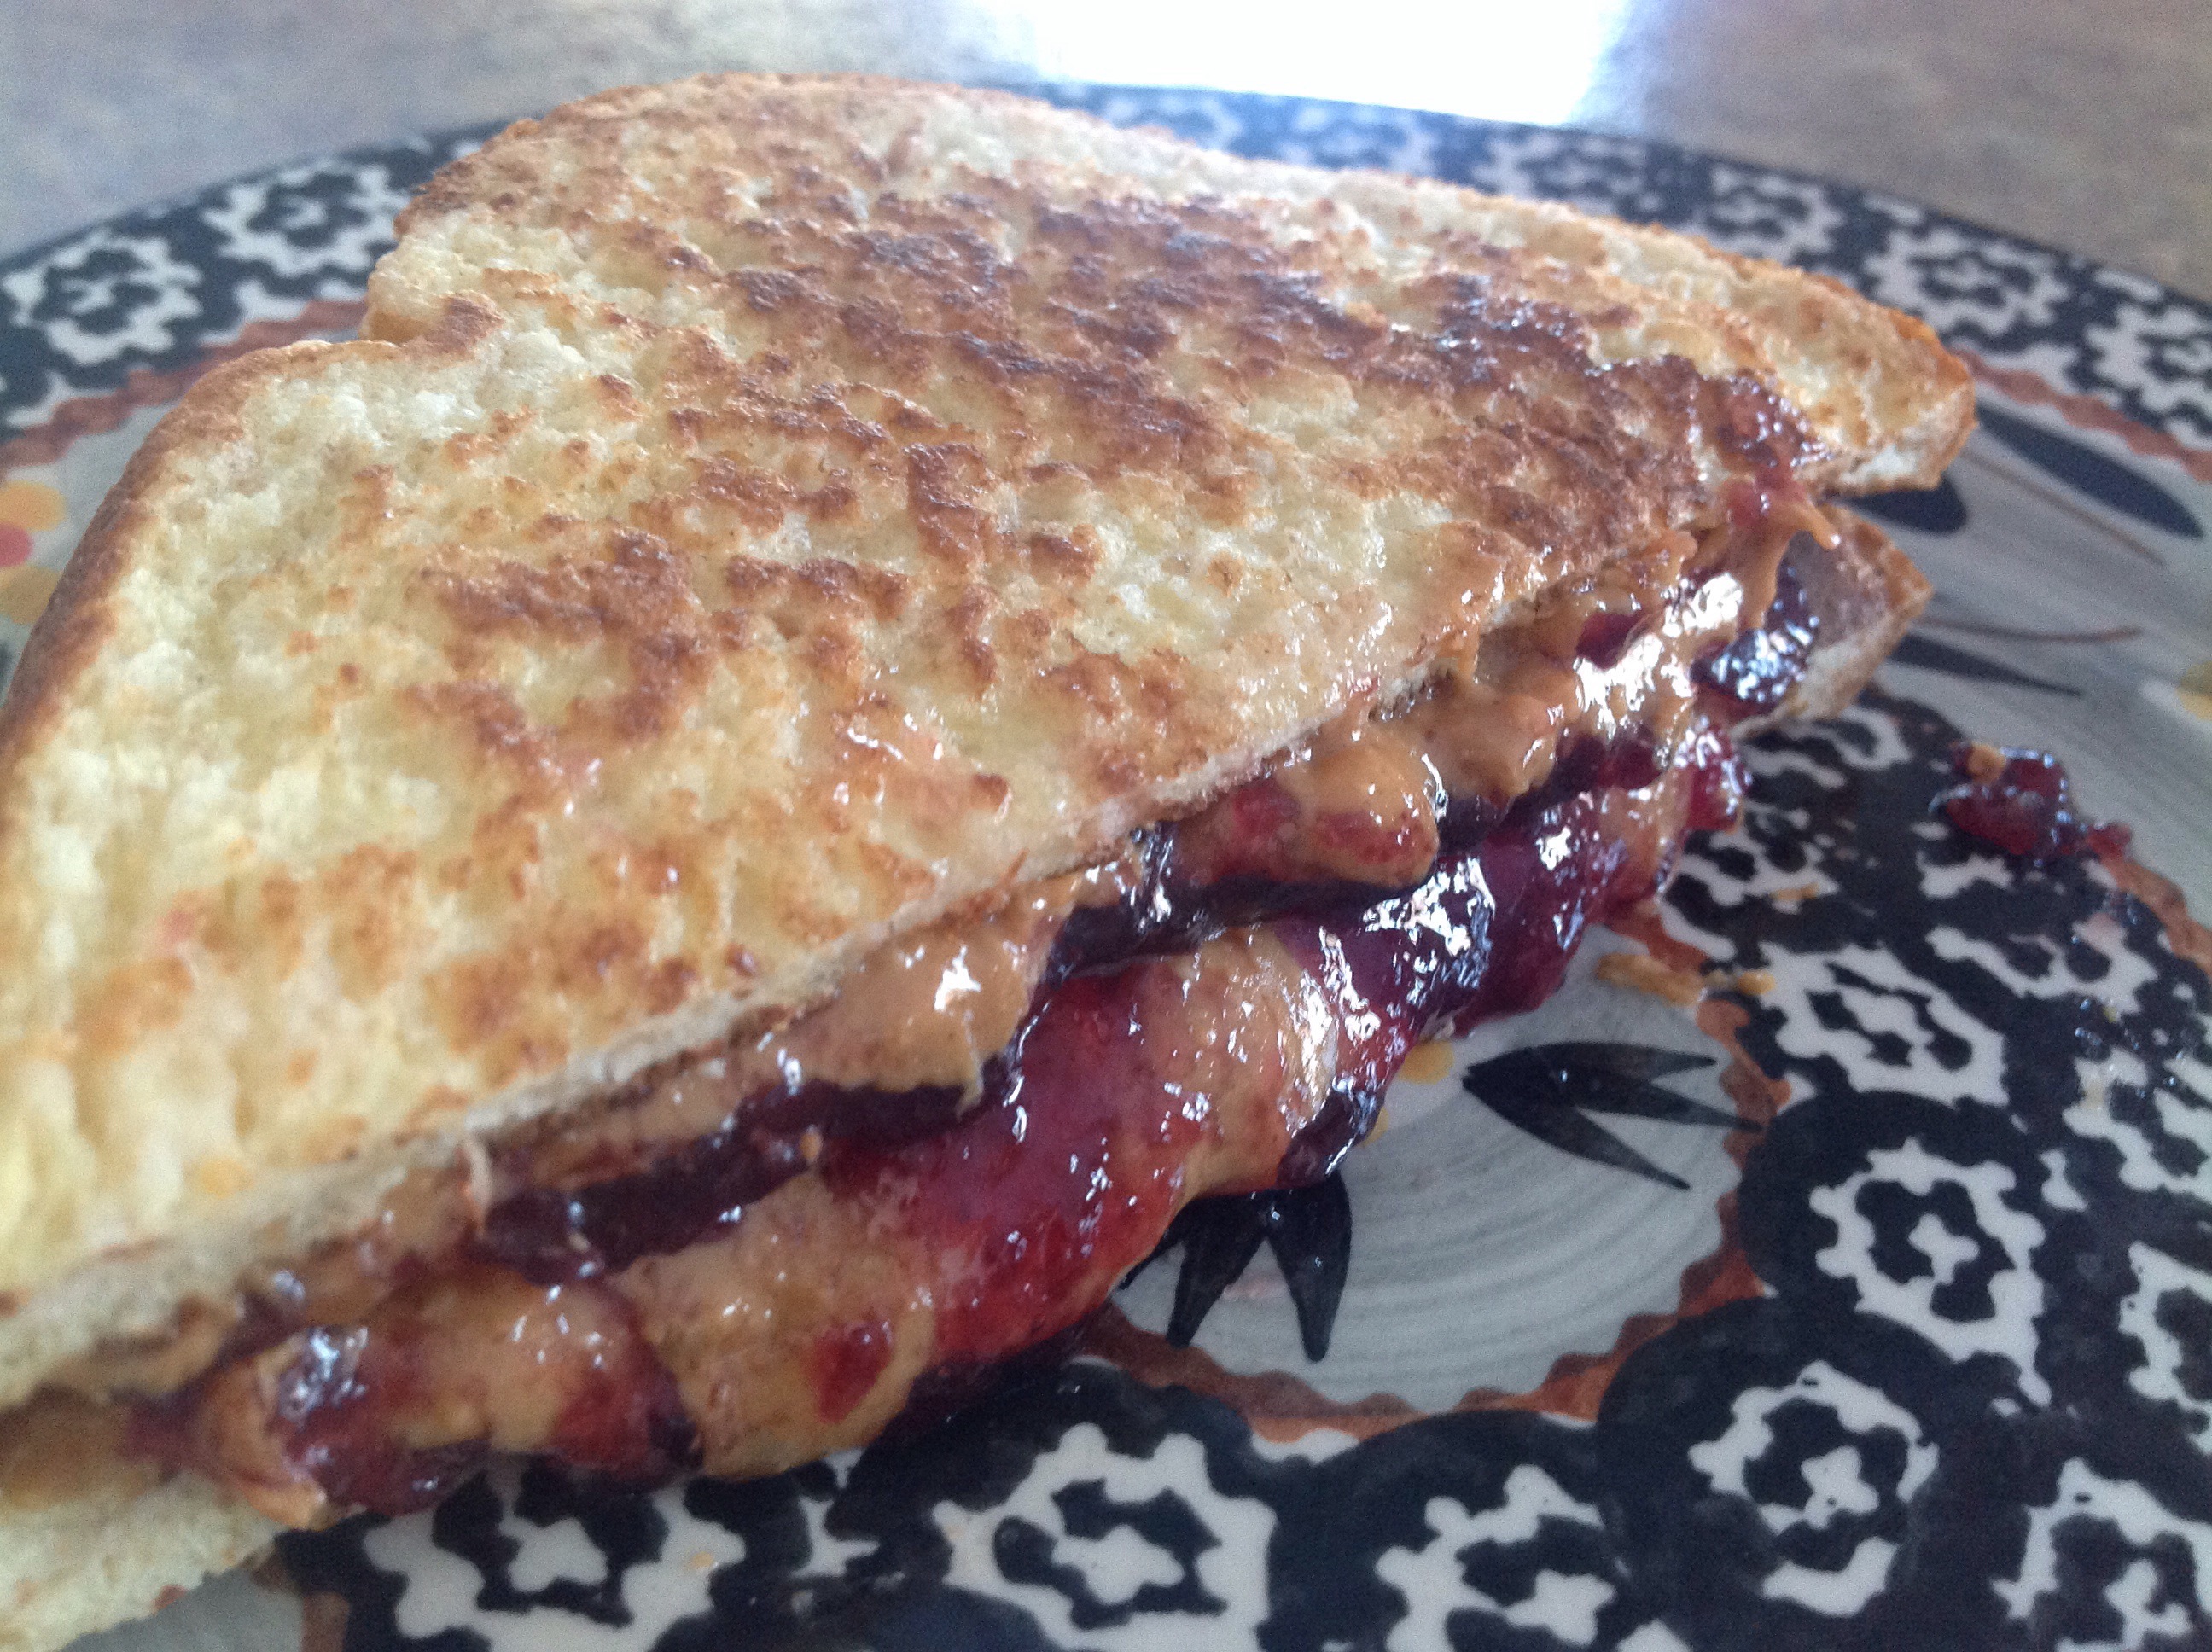
Lately, M has been using the Ninja blender to make her very own homemade peanut butter. She loads up the machine with lots of unsalted peanuts and pulses the motor until the mixture forms a smooth, creamy spread. When we pair the freshly made peanut butter with our Concord Grape Jam and favorite French toast recipe, the combination makes for a killer breakfast treat.

PB&J French Toast

1/4 cup all-purpose flour
1 cup milk
1 pinch salt
3 eggs
1 teaspoon almond extract
1/2 teaspoon butter extract
1 teaspoon vanilla extract
1 tablespoon sugar
12 thick slices of bread

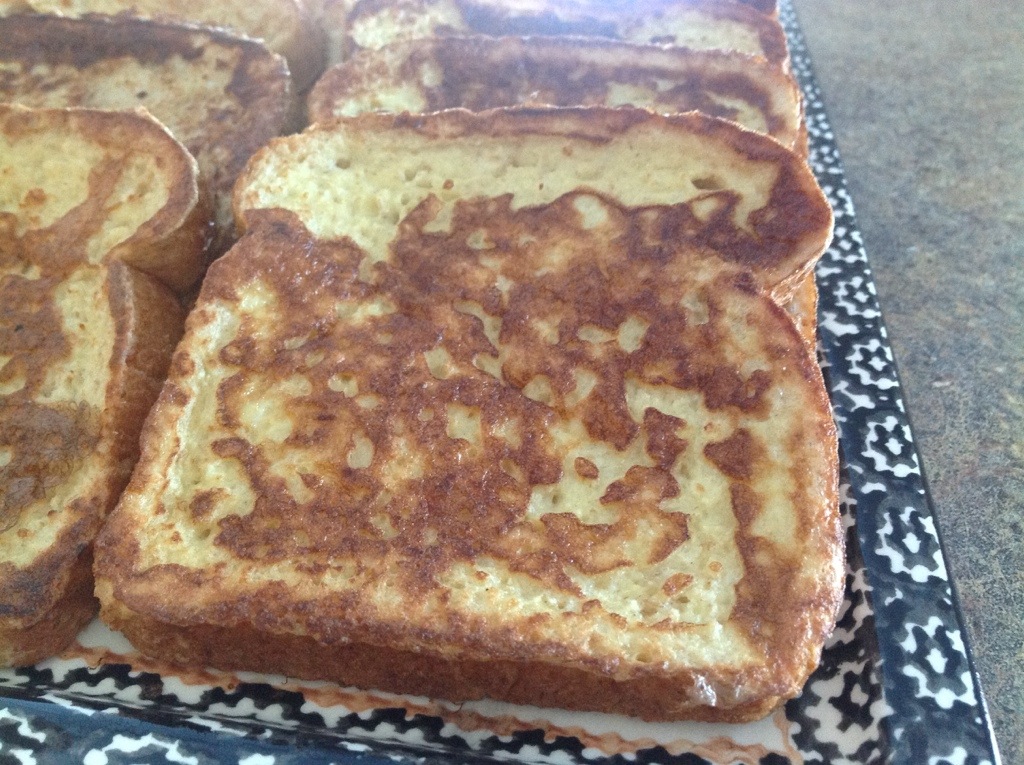
Measure flour into a large mixing bowl. Slowly whisk in the milk until well combined. Whisk in the salt, eggs, cinnamon, almond, butter, and vanilla extract and sugar until smooth.
Heat a lightly buttered griddle or frying pan over medium heat. Soak bread slices in mixture until completely saturated. Cook bread on each side until golden brown.
Slather your favorite peanut butter over one slice of French toast. Spread your favorite jam or jelly on a second slice of French toast. Combine to make a sandwich and slice diagonally for corner to corner.

20140402-202146.jpg

Posted in Baked goods, Baking, Cake

St. Patty’s Day Pistachio Pudding Cake

20140316-163140.jpg
This weekend we celebrated the holiday with the South Side Irish, St. Patrick’s Day Parade in Chicago. We attended the Annual St. Patrick’s Day Luncheon/Carry In and celebrated the holiday with family, friends and neighbors. Every year, I bring along a big tray of Mary’s Irish Scones and this delicious Pistachio Pudding Cake. It’s oh so easy to make and it’s beautiful light green color makes for a festive addition to any spring table.

Pistachio Pudding Cake

1 (18.25 ounce) package yellow cake mix
1 (3.4 ounce) package instant pistachio pudding mix
4 eggs, lightly beaten
1 1/2 cups water
1/4 cup vegetable oil
1 teaspoon almond extract

Preheat the oven to 350 degrees. Grease and lightly flour a 10″ tube pan.In a large bowl mix together cake mix and pudding mix. Make a well in the center and pour in eggs, water, oil, and almond extract. Blend ingredients, then beat for 2 minutes at medium speed. Pour batter into prepared pan. Bake for 50 to 55 minutes, or until cake springs back when lightly pressed. Cool in pan 15 minutes. Turn out onto a wire rack and cool completely. Ice with Powdered Sugar Glaze or sprinkle with powdered sugar.

Posted in Baked goods, Baking, Chocolate, Desserts

Crazy Delicious Chocolate Pudding Poke Cake

20140313-221819.jpg
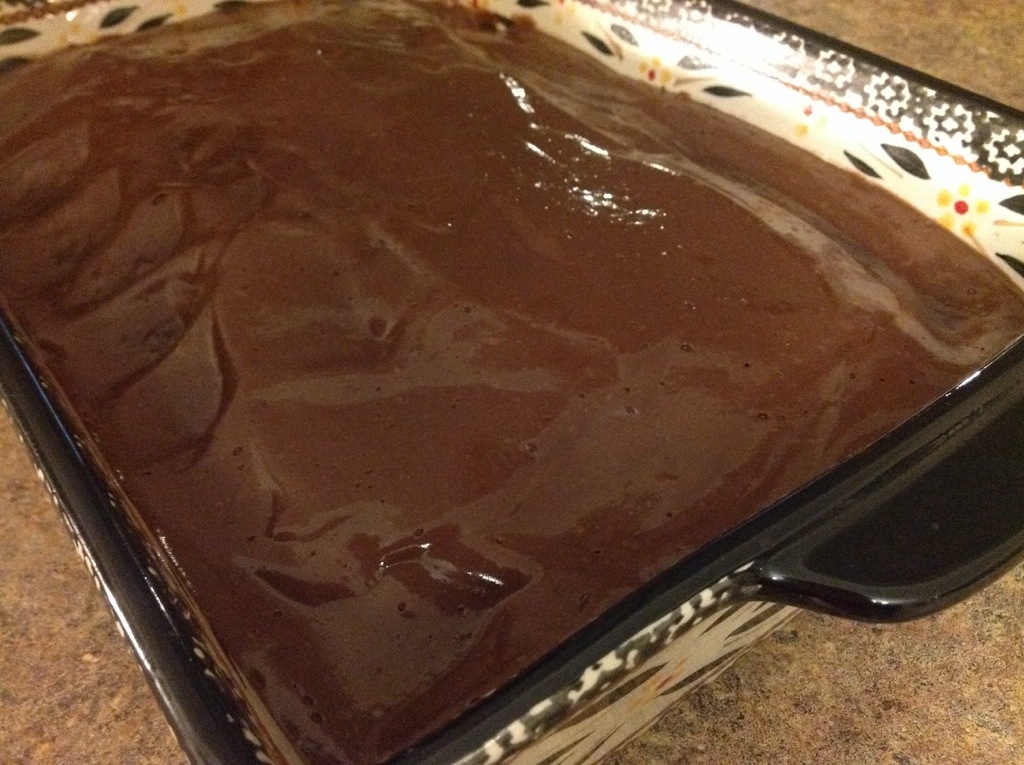
We celebrated J’s birthday with this wonderfully delicious Chocolate Pudding Poke Cake. After the birthday boy blew out the candles, the cake received rave reviews from the birthday crowd. This rich, chocolatey cake served along with a few scoops of vanilla ice cream makes for a delicious birthday treat. With just a few convenient ingredients, this outstanding dessert can be assembled in no time at all. It will disappear quite quickly so be sure to keep the basic ingredients on hand for another round of deliciousness!

Crazy Delicious Chocolate Pudding Poke Cake

1 box Devil’s Food Chocolate cake mix
(Water, vegetable oil and eggs called for on cake mix box)
1 box milk chocolate instant pudding and pie filling mix (4 serving size)
2 cups cold milk

Preheat oven to 350 degrees. Spray with cooking spray, a 13×9″pan. Mix and bake cake according to package directions; cool completely. With the handle of a wooden spoon, poke holes in the cake every 1/2″. In a medium bowl, beat instant pudding mix and cold milk with a whisk as directed on package. Pour pudding evenly over cake. Run knife around sides of pan to loosen cake. Refrigerate about 2 hours or until chilled. Store covered in the refrigerator until ready to serve.

20140313-222751.jpg