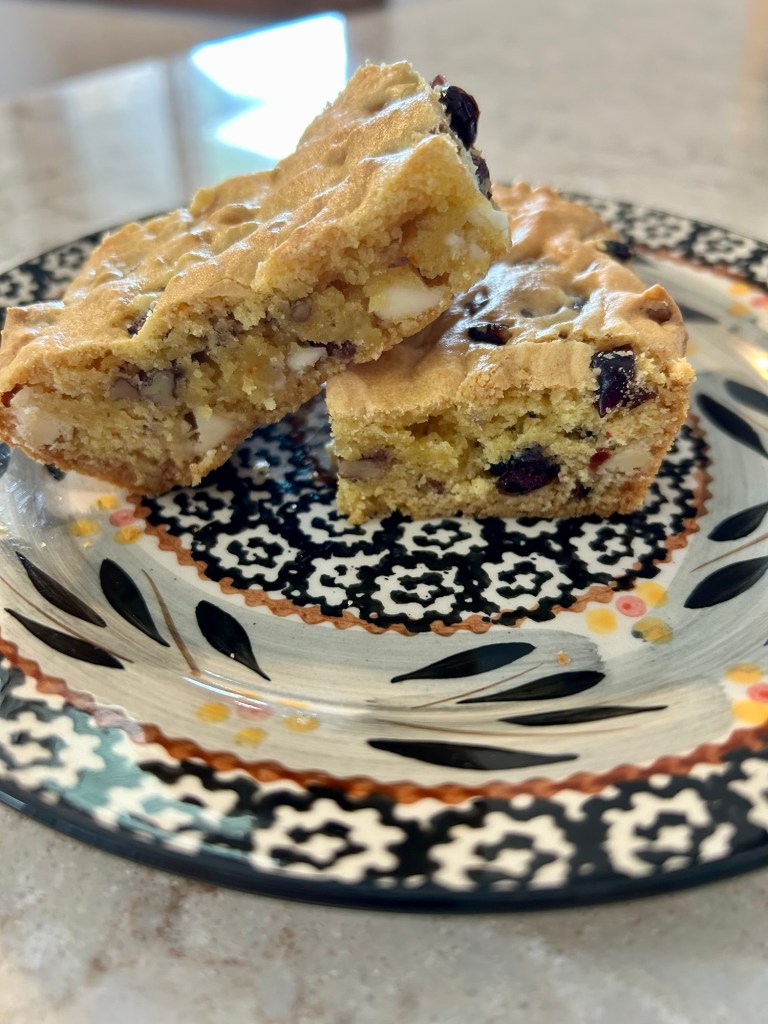
This easy cake mix cookie bar recipe uses just a handful of ingredients and always turns out delicious. When I don’t have cranberries, I like to swap in dried cherries or dried blueberries.
Cranberry Walnut Chipper Bars
1 (15.25 ounce) butter yellow cake mix
2 large eggs, lightly beaten
1/3 cup canola oil
1/4 tsp almond extract, optional
1/4 tsp butter extract, optional
3/4 cup dried cranberries
3/4 cup walnuts, chopped
3/4 cup white chocolate chips
Directions
Preheat oven to 350°.
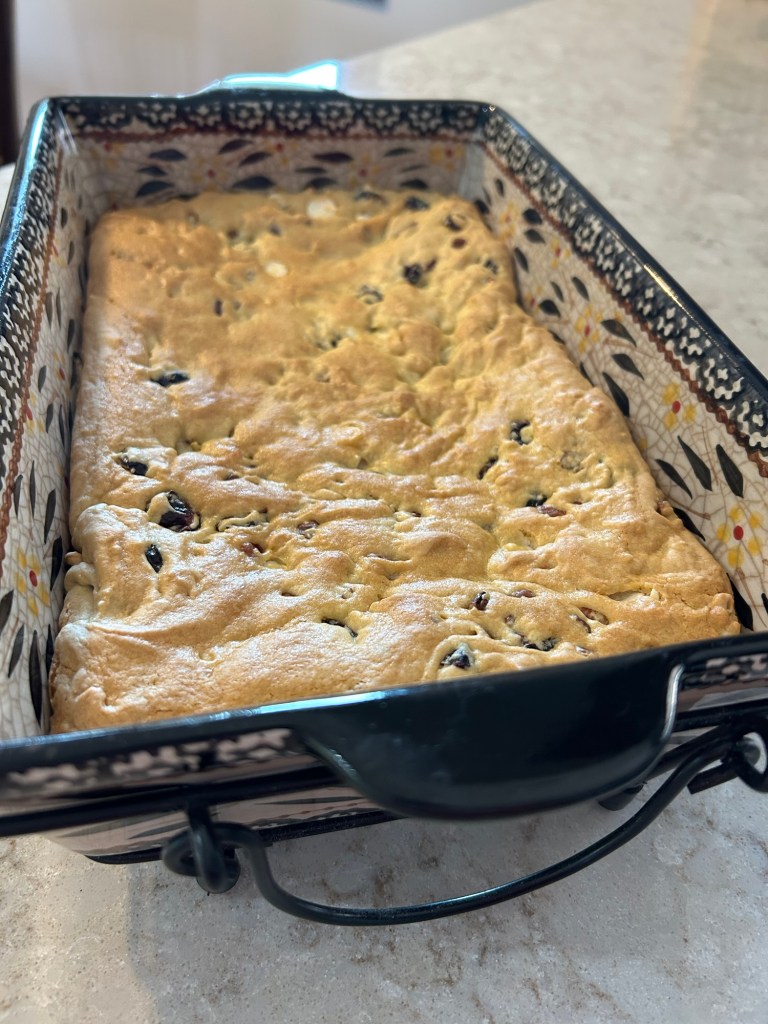
Spray a 11×7” pan with cooking spray.
In a medium mixing bowl; add the cake mix, eggs, oil, optional extracts, cranberries, walnuts, and white chocolate chips.
Mix until combined.
Press evenly into prepared pan.
Bake 30-35 minutes or until golden brown and cooked through.
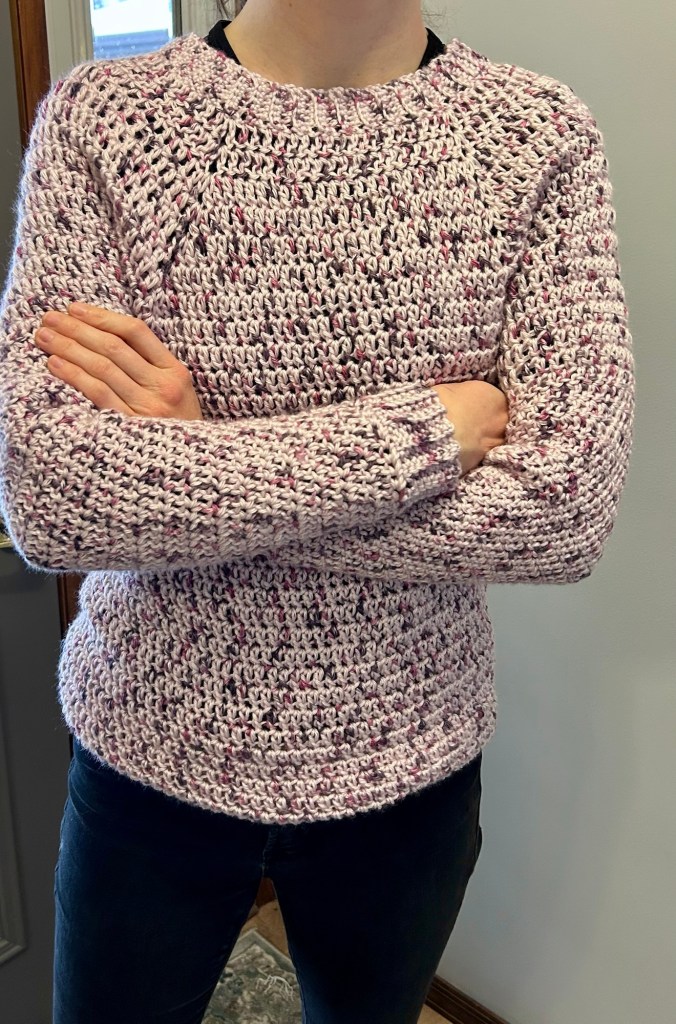
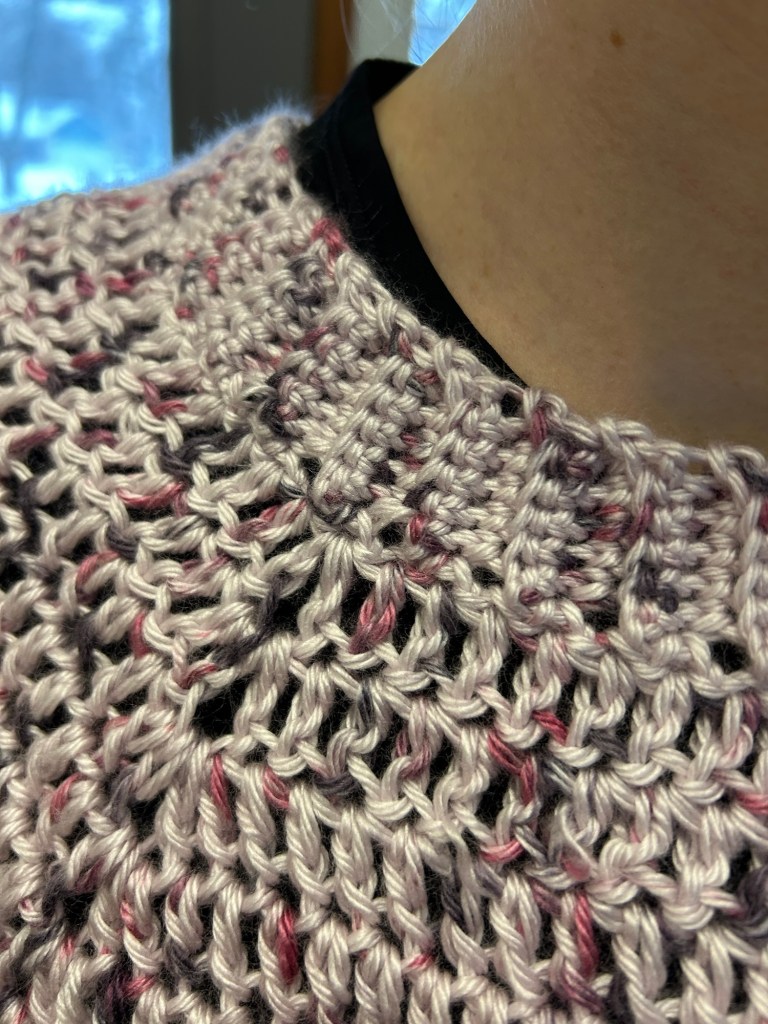
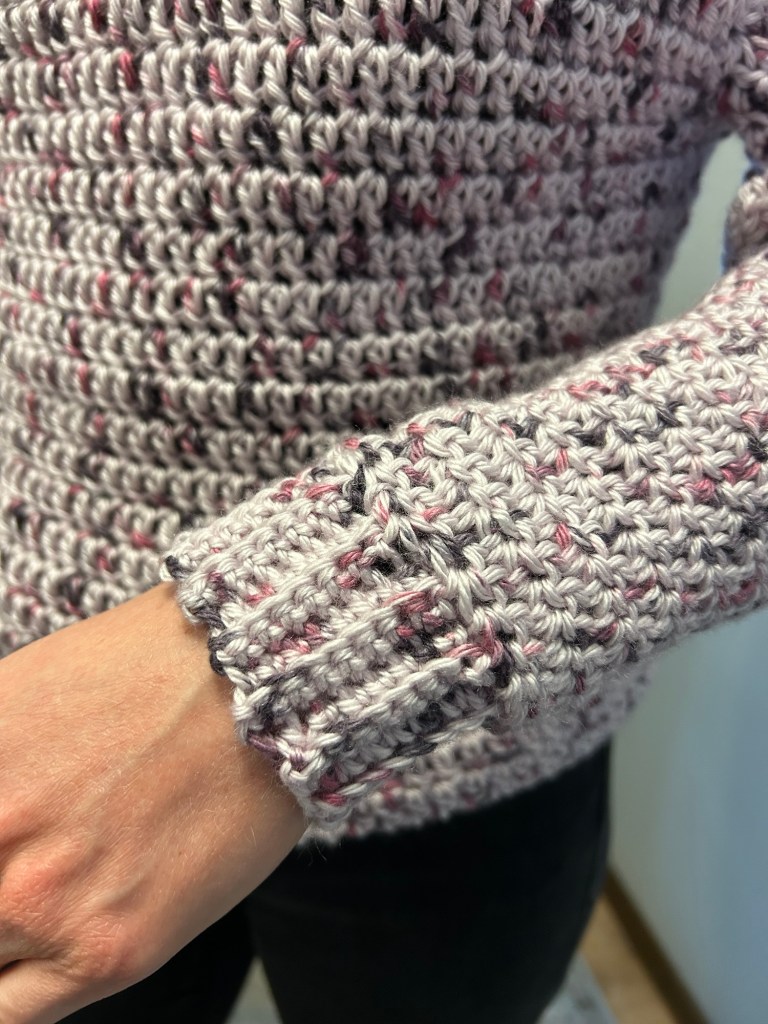
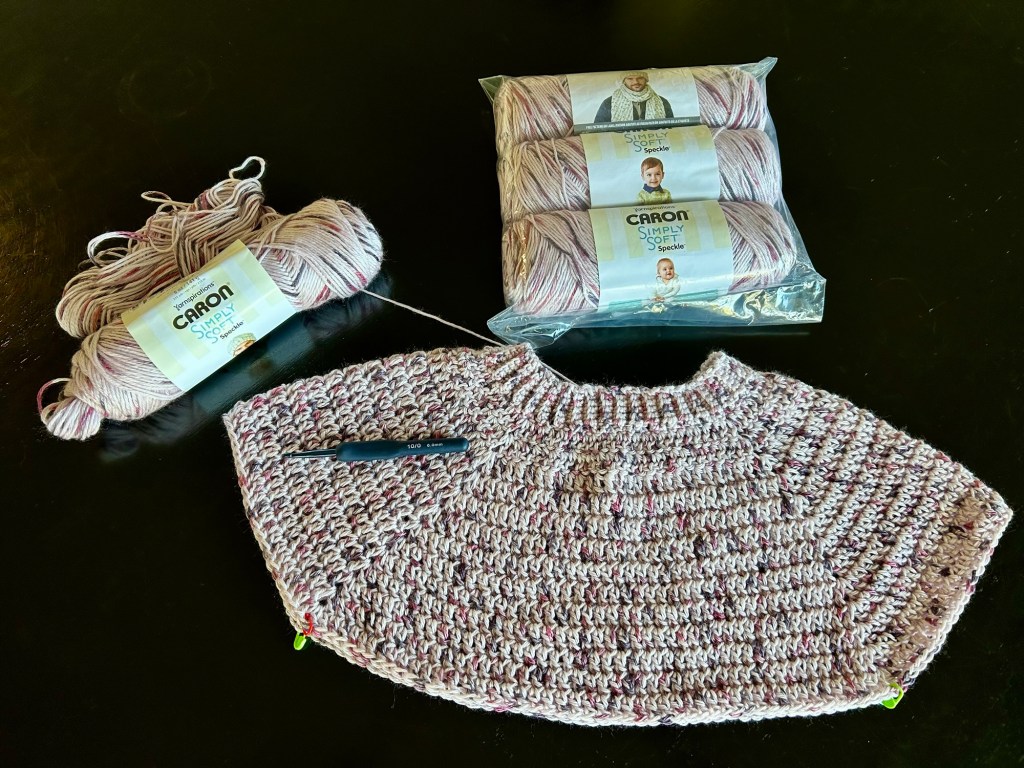
I’ve only been crocheting for a short time, but I’ve recently started making wearable pieces for myself and my family. This seamless beginner sweater was such a joy to work on. I even brought the project along on our winter vacation and spent sunny Florida afternoons crocheting outdoors. The tutorial I followed is linked here.
Begin crocheting at the neckline ribbingComplete crochet at sleeve ribbing
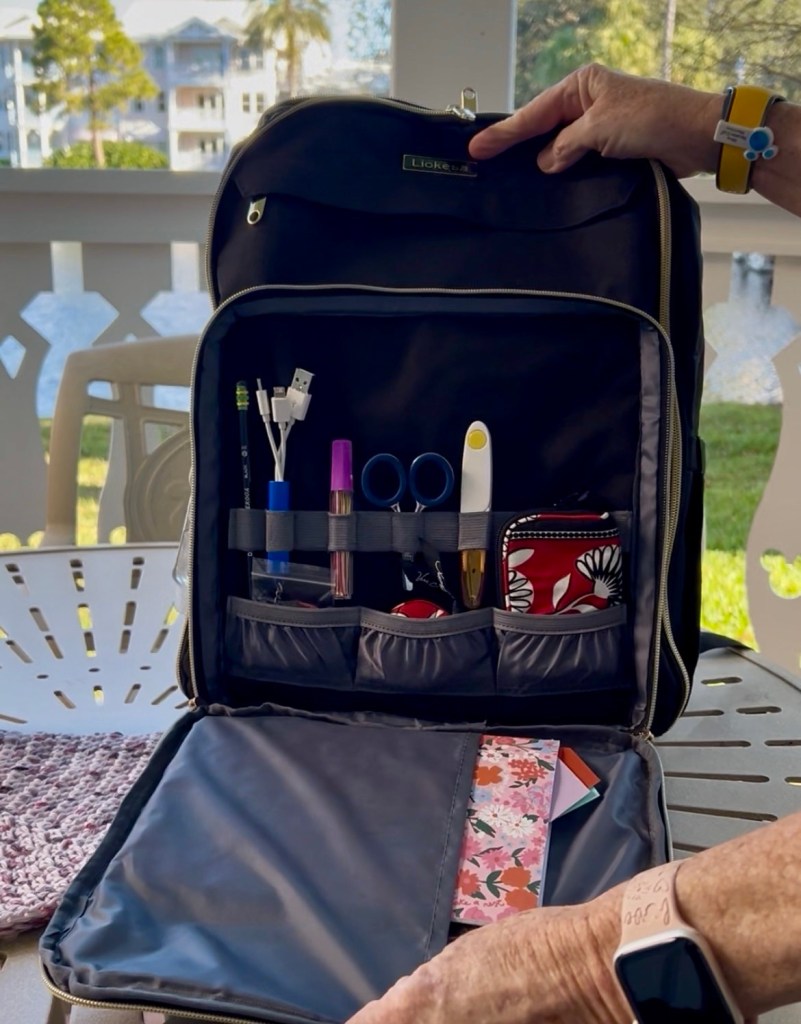
You may have seen pricey versions of crochet travel bags designed to hold your WIPs and supplies—but this one offers all the same features without the hefty price tag. I love that it fits neatly under the airplane seat in front of you, and the well-placed pockets keep everything within easy reach. It truly is an excellent crochet travel bag, and I absolutely adore it!
Crochet Bag Tour
Amazon has a plethora of excellent craft backpack options. Here’s the link for the bag I purchased and reviewed above. The additional exterior charging port is incredibly convenient too!
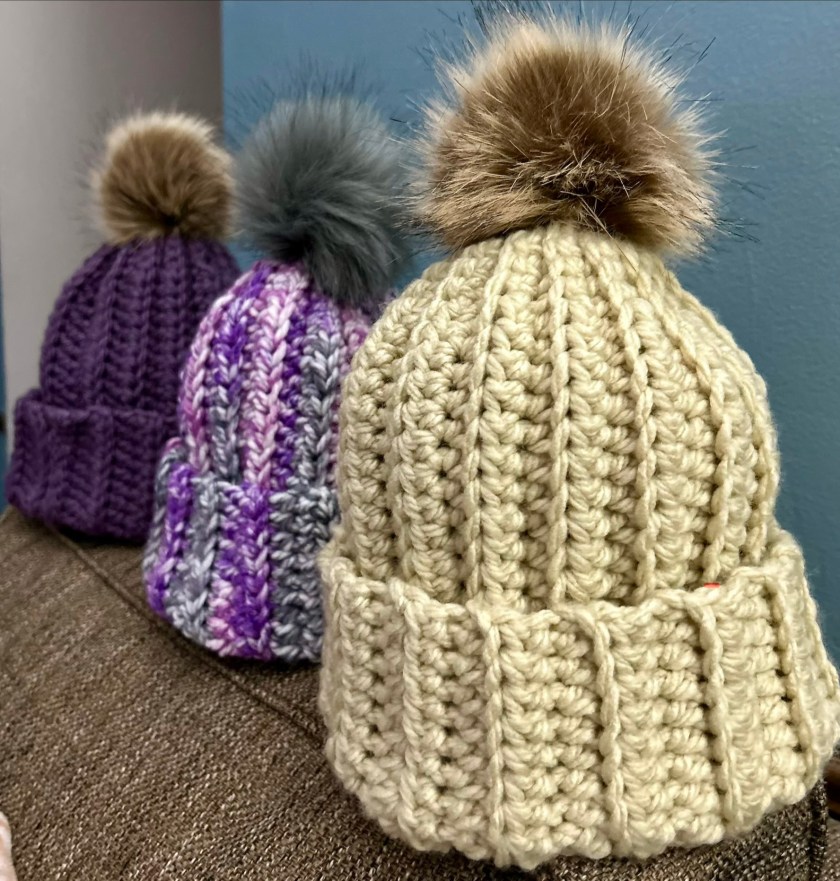
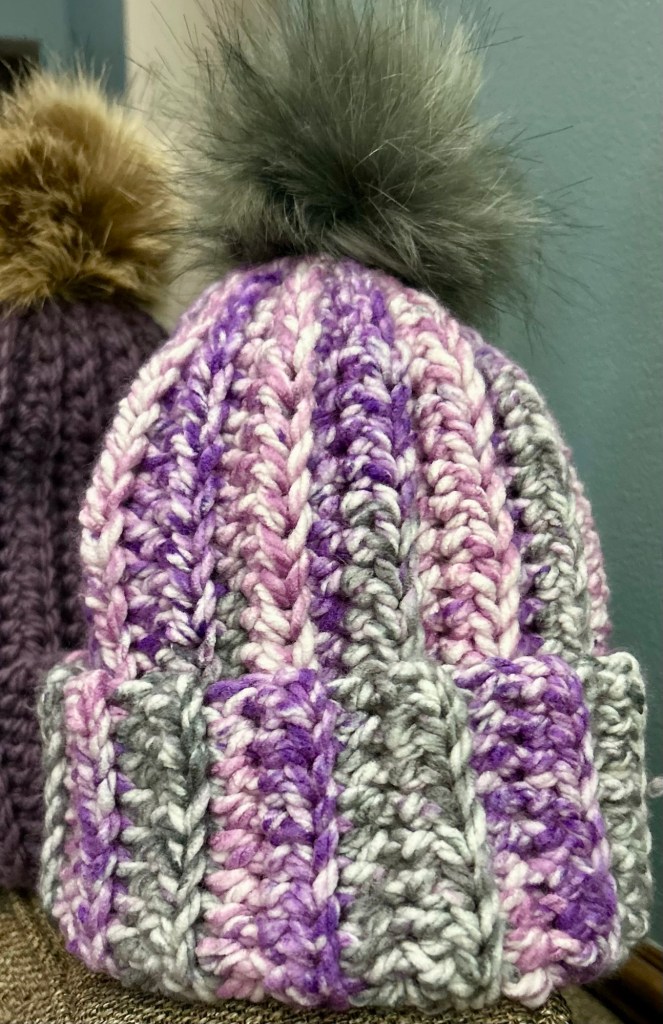
I’m not a very experienced crocheter but I’ve started to dip my toe in the wearable’s pool. I’ve always made blankets and dish towels with an occasional poncho, but I’ve not really made anything a bit more structured to wear. I recently made myself a granny square sweater and I thought I might try my hand at using single skeins to make winter hats. I followed a tutorial by Elise Crochets. https://m.youtube.com/watch?v=E5yInVAx8gE
It’s easy to follow and uses a slip stitch method to taper the top of the hat making a more fitted look. I purchased some inexpensive 5” pom poms for an updated look. If you’re a beginner and have single balls of yarn on hand – This one-skein beginner beanie is a winner!
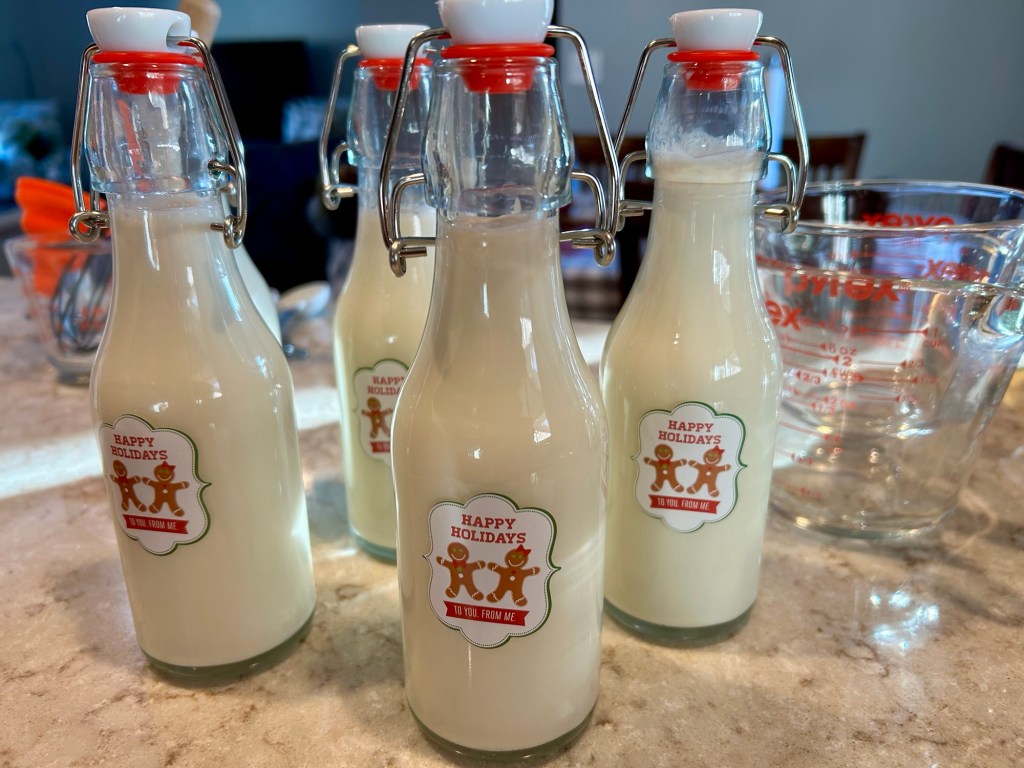
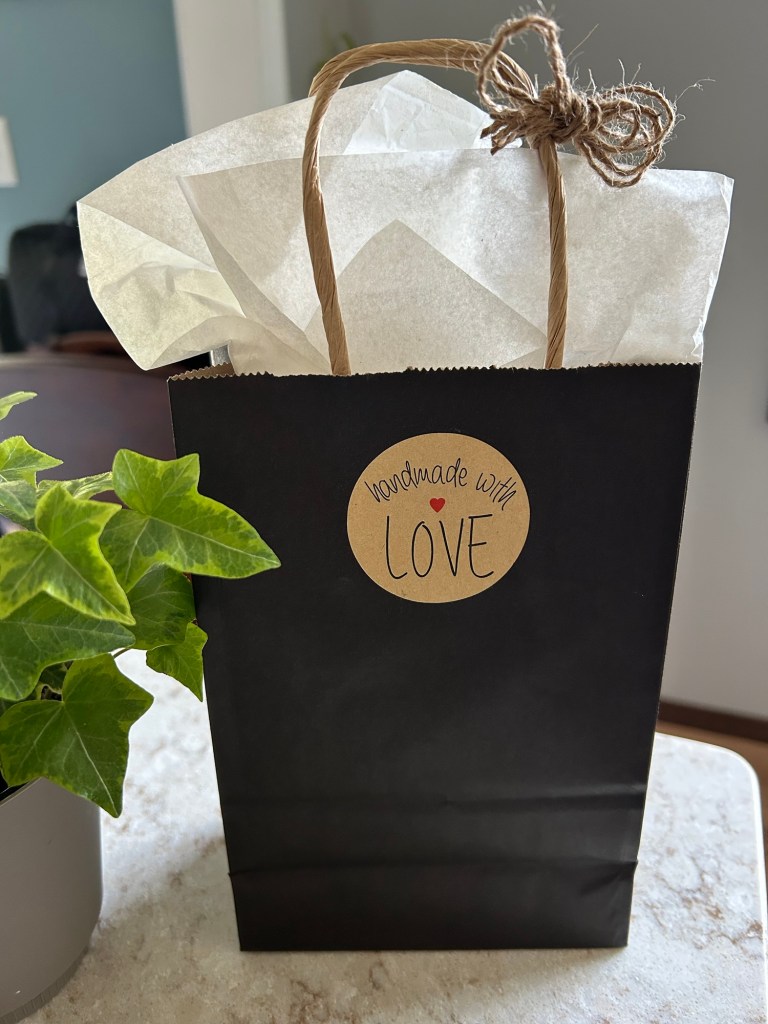
This is a fun idea for an inexpensive homemade gift. Make a batch to share with family and friends this holiday season.
Sugar Cookie Coffee Creamer
1 14-oz can sweetened condensed milk
1 cup evaporated milk
3/4 cup half and half
2 tsp vanilla extract
1/2 tsp butter extract
1/2 tsp almond extract
Whisk all ingredients together. Pour into air-tight decorative jars or containers. Label containers with directions to “keep refrigerated”. Store refrigerated for up to 7 days. Recipe makes enough for 5 – 4 ounce bottles.
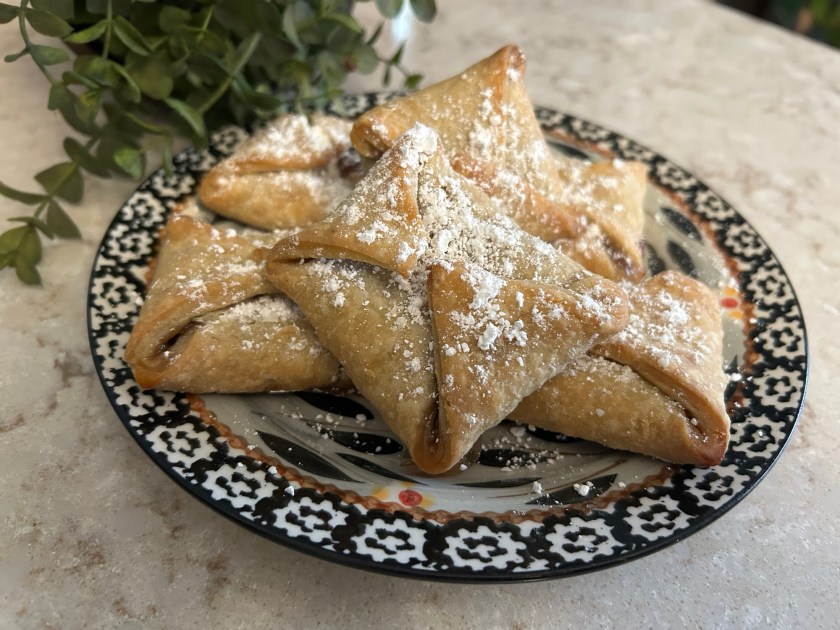
One of our local farmer’s market vendors makes delicious, fruit-filled Kolache. When the summer breezes fade and we move into the brisk fall temperatures, our local markets pack up and disappear until the next market season. How I miss the delicious kolache’s flaky pastry when they are no longer available at our summer market. I came up with this recipe out of desperation… during the off-season my addiction for the sweet treat is more than I can bare. I came up with this recipe after reviewing several other traditional recipes on the web. I mimic the flavors and texture of the farmer’s market pastry by combining several recipe ideas. My recipe for large, 4-fold kolache bundles with homemade jam filling and a cream cheese dough is simple to make and yields a tender, flaky pastry that contrasts beautifully with the tangy or sweet fillings.
Kolache Bundles
For the dough
1 cup (2 sticks) unsalted butter, softened
8 ounces cream cheese, softened
2¼ cups all-purpose flour
¼ tsp salt
Optional: Granulated sugar for rolling
For the cream cheese filling
8 ounces cream cheese, softened
1/2 cup powdered sugar
1 teaspoon vanilla extract
For the fruit filling
½ cup thick jam or preserves (apricot, raspberry, or cherry are classic choices)
For dusting
Powdered sugar
Instructions
Make and chill the dough
In a large bowl or stand mixer with a paddle attachment, beat the softened butter and cream cheese together until smooth and fluffy, about 2 minutes.
Add the flour and salt, and mix on low speed until the dough just comes together. Do not overmix.
Divide the dough into two equal portions and flatten each into a disc. Wrap each disc tightly in plastic wrap.
Refrigerate for at least 2 hours, or up to overnight. Chilling makes the dough easier to handle and prevents the cookies from spreading too much in the oven.
Prepare the fillings
For the cream cheese filling, beat the softened cream cheese, powdered sugar, and vanilla extract together until smooth and creamy. You can place this mixture into a piping bag for easier filling.
Assemble and bake the large cookies
Preheat your oven to 375°F (190°C). Line two baking sheets with parchment paper.
On a surface lightly dusted with flour or powdered sugar, roll out one chilled dough disc to about ¼-inch thickness.
Trim the edges to form a large square, then cut the dough into four large squares (about 4×4 inches).
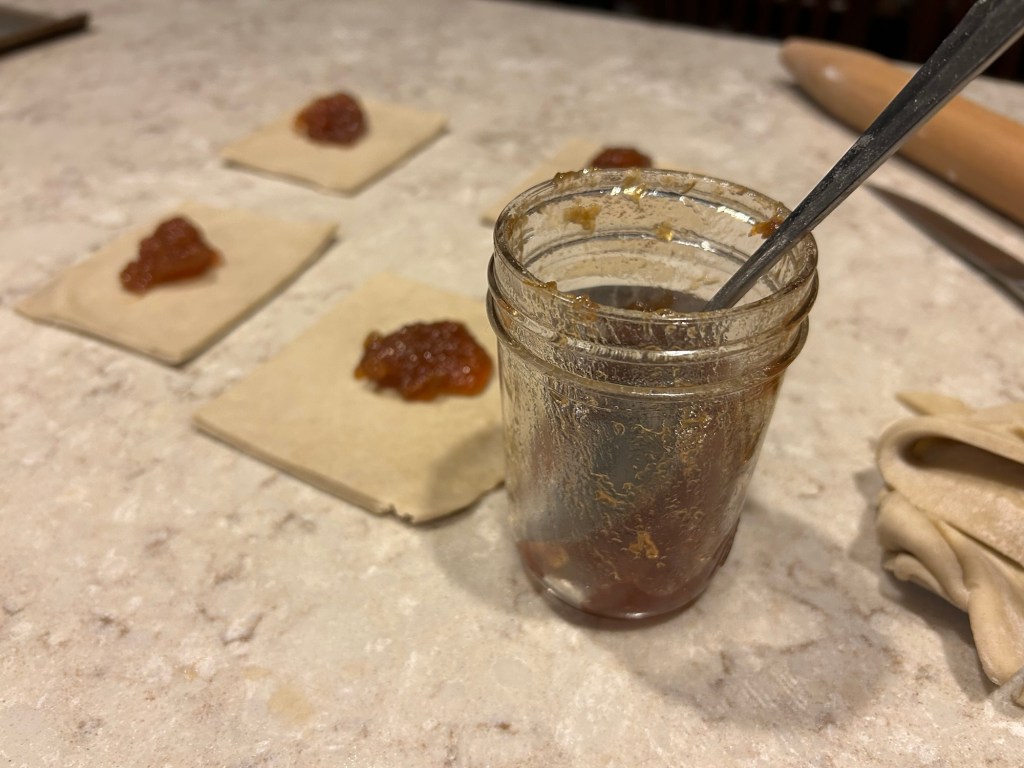
Spoon or pipe about 1 teaspoon of the cream cheese filling and ½ teaspoon of the fruit jam into the center of each dough square.
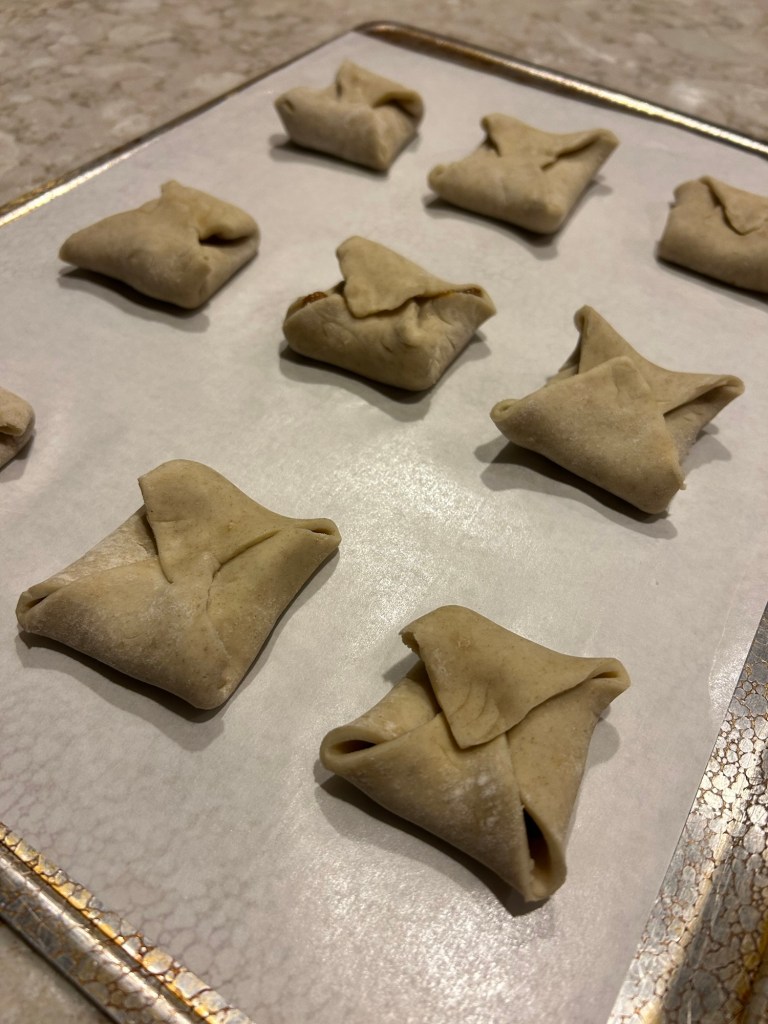
Take two opposite corners of a square and fold them toward the center, overlapping the tips slightly. Pinch the seam together gently to seal. Repeat with the remaining two corners.
Continue the process with the remaining dough and filling, placing the shaped kolaches on the parchment-lined baking sheets. For extra security, you can brush the corners with a little water.
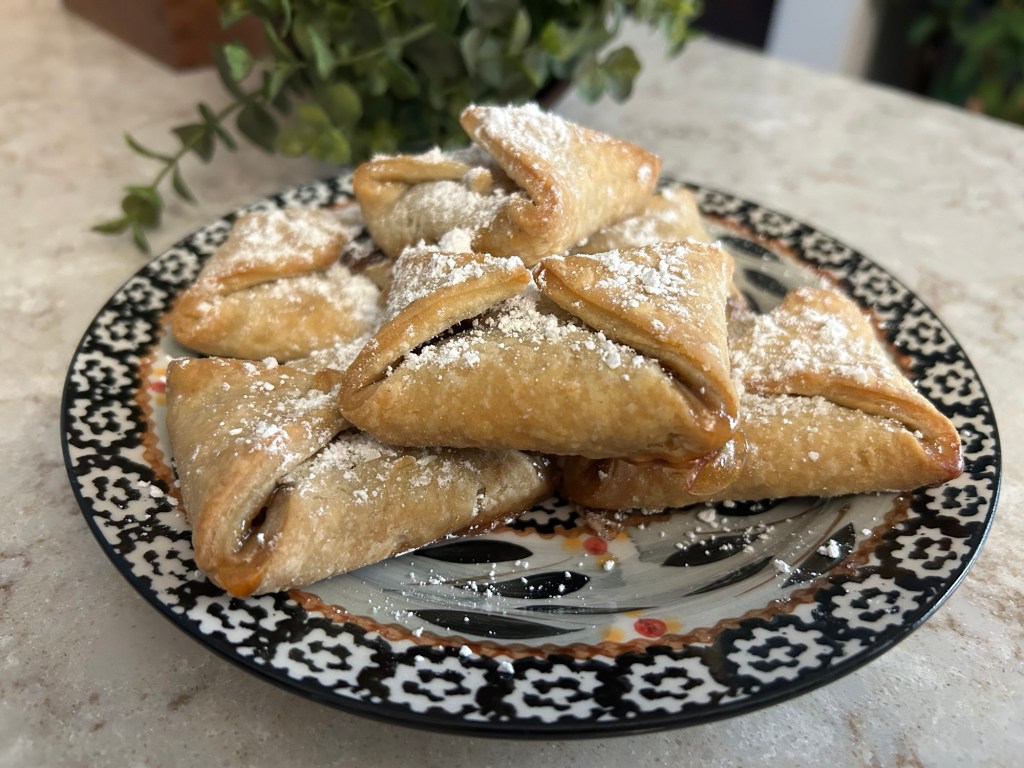
Bake for 15-20 minutes, or until the edges are lightly golden brown.
Let the cookies cool on a wire rack. While still warm, generously dust them with powdered sugar.
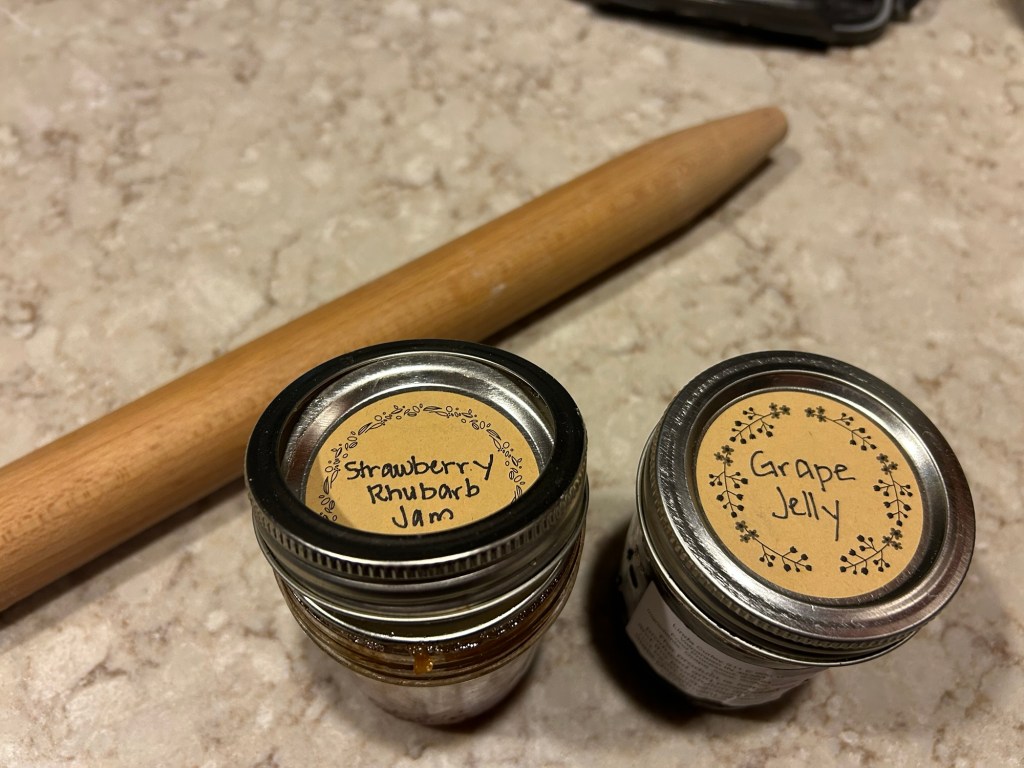
Place dollops of sweet jam on each pastry squareI use homemade strawberry-rhubarb jam.Homemade flavorsFold into bundles carefully securing the cornersSome will turn out a bit wonky but will always taste delicious!
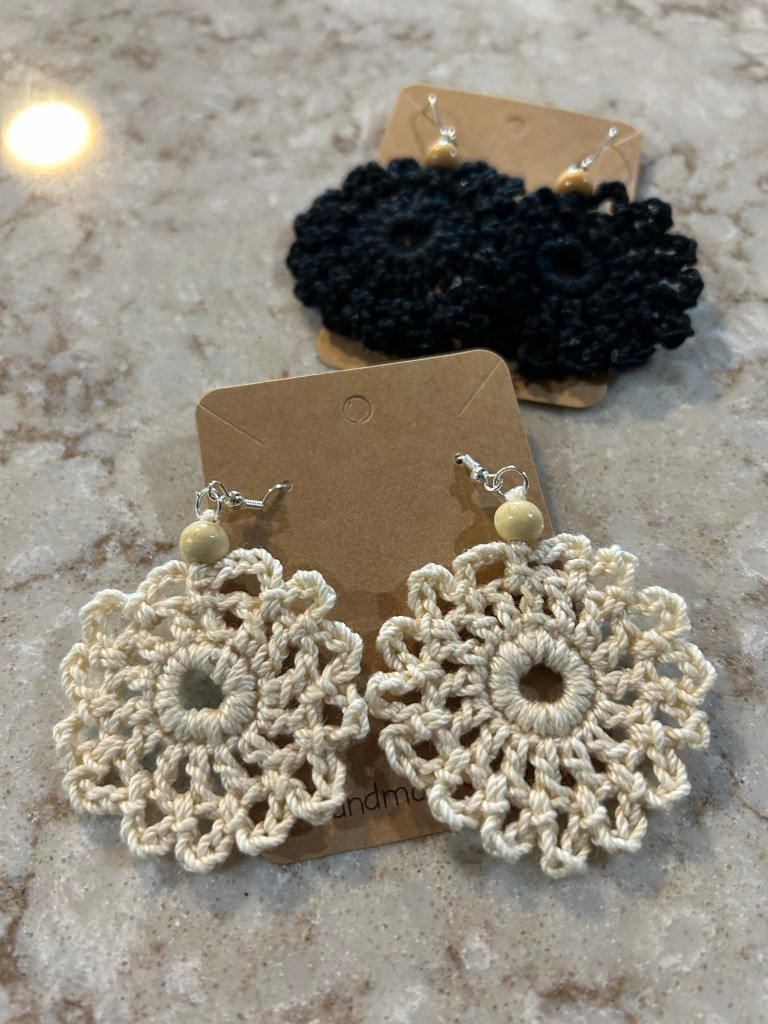
I’ve only been crocheting for a little while, but I recently stumbled upon a wonderfully simple earring pattern that uses embroidery thread to create vibrant, eye-catching pieces—perfect for summer outfits. I’ve already made a few pairs and packaged them up for my daughters. Finding this free pattern from You Should Craft felt like striking gold!
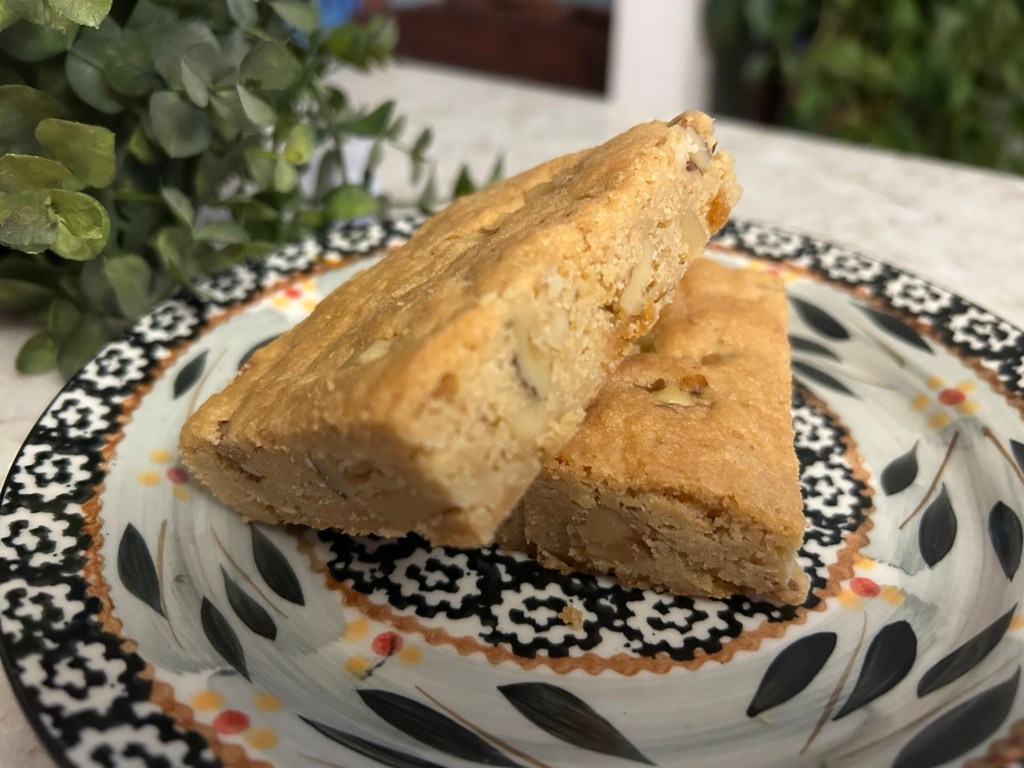
I recently baked these Pecan Chewies for a family birthday party. This is an incredibly easy recipe with lots of big flavor. No need to pull out the electric mixer as it’s best to mix this recipe by hand. The combination of butter, pecans and brown sugar provide a mouthful of chewy goodness you won’t easily forget.
Ingredients
1 cup butter, melted 2 cups light brown sugar, packed 2 teaspoons vanilla 2 eggs 2 cups self-rising flour 1 cup pecans, chopped 2 teaspoons powdered sugar optional, for dusting
Instructions
Preheat oven to 325 degrees. Grease a 9×13 inch baking pan with non-stick cooking spray. Melt butter on stove top or microwave oven. Combine brown sugar and flour in large mixing bowl. Add the slightly cooled melted butter and thoroughly combine. Add vanilla, eggs and pecans, stirring until well mixed. Evenly pat mixture into baking pan and bake for 30-35 minutes. Cool completely before cutting into bars. Optional: dust with powdered sugar
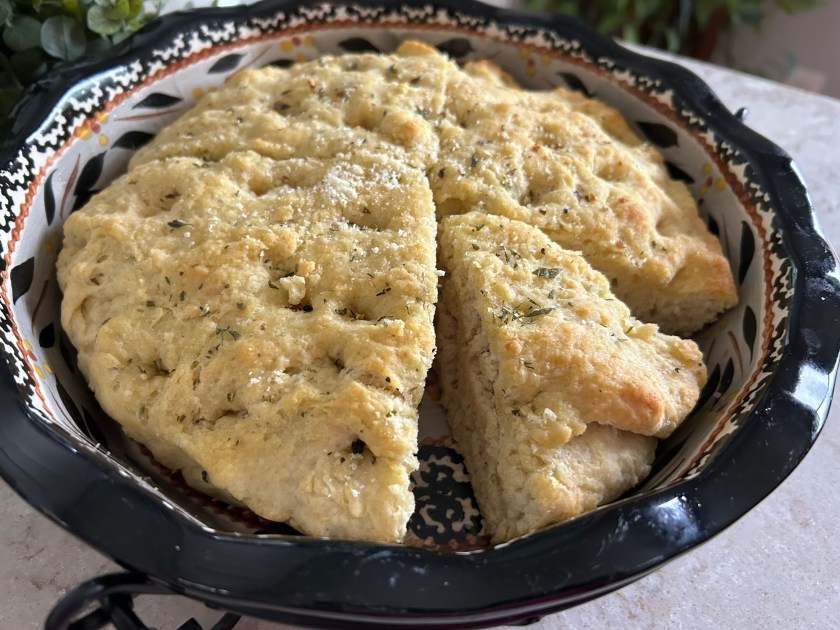
When I don’t have time to make a traditional focaccia, this Italian herbed biscuit wedge is my “go-to” recipe. A quick dough is carefully pressed into a 9” baking dish and baked until golden. Served warm with tomato-based soups or pasta, it’s simply delicious!
Fresh Herb Biscuit Wedges
3 tablespoons olive oil, divided, plus more for greasing pan
2 1/3 cups all-purpose flour, plus more for kneading dough
2 1/2 teaspoons baking powder
1 Tablespoon chopped fresh herbs, such as rosemary, thyme or chives, plus more for topping
1 1/2 teaspoons garlic powder
1 teaspoon kosher salt
1/2 teaspoon pepper
1 cup milk
Additional topping for after baking:
1 teaspoons olive oil
2 teaspoons Parmesan cheese, grated
Preheat the oven to 425°F. Grease an 8- or 9-inch baking pan generously with olive oil.
In a large bowl, whisk together the flour, baking powder, herbs, garlic powder, salt and pepper.
Add the milk and 2 tablespoons olive oil and using a spatula, mix until combined.
Flour your work surface then turn out the dough.
Knead the dough for 1 minute, adding more flour as needed if it’s too sticky. (The dough should still be tacky and slightly sticky.)
Grease your hands with olive oil then transfer the dough to the greased baking pan. Using your fingers, press the dough into an even layer, then use your fingertips to make indentations across the dough. Drizzle the remaining tablespoon of olive oil on top and sprinkle with additional herbs.
Bake for 16 to 20 minutes until pale golden.
Remove from the oven. Brush an additional 1 teaspoon of olive oil over the crust and sprinkle with 2 teaspoons of Parmesan cheese. Cool slightly, cut into wedges and serve.
Tip: If you don’t have fresh herbs on hand, use dried Italian seasoning or bruschetta seasoning.
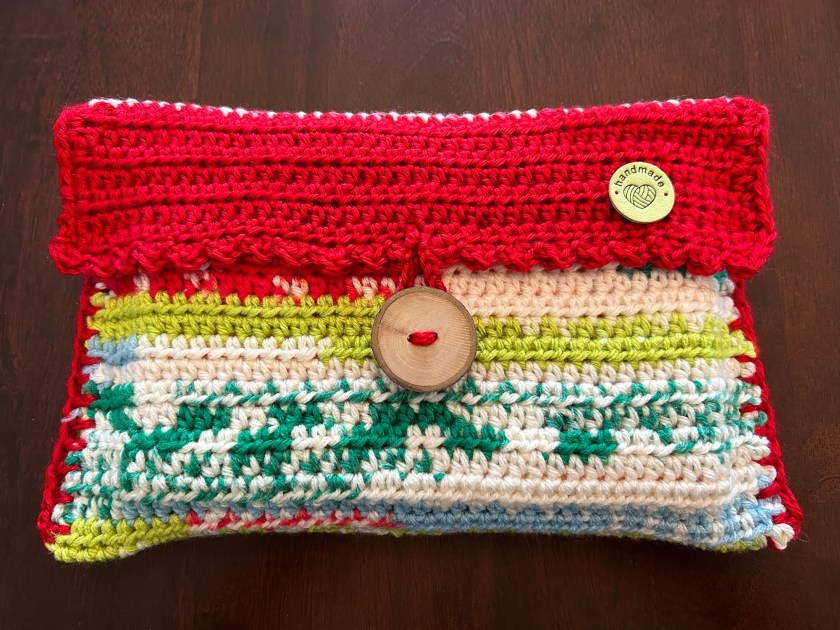
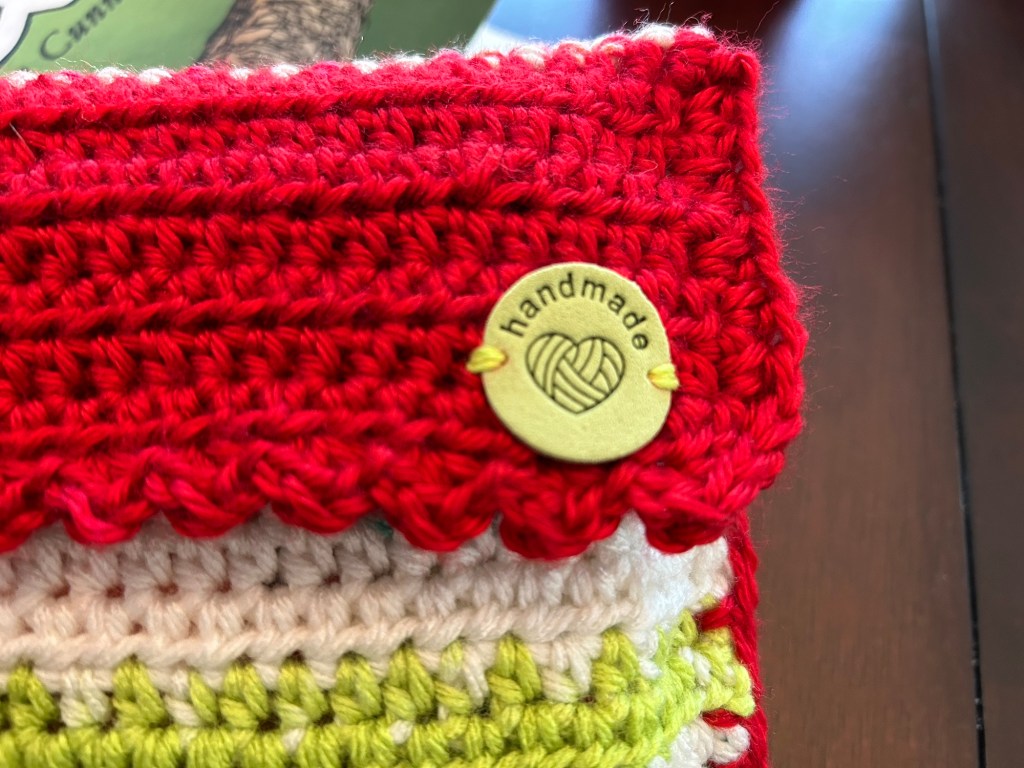
Do you have scrap yarn that you need to use up in your stash? If so, this is a great beginner project for you. Depending on the size of your book, you can finish a project like this one in a few hours.
Scrappy Crocheted Book Cover
Measuring the length of my book, I used the half-double crochet stitch after chaining 40 stitches. The number of rows stitched depends on the size of the book. I used a 4.5 mm hook with 4 weight yarn.
CH 40 + 2, turn
HDC in to second stitch from the hook, continue across the row. Continue this pattern until you’ve reached your desired length to cover your book.
I ran out of the multiple-colored yarn before reaching my desired length so I just found a coordinating red yarn and continued stitching. For the scalloped edge, I used the following pattern- In the same stitch, put 1 single crochet, 1 double crochet, and 1 single crochet. Slip stitch in the next stitch. Continue across the row. To close up the envelope-style cover I used the half-double crochet stitch around the edges. I made a simple closure by chaining 12, tying off and stitching this into the center edge of the flap. I stitched on a button with a tapestry needle and added a “handmade” label. This cute cover will hold all of my cozy mysteries throughout the holiday season. Great gift idea!l