Posted in Bread, breakfast, Uncategorized

Hearty Apple and Oatmeal Pancakes

  
One of our daughters took the train home from college this weekend. She said she was missing mom’s home cooking and the quiet of the country. We are always thrilled to have her home and I was up to the task as I whipped up some of her favorite foods.  

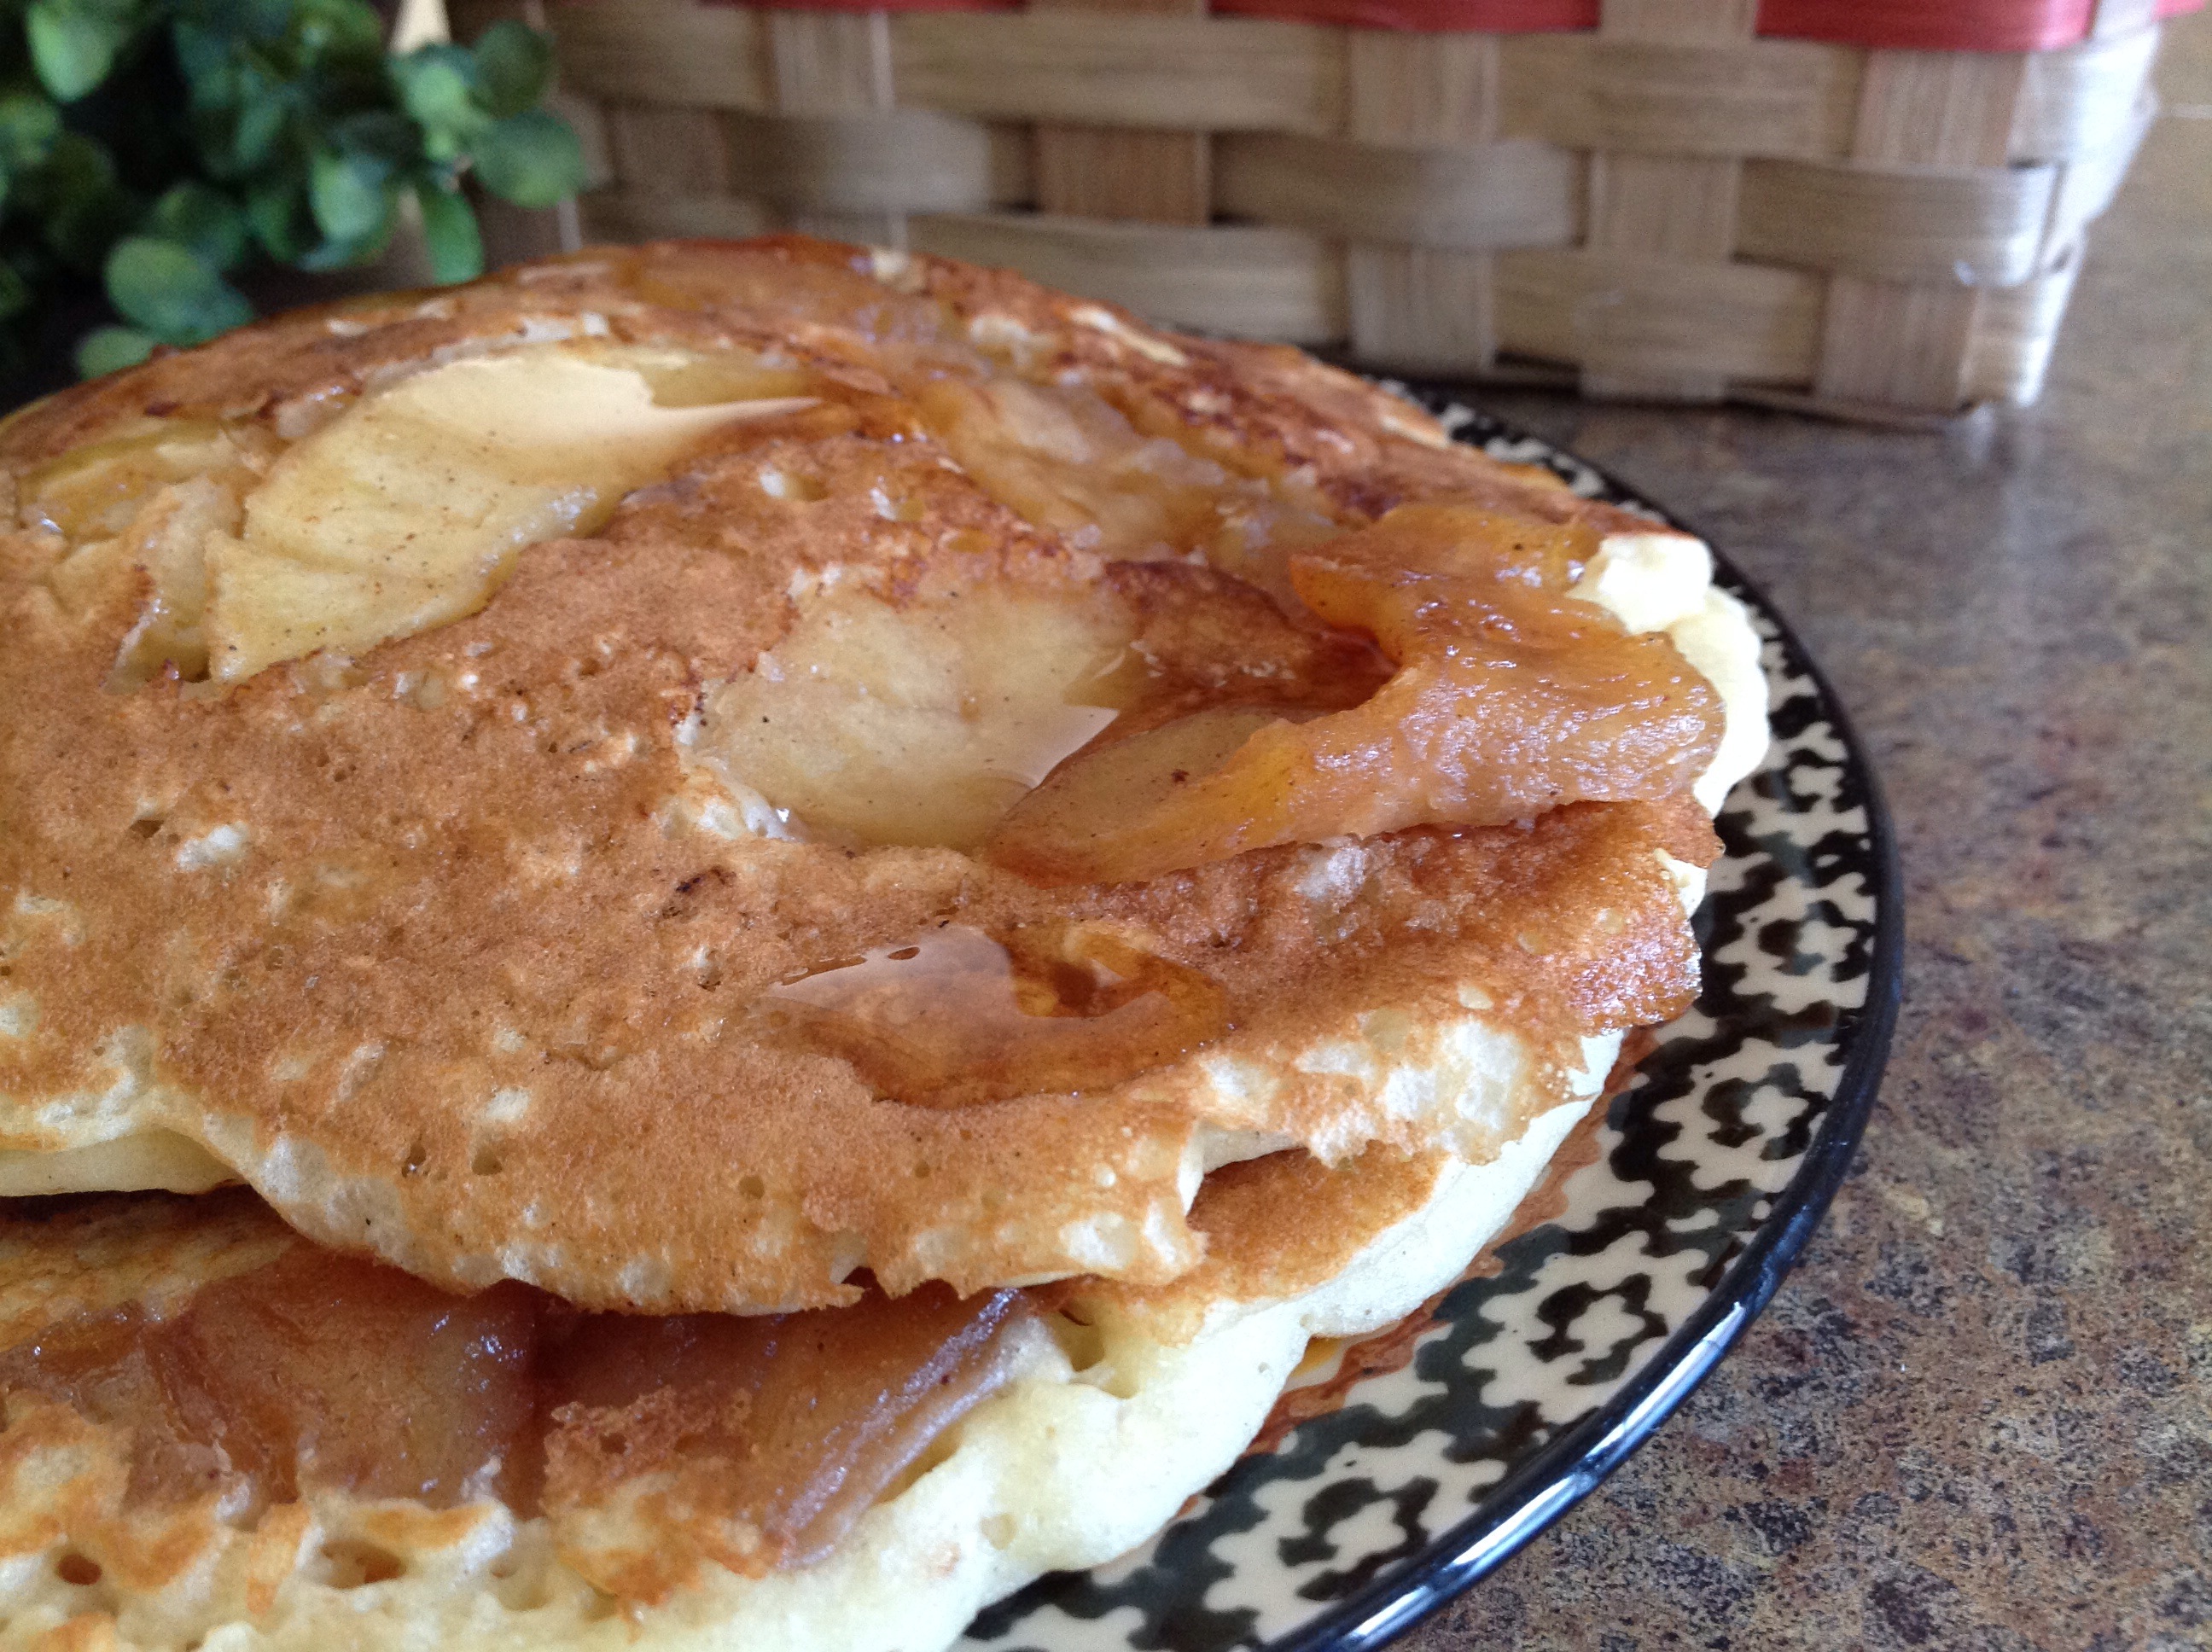
Her request for oatmeal pancakes had me thinking of a new combination of flavors that I knew she would love. I had just made a batch of homemade applesauce and my husband had several jars of pure maple syrup that he had processed after tapping our maple trees this spring. I quickly mixed up the batter for the pancakes and as they cooked on the griddle, I carefully added some of the cinnamon applesauce.

 A quick flip of the pancake to finish the underside, and they were done. I made several batches so that she could bring a few back to school when she returned on Sunday. 
   

 I received a lovely text when she arrived back in Evanston. A big thank you with lots of “heart” emojies covered my screen. She said that she was having the pancakes for dinner. Somehow, I think she’ll be having them for nearly every meal until she finishes them up. Then she’ll be back to eating the ole’ college favorites of pb&j, canned soup, and boxed macaroni and cheese.

Hearty Oatmeal Pancakes

1 cup old fashioned oats

1 cup flour

2 tablespoons sugar

2 teaspoons baking powder

1 teaspoon salt

2 eggs, lightly beaten

1 1/2 cups milk

1 teaspoon almond extract

1 teaspoon vanilla extract

1/4 cup canola oil

Combine oats, flour, sugar, baking powder and salt in a mixing bowl. In a separate bowl, combine eggs, milk, oil, and extracts. Stir into dry ingredients; just until moistened. Pour batter onto lightly greased, hot griddle. Flip pancakes when bubbles form on top of pancakes. Continue to cook until underside is golden brown. 
 Chunky Homemade Applesauce
8 cups apples, peeled, cored, and chopped

1/2 cup packed brown sugar

1/2 cup sugar

1 teaspoon ground cinnamon

2 teaspoons vanilla extract

In a large pot, combine apples, sugars and cinnamon. Cook over medium-low heat for about 30 minutes; while stirring occasionally.
Remove from heat; stir in vanilla. Mash apples to desired consistency. Refrigerate until ready to serve.

Posted in Baked goods, Baking, Brunch, Cake, Uncategorized

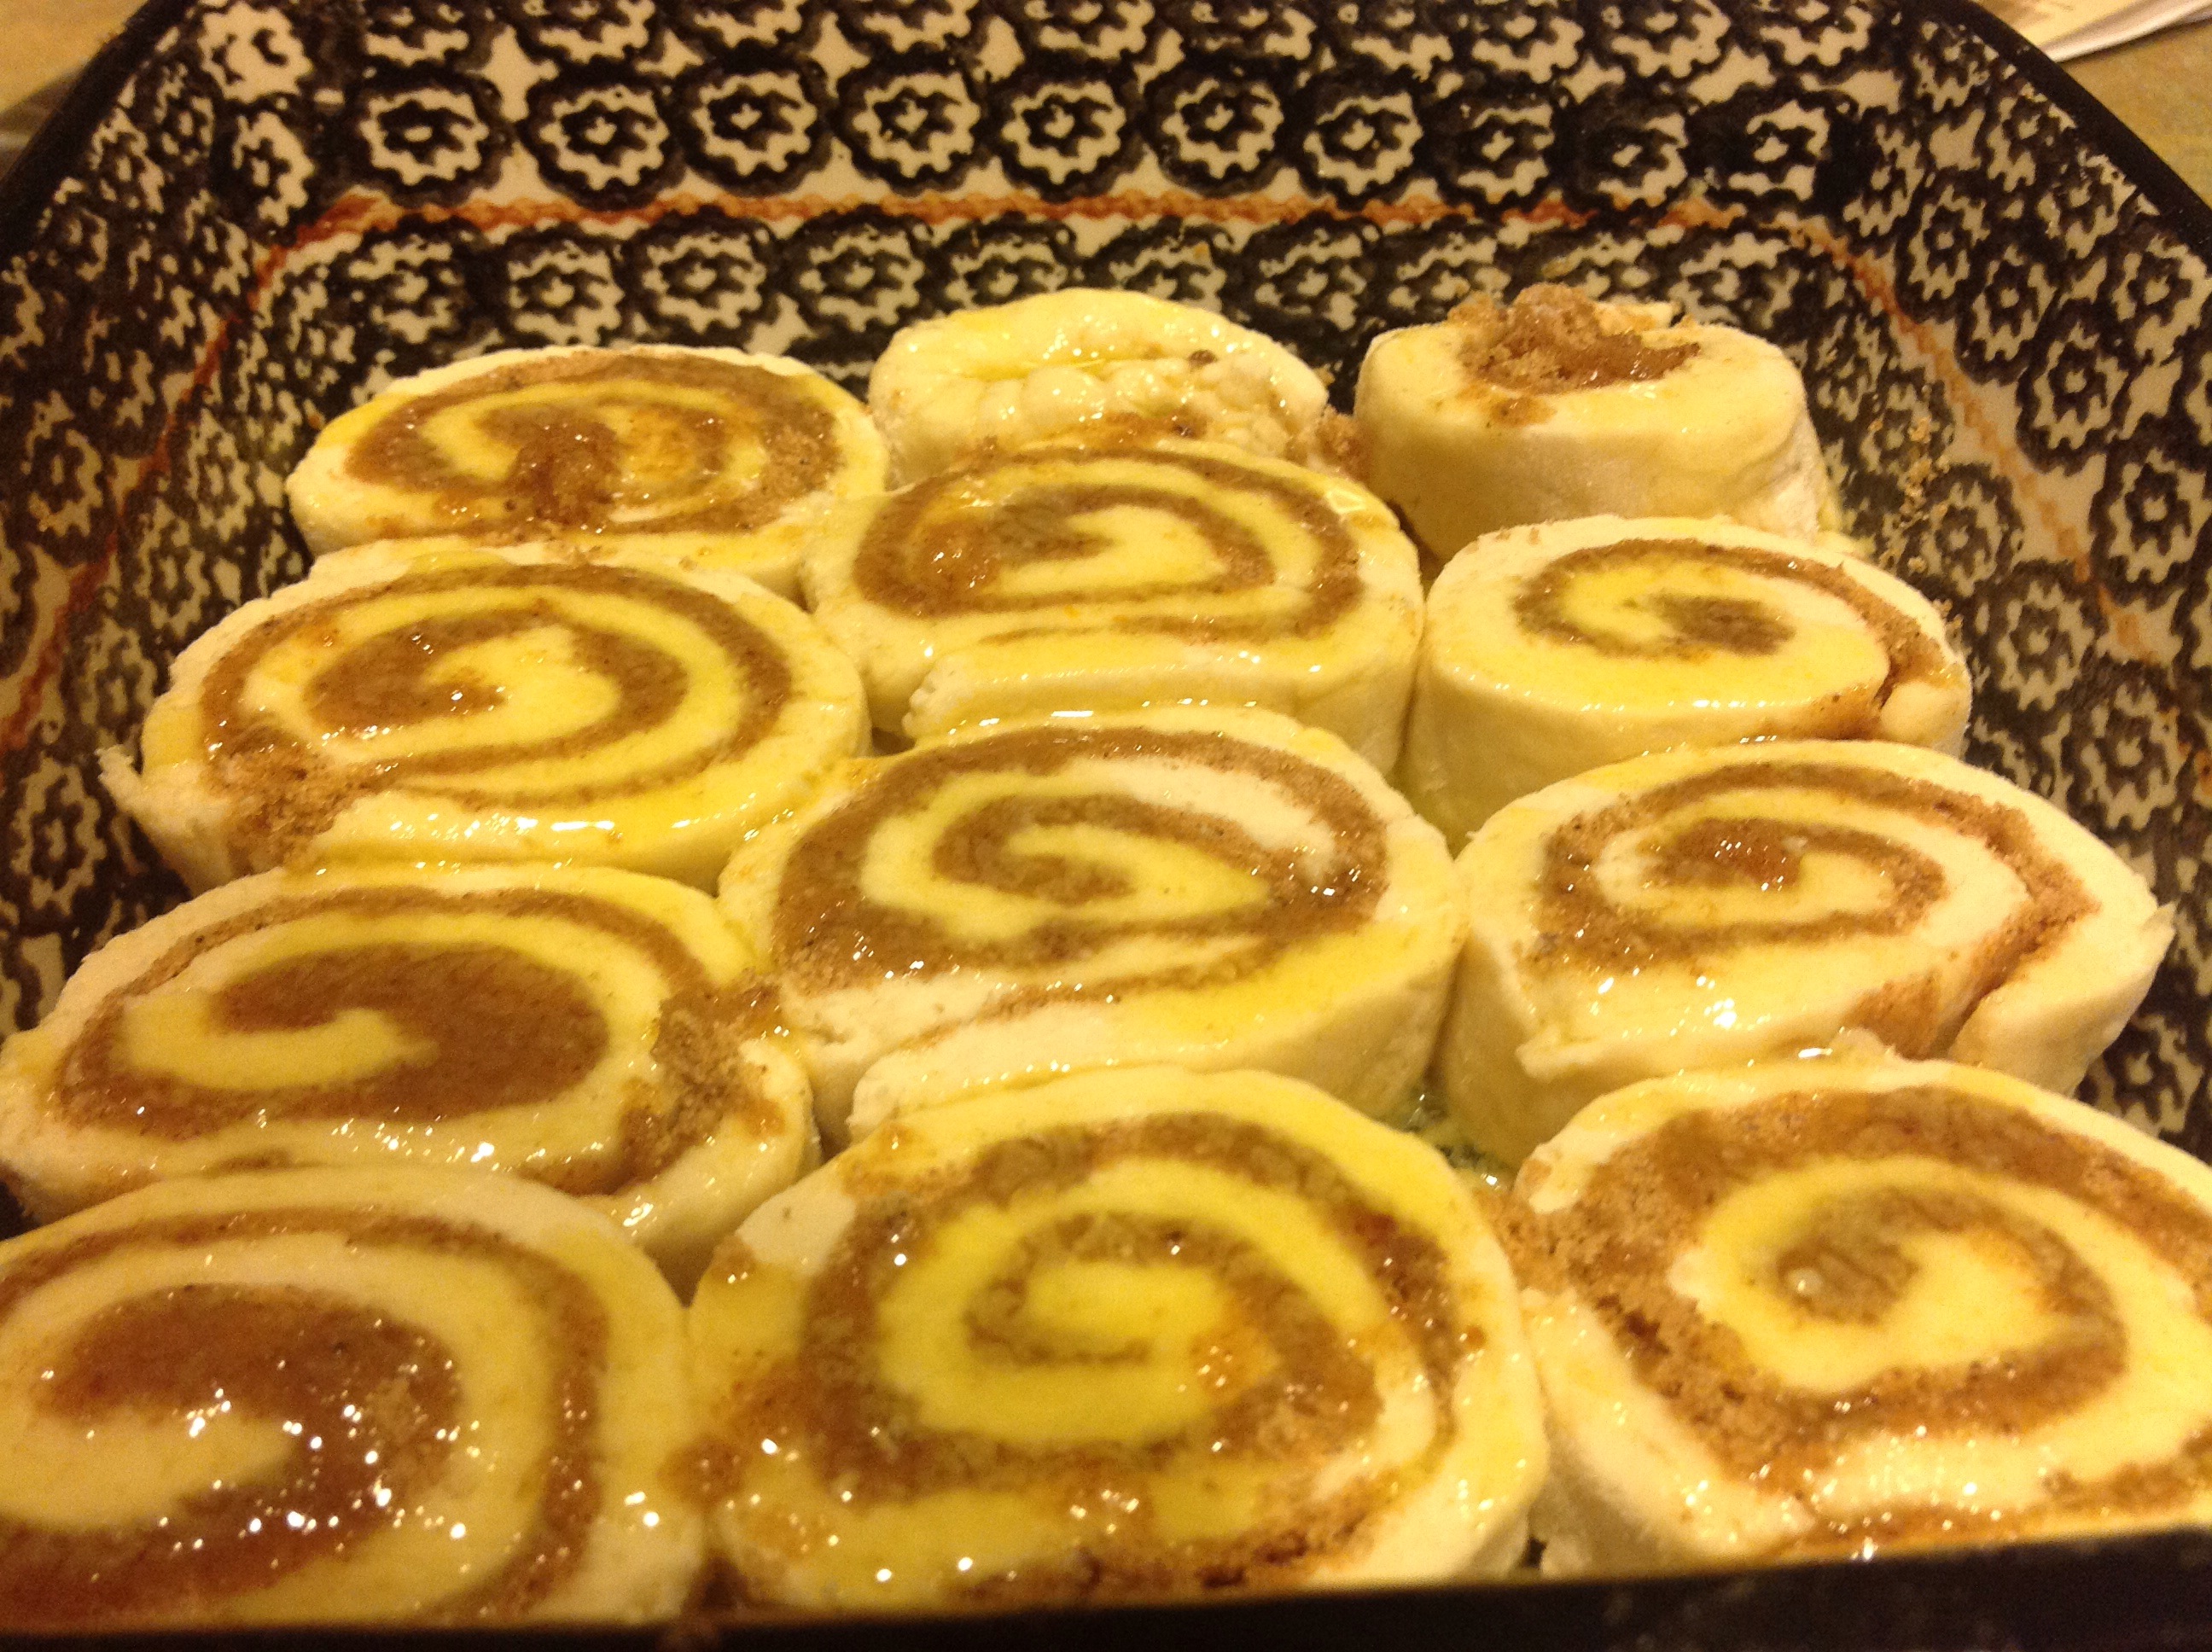
Simple Cinnamon Rolls


We were having dinner the other night and my oldest daughter reported that she would be attending a “study session” the following day. Her class had a final exam on the horizon and a group was getting together to study. This would be an early morning session so she said she wanted to be sure to stop at the store to pick up a coffee cake before the event.

To save her time, I volunteered to make a simple pan of cinnamon rolls that I was sure the group would enjoy. I knew that I had all of the basic ingredients on hand to assemble and bake them before leaving for work in the morning. A traditional cinnamon roll recipe can be quite time consuming, but with the help of this semi-homemade recipe, it’s a jiffy of a job.

I have to be perfectly honest, when I’m in a hurry, I often don’t have the time to wait for the rolls to rise before putting them in the oven… I simply preheat the oven after I have mixed the dough and prepared the rolls. It usually takes about 20-25 minutes to preheat the oven and clean up the kitchen. Then, I pop them in the oven and let them rise while they bake.


Simple Cinnamon Rolls

(Adapted from the Betty Crocker Recipe; Cake-Mix Cinnamon Rolls)

1 1/4 cups warm water 

1 package regular active dry yeast

1 box white cake mix

2 1/2 to 3 cups flour

1/4 cup butter

1/2 cup packed brown sugar

2 teaspoons ground cinnamon

1/2 cup store bought cream cheese frosting or glaze
Grease 2-9″ square baking pans with shortening or cooking spray.  In small bowl, mix warm water and yeast; let stand 5 minutes.

In large bowl, mix cake mix and 2 cups of the flour. Add water-yeast mixture; stir with wooden spoon until dough forms. Add remaining flour 1/4 cup at a time, until it comes together in a ball. Cover with plastic wrap, and let rise in warm place until doubled. Meanwhile, melt butter in small bowl, and set aside to cool. In another small bowl, mix brown sugar and cinnamon.

On lightly floured surface, roll dough into large rectangle about 1/4 inch thick. Brush with 1/2 melted butter; sprinkle with cinnamon-sugar. Starting with 1 long end, tightly roll up dough into a log. Cut into 12 rolls. Brush with remaining butter.

  
Place rolls in pan(s); cover with plastic wrap. Let rise about 30 minutes while you heat oven to 375°F. Bake 8 to 10 minutes or until golden brown. Cool 5 minutes; spread with frosting or with powdered sugar glaze found here.


Here’s the original recipe…

https://www.bettycrocker.com/how-to/tipslibrary/baking-tips/cake-mix-cinnamon-rolls

Here’s another great “no-rise” recipe that I often use. Delicious!

https://www.allrecipes.com/recipe/241917/quick-cinnamon-rolls/

Posted in Baked goods, Baking, cookies, Desserts, Uncategorized

Butterscotch Blondies

 While on our annual spring break visit to Disney World, we visited many bakery shops that displayed an assortment of carefully prepared baked goods and other sweet treats throughout the shop. Most items were meticulously iced with a thick layer of frosting representing the familiar red, yellow, black, and white colors that Mickey and Minnie traditionally wear. For my family, this thick layer of icing is a bit too much; the “sweet” on top of the “sweet” is more than we can take. Especially when there are so many other treats that entice us throughout the parks.  
This year, as we were checking out the shops, my oldest daughter spied a scrumptious square of deliciousness that reminded her of my traditional blondie recipe. Unfortunately, a layer of icing donned the top. In a disappointed tone, she asked if I might bake some blondies when we returned home. She also requested the addition of butterscotch or white chocolate chips. Here is my traditional recipe with a twist of butterscotch and walnut flavors.  

Butterscotch Blondies

3/4 cup butter, softened

3/4 cup light brown sugar, firmly packed

1/2 cup sugar

2 eggs

1/4 cup water

2 cups flour

1 teaspoon baking soda

1/2 teaspoon salt

1 2/3 cups butterscotch or white chocolate chips

1 cup walnuts, chopped

Preheat oven to 350 degrees. Grease a 13 x 9″ baking pan.

In a large mixing bowl, beat butter and sugars until creamy. Add eggs and water; beat well. In a medium bowl, Combine flour, baking soda and salt; add to butter mixture, mixing well until completely combined. Stir in butterscotch or white chocolate chips and nuts. Batter will be thick. Spread into prepared pan.

Bake 30 to 35 minutes or until top is golden brown and center is set. Cool completely. Cut into 1 1/2″ bars.

Posted in Beef, Dinner, Main Dish, Uncategorized

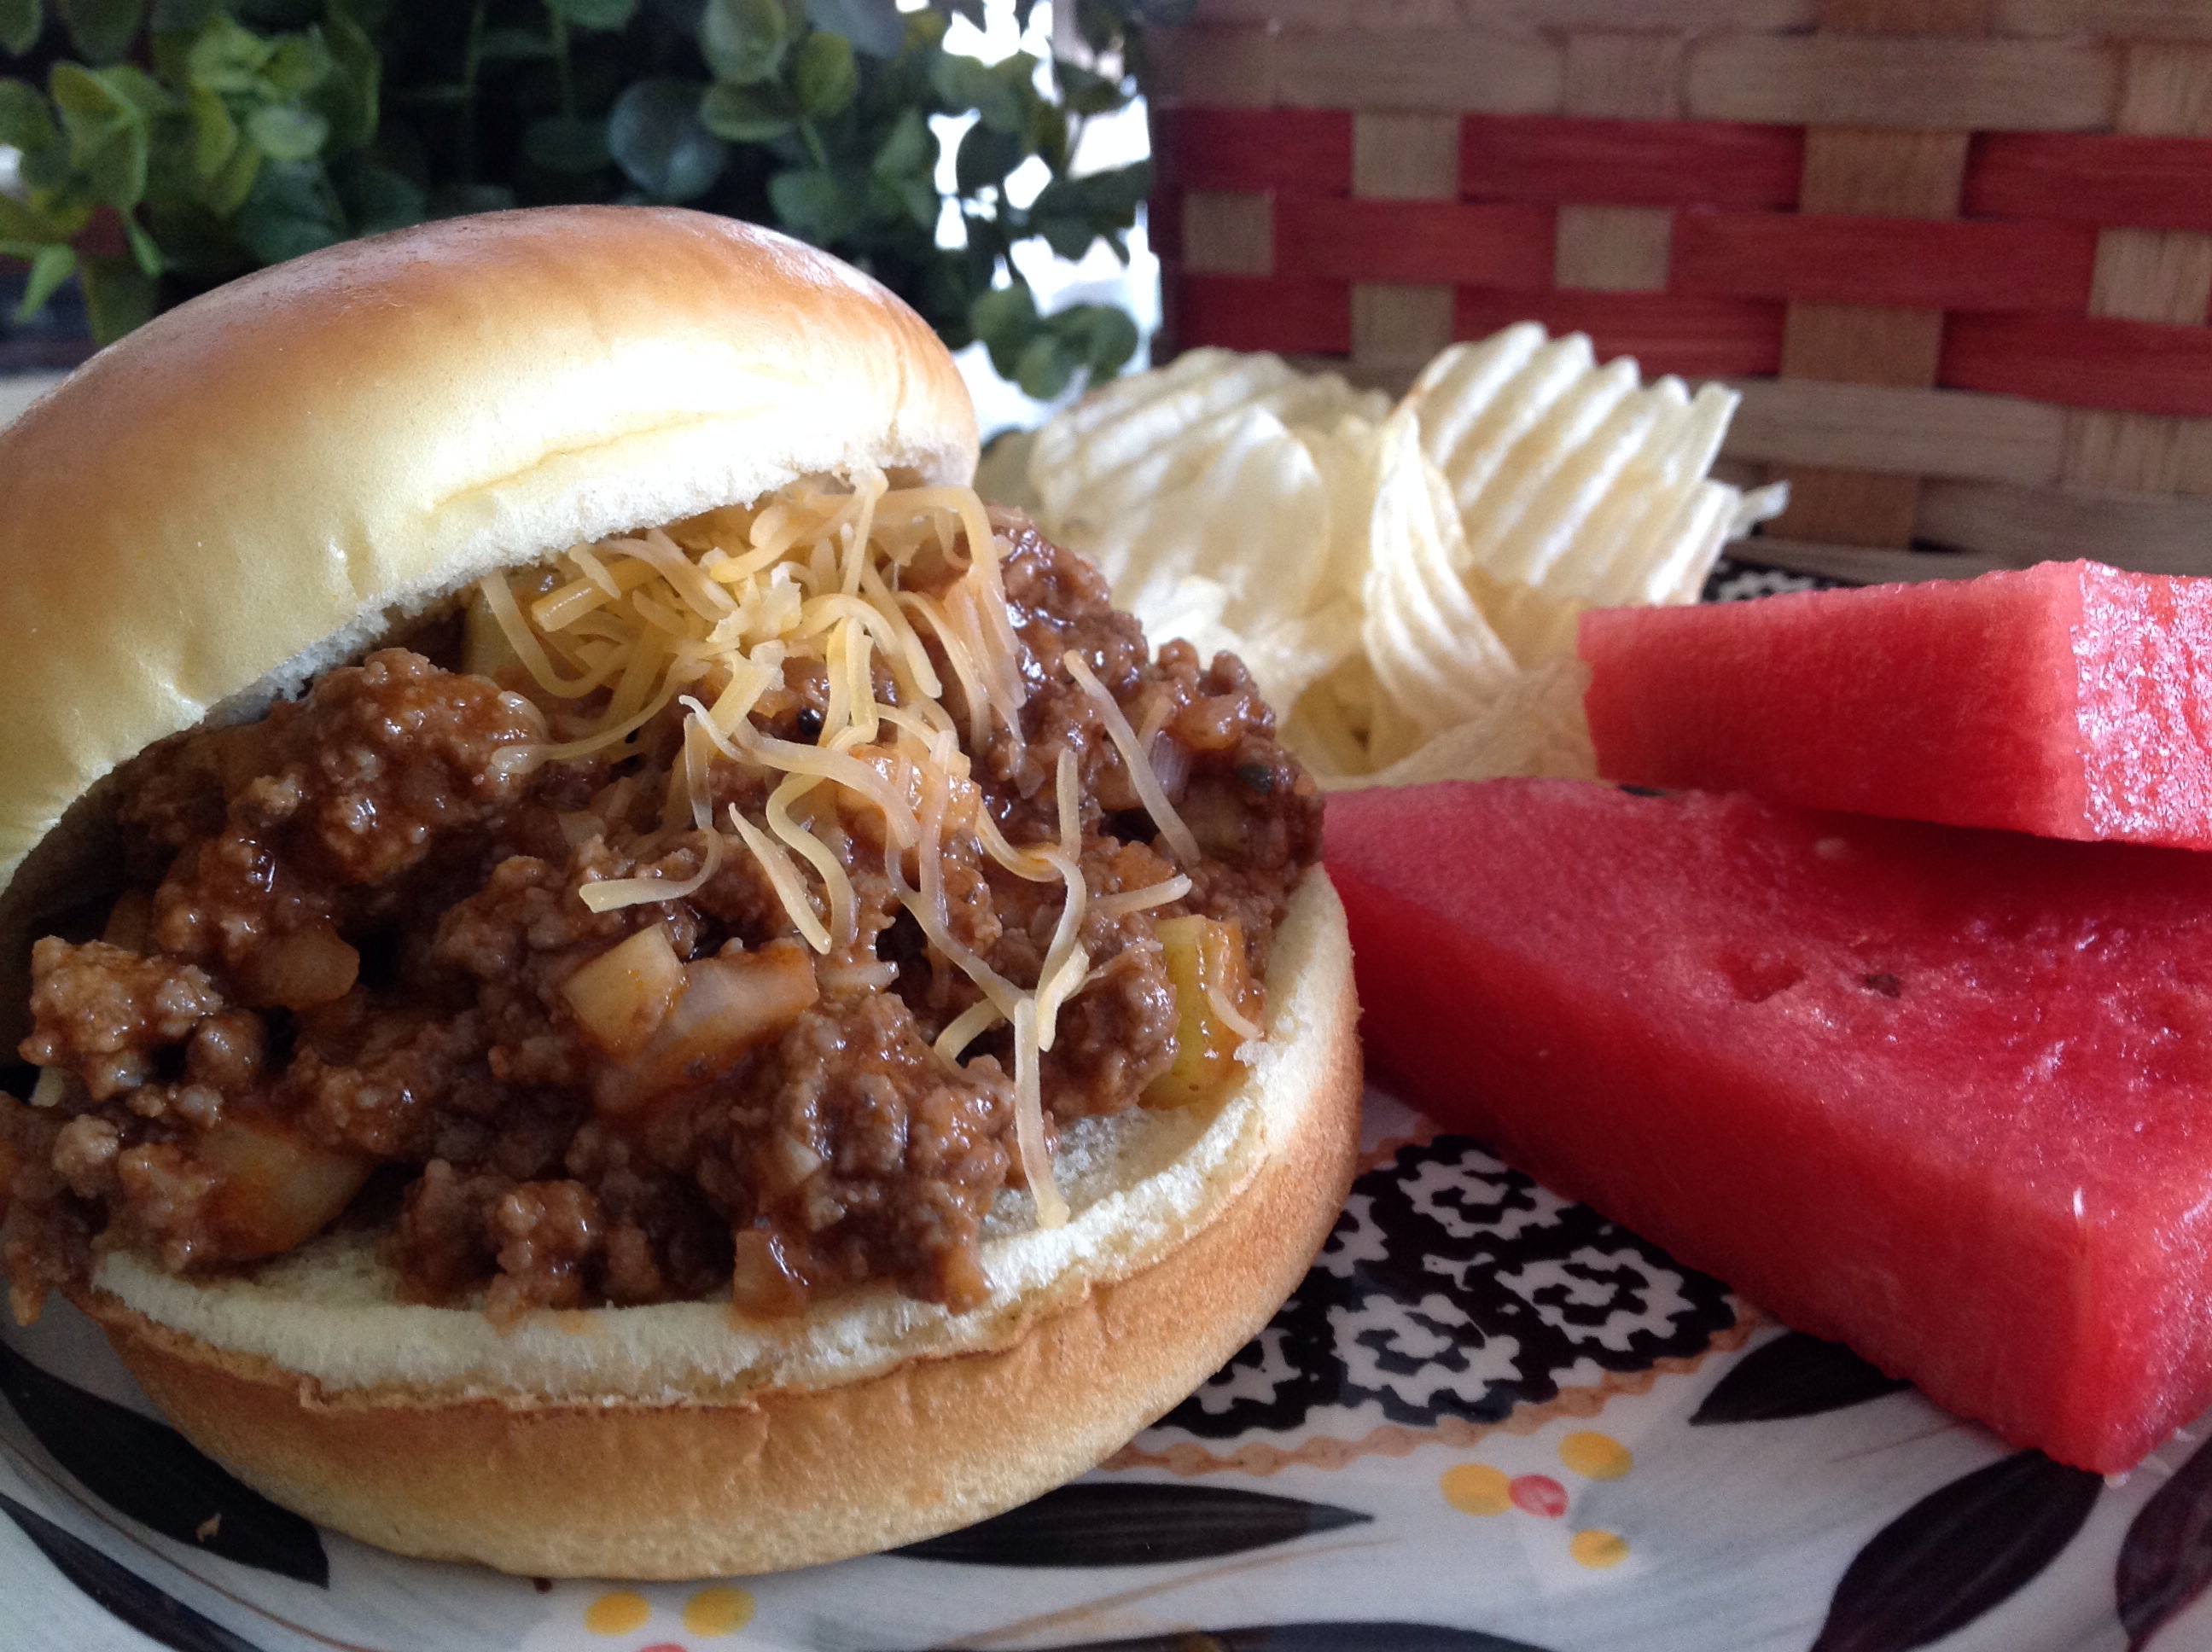
Hearty Sloppy Joe Sandwiches

  We’ve lived in our home for over 15 years, yet every time I make this recipe, I’m reminded of the day we moved our young family to our country home so many years ago.

If my memory serves me correctly…    My husband and I had moved a few basic items to our new home a few days prior to the “big” move that would take place on the weekend. On the morning of the “big” move, I made a large pot of sloppy joe meat in our new home kitchen before pouring it into a crockpot to be eaten later. I knew this would be a long day so I wanted to be sure to have plenty of food at the ready when our crew of movers finished up their job. After plugging in the crock pot, my husband and I headed back to our home in the city. There we were met by a fine group of young men that would take charge of the move. The company that we had hired employed a group of college students that were home for the summer and were trying to make a little money before returning to school in the fall. I have to say, these kids were awesome movers. They carefully wrapped furniture, lifted and carried an enormous load of boxes filled with everything from kitchen linens and cleaning supplies to garden tools and silverware. All of our heavy appliances were carefully loaded onto the trucks and carried across state lines to our new location.  
After a long drive, the cycle began again… The trucks were unloaded, hauling boxes, furniture and appliances into our new spacious home. The movers asked where we’d like things placed and willingly followed our directions as the sun fell from the sky and the crickets started to chirp.  

At the close of a long day of grueling work, I welcomed the group into our kitchen to share a meal. The guys scooped out oversized helping of sloppy joe and placed it on hearty brioche buns. A sprinkle of cheddar cheese completed the sandwich. Bags of chips, a crock of baked beans, and bowls of salad were wiped out in no time. Before leaving, one of the young men asked for my sloppy joe recipe as he wanted to share it with his mother. He also asked if there was any more meat left in the crock pot for one last sandwich. I quickly scooped out the remaining mixture with a spatula and slathered it onto a roll. “One more for the road”, he said, as he gulped down the sandwich in a few quick bites.

  
As the crew gathered up their belongings and headed for the trucks, my husband and I stood in the driveway and thanked them again for their hard work. The group happily patted their tummies and thanked us for the delicious meal.  

I look back on that day with fond memories…

This group of movers made the day fun, exciting and stress-free. I’ll always be grateful for their hard work, cooperation and expertise. It was truly a pleasure sharing this special day with such a fine group of young men.


Hearty Sloppy Joe Sandwiches   (adapted from the Betty Crocker Cookbook – 1988)

2 pounds ground beef

1/2 of a large onion, diced

3 stalks celery, finely chopped

1/3 cup chopped green peppers

1 cup catsup

2 1/2 tablespoons A1 steak sauce

1 tablespoon Worcestershire sauce

1/8 teaspoonred pepper sauce

6 hamburger buns, split and toasted

Cook and stir ground beef and onion in skillet until brown; drain. Stir remaining ingredients, except buns. Cover and cook over low heat for an additional 15-30 minutes; just until vegetables are tender. Fill buns with meat mixture. Top with shredded cheddar cheese, if desired.

Posted in Food, Soup

Easy Beef and Veggie Soup


We woke up this morning to another six inches of snow… Boy, I’m getting tired of the sub-zero temperatures and the heavy snowfall we’ve experienced this winter.  Yet, this is the kind of weather that makes me think of a number of piping hot soup recipes that can be made with simple kitchen leftovers.  No need to head outdoors with a long shopping list of ingredients. Just take a look in the fridge/freezer and you’re sure to find the perfect combination of ingredients on hand.

Having a big pot of soup boiling on the stove seems to warm the body and comfort the soul.  This recipe is chocked full of tasty kitchen staples.  When making soup, there’s no need to be exact with measurements.  Just take a careful sip here and there to make sure your headed in the right direction. Use any kind of beef you like, any assortment or fresh or frozen veggies you prefer, and any kind of grain or pasta your family enjoys.  Bona petite!

Easy Beef and Veggie Soup

1 lb. leftover beef roast, cubed

1 onion, diced

3 celery ribs, rough chopped

3 carrots, rough chopped

2 (14 ounce) cans petite diced tomatoes

3 tablespoons beef soup base

2 teaspoons garlic powder

2 tablespoons olive oil

4 cups water

1 pkg. cheese-filled tortellini, cooked as directed

In a large pot or dutch oven, sauté celery, carrots and onion in oil until onion is cooked, about 7-10 minutes.  Add remaining ingredients, bring to a boil.

Reduce heat and simmer uncovered about 30-45 minutes.

Serve over a bed of cooked tortellini and season with black pepper, hot sauce, or shredded Parmesan cheese, if desired.

Posted in Baked goods, Baking, cookies

Easy Pistachio Cookies

This is one of the easiest cookies you’ll ever assemble.  These little gems are melt-in-your-mouth delicious and take no time to prepare.  The festive green color makes these cookies a great addition for a spring or Easter dessert, a spring wedding or baby shower luncheon, a St. Patrick’s Day celebration, or even a Christmas holiday table. I often add a lightly drizzled glaze with lemon zest to the top of each cookie but this is completely optional. 

Easy Pistachio Cookies 

1 pouch (1 lb. 1.5 ounce) sugar cookie mix

1 box (4-serving size) pistachio instant pudding and pie filling mix

1/4 cup flour

1/2 cup butter or margarine, melted

2 eggs, slightly beaten

1 cup roasted and salted pistachios, chopped

(Optional: Powdered Sugar Glaze)


Heat oven to 350 degrees.  In large bowl, stir together cookie mix, pudding mix and flour. Stir in melted butter and eggs until soft dough forms. Add pistachios and mix well. Using small cookie scoop or teaspoon, drop dough 2 inches apart on lined cookie sheet. Flatten slightly with your fingers.

Bake 9 to 11 minutes or until edges are light golden brown. Cool 2 minutes; remove from cookie sheet to wire rack. Cool completely. 

Optional: Prepare glaze and drizzle over cookies. I often add some fresh lemon zest for a tart addition.  Store in a tightly covered container at room temperature.


Posted in Baked goods, Baking, Bread, Food, Gifts, holidays

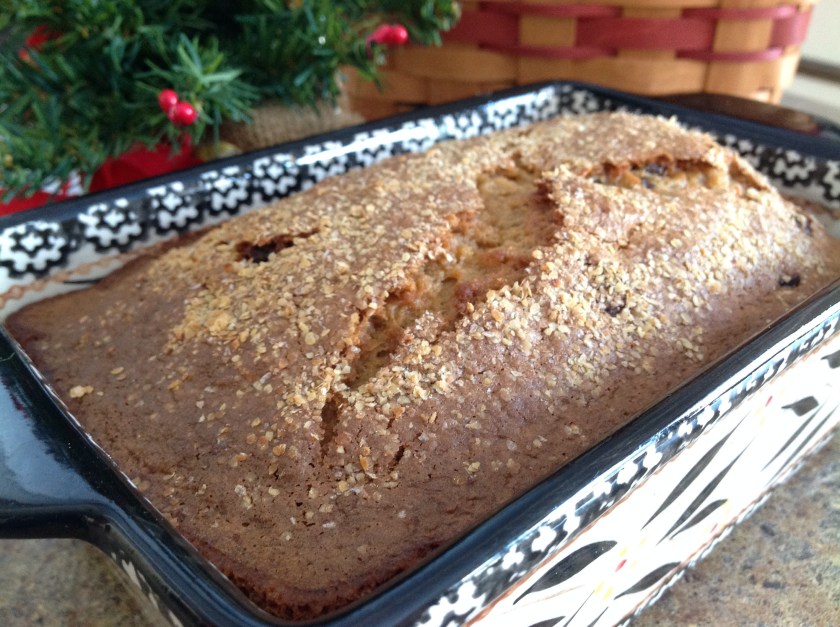
Sweet Irish Brown Bread

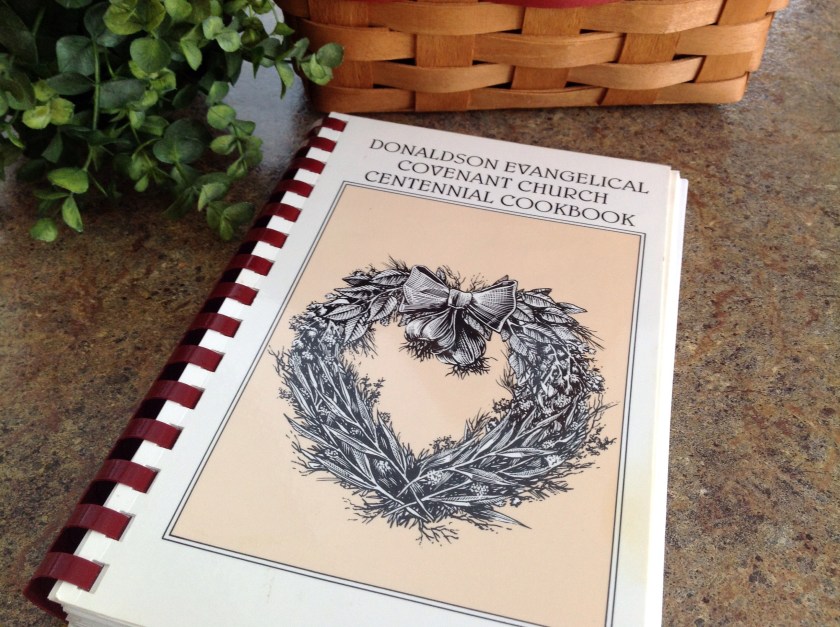
I was recently given a collection of old community cookbooks.  The “giver” was doing a house remodel and was cleaning out her kitchen for a more updated look.  She had too many cookbooks and was looking to send a few of them my way.  Naturally, I was thrilled.  I love looking through old interesting recipes.  I stumbled across this brown bread recipe that looked quite tasty.  The ingredients reminded me of one of my favorite Irish bread recipes, with perhaps a bit more sugar that I am used to.  I quickly baked up a few loaves and my family was pleasantly surprised.  A simple loaf with a sweet, mellow flavor.  A great base for butter and jam.  

The Brown Bread recipe is pictured below…


The flavor was so wonderful, I baked up a load of loaves for Christmas gifts and packaged them with my Christmas Jam.


Posted in Food, Salad, salads, side dishes

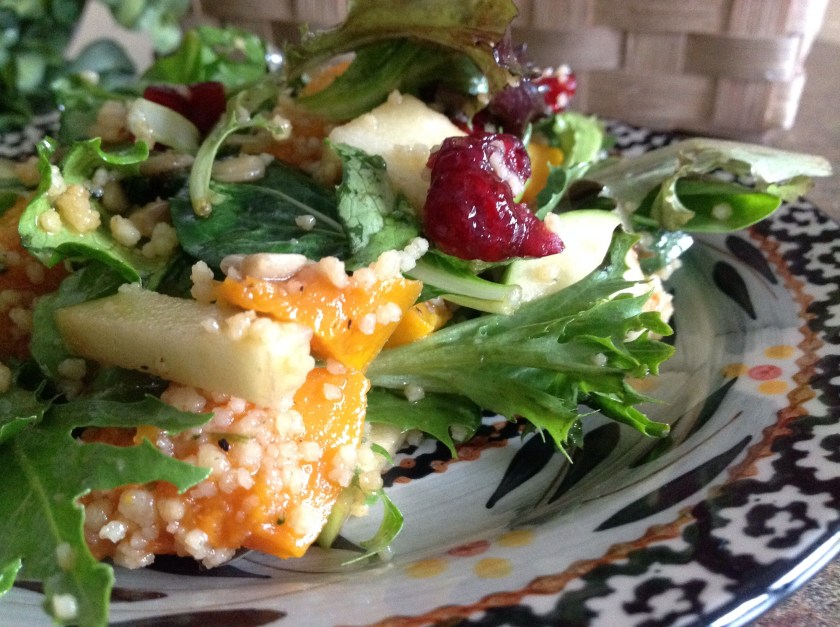
Butternut Squash Salad in a Jar

I’m always looking for a “silver lining” when I’m inconvenienced or when things just don’t seem to be going my way.  Recently, I found that silver lining in a major road construction project that closed a through-fare  that I frequented on my daily jaunt back and forth to work.  Because of the construction, a detour took me down a winding country road that was quite scenic as the fall landscape was beautiful.  Tucked in among the oak trees and farm land sat a roadside farm stand that was bursting at the seams with an abundance of cool weather vegetables, plump ripe tomatoes, and an assortment of peppers.  The entire front yard displayed a sea of beautiful orange pumpkins where families strolled to pick out a few of their favorites.  I had my eyes on the butternut squash as I pulled my vehicle to the side of the road. Hand written prices were scrawled on a mini chalkboard that was propped up against the old wooden flat bed wagon. A tin can was laid out for patrons to square up their bill and honestly leave the amount due.  It was like a blast from the past.  I was thrilled to have found this quiet piece of paradise alongside the road construction and the hectic traffic of the day. 

Arriving home, I searched the web for a delicious looking recipe where I could use my butternut squash.  I stumbled on this salad in a jar recipe and immediately gathered the ingredients I would need for the colorful dish. I chose this recipe because of the maple syrup in the dressing.  We tapped our trees this past spring and I wanted to use our own maple syrup with the other dressing ingredients.  I made a few slight changes to the recipe…  Instead of pepitas, I used sunflower seeds and instead of the quinoa, I used couscous. I used a container of field greens for the salad mix.  This is a delicious recipe that I will be sure to make again.  Here’s the link for this “Fall Mason Jar Salad with Maple Balsamic Dressing”…

https://www.spoonfulofflavor.com/2015/09/14/fall-mason-jar-salad-with-maple-balsamic-dressing/

Posted in appetizers/snacks, Canning, Home Food Preservation, Kids in the Kitchen, Toppings

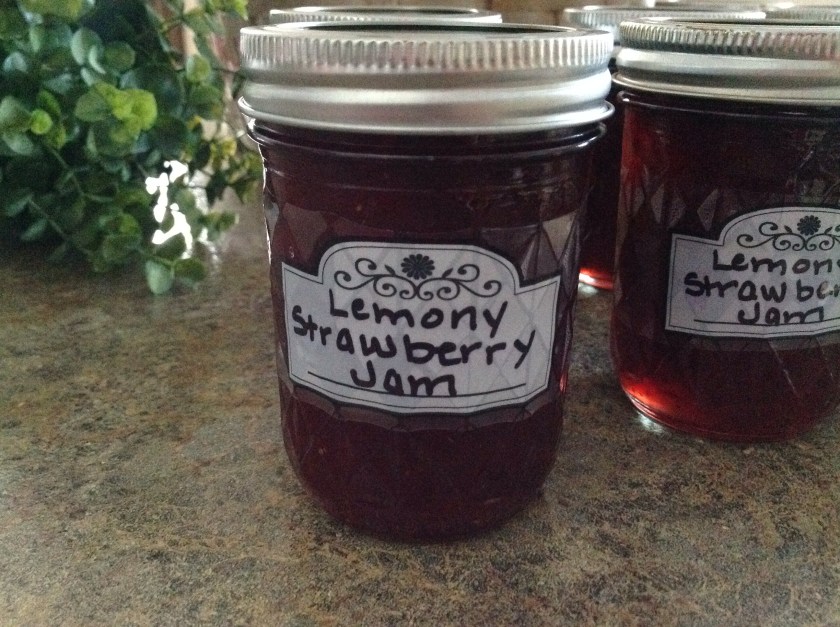
Lemony Strawberry Jam

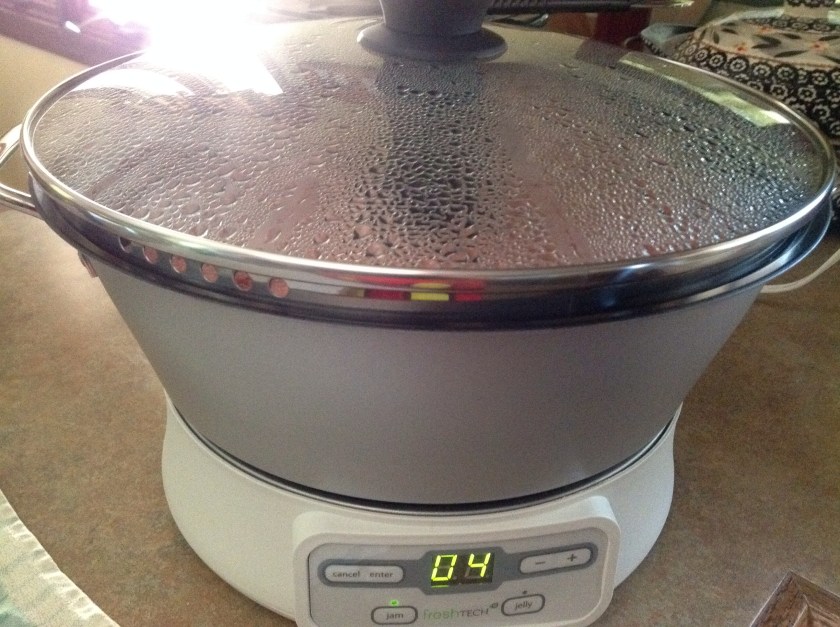
I was recently asked to do a food demonstration at a local county fair.  I thought it might be fun to showcase some of the new home food preservation products and make some lemon and strawberry jam.  I bought a bag of lemons, some sugar, pectin and fresh strawberries for the occasion.  A few portable appliances were easy to load into the back of my car and plug into the electrical outlet at the Home and Family Arts Building.  I had a blast making jam for all of the folks visiting the fairgrounds.  I was happy to answer questions and drum up some new found interest in canning.  If you have never preserved food or if you’re looking for a fresh new way to can fruit with ease, check out some of the new items on the market and get busy canning nature’s bounty!


Sprinkle in the pectin…

Add the crushed strawberries…

A fresh additon… lemon zest

Time to give this a stir…

Add sugar and bring to a rolling boil…    This is an amazing little appliance.  Portable, electric, and easy to clean…  Small batch canning is highlighted with this jam and jelly maker.

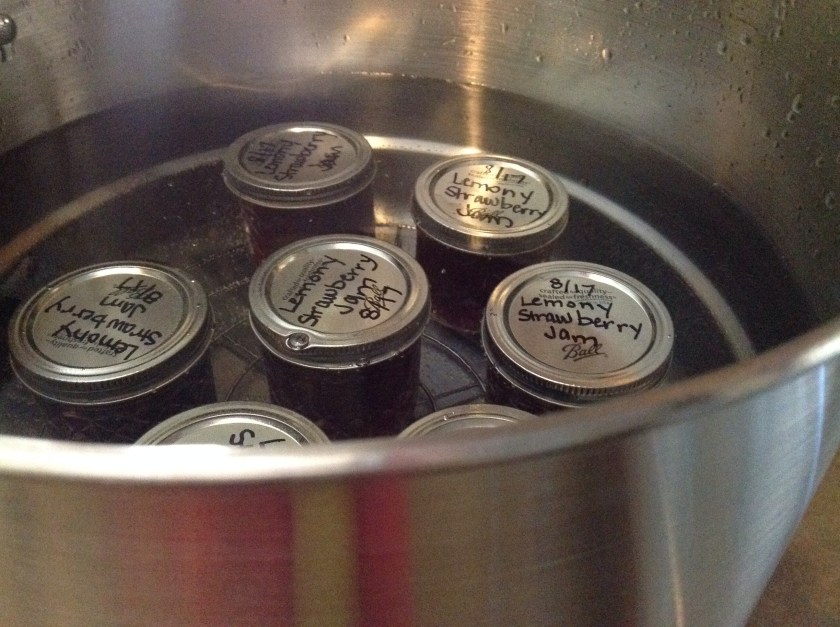
Getting ready to process…

Set to “canning mode”…

Simply delicious!

Lemony Strawberry Jam

Strawberries

Lemons

Sugar

Pectin

Check out the recipe at the link below.  Follow the recipe exactly as written.  This is a must when preserving foods.  No substitutions, unless directed.  Always use reputable, tested recipes for home food preservation.

https://www.freshpreserving.com/lemony-strawberry-jam—ball-auto-canner-recipes-br1393.html

Posted in Baked goods, Baking, Bread, breakfast, Brunch, Desserts, Food

Back To School Blueberry Bread

It’s that time of year again… Back to school!   This is a great quick bread loaf to bake in quantity and pop in the freezer for lunchbox treats throughout the year.  We recently visited our daughter who has started her clinical year at a hospital in Illinois.  I brought along an assortment of quick breads that I carefully sliced and individually wrapped for the freezer.  This way, she can take out one slice at a time and pack it into her lunch bag for a morning snack or a lunchtime treat. As I think back to all of the blueberry recipes I’ve made for the family, this one is surely a winner!


Back to School Blueberry Bread

1/3 cup butter, melted

1 cup sugar

3 tablespoons fresh lemon juice

2 eggs

1 1/2 cups all-purpose flour

1 teaspoon baking powder

1/2 teaspoon salt

1/2 cup milk

1 cup fresh blueberries

1/2 cup walnuts, chopped

2 tablespoons grated fresh lemon peel

GLAZE:

2 tablespoons fresh lemon juice

1/4 cup sugar or 1 cup powdered sugar

In a large bowl, beat the butter, sugar, lemon juice and eggs. Combine the flour, baking powder and salt; stir into egg mixture alternately with milk, beating well. Fold in the blueberries, nuts and lemon peel.

Transfer to a greased 9X5″ loaf pan. Bake at 350° for 60-70 minutes or until a toothpick inserted near the center comes out clean. Cool for 10 minutes before removing from pan.  Continue to cool on a wire rack.  

Combine the glaze ingredients and drizzle over warm bread. Cool completely before slicing.