Posted in Baked goods, Baking, Bread, breakfast, eggs

Classic Pancakes for a Crowd


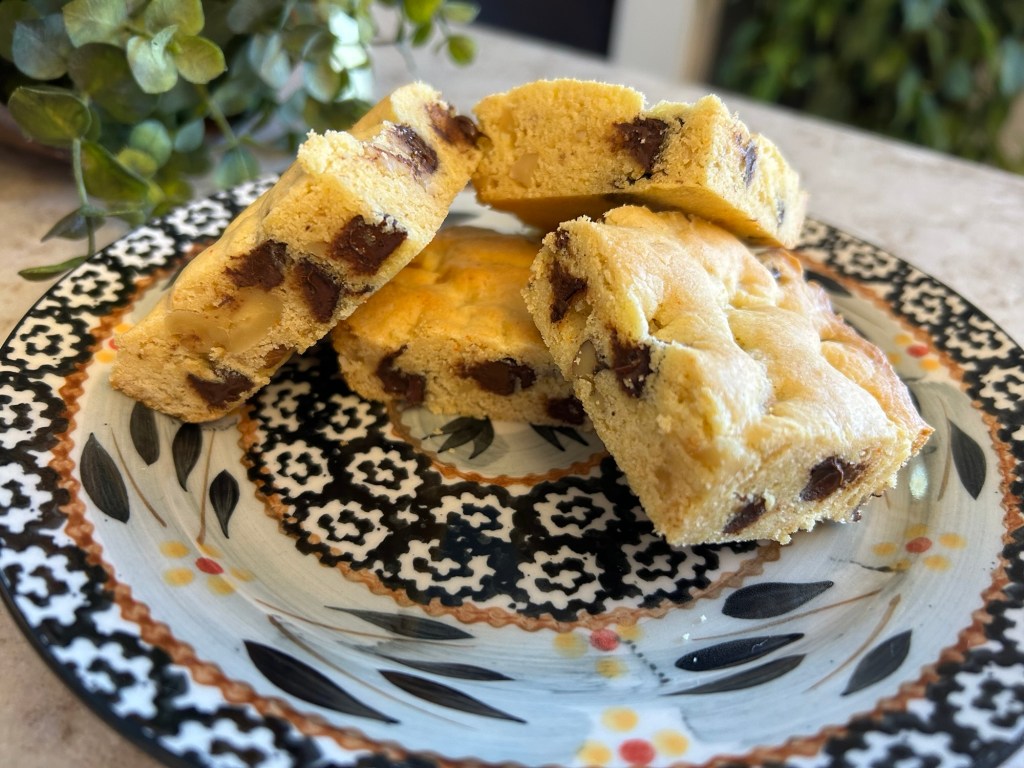
During the summer months, when our children are home from college, I am often amazed by the amount of food that passes through my kitchen.  While we all have a responsibility to report to work every morning, the never ending supply or food provided for breakfast, lunch, and dinner amazes me.  We are not a family that chooses to eat “out” very often so packing or making quick meals can be a challenge. The weekends are used as a time to prepare foods that can be reheated during the week for a quick start to the day. We’ll make a crockpot full of steel cut oats that will be divided up into serving sized containers for a week’s worth of breakfasts or sometimes I make omelette muffins for a handy, bite-sized meal. This recipe for Morning Glory Oatmeal is devine. This weekend, I made Pancakes for a Crowd that would feed the group during our Saturday morning breakfast with leftovers for a “re-heat” during the week. 

I love the ole’ fashioned tradition of actually gathering around the kitchen table for a home cooked meal.  We all have busy schedules but this ritual  is incredibly important to me.  It gives us a chance to catch up, talk about our week, and come together as a family.  Then, it’s out the door and off in our separate ways to tend to our busy lives…


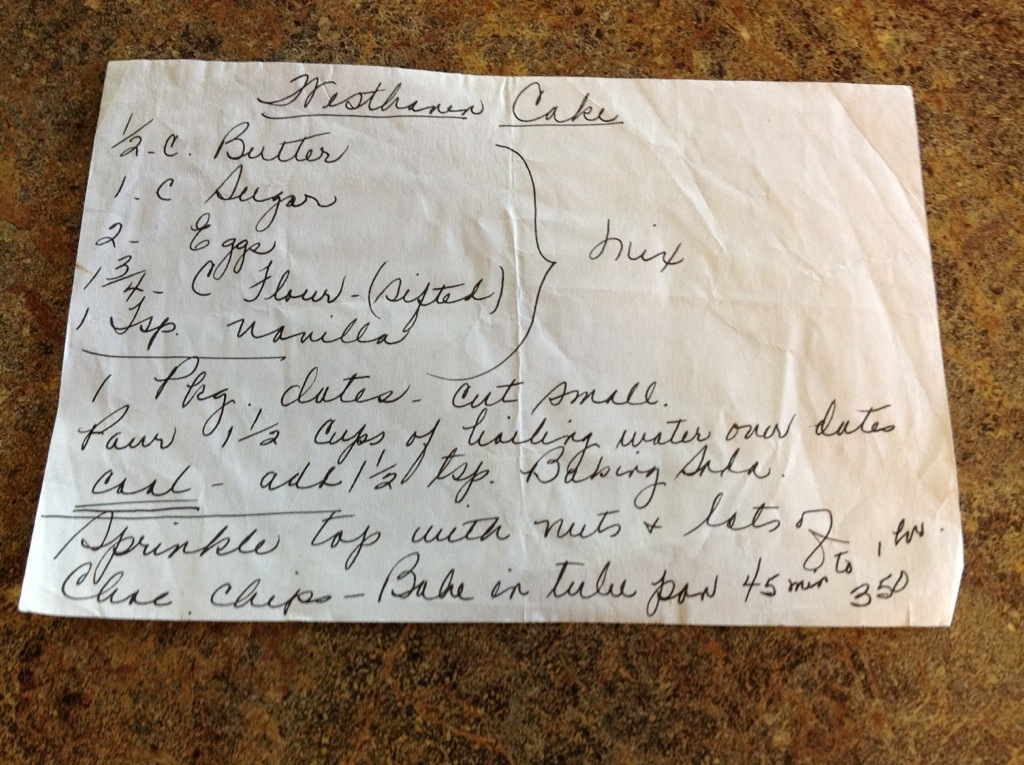
This recipe is adapted from an old Betty Crocker Cookbook that I have had for over twenty five years.  I triple the ingredients to make enough pancakes to feed a family of five with about ten left over.  I make sure to have on hand a small jar of homemade maple syrup from the trees on our land.  During the week, a full breakfast is a bit much so I notice the children will spread a dollop of peanut butter or homemade strawberry jam on a flapjack, roll it up and head out the door with a hand held meal for the road.   A healthier version of these pancakes can be found here.

Pancakes for a Crowd

3 egg, beaten

3 cup all-purpose flour or whole wheat flour

3 tablespoon sugar

1 tablespoon baking powder

3/4 teaspoon salt

2 1/2 cup milk ( more or less for a thinner/thicker batter)

6 tablespoons vegetable oil or melted butter

In medium bowl, stir  together ingredients just until flour is moistened (batter will be slightly lumpy); do not overmix or pancakes will be tough. 

Heat a non-stick griddle or skillet over medium-high heat; use cooking oil if necessary. Pour about 1/4 cup batter onto griddle for each pancake. Cook 2 to 3 minutes or until bubbly on top and dry around edges. Turn; cook other side until golden brown.

Pack up extras after the meal for leftovers during the week…


Advertisement
Posted in Baked goods, Baking, Gifts

Piper’s Homemade Biscuits


We were recently invited out for a daylong boat ride during this year’s Air and Water Show in Chicago.  Everyone contributed drinks, appetizers, desserts, and other munchies.  As I prepared for the outing, I realized that our hosts would be bringing along their dog, Piper.  I quickly searched on-line sites for an appropriate recipe to make dog biscuits for our four-legged friend.  I remembered the owners mentioning that their dog liked peanut butter so I looked for recipes that focused on this crunchy treat. Here are a few of the recipes that I found…

https://www.cesarsway.com/dog-care/nutrition/recipes-for-quick-and-healthy-dog-treats#link2

http://www.pauladeen.com/gus-peanut-butter-dog-biscuits

http://www.rachaelray.com/2011/11/make-your-own-dog-biscuits

I decided to make the easiest of the bunch, Gus’ Peanut Butter Dog Biscuits. (I called them Piper’s Peanut Butter Biscuits.)  The recipe includes whole wheat, peanut butter, milk, and an egg.  I laughed as I shared the recipe with the owners and said that these ingredients could make a healthy snack for both dogs and humans!  For added effect, I baked the treats and placed them in a cute container with a bit of ribbon and a cookie cutter.  This way, the owners could make another batch if Piper enjoyed them.  While we didn’t feed her any of the treats on the boat ride, I’m told she found them to be absolutely delicious once she returned home.  

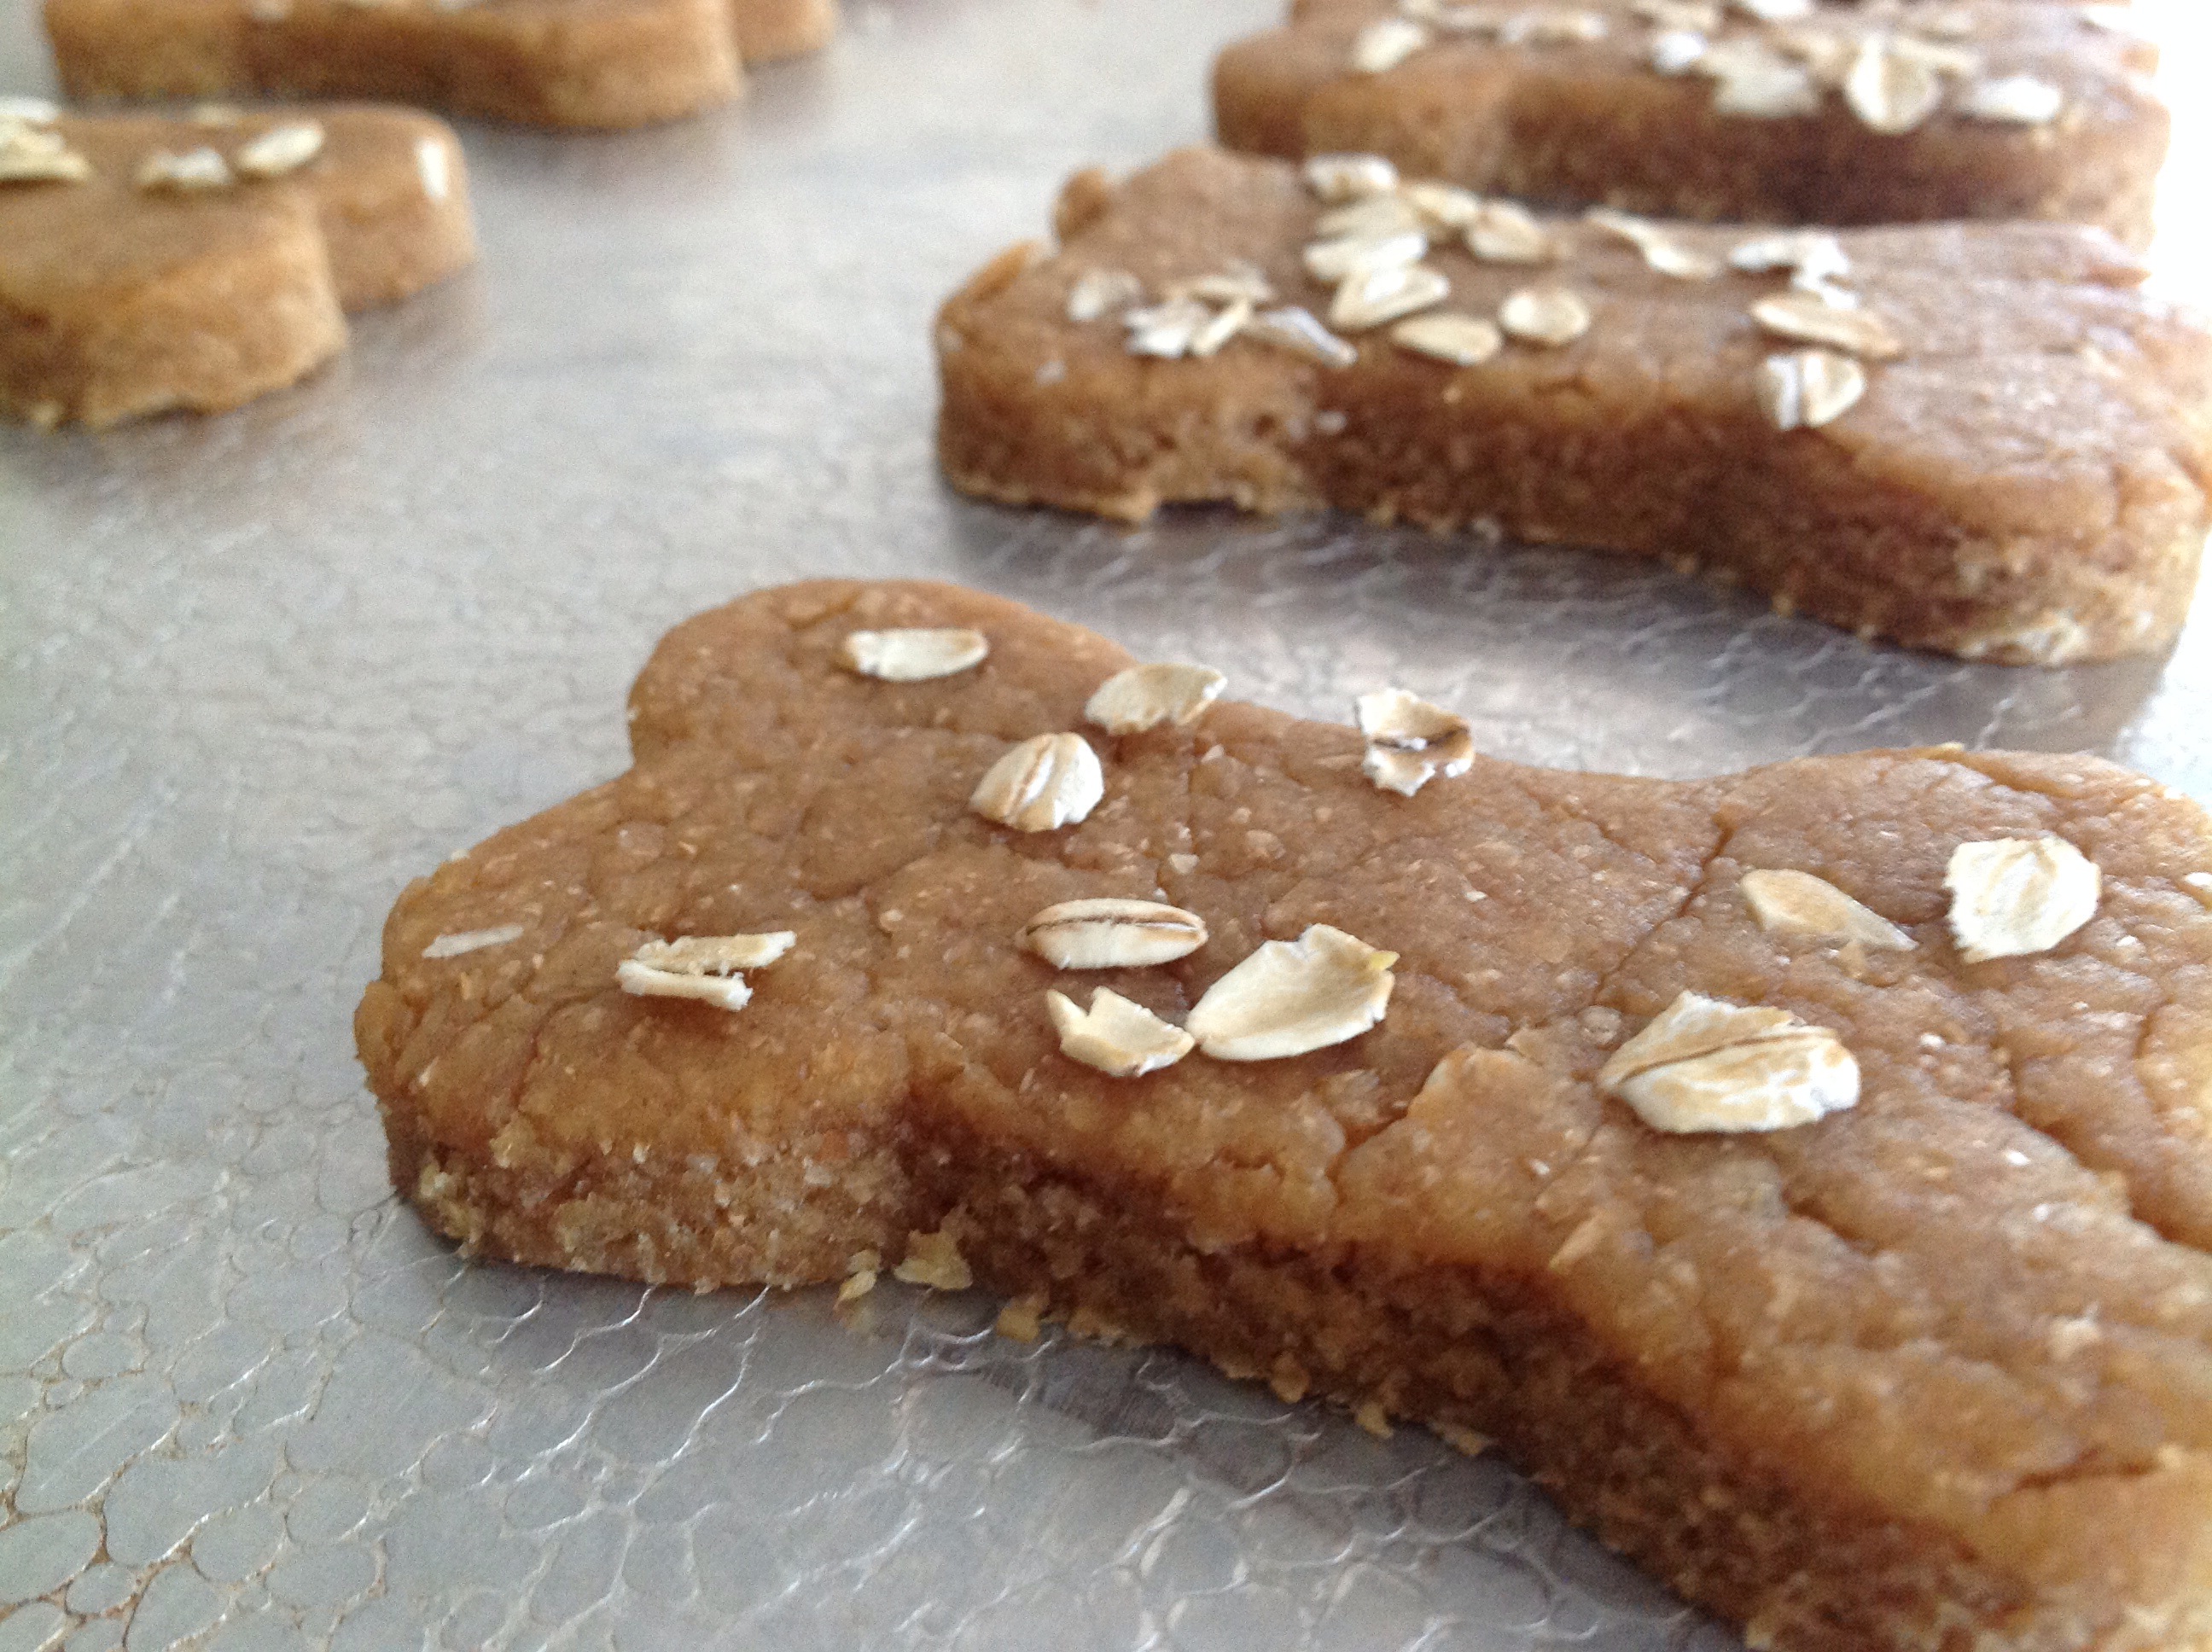
What any easy way to provide your dog with a great snack from your own kitchen…

Posted in appetizers/snacks, breakfast, Kids in the Kitchen, lunch box, No-Bake

Everyday Granola Bars

20140125-064005.jpg
During the course of a week, I make several batches of granola bars for my family. There are a few recipes that I use quite frequently and for varying purpose. Take for instance, the Grunt Bars I make when I am looking to boost protein levels, I make Curley Power Bars when I am wanting to provide a recovery bar after a long meet or practice. This recipe for Everyday Granola Bars is one that I usually pack into lunch boxes or have waiting on the counter when kids arrive home from school hungry and looking for something to eat.
I’m a firm believer that providing the family with healthy choices will encourage children to make better food choices for life. I try to stock the fridge and pantry with lots of whole grains, fruits, vegetables, and yogurt so that when kids come home famished, they can quickly grab something healthy to tide them over until supper time.
This recipe is easy to adapt to satisfy your family’s preference. Add dried cranberries or raisins, almonds, pecans or sunflower seeds. We just adore dried apricots in this recipe as well. Change things up as you like. Enjoy!

Everyday Granola Bars

3 cups old fashioned oats
1 1/2 cups walnuts, chopped
1 cup dates, chopped
1/2 cup honey
1/2 cup natural peanut butter
1 teaspoon vanilla extract

Coat an 11X7″ baking pan with cooking spray, set aside. Place oats, almonds and dates in a medium bowl; mix thoroughly, set aside. In a small saucepan, over medium-low heat, warm honey and peanut butter; stir until smooth, creamy and pourable. Remove from heat and stir in vanilla. Pour mixture over oats, dates, and nuts, stir to coat completely.
Transfer mixture to prepared baking dish. Evenly pat down mixture to completely fill the pan. Cover and let stand until set; about 30 minutes. Cut into bars. For added freshness, wrap each bar individually in plastic wrap and store in air-tight container.

20140125-064243.jpg

Posted in Baked goods, Chocolate, Desserts, Food

Westhaven Date Cake

20131008-143156.jpg
As I was rummaging through my hand written recipes this morning, an odd shaped piece of paper brought back memories of Aunt Nance. She was Jim’s Aunt, and a very special person. She would often bake this cake and bring it along to family gatherings. The chopped dates in the recipe are undetectable after baking but they are essential as they add great flavor and moisture to the cake.
Years ago, I asked Aunt Nance to share the recipe with me and this is the piece of paper she slipped in my hand as I was leaving the gathering.
When I finally got around to baking the cake, I noticed that mine wasn’t as dark and chocolatey as hers was. After investigating further, I realized that she had forgotten to include 2 tablespoons of cocoa in the recipe. The cake was still quite delicious so I make it both ways and it’s always a crowd pleaser.

20131008-143313.jpg
Westhaven Date Cake

1 (8 oz.) package dates, chopped
1 cup boiling water
1 1/2 teaspoons baking soda
1/2 cup butter
1 cup sugar
2 eggs
1 teaspoon vanilla
1 3/4 cups flour
2 tablespoons cocoa powder
1/2 tsp. salt
chocolate chips
nuts
powdered sugar

Over chopped dates, pour 1 cup boiling water; let cool. Add baking soda and set aside. Cream together butter and sugar. Add eggs, vanilla, flour, cocoa powder, and salt. Pour date mixture into dry ingredients, mix well. Pour into a greased and floured tube pan. Sprinkle chocolate chips and nuts over batter. Bake at 350 degrees for 40-45 minutes. Sprinkle with powdered sugar, and cool cake before serving.

20131008-144156.jpg

Posted in Food, lunch box, Main Dish, salads

Crazy Mixed-Up Caesar Salad

20130530-133020.jpg
We are not a family that often eats out. I’d much rather make “copy-cat” restaurant favorites at home. Then, I can tailor the recipe to please the whole family ( for far less money). However, there are times when we are out and about and find ourselves in need of a meal.
A couple of years ago, we went to a new restaurant for a birthday celebration. My daughter ordered a salad that looked quite interesting. She was attracted to the notion that the salad included a few of her favorite foods…noodles, romaine lettuce, and Parmesan cheese. She was quite pleased with her choice and was not disappointed with her meal. As I looked at the salad, I realized that we were paying $9 or so for a Caesar salad with noodles in it. Shortly thereafter, I duplicated the salad in my kitchen and it has since become the only way I prepare Caesar salad for my family. Adding grilled chicken makes this tasty main-dish salad a hearty meal.

Crazy Mixed-Up Caesar Salad

3 small heads of romaine lettuce, chopped into bite-sized pieces
3/4 cup bottled Caesar salad dressing (I use Marzetti’s brand)
3/4 cup Parmesan cheese, shredded (I use Kraft or Sargento Brand)
1/4 cup water
1 16 oz box of noodles, fully cooked and cooled ( I use Ronzoni Smart Taste Brand)
Croutons
Pepper to taste

In a large serving bowl, mix romaine lettuce with fully cooked and cooled noodles. In a smaller bowl, mix 1 cup of dressing with 1/2 cup water to dilute the dressing, mix to combine. Pour dressing mixture over the lettuce and noodles. Toss to coat all of the ingredients. Sprinkle Parmesan cheese over the salad and gently toss. Add croutons and pepper to taste. Serve immediately.

Posted in Crafts, Gifts

DIY – Plant Markers

20130527-223015.jpg
Every spring, when I plant seeds in my garden, I buy unique (often expensive) plant markers to identify my herbs and vegetables. It’s not that I can’t identify my plants without the markers…its just that I like the way the markers look in my garden.
Well, it never fails…by late August, the markers have faded, rusted, or have gone missing. I usually end up throwing the silly things out in November and buying a whole new batch for the next growing season. This year, visiting the paint department at our local hardware store, I got the idea of using paint stirring sticks (that are free) to make my own plant markers. While they may only last one or two seasons, at least they are reasonably priced! The girls and I had fun making them together. This is also a great gift idea for Mother’s or Father’s Day.

DIY – Plant Markers

Visit your local hardware store and ask for a few paint stirring sticks. ( We are painting our bathroom and laundry room so they gave us plenty of sticks with our paint purchase).

Supplies

Paint Stirring Sticks
Craft Paint
Permanent Black Sharpie Marker or Paint Markers
Satin Clear Spray Paint or Spray Sealer

20130528-125042.jpg

20130528-125107.jpg

20130528-125121.jpg

20130528-125138.jpg

20130528-125159.jpg
Paint both sides of the sticks with craft paint; letting them dry thoroughly between coats. Use the permanent marker to write various plant names on the paint sticks. Spray several coats of clear spray paint or sealer over entire stick. Let dry completely before putting them outdoors.

20130528-125636.jpg

20130528-125714.jpg