There’s nothing like a quiet weekend morning when all in the house are still asleep. I so enjoy tiptoeing through the kitchen to watch the sun come up while sipping a cup of freshly brewed coffee. I use this time to plan weekly meals and search my “kitchen file” for clipped recipes from years past that I’ve been wanting to try again. This “kitchen file” holds recipes from my college days, the early years of marriage, the harried years of raising young children, and the middle aged years of managing a busy work schedule. My recipe interests seem to morph depending on my stage of life. During my college years, my favorite recipes were quick and inexpensive. During the early ears of marriage, my favorite recipes showcased new and interesting ingredients. While raising my young children, as I had three children within one year, it was mandatory that my recipes be quick and easy! Now, in my middle aged years, I’m all about prepping for a week’s worth of meals so I don’t have to fuss too much after a long day of work.
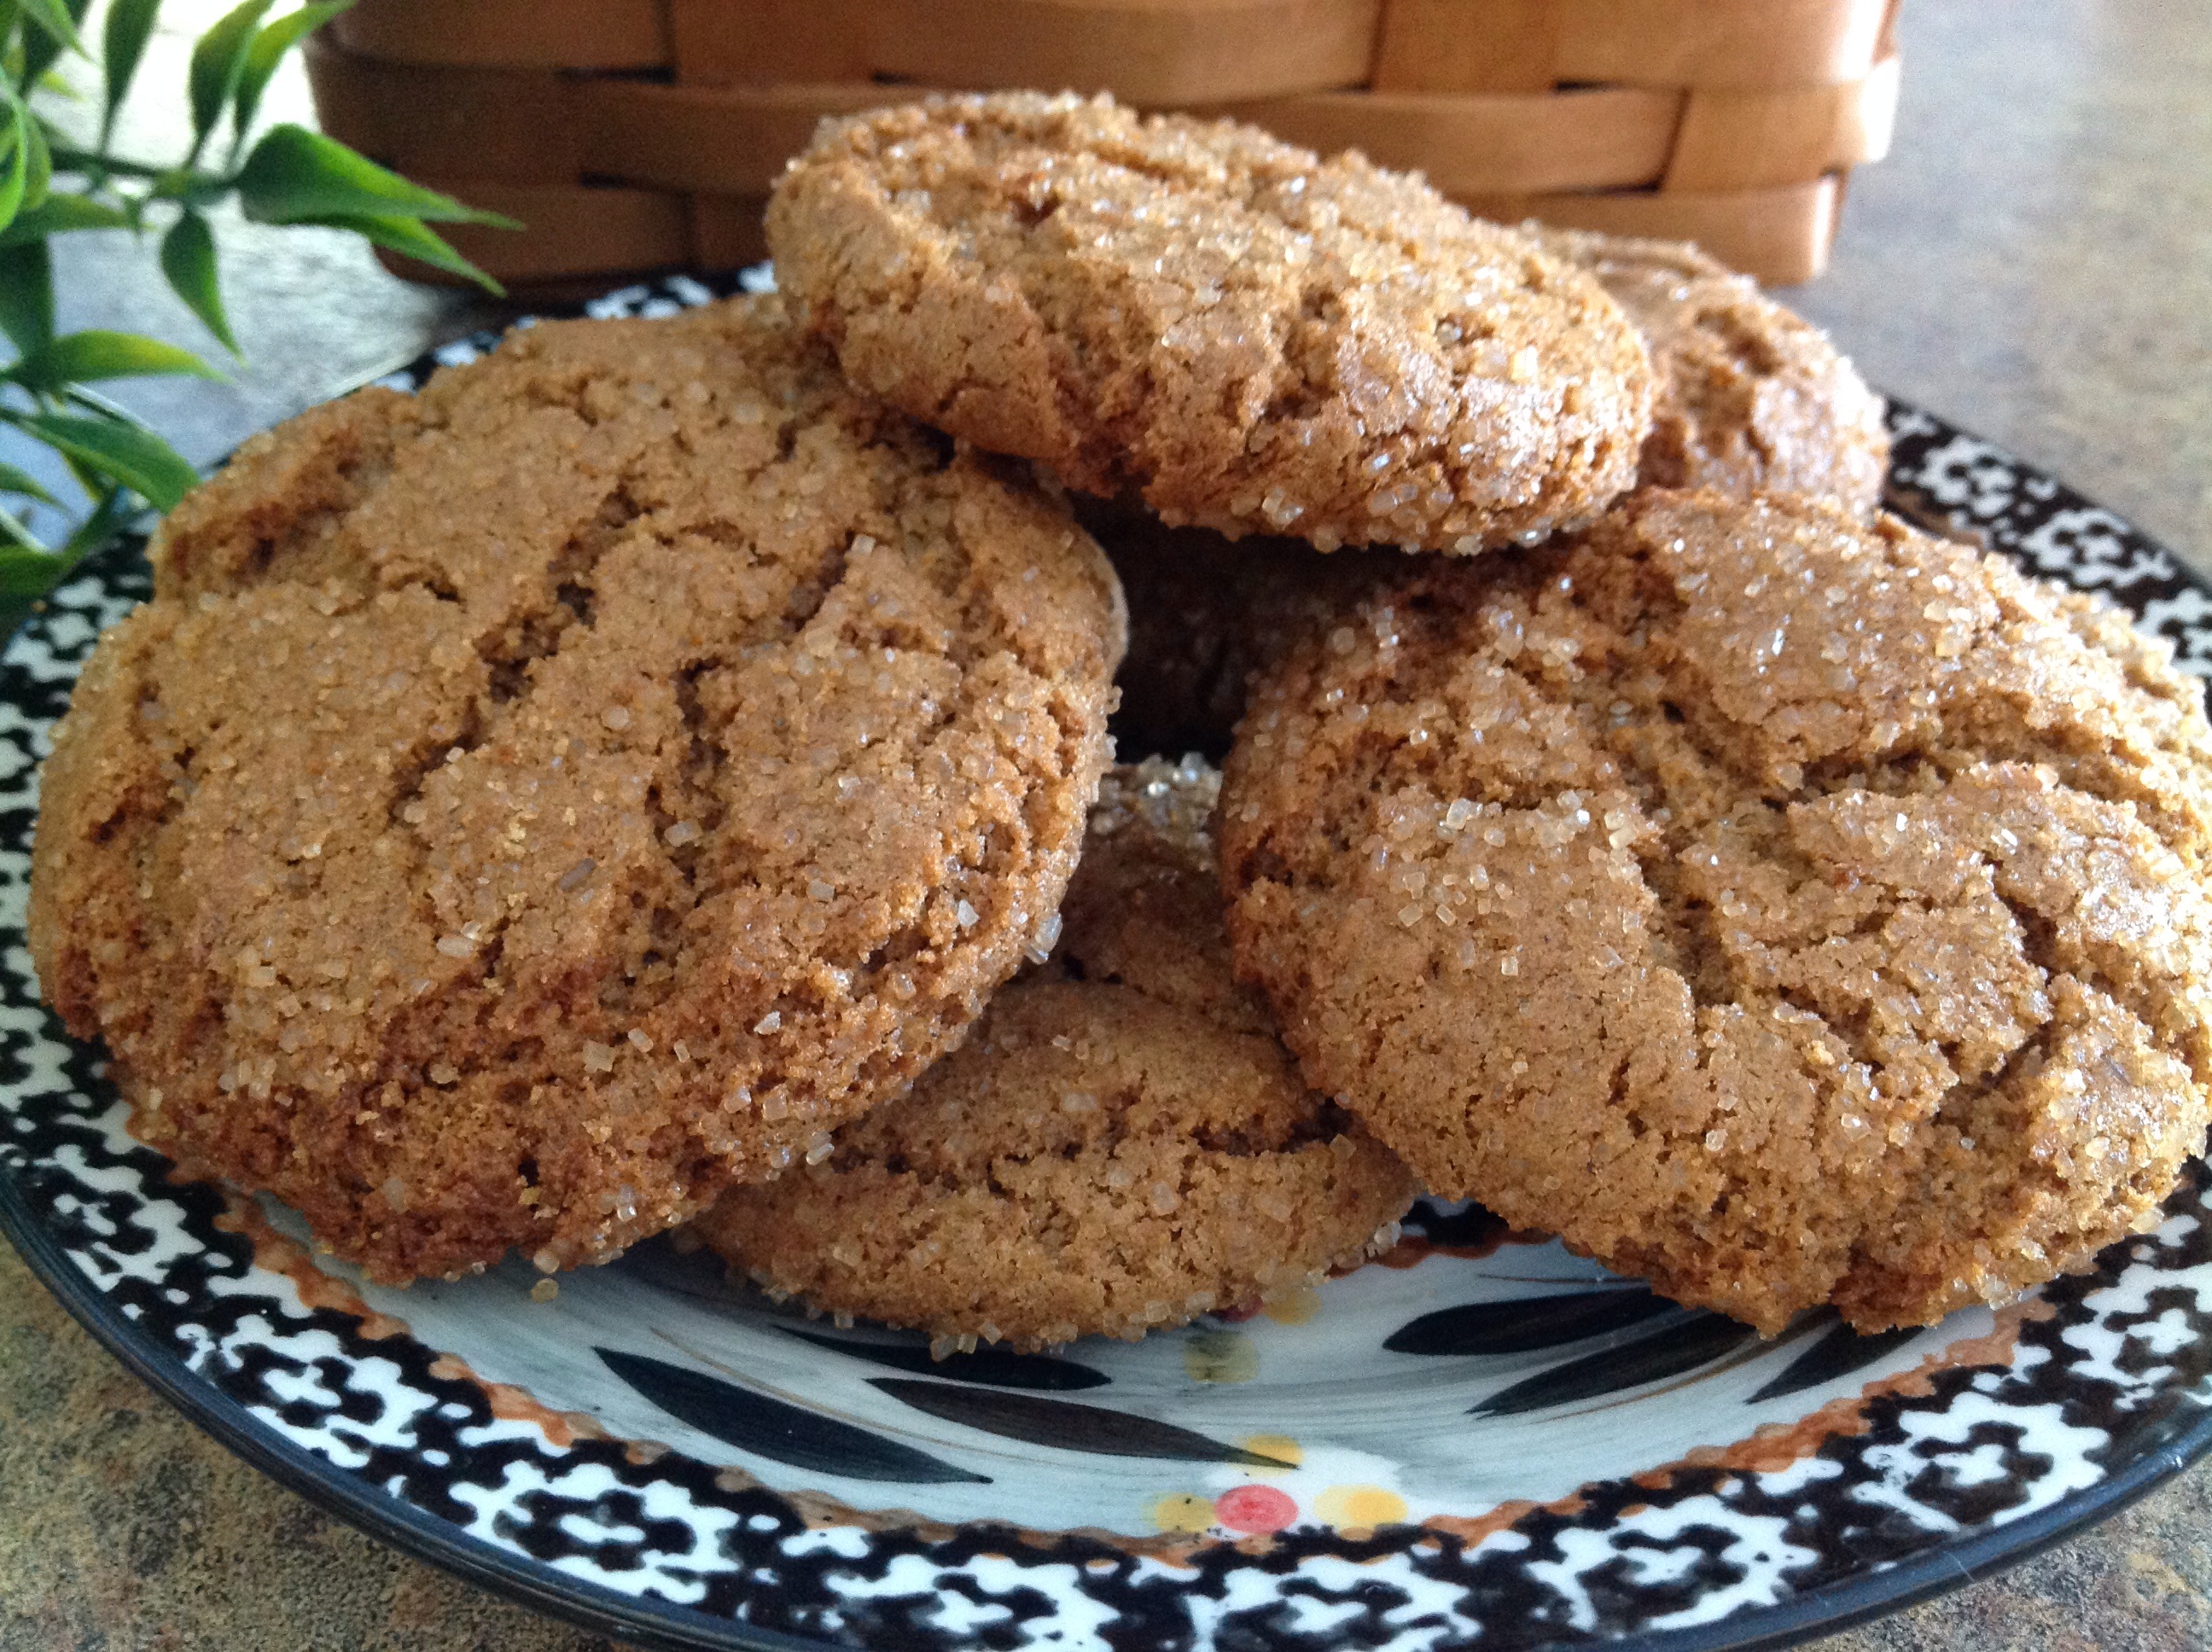
I think you’ll enjoy this recipe as my family seems to grab these cookies for any occasion. An “on the go” breakfast with a cup of tea, an afternoon snack, or a quick evening dessert… Delicious!
This is the version I make most often but I have also posted a link for a low sugar version that is delicious as well.
Crispy Ginger Snaps
2 cups flour
2 teaspoons baking soda
1 1/2 teaspoons ground ginger
1 teaspoon ground cinnamon
1/2 teaspoon kosher salt
1/4 teaspoon ground allspice
1/4 teaspoon ground cloves
1/2 cup margarine, softened
1/4 cup unsalted butter, softened
1/2 cup brown sugar, firmly packed
1/2 cup sugar
1/4 cup molasses
1 large egg
1/4 cup turbinando sugar
Preheat the oven to 350 degrees. In a medium bowl, whisk together the flour, baking soda, ground ginger, cinnamon, salt, allspice and cloves. Set aside. In a large bowl, combine the margarine, butter, and brown sugar and sugar. Beat until light and fluffy. Next, add the molasses and egg, beat until fully combined. Add the flour/oat bran mixture to the wet ingredients; mix until combined.
In a small bowl, pour in the turbinado sugar. Roll the dough into 1″ balls, then roll in the sugar. Place on a baking sheet roughly 2″ apart. Bake at 350 degrees for 10-12 minutes. Slightly cool before removing from baking sheets to cool completely.
For a healthier version of this recipe try this website…
http://amyshealthybaking.com/blog/2014/12/11/soft-baked-ginger-cookies/


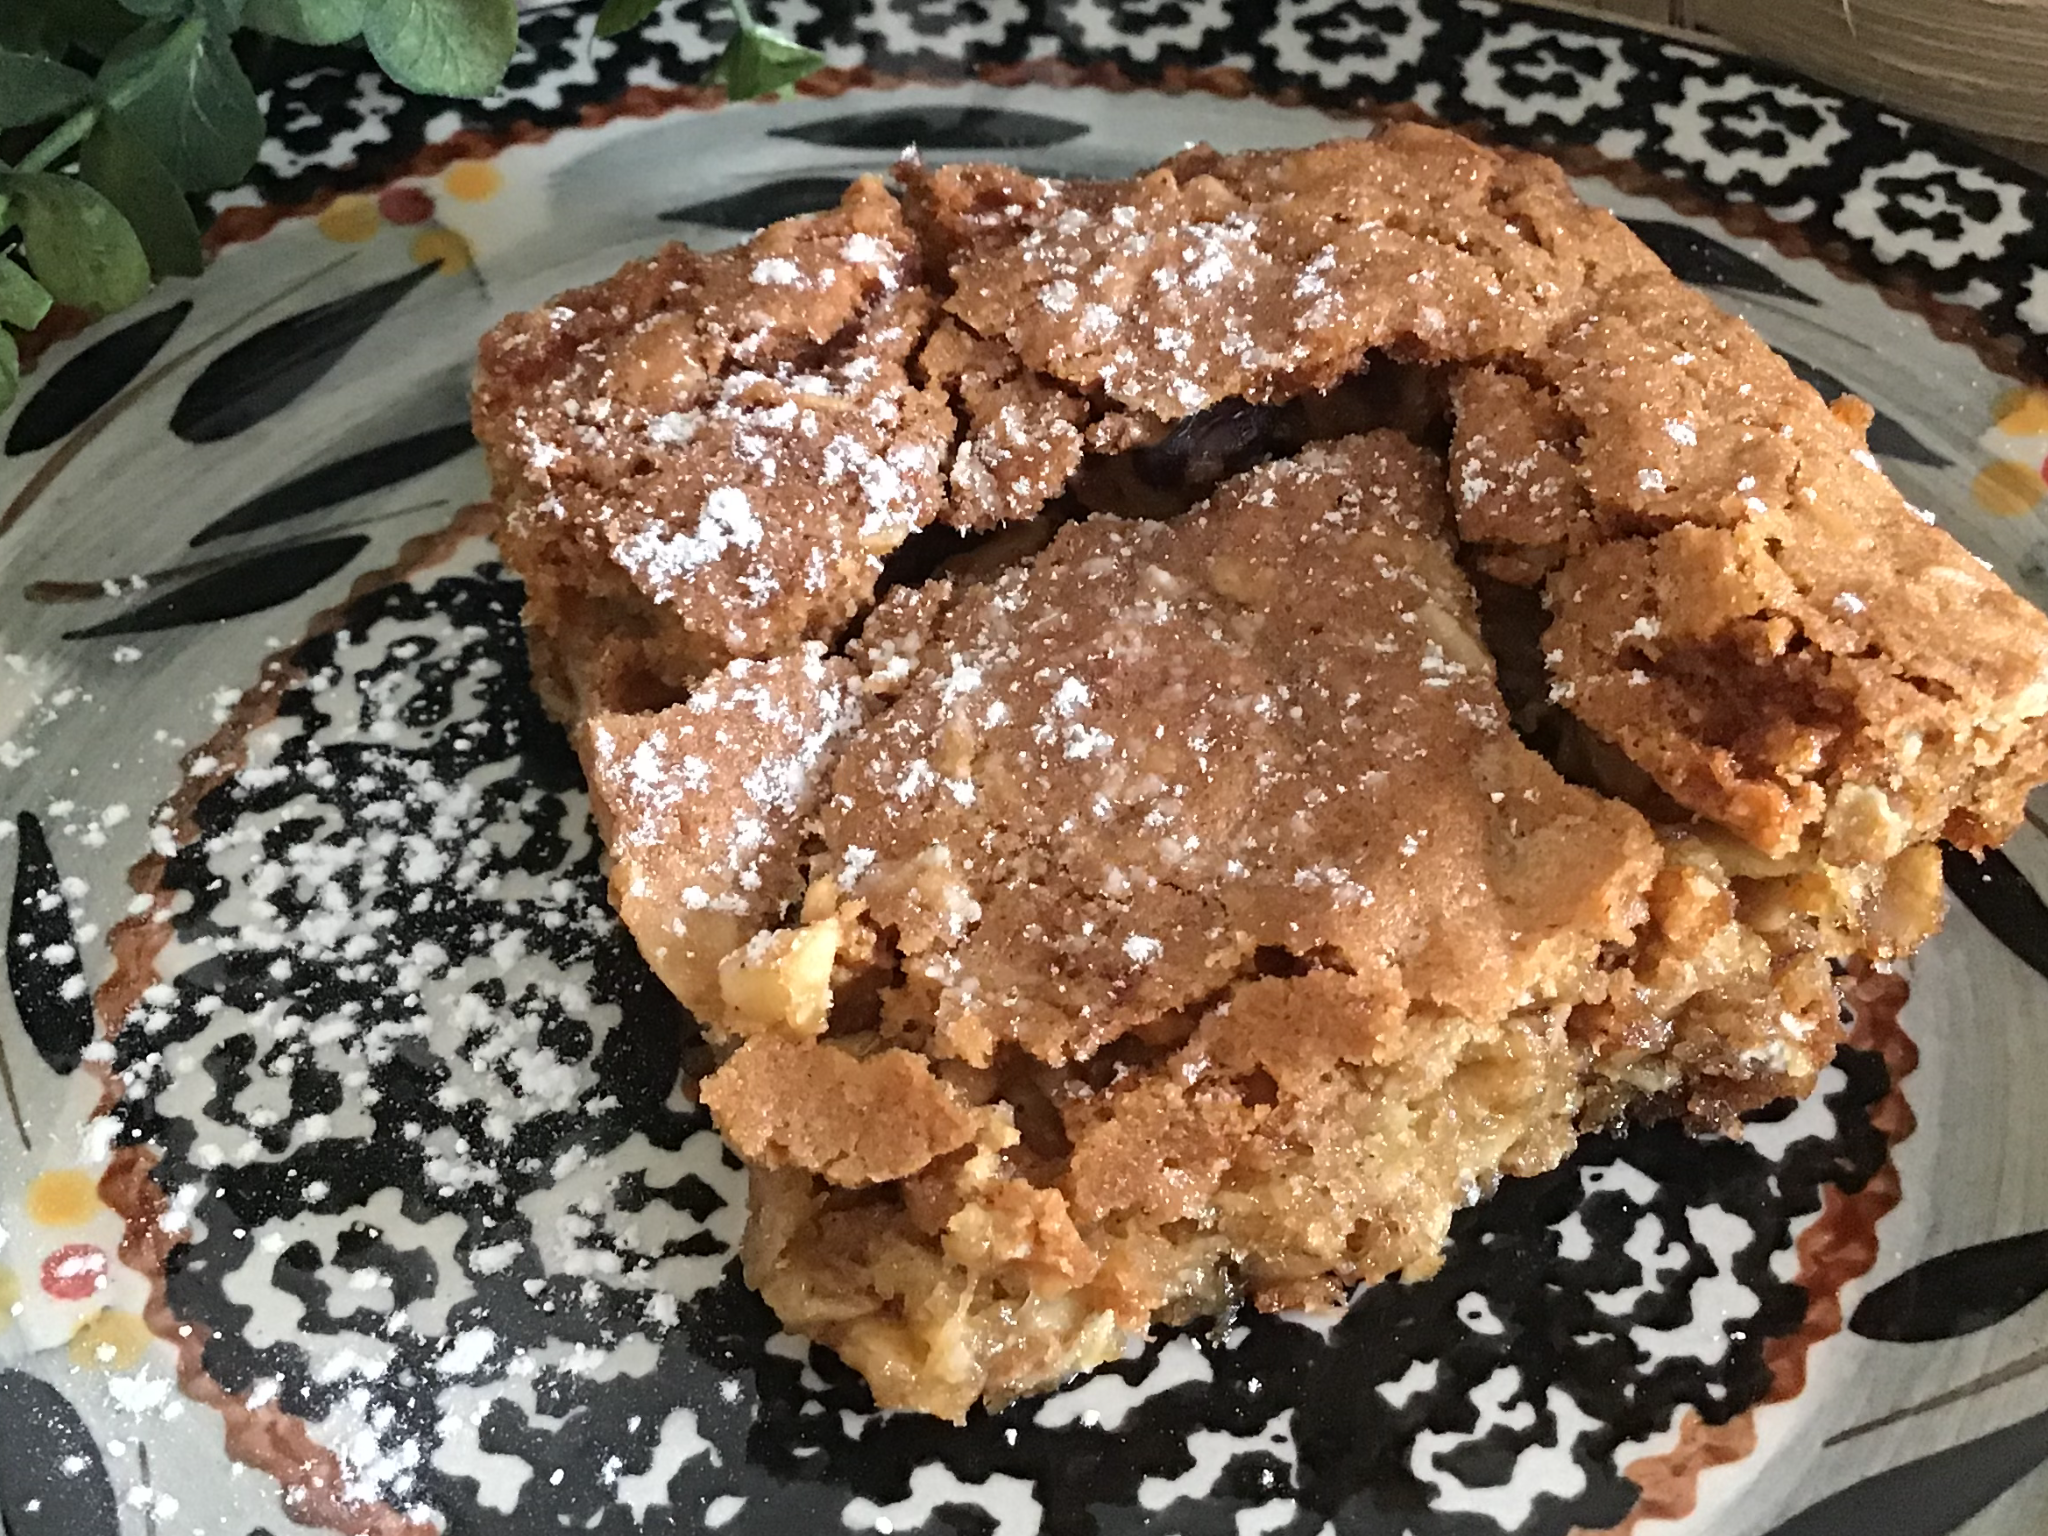 This recipe takes a (slightly) healthier spin on a traditional bar brownie. A couple cups of old fashioned oats act as a substitute for a hearty helping of cocoa. When munching on these tasty squares, I am often reminded of a few other family favorite recipes. The flavors are a cross between a sweet crunchy oatmeal cookie and the hearty texture of my baked oatmeal. Adding a hearty helping of chopped walnuts adds a bit of crunch to an ooey-gooey oat-filled center. Pair this sweet treat with a tall, cold glass of milk, or a piping hot cup of tea.

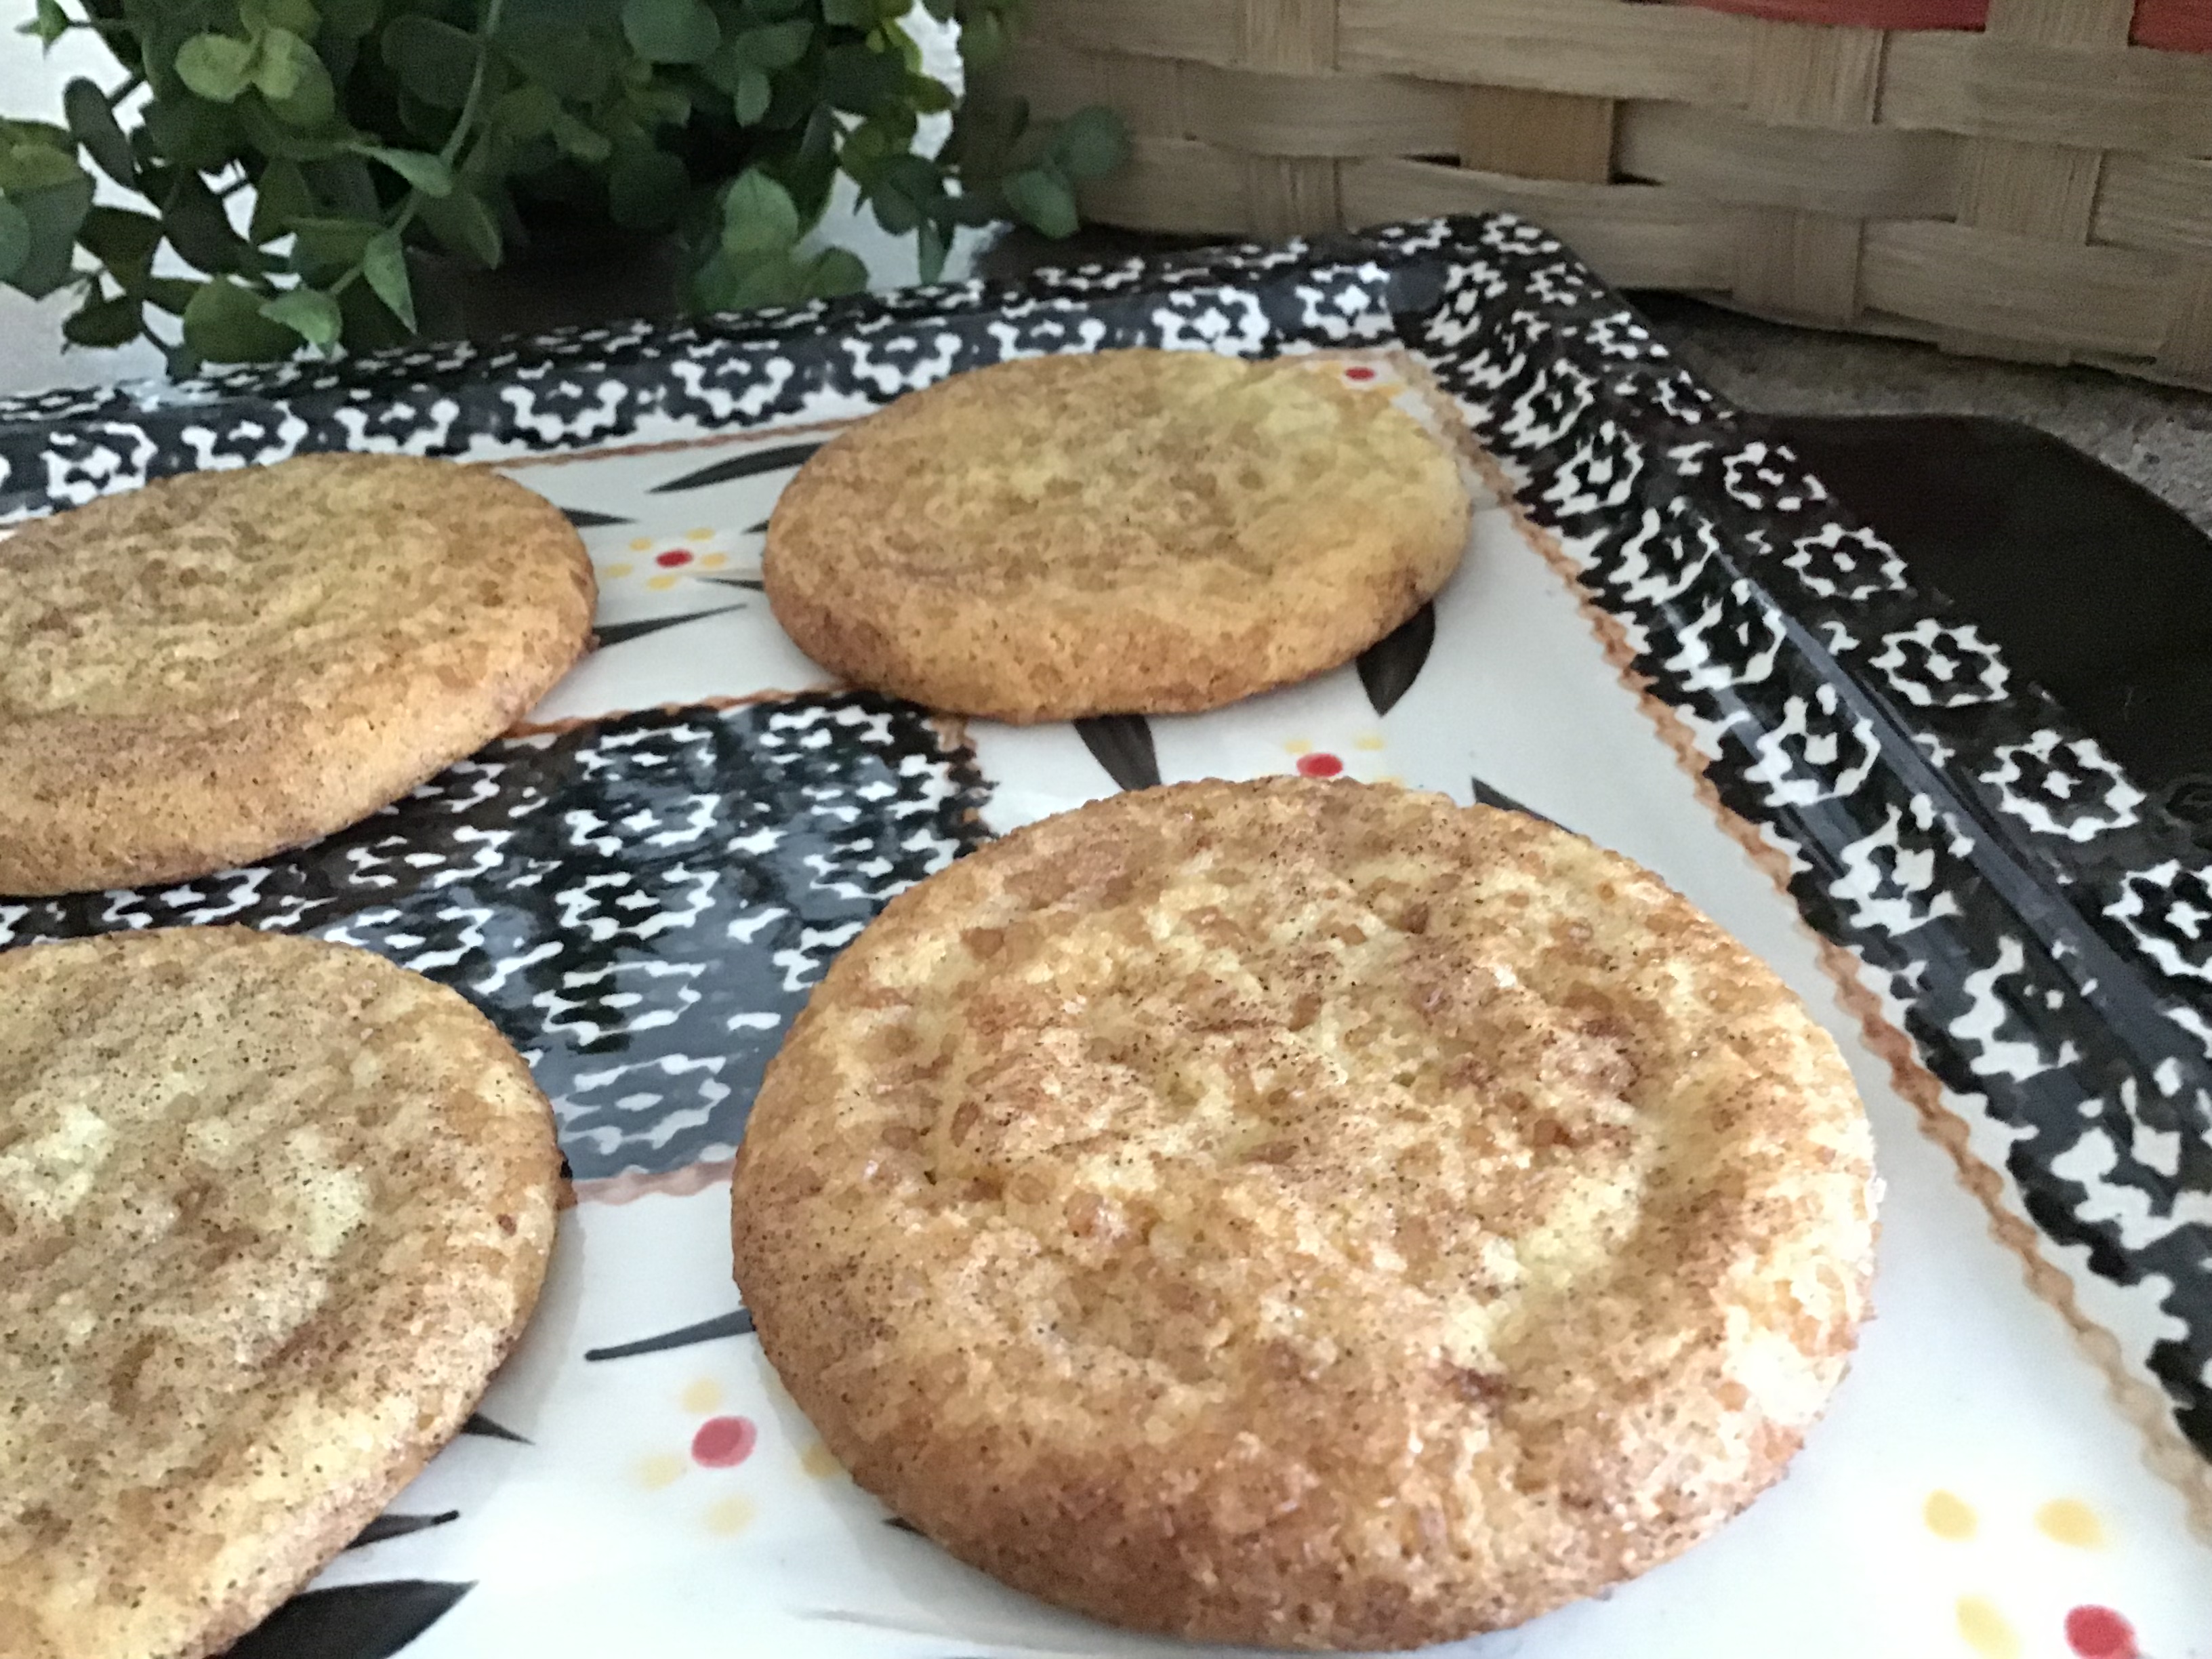 This is a crazy easy short-cut, if you’re looking for a last minute Christmas cookie recipe. A semi-homemade treat that combines a pouch of cookie mix with a little cinnamon and sugar makes these cookies taste honey bun yummy! I use turbinado sugar for a crunchier exterior, while the interior stays moist and flavorful.


 For those of you trying to reduce the amount of refined sugar and processed white flour in your diet, this is a doozy of a cookie. I stumbled on a version of this recipe several years ago when the only readily available sugar substitute on the market was Splenda. Since then, the options are abundant when choosing sweeteners to add to baked goods. For this particular recipe, I use a mixture of unrefined coconut sugar and a brown sugar substitute blend to sweeten the batter. The result, an absolutely delicious cookie that everyone is sure to enjoy. Tuck them away in a safe place after they’ve cooled or they’ll be gone in no time at all!

