Posted in Baked goods, Baking, breakfast, Brunch, Casserole, eggs, Uncategorized

Veggie Egg Bake

Our local library hosted a book sale this weekend. We love books so we headed to the library bright and early on Saturday morning. Before heading out, I popped this egg bake in the oven as my garden was full of fresh veggies and herbs. Served alongside fresh fruit, this is a great light summer breakfast item that is sure to please the entire family.

Veggie Egg Bake

6 large eggs
1/2 cup milk
1/2 onion, diced
1/2 bell pepper, diced
1 cup cherry tomatoes, sliced
2 tablespoons fresh dill, chopped finely
3/4 cup cheddar cheese, shredded
salt & pepper, to taste


Grease an 11×7” baking pan with cooking spray.
Preheat oven to 350 degrees.
Crack eggs into a large mixing bowl. Add milk and whisk well. Add onion and bell peppers, tomatoes, and salt and pepper and stir to combine.
Add mixture to casserole pan; sprinkle dill and cheese evenly over top.
Bake for 30-40 mins or until cooked all the way through.
Let stand for 5 minutes before cutting.

Advertisement
Posted in Crafts, Gifts, Sewing

Machine Embroidered Sweatshirt

My daughter had seen one of the famous Fixer Upper hosts wearing a sweatshirt with the words, “Book Club” screen printed onto the front of the garment. Being an avid reader, she immediately declared her desire to have a shirt like this for Christmas. After looking up the cost for said sweatshirt, I decided to make one of my own using my trusty embroidery machine. Carefully reviewing the garment, I quickly found a few heather colored sweatshirts at the discount store and identified a font that would work the the “Book Club” design. I didn’t care for the font used in the original design so I settled on a text style that looked just like one found when reading a book; a contemporary spin on Times New Roman. Here are the steps I used to embroider font or text onto the front of a basic medium-weight sweatshirt.

Use a temporary spray adhesive (found in the sewing department) to adhere a piece of medium weight stabilizer to the wrong side of the fabric. Make sure the stabilizer is large enough to cover and extend beyond the outside of your embroidery hoop.

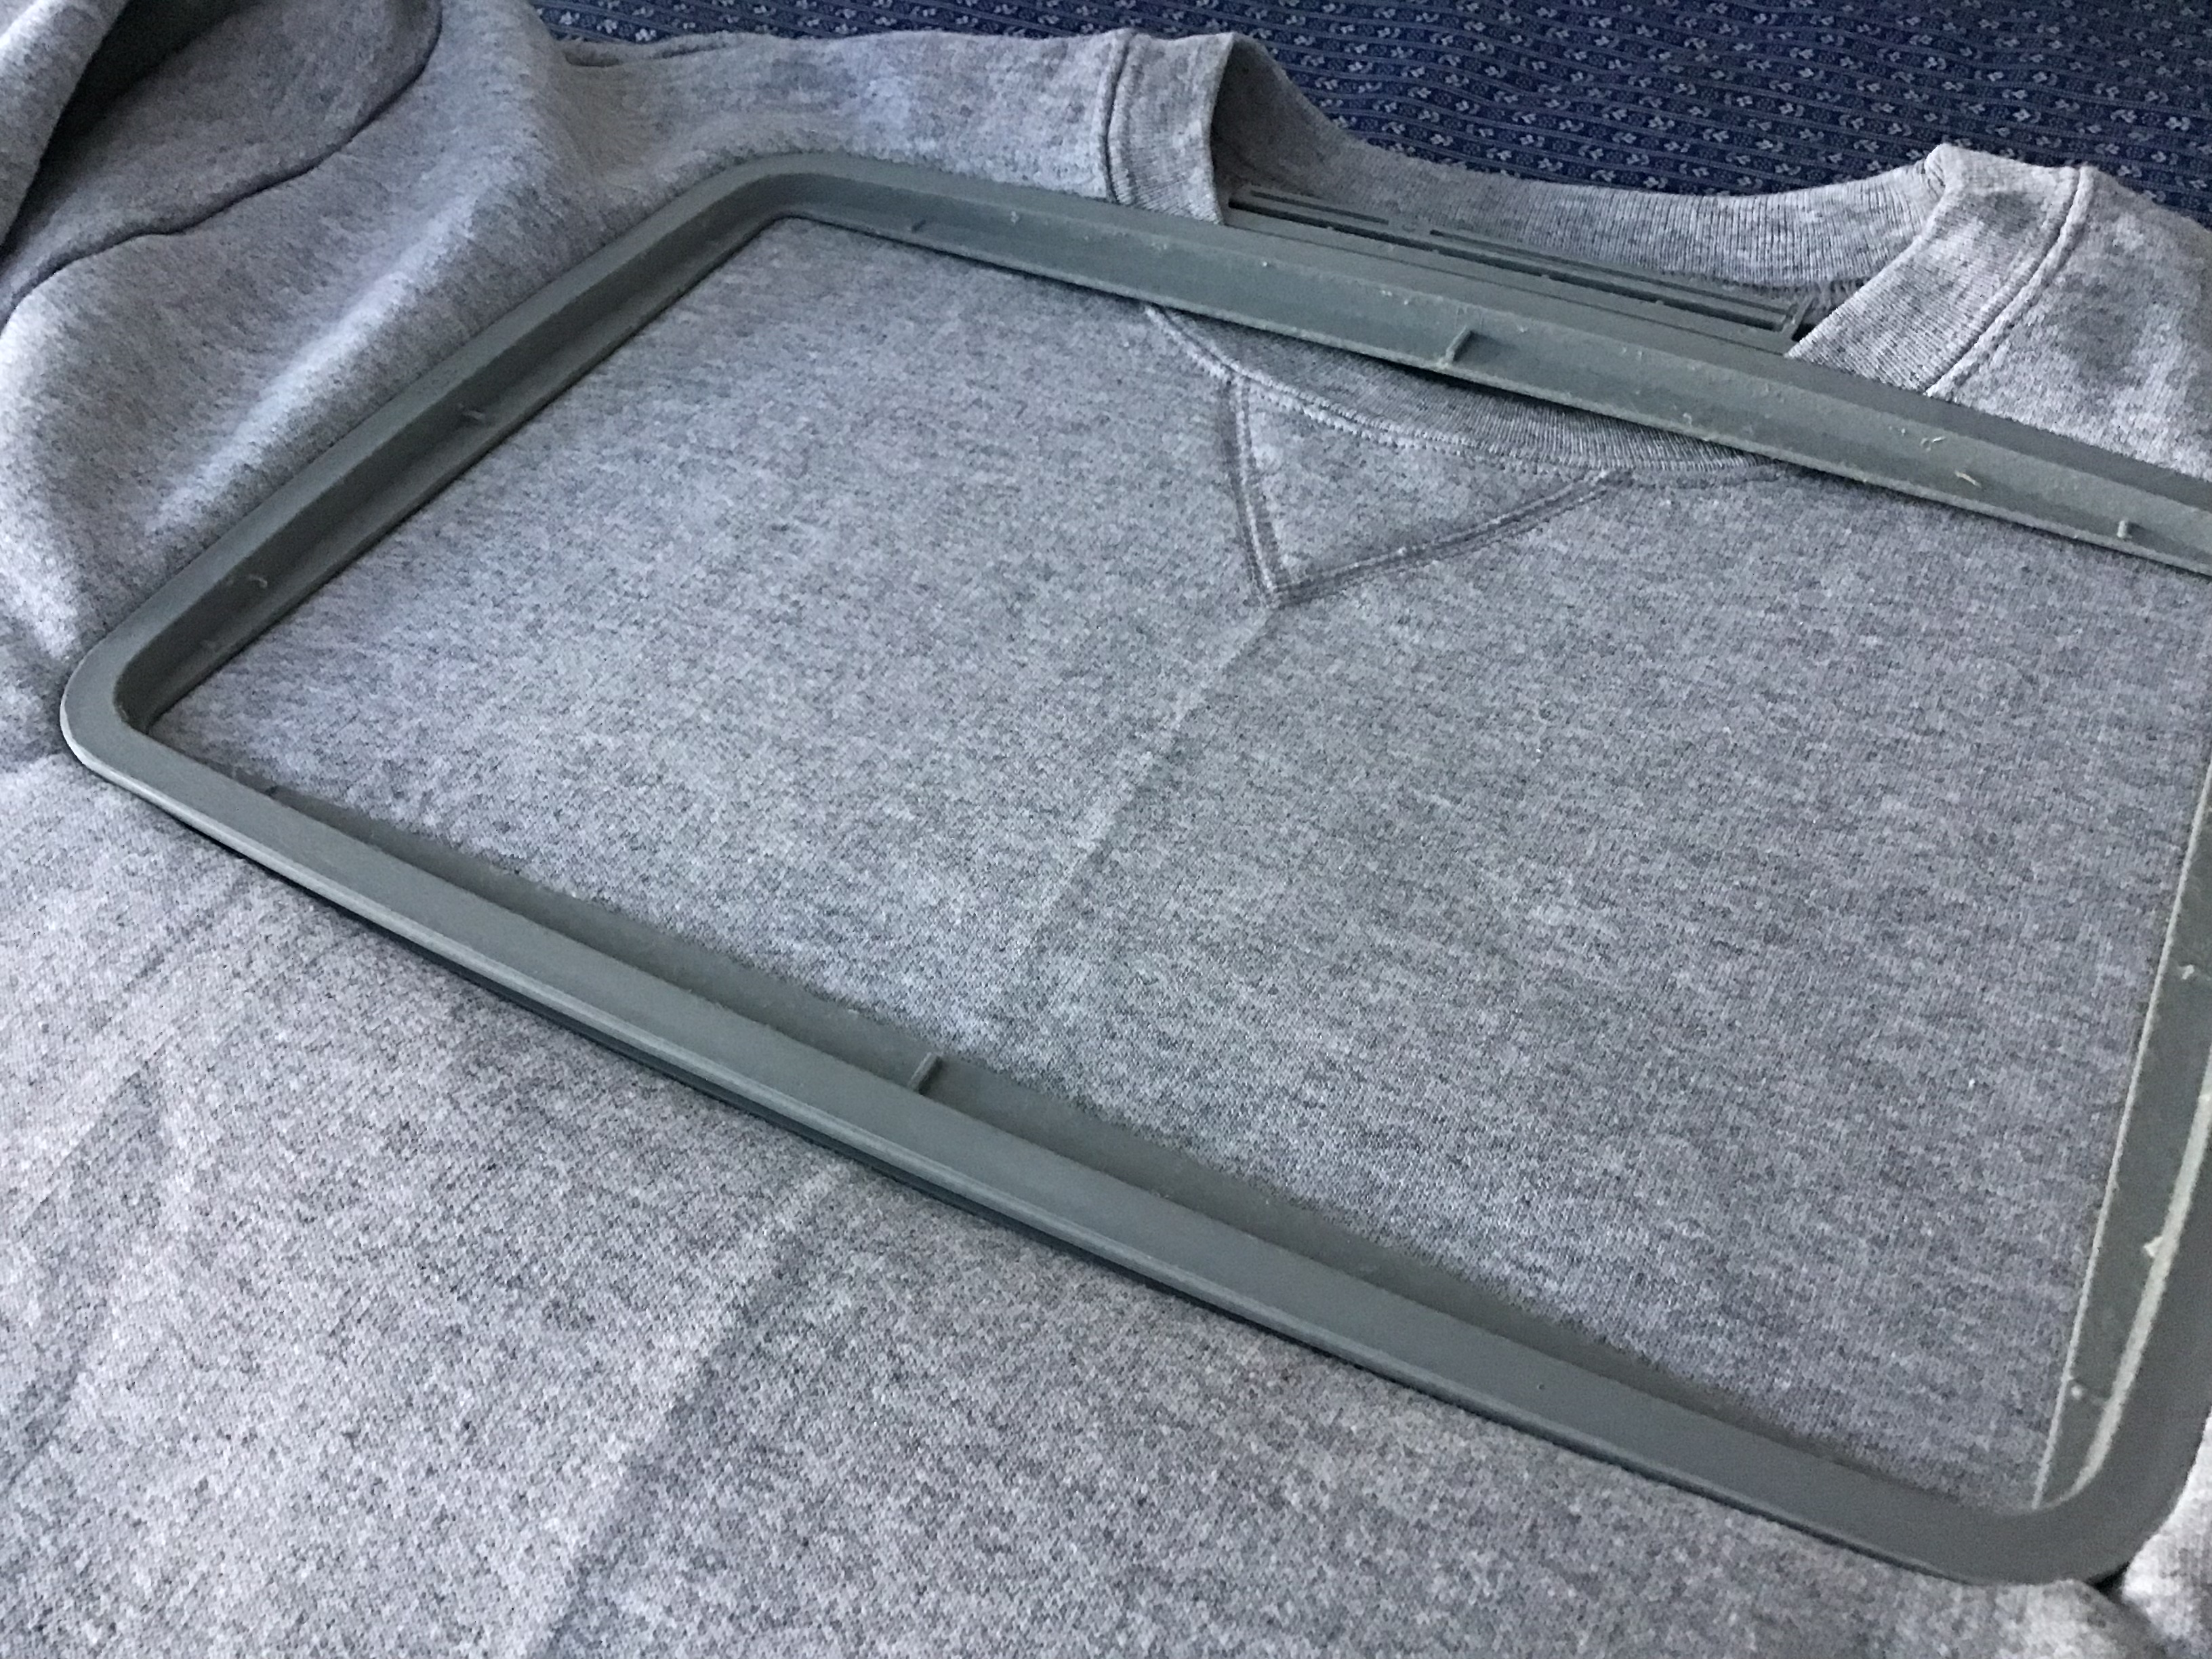
Crease the sweatshirt to find it’s center and position the embroidery hoop paying close attention to desired design placement.

Audition various threads to decide which will work best for your design. I used a heavy weight black thread for the book style font.

After you have created your design (I use my laptop), send the design to your sewing machine and begin sewing.

I usually stay with the machine for a simple design and trim threads when possible.

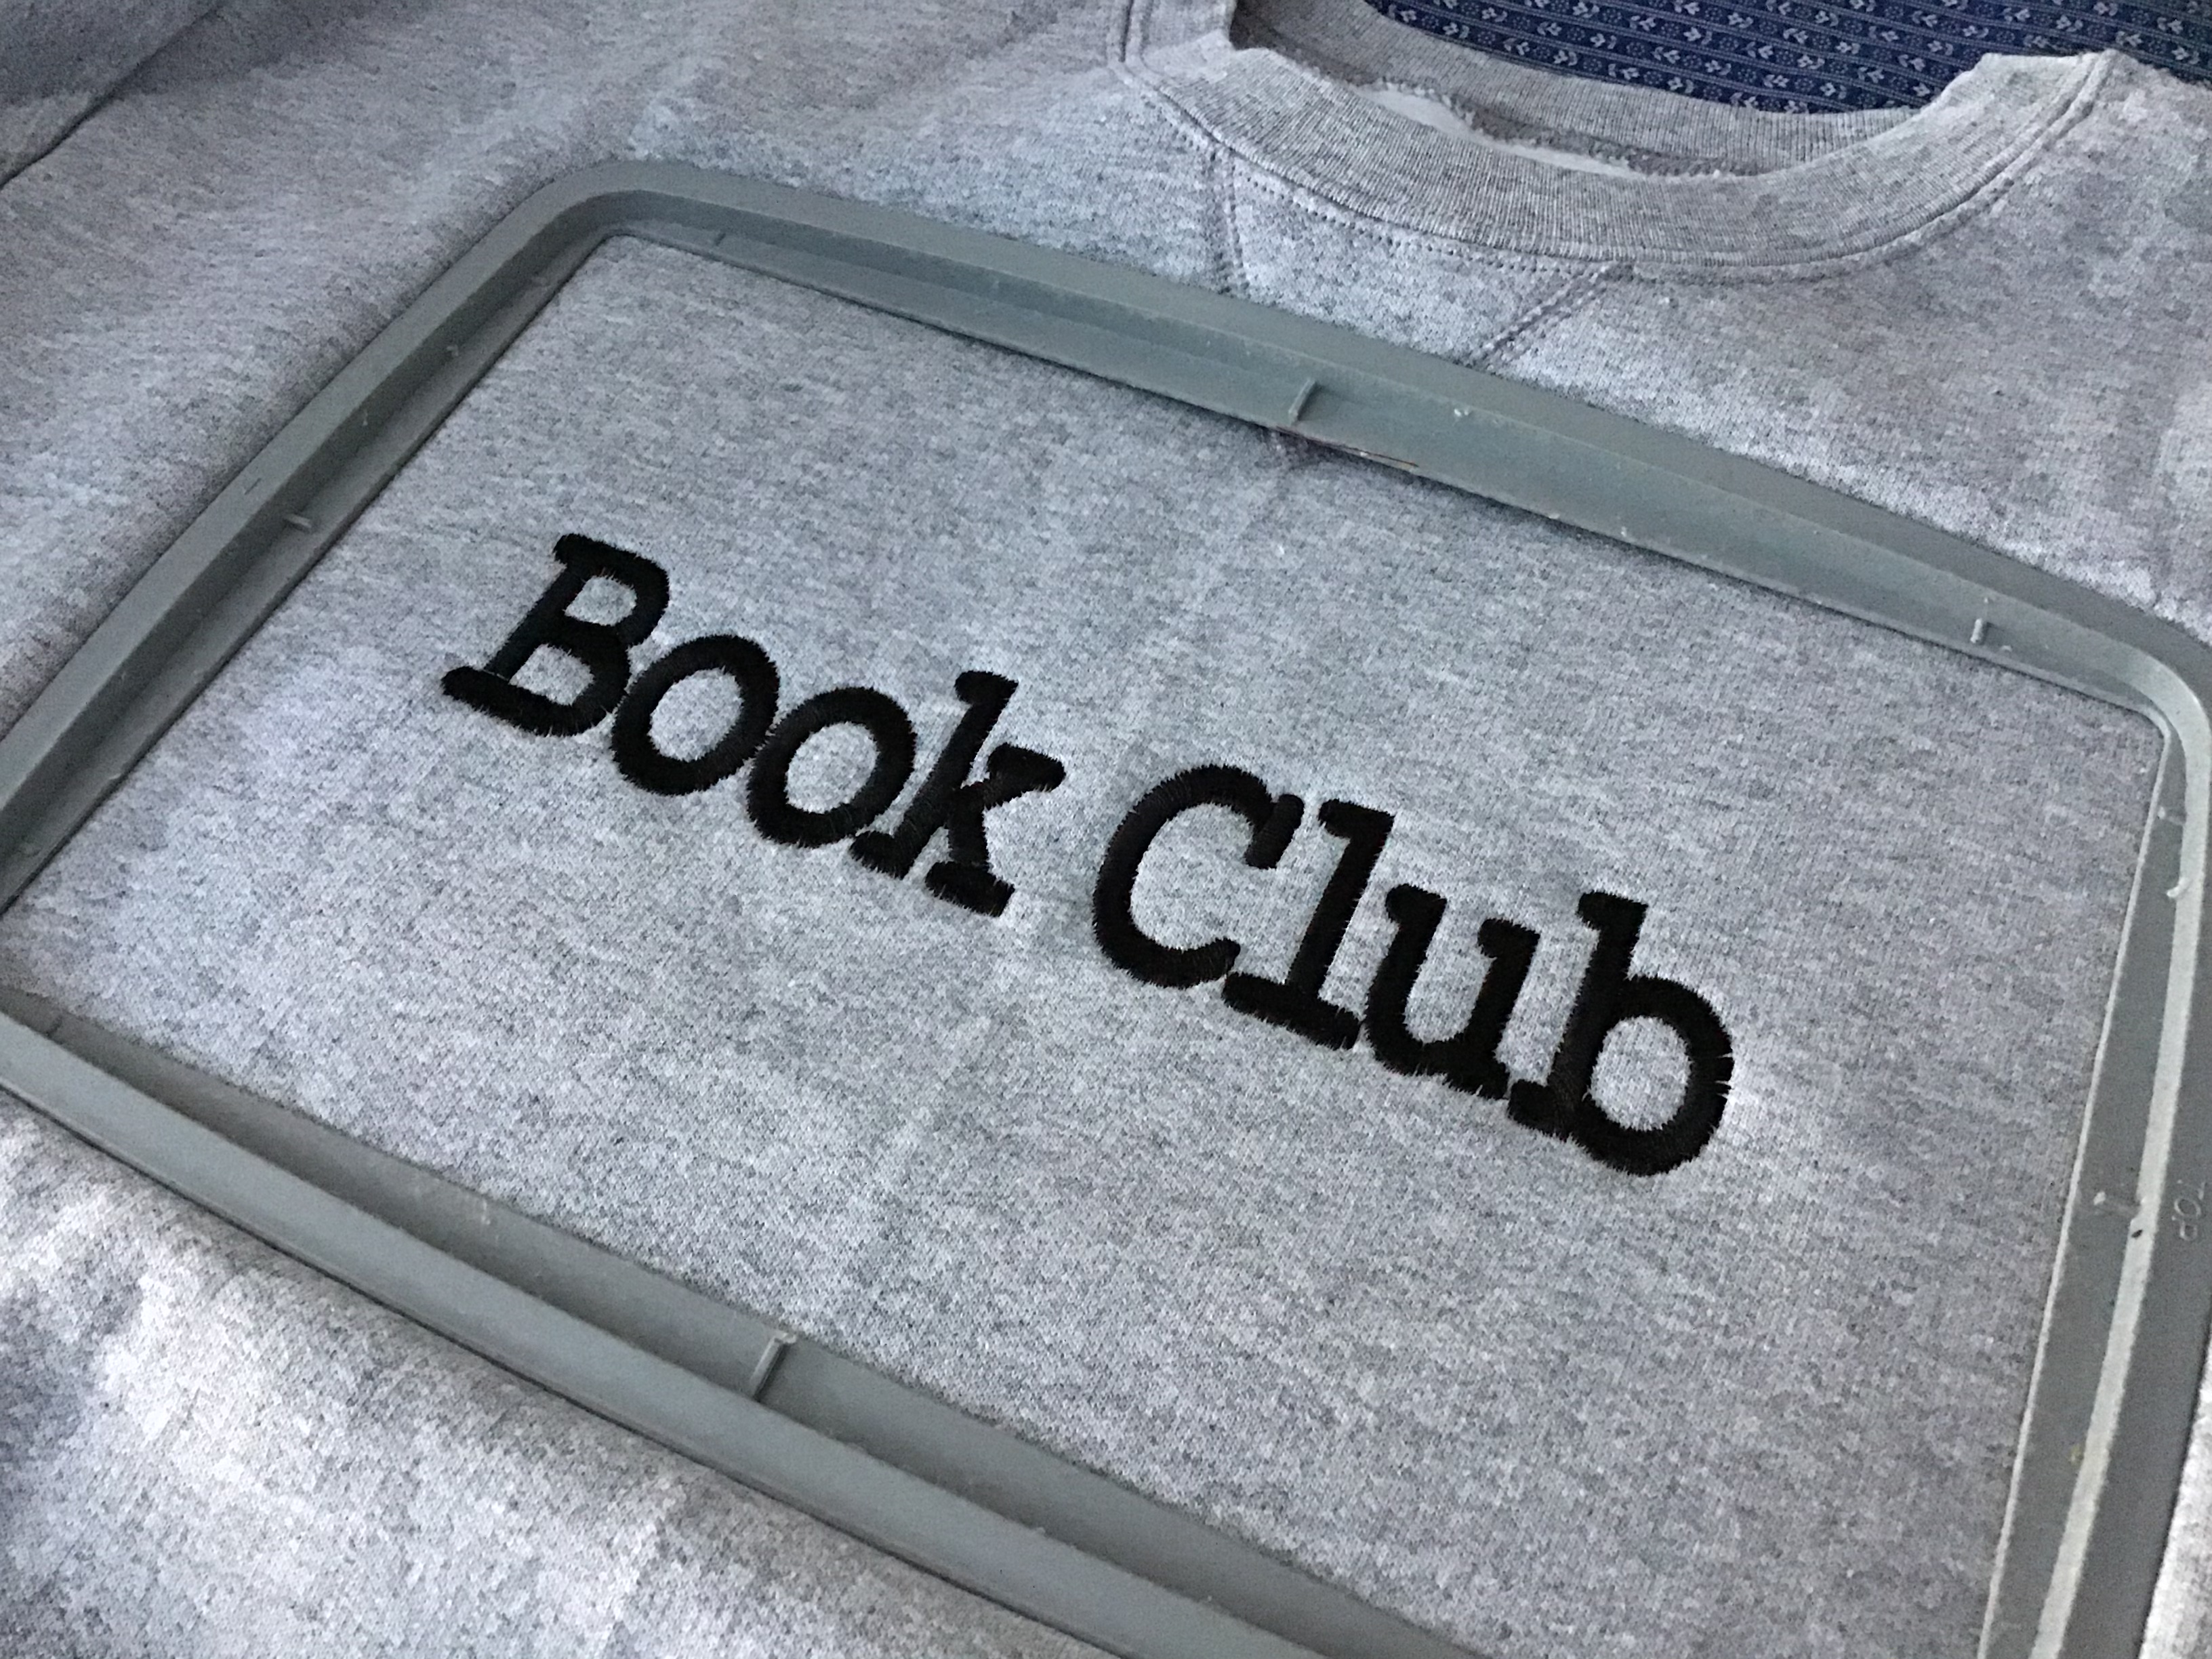
When the machine has completed the design, remove hoop from the embroidery arm and trim any threads carefully.

Remove hoop and turn the garment inside out to sparingly trim threads from the back of the design. I usually leave connecting threads intact to further secure the design. Trim stabilizer, if needed.

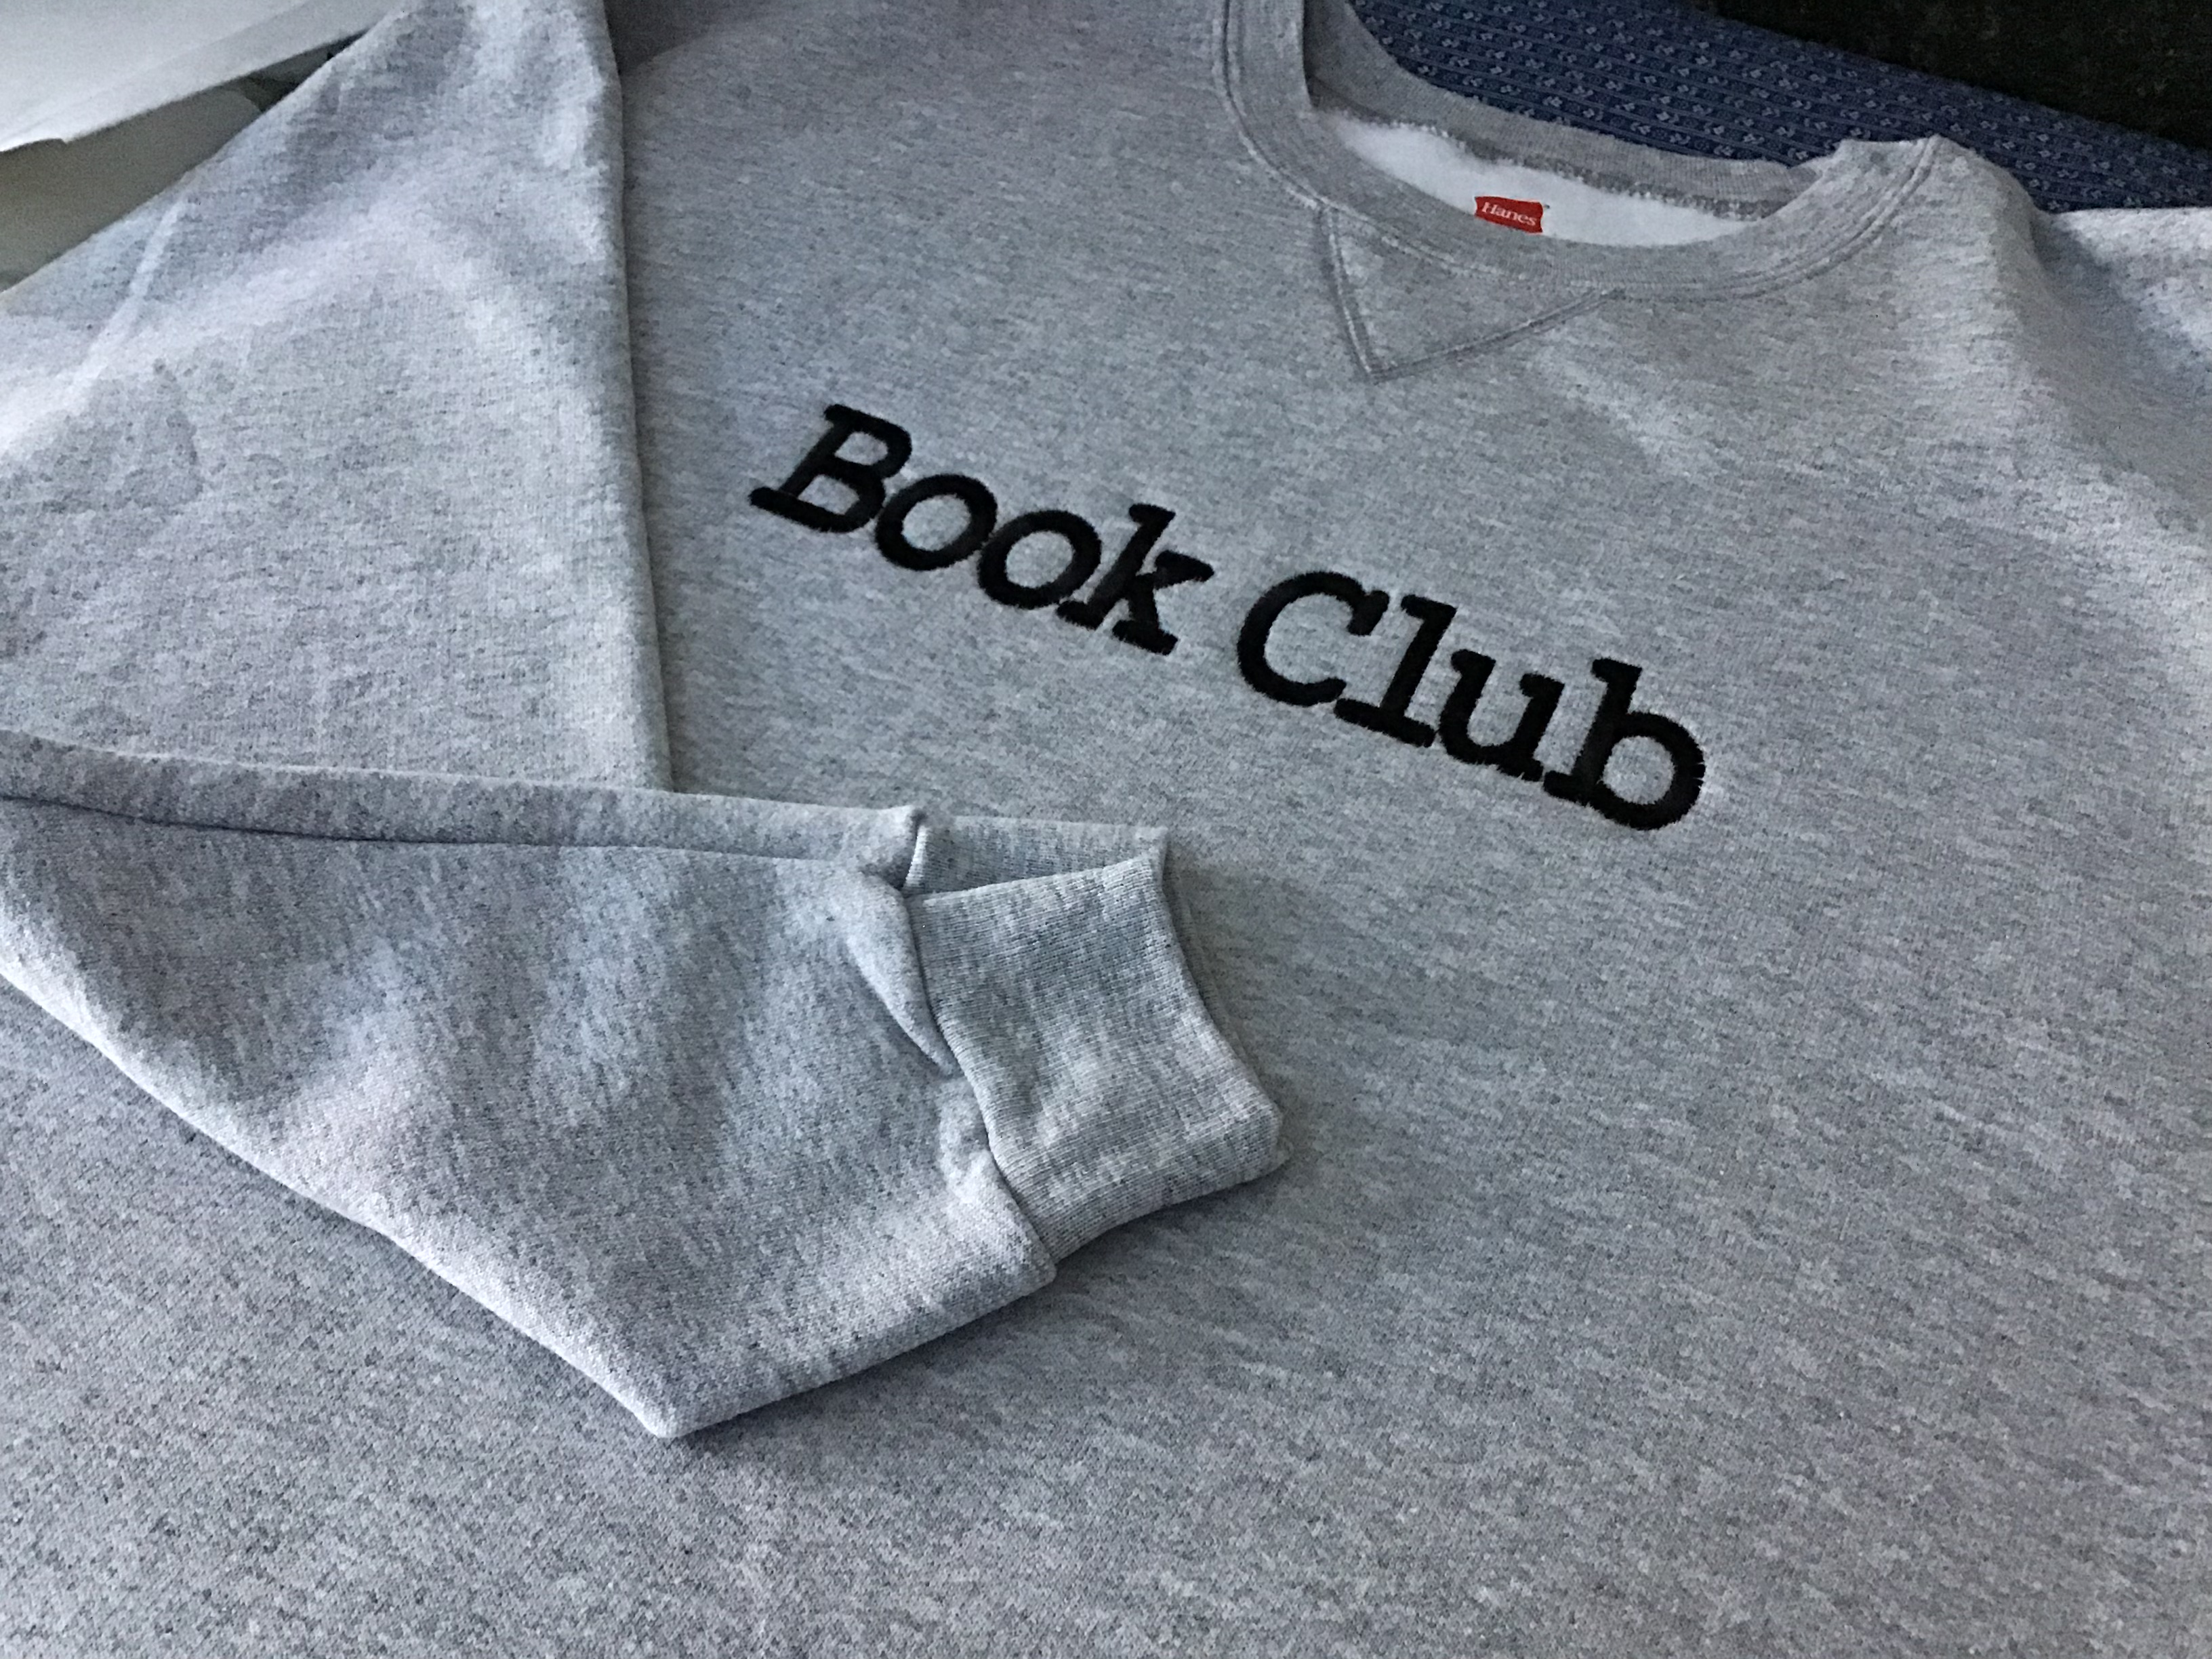
With a thick pressing cloth or towel, carefully iron the crease out of the center front area.

Fold the sweatshirt neatly and get it ready for gift giving…

Have fun creating other “book related” designs…

Posted in Crafts

Our Very Own Little Free Library


For the past several months, I’ve been working with a local literacy coalition to help promote the love of reading in our schools and regional communities.  One of the ideas that we proposed was to promote Little Free Libraries in our urban and rural environments.  I figured the best way for me to promote this idea was to create one myself.  

Throughout the campaign we’ve been stressing the use of recycled materials and simplistic design.  When I presented the idea to my husband, the creative juices began to flow and he soon constructed this adorable residential Little Free Library.  To learn more about constructing and registering your very own LFL, visit littlefreelibrary.org

This is a grass roots movement and the LFL site includes a world map where registered LFL locations are posted so that those interested in doing a tour or an afternoon bike ride to visit all of the “mini libraries” in their area can print the map and get going.

As I mentioned earlier, we promote the idea of using simplistic, recycled materials to bring to life this lovely idea to stress the importance of reading in your community.  Use old furniture, large baskets, cartons, or plastic tubs to make inexpensive, upcyled models.  My husband found scrap wood and other building materials to make this LFL for our home.  His skill level might be better than most but don’t stress about the perfect model.  Stick with your skill level and be as simplistic or as ornate as you like.  Check out all the images on the site to inspire ideas for your very own Little Free Library.


Posted in Baked goods, Baking, Bread, Cake, cookies, Desserts, Food, lunch box

Plain Jane Blondies

IMG_4673
My daughter called last week and asked if I still had this simple blondie recipe in my kitchen library. It had been so long since I had made them, I had to search through some of my old magazine clippings to find the recipe she was referring to. It’s modeled after the recipe used in the Nancy Drew Movie about the teenage detective in the series of mystery novels that we often read as a child. In the movie, Nancy used these treats as a tool of bribery to gain information and solve her latest mystery. When the Nancy Drew movie came out, my youngest daughter became so enamored with the young mystery sleuth that she asked me to make the popular Nancy Drew shoulder bag with lots of room for gadgets and note taking materials specifically selected for her make believe adventures. She took the bag everywhere. She especially enjoyed showing off all of the clever gadgets tucked neatly inside the mystery solving bag. A couple of years ago, I donated it to Good Will Industries, but now I am wishing that I would have kept it for future generations of mystery sleuths.
The original “Nancy Drew Blondies” were much thicker so I’m assuming her recipe was baked in a 9X9″ pan. In the movie, Nancy entices others when she opens a cute, round, stainless steel tin and inside sits a perfectly shaped, moist and scrumptious looking blondie. Well, my recipe isn’t quite as famous, but we sure enjoy the taste. That’s why I have named my recipe…Plain Jane Blondies.

Plain Jane Blondies

2 /14 cups flour
2 1/2 teaspoon baking powder
1/2 teaspoon salt
1 1/4 cup packed brown sugar
1 1/4 cup sugar
3/4 cup butter, softened
3 eggs
1 teaspoon vanilla extract
1/2 cup finely chopped walnuts (optional)

Preheat oven to 350 degrees. Lightly grease a 9 x 13″ pan.
Sift together flour, baking powder and salt and set aside. In large bowl, beat together butter, sugars, egg and vanilla until smooth.
Stir in the flour mixture and the nuts until well blended. Spread evenly in prepared pan. Bake 35-45 minutes. Cool completely and cut into bars with a sharp knife.