Posted in Beef, Bread, Crock pot, Instant Pot

Instant Pot Italian Beef Sandwiches

I recently bought an Instant Pot as I had been hearing so many wonderful things about its quick cooking ability. I am a huge fan of the slow cooker so it’s taken me a while to accept this new appliance. I had a chuck roast in the freezer and felt trying my Italian Beef recipe using this new method. I usually cook the roast in the crock pot for several hours. The Instant Pot would allow me to have a meal on the table within 1 1/2 hours. I especially liked that I could sear the outside of the roast before adding the remaining ingredients to the same pot. This brings added flavor to the dish and is a step that can’t be accomplished in the slow cooker.

The sandwiches tasted great! I’ll be using this pressure cooker much more as I continue to experiment and discover new recipes.

Instant Pot Italian Beef Sandwiches

1 chuck roast (approximately 3 lb.)

1 teaspoon salt

1/2 teaspoon ground black pepper

1 cup beef broth

8 oz. sliced pepperoncini peppers with juice

6 sandwich rolls

Slices provolone cheese

Season roast with salt and pepper. Drizzle one tablespoon canola oil in the Instant Pot. On sauté setting, sear roast on all sides. Remove roast, add beef broth. With a wooden spatula, scrape bits of beef from the bottom of the pot. Return beef roast to pot and top with pepperoncini peppers with juice.

Place lid on Instant Pot, turn vent to SEALING position, and hit PRESSURE COOK for 70 minutes. Pot will take a few minutes to come to pressure, then cook for 70 minutes; listening for final beep. Allow 10 to 15 minutes natural release, then do quick release to release remaining pressure

When pin drops, open lid, and shred or slice beef. Return meat to pot to soak up more juice, or spoon over sandwiches. Top beef with provolone cheese and mild Italian giardiniera mix.

Advertisement
Posted in Baked goods, Baking, Dinner, Food

Colorful Stuffed Peppers

While gathering produce during my weekly shopping trip, I noticed an abundance of beautifully colored bell peppers piled high in the sale bin as I entered the store. I realized that it had been a very long time since I had made stuffed peppers so I went through a mental checklist of all of the ingredients I would need to make the dish for our Saturday night meal. When picking peppers for this recipe, I was careful to select large, wide, flat-bottomed peppers that would sit nicely in my baking dish. As luck would have it, ground beef was also on sale, so I purchased several pounds of the 93/7% mixture. I love to stock up on versatile meat options, bring them home and divide them into meal-sized portions for the freezer. This allows me to have plenty on-hand, when needed. Here’s how I divided things up:

2 lbs kept for the stuffed peppers

2 lbs were made into hearty hamburger patties, placed in freezer safe container

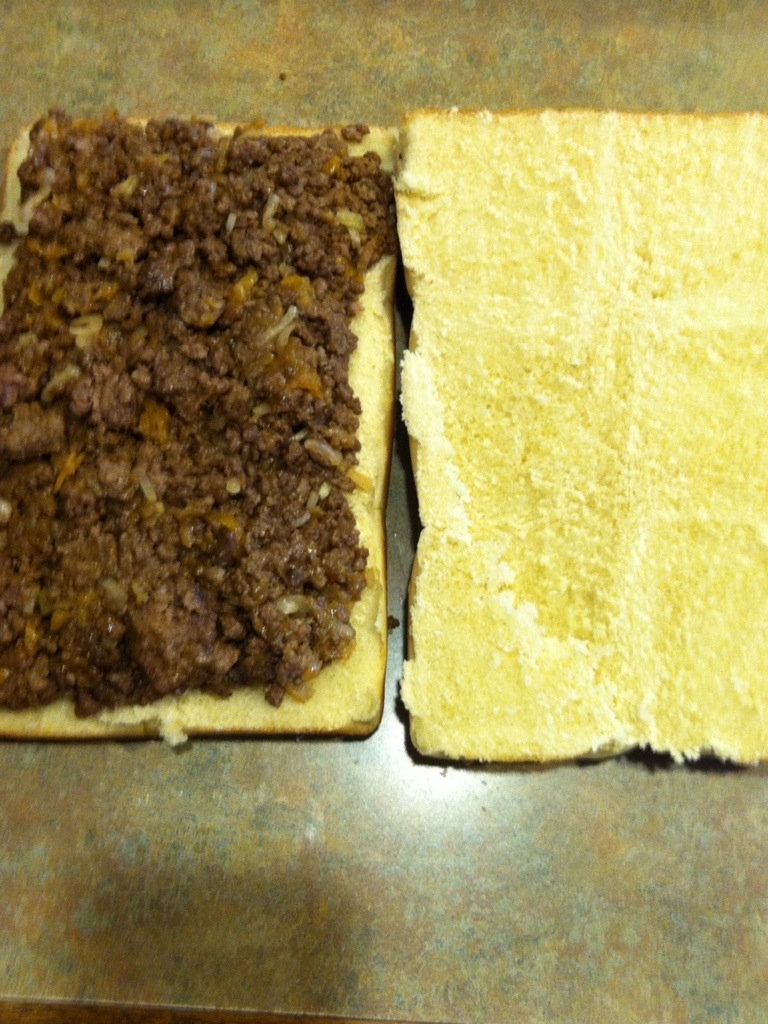
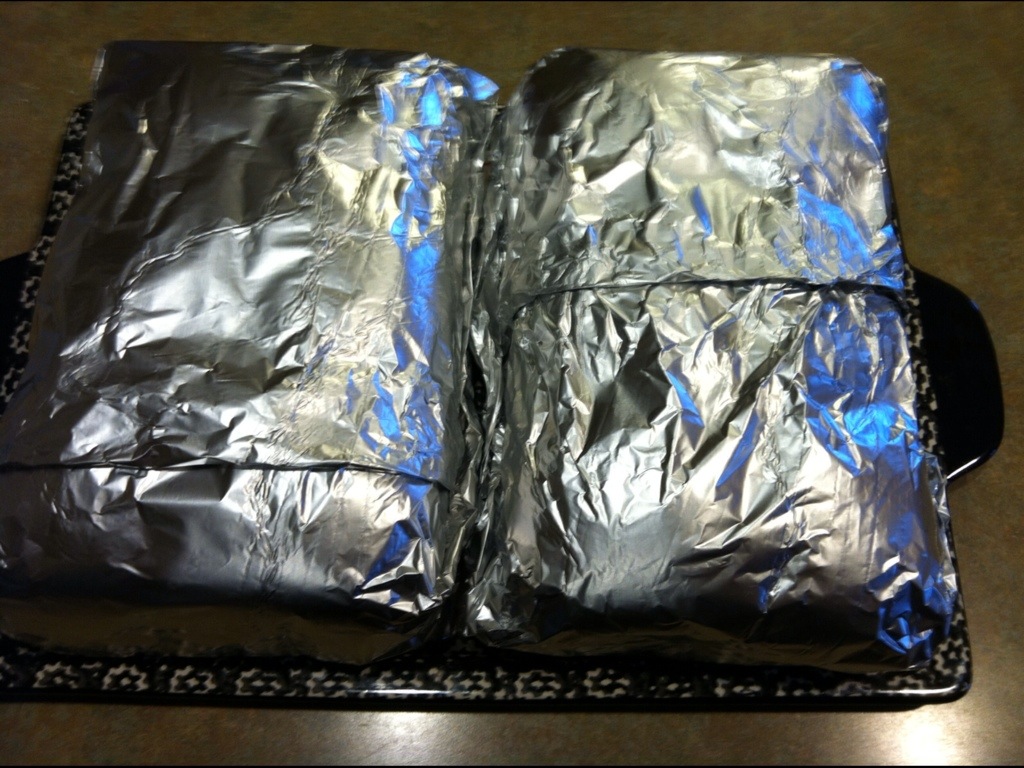
2 lbs were mixed with ingredients to make 2 meatloaf bricks and wrapped in foil

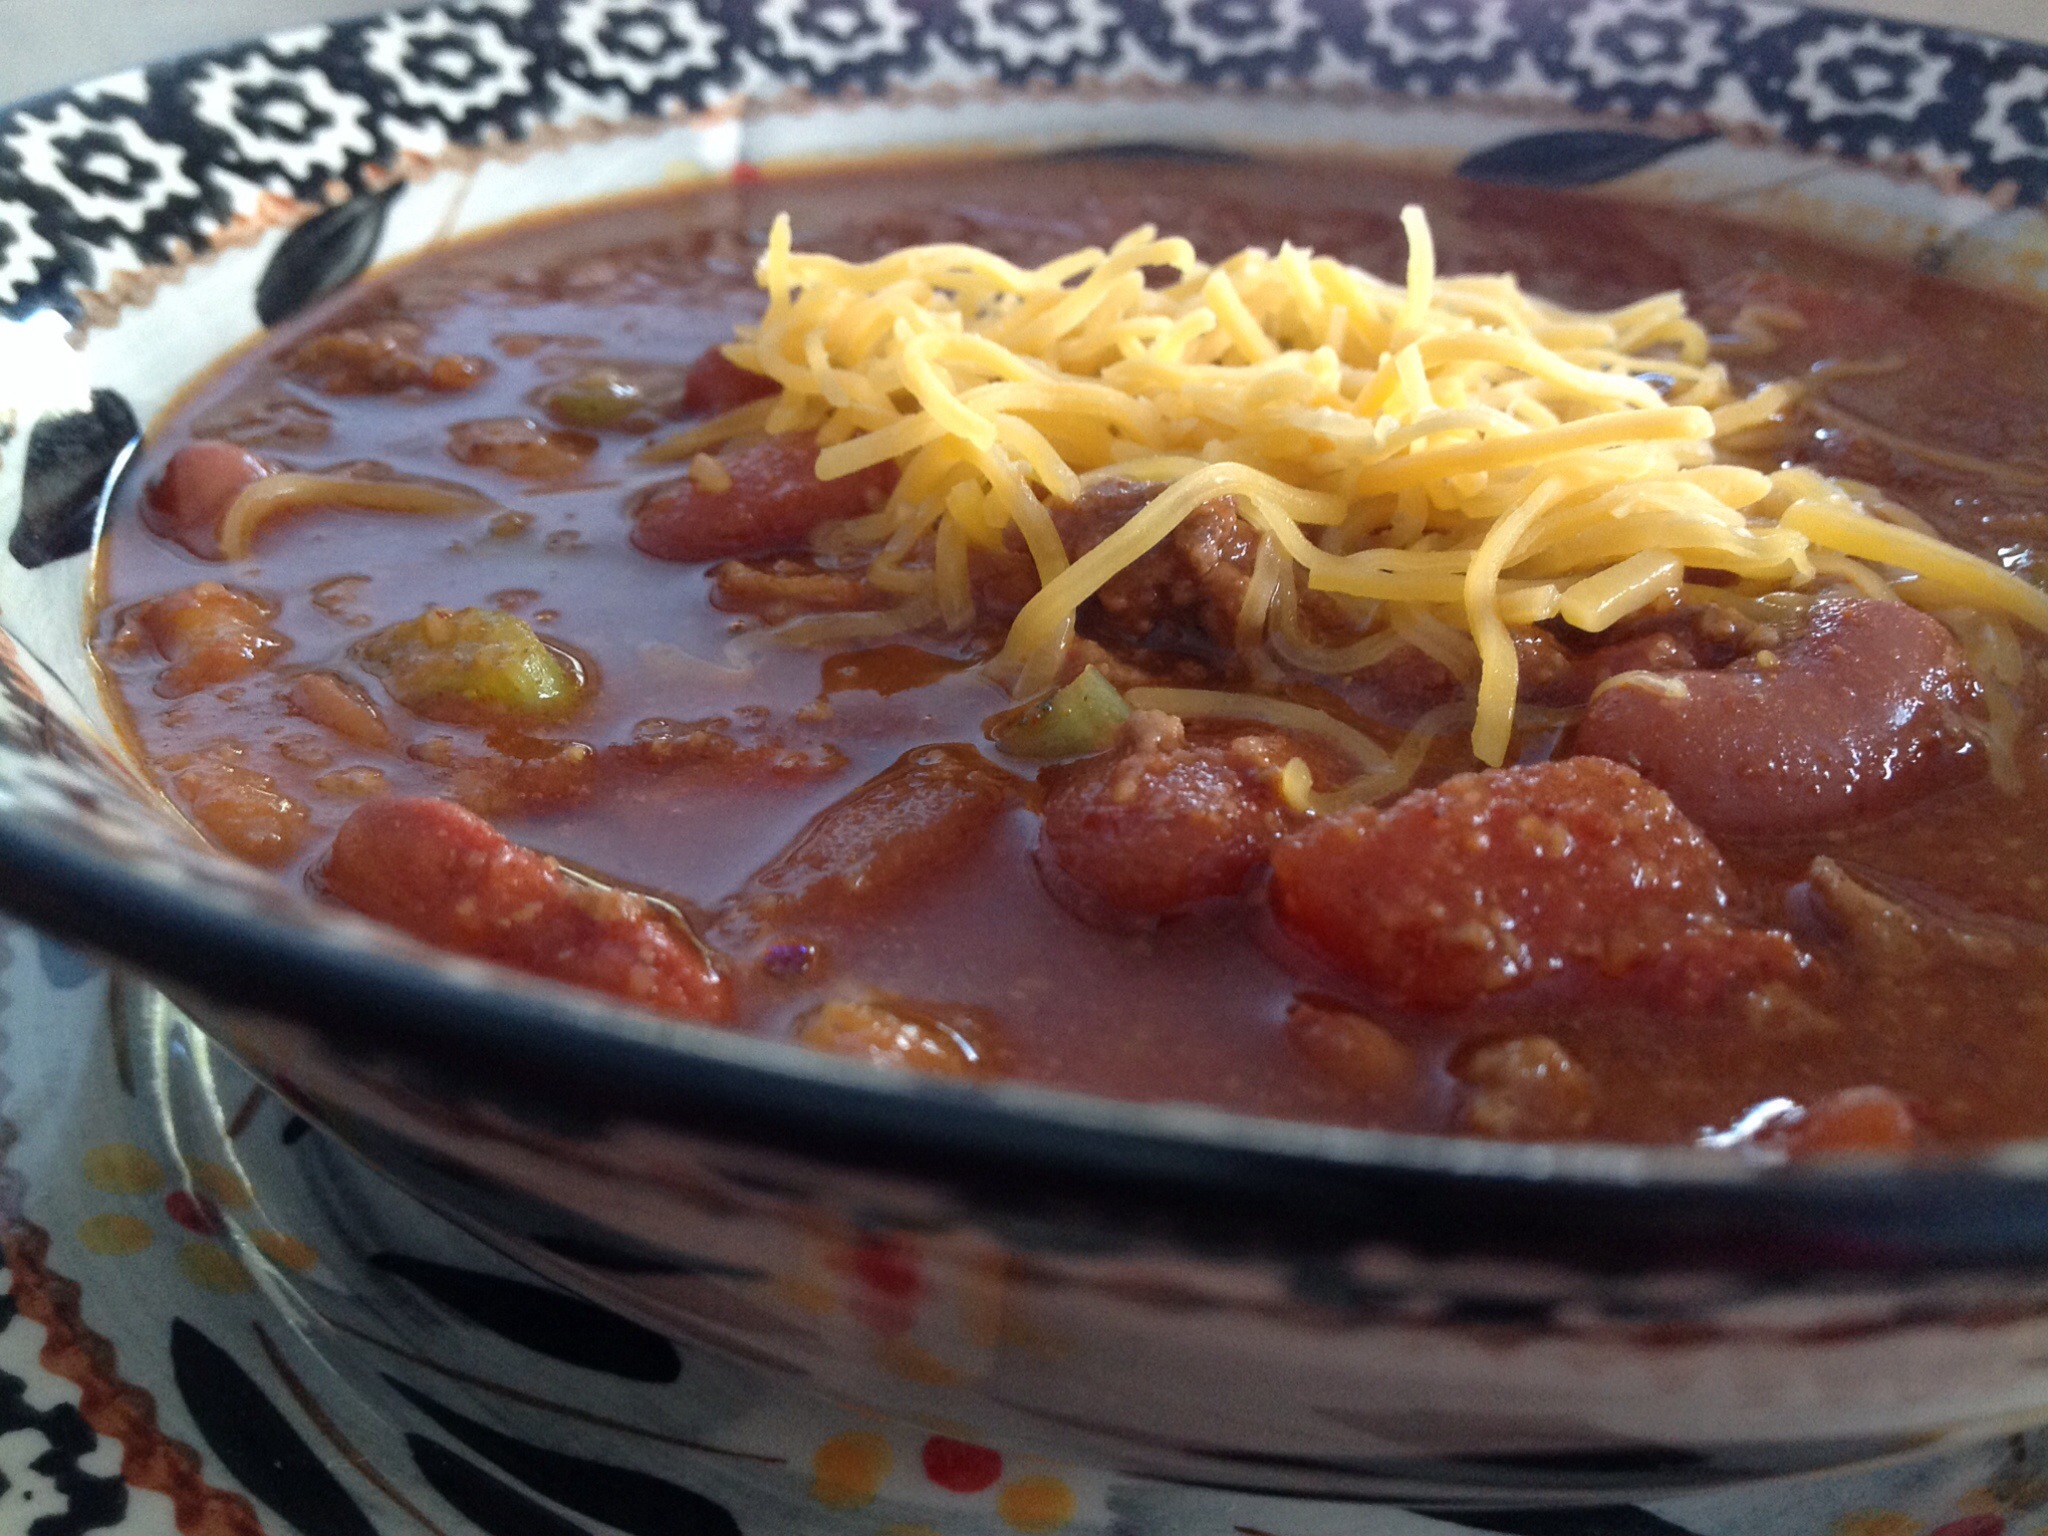
2 lbs were used to make simple chili without beans, packed into freezer safe bags

(I usually add beans to the chili meat once I reheat later.)

Carefully labeling everything, I used a permanent marker to date and identify the items enclosed. I also bought several pounds of fresh, boneless, skinless chicken for other future meals. I divided each large family pack into 4 freezer bags with 4 chicken breasts in each.

I always feel so accomplished when I have a productive day assembling meals that can be cooked with very little effort during the busy week. These delicious peppers were gobbled up quickly with a few left over for weekday lunches.

I’m ready to relax and enjoy the rest of the weekend!

Colorful Stuffed Peppers

6-8 large bell peppers

2 lbs ground beef

1 tsp Italian seasoning

1 teaspoon onion powder

1 teaspoon garlic powder

1 (28 ounce) can diced tomatoes, undrained

1 (5.6 ounce) package Knorr seasoned rice and pasta blend (chicken or beef flavor)

1 1/2 cups of water

1/2 cup sharp cheddar cheese

Preheat oven to 350 degrees. Remove and discard the tops, seeds, and membranes of the bell peppers; set aside.

In a large skillet over medium heat, cook the beef until evenly browned; drain.  Mix in Italian seasoning, onion powder, garlic powder, diced tomatoes (with juice), seasoned rice package and 1 1/2 cups of water.  Bring to a boil; cover and reduce heat to a simmer for 20-25 minutes to cook rice.  Remove lid, turn off heat and let cool slightly.  Spoon equal amounts of the mixture into each hollowed pepper.

Fill a 13X9” baking dish with about 2”of water.  Arrange peppers in a baking dish with the hollowed sides facing upward.  Tightly cover dish with aluminum foil.  Bake 35-40 minutes in the preheated oven, or until the peppers are slightly tender. Remove from oven, uncover and sprinkle each pepper with sharp cheddar cheese before serving.

Posted in Beef, Dinner, Main Dish, Uncategorized

Hearty Sloppy Joe Sandwiches

  We’ve lived in our home for over 15 years, yet every time I make this recipe, I’m reminded of the day we moved our young family to our country home so many years ago.

If my memory serves me correctly…    My husband and I had moved a few basic items to our new home a few days prior to the “big” move that would take place on the weekend. On the morning of the “big” move, I made a large pot of sloppy joe meat in our new home kitchen before pouring it into a crockpot to be eaten later. I knew this would be a long day so I wanted to be sure to have plenty of food at the ready when our crew of movers finished up their job. After plugging in the crock pot, my husband and I headed back to our home in the city. There we were met by a fine group of young men that would take charge of the move. The company that we had hired employed a group of college students that were home for the summer and were trying to make a little money before returning to school in the fall. I have to say, these kids were awesome movers. They carefully wrapped furniture, lifted and carried an enormous load of boxes filled with everything from kitchen linens and cleaning supplies to garden tools and silverware. All of our heavy appliances were carefully loaded onto the trucks and carried across state lines to our new location.  
After a long drive, the cycle began again… The trucks were unloaded, hauling boxes, furniture and appliances into our new spacious home. The movers asked where we’d like things placed and willingly followed our directions as the sun fell from the sky and the crickets started to chirp.  

At the close of a long day of grueling work, I welcomed the group into our kitchen to share a meal. The guys scooped out oversized helping of sloppy joe and placed it on hearty brioche buns. A sprinkle of cheddar cheese completed the sandwich. Bags of chips, a crock of baked beans, and bowls of salad were wiped out in no time. Before leaving, one of the young men asked for my sloppy joe recipe as he wanted to share it with his mother. He also asked if there was any more meat left in the crock pot for one last sandwich. I quickly scooped out the remaining mixture with a spatula and slathered it onto a roll. “One more for the road”, he said, as he gulped down the sandwich in a few quick bites.

  
As the crew gathered up their belongings and headed for the trucks, my husband and I stood in the driveway and thanked them again for their hard work. The group happily patted their tummies and thanked us for the delicious meal.  

I look back on that day with fond memories…

This group of movers made the day fun, exciting and stress-free. I’ll always be grateful for their hard work, cooperation and expertise. It was truly a pleasure sharing this special day with such a fine group of young men.


Hearty Sloppy Joe Sandwiches   (adapted from the Betty Crocker Cookbook – 1988)

2 pounds ground beef

1/2 of a large onion, diced

3 stalks celery, finely chopped

1/3 cup chopped green peppers

1 cup catsup

2 1/2 tablespoons A1 steak sauce

1 tablespoon Worcestershire sauce

1/8 teaspoonred pepper sauce

6 hamburger buns, split and toasted

Cook and stir ground beef and onion in skillet until brown; drain. Stir remaining ingredients, except buns. Cover and cook over low heat for an additional 15-30 minutes; just until vegetables are tender. Fill buns with meat mixture. Top with shredded cheddar cheese, if desired.

Posted in Beef, Dinner, Uncategorized

Beef Salami

We recently had a substantial amount of local beef delivered to our home. One of my colleagues owns a beef ranch and I decided to try the product that so many often rave about.  The delivery came with a selection of cuts including various roasts, steaks, and ground beef.  As I looked at all of the individually wrapped beef packages, I was reminded of a recipe that I first spotted in a community cookbook that I’m fond of.  It’s an ole’ time recipe for homemade beef salami and the ingredients are few and common.  I substituted Lawry’s seasoning salt for the “tender quick salt” just because I didn’t have any on hand.  The beef salami turned out just fine.


As the holiday weekend approaches, I thought this might be a fun recipe to try as I’m often assembling plates of appetizers when friends stop by and the kids open the fridge constantly looking for something to munch on.


Posted in Beef, Dinner, Main Dish, Soup

Our Award-Winning Chili

20140128-130935.jpg
Award Winning Chili and Creamy Cornbread Muffins, a wonderful dinner combination for these sub-zero Midwestern temperatures.

Several years ago, (2005 to be exact) our small town’s Chamber of Commerce hosted a chili cook-off. It was held in a lovely park located in the town square on a crisp fall day. On the west side of the park, the usual hustle and bustle of the Saturday morning farmer’s market was in full swing. Tables and chairs were set up around the beautiful gazebo located in the center of the park. And all of the chili cook-off competitors situated their booths around the gazebo.
I had read about the cook-off in the local paper and thought that entering the competition would be a great way to spend a beautiful fall day with the family and to see how my chili would fare against the others. I had been serving this recipe for years and friends and family seemed to love it.
The morning of the cook-off, we got up early, packed up the car with chili fixings and decorations for our booth. I was intent on winning the trophy for the best chili and the sportsmanship award, given to the most neighborly participant that had gone the extra yard to create a festive looking booth. I have an embroidery machine so I had embroidered custom attire for the day. I had purchased a few yards of cotton fabric to make chef hats and simple pants for the kids. We all wore matching embroidered sweatshirts to show off our family name. The kids were young and eager to help. They were excited about the festivities for the day.
I have fond memories of this day as we did indeed win top prize in both categories. From then on, this has been the recipe that I turn to when making a big pot of chili during the fall and winter months. It’s actually a very simple recipe full of flavor and warmth.
I must say, the weather these past several weeks has been brutal. I have been scouring my recipes to provide hearty meals for the family. It seems we are constantly out shoveling snow, heading off to work or school and returning home only to find that the snow needs to be tended to again. This chili recipe really hits the spot during the cold winter months in the Midwest.

Our Award-Winning Chili

5 slices of bacon
2 onions, chopped
3 cloves garlic, minced
1 pound ground chuck
3/4 pound beef sirloin, cubed
1 (14.5 ounce) can diced tomatoes
1 (12 fluid ounce) can or bottle beer
1 cup brewed coffee
2 (6 ounce) cans tomato paste
1 (14 ounce) can beef broth
1/2 cup packed brown sugar
3 1/2 tablespoons chili powder
1 tablespoon ground cumin
1 tablespoon unsweetened cocoa powder
1/2 teaspoon cinnamon
1 teaspoon dried oregano
1 teaspoon ground cayenne pepper
1 teaspoon salt
3 (15 ounce) cans kidney beans

In a large pot over medium heat, cook bacon until crisp. Remove to paper towels. Cook onions, garlic, ground chuck and sirloin cubes in bacon drippings until brown; drain. Crumble cooled bacon and return to pot.
Mix in the remaining ingredients and bring to a boil. Reduce heat to low, and simmer for 1 1/2 hours.

20140128-131159.jpg

Posted in Beef, Dinner, Food, holidays, Main Dish, Uncategorized

Moist and Tender Prime Rib

As tradition would have it, one of our favorite holiday meals includes prime rib. Tonight, my family and I will be enjoying a night out on the town in downtown Chicago. We are going to one of our favorite restaurants, Lawry’s Prime Rib. While I will be pampered tonight, I usually make my own version of this delicious roast. I have reblogged my recipe for those that might be preparing a Holiday feast this week. Happy holidays to all.

Simply Made Kitchen and Crafts

Prime Rib

Prime rib is one of my favorite dishes to prepare for special occasions. Recently, I hosted my extended family for Thanksgiving. Family members traveled in from neighboring states to celebrate the holiday. After an early breakfast, I asked my neice to join me in the kitchen to prepare the prime rib. She is such an adorable kitchen helper…always willing to take on any task and eager to learn. It warms my heart as I watch her run to the kitchen drawer to find my handmade aprons. There she carefully ties the apron strings around her slim little waist. When we first started cooking together, I would hike up the apron and fold a crease in it to shorten the length to match her 1st grade height. I’d scoot a stool over to the countertop so that she could follow along as we cooked together. These days, she’s older and wiser…she…

View original post 250 more words

Posted in appetizers/snacks, Beef, Dinner, Main Dish

Copy Cat White Castle Sliders

20131017-095758.jpg
My mother-in-law gave me this recipe when I was a newlywed. She had served these delicious mini-burgers for a friendly gathering and I was hooked the minute I tasted them. In the Chicagoland area, there is a fast food restaurant that serves these bite-sized burgers in large quantities. It’s fun to make a load of these for tailgating finger food. I often pack the foil wrapped, pre-cooked burgers in the crockpot to stay warm at the tailgate party. They are always a crowd-pleasing hit!

Copy Cat White Castle Sliders

2 pounds ground beef
1 (1.25 ounce) envelope onion soup mix
1/2 cup mayonnaise
2 cups shredded Cheddar cheese
24 dinner rolls, split
1/2 cup sliced hamburger pickles, drained

Preheat an oven to 350 degrees. In a large skillet, brown the ground beef; drain. Mix the onion soup mix, mayonnaise and cheddar cheese into the ground beef mixture. Cover, remove from heat. Lay the bottoms of the dinner rolls on a sheet of aluminum foil large enough to completely wrap and seal in the burgers. Spread the cheese and beef mixture on the bottom half of each roll. Top each burger with two pickle slices. Replace the tops. Cover and completely wrap the burgers with the aluminum foil. (The idea is to steam the burgers enclosed in the foil.) Bake until the burgers are heated through and cheese melts, about 30 minutes.

Below, I’ve included a few step-by-step photos….

20131017-102945.jpg

20131017-102957.jpg

20131017-103010.jpg

20131017-103021.jpg

20131017-103033.jpg

Posted in Food, Main Dish, slow cooking

Tender Three-Packet Beef

20130526-091646.jpg

While Memorial Day weekend is usually all about grilling and opening up the pool for the summer, it seems the weather doesn’t necessarily feel like cooperating this year. After a beautiful morning sunrise, yesterday’s weather turned cloudy and a bit chilly. Instead of grilling, as I had planned, I popped a roast into the crock pot and headed outdoors to spruce up the backyard. This recipe couldn’t be any easier to prepare. I always keep these seasoning packets in the pantry for when I’m in the mood for a no-hassle meal. This is one of the most tender and flavorful roast recipes that I have ever tasted.

Tender Three-Packet Beef

3-5 lb. beef roast
2 cups of water
1 packet brown gravy mix
1 packet ranch dressing mix
1 packet Italian seasoning mix

In a mixing bowl, combine water with the three seasoning packets. In a lightly sprayed crock pot*, place roast beef. Pour seasoning mixture over the roast and cook on low for 6-8 hours.

* I use a 6 quart crock pot for a 5 lb. roast.

Posted in Food, Main Dish

Curley’s Corned Beef Hash

corned beef hash

A tradition in our household when my husband and I were first married, was to head over to my mother-in-law’s house for Sunday breakfast. When we arrived, the smell of freshly brewed coffee filled the air. Gramma Curley would have on her apron as she filled plates with piles of pancakes, pastries, scrambled eggs and various meats. On one occasion, she poured a reddish meat and potatoes mixture from a small pot onto a plate and my husband’s eyes lit up. I asked what it was and he replied, “It’s corned beef hash”. Well, I had never seen anything like it before. Coming from an Irish family, you would think that I would have known what corned beef hash was. After tasting it, I knew that I had to come up with a recipe of my own. This stuff just wasn’t happening for me. Here is a little something I put together one night with left over corned beef, some shredded cabbage, onions and a few baked potatoes. Give this recipe a try…you won’t be disappointed.

Curley Corned Beef Hash

1 pound fully cooked corned beef, diced
1 cup shredded cabbage
1 medium onion, sliced thinly
3 left-over baked potatoes, sliced or diced
1 tsp garlic powder
1 tsp onion powder
3 tbls. canola oil

Pre-heat a medium skillet on the stove top , add canola oil and saute potatoes until golden brown. Add shedded cabbage and onions. Season with garlic and onion powder; saute until slightly soft. Add cooked corned beef and continue to saute until heated through; about 15 more minutes. Serve it up hot with some Irish Soda Bread. This is a great one pot meal.

Posted in Food, Main Dish

Curley’s Baked Corned Beef

20130501-102632.jpg

When I was a young girl, my parents cooked corned beef quite frequently. My dad would find a big pot, throw in the corned beef, add cabbage, potatoes, and parsnips and cover the whole thing with water. He would set the big pot on the stove top and let the concoction cook for several hours. The result was a mess of stewed vegetables in greasy water and a piece of meat that was a quarter of the size it once was. Needless to say, this was not my favorite meal and I would cringe when I would smell the aroma as I walked in the door from school.
These days, I have found a much better way to prepare corned beef. You will love this recipe. The beef is tasty and slices up well for sandwiches. Once you make corned beef this way, you’ll never boil it again.

Curley’s Baked Corned Beef

1 3-5 lb. flat cut of corned beef ( I like Vienna’s)
2 cups water
1/3 cup Lawry’s Teriaki Marinade

Line a 13×9 baking pan with aluminum foil and spray with cooking spray. Rinse corned beef and place in pan. Pour water into pan. TIGHTLY COVER PAN WITH ALUMINUM FOIL. Bake at 325 degrees for 3 hours. Remove from over and carefully remove the foil. The steam releasing from the pan can burn your fingers if you are not careful. Brush the marinade onto the corned beef and place it back in the oven for 10 minutes. Enjoy with sautéed potatoes and shredded cabbage.