Well, it’s that time of year again! Ready for the picking are clusters of deep purple grapes hanging off of the vines in my back yard. While the last couple of years have brought bumper crops to our lot, this year’s pickings have been a bit slim. This didn’t stop me from making a few of our family favorites…flavorful grape juice and grape jam.
There’s no greater satisfaction than to grow and process your own produce. Several years ago I planted two Concord grape pods and they have grown to cover a large open area with a plentiful bounty of fruit. Fresh air, rain and sunshine nourish the plants throughout the summer months until the gorgeous fruit are ready for picking. I don’t water, fertilize, trim or fuss. This is my kind of gardening! The reward for leaving the plant to do what it naturally does; lots and lots of grape jam and juice that will last throughout the year.

Above is the recipe from the Ball Blue Book published by Alltrista Corporation.
Here is another method that produces similar results…
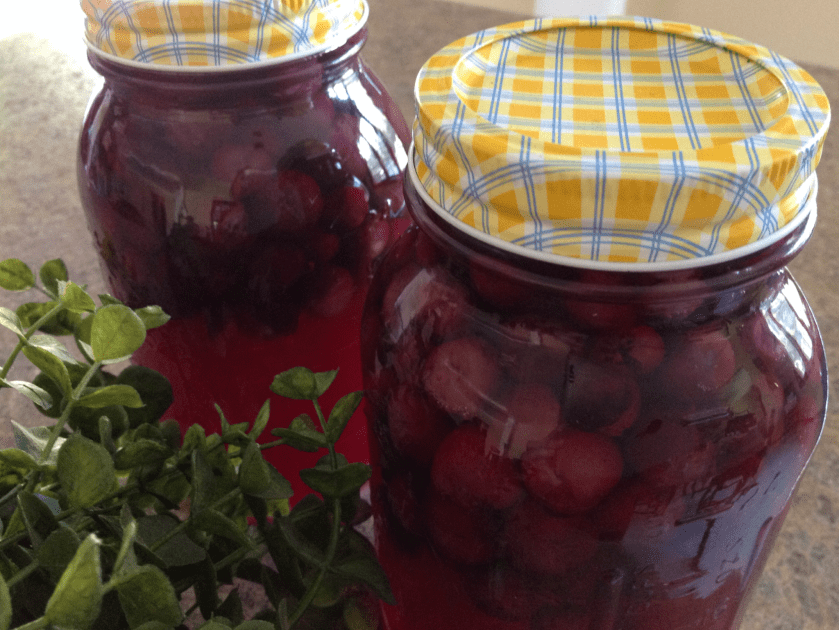
Homemade Concord Grape Juice
TO EACH STERILIZED QUART JAR
2 cups washed and cleaned concord grapes
1/2 cup sugar
Boiling water
In sterilized jar place 2 cups grapes.

Add 1/2 cup sugar.

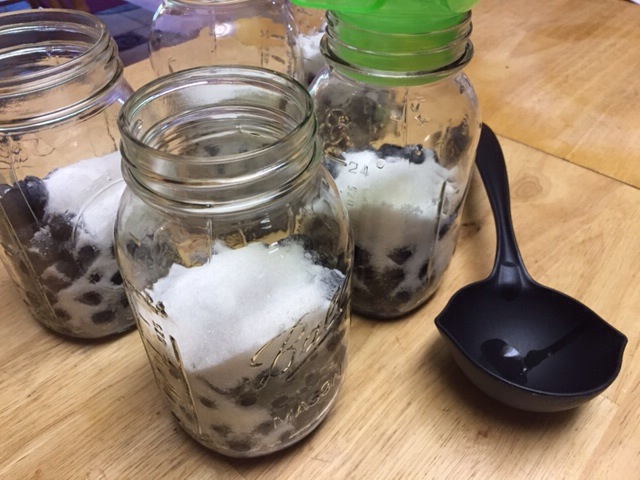

Fill with boiling water leaving 1/2″ headspace.
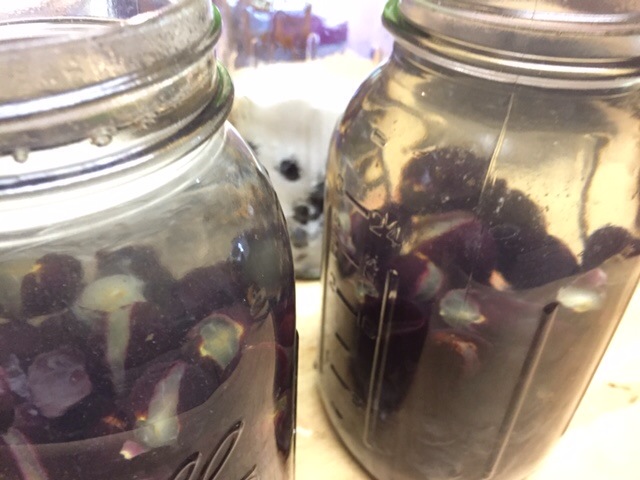
Seal jars at once with 2 piece lids. Process in water-bath canner for 10 minutes. Remove from canner and let sit for 24 hours. Remove metal lid-bands, and label with date and contents. Let juice stand 3 to 4 weeks before using. (The longer you let it sit, the greater the concentration.) Strain juice from grapes and use juice. Refrigerate after opening.

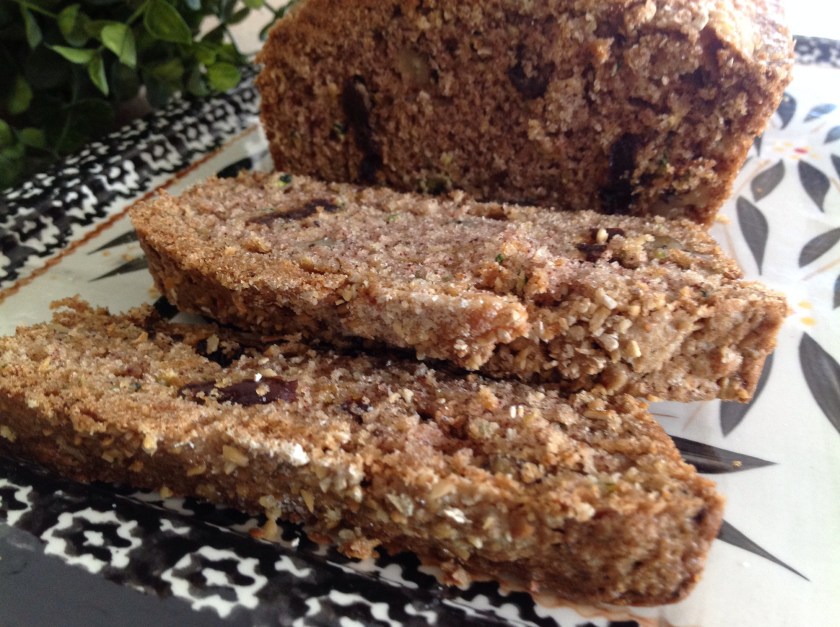
For a great tasting homemade Grape Jam, try this Ball Blue Book recipe…


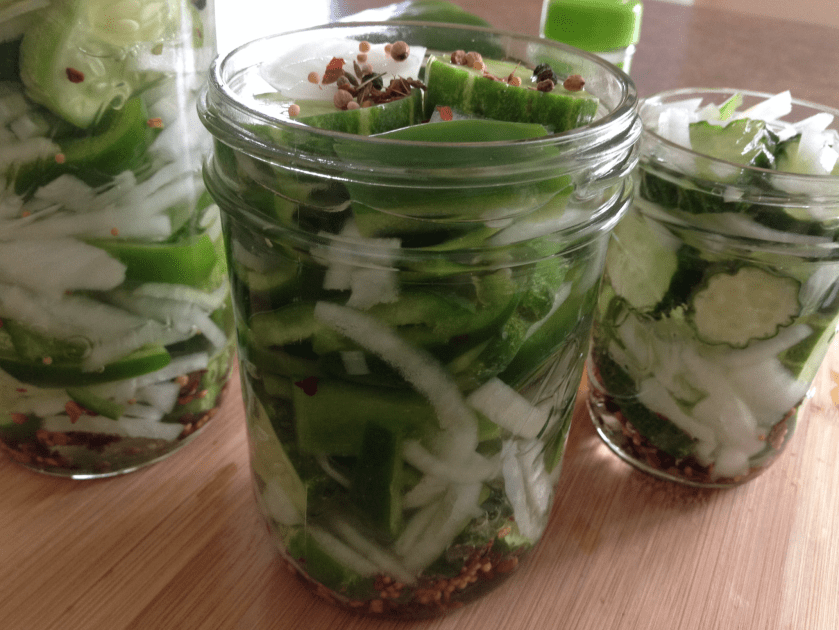
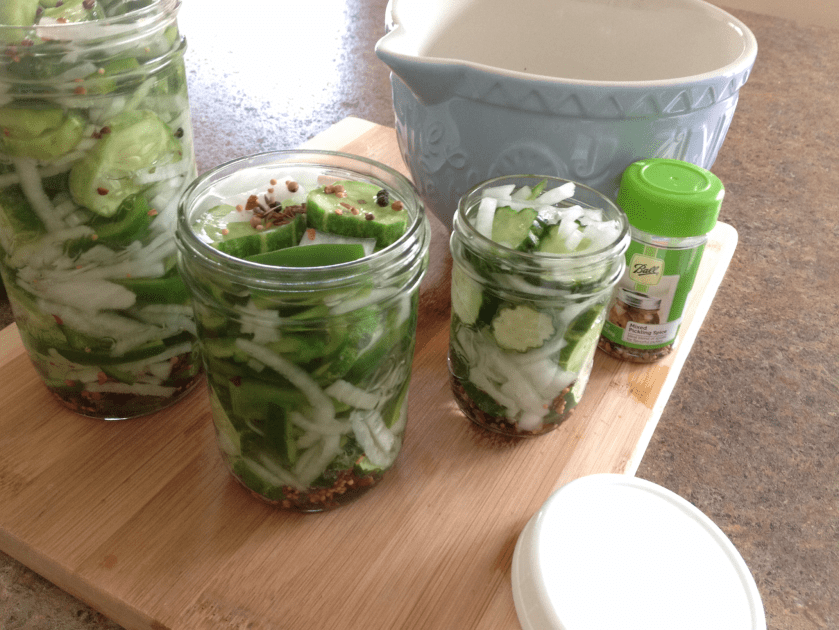
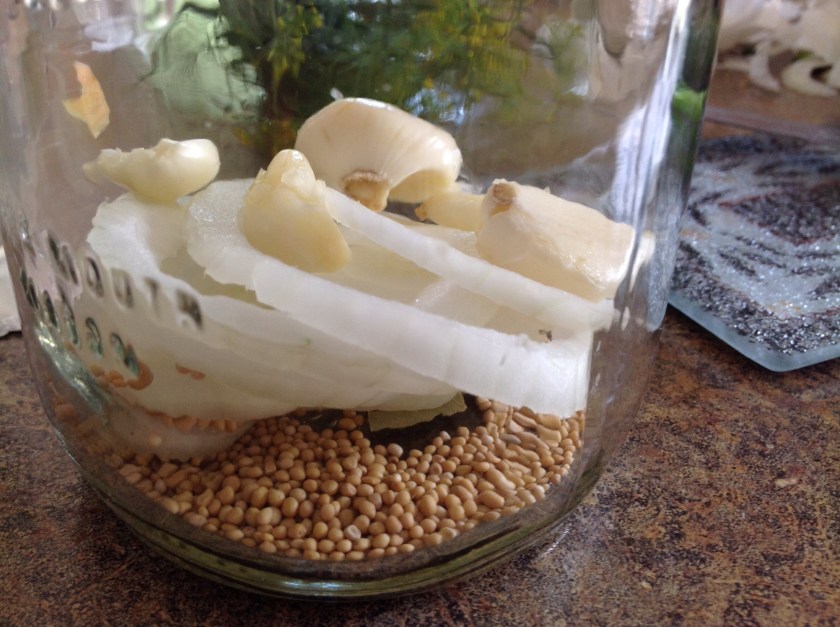
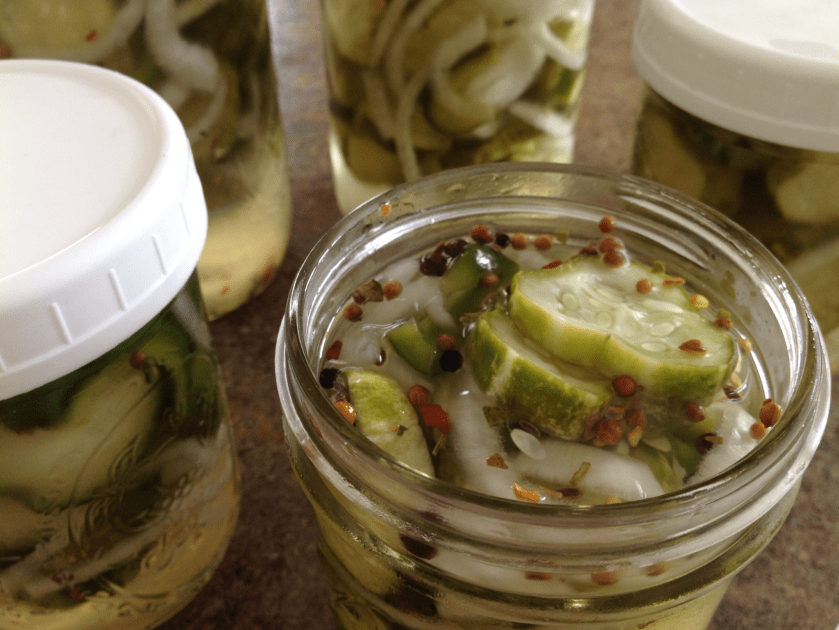 I was pleasantly surprised this week when a co-worker brought in a big bag of freshly picked pickling cucumbers and plopped them on the break room table. She announced that the cucumbers were from her father’s garden and that anyone was welcome to take as many as they liked. Straight away, I scooped up a good majority of the pickles and packed them away for one of my favorite summer projects. When I returned home from work that evening, I began the task at hand, slicing the veggies for my refreshing refrigerator pickles.