For the longest time, I’ve wanted to try making baked donuts. This past Christmas, I ordered two donut baking pans to put under the tree as a gift to myself. (How many moms out there have done that before?)
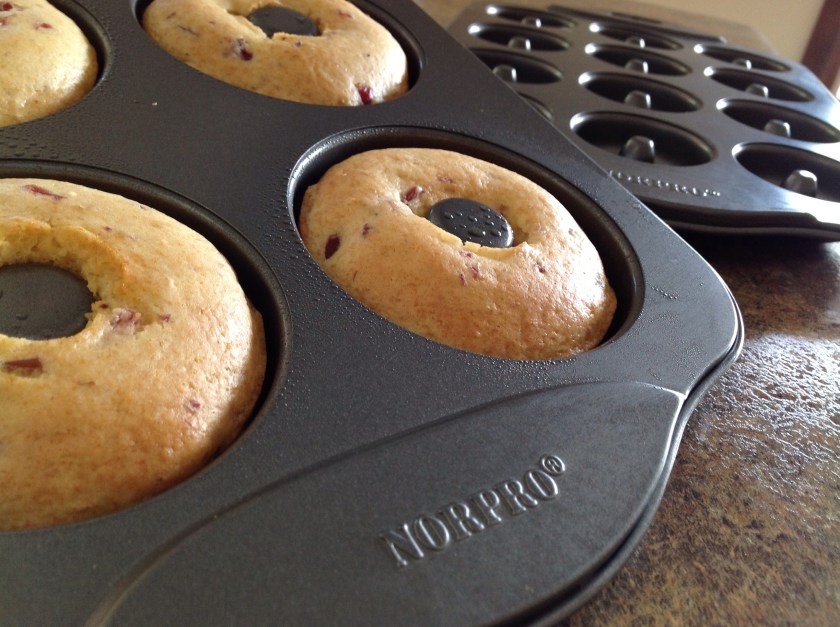
I did my homework before ordering the pans… I wanted something that was non-stick and had no seams in the donut bed so that the batter could lay evenly without getting trapped in the metal seam. I found the perfect pans at Norpro.
This past week, as my oldest daughter celebrated a birthday, I decided to make a tray of donuts in lieu of a traditional cake. She was scheduled to have back surgery the afternoon of her birthday and I wanted to bring a special bite-sized treat along so that she could nibble on a mini-birthday-donut the morning of the procedure.
As I scoured my cookbooks and kitchen files for a suitable recipe, I spied a boxed muffin mix that carried a small picture of a basket of mini-donuts posted on the back of the package. To my surprise, the recipe posted beside the picture was for baked donuts. I thought…well, let’s give this a try.
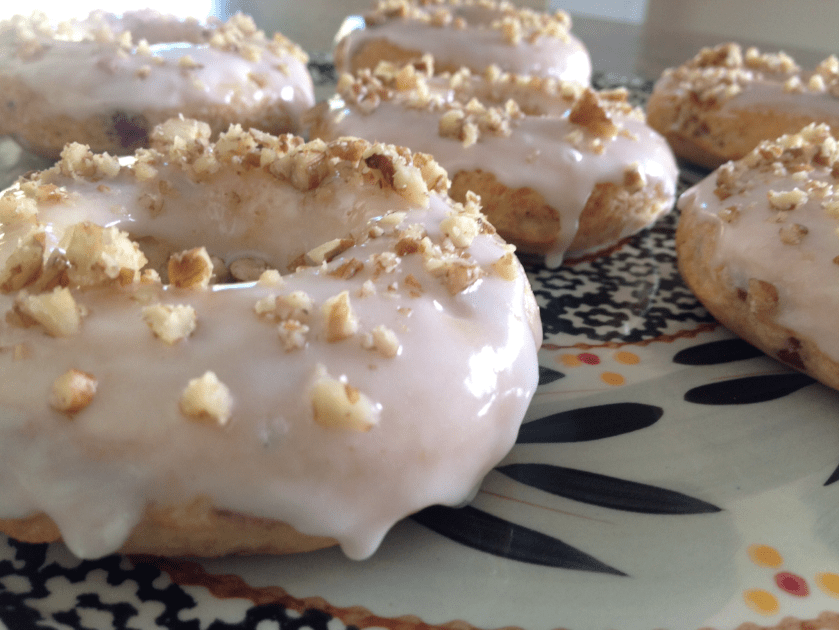
So after a few alterations, I came up with this recipe adapted from Krusteaz Guilt Free Baked Donuts.

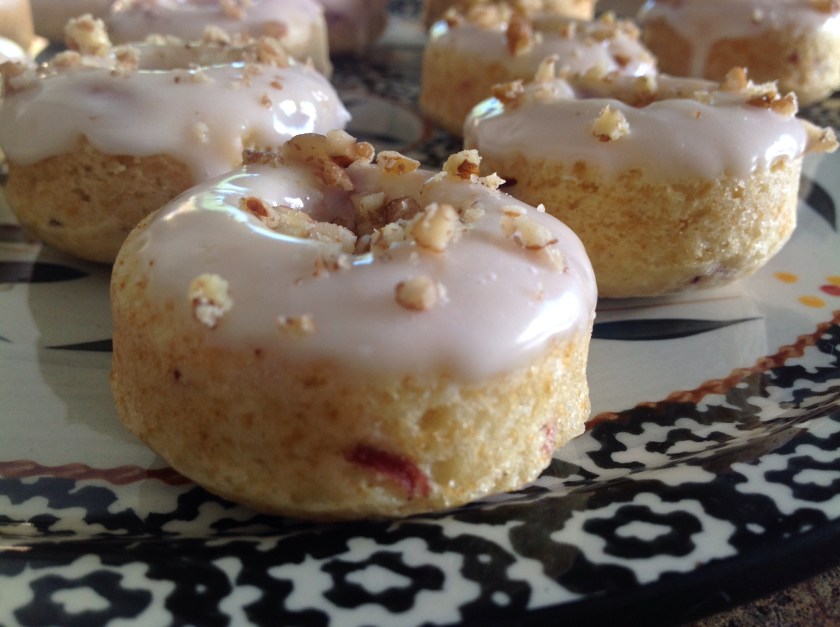
Sweet Cranberry and Pecan Glazed Donuts
Donuts:
1 package Krusteaz Cranberry Orange Fat Free Muffin Mix
1 can cranberries (enclosed in the box), drained and liquid reserved
3/4 cup orange juice
1 teaspoon almond extract
Icing:
1 cup powdered sugar
2 tablespoons milk
1/4 teaspoon almond extract
Reserved cranberry liquid
1/2 cup finely chopped pecans
Preheat oven to 350 degrees. Lightly spray with cooking spray, the donut baking pans. For the donuts: In a medium bowl, carefully stir together the muffin mix, cranberries, orange juice and extract. Combine just until blended. Place the batter in a gallon-sized sealable bag (or a pastry bag). Snip the plastic bag 1/8″ from the corner. Evenly pipe the batter into the mini-donut baking pans. Bake 8-12 minutes or until donuts spring back when touched. Cool and remove to wire rack.
For icing: Place all icing ingredients (except nuts) in a small bowl and whisk until smooth. Drizzle or dip donuts into the icing then sprinkle with chopped nuts.
Note: I also used the regular sized donut baking pan for this recipe. Alter baking time by adding 10 minutes or until light golden brown and donuts spring back when touched.


 This week I had to head out of town for a business trip. When I travel, I’m often thrown off balance by the pre-selected conference meals provided as I can’t always follow my regular routine. Meal times are usually less than ideal and the meal selection is often standard fare and can be limited in variety.


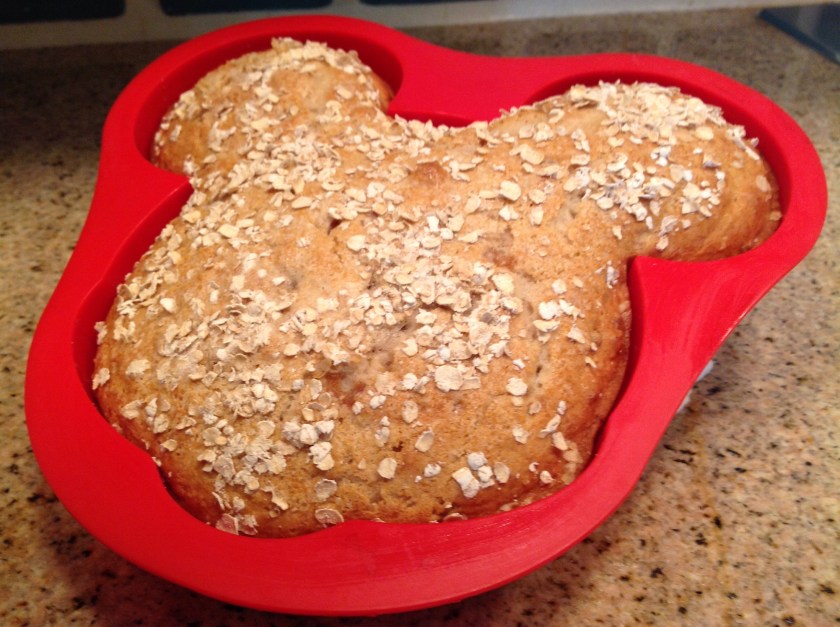
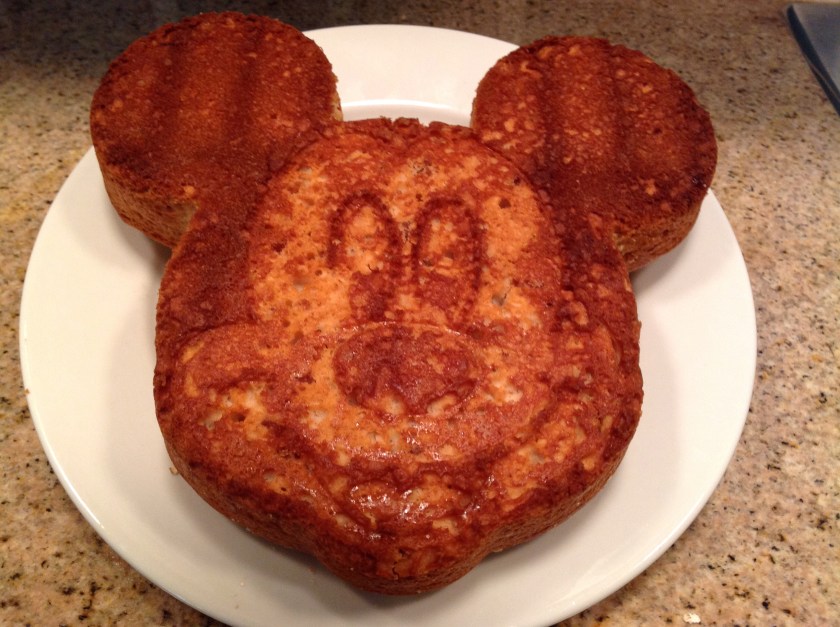
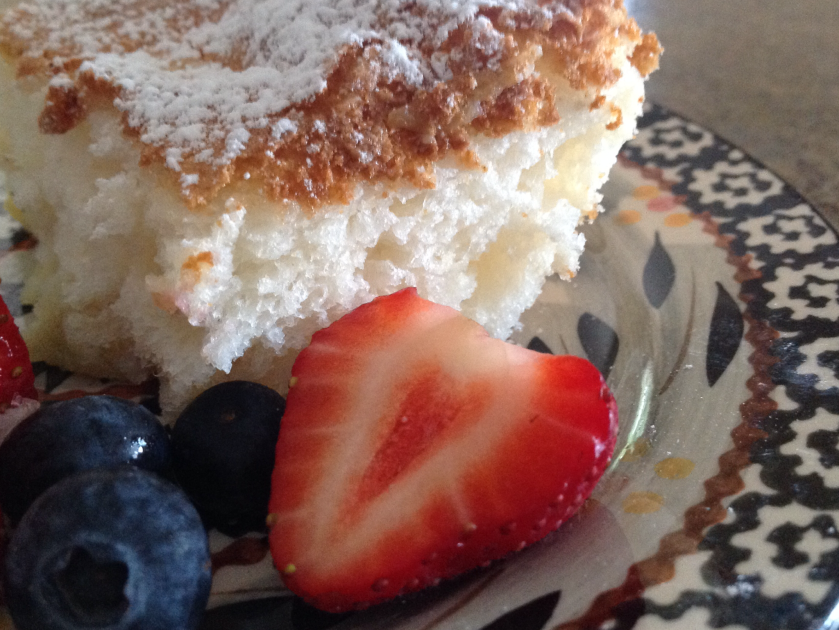 After vacationing this past week, I wanted to share a great recipe that I often make when I’m traveling. As I’ve mentioned before, my family frequently travels to our Disney Vacation Club time share to rest and relax. I often pack a bag full of munchies, packaged mixes, peanut butter and jelly and a tin of homemade cookies for the road. This year I put a box of angel food cake mix and a can of crushed pineapple in the food bag, along with all of the other essentials needed for a week’s worth of meals. I was anxious to whip up this tasty treat for a late night dessert with the family. You’ll find this cake to be light and airy and full of flavor. The tiny bits of pineapple are barely seen in the finished product but they pack a flavorful punch. Unbelievably, the recipe includes only two ingredients (with the exception of an optional sprinkle of powdered sugar for a bit of pizzaz). Pair the cake with a handful of sweet berries and you’ve got a winner!
 Pineapple Angel Food Cake