On a recent Saturday outing, my family and I stumbled upon a quaint new restaurant in the middle of our town square featuring Mexican cuisine. As we were seated in the festive dining room, a heaping basket of freshly made chips and salsa was delivered to the table. Looking over the extensive menu, I was excited to find a chicken dish that seemed fresh and flavorful with simple ingredients. I immediately requested the dish and continued to munch on the crispy chips and spicy salsa while listening to the sounds of the lively Mexican music streaming through the sound system.
As we waited for our meal to arrive, we chatted about our desire to visit a local farmer’s market to find lots of fresh produce to make our own salsa when returning home for the day.
Alas, our meals arrived and as the waitress placed the scrumptious looking dish in front of me, I realized how simple it would be for me to replicate the flavors at home and quickly made a note of all of the items on the plate. After a lovely meal, we headed out to the farmer’s market located a few short blocks through the town square. We enjoyed a lovely walk through the bustling scene teaming with a variety of fresh vegetables and quickly scooped up the ingredients needed to replicate my chicken dish. This is how I assembled my own version of the delicious meal…
Queso Blanco Chicken and Salsa
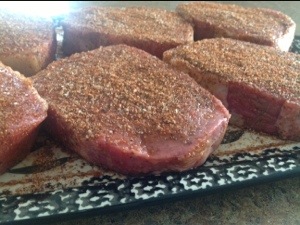
6 chicken breasts
1 teaspoon salt
1/2 teaspoon pepper
1 teaspoon garlic powder
1 (15 oz.) jar Queso Blanco Dip
1 1/2 cups Fresh (or store bought) Chunky Salsa (see recipe below)
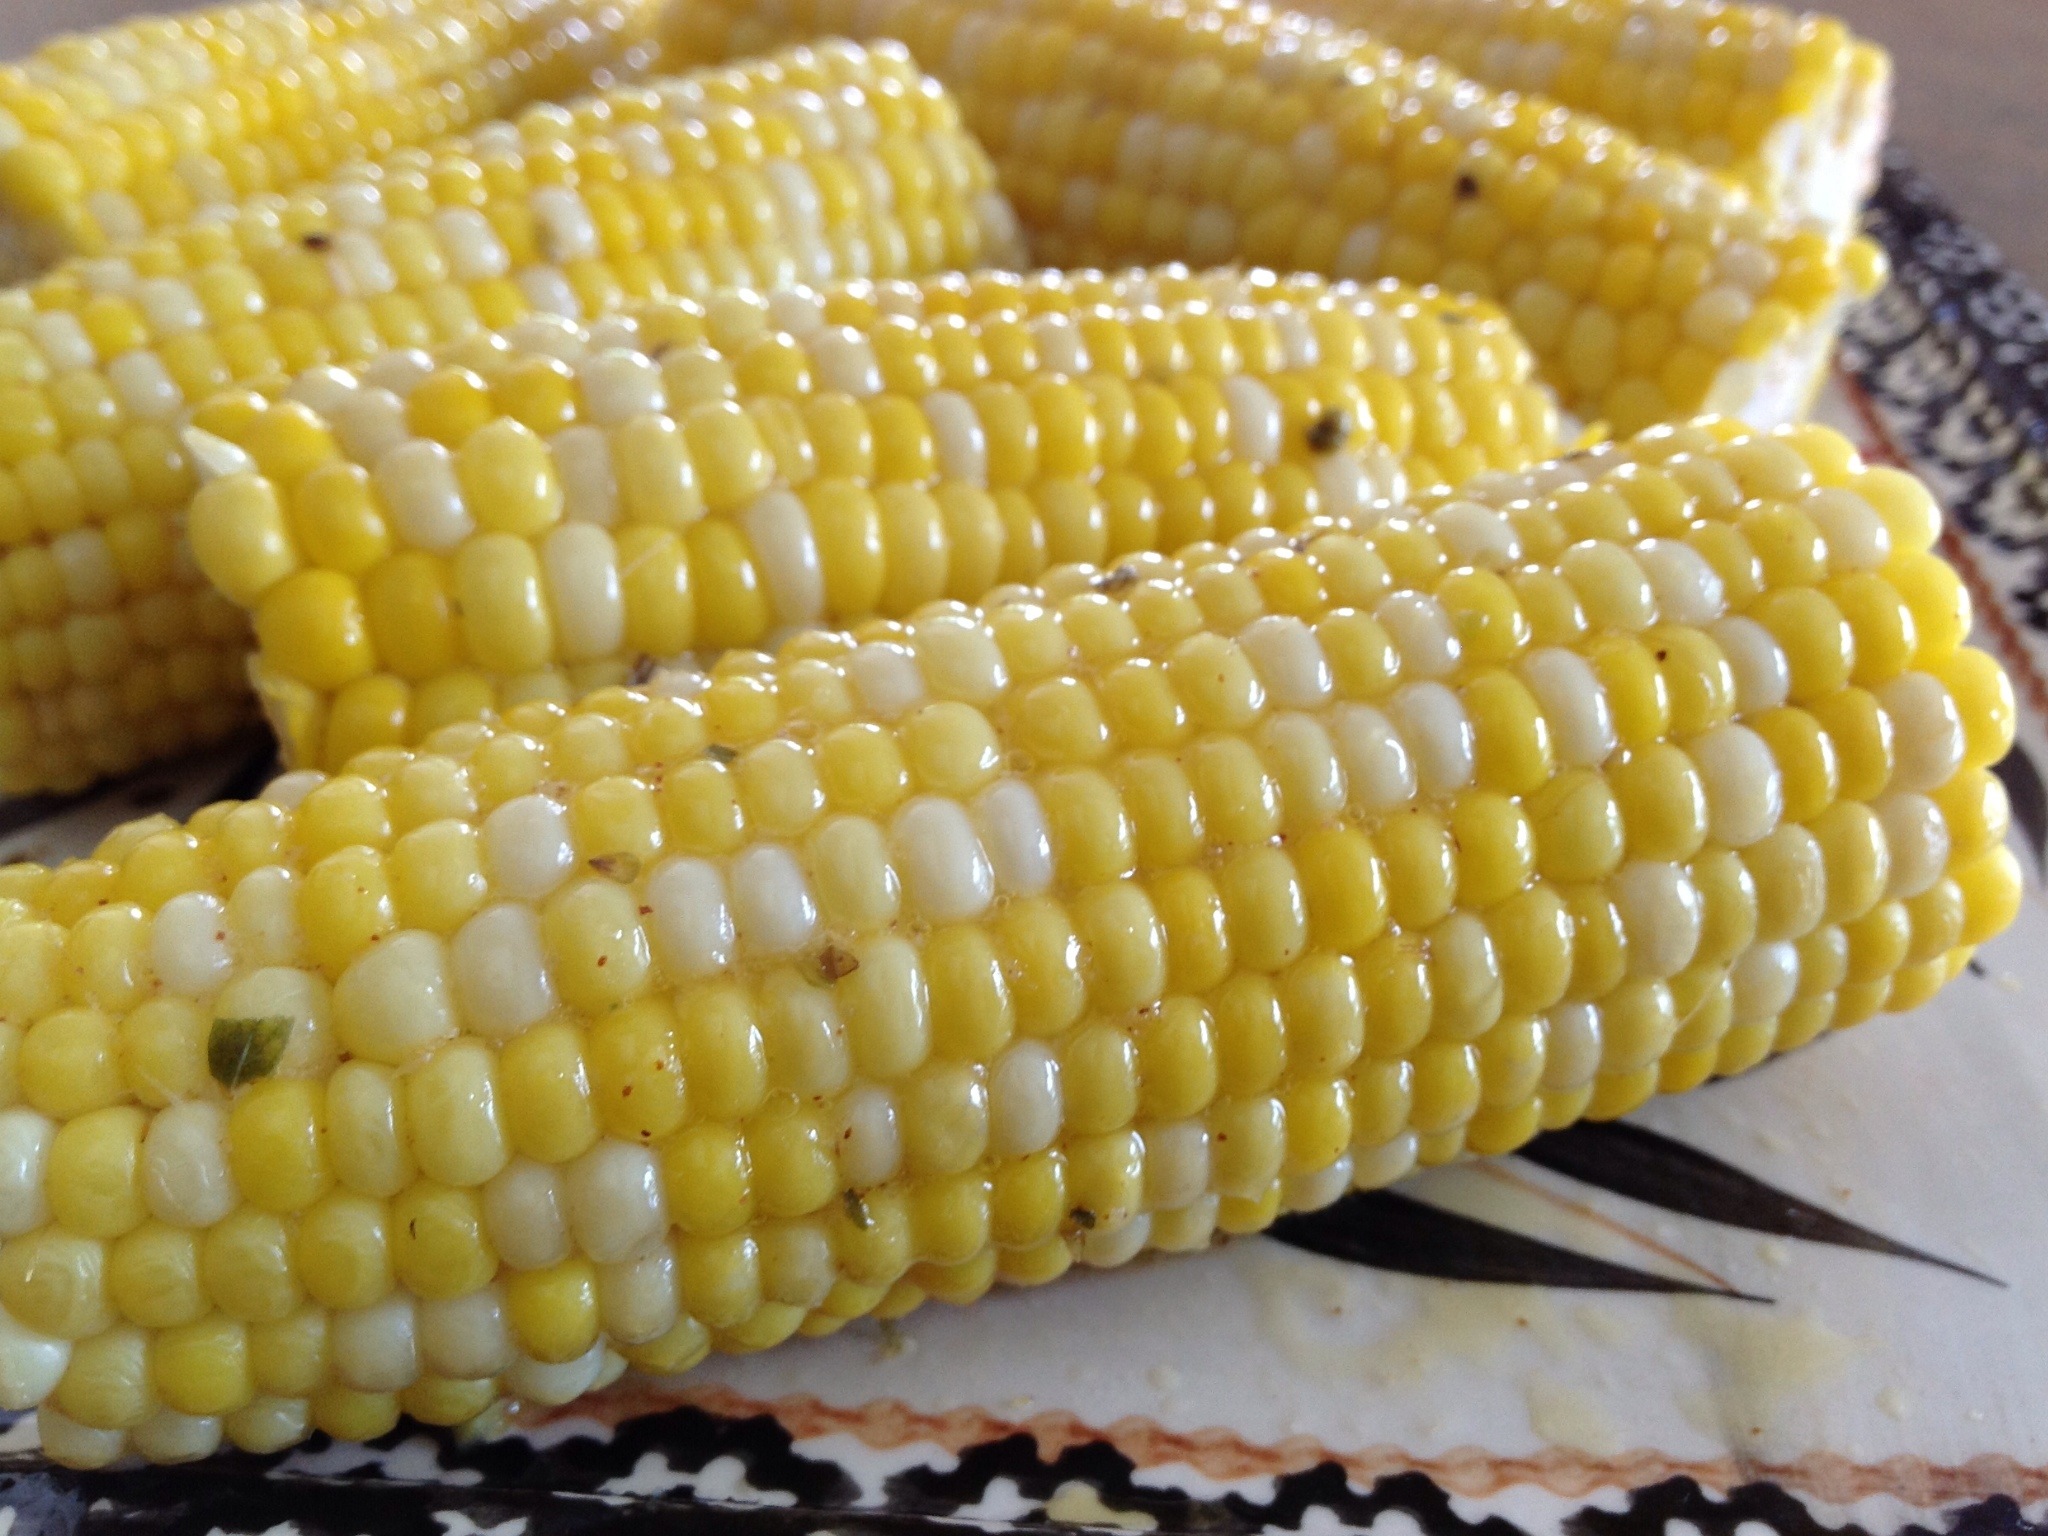
6 ears corn, shucked and cleaned
2 avocado, sliced
Season chicken breasts with salt, pepper, and garlic powder. Bake or grill for 30-45 minutes or until internal temperature reaches 165 degrees. In the meantime, place ears of corn on outdoor grill or indoor grilling skillet, roast until tender. Slice corn off of the cob. Season to taste with butter and salt, if desired. In a microwave safe bowl, heat Queso Blanco Dip until warm and pourable. To serve, place a chicken breast on each plate, drizzle with Queso Blanco Dip and garnish with fresh cilantro. Next, add to the plate, a couple of heaping spoons of roasted corn, fresh salsa, and slices of avocado. Simple and delicious!
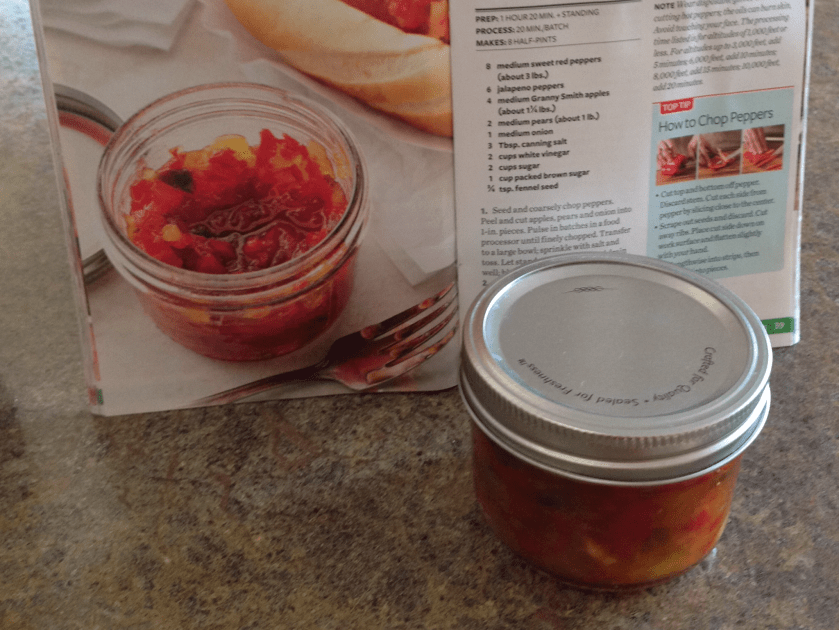
Homemade Chunky Salsa
2 cups ripe plum tomatoes, diced
1/4 cup white onion, chopped
3 tablespoons fresh cilantro, finely chopped
1 1/2 teaspoons lime juice, bottled or fresh
3/4 teaspoon kosher salt (or to taste)
1 small garlic clove, minced
Combine all the ingredients in a bowl. Cover tightly and refrigerate before serving.