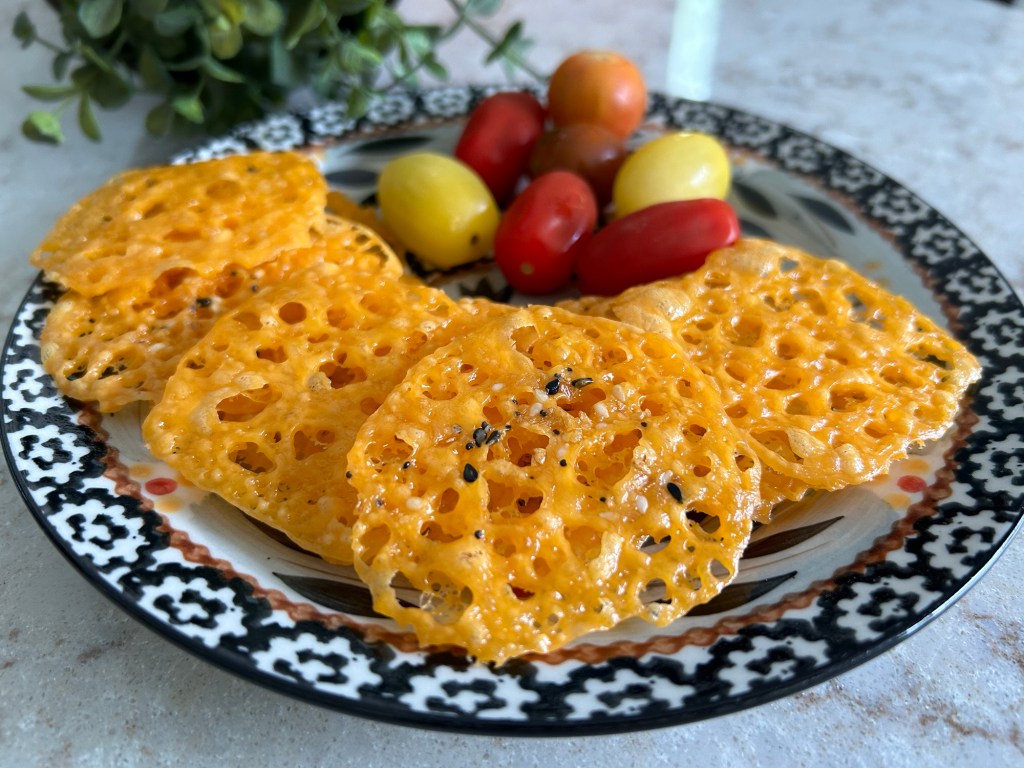
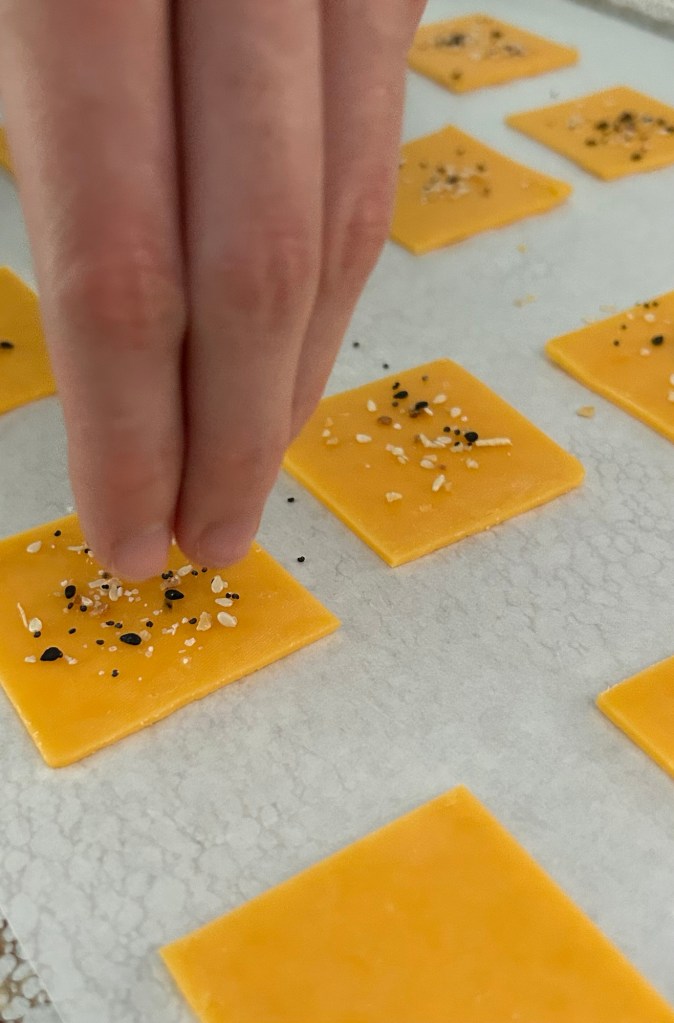
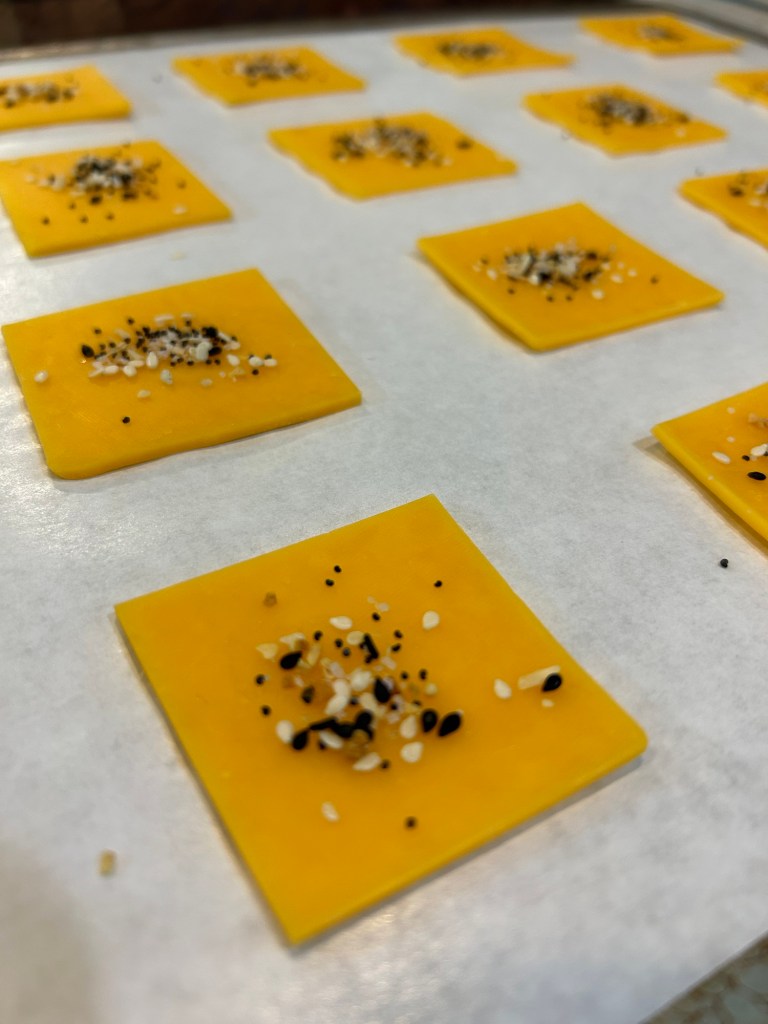
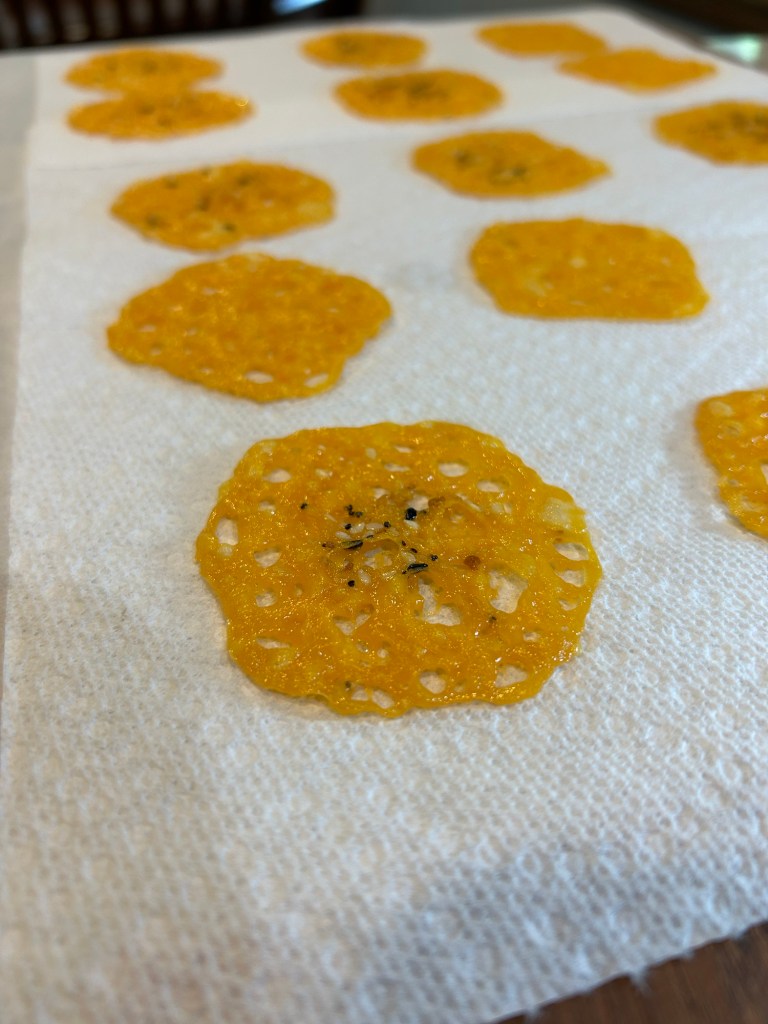
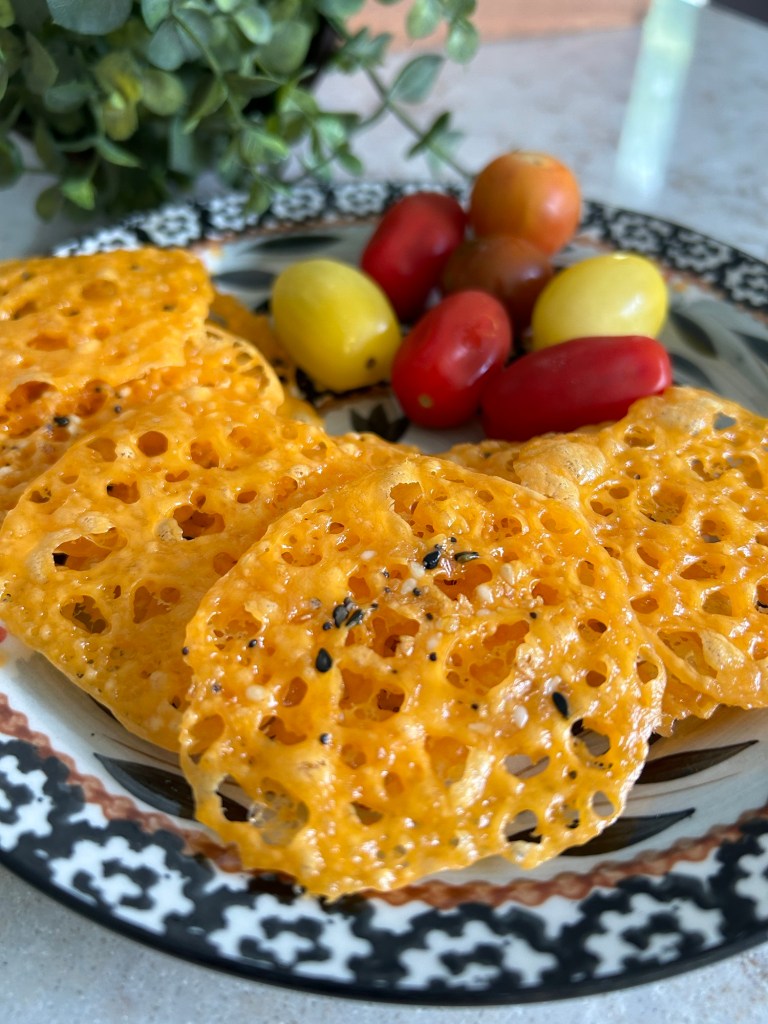
-SUPER EASY cheesy snack. For those watching your carbs, give this recipe a try!
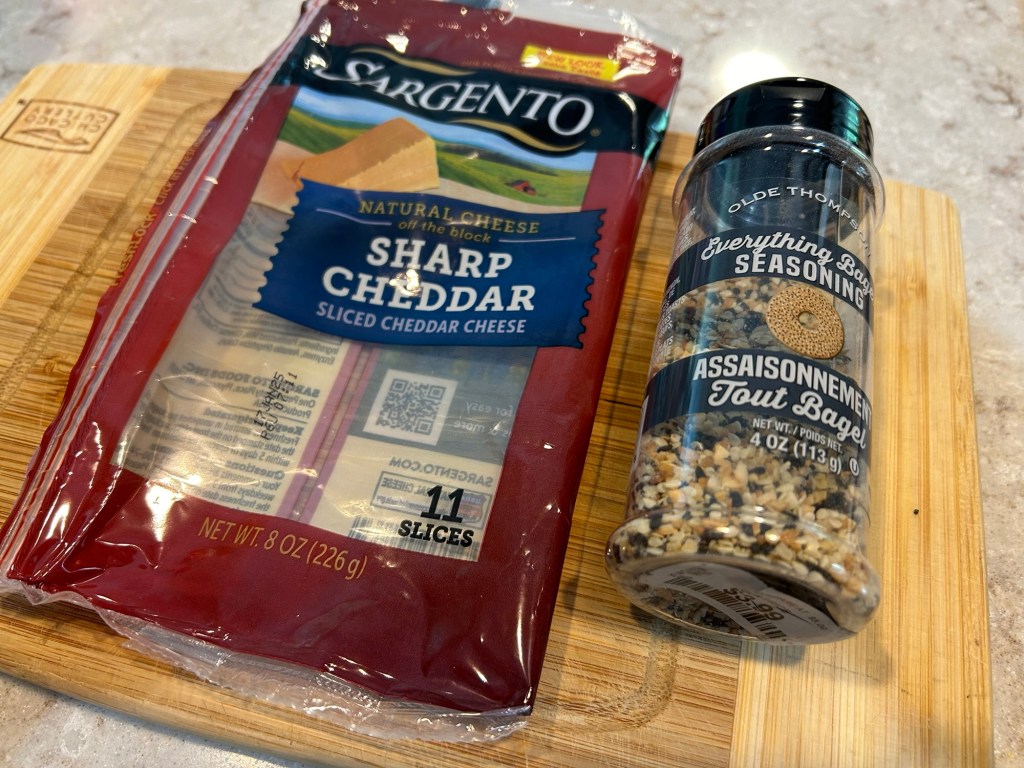
1 package of sliced cheddar cheese
1 Tbs. everything bagel seasoning mix


-SUPER EASY cheesy snack. For those watching your carbs, give this recipe a try!
1 package of sliced cheddar cheese
1 Tbs. everything bagel seasoning mix

When my children were young, I used to watch all of the PBS cooking shows during their afternoon nap. I’d fold clothes, wash dishes, clean-up the toy rooms, or catch up on laundry while some of my favorite TV cooking personalities demonstrated current techniques along with new and unique recipes. When I saw a recipe that I wanted to try, I quickly jot down the main ingredients and search the library for similar recipes to combine and develop. One such recipe, Homemade Farmer Cheese…
I recently ran across this hand-written recipe in my recipe binder and decided to revisit the idea of making my own cheese. I had pots of beautiful fresh herbs that needed to be trimmed and used before the cold weather made its way to the Midwest. The result was a creamy, flavorful, spreadable mixture that beats the flavor of any store bought variety.
A word of caution… Don’t use ultra-pasteurized milk as it will not curdle as needed for this easy recipe. Also, use a thermometer to measure the temperature of the milk.
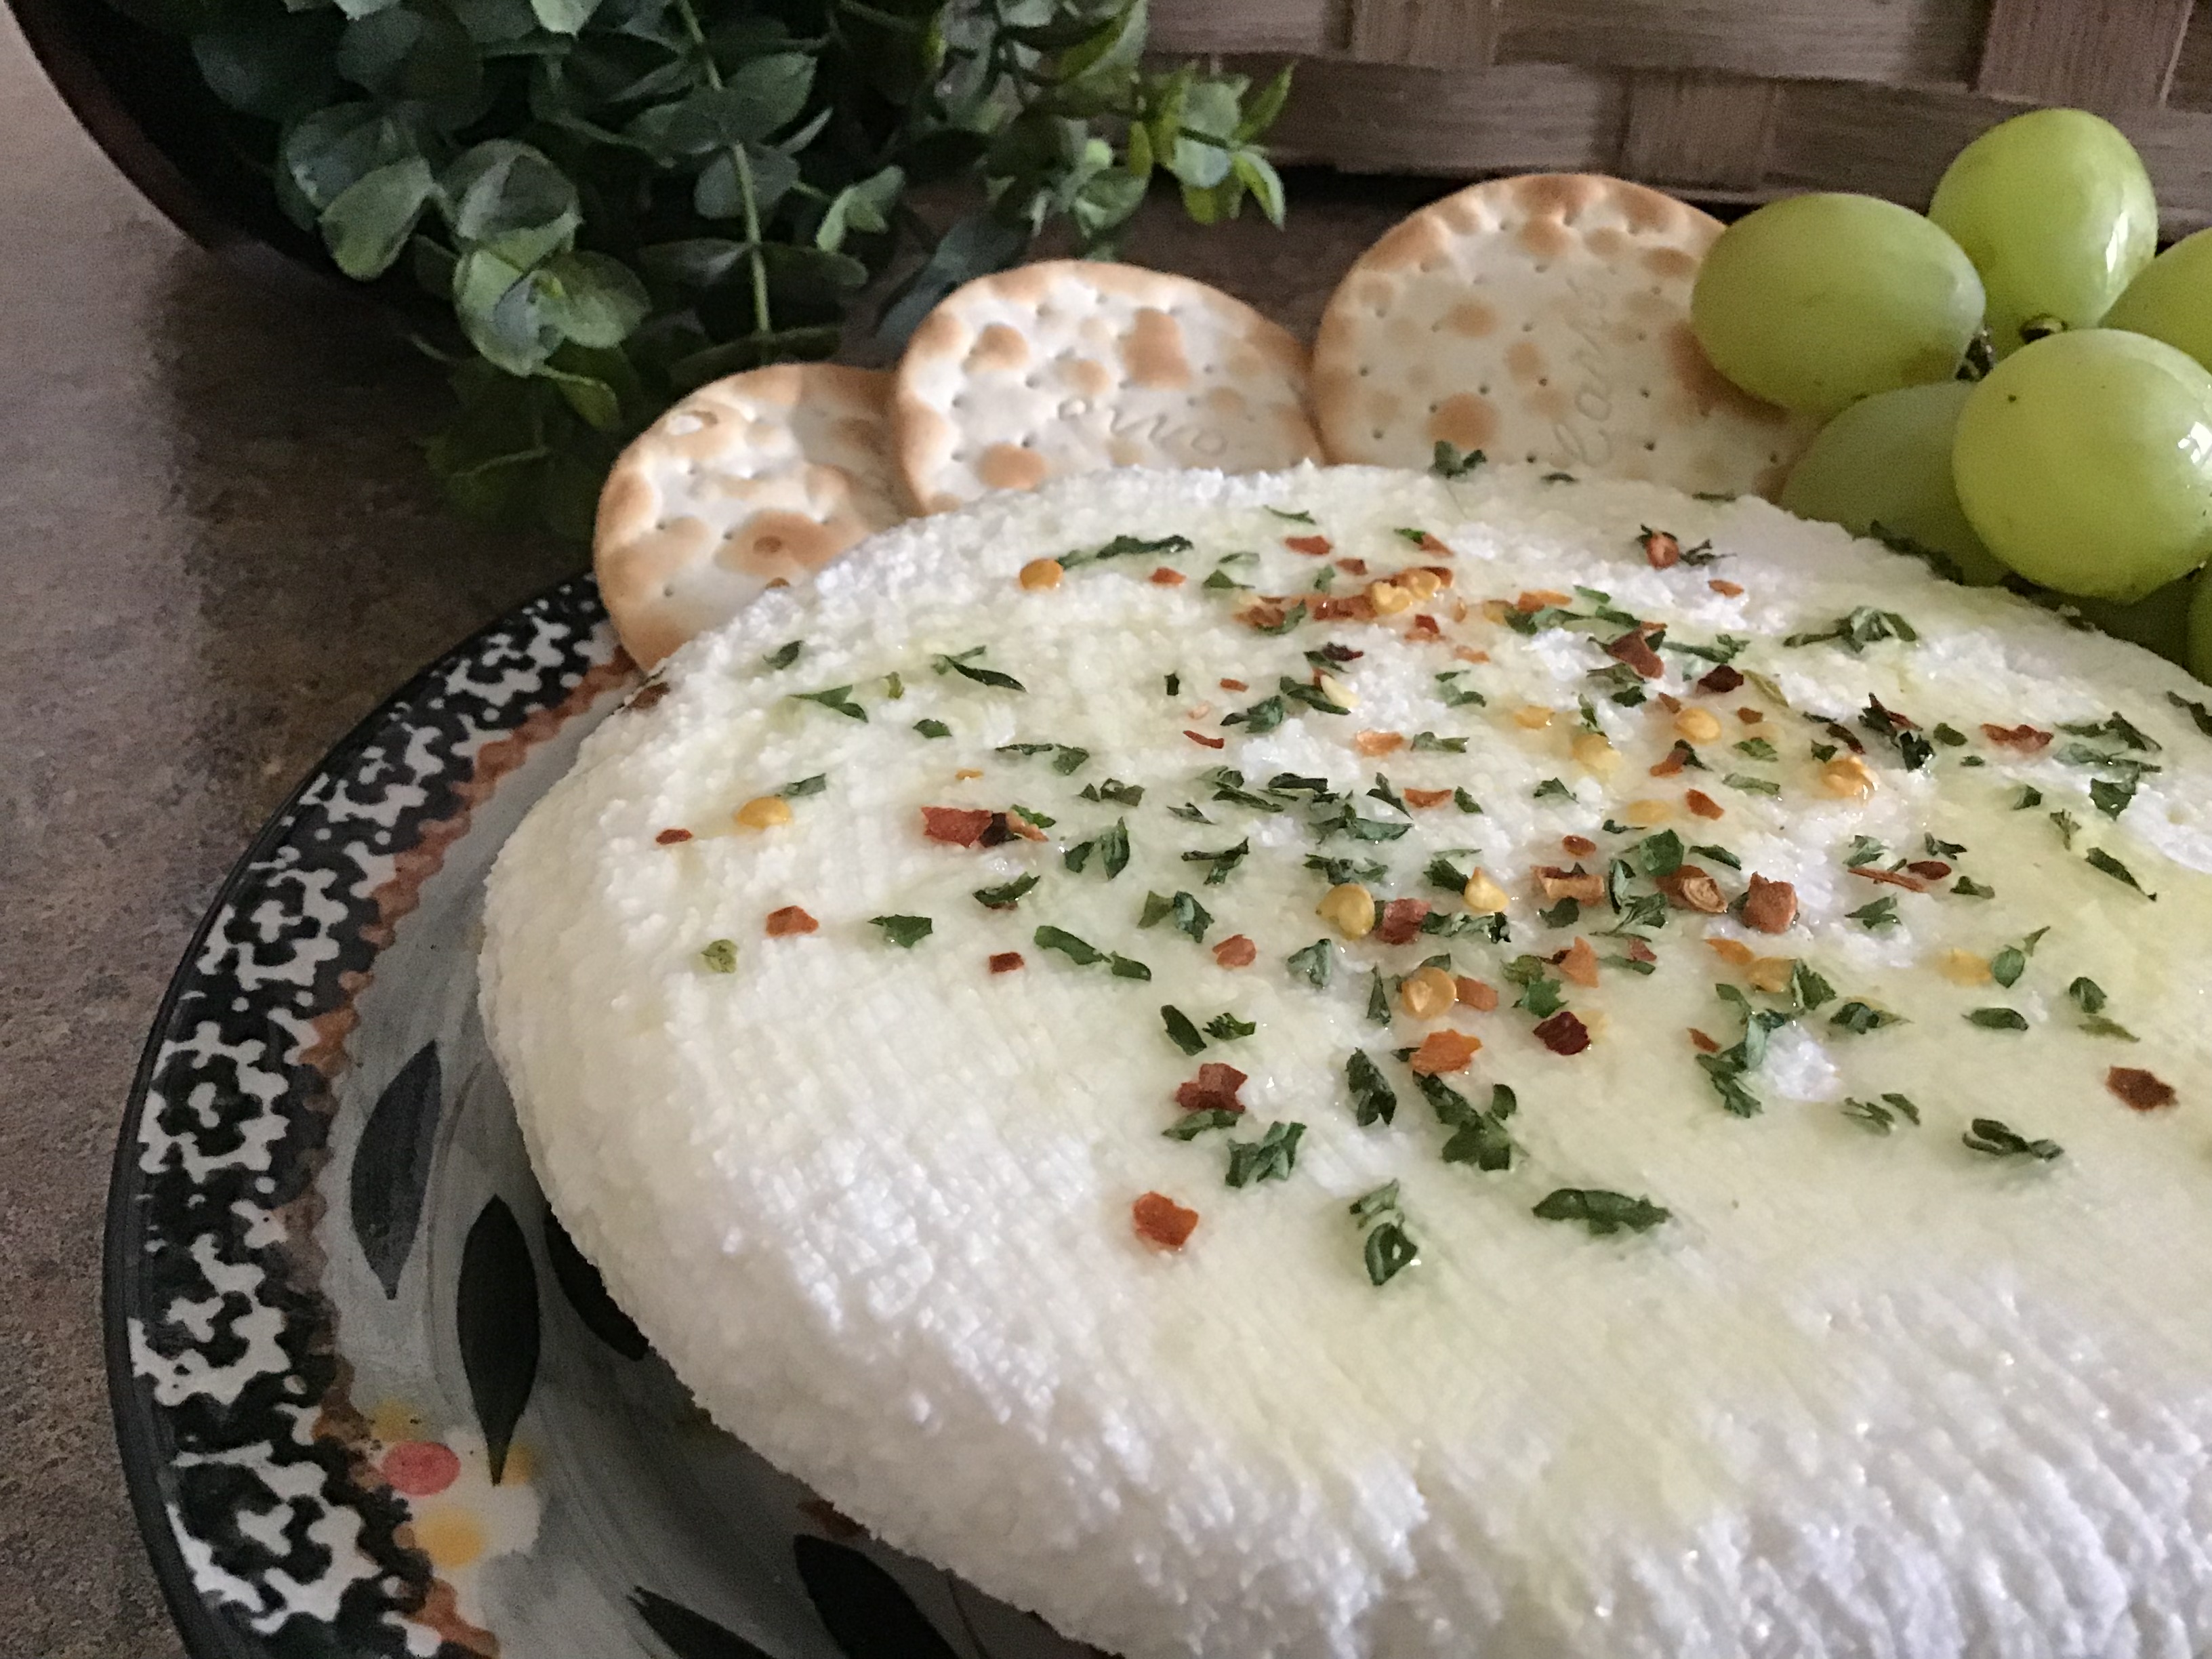
Homemade Farmer Cheese
1 gallon whole milk (not ultra-pasteurized)
½ teaspoon salt
¼ cup lemon juice or vinegar
Pour the milk into a large pot, and stir in the salt. Cook over medium heat, stirring occasionally to prevent the milk from scorching on the bottom of the pot.
When the milk begins to simmer and then reaches 190 degrees, turn off the heat. Stir lemon juice or vinegar into the milk. The acid will make the milk curdle. Let sit for 10 minutes.
Line a sieve or colander with a few layers of cheesecloth, and pour the milk through the cloth to catch the curds. The solid within the cheese cloth is the cheese (curd) and the liquid released from the mixture is the whey. Gather the cloth around the cheese, and squeeze out as much of the whey as you can. Tie up the cloth to form a cheese ball or disk, refrigerate in cheesecloth for several hours. Remove from cloth and wrap in plastic, or place in an airtight container. Store in the refrigerator.
Before serving, drizzle with good quality olive oil, sprinkle with course salt and fresh chopped herbs of your choice. I usually use basil, rosemary, and oregano. You can also use crushed red pepper flakes or chopped green onions. Serve on toasted Italian bread or hearty crackers.
For a sweeter flavor, drizzle with honey and serve with bagels, jam, and fruit.

During the fall and winter months, I am always looking for creative ways to fill lunch boxes with nutritious, mid-day meals. On Sunday evenings, I try to prepare lots of options for the kids to enjoy during the school week. M loves to bring a thermos full of soup to school as she often feels that her classrooms are cold and drafty. She usually requests some kind of vegetable soup to carry in her lunchbox. Currently, her favorite selection is my Cheesy Cream of Broccoli Soup recipe. Adding rice or noodles makes it a bit more hearty and filling. After making the soup on Sunday, I divide it up into small plastic containers and pop it in the fridge. Every morning, before the kids head to school, I heat up individual servings then pour the piping hot soup in the thermos. (Below, I’ve included my secret to keeping rice balls for a week’s worth of soup.) There’s nothing like a bowl of good old fashioned comfort food to fill the tummy at lunchtime.
Cheesy Cream of Broccoli Soup with Rice
1 pkg. (16 oz.) frozen chopped broccoli
3/4 cup water
1 can (14.5 oz.) chicken broth
1/4 cup butter or margarine
1/4 cup chopped onion or 2 tsp. onion flakes
1/4 cup all-purpose flour
1 can (12 fl. oz.) Evaporated Milk
2 cups Velveeta Shredded Cheese (melts really well)
In a medium sauce pan, mix water and broccoli; bring to boil. Cover; reduce heat to low. Cook for 5 to 7 minutes or until tender.
Meanwhile, melt butter in a large saucepan over medium heat. Add onion; cook, stirring occasionally, for several minutes or until onion is tender. Stir in flour. Continue to cook on medium heat until bubbly. Gradually stir in evaporated milk. Cook, stirring constantly, until mixture comes to a boil. Add broccoli (with water) Heat through. Remove from heat and stir in cheese until completely melted.
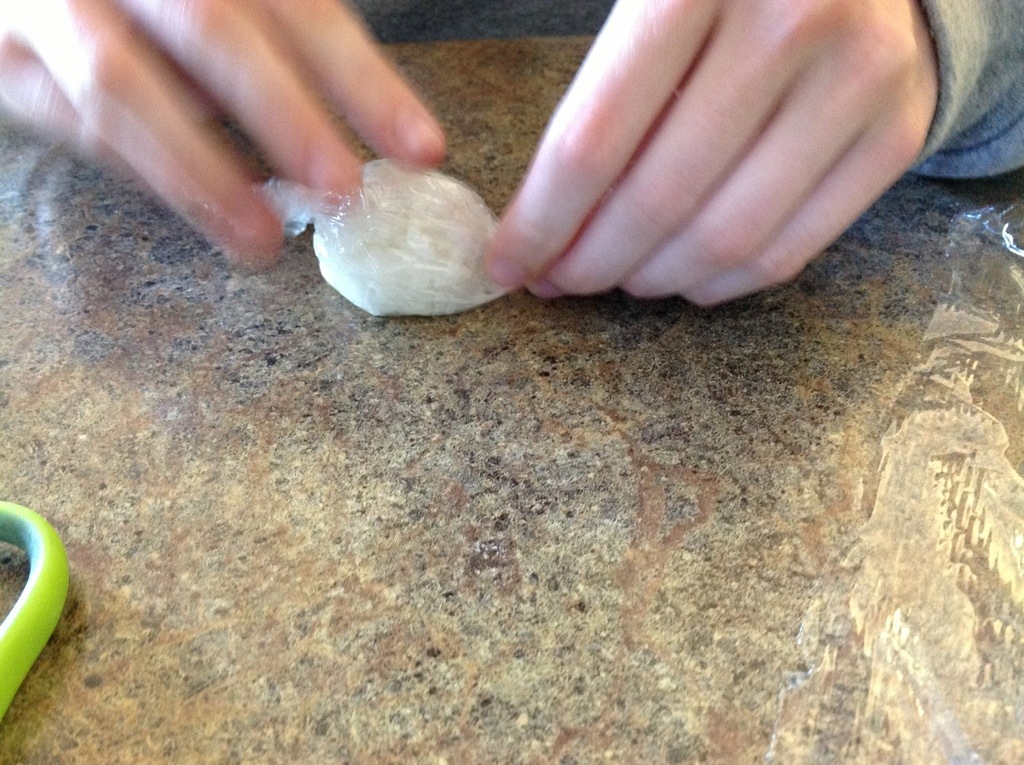
To make rice balls:
This is the kind of rice we buy. It’s called sushi rice.

Cook rice according to package directions. After rice has cooled a bit, use a small ice cream scoop to make 2 inch balls of rice. Wrap each ball individually in small pieces of plastic wrap.


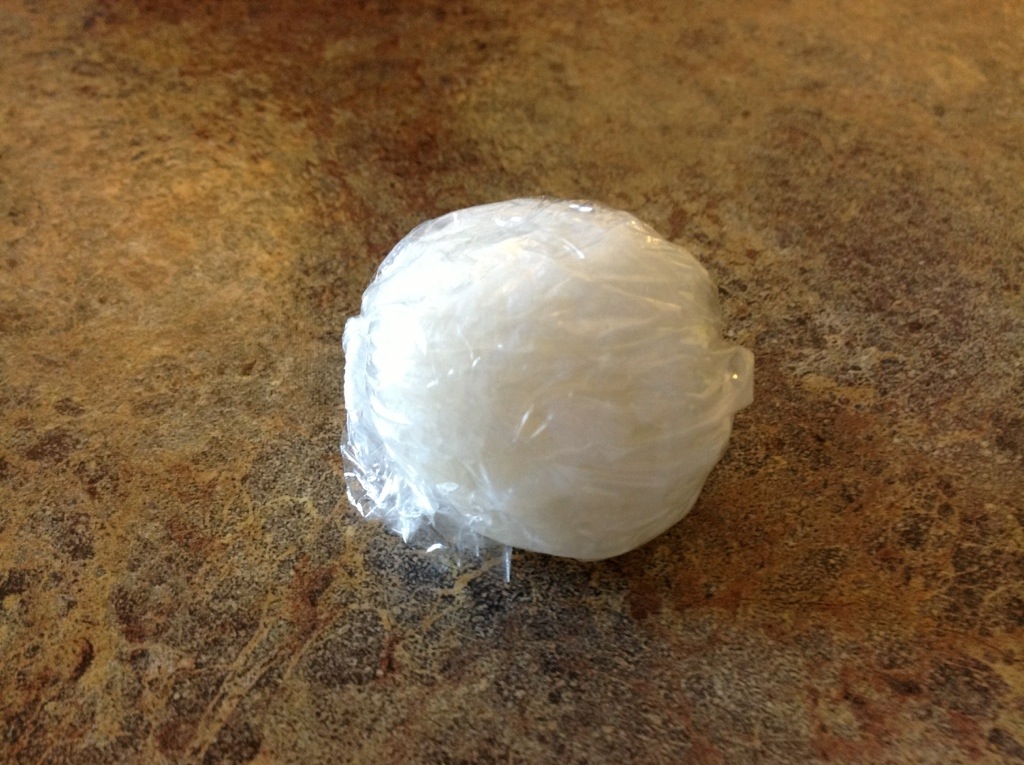
Place wrapped rice balls in a freezer safe bag and store in freezer until ready to use.
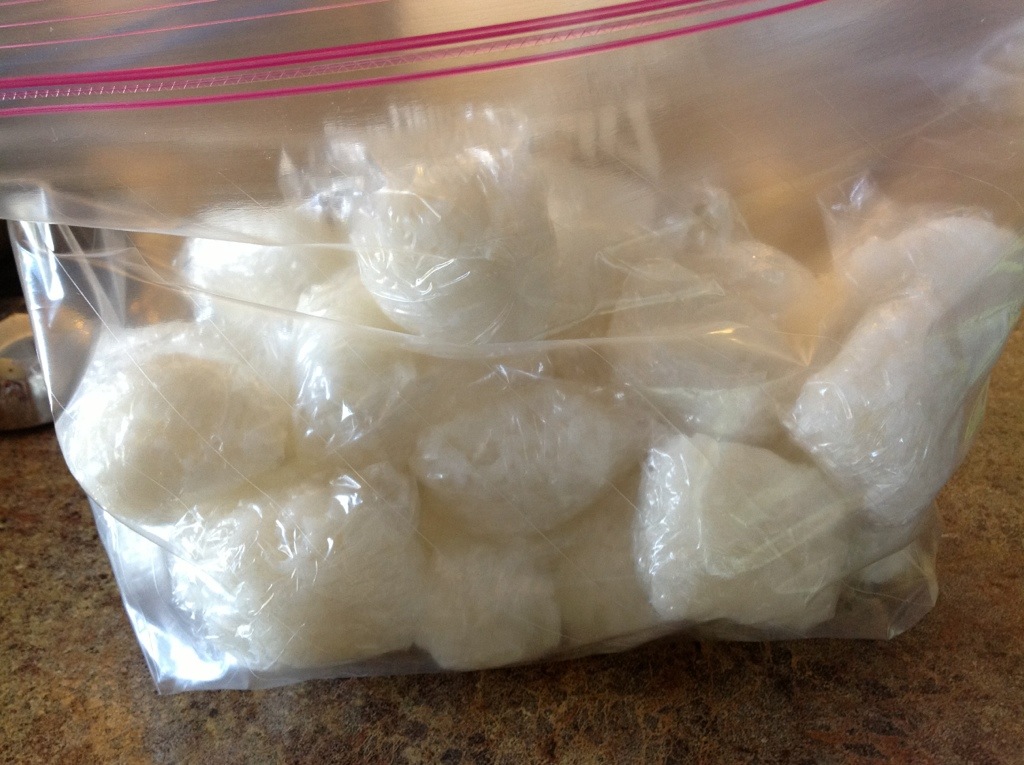
Unwrap rice balls and heat in the microwave before placing them in soup dish.

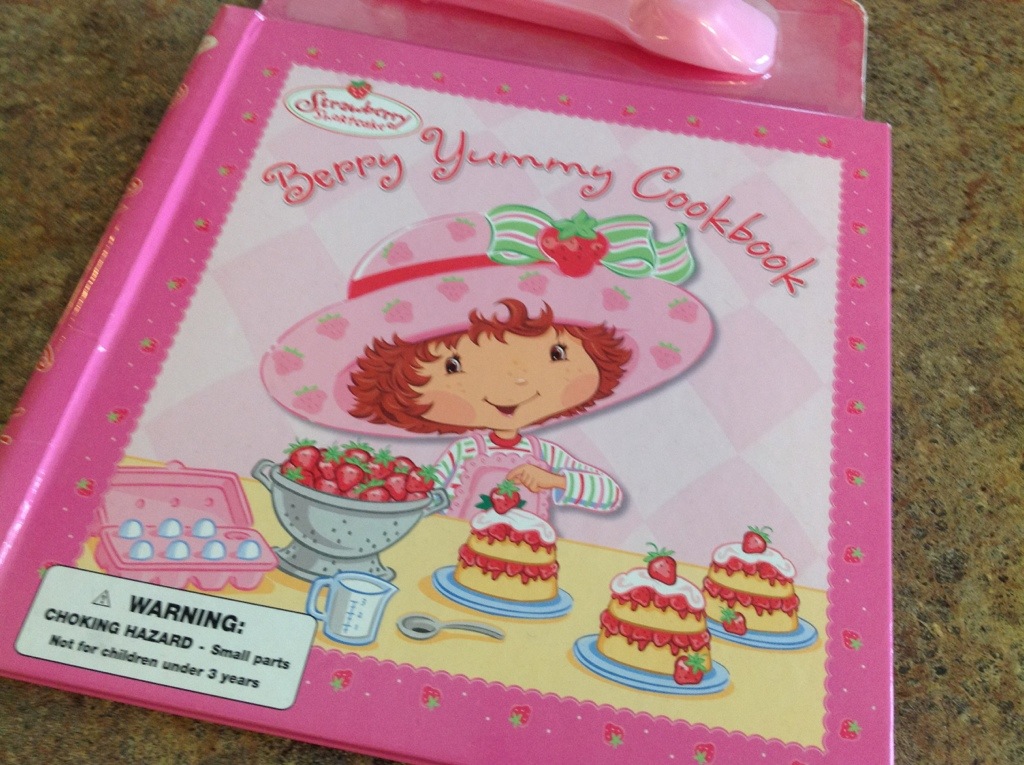
This is one of the first recipes M&K were able to make on their own. About 12 years ago, during a Scholastic Book Fair, M spied a Strawberry Shortcake Berry Yummy Cook Book named for her favorite cartoon character called Strawberry Shortcake. She fell in love with the book on the spot. We brought it home and she went to work trying to find the perfect first recipe to make for Saturday breakfast.

Early Saturday morning, M&K put on their aprons and began assembling the egg dish. They did a fantastic job measuring and pouring ingredients. They were delighted when we pulled the completed dish from the oven.
The original recipe was called Huckleberry Pie’s Hash Brown Bake (so cute). At the time, the recipe included hash brown potatoes but we weren’t fond of the soggy potatoes in the dish so we tweaked it a bit. We gave our adapted dish a new name; Strawberry Shortcake Eggs.
(Note: I have renamed the dish to Scrambled Egg Squares for the blog just because I didn’t want to confuse readers; I didn’t want anyone to think that strawberry shortcake was part of the recipe! 🙂

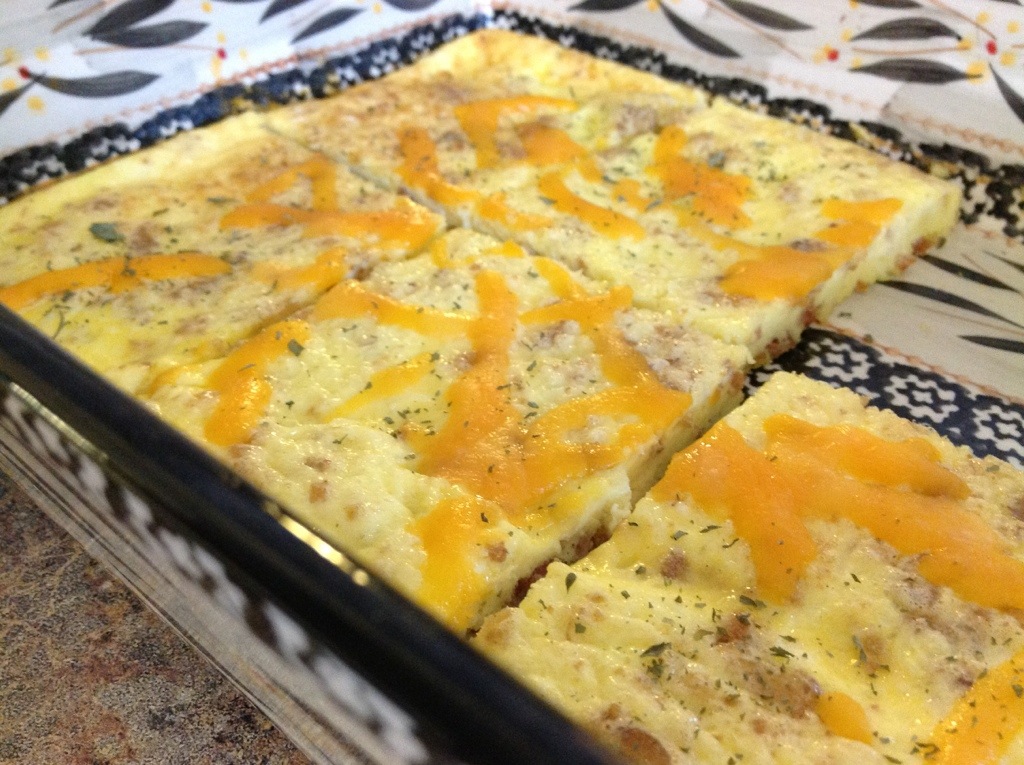
The best part about making a pan of these eggs is that they are great for feeding a crowd or a big family quickly. Just pour the beaten eggs into the pan with a few other ingredients and in 20 minutes, you’ve got lots of eggs. I often wrap the cooked squares individually in plastic wrap and freeze them. Later, I use them to make breakfast sandwiches by combining an egg square with an English muffin, a sausage patty (optional), and a slice of cheese.
Scrambled Egg Squares ( Strawberry Shortcake Eggs)
8 eggs
3/4 cup milk or half & half
1 1/2 cups shredded cheddar cheese
3 tablespoons Ready to Serve Real Bacon Bits, optional
Preheat oven to 350 degrees. Spray a 13×9″ baking pan with non-stick cooking spray. In a medium bowl, whisk together eggs with milk or half&half. Stir in shredded cheese, and bacon pieces. Pour into baking pan and bake for 17-20 minutes or until set, puffy, and lightly browned. Cool slightly before cutting into squares.

One of our favorite relatives is our cousin Patrick. Whenever there is a family gathering, he brings two signature dishes along with him…Baked Polish Sausage and Pat Mac ( his recipe for creamy macaroni and cheese). It took me a long time to convince him to share this recipe with me but he finally broke down and let me have it several months ago. Early Monday morning, before heading out of town for a work conference, I assembled a pan of Pat Mac for the family to share while I was away. While Patrick’s dish always tastes better than mine, I still try my hand at it when the temperatures drop and the weather turns cool. Fall is the perfect time to make a big pan of Pat Mac!
Our Favorite Pat Mac (Patrick’s Macaroni and Cheese)
1 package (16 oz) of Creamette Elbow Macaroni
1/2 cup margarine or butter
1/3 cup all-purpose flour
2 teaspoons dry mustard
2 teaspoons salt
5 cups milk
2 cups Cracker Barrel Sharp Cheddar Cheese, shredded
2 cups Vermont Sharp Cracker Barrel Cheese, shredded
1 sleeve Ritz crackers, crushed
Cook pasta according to directions. Preheat oven to 375 F. In a large saucepan, over medium heat, melt margarine, stir in flour, dry mustard and salt. Gradually stir in milk. Cook until mixture thickens slightly and bubbles. Remove from heat, Add 2 cups of cheese and stir until melted. Stir in half of the crushed Ritz crackers.
In a large bowl, combine sauce with pasta. Spoon into a greased 13 x 9-inch baking dish. Top with remaining cheddar cheese and Ritz crackers. Bake 40 minutes or until hot and bubbly.

Recently, I noticed a new item on my local grocer’s produce shelf. Gourmet Garden is now making basil paste in a 4 oz. tube. I was so excited to see this because my family loves basil and I usually only make recipes with fresh basil during the summer months when fresh basil is cheap and plentiful. I always make sure to plant plenty of varieties so that I have lots of different flavors to add to appetizers, salads, canned tomatoes, and Italian dishes. Now my family can enjoy many of these recipes year round. Bruschetta is a popular favorite in my house and I was able to surprise my family with this tasty appetizer last night. I’m so excited to have found this convenient tube of delicious basil paste. It brings a touch of summer to the cold winter days in Indiana.
Bruschetta
3 medium tomatoes
2 cloves of garlic, minced
2 tsp basil
1 tsp salt
2 Tbls. Parmesan cheese, grated
1 baguette or thin Italian loaf, thinly sliced
2 Tbls. olive oil
½ tsp. garlic powder
Mix all ingredients in a medium bowl. Cover and chill before serving.
Line a cookie sheet with bread slices. Brush the slices with olive oil and sprinkle with garlic powder. Bake at 325 degrees for 7-10 minutes.
Pile tomato mixture on toasted bread slices and enjoy!
