After an enjoyable St. Patrick’s Day holiday, I am often faced with a bit of leftover buttermilk as it is one of the main ingredients in my Irish Scones and Irish Bread recipes. This year was no different. Over the last few days, every time I open the fridge, I notice a half-filled jug of buttermilk that will need to be used before it expires.
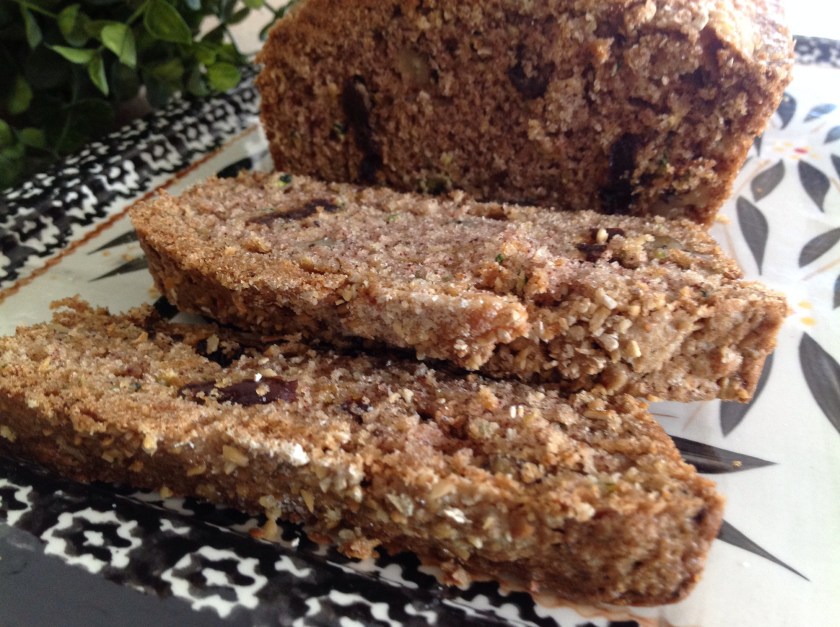
As spring is just around the corner, I decide to make one of my favorite muffin recipes. This recipe is moist and flavorful due to the addition of buttermilk. The sweet taste of cranberries and walnuts combined with the buttermilk and orange juice concentrate make for a fresh start to the day. Substituting yogurt or sour cream is definitely an option if you don’t have buttermilk on hand. Remember, you can always add an acidic ingredient like vinegar or lemon juice to regular milk in order to make your own substitute for buttermilk. Don’t miss the recipe for cranberry butter at the bottom of the post as it is DELICIOUS and really makes this muffin recipe extra special.
Cranberry Nut and Buttermilk Muffins
1 cup cranberries, coarsely chopped
1/2 cup walnuts, chopped
3⁄4 cup sugar, divided
3 cups all-purpose flour
3 1⁄2 teaspoons baking powder
1⁄4 teaspoon baking soda
1⁄2 teaspoon salt
1⁄2 cup butter
1 egg
1 1⁄2 cups buttermilk
2 tablespoons frozen orange juice concentrate, thawed
2 tablespoons old fashioned oats (optional)
2 tablespoons sunflower seeds (optional)
Combine cranberries, walnuts, and 1/4 cup sugar; set aside. In a large bowl, mix together flour, remaining sugar, baking powder, baking soda, and salt. With a fork or pastry blender, cut cold butter into dry ingredients until mixture resembles coarse crumbs. In a medium bowl, beat together egg, buttermilk and orange juice concentrate. Add the liquid and sweetened cranberries to dry ingredients, stirring until just moistened; do not over mix. Spoon batter into greased or paper-lined muffin cups. Lightly sprinkle with old fashioned oats and seeds (optional). Bake at 350 degrees for 23-27 minutes. For mini-muffins, bake at 350 degrees for 12-15 minutes or until toothpick inserted in center comes out clean.
If you are so inclined, here is a recipe for cranberry butter that tastes delicious slathered over the warm muffins…
Creamy Cranberry Butter
1 cup cranberries, finely chopped
1 cup powdered sugar
1⁄2 cup butter or margarine, softened
1 tablespoon lemon juice or orange juice
Purée cranberries in a blender; add remaining ingredients and process until smooth. Refrigerate.


 What any easy way to provide your dog with a great snack from your own kitchen…