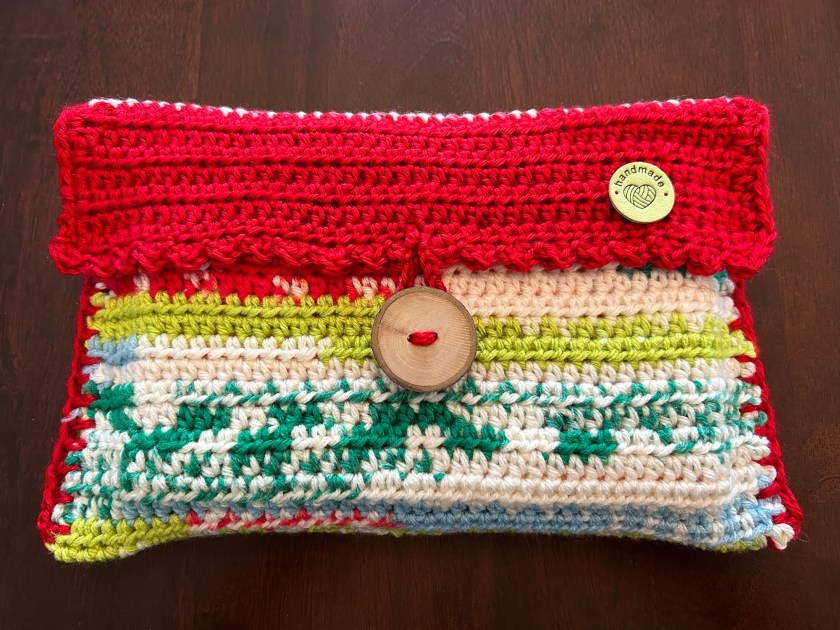

Do you have scrap yarn that you need to use up in your stash? If so, this is a great beginner project for you. Depending on the size of your book, you can finish a project like this one in a few hours.

Scrappy Crocheted Book Cover
Measuring the length of my book, I used the half-double crochet stitch after chaining 40 stitches. The number of rows stitched depends on the size of the book. I used a 4.5 mm hook with 4 weight yarn.
CH 40 + 2, turn
HDC in to second stitch from the hook, continue across the row. Continue this pattern until you’ve reached your desired length to cover your book.

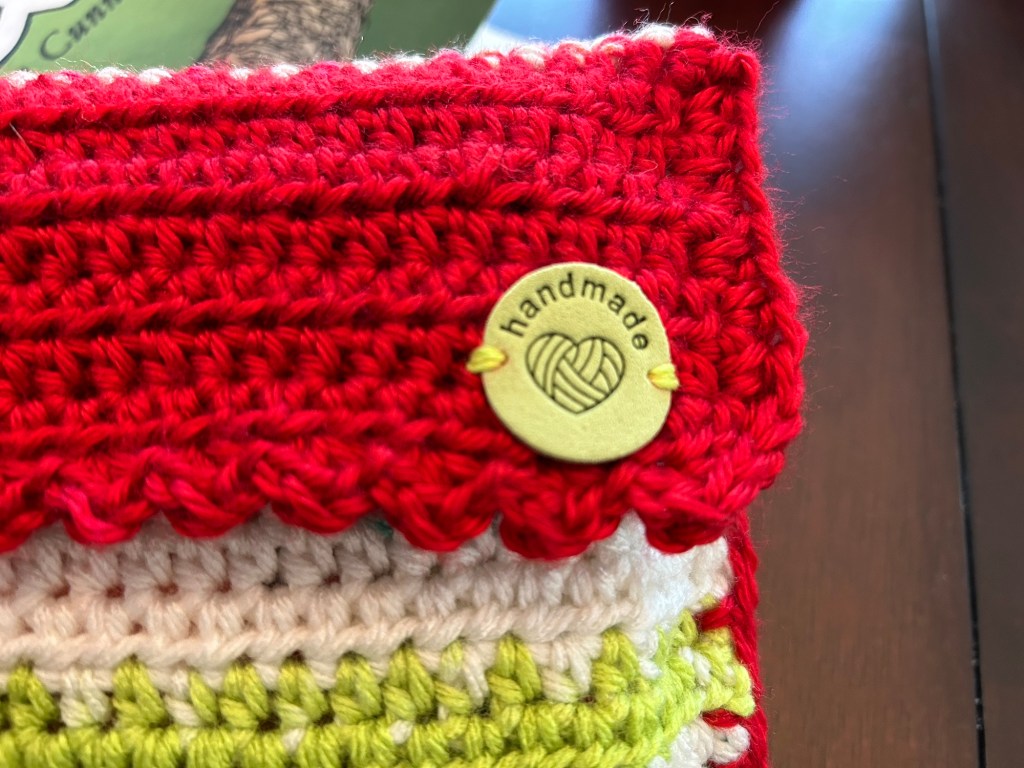
I ran out of the multiple-colored yarn before reaching my desired length so I just found a coordinating red yarn and continued stitching. For the scalloped edge, I used the following pattern- In the same stitch, put 1 single crochet, 1 double crochet, and 1 single crochet. Slip stitch in the next stitch. Continue across the row. To close up the envelope-style cover I used the half-double crochet stitch around the edges. I made a simple closure by chaining 12, tying off and stitching this into the center edge of the flap. I stitched on a button with a tapestry needle and added a “handmade” label. This cute cover will hold all of my cozy mysteries throughout the holiday season. Great gift idea!l


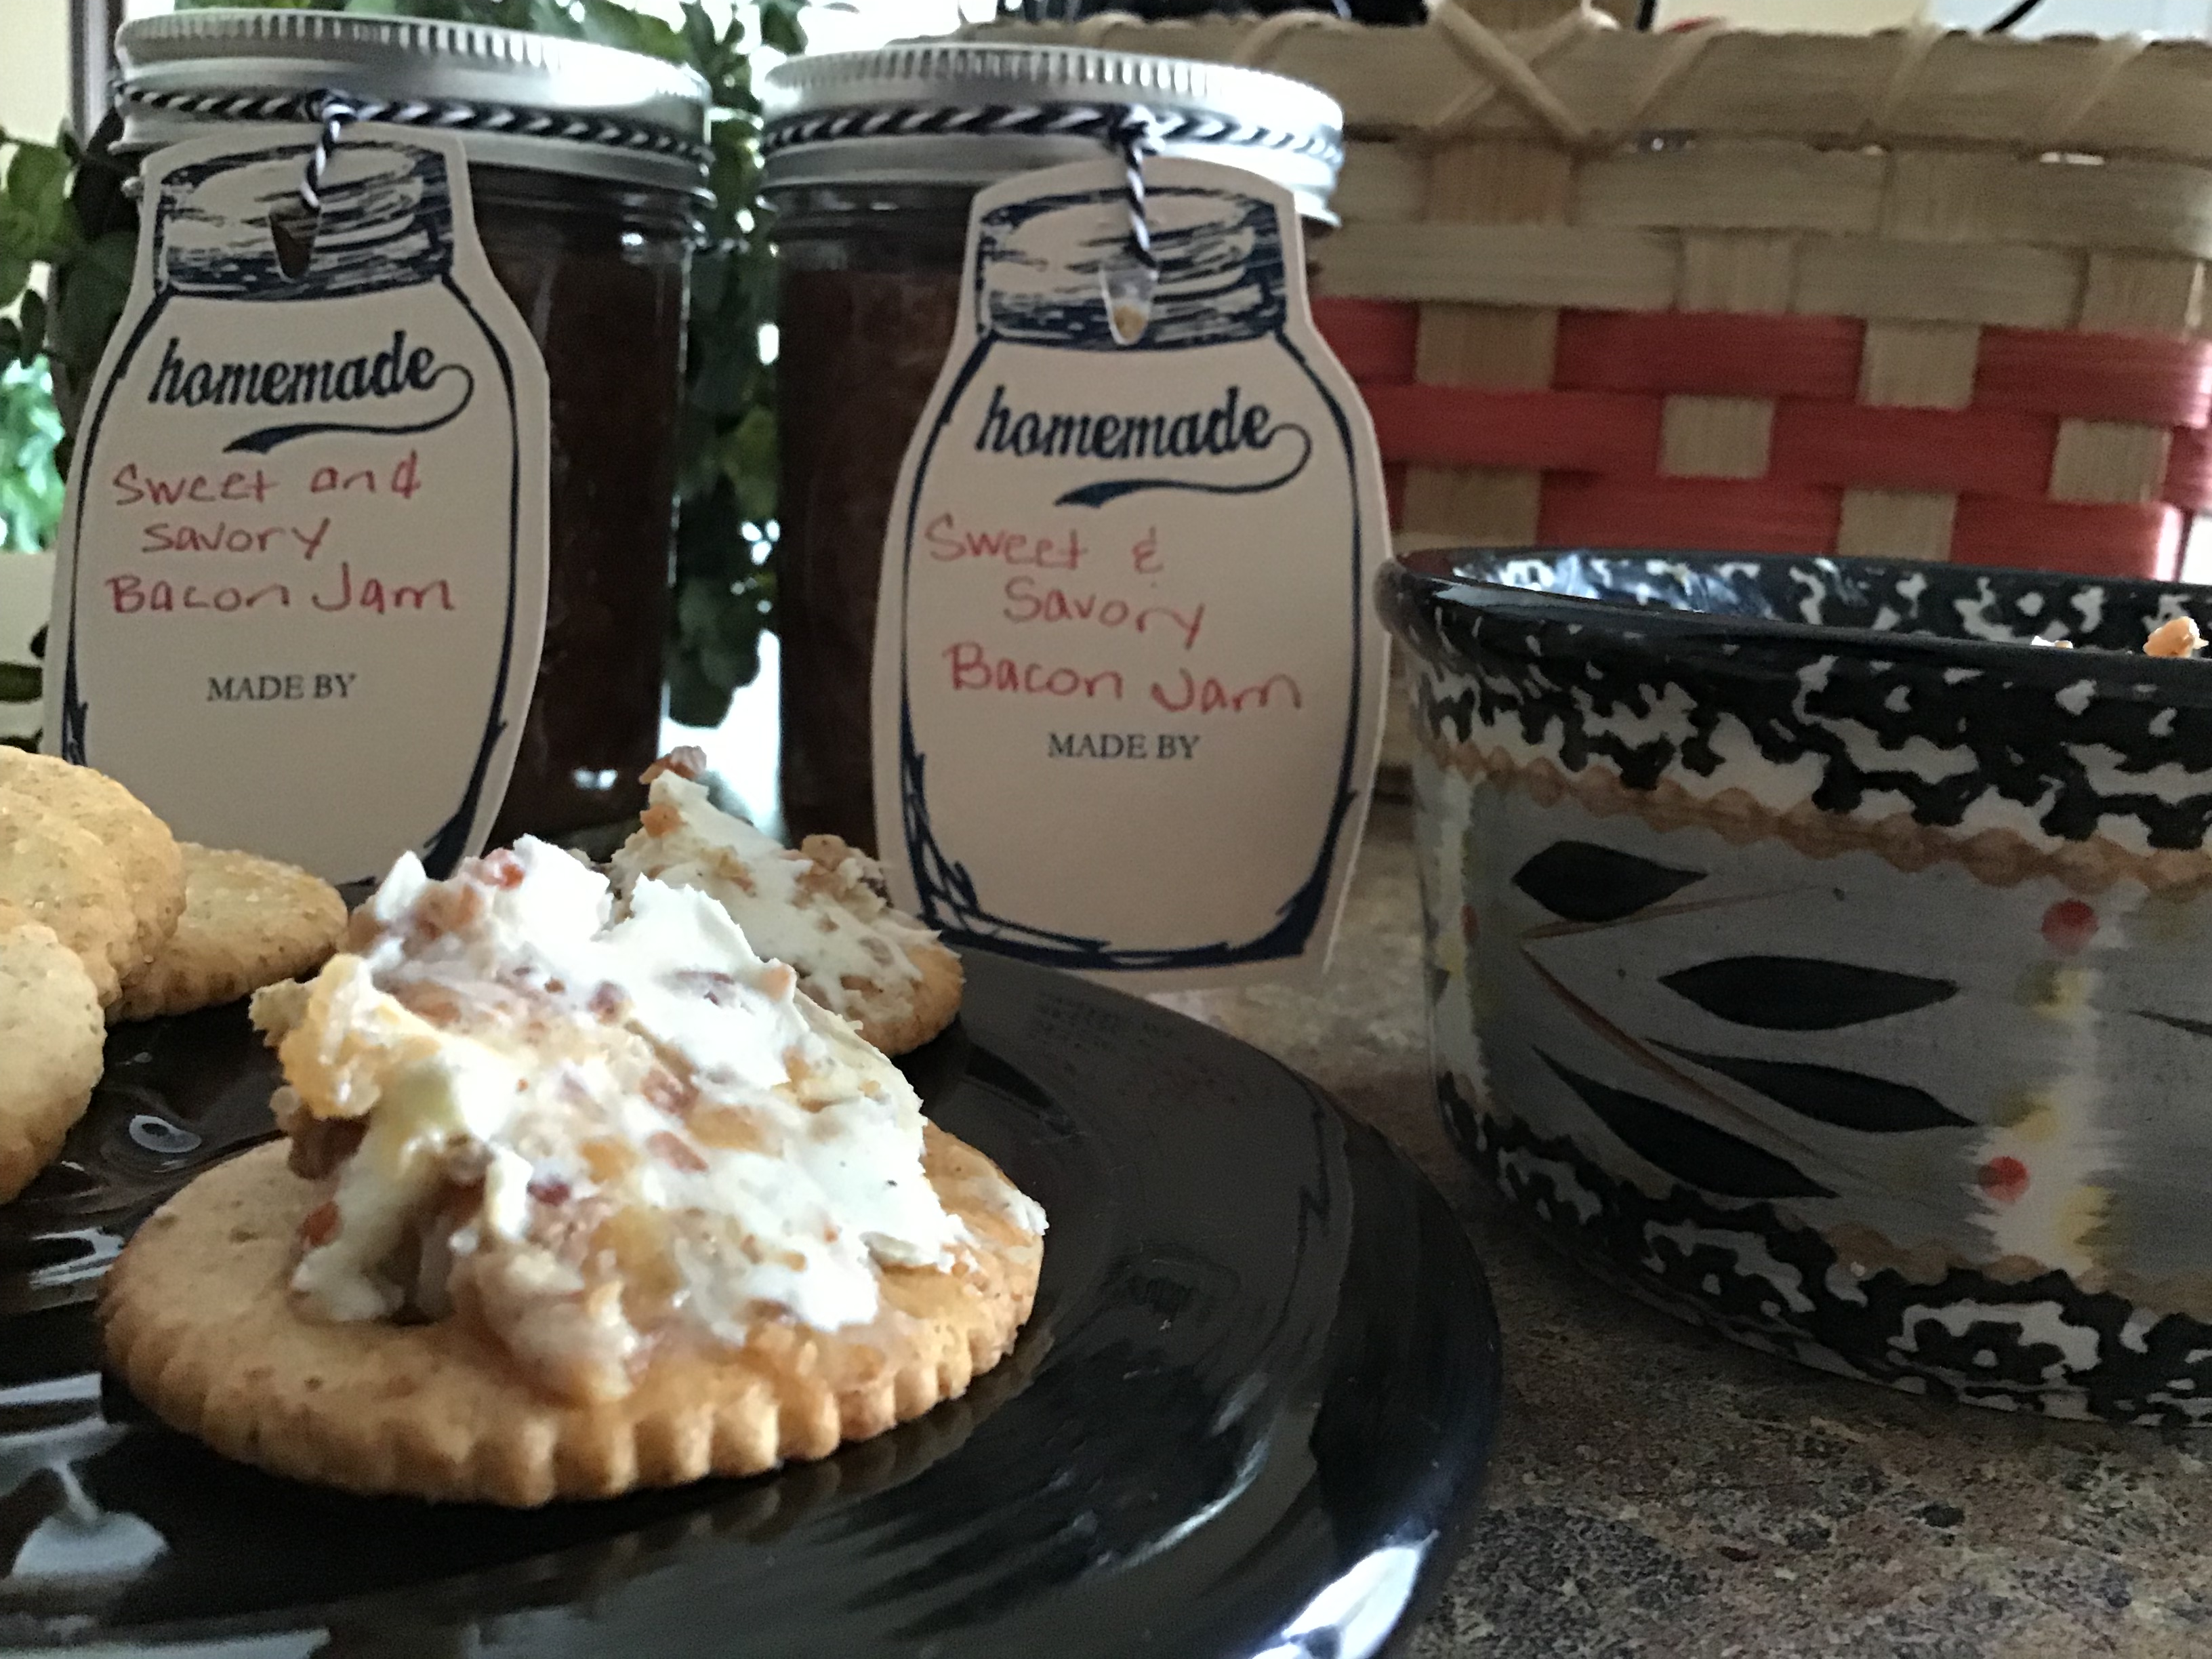 Every year, I try to identify a unique recipe to give to friends and relatives for the gift-giving season. I’m always looking for a recipe that highlights the deep rich flavor of our own
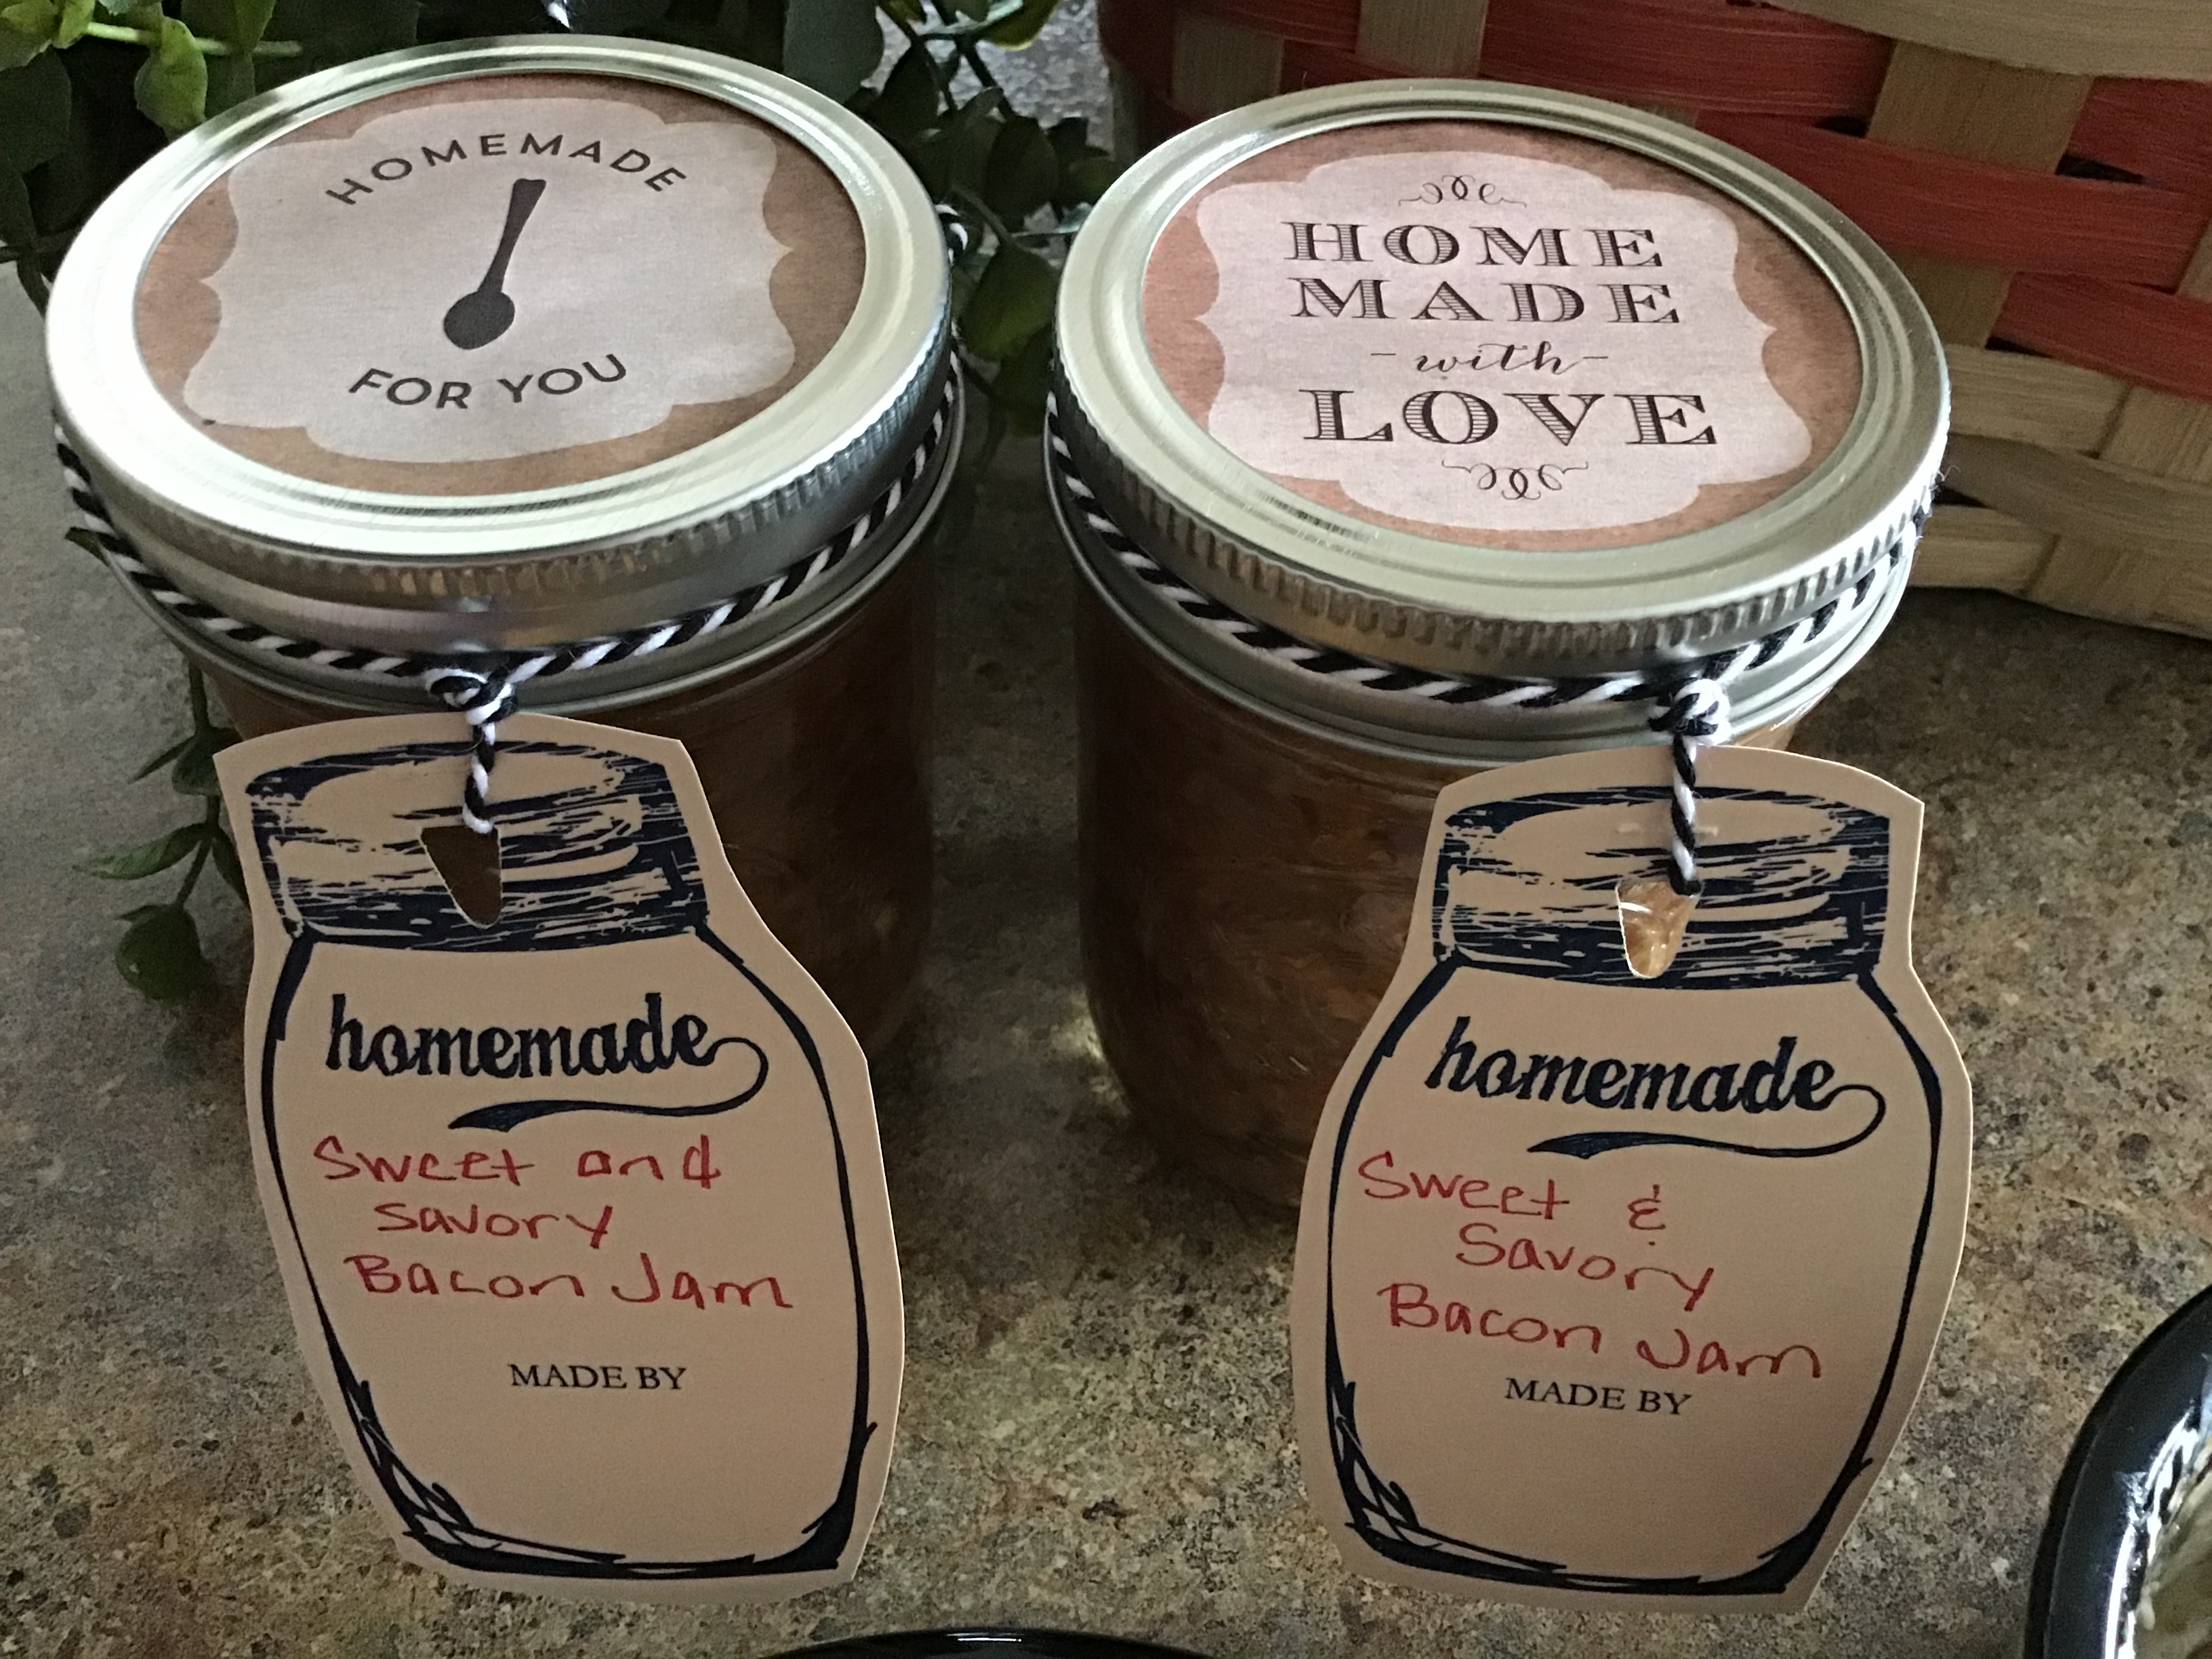


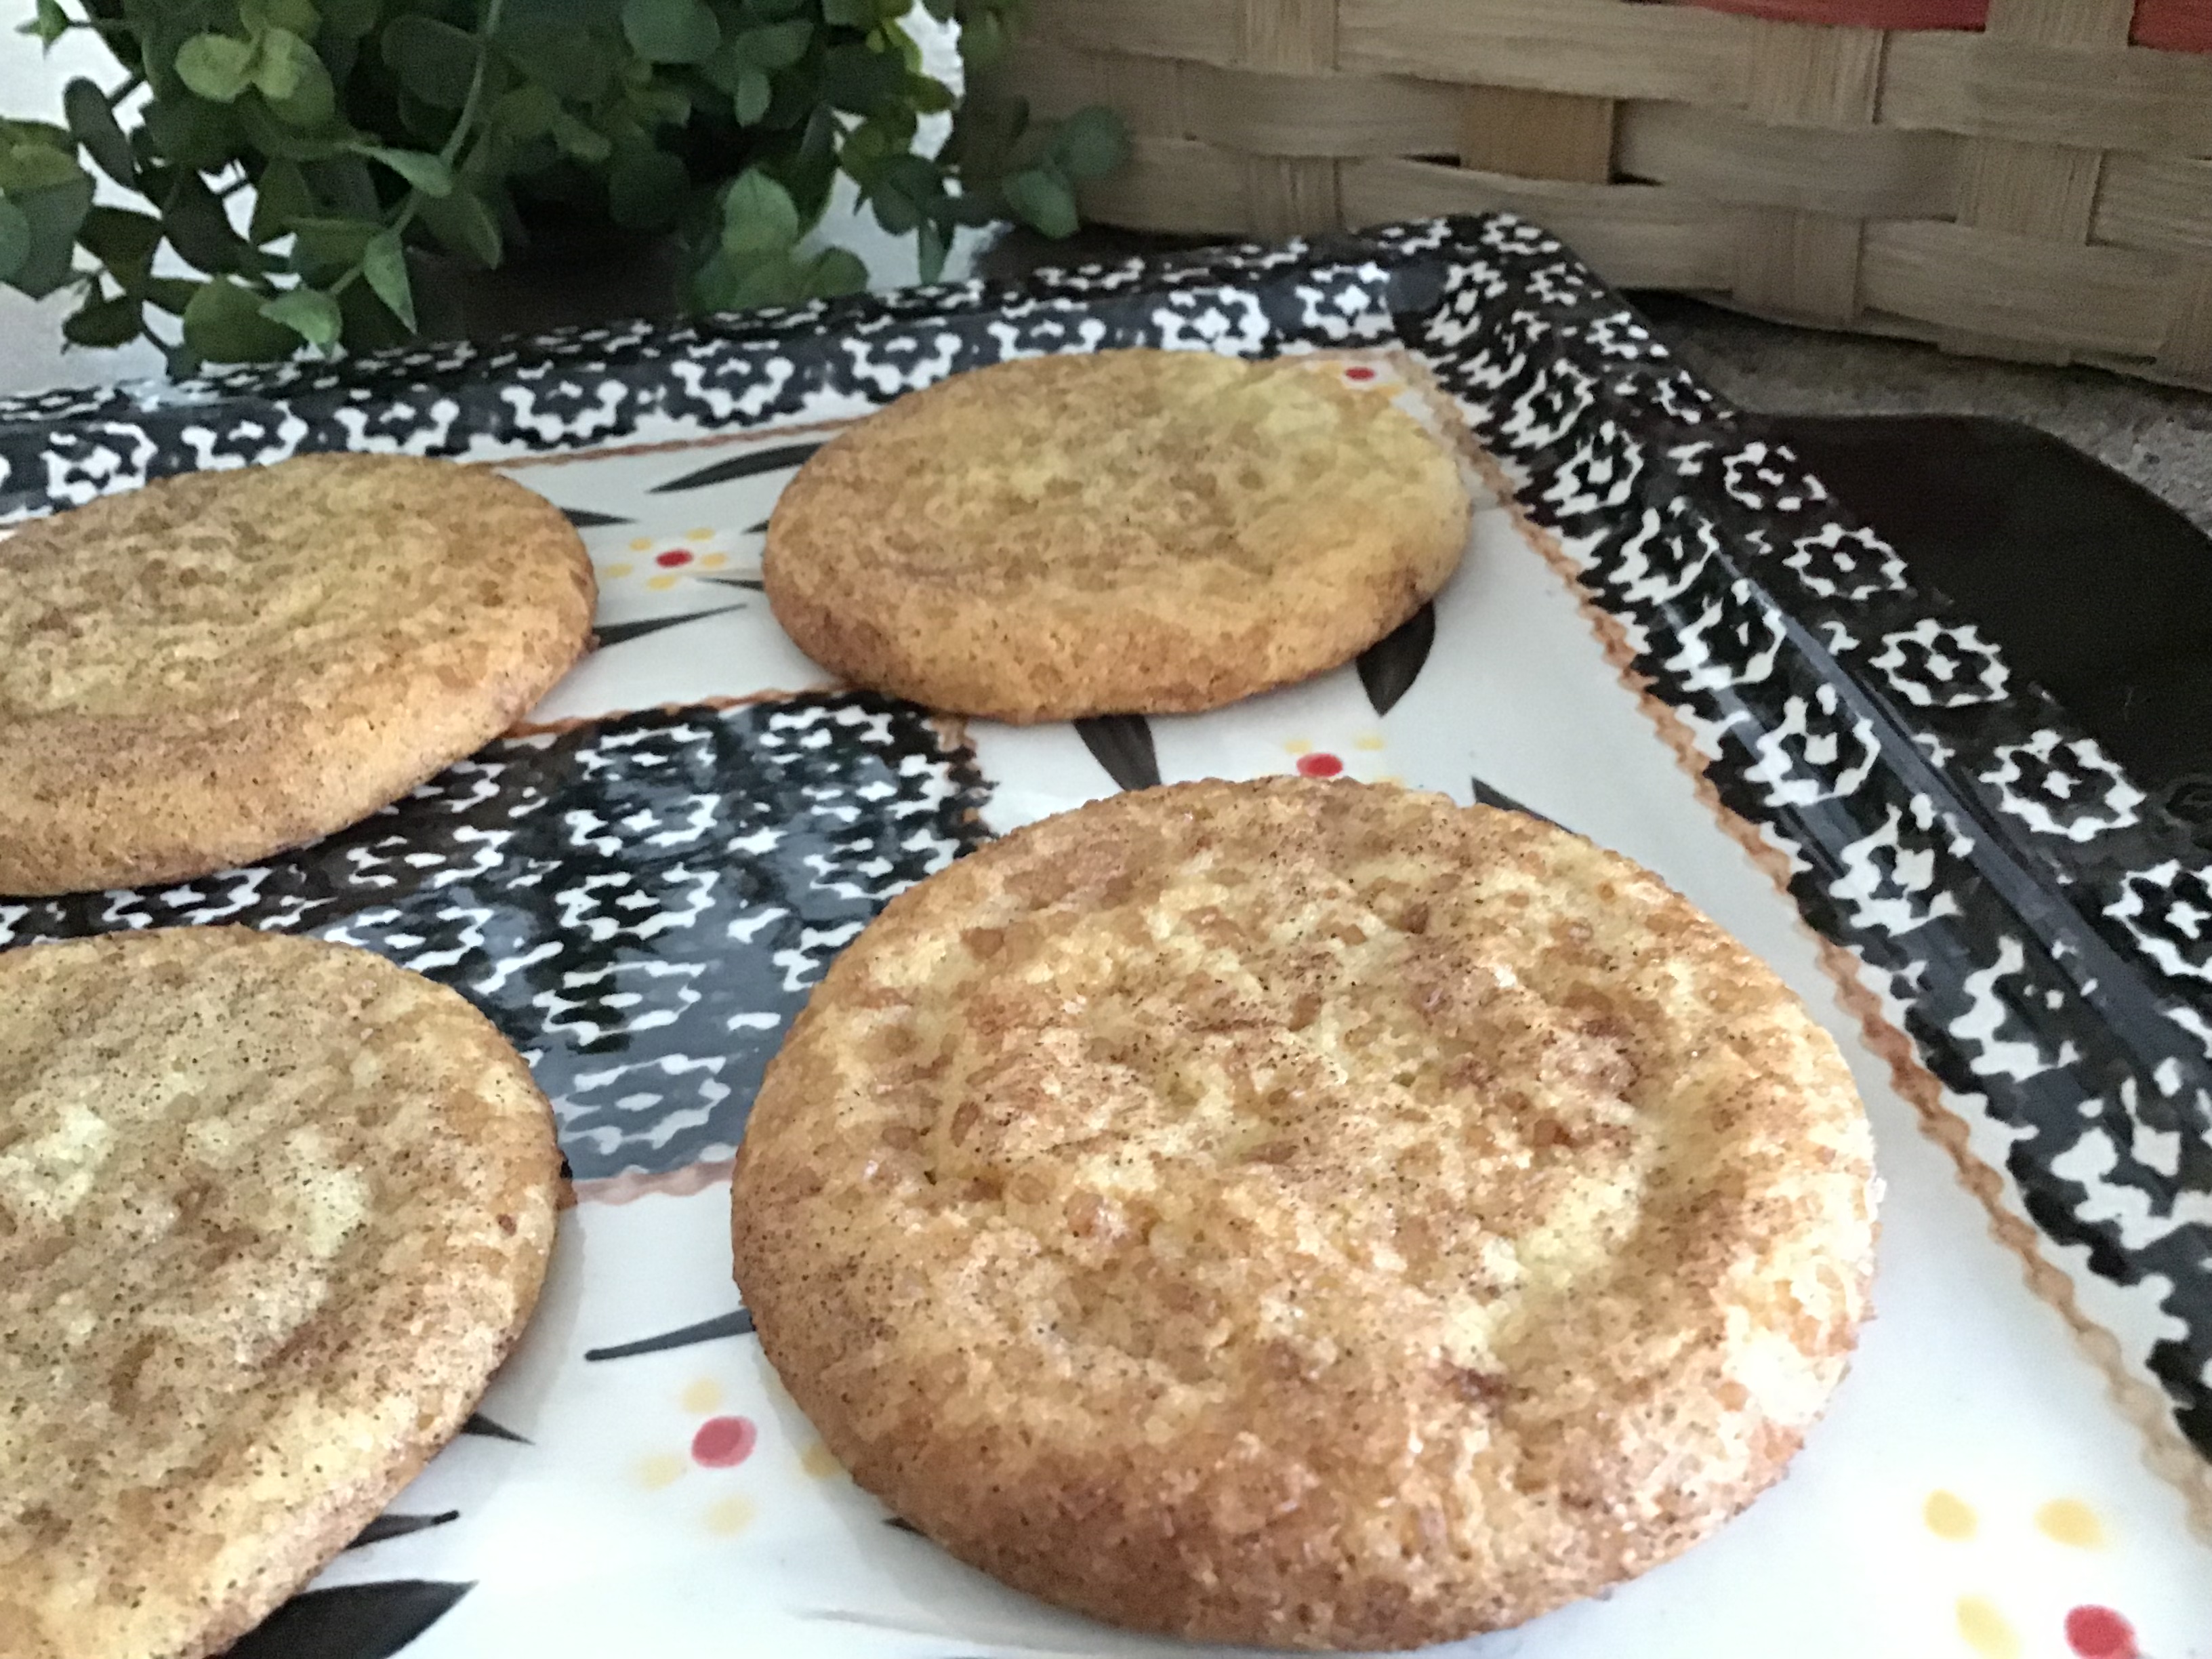 This is a crazy easy short-cut, if you’re looking for a last minute Christmas cookie recipe. A semi-homemade treat that combines a pouch of cookie mix with a little cinnamon and sugar makes these cookies taste honey bun yummy! I use turbinado sugar for a crunchier exterior, while the interior stays moist and flavorful.


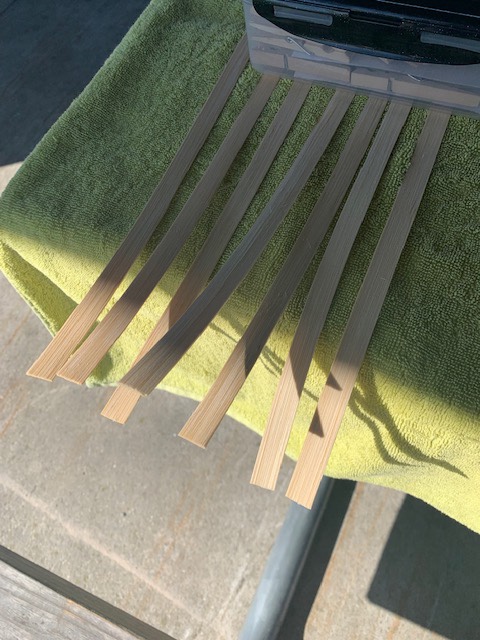
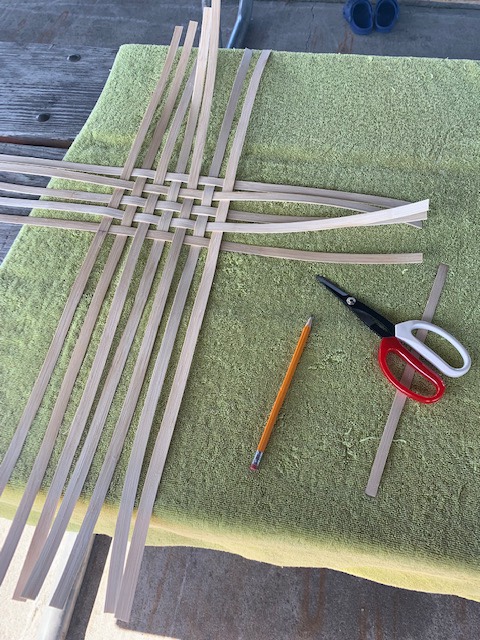
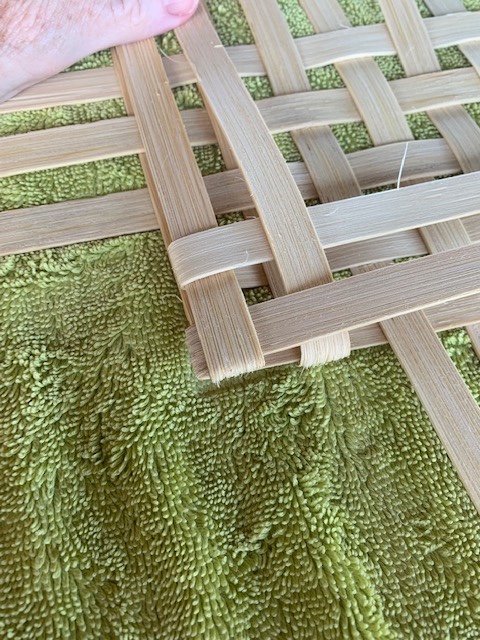
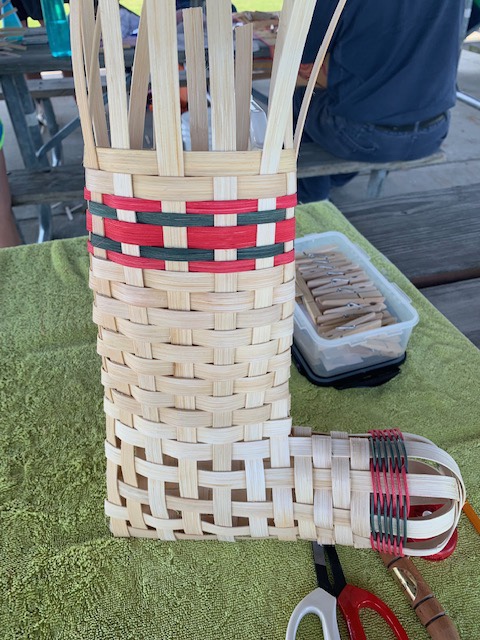
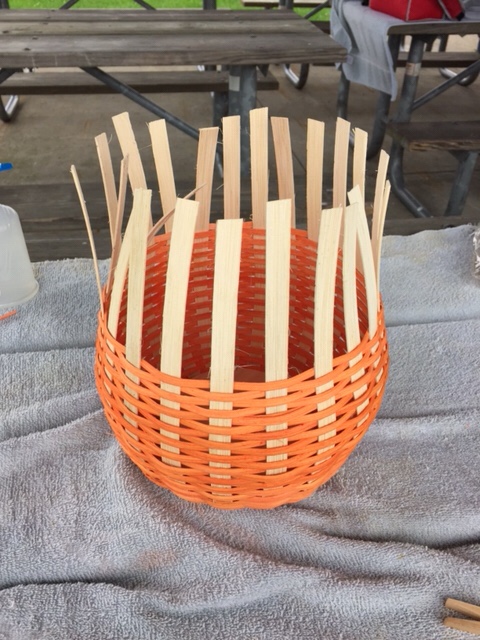
 Dividing the disk into 4 equal parts, place 23 spokes within the well of the disk; weaving while working in the spokes.


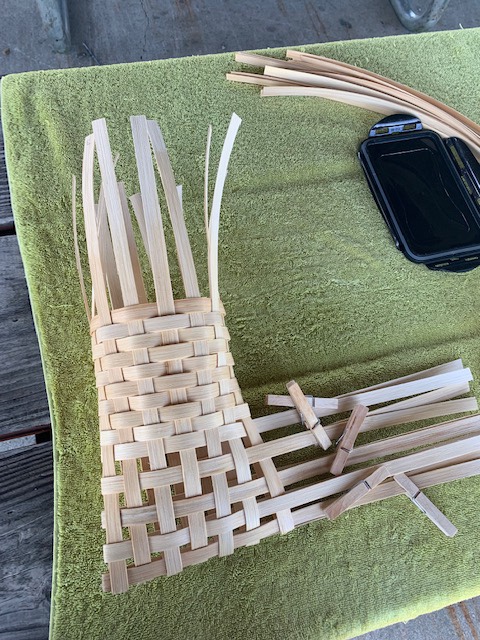
 After weaving 6 continuous rows, gently begin shaping the basket upwards. Continue weaving upward for 14 more rows; loosely weaving to shape the belly of the pumpkin.

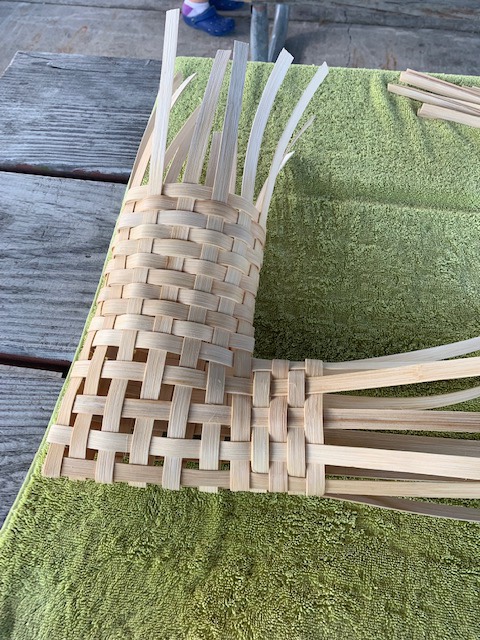
 At row 19 or 20 begin to tighten the weave to form the top of the pumpkin.
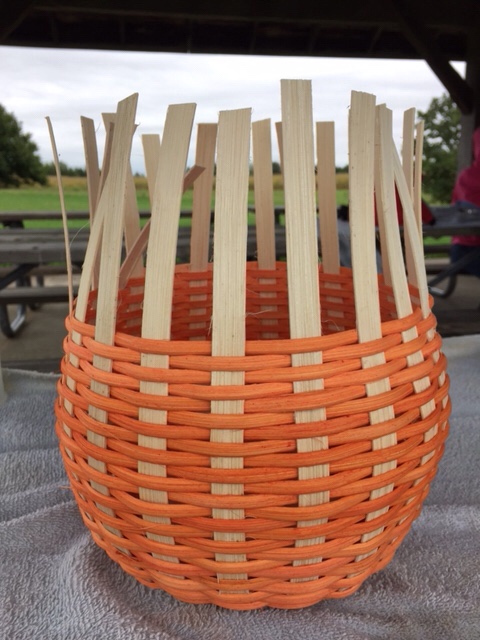
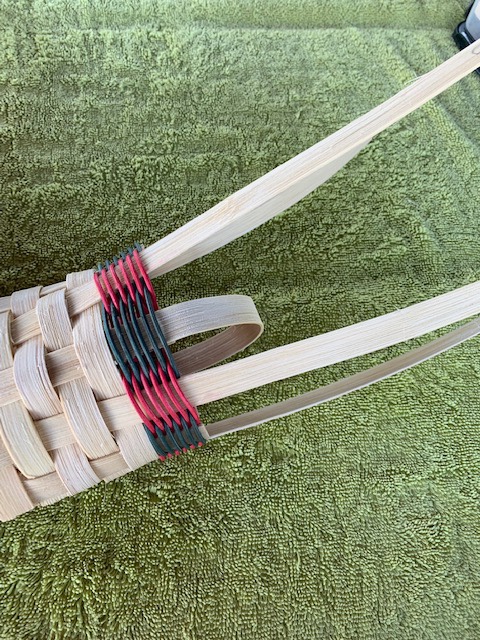
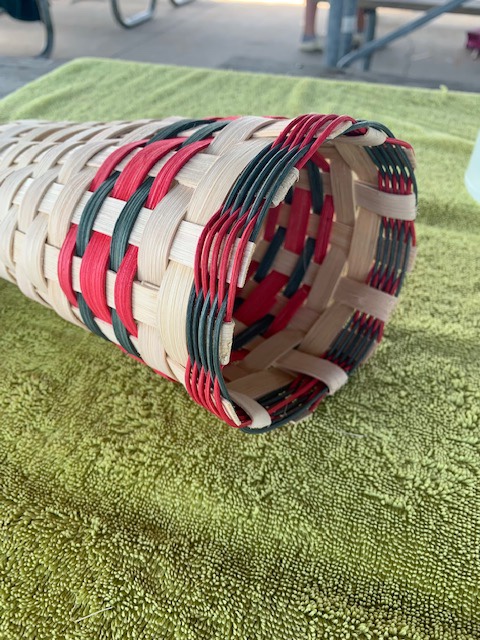
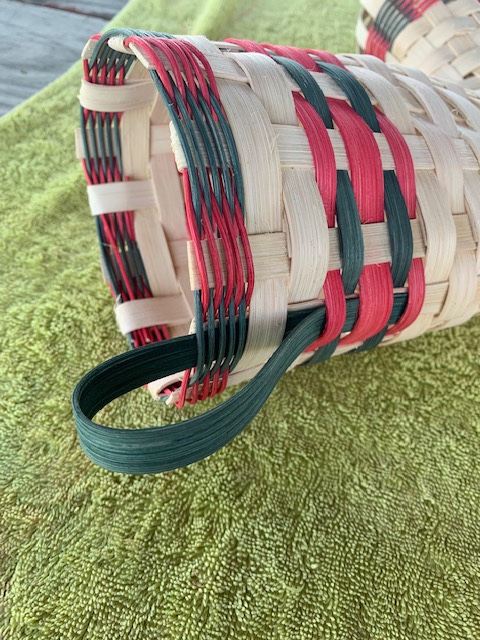
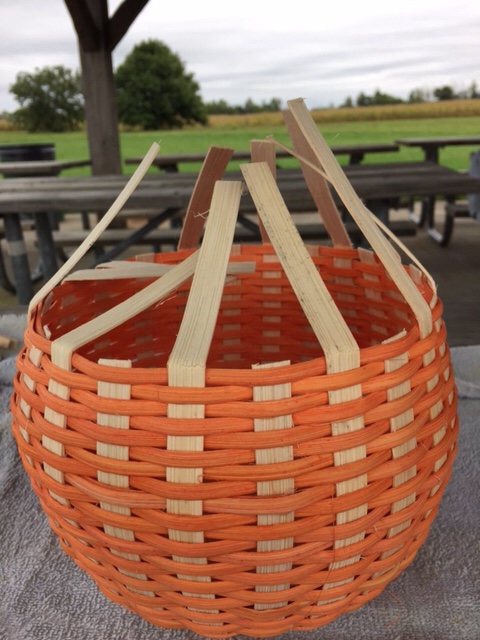 Bend down, every other spoke. Clip; mark remaining spokes to bend under and secure under weave.
 Secure wire handle before finishing rim of the basket.
 Complete basket rim with sea grass and lashing.

 We enjoyed a beautiful, but chilly, day at our local county park!


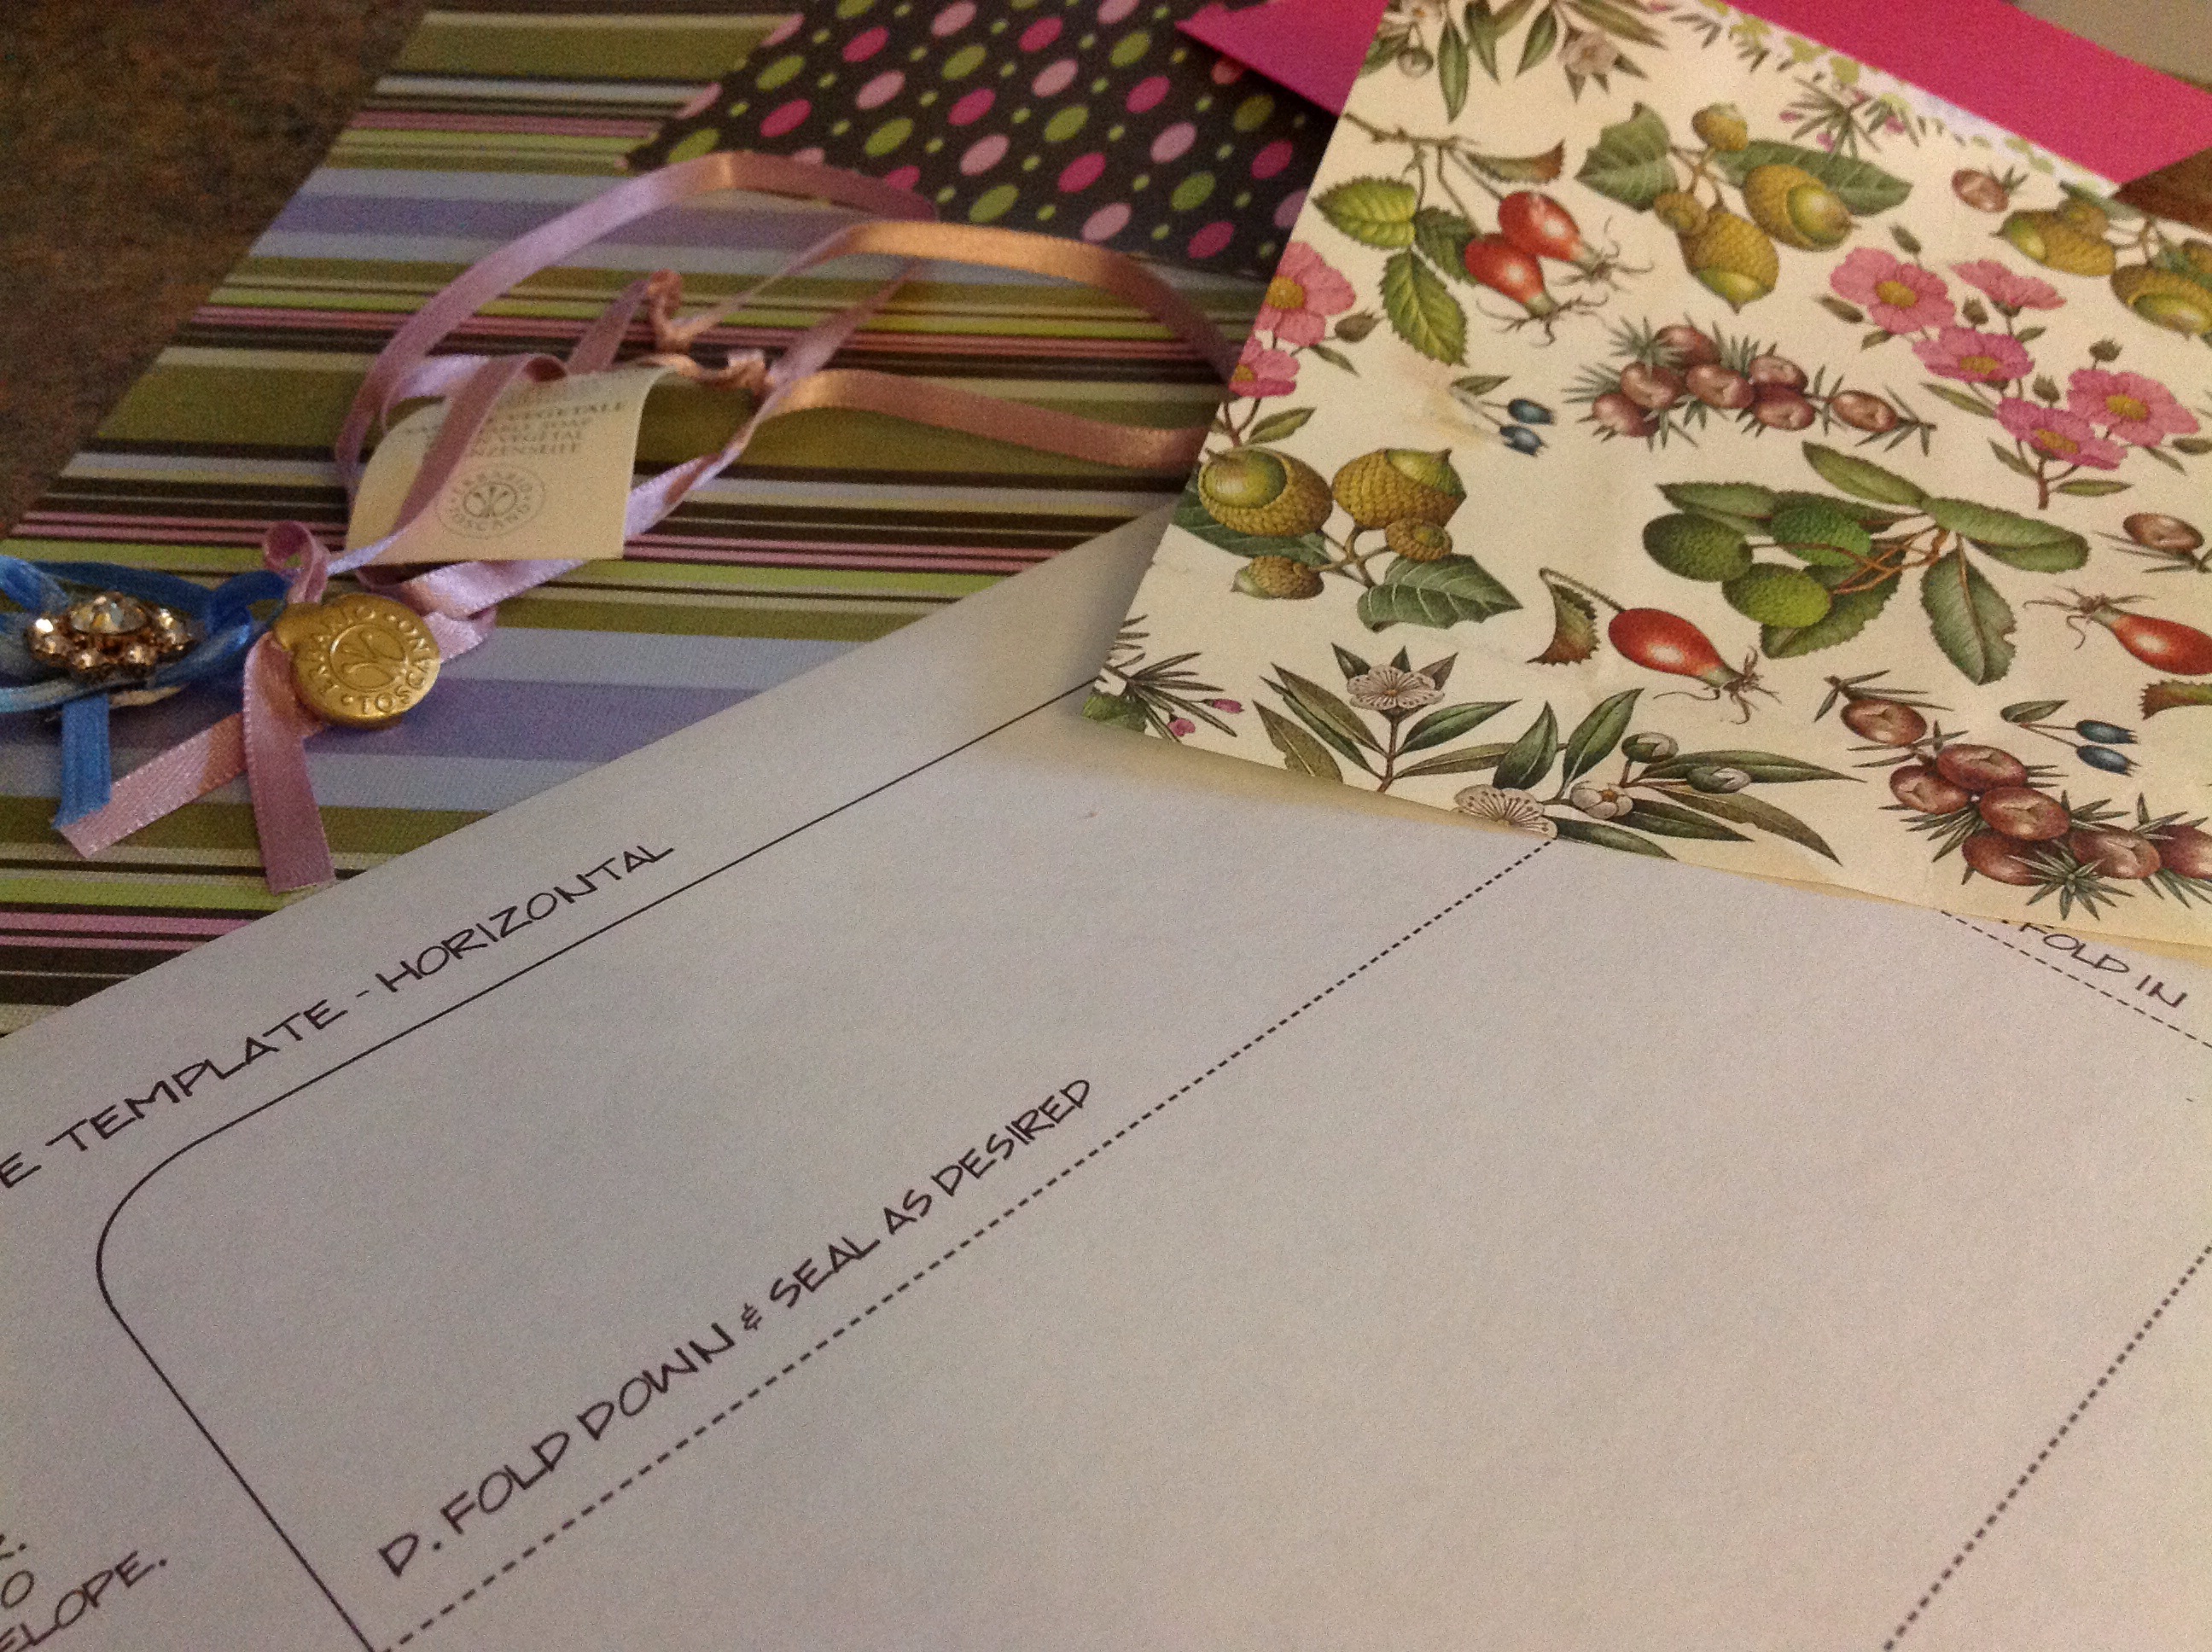
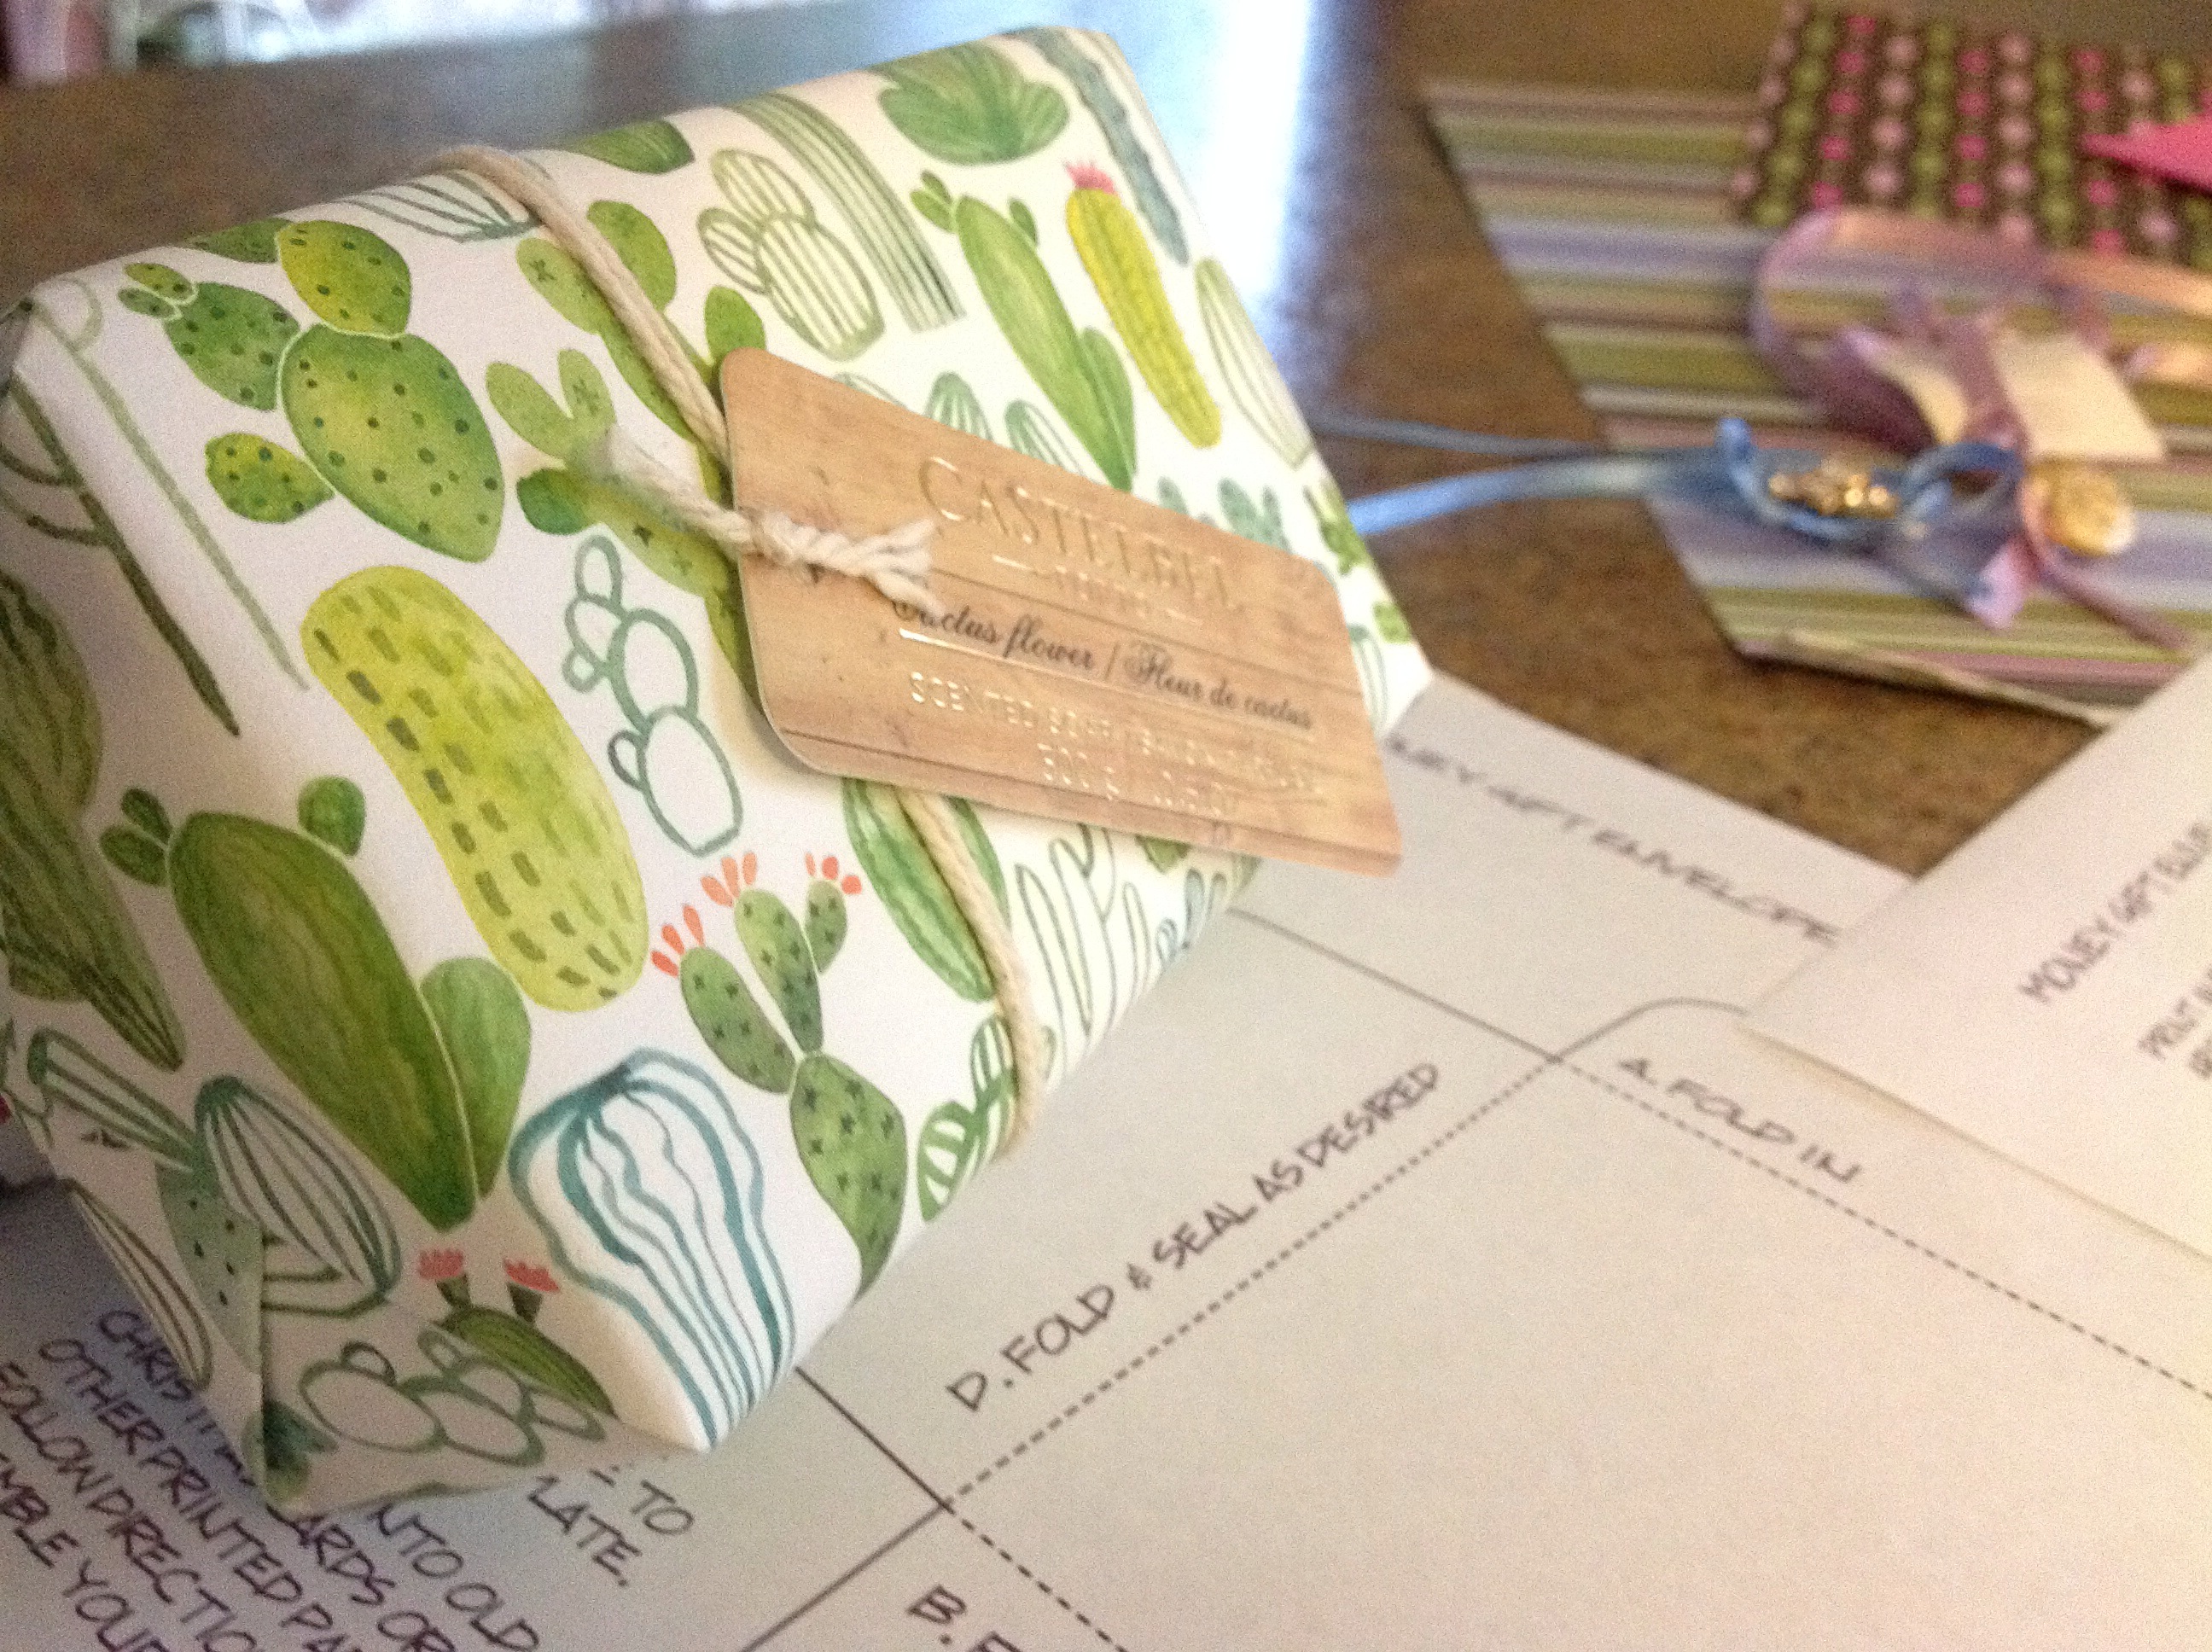 I gathered an assortment of scrap paper, and the beautiful wrapping paper found on some milled soaps.
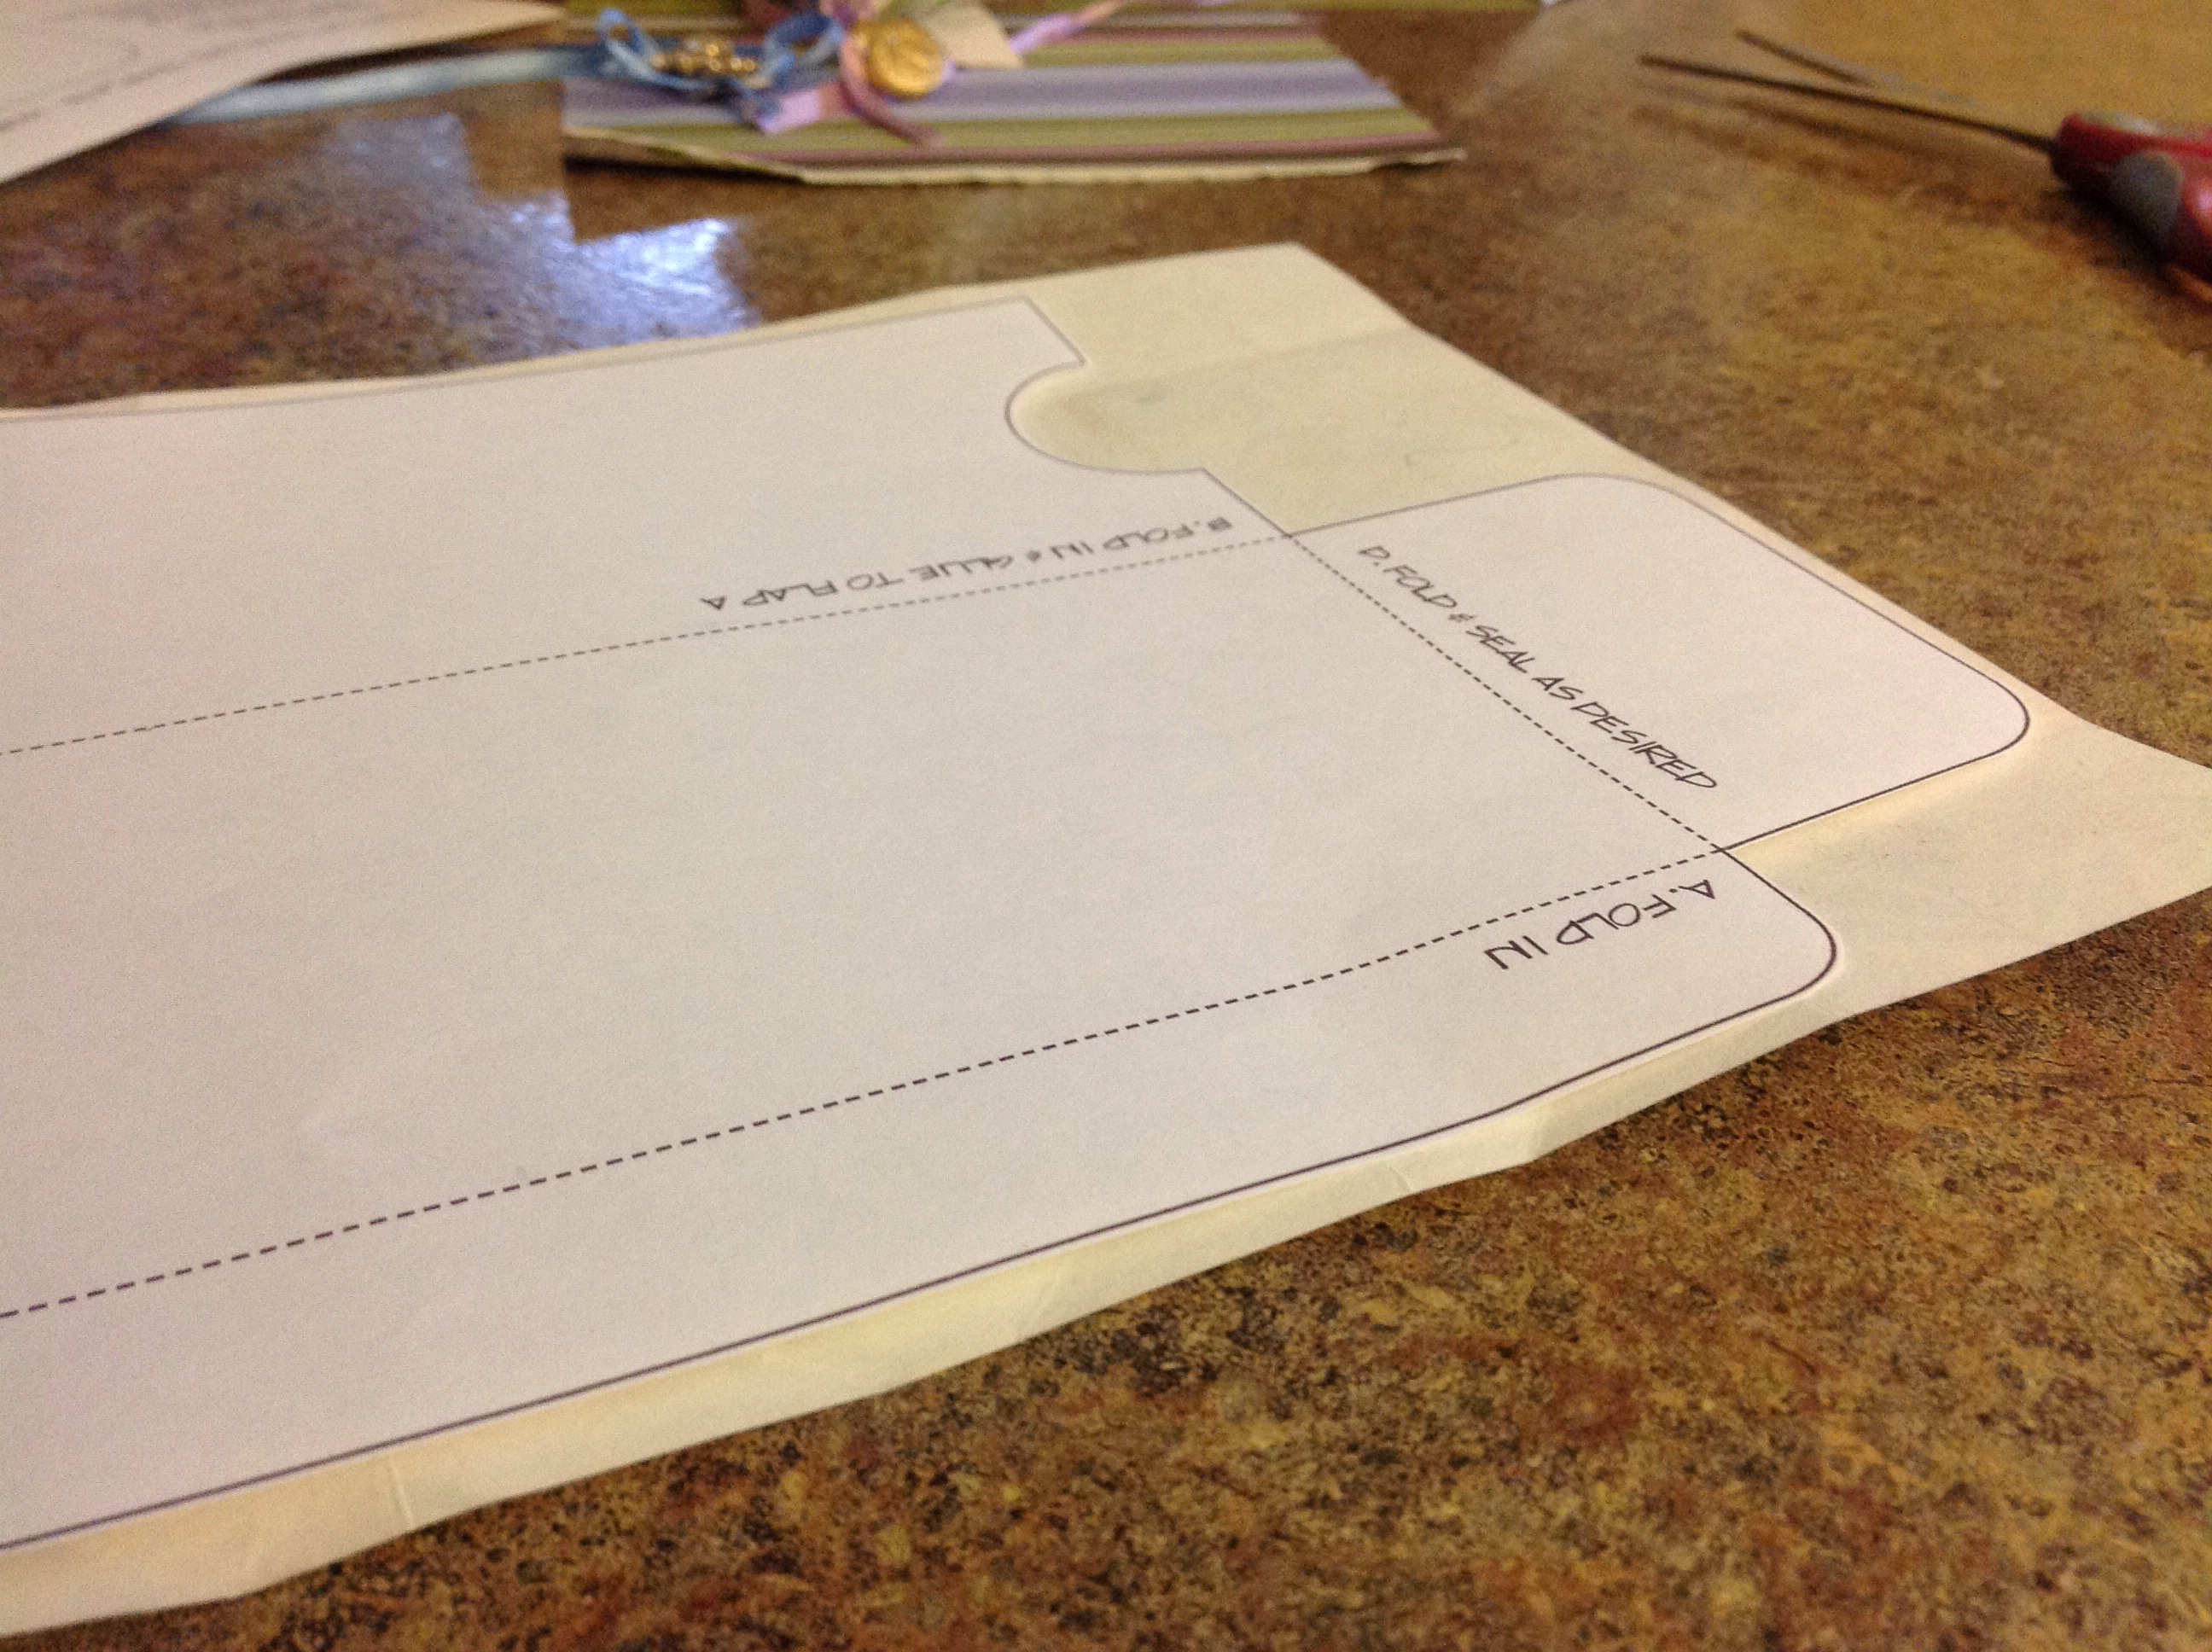 I printed the template and traced the outline on various scraps.
 I penciled in some fold lines.
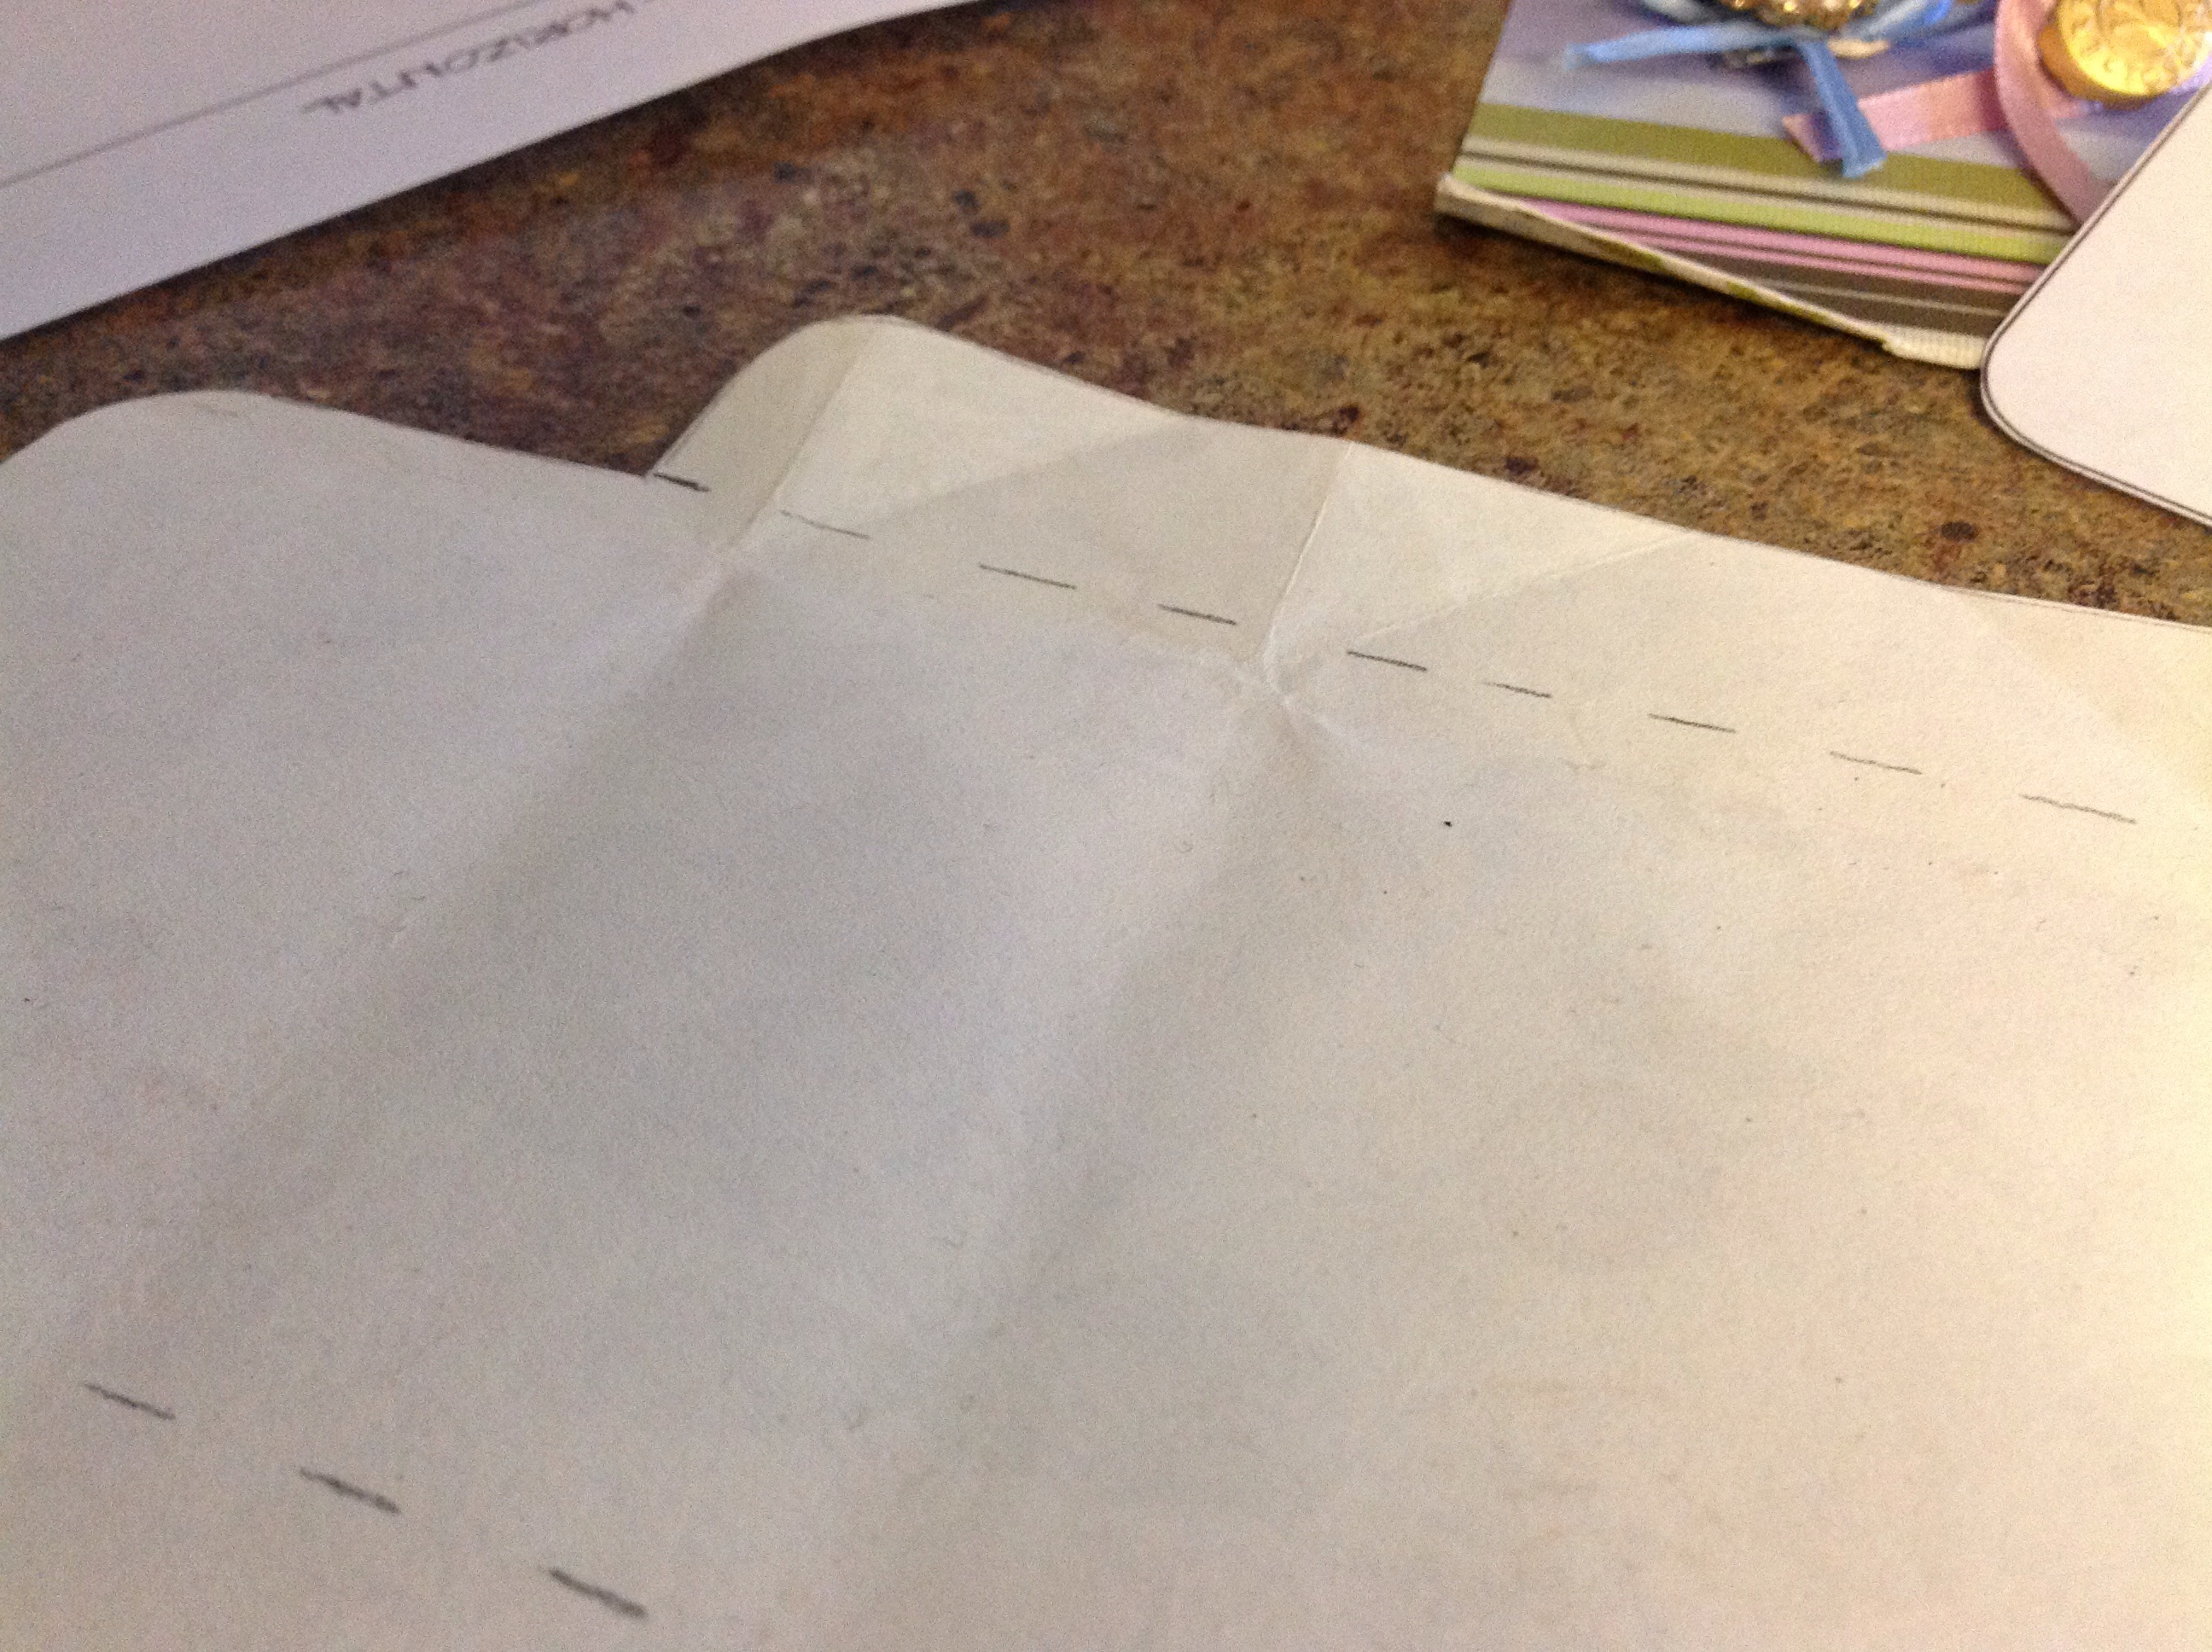

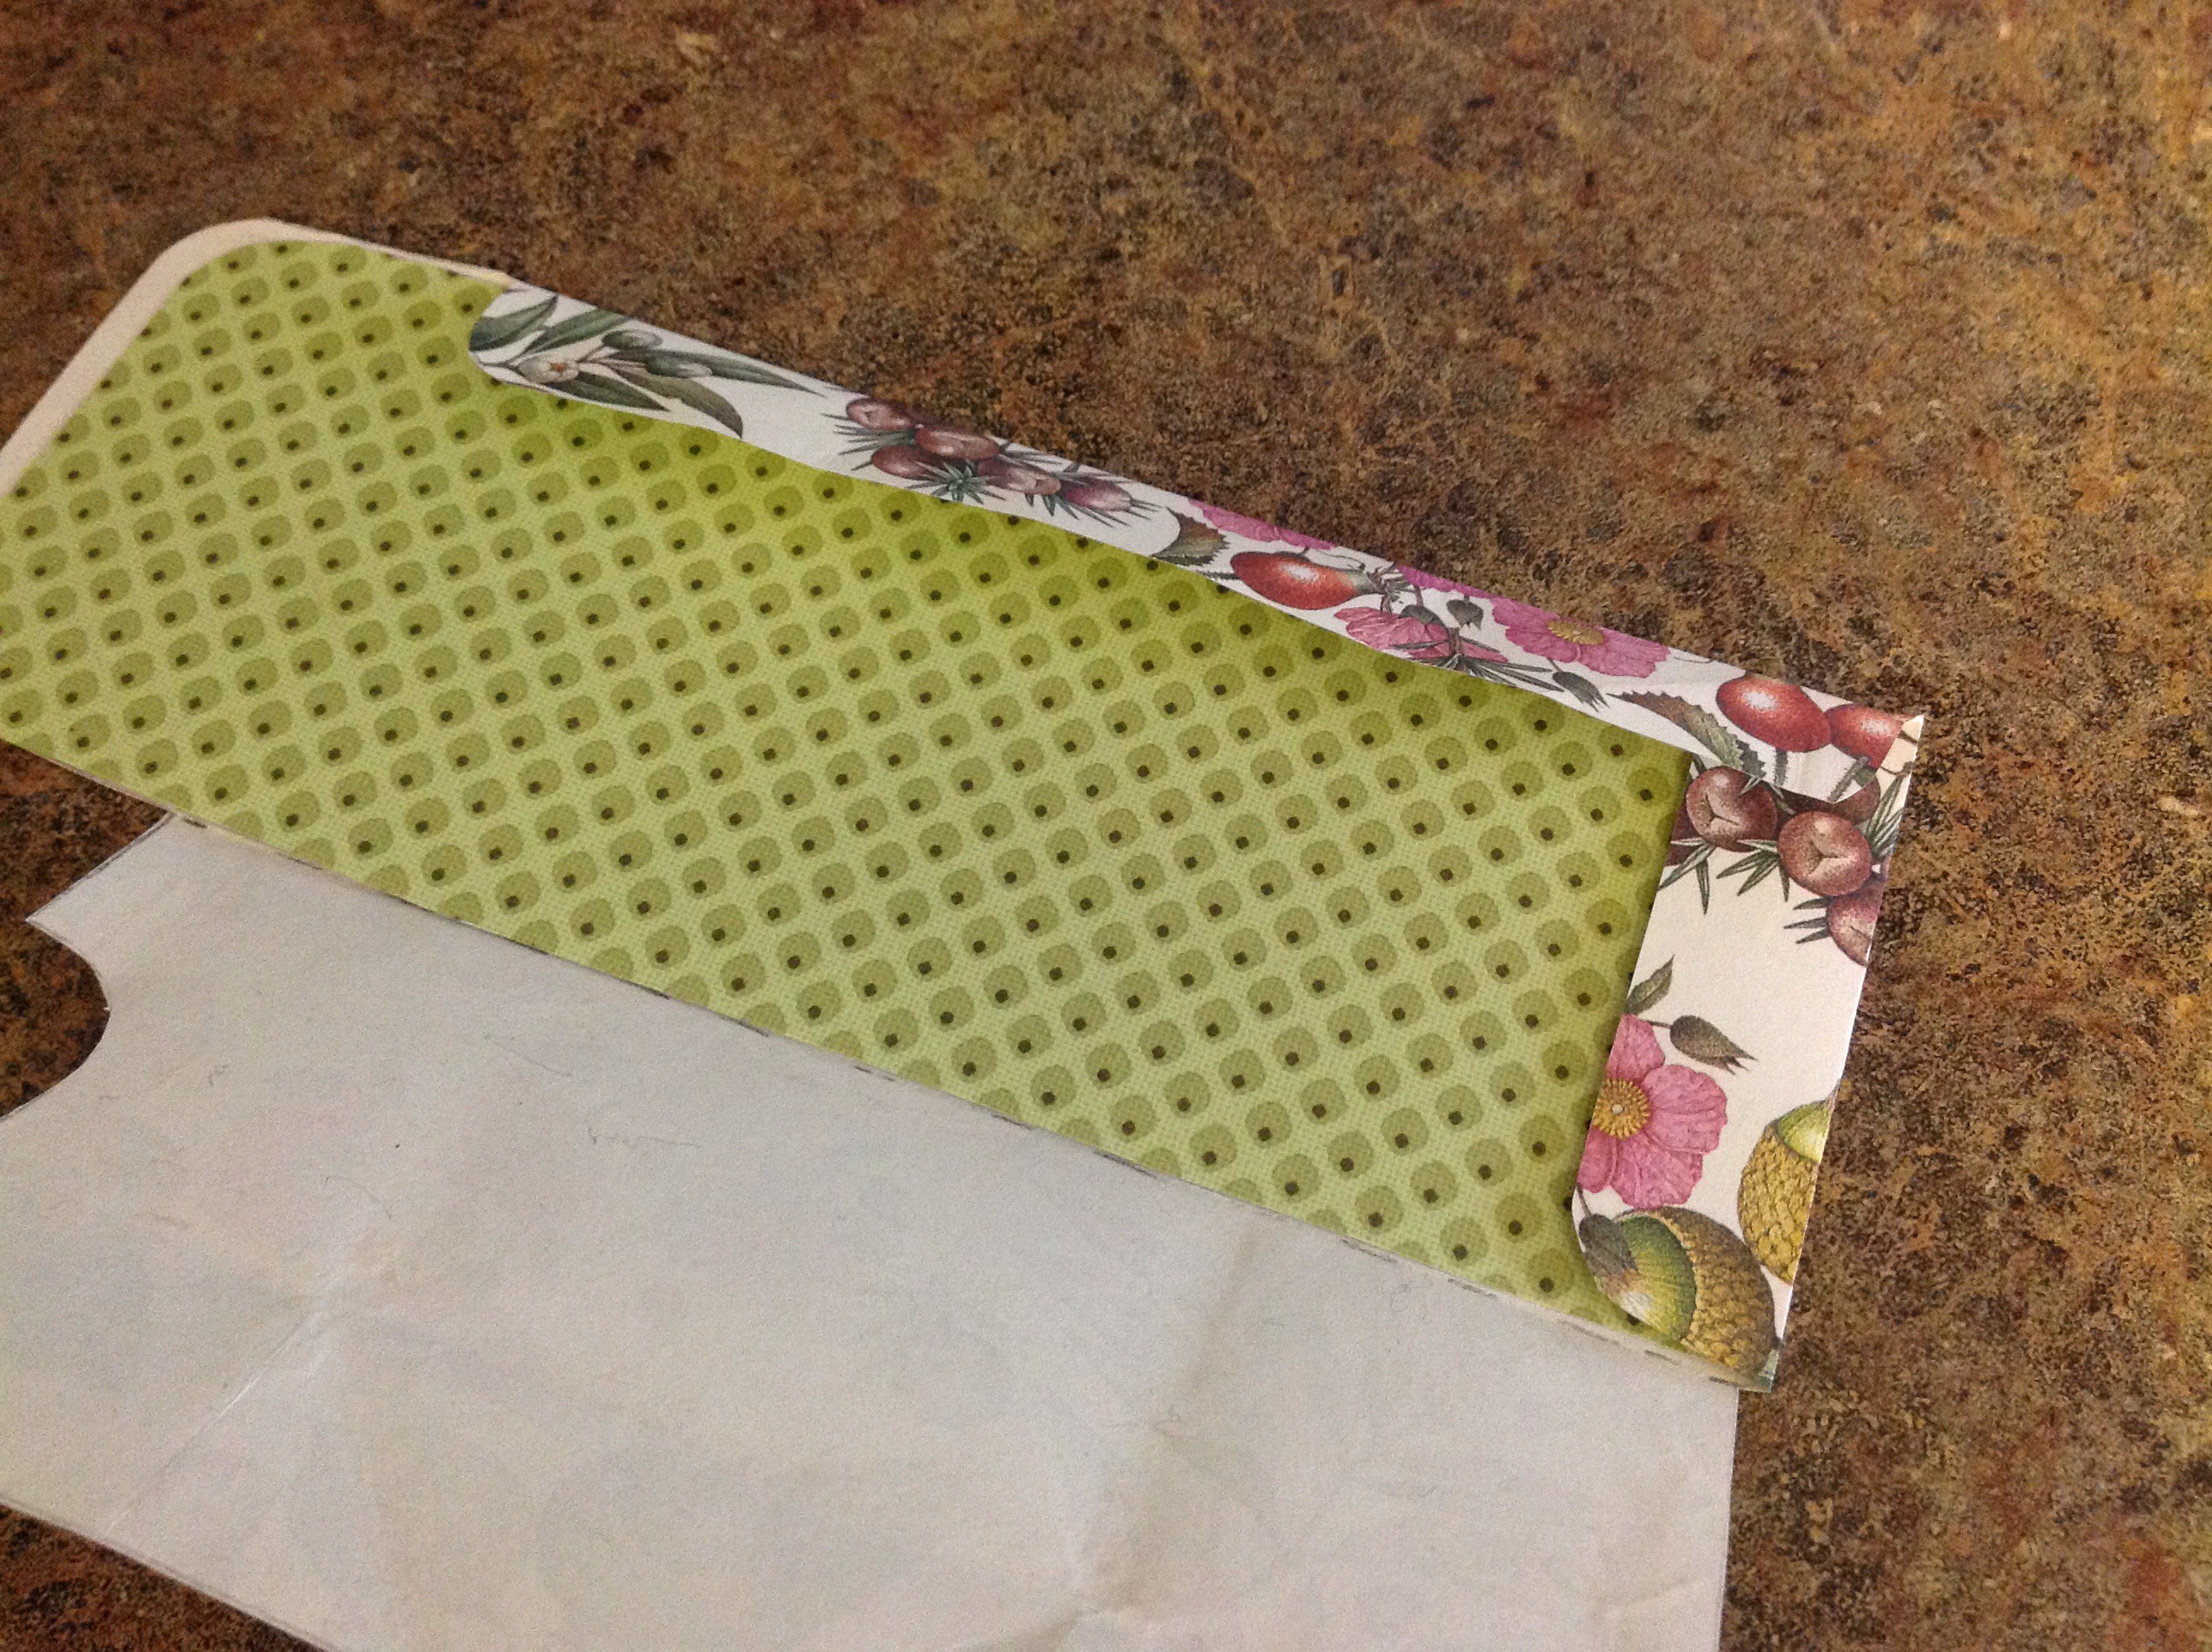 I thought it might be nice to have a contrasting liner.
 Using a few paper punches, I fashioned a gift tag.


 Use Christmas paper, shopping bags, newspaper… Whatever you like.
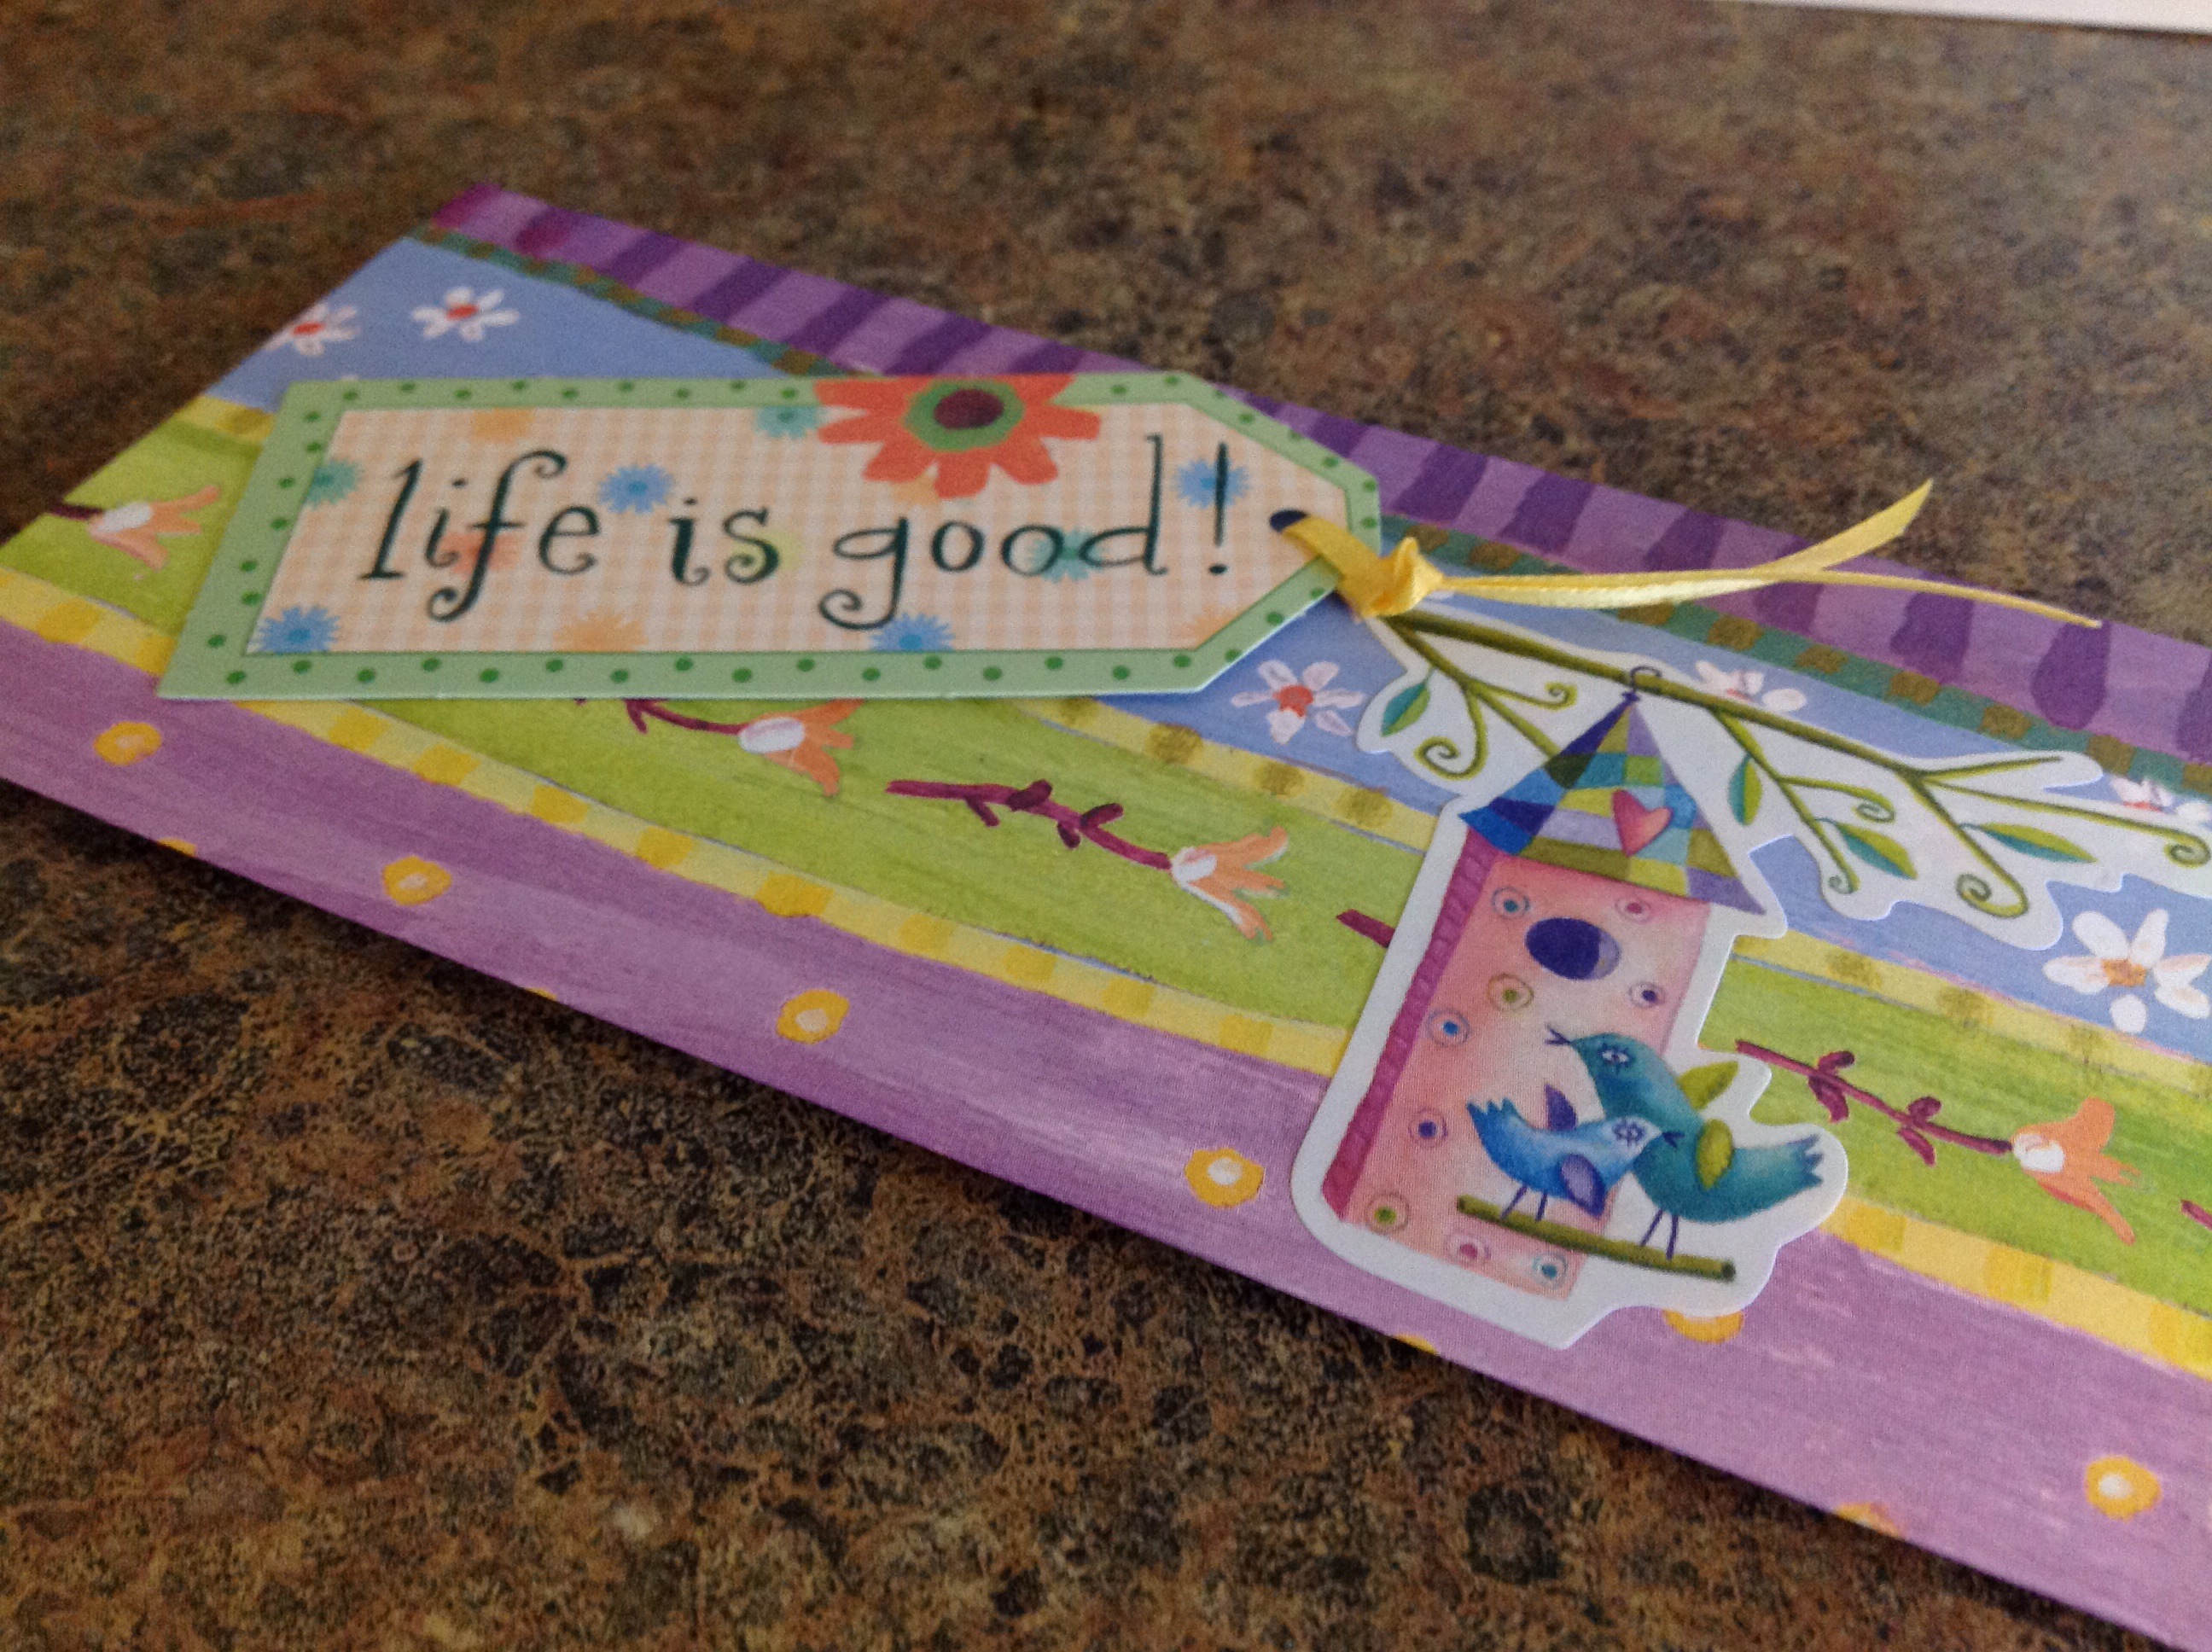

 This is an enjoyable way to personize and make personal, an ordinary, yet purposeful gift card.
