Posted in Dinner, Food, Main Dish, One Pot Meal, Soup

Hearty Pepperoni Pizza Soup

20140213-212636.jpg
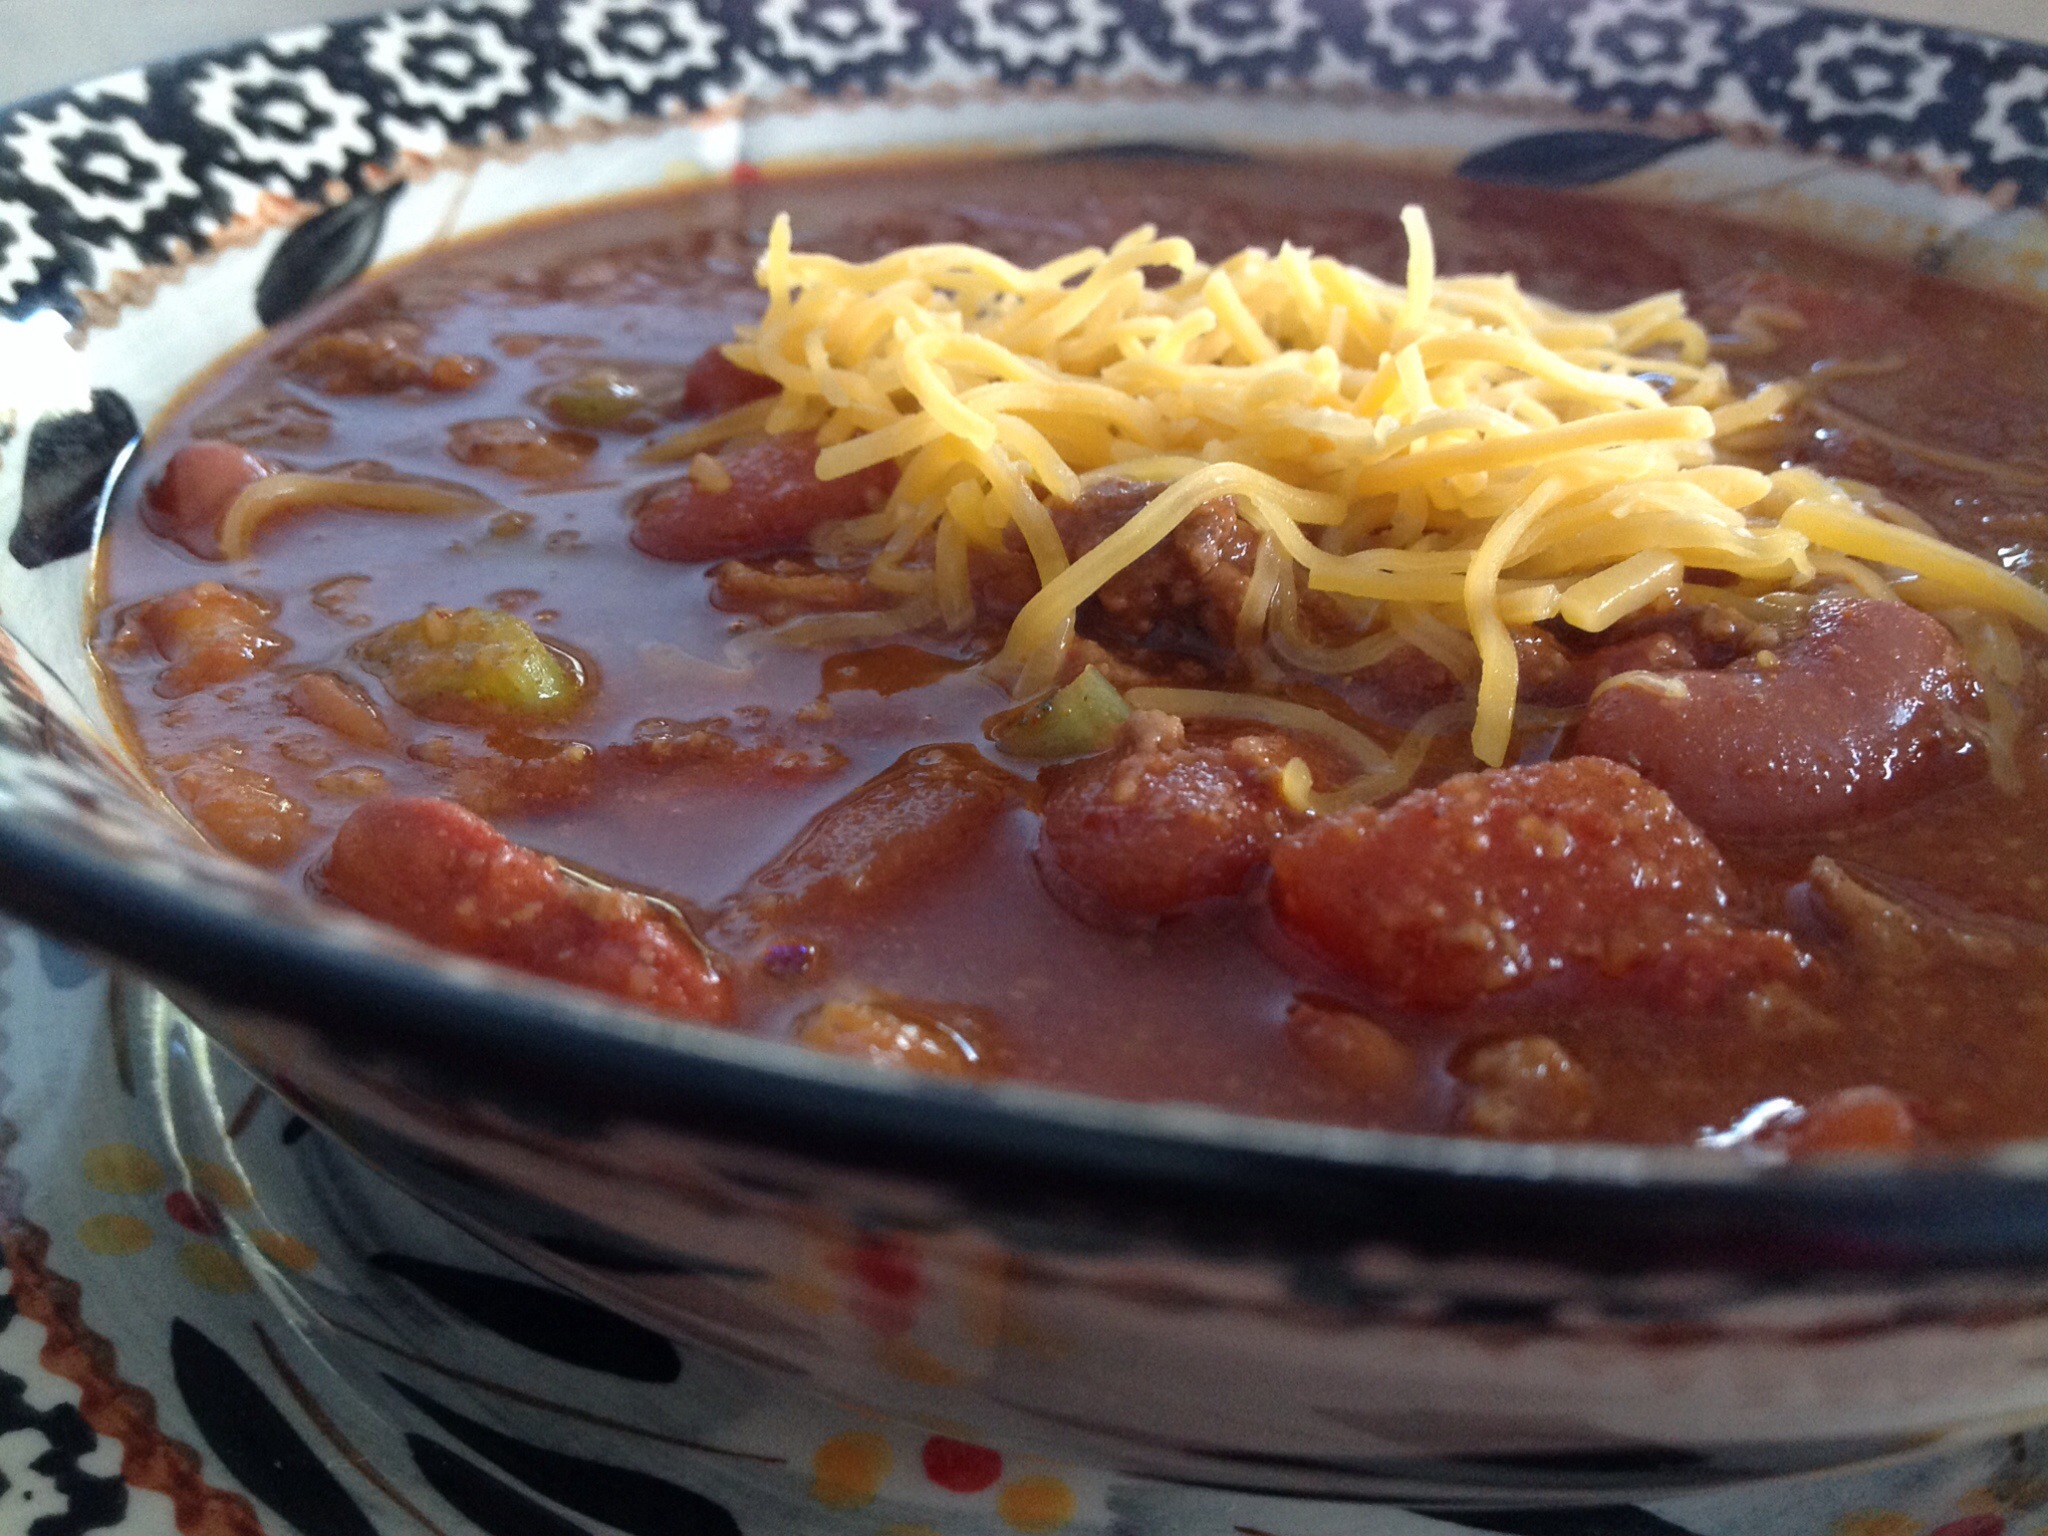
A couple of weeks ago, a friend mentioned that she had enjoyed a cup of pizza soup when visiting a local restaurant. It sparked a memory of a hearty soup that I had made years ago. So I headed to my trusty files to see if I could track down the recipe. I was quite pleased when I found what I was looking for.
As I began to assemble the ingredients for the recipe, I remembered that I had an interesting ingredient in the fridge that I hoped would be a flavorful addition to my soup recipe. You see, I have grown quite fond of a new item called basil paste, that I found in the produce section of the grocery store some time ago. It’s flavor is so similar to the wonderfully unique taste of fresh basil that we pick in abundance during the summer months, here in the states. A dollop of this paste stirred into a piping hot bowl of soup just transforms the flavor into something along the lines of a pizza margherita; one of my favorite pizza recipes.

20140213-214243.jpg
Like much of the country, we in the Midwest, are experiencing some mighty cold temperatures this winter. (I feel like I am cold all the time.). After making this soup this past weekend, I carefully packed it into serving sized containers so that I could carry it to work along with a salad for lunch. There’s something about the fresh hearty flavor and its piping hot state that just warms me to the core. I find myself counting the minutes until lunch time. When paired with a salad, and maybe a slice of crusty bread, this soup makes for a warm and comforting meal.

Hearty Pepperoni Pizza Soup

1/2 lb. Italian sausage, casings removed
1/2 cup green pepper, diced
1/2 cup mushrooms, chopped (optional)
1/2 cup onion, diced
2 cups water
15 ounces pizza sauce
8 ounces sliced pepperoni, finely chopped
1 cup chopped tomatoes
1/4 teaspoon Italian seasoning
1/4 cup grated Parmesan cheese
1 teaspoon basil paste

In a large saucepan, sauté Italian sausage, green pepper and onion until onions are translucent and sausage is no longer pink; drain. Add water, pizza sauce, pepperoni, tomatoes, and Italian seasoning. Cover, and bring to a boil. Reduce heat; and simmer covered for 20 minutes, stirring occasionally. Before serving, stir in basil paste and top with Parmesan cheese.

Posted in Baked goods, Baking, cookies, Desserts

Valentine Shortbread Cookies

20140208-082224.jpg
Every year, when the swim season is at its peak and our swimmers are getting ready for the big championship meets, the girl’s team picks a secret buddy to surprise with a week’s worth of little gifts.
This week, M and I scoured the shelves of the local discount stores to find little trinkets and goodies to pack into colorful bags, each marked with an inspirational swimming quote. In the early morning hours, the girls sneak into the pool locker room and place the goodie bag in front of their “buddy’s” locker. It’s all in good fun and a welcome release from the daily grind of swimming yard after yard in the pool, during the long winter months. Yesterday, M surprised her “buddy” with a beautiful container full of Valentine Shortbread Cookies and a few other little trinkets.
These cookies are kind of over the top in the “sweets department”. The recipe includes lots of creamy butter and a load of sugar. Certainly not something you’d want to munch on everyday. But for this special occasion, and for the upcoming Valentines Day holiday, maybe this is the cookie you’d like to make and share with your sweetheart!

Valentine Shortbread Cookies

2 cups butter, softened
1 cup white sugar
1teaspoons vanilla extract
1 teaspoon almond extract
4 cups flour
1/4 cup Wilton sprinkles + extra for topping

Preheat oven to 350 degrees. Cream together butter and sugar until light and fluffy. Stir in vanilla and almond extract. Carefully add flour and mix well. Gently fold sprinkles into batter. Using a small ice cream scoop, form cookies and place on baking sheets. Flatten slightly with the bottom of a glass or with slightly damp fingers. Lightly pat remaining sprinkles into top of cookies. Bake for 10 – 12 minutes. Drizzle with powdered sugar glaze when cooled.

20140208-082327.jpg

Posted in Dinner, Food, Main Dish, Pork, slow cooking

Yummy Slow Cooker Pulled Pork

20140206-061536.jpg
There is nothing like walking in the door after a long day of work knowing that dinner has been simmering in the crock pot all day and the aroma of barbecue fills the air.
These past few weeks, I’ve been working long hours and the unbelievable weather has made for some long, white-knuckled travel, here in the Midwest. Coming home, realizing that dinner is nearly ready is a saving grace.
Pork roast can be found at your local grocer, usually at a decent price, when it’s on sale. I try to stock up on the long, lean roast by slicing it in chunks about 6-8″ long; enough to fit comfortably into the crock pot. I wrap the meat well and pop it into freezer bags to be stored in the freezer for satisfying crock pot recipes. Use your favorite barbecue sauce for this recipe. We like Sweet Baby Ray ‘s. It seems to be just the right flavor to suit my family.
Stay warm everyone!

Yummy Crock Pot Pulled Pork

1 (4 pound) pork roast
2 cups barbecue sauce ( reserve 1 cup)
1/2 cup apple cider vinegar
1/2 cup chicken or beef broth
1/4 cup light brown sugar
1 tablespoon prepared yellow mustard
1 tablespoon Worcestershire sauce
1 tablespoon chili powder
1 extra large onion, chopped
2 large cloves garlic, crushed
1 teaspoons dried thyme

Spray bottom of slow cooker with cooking spray. Put the roast in the cooker and pour in 1 cup barbecue sauce, apple cider vinegar and broth. Stir in remaining ingredients. Cover and cook on High for 5 to 6 hours.
Remove the roast from the slow cooker, and shred the meat using two forks. Return the shredded pork to the slow cooker, and stir the meat into the juices. Add reserved barbecue sauce for extra flavor.

Posted in Baked goods, Baking, Bread, breakfast, Food, lunch box

Moist and Flavorful Pumpkin Bread/Muffins

20140201-221838.jpg

When I was first married, I used to spend my Saturday mornings running to local garage sales looking for various pieces of furniture, dishes, baking pans, etc., to fill our new home. My husband worked his share of Saturday hours, so I would plan to visit what I felt were the best sales in our historic Chicago neighborhood while he was away. Browsing through the garage sale items, I loved looking for unique old baking pans and muffin trays. Many had unusual patterns or were made of great, durable materials. They had a quality that was unmatched when comparing current brands on the market. Kitchen utensils from years gone by also caught my attention. Depression glassware and Fiestaware were my favorites and I collected every piece I could find.
My garage sale days are over now but when all was said and done, over the years I had collected, among other things, nearly twenty loaf pans for baking quick breads, meatloaf, Irish soda bread, and yeast breads.
You may wonder how it is that I have use for such an amount of baking pans. Well, I like to bake things in large quantities. I often bake several batches of cookies, muffins or loaves of bread so that I can do it once, wrap it, freeze it, and have a supply on hand for a good while.
This recipe for pumpkin bread freezes just perfectly. While the loaf is moist and flavorful fresh out of the oven, it seems even better after it is frozen and thawed from the freezer. I like to switch up the dried fruit in the loaf, often using whatever is on hand. Great substitutes include raisins, currants, diced pineapple or finely chopped apples. Mix up the nuts too, if you’d like, chopped pecans work great in this recipe.
If you prefer muffins, scoop batter into paper lined mini-muffin pans and sprinkle with wheat germ. Bake 12-14 minutes at 350 degrees.

Moist and Flavorful Pumpkin Bread

1 (15 ounce) can pumpkin puree
4 eggs
1 cup canola oil
2/3 cup water
3 cups sugar
3 1/2 cups flour
2 teaspoons baking soda
1 1/2 teaspoons salt
1 teaspoon ground cinnamon
1/2 teaspoon ground nutmeg
1/2 teaspoon ground cloves
1/4 teaspoon ground ginger
1 cup walnuts, chopped
1/2 cup dried dates, chopped (optional)
1/2 cup dried apricots, chopped (optional)
2 tablespoons wheat germ

Preheat oven to 350 degrees. Spray with cooking spray, 2-9X5″ loaf pans. In a large bowl, combine wet ingredients, add sugar and mix until well blended. Whisk together the flour, baking soda, salt, cinnamon, nutmeg, cloves and ginger in a separate bowl. Stir in nuts and dried fruit. Pour into the pumpkin mixture; mix until just blended. Pour into the prepared pans. Sprinkle wheat germ evenly over batter. Bake for 50-55 minutes in the preheated oven, or until toothpick inserted in center comes out clean.

20140201-222012.jpg

Posted in Beef, Dinner, Main Dish, Soup

Our Award-Winning Chili

20140128-130935.jpg
Award Winning Chili and Creamy Cornbread Muffins, a wonderful dinner combination for these sub-zero Midwestern temperatures.

Several years ago, (2005 to be exact) our small town’s Chamber of Commerce hosted a chili cook-off. It was held in a lovely park located in the town square on a crisp fall day. On the west side of the park, the usual hustle and bustle of the Saturday morning farmer’s market was in full swing. Tables and chairs were set up around the beautiful gazebo located in the center of the park. And all of the chili cook-off competitors situated their booths around the gazebo.
I had read about the cook-off in the local paper and thought that entering the competition would be a great way to spend a beautiful fall day with the family and to see how my chili would fare against the others. I had been serving this recipe for years and friends and family seemed to love it.
The morning of the cook-off, we got up early, packed up the car with chili fixings and decorations for our booth. I was intent on winning the trophy for the best chili and the sportsmanship award, given to the most neighborly participant that had gone the extra yard to create a festive looking booth. I have an embroidery machine so I had embroidered custom attire for the day. I had purchased a few yards of cotton fabric to make chef hats and simple pants for the kids. We all wore matching embroidered sweatshirts to show off our family name. The kids were young and eager to help. They were excited about the festivities for the day.
I have fond memories of this day as we did indeed win top prize in both categories. From then on, this has been the recipe that I turn to when making a big pot of chili during the fall and winter months. It’s actually a very simple recipe full of flavor and warmth.
I must say, the weather these past several weeks has been brutal. I have been scouring my recipes to provide hearty meals for the family. It seems we are constantly out shoveling snow, heading off to work or school and returning home only to find that the snow needs to be tended to again. This chili recipe really hits the spot during the cold winter months in the Midwest.

Our Award-Winning Chili

5 slices of bacon
2 onions, chopped
3 cloves garlic, minced
1 pound ground chuck
3/4 pound beef sirloin, cubed
1 (14.5 ounce) can diced tomatoes
1 (12 fluid ounce) can or bottle beer
1 cup brewed coffee
2 (6 ounce) cans tomato paste
1 (14 ounce) can beef broth
1/2 cup packed brown sugar
3 1/2 tablespoons chili powder
1 tablespoon ground cumin
1 tablespoon unsweetened cocoa powder
1/2 teaspoon cinnamon
1 teaspoon dried oregano
1 teaspoon ground cayenne pepper
1 teaspoon salt
3 (15 ounce) cans kidney beans

In a large pot over medium heat, cook bacon until crisp. Remove to paper towels. Cook onions, garlic, ground chuck and sirloin cubes in bacon drippings until brown; drain. Crumble cooled bacon and return to pot.
Mix in the remaining ingredients and bring to a boil. Reduce heat to low, and simmer for 1 1/2 hours.

20140128-131159.jpg

Posted in appetizers/snacks, breakfast, Kids in the Kitchen, lunch box, No-Bake

Everyday Granola Bars

20140125-064005.jpg
During the course of a week, I make several batches of granola bars for my family. There are a few recipes that I use quite frequently and for varying purpose. Take for instance, the Grunt Bars I make when I am looking to boost protein levels, I make Curley Power Bars when I am wanting to provide a recovery bar after a long meet or practice. This recipe for Everyday Granola Bars is one that I usually pack into lunch boxes or have waiting on the counter when kids arrive home from school hungry and looking for something to eat.
I’m a firm believer that providing the family with healthy choices will encourage children to make better food choices for life. I try to stock the fridge and pantry with lots of whole grains, fruits, vegetables, and yogurt so that when kids come home famished, they can quickly grab something healthy to tide them over until supper time.
This recipe is easy to adapt to satisfy your family’s preference. Add dried cranberries or raisins, almonds, pecans or sunflower seeds. We just adore dried apricots in this recipe as well. Change things up as you like. Enjoy!

Everyday Granola Bars

3 cups old fashioned oats
1 1/2 cups walnuts, chopped
1 cup dates, chopped
1/2 cup honey
1/2 cup natural peanut butter
1 teaspoon vanilla extract

Coat an 11X7″ baking pan with cooking spray, set aside. Place oats, almonds and dates in a medium bowl; mix thoroughly, set aside. In a small saucepan, over medium-low heat, warm honey and peanut butter; stir until smooth, creamy and pourable. Remove from heat and stir in vanilla. Pour mixture over oats, dates, and nuts, stir to coat completely.
Transfer mixture to prepared baking dish. Evenly pat down mixture to completely fill the pan. Cover and let stand until set; about 30 minutes. Cut into bars. For added freshness, wrap each bar individually in plastic wrap and store in air-tight container.

20140125-064243.jpg

Posted in Baked goods, Chocolate, Food, Kids in the Kitchen

Dump It In Brownies

20140120-080230.jpg
Many years ago, while looking through a magazine at one of our regularly scheduled well visits for the kids, I stumbled upon this recipe for brownies. I was amazed by the simplicity involved in making this rich, chocolatey treat.
The first time I used the recipe, I had three small children in tow. All of them sporting hand-made aprons and propped up on stools to assist with the baking project. I had pre-measured all of the ingredients and had things lined up so that the kids could pour everything into the bowl before mixing. I kept saying, “Go ahead, guys…just dump it in!” Well, the look on their faces was priceless! Mom is actually letting us just dump this stuff in? I’m usually quite methodical when baking so my carefree attitude was really messing with their minds.
Weeks later, K asked if we could bake again. She asked if we could make the “dump it in” recipe. Well, the name stuck and that’s what we called these moist, delicious brownies ever since. I’ve changed up the recipe a bit but it certainly is a moist flavorful treat, that’s fun to make with the kiddos.

Dump It In Brownies

2 cups sugar
5 eggs, beaten
1 cup canola oil
1 teaspoon vanilla extract
1 1/3 cups all-purpose flour
1/2 cup unsweetened cocoa powder
1 teaspoon salt
1 cup semisweet chocolate chips
1 cup peanut butter chips

Preheat oven to 350 degrees. Spray with cooking spray, a 9×13 inch baking pan.
In a large bowl, dump in all ingredients. Combine well, stirring just until moistened. Spread the batter evenly into prepared pan. Bake for 30 to 35 minutes in preheated oven, or until brownies start to pull away from the sides of the pan. Cool completely before icing. Sprinkle extra chips over chocolate frosting of your choice.

20140120-081728.jpg

Posted in Baked goods, Baking, Chocolate, Desserts, Food, Gifts, Homemade Mixes, Kids in the Kitchen, lunch box

Scrumptious 1,2,3 Cake

20140117-184631.jpg
This little cake is so light and sweet it’s like eating chocolate cotton candy!
It’s called the (1) One – (2) Two – (3) Three Cake and it’s really delicious. You won’t believe that there are only two ingredients involved here!

This past Christmas, my daughter arrived home from college for her holiday break. Her suitcase was filled with lots of dirty clothes, books to sell after a long semester, and a beautiful jar filled with a taupe colored, powdery mix; a recipe card attached. The jar was wrapped in a ball of crinkled holiday, tissue paper. In the rush of unpacking and catching up, the jar was put aside. A few hours later, I noticed the jar on the kitchen counter. The container was quite beautiful and I was intrigued by the contents so I carefully read the attached index card.

20140117-184806.jpg
Well, I couldn’t resist the temptation. I quickly scooped out 3 tablespoons of the mix and added 2 tablespoons of water. I swirled it around in a heat-safe mug and popped it in the microwave. As I looked through the viewing glass, the mix immediately began to rise and puff up. It was like magic, the speed at which it rose. I patiently waited the full minute as the kitchen began to smell like a baker’s wonderland. When the bell went off, I retrieved my creation and quickly ran to tell everyone what had transpired. We all grabbed a spoon and tested the sweet chocolatey mound. Ohhhh, it was so delicious! Now, I really try to stay away from sugar so I took the tiniest of bites but I was delighted that it turned out so spectacular. And, oh, it was so simple!

20140117-185127.jpg
So here’s what you do…

(1) One – (2)Two – (3) Three Cake

1 package chocolate cake mix
1 package angel food cake mix

In a large bowl, combine dry cake mix packages; mix well. Carefully pour into an airtight container.

Attach an index card to the jar with baking instructions:

Mix, in a microwave safe cup, 3 tablespoons mix with 2 tablespoons water. Pop it in the microwave for 1 minute. 3,2,1… Enjoy!

Don’t limit yourself… Use any flavor cake mix you like. Add chocolate chips or top with whipped topping and fruit. This would be a great recipe to make with young children. I think you’ll really enjoy this…what fun!

Posted in appetizers/snacks, Brunch, Food, Gardening, Salad, salads, side dishes

Refreshing Strawberry Spinach Salad

20140113-193238.jpg
This is one of my favorite salads. I usually make it during the late spring months when we have loads of strawberries ripe for the picking. However, a couple of weeks ago, I went to a holiday party and brought this salad along. I knew there would be lots of rich desserts, heavy side dishes, and sweet holiday beverages so I wanted to bring along something light and flavorful. The green and red of the spinach and strawberry mix certainly made the salad look festive. Surprisingly, the strawberries were sweet and juicy. Our grocer’s winter berry selection is usually flavorless and strawberries often have a firm, rock-like texture. I expected to have to sweeten up the berries with a small sprinkle of sugar before adding them to the salad. To my surprise, they were perfect in every way. I was also pleased that I didn’t have to part with a small fortune when purchasing the berries. They were quite reasonably priced so I made sure to buy a load of them.
For a dramatic presentation, I often mix the salad in a clear, deep bowl to show off the beautiful colors within the mix. The deep green of the spinach, and rosy red of the strawberries glisten under the glaze of dressing. Flecks of black and beige (from the addition of poppy and sesame seeds) make the salad look quite appetizing.
While the winter temperatures are down-right bone chilling and the snow continues to fall, I long for the warm sunny days of spring and summer when fresh produce is abundant and flavorful summer salads are a welcome part of the everyday meal.

Strawberry and Spinach Salad

1 large bag, pre-packaged baby spinach, stems removed
4 cups fresh strawberries, sliced
1/2 cup vegetable oil
1/4 cup white vinegar
1/4 cup sugar
1/4 teaspoon paprika
2 tablespoons sesame seeds
1 tablespoon poppy seeds

In a large bowl, toss together the spinach and strawberries. In a medium bowl, whisk together the oil, vinegar, sugar, paprika, sesame seeds, and poppy seeds. Just before serving, pour over the salad and toss to coat.

A good trick when traveling with this salad:
Slice the strawberries and place them at the bottom of the bowl. Then, lightly add clean, prepped spinach and cover the bowl with clear plastic wrap. Carry the dressing in a jelly jar or lidded plastic container. After reaching your destination, give the salad a toss and add the dressing, distributing everything evenly.

Posted in Bread, breakfast, Food, Homemade Mixes, Pancakes, Syrup, Toppings

Hearty Oatmeal Pancakes with Homemade Maple Flavored Syrup

20140107-164701.jpg
For the last several days, we have been experiencing record-breaking low temperatures in our part of the world. On the positive side, forecasters had given us plenty of warning, so I was able to head out to the local stores last week to stock up on lots of food before the arctic blast set in. All in all, I did pretty well. I purchased lots of fresh fruits and vegetables, plenty of oatmeal and other breakfast items, baking supplies to make fresh bread and a few goodies for my home bound troops.
Yesterday, M pulled out our set of Mickey Mouse egg rings and asked if we could make pancakes for breakfast. The rings are meant to mold eggs into the curved shape of a Mickey Mouse head but we usually use them to shape pancakes. We whipped up a batch of our tasty, satisfying Hearty Oatmeal Pancakes before heading out into the blizzard-like conditions to shovel the newly fallen snow.

20140107-164832.jpg
After dropping the first batch of batter into the molds, I checked to see if we had an ample supply of maple syrup for the pancakes. To my dismay, we only had a drop of syrup left in the bottle. “No problem”, I said to myself… “I will make a batch of my own maple syrup”.
I had discovered this recipe last year, around the Thanksgiving holiday, when we had sleep-over guests and had run out of syrup. I quickly scoured my cookbook collection for an appropriate substitute. I ended up making this adapted recipe and I also heated some of our Homemade Concord Grape Jam to act as a flavorful, delicious, topping as well.
I keep the syrup recipe close at hand for we always seem to be running out of maple syrup in this house. Enjoy the recipes and stay warm!

Hearty Oatmeal Pancakes

1 cup old fashioned oats
1 cup flour
2 tablespoons sugar
2 teaspoons baking powder
1 teaspoon salt
2 eggs, lightly beaten
1 1/2 cups milk
1 teaspoon almond extract
1 teaspoon vanilla extract
1/4 cup canola oil

Combine oats, flour, sugar, baking powder and salt in a mixing bowl. In a separate bowl, combine eggs, milk, oil, and extracts. Stir into dry ingredients; just until moistened. Pour batter onto lightly greased, hot griddle. Flip pancakes when bubbles form on top of pancakes. Continue to cook until second side is golden brown.

Homemade Maple Flavored Syrup

1 cup water
1 cup sugar
1 cup brown sugar
1 tablespoon maple flavored extract
1 teaspoon butter flavored extract

Bring the water, sugar, and brown sugar to a boil in a saucepan over medium-high heat. Reduce heat to medium-low, and stir in the maple and butter flavored extract; simmer 3 minutes longer. Serve warm. Refrigerate remaining syrup.