During the course of a week, I make several batches of granola bars for my family. There are a few recipes that I use quite frequently and for varying purpose. Take for instance, the Grunt Bars I make when I am looking to boost protein levels, I make Curley Power Bars when I am wanting to provide a recovery bar after a long meet or practice. This recipe for Everyday Granola Bars is one that I usually pack into lunch boxes or have waiting on the counter when kids arrive home from school hungry and looking for something to eat.
I’m a firm believer that providing the family with healthy choices will encourage children to make better food choices for life. I try to stock the fridge and pantry with lots of whole grains, fruits, vegetables, and yogurt so that when kids come home famished, they can quickly grab something healthy to tide them over until supper time.
This recipe is easy to adapt to satisfy your family’s preference. Add dried cranberries or raisins, almonds, pecans or sunflower seeds. We just adore dried apricots in this recipe as well. Change things up as you like. Enjoy!
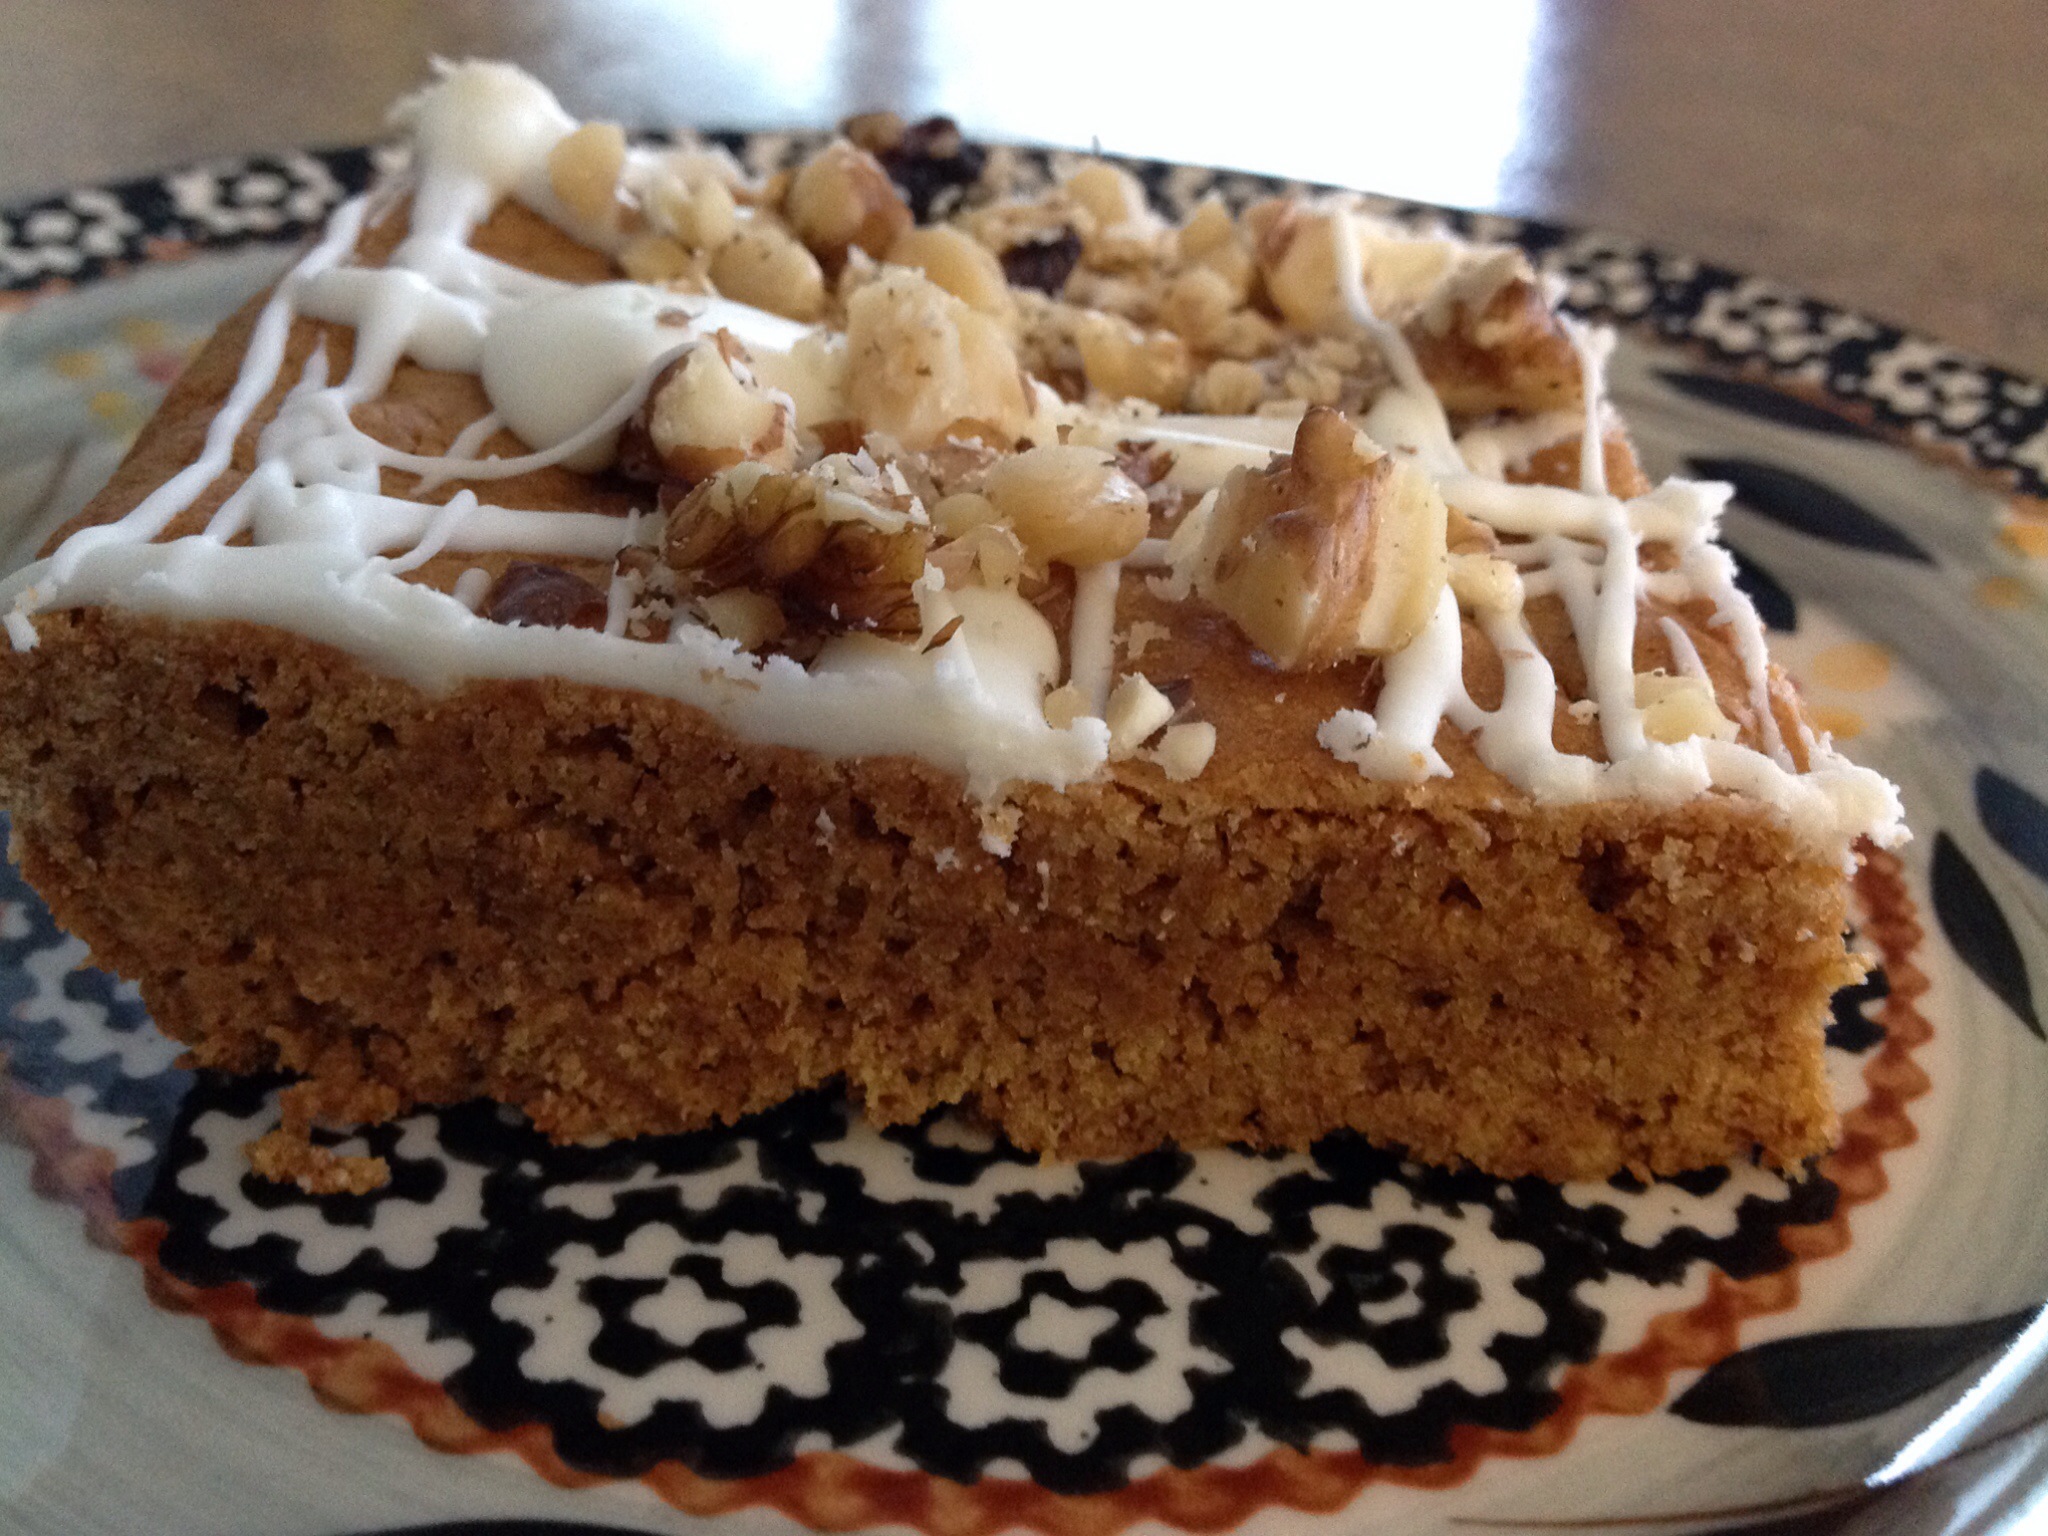
Everyday Granola Bars
3 cups old fashioned oats
1 1/2 cups walnuts, chopped
1 cup dates, chopped
1/2 cup honey
1/2 cup natural peanut butter
1 teaspoon vanilla extract
Coat an 11X7″ baking pan with cooking spray, set aside. Place oats, almonds and dates in a medium bowl; mix thoroughly, set aside. In a small saucepan, over medium-low heat, warm honey and peanut butter; stir until smooth, creamy and pourable. Remove from heat and stir in vanilla. Pour mixture over oats, dates, and nuts, stir to coat completely.
Transfer mixture to prepared baking dish. Evenly pat down mixture to completely fill the pan. Cover and let stand until set; about 30 minutes. Cut into bars. For added freshness, wrap each bar individually in plastic wrap and store in air-tight container.