I had high hopes for baking one of my husband’s favorite cakes for Valentine’s Day. Pineapple Upside Down Cake is rumored to be at the top of his list. But, as fate would have it, the weather outside today is horrible and we are currently under a blizzard warning. Getting out to the grocery store to pick up maraschino cherries and pineapple rings just wasn’t going to happen today.
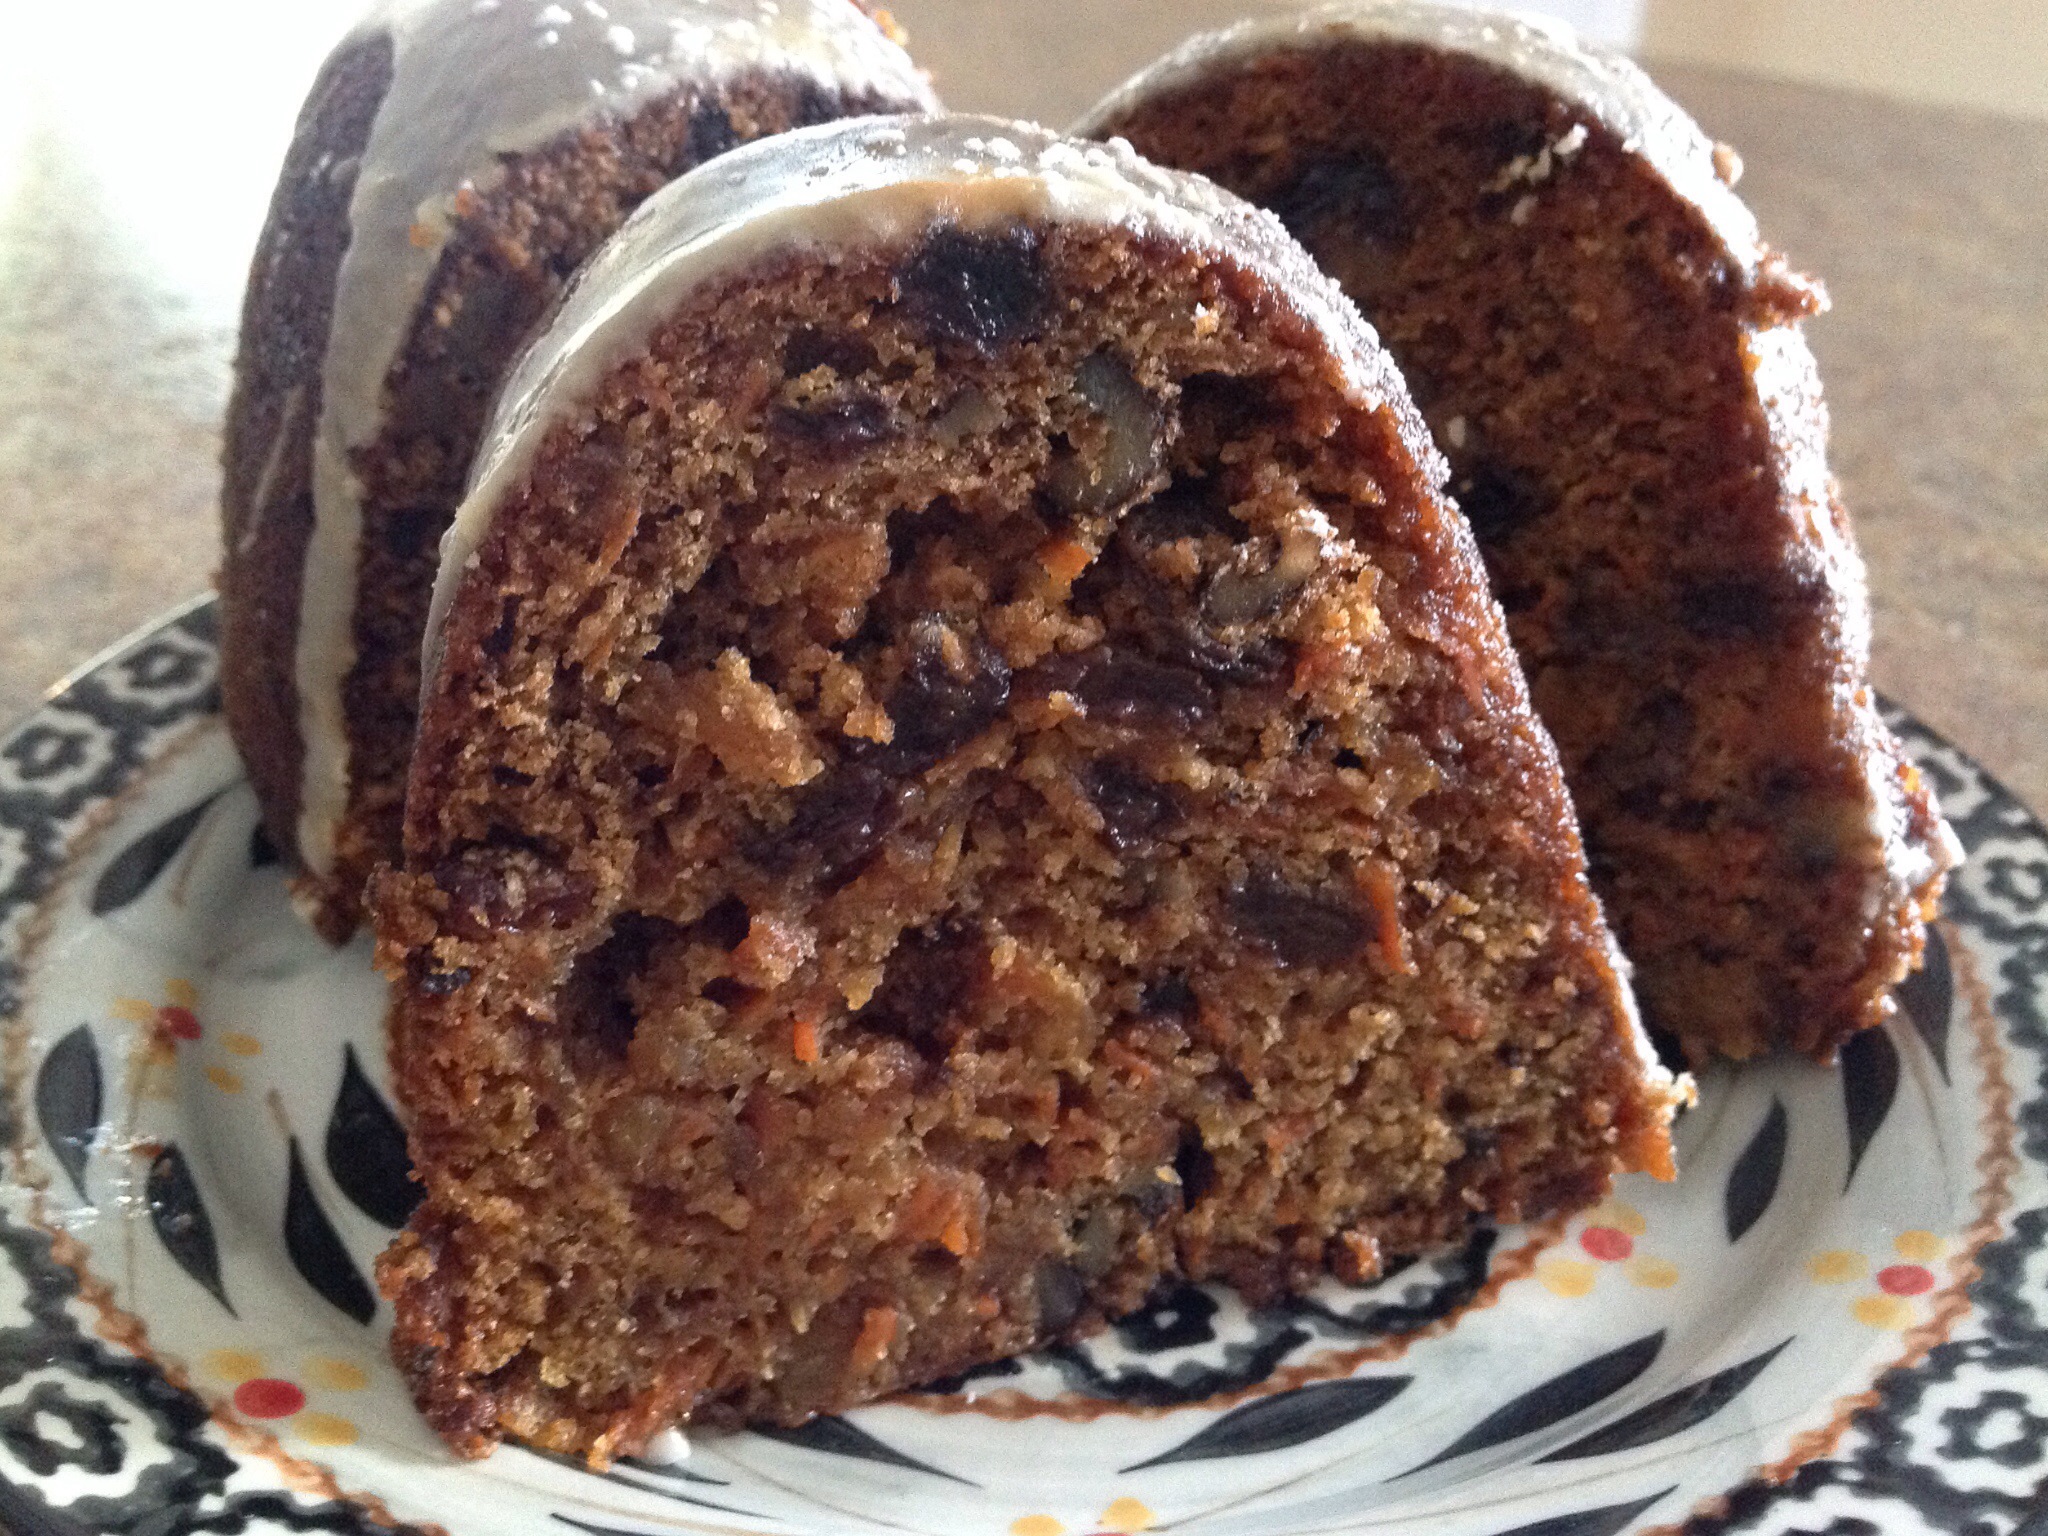
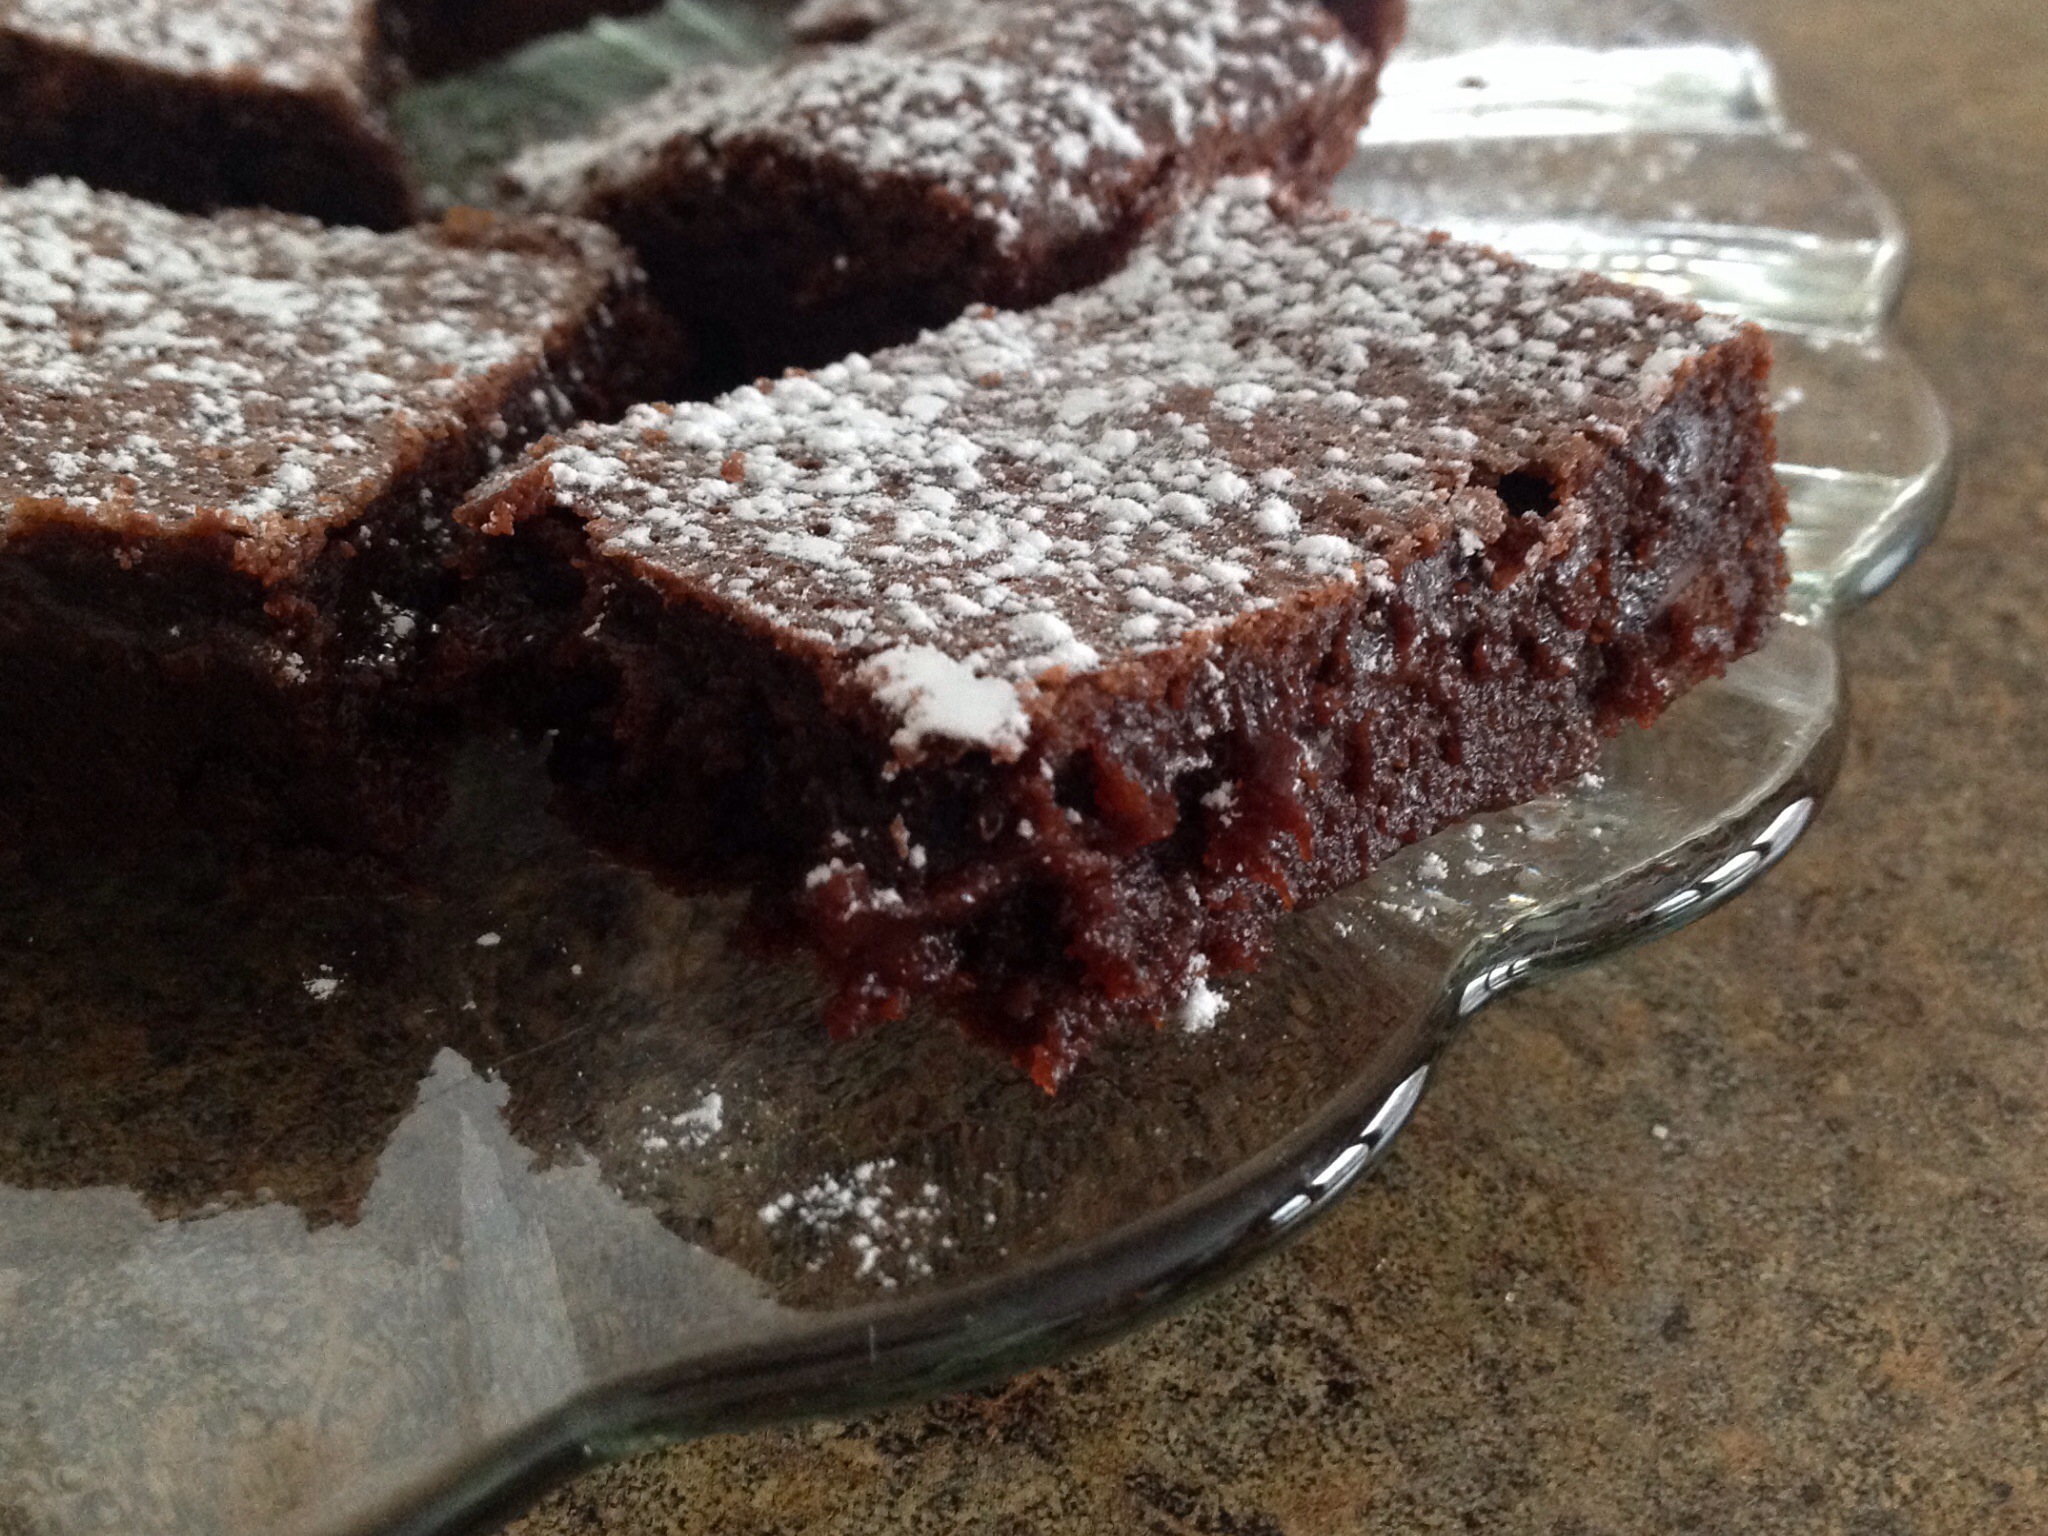
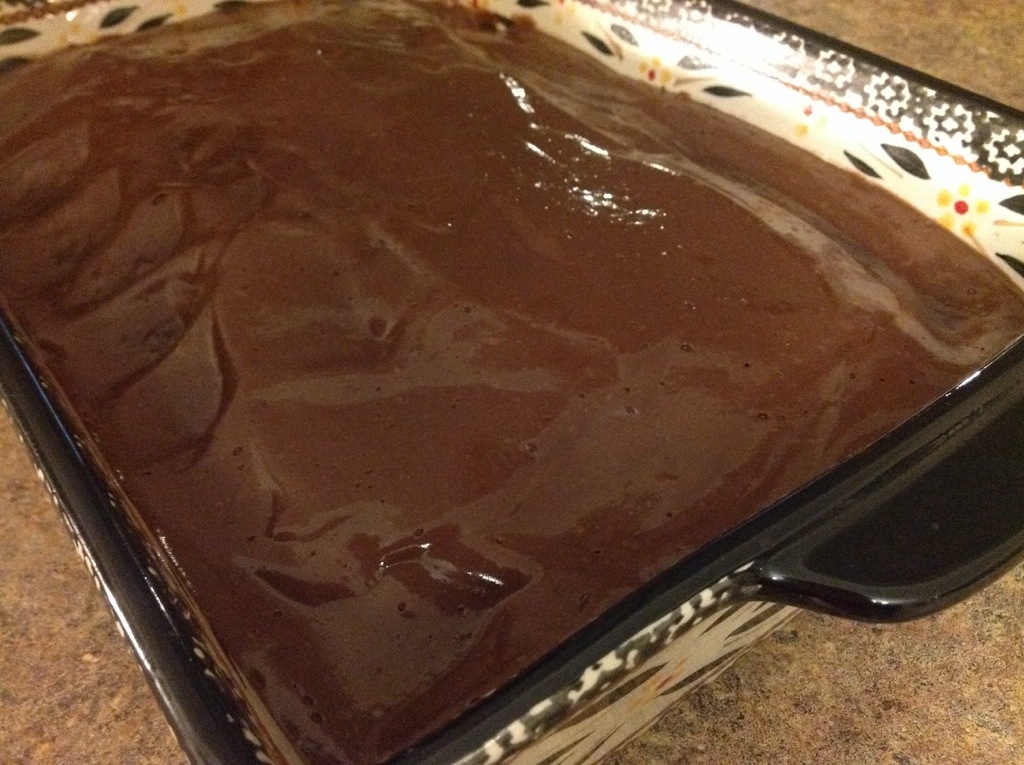
So, I searched through the pantry for the can of crushed pineapple that I had purchased last week and remembered my recipe for Pineapple Sheet Cake that would surely act as a close second to the highly favored upside down cake. While this cake is delightfully simple to assemble, over-mixing can make the cake a bit rubbery, so take care to use a spatula to combine all ingredients completely without over doing it. A light, homemade cream cheese frosting usually completes this cake. Today’s bake is topped with a canned version of the original. Once again, the weather conditions would hold me back and I had to settle for ingredients that I had on hand.
I nibbled a sliver of the cake just before plating it, and to my delight, it turned out wonderful. Not too bland, not too sweet…just wonderful. Happy Valentine’s Day to you and yours!
Pineapple Sheet Cake
2 cups flour
2 cups sugar
2 teaspoons baking soda
1/2 teaspoon salt
2 eggs, slightly beaten
1 (20 ounce) can crushed pineapple, undrained
1 cup walnuts, chopped
1 teaspoon almond extract
Preheat oven to 350 degrees. Grease a 13×9″ baking pan. In a large mixing bowl, combine all ingredients, mix until smooth. Pour batter into prepared pan, spread evenly. Bake for 25-30 minutes, or until center springs back to the touch. Cool completely. Frost cake with cream cheese frosting. Sprinkle chopped or ground walnuts over the frosting. Optional: Omit the frosting and lightly sprinkle with powdered sugar.