
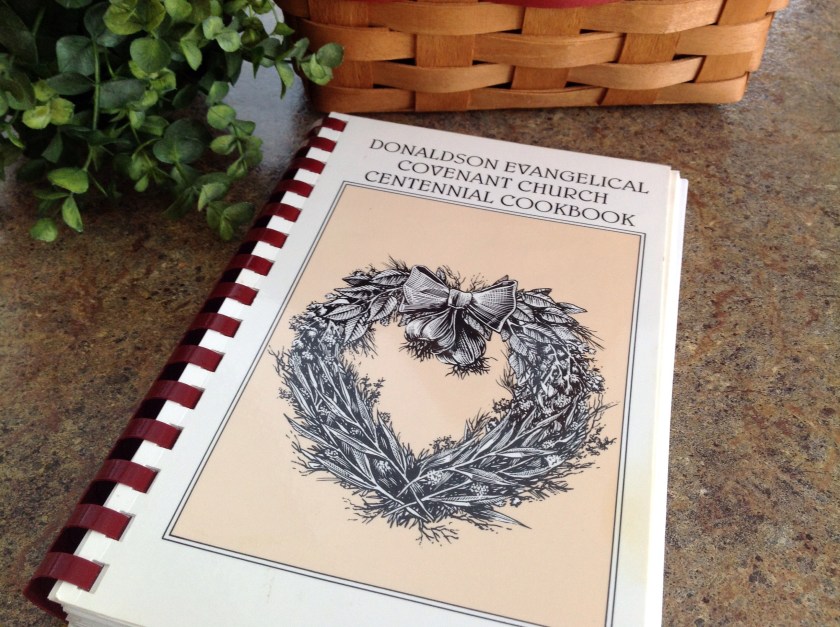
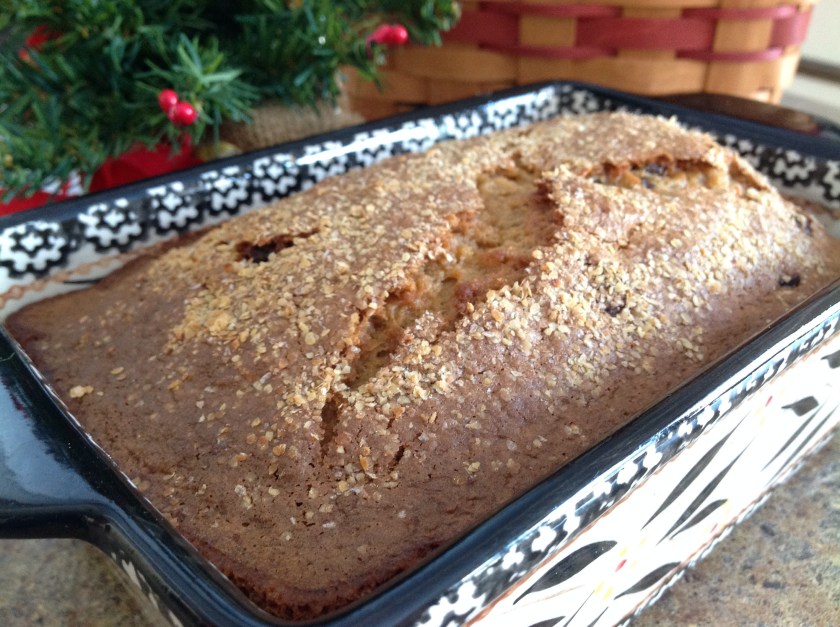
This is one of my family’s favorite brownie recipes. When my twins were headed back to Purdue after a short fall break, I decided to send along a special “study” treat. The addition of coffee and chocolate in the recipe are sure to inject a bit of a caffeine boost needed for long study and homework sessions.
Due to the use of a traditional boxed brownie mix, these chocolatey treats come together quickly. Adding three eggs to the batter makes for a moist and chewy texture, while the toffee bits contribute to the sweet and crunchy topping for this dessert. I guarantee these treats won’t last long after you cool and frost them! They are super rich and delicious!
By the way, finals week for college students isn’t far off… Wouldn’t every student love to receive a batch of these gems in a care package? Simply bake the brownies, then cool and wrap. Next, place a jar of pre-made frosting and a bag of toffee bits into a shipping box along with the brownies. Your student can frost and sprinkle the toffee mixture over the batch after the package has arrived. Don’t forget to encourage your student to share with friends and floor mates. Oh, yah… You’ll be one popular parent!
Toffee and Coffee Brownies
1 package brownie mix for 13 X 9″ pan
3 eggs, slightly beaten
1/4 cup brewed coffee
1 stick (1/2 cup) melted butter, slightly cooled
1 teaspoon vanilla extract
1 cup milk chocolate chips, optional
For Topping
1 16 ounce container of rich and creamy pre-made milk chocolate frosting
2 cups Heath Toffee Bits
Preheat oven to 350 degrees. Grease a 9 x 13″ pan with non-stick baking spray and set aside.
In a large bowl, combine brownie mix with eggs, coffee, butter, and extract. Stir in optional chocolate chips. Continue to stir until thoroughly combined, about 50 strokes. Evenly pour and spread brownie batter into prepared pan. Bake according to package directions, usually 20 – 28 minutes.
Allow to cool completely. Spread a thick layer of pre-made milk chocolate frosting over brownies; sprinkle liberally with Heath Toffee Bits. Serve and store in an air-tight container.


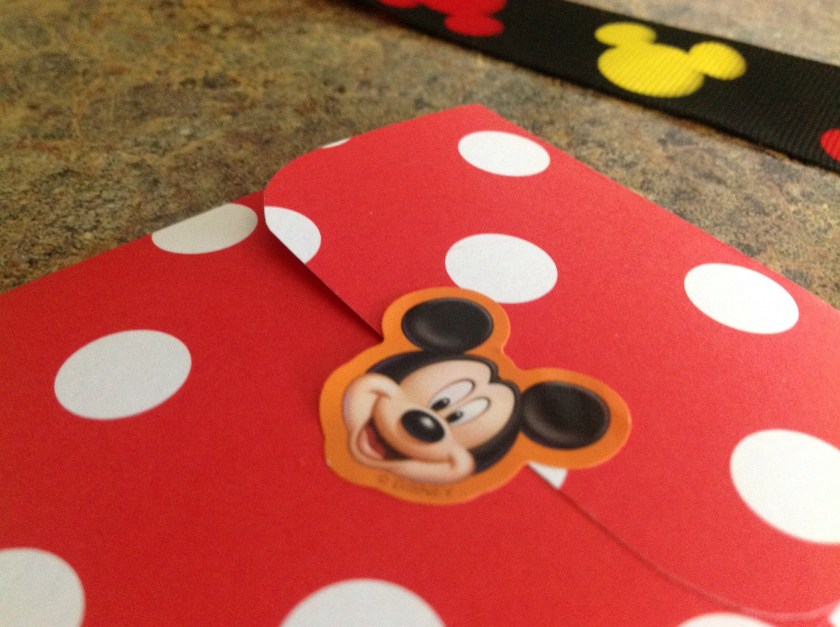
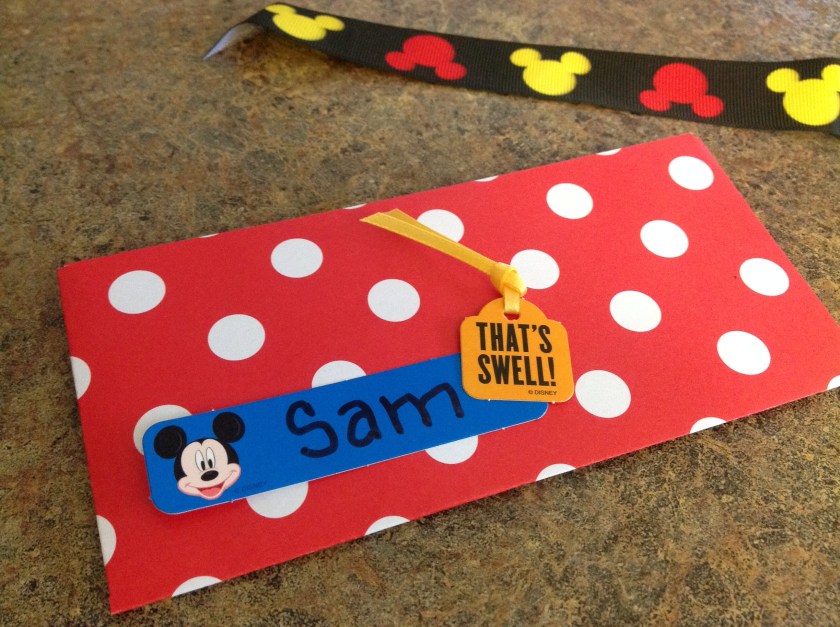
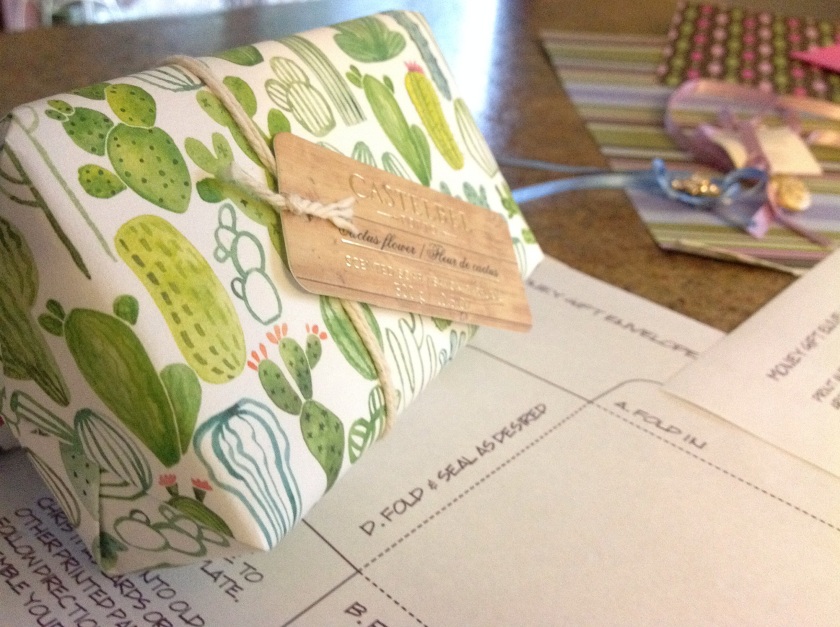 I gathered an assortment of scrap paper, and the beautiful wrapping paper found on some milled soaps.
 I printed the template and traced the outline on various scraps.
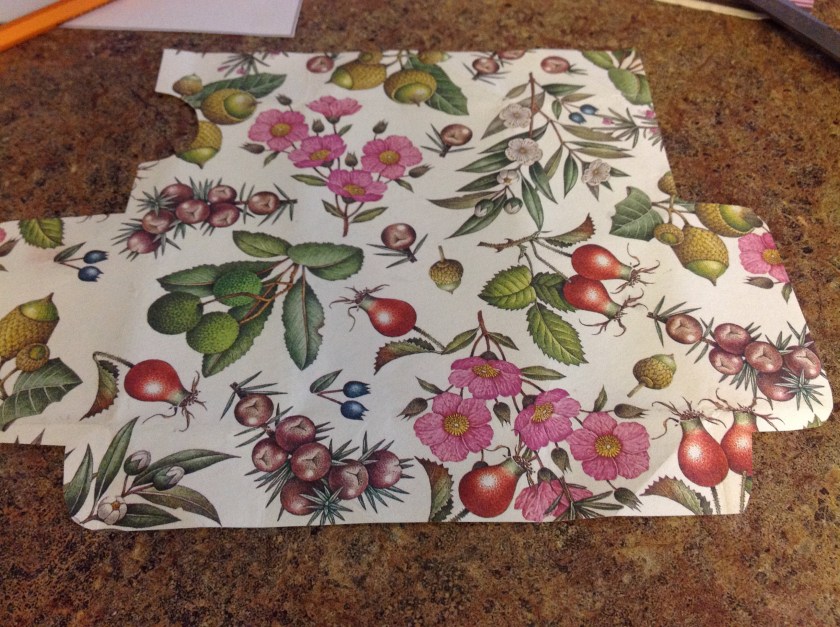 I penciled in some fold lines.

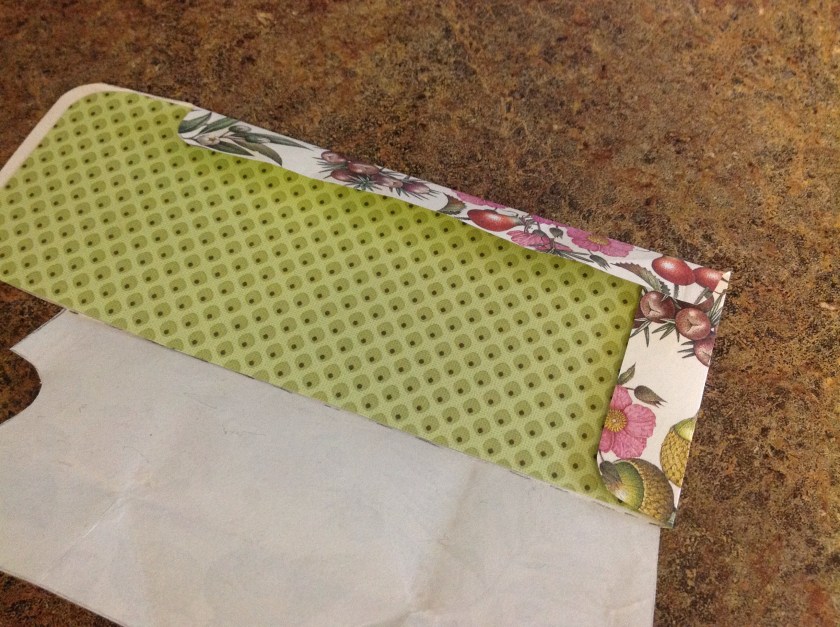 I thought it might be nice to have a contrasting liner.
 Using a few paper punches, I fashioned a gift tag.


 Use Christmas paper, shopping bags, newspaper… Whatever you like.
 This is an enjoyable way to personize and make personal, an ordinary, yet purposeful gift card.


 What any easy way to provide your dog with a great snack from your own kitchen…
 Over the years I’ve baked lots of tasty loaves for friends and co-workers to celebrate the holiday season. This week is no exception for I’ll be pulling out all of my favorite baking pans and an array of Christmas wrapping paper to start my traditional holiday bake. I usually make an assortment of flavorful loaves… a
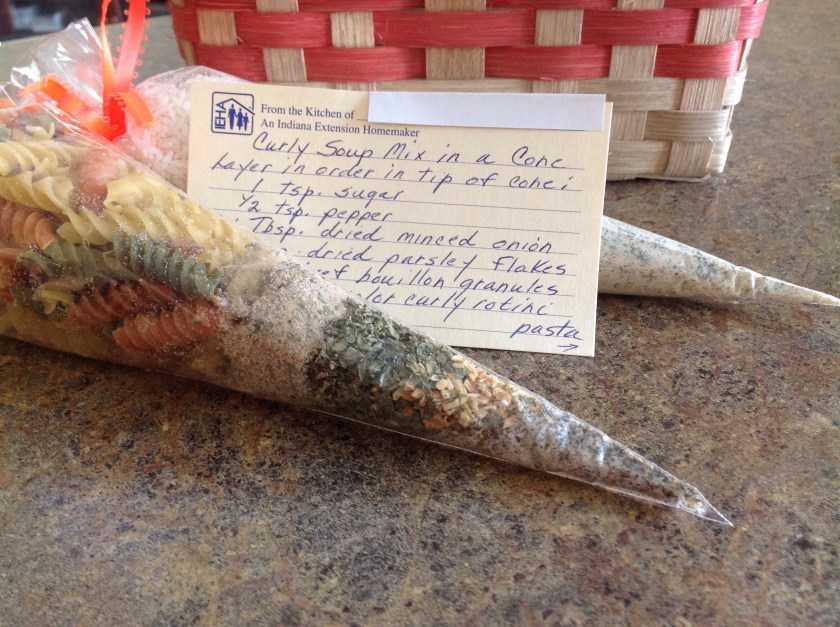
  By popular demand, I am posting one of my all-time favorite snack mix recipes. It never fails, whenever I make this mix, I am always asked for the details of the recipe. During the holidays, I usually pack this lip-smackin’ snack into decorative jars to pass along as a homemade gift from the kitchen. Light, buttery, and full of that scrumptious honey flavor, this sweet treat is a winner. Make a big batch and keep a watchful eye as it cools on the kitchen counter. The mix has a tendency to disappear as the minutes tick by … Irresistible!
