
As we move into mid November/December, the holiday season ushers in a plethora of tempting chocolatey treats, sweetly seasoned baked goods, and a bounty of party trays that seem to line the expanse of grocery store isles all over the country. As the season of eating (and over-eating) begins, I am forever looking for recipes that will help me to stay away from the carb-laden sweet treats that show up everywhere. Yesterday, while I was shopping for a few pantry staples, my neighborhood grocery store shared with customers an array of cakes, pies, and pastry samples. Turning every corner of each isle offered a new taste of tempting delicacies including shrimp cocktail, hot sugary beverages, hors d’oeuvres, and various sweet treats. Store owners even offered a full Thanksgiving lunch with all the trimmings so that customers could sample the items and entice them to place early dinner orders for upcoming holiday gatherings. Food, food, and more food…Yikes!
As an alternative, this Peanut Butter Mini-Loaf is one of the recipes that I turn to for a small sample of low-carb deliciousness that has no flour, a slight bit of sweetener, and a portion size that is certainly doable. I use peanut butter with ingredients that include only peanuts and less than 1% of salt. (I use the Smucker’s brand in the glass jar.) Sometimes I mix a 1/2 cup of cinnamon with a packet of sweeter to make my own version of cinnamon sugar. I store it in an airtight container and sprinkle a bit of it over the top of a buttered slice. Oh my, simply delicious…
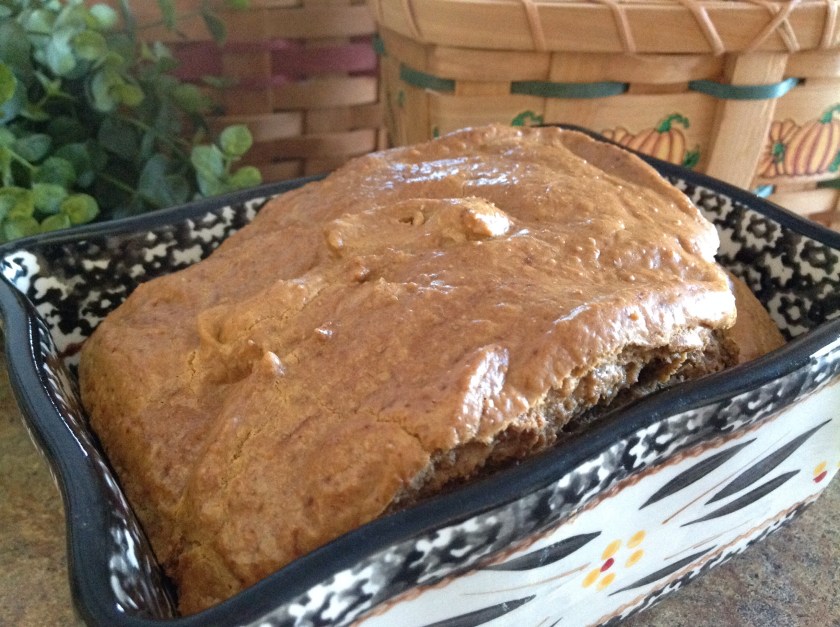

Low Carb Peanut Butter Mini Loaf
1 cup natural peanut butter, creamy
3 large eggs, beaten
1 teaspoon vinegar
1/2 teaspoon baking soda
2 individual packets sweetener
Preheat oven to 350 degrees. Grease a 1 quart mini loaf pan or 2-3X5″ loaf pans. In a medium bowl, combine beaten eggs and peanut butter. With a spatula, mix until smooth. Add vinegar, baking soda and sweetener. Hand whisk until smooth and creamy. Pour batter into prepared loaf pan(s). Bake for 30-35 minutes until bread is fully cooked and toothpick inserted in the center comes out clean. Cool completely before slicing into thin slices with a sharp knife.


 What any easy way to provide your dog with a great snack from your own kitchen…
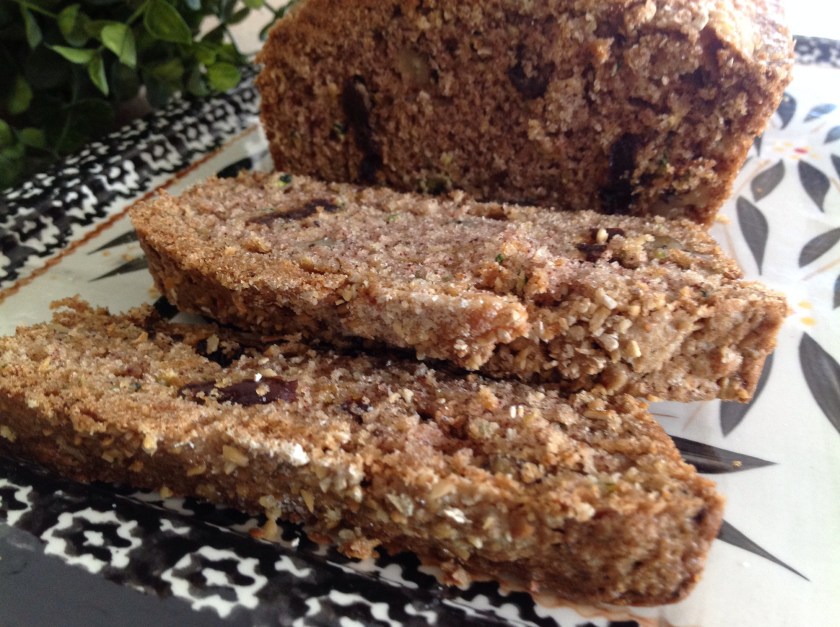


 On a recent Saturday outing, my family and I stumbled upon a quaint new restaurant in the middle of our town square featuring Mexican cuisine. As we were seated in the festive dining room, a heaping basket of freshly made chips and salsa was delivered to the table. Looking over the extensive menu, I was excited to find a chicken dish that seemed fresh and flavorful with simple ingredients. I immediately requested the dish and continued to munch on the crispy chips and spicy salsa while listening to the sounds of the lively Mexican music streaming through the sound system.
 There are very few recipes that I bake where I don’t use oatmeal as an ingredient in some form or another. I often stir a handful of oatmeal into the batter for cakes, cookies, and muffins. Or, I might sprinkle oats over the top of the batter just before popping pans into the oven. I even stir oats into my ground beef when making meatloaf, hamburgers, or meatballs. I’m a big fan of the flavor, texture, and health benefit that oats can bring to many recipes.


 I often visit a local discount bread store during my lunch hour. The outlet carries nearly expired items that I use for stuffing, meatloaf, and bread pudding recipes.


